Leaderboard


Popular Content
Showing content with the highest reputation on 03/20/2020 in all areas
-
A little while ago I started a proper SE-14 build as seen in the promotional pictures made for ANH (which in the end turned into a Rexim-favor replica build), but as most of the projects I do for me I dropped it at some point and never resumed working on it yet. It's a shame cause I love this weapon, and I put efforts into making everything functional, from the cocking action, to the mud cover, to the folding stock, bayonet, selectors, etc...4 points
-
Yes, I have another 2 hovis... Is an easy fix... Thanks...3 points
-
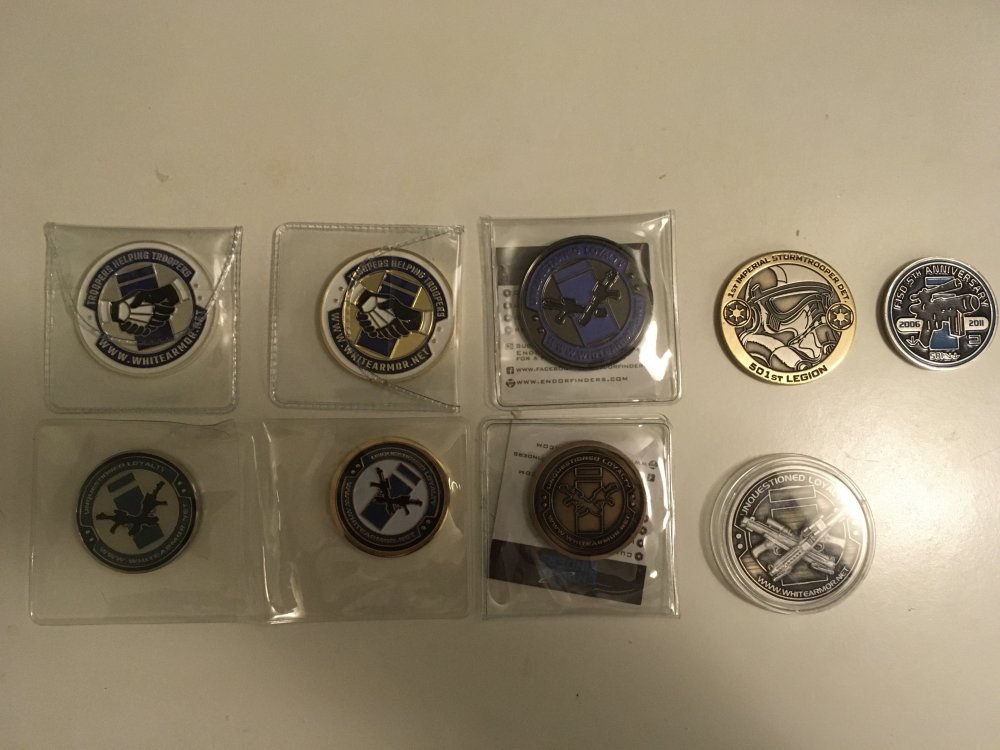
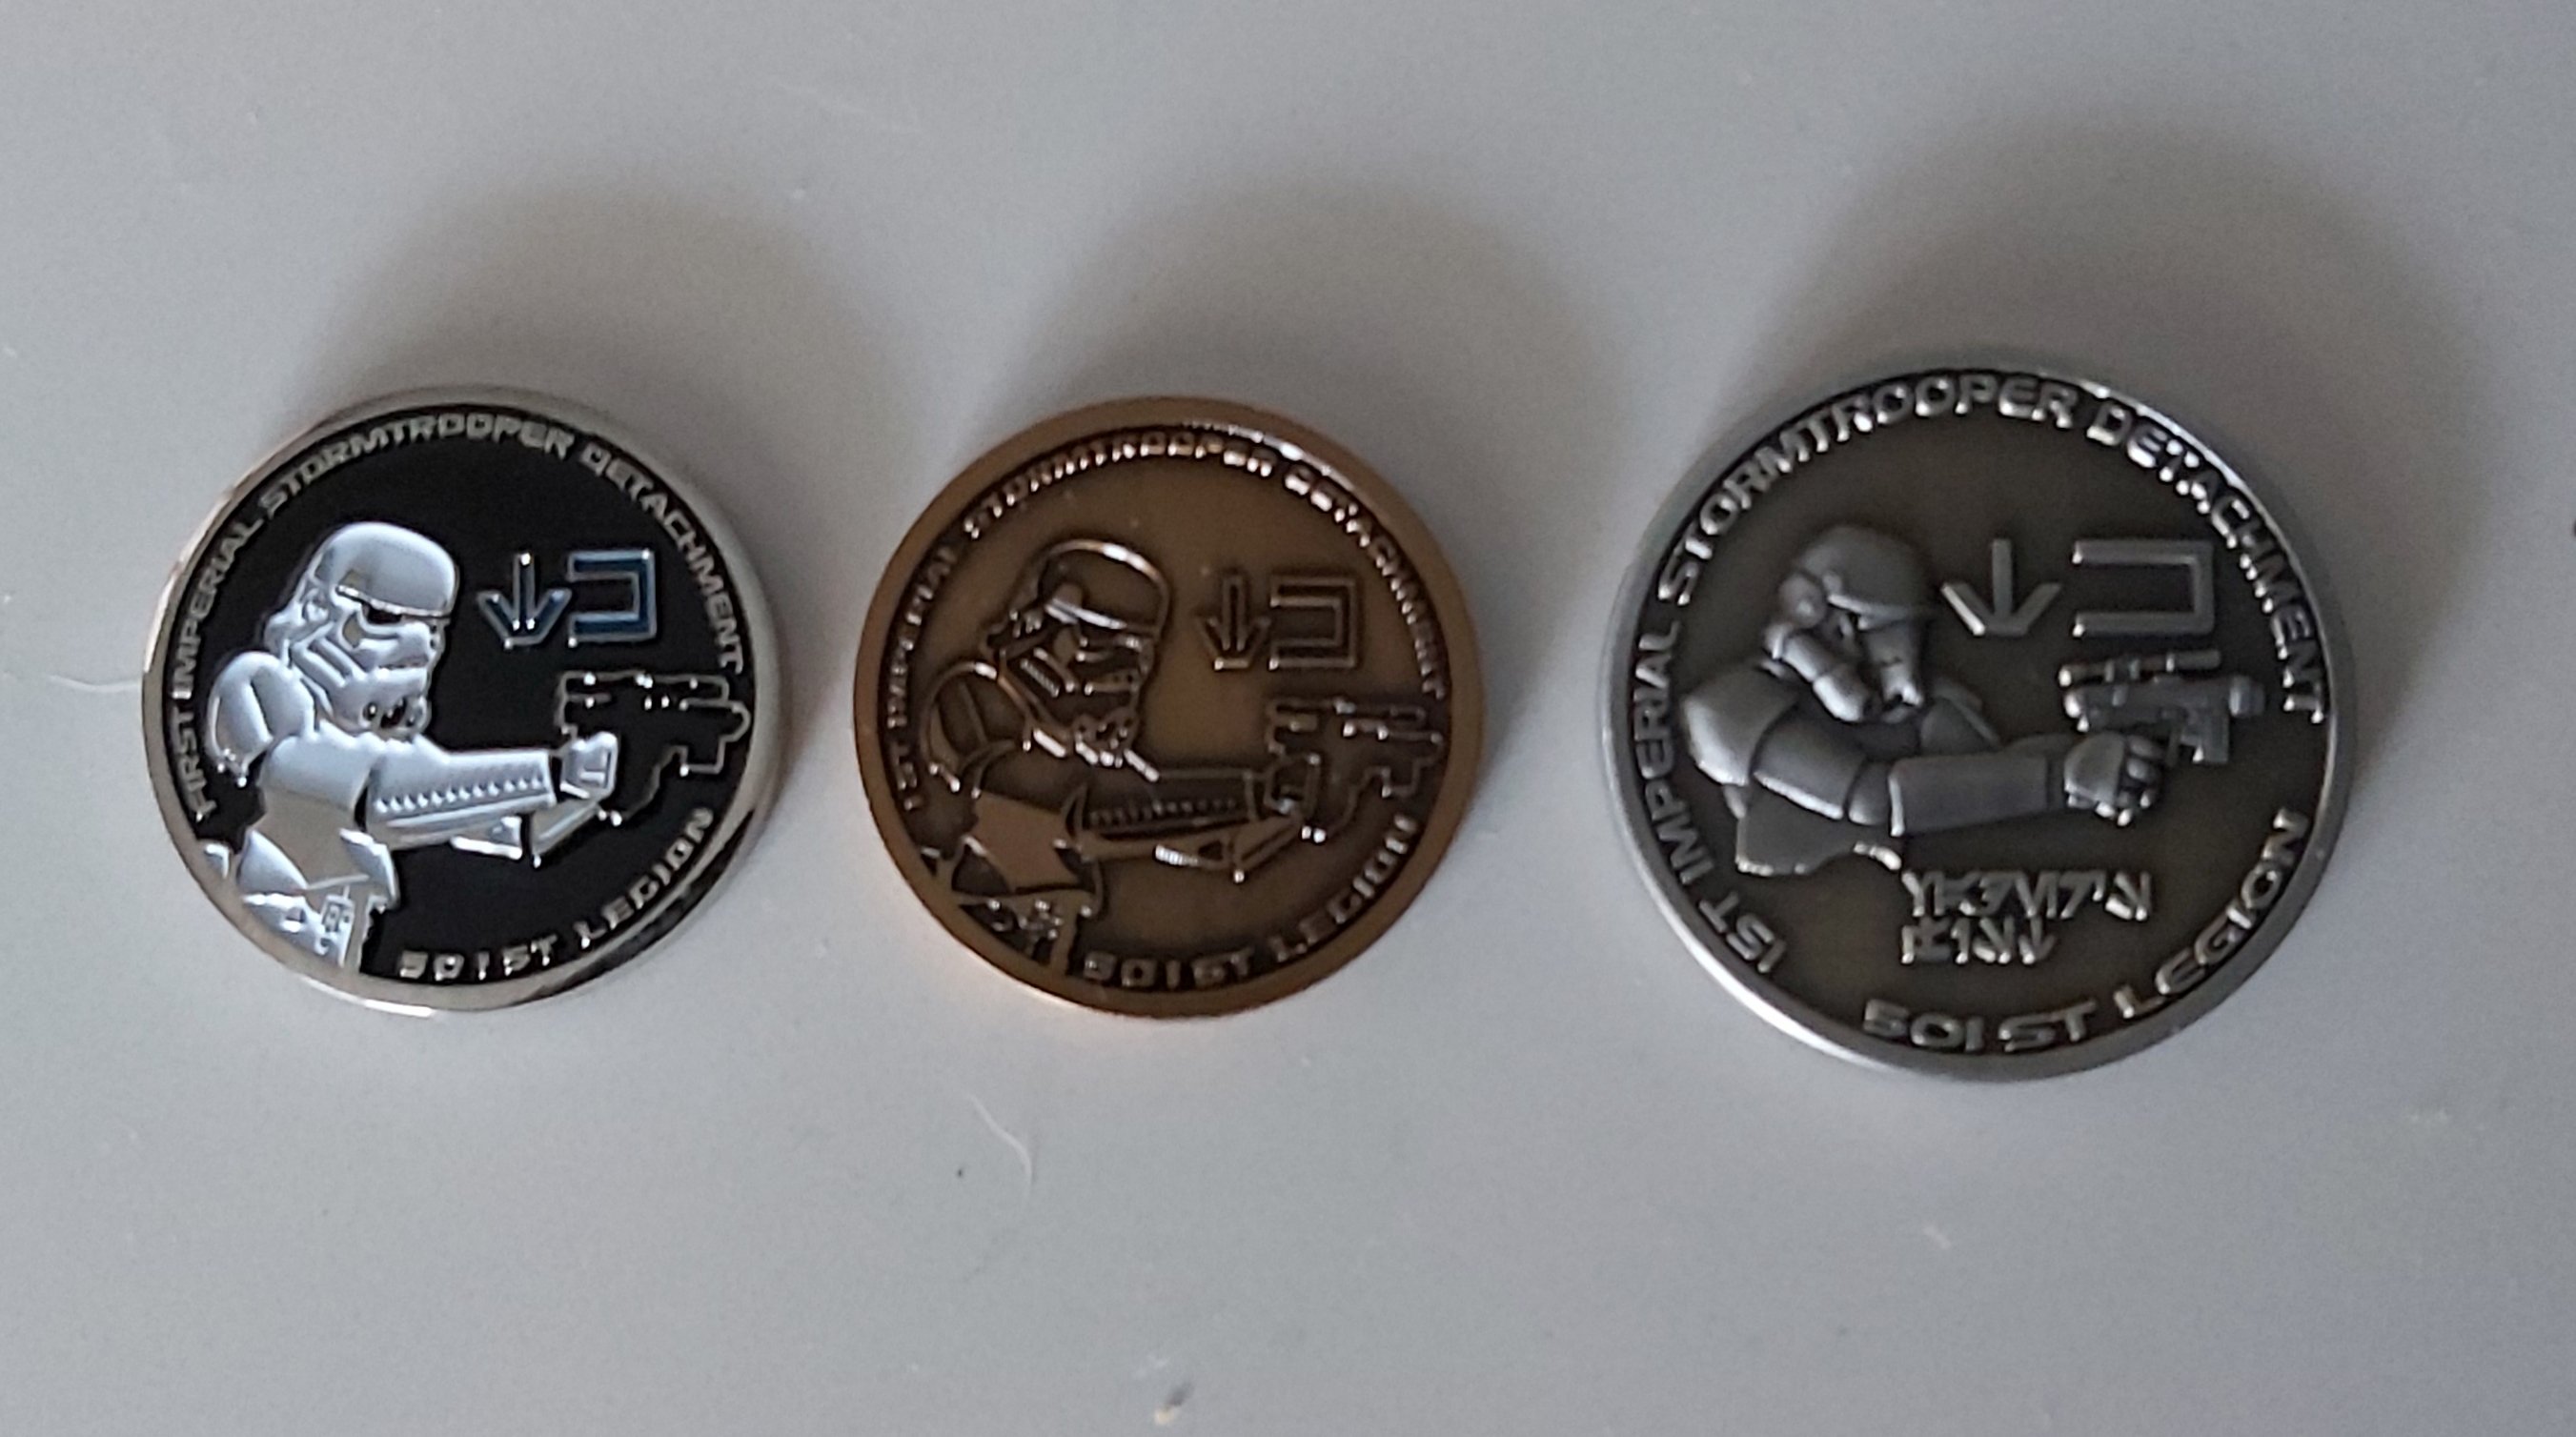
Big thank you to Paul @Daetrin I get to add these to my FISD coin collection
 3 points
 -
These are the ones I found at least. But coins haven't been very important to me. ;)
 2 points
 -
I'm getting some serious tank driver vibes from some of those helmets, and while I love the tank troopers, I am not sure how I feel about a guard wearing similar helmets to them. The other designs however, I love. They remind me of Revan's helmet.2 points
-
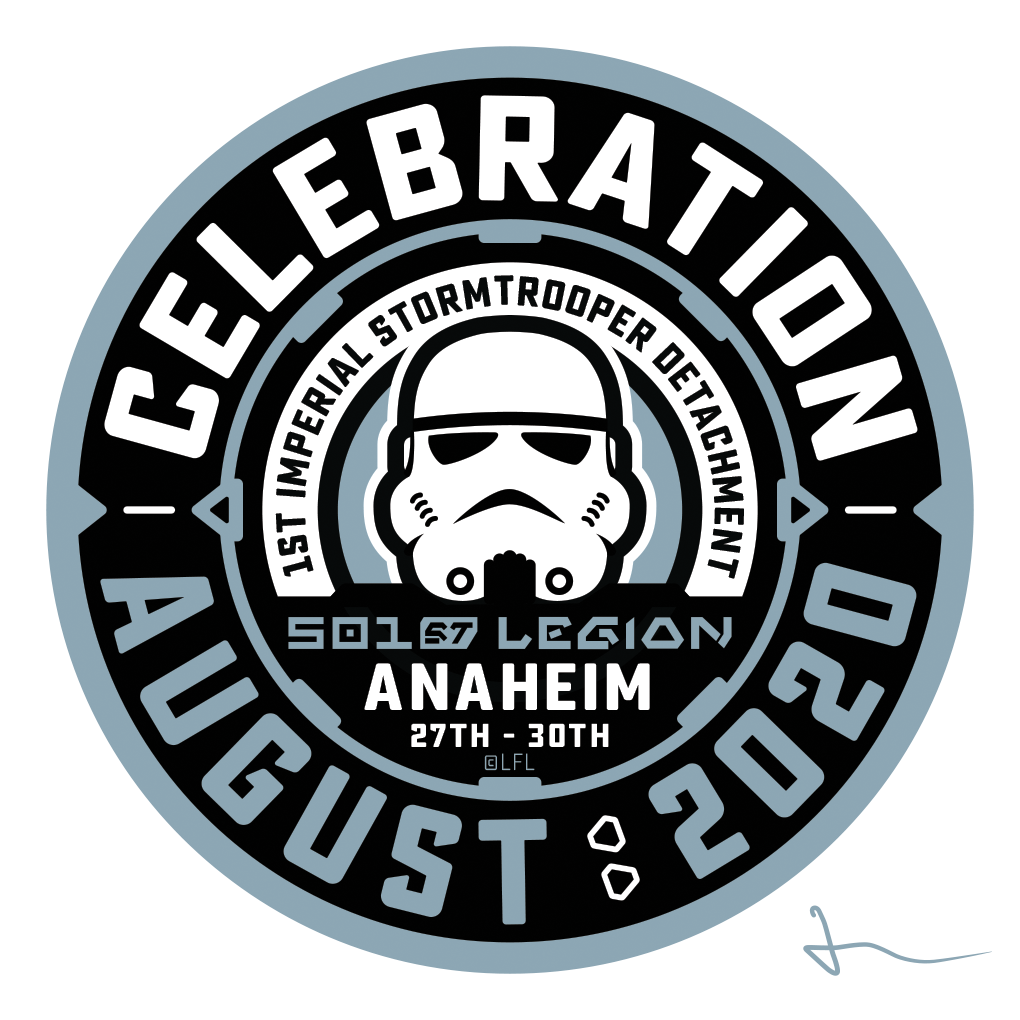
Based on the timing and the layout, it looks like it's most likely from the Art of book for TROS.2 points
-
Hi Thomas, and thank you for your EI submission! In the following review I will be going over items pertaining to your current submission, as well as those that will be required for Centurion level should you choose to apply. CRL and EIB Application Requirements: All required submission photos have been posted and I am very pleased to announce your armor displays all the necessary elements to qualify for ANH Stunt Expert Infantry. On behalf of Sha Sha and myself, Congratulations! Other-Armor Fit/Assembly: In this section we review observations made by your fellow troopers and ourselves. Some observations may lead to suggestions to improve the overall look of your armor. Note that we consider both text (CRL) and pictures (screen caps/reference images) when reviewing submissions. Before we get started, don't be alarmed by the number of issues! While there are some that will need to be addressed for Centurion, some are simple dressing matters to make that awesome set of armor look it's very best... the vast majority can be remedied with a spare afternoon and some work, but I have every faith that you can do it.... and we are here to help! Side note: SO proud of you for going with the double snap method on the torso! Now let's get to it, brother! Although your lines are SUPER clean and crisp, adding some definition to the top of your vocoder would give it a more screen accurate appearance. A Filbert style brush and 5 minutes of work and you are golden! Reference mages We are suggesting that you raise your biceps at least half an inch or so and roll the forearms out. The "scoops" should be positioned on the inside where your arm bends (facing front) to prevent "armor-bite". Reference image You may want to replace the 1 inch elastic on your bicep to forearm connection with 2 inch, and use the double snap method. The reason I mention this is that in in some of your photos they are perfectly positioned, yet in others they roll toward your body a lot. In the photo below, the ribbed ridges are sitting on top of your arm, but should actually be facing the sides as seen in the reference images. Having that wider elastic and 2 snaps on each side of the connection will help keep them from shifting like that. We are HIGHLY recommending that you add some ABS tabs to the inside tops of the posterior plate in order to better line it up with the kidney. This is actually a fairly easy and effective fix, but if you need help on how to do this this just PM me! Reference images The cover strip alignment on your right leg is absolute textbook, but unfortunately you have the common issue of the "wandering left calf", causing the sniper knee plate to sit completely to the left of the thigh cover strip. This is another easy fix by gluing some foam padding on the inside of the front of the calf to keep in lined up. Reference images On a side note, you may want to check the glue that holds the cover strip on your left forearm, as it seems to be coming loose from the wrist area. Centurion Requirements In this section we prepare you for Centurion. More photos may be requested in the future that allow us to make better decisions on possible adjustments. If there are any areas of concern they will be discussed here. Because Centurion photos show much more detail than those for Expert Infantry, items to pertaining to Centurion might be seen there and not here. We try to point out all that we can from what is seen, but the final accuracy is the responsibility of the trooper. Keep in mind that it's the small details that we look at for our highest level of of screen accuracy. You did a wonderful job on this build, and we want you to look your best! As per the CRL, "...tube stripes are positioned approximately a pencil width from the side of the cheek", so both sides will need to be re-positioned. Since you used decals this will be easier than if you had used paint. Reference image Although not specifically mentioned in the CRL, we are requesting that you bring the shoulder bells in closer to the shoulder strap to eliminate the gap. Reference image We understand that not all troopers are built the same and there will be variations on how certain items fit, but the extra-wide gap in the back should be reduced. Here are some suggestions: 1. Trim all the return edge from the bottoms of the bells. This will allow them to ride a bit closer to the bicep. 2. Reduce the length of the strap that holds the shoulder bell to the shoulder (this will solve the above issue as well). 3. Rotate them forward to where you have an equal gap in the front and back. Reference image As per the CRL, there can be "...no or minimal overlap of the back plate over the kidney plate". You may be able to shorten the shoulder tabs on the back plate to bring it up higher. Reference images It looks like you CA glued the straps that hold your drop boxes in place, but the outside edge must be vertically aligned with the end of the ABS ammo belt. Reference images You are close... (SO close) to nailing this issue, but there can be no gap at the kidney/ab connection. Just tightening up your canvas belt a tad should fix this one!! Reference images In looking at the screen used ab-button plates, note that the raised area beneath the plates is visible on all sides. Yours should be trimmed to match (or close to it). Note that the corners on both the reference image plates are squared, not rounded. Reference image Again, you are VERY close on the ab-button paint, but the edges needs to be round. Since it has a curved tip, the Filbert style brush I suggested for the vocoder can pull double-duty and make this easier. Remember that the paint should not go all the way to the bottom of the raised part of the button (yellow arrows). Reference image Filbert brush I know you made a few mods to your belt, but unfortunately it will need to come up at least half an inch or so as required in the CRL for Level 3: "The top of the ABS ammo belt sit at or just above the bottom of the central and vertical ab- button panels". Reference images And lastly, although you did a fantastic job removing them from the inner edges, the "no return edge" requirement includes the area inside the "hump" as well. 4 minutes with a Dremel and you will be good to go! Reference images As I mentioned, none of these items are insurmountable, Thomas. (I had a LOT more dings on my first submission)! It may take you an afternoon of dedicated time, but we are here to assist you in any way we can to help you reach Level 3. Congrats on your EI badge, trooper, now get out there and make the FLG proud and I look forward to seeing your Centurion submission soon!2 points
-
Here are some more designs that I came up with, as well as cleaned up the overall design a bit. Hope you like them!2 points
-
I always wear rubber gloves with cotton gloves and there’s no sweat pouring out, sure you get warm but that goes for the entire suit. I want to Troop as I was approved - A Centurion - This is the way, I have spoken. But...everyone do as they please of course And Justin, hoping all goes well tomorrow.2 points
-
Armor Maker: AP Helmet Maker: AP Blaster Type: Praetorian Blasters Height: 6'1" Weight: 160lbs. Boots Maker: Imperial Boots Canvas Belt: AP Hand Plates Type: justjoseph63 Neck Seal Type: Darman's Props Holster Maker: AP Armor: Helmet: Blaster: Accessories:1 point
-
Since I'm stuck inside because #corona, I decided to follow this tutorial and make one of a belt for the ANH Stunt. Now I can swap out my belts easy! A few addition from my learning this afternoon: Drilling the center of the snap really wasn't as easy as I thought it was going to be. I had to do it slowly, for what it's worth. I wish I had a more stable way to secure the snap. Have the right sized pop rivet! I was struggling for a bit fitting the rivet through the snap that I drilled w/ the 3/16" drill bit. Turns out I grabbed the wrong rivets. Doh! Fixed that and it was easy sailing. I did have to take a snap setting tool and smack the interior a few times. This is a visualization of "step 2" from Brien's instruction above - "placing your snap on the inside of the belt facing armor and push a pop rivet through the opposite side" Thank you, Brien!1 point
-
I think this hovis are more accurate screens... Regards...1 point
-
Great! Looking forward to it.1 point
-
Hola Jose, Apologies for missing this, but your hovi tip mesh will actually need to be replaced for your EIB approval. The L2 CRL states: Screens used shall be of a wide type mesh, with the rim of the mic and the inside white or painted white. Your screens have fine/small mesh. Reference Image: I know @ukswrath in California sells accurate screens, but it may be easier to ask your Spanish Garrison friends where they found their mesh. I'm not sure if it will be very difficult to find right now during the national quarantine; certainly don't put yourself as risk just for this. Let us know if you feel like it's possible right now.1 point
-
Outstanding work Jeff1 point
-
There had to be something... No approval photos today, glue went up at the shoulders for the right side: Hopefully tomorrow then.1 point
-
Last things! Finished padding the helmet and adding @ukswrath fan system, I think it came out pretty nice: Also put on some velcro tabs on the boots, for attaching to the shins: My pre-approval thread will come soon, will post when it's up1 point
-
Frown screen - answered Hovi tip black - semi gloss is fine, same as the Vcoder. Vocoder with gloss black - You can always use gloss then take a fine scotch brite pad and scuff it up dulling the shine. Or buy the correct color online Sanding ABS - I personally where a respirator though good luck finding one these days. Any dust mask with a N95 rating will work also, but again good luck finding any. Next option a hankerchief or rag. Something is better than nothing. Hope these help1 point
-
Yeah Trooper! Go Get it !!1 point
-
As I see it you have 2 options:1 point
-
Wow... just WOW! It never ceases to amaze me how much talent we have out there. Keep it up!1 point
-
I have always used plain black fiberglass window screen, Caleb. I can hook you up with some for free if you like, just shoot me a PM with your shipping info.1 point
-
Hey Caleb! About that mesh, you can find it at Joann's by the yard in the fabric section. It's called "pet screening". I think I bought 1/8 of a yard, and it was ridiculous cheap. They deliver, so that might be an option for you. I would send you some, but I have no idea where my extra mesh ended up going (it was a while ago). Home Depot tends to sell it as well, but you'll have to buy much more than you'll ever need for a helmet! I know Diana (in our garrison) had a ton of it at the armor party last month that she was giving away. Try contacting her on FB. I know she'll send some to you (she is extremely generous and has a huge heart, BTW). And about those shin magnets, I ended up not using/replacing all of the ring magnets on my shins. They didn't like to hold as well. Use the solid ones and save yourself a step. I agree with Tino about wearing something when sanding ABS. Even if all you have is a bandanna. PPE for your eyes is also recommended. You'd be surprised at how much ABS flings itself around when sanding! Oh! And don't forget to soak your holster to stretch it out for your blaster! It makes a world of difference. Your goal is to be able to holster and de-holster your blaster while in kit with your helmet on without any assistance. I spray mine from time to time with holster lubricant for ease of holstering. It's snug in there, so no rebel scum can remove it without me noticing, but it's loose enough to take out on my own. Makes carrying around my blaster at long troops a non-issue.1 point
-
That's the spirit!1 point
-
Update time! We get our belts on monday, so my armour should be finished in around a week or so. Very excited. Shame I can't wear it around much at events due to the virus . Dad got his armour! Very happy man! I've been painting my helmet for the past few days: The left side lines need to come up a bit though in this picture. They need to be detailed a bit more too, remove the leak marks. Pictures of the frown, with the ghost tooth! The cheek pieces that also need to fix the leaks: Voccoder, need to fix up the bottom right: After careful prying, we removed the wires from the mic tips: Inside the helmet, now painted black: New paint brushes, make detailing much easier: And finally pictures of my cat sneaking around the new armour! We might make her a member one day...1 point
-
Good job, Trooper! :-)1 point
-
TK-15355 requesting access and reporting for duty. I hope I'm doing this correctly. https://www.501st.com/members/displaymemberdetails.php?userID=31499 Khim1 point
-
I’m thinking I might try this dont want to wreck it but the mannequin I’m using is a pretty slim dude... might have to fatten him up a little1 point
-
Those are sweet. Digging those helmet designs. Sent from my iPad using Tapatalk1 point
-
Agreed here is the opposite page, gleaned from social media1 point
-
Congratulations Thomas welcome to EIB.1 point
-
Those are temporary. I made the straps with three caps so I could adjust it. I’m going to shorten it, the outer left caps aren’t being used. Sent from my iPad using Tapatalk1 point
-
Congratulations trooper1 point
-
Congratulations, Thomas! Very proud of you and glad to see the hard work pay off. Way to represent Everglades Squad!1 point
-
Thanks everyone! I'll make those modifications for Centurion! Luckily, I got lots of time on my hands!1 point
-
Congratulations Trooper, welcome to EIB.1 point
-
Definitely not heat gun unless you are skilled using one, it will be hard to control. Hair dryer will do but very time consuming. The other common practice is a “hot water bath”, but do test it with a piece of scrap plastic first from your kit to see how the plastic will react.1 point
-
Congratulations trooper, Welcome to the ranks.1 point
-
I was fascinated by the serial number mod that T-Jay did with 2mm stamps when I read through his build thread. I measured the area to be numbered and initially planned on using 1/16th steel stamps to mark 12 characters which are a little smaller and would be about 1.5mm. Using a couple pieces of scrap paper I ran a few test runs on spacing and my ability to imprint them in a straight and even fashion. Eventually I figured out I could squeeze 16 characters in the provided space and kept revising the spacing I was allowing myself. I think it's possible using the size stamps I have that all 16 might fit in the space provided but I like the pattern I have. DSG_1_977_SAW_41469. DSG is my Garrison, 1+977 the year ANH was released, SAW is my initials and 41469 my TKID. The number / letter format is not conventional but hey It's the blaster I want right? After I got better at making them straight I decide to just see if I could get my first character over enough and just pressed the stamp to the resin. I was astonished that is made an imprint! So thinking I was onto something I just pressed on so to speak. But then I saw that the neatness and clarity I wanted wasn't there. Next, I drilled out the area with my Dremmel and filled it with the green stuff. I will caution you, a little green stuff goes a very long way. I ended up with way more left over than I needed, even to fix the few little oops I wanted to fix with green stuff. It's not as pretty as I wanted and a little lumpy. If it doesn't sand nice I may redo this.1 point
-
Been working on my thighs. I’ll say it again, this has been the most difficult part of the build thus far. Shaping these things has been a pain in the rear. Especially since the mold KB uses is in now way whatsoever the correct shape. I’m pretty sure I’ve shaved of 50% of the ABS. But, I think I’ve got my right thigh almost done. Still have some minor trimming to do, but it wears well at the moment. Put on some of the suit and walked around in it. The gaskets are next on the list. Need to take them all up a bit to lay inside the armor correctly. And yes, I don’t have my chest/back piece on. Waiting on a new set from KB. Sent from my iPhone using The Force1 point
-
I don't recall anything official, but I'd be in favor of them being a separate CRL.1 point
-
Gentlemen, can I request that any discussion of the group is done elsewhere. This is a research thread. If you wish to remain open and transparent about it by all means start a new thread (or I can split this one), though please remain courteous.1 point
-
Looking great Jon, good luck on your application1 point
-
Interesting that this technique is very similar to the way TFA TK's biceps were suspended from the Bells.1 point
-
Here's what I came up with...
 1 point
 -
I'm not a prolific collector by any means, but I've snagged a few in my 2ish years in the Legion and FISD.1 point
-
Great news, can't wait for the excited unpacking, then the sheer horror of "where do I start"1 point
-
^^^This^^^ Rubber gloves with cotton inners, I use a couple of pairs during a long troop as they do get sweaty1 point


-Copy.thumb.jpeg.8715a83cb32a3e6745f879885b26e712.jpeg)