Leaderboard


Popular Content
Showing content with the highest reputation on 02/01/2019 in all areas
-
Hey guys! This morning I got to do my first complete test fit! Woohooo! My sniper knee has been curing for a couple of days, so I think it's safe to remove the clamps. Here is my first fit of the legs all together: I didn't have any problems with my sniper knee getting caught behind my left thigh, but my left knee was getting pinched between the two pieces as I walked around. I glued some leftover foam from my transport bin inside the left shin and it seems to have resolved the issue. :-) On the subject of cutting out some of the back trim for better mobility: I am able to walk around just fine with them left as they are. I can also walk up and down my stairs, but I have to go slower and rely pretty heavily on the hand rail. Is this normal/sufficient mobility for a TK? I like the aesthetic of the leg pieces being un-cut, but of course I don't want to run into any issues mid-troop! And my full-suit up! I have a little bit of work left to do inside the armour. Unfortunately, the "slot" in my tab-and-slot came off. The tab alone seems to do the job just fine, but I plan to glue that back in anyway as insurance. Also, I think I'll use some more of that leftover foam to cushion up the interior. I can't see anything wrong with extra comfort! :-) These final edits shouldn't take too long. If you guys see anything in these photos that needs addressing, please let me know! Otherwise, I'll be on track to take submission photos this weekend and I'll see you all over in the Requesting Pre-Approval section!!! Thanks again so, SO much for the help you all have given over the last several weeks. You've all helped a dream come true for me and I couldn't have done it without you! Rock on troopers!!4 points
-
It’s almost as if these are costumes from a low-budget 70’s movie!2 points
-
Thank you Kman. Forgot they did more than just rebel droids. I ordered the sideshow 1/6th scale probe droid, will use it like the builder on RPF forum and scale up to 1:1. Also been collecting as many photos as possible, still deciding if fiberglass over cloth or pink foam core with fiberglass. Need to keep it light but have a frame to hold all the lenses, this will be motorized and non-canon so plenty of activity/lights.2 points
-
I just finished my Old Republic Havoc Trooper for submission to The Rebel Legion.1 point
-
Hello FISD!!!!! Been a member since 2015 and finally am able to make a Build Thread. I reached that most highly anticipated day, The BBB Day on October 23rd 2018 . Being new to this, I brought BBB in the house and didn't touch it for 45 min.. I finally built up the courage..1 point
-
Thanks to a lot of help from this forum and special thanks to Henry Slyfox Bartsch this highly detail aluminum Ell sterling build was made possible... In the next few pages i hope to go over its assembly and finishing. Refer to my reg posting for it design , machining and casting processes.1 point
-
Let's see those approval pics!!1 point
-
How it looks from RS, maybe shows it a bit better for you.1 point
-
Here you go:1 point
-
Thanks for the tip. I haven't tried fitting the legs yet. I'm pretty fortunate to be 5'9" and 175lbs. Kind of the right size for off-the-shelf trooping, other than my oversized cranium apparently. Looks like there will be a mini armor-party at my place on the 9th. Thanks again to the community for helping out. I look forward to repaying this to all the future troopers.1 point
-
Your best bet would be to purchase the foam at a craft store and go the trial and error route using the photo Daniel supplied as a guideline. BUT, I would use foam no thicker than 2 cm. The reason being is that if it's too thick it can cause your bucket to ride too high making it (even more) difficult to see, and also give a "bobble head" effect. I removed the foam from mine because of this, and now only have it on the sides.1 point
-
Looking good! Sent from my iPhone using Tapatalk1 point
-
Looks good! As for the back of the thighs - if you can get up stairs and you want to keep them untrimmed - then don't trim them. You can always trim them down the road if you want - it is much harder adding the plastic back in. For your approval pictures, make sure you keep your leg pieces and arms lined up nice - in other words, get someone to help with the pictures who can spot these things for you. Make sure your shoulder bells are pretty much touching your shoulder bridge and there is minimal black (within reason) showing between the shoulder bell and chest. I can't see anything in the picture above that would hold you back from basic approval - the armor appears to fit your body well and that is the most important thing. You can always post in the pre-approval section to be sure. Good luck!1 point
-
I tape my arms together with straps so what do you guys think? My chest plate goes slightly over the shoulder. Is this a dressing issue or should I trim my shoulder more?1 point
-
Nope - and congratulations1 point
-
Awesome - congratulations Trooper1 point
-
Congratulations trooper!1 point
-
Kicking bantha butt on this build!1 point
-
Why would you make these available for sale when I don't have any extra money? :'( Been following this project since you first posted about it, your work is absolutely phenomenal and they look amazing. Great great great work!1 point
-
The right thigh can be tricky. The front seam return edge is slightly curved. You may want to use an inner cover strip to get the two halves together - then clean it up with a outer coverstrip. I found gluing half (lets say the bottom half) of the cover strip on first, waiting to dry, then gluing the upper half later allows you to slightly bend the coverstrip to match the gentle curve of the return edge. Also, a lot of people end up making their thighs too small. If you need to trim for height (ie trim material off the top) do that before final fitting for width. Keep up the great work!1 point
-
Congratulations trooper and welcome to the ranks1 point
-
APPROVED!1 point
-
https://m.imgur.com/gallery/tkD4Wt9 Here are the links if they cannot be seen http://s1281.photobucket.com/user/Bulldog44Japan/media/FISD Photobucket Quick Guide/IMG_4754_zps818ebl5p.jpg.html http://s1281.photobucket.com/user/Bulldog44Japan/media/FISD Photobucket Quick Guide/IMG_4761_zps4zbfm06k.jpg.html Sorry, was having trouble getting the images to post. Hope it made the deadline.1 point
-
All Imperial units use this sidearm, except the Imperial Officer, who has a Sonic pistol, which is the same skin, and the Imperial Engineer, who just has a fusion cutter and a shotgun. The EC-17 is in the Xbox and PC versions of the game, but the playstation 2 version has the SE-14
 1 point
 -
Congratulations!!!1 point
-
Congratulations!!!1 point
-
Congratulations!!!1 point
-
Before: Healthy return edges that need trimming. After: Less than an hour with a pencil to trace out the cut and a Dremel with the pink grinding tip to take away the unwanted material. Still enough left to add some definition to the look.1 point
-
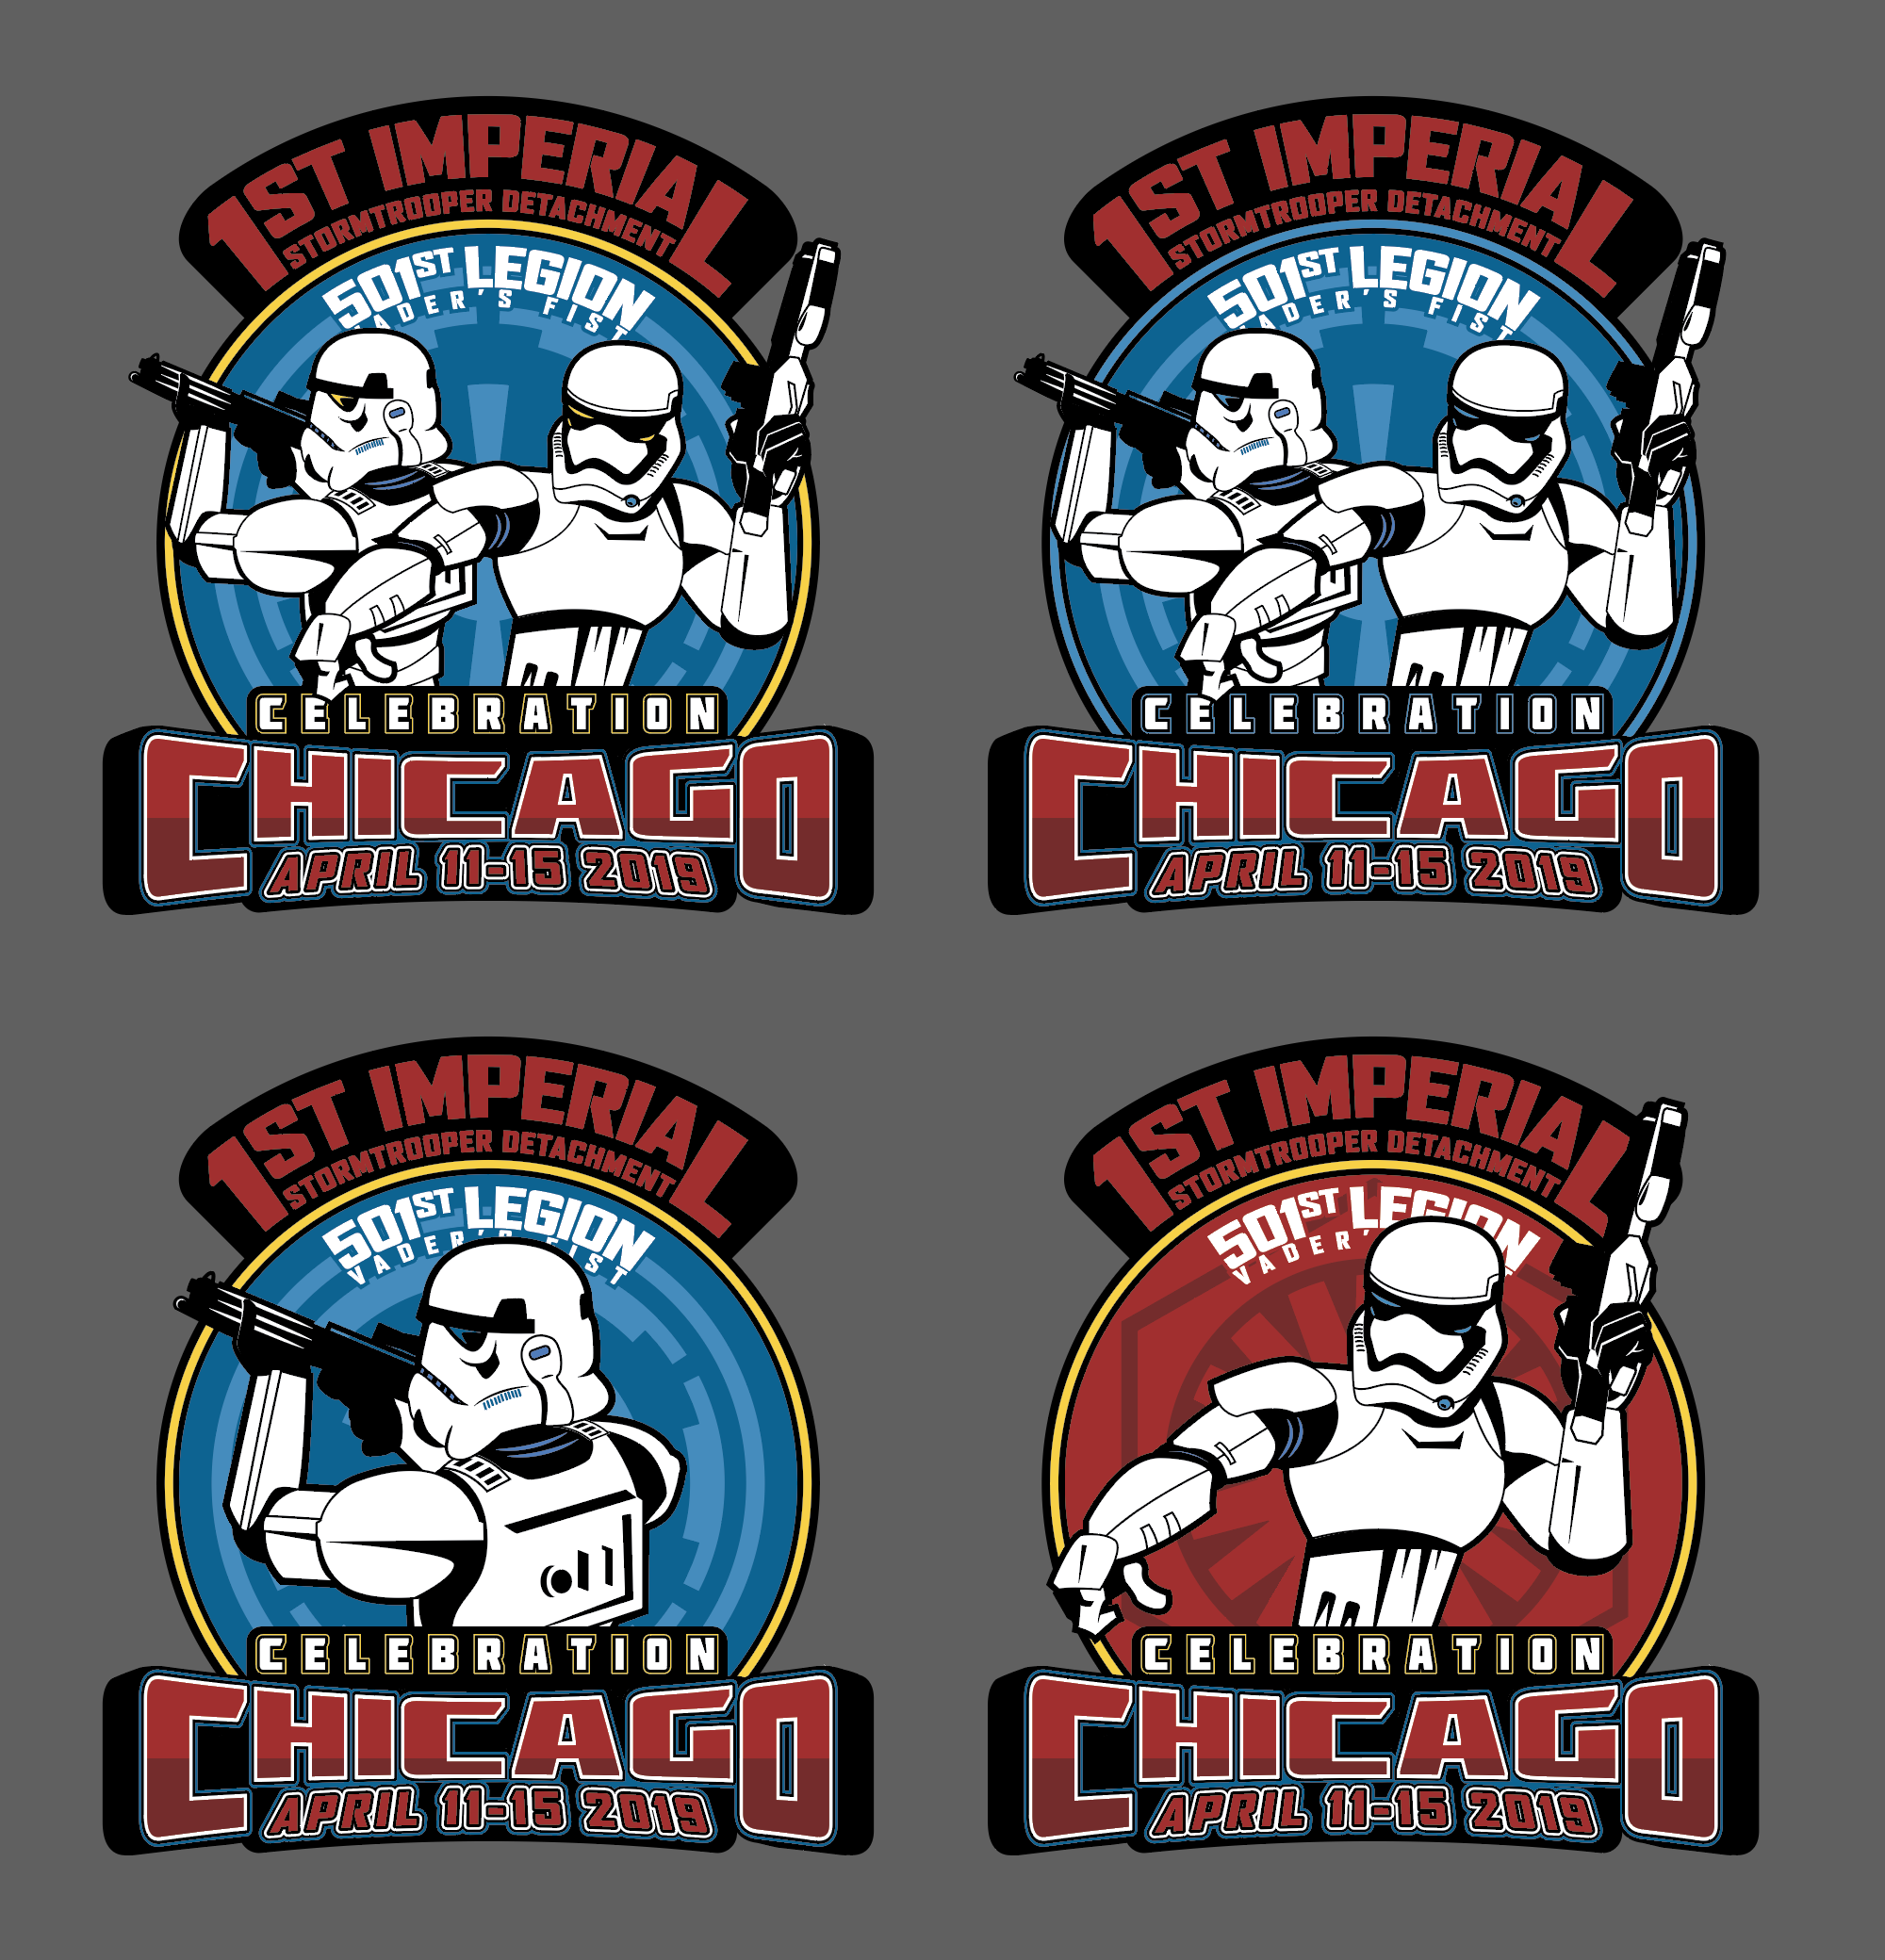
I was thinking gold stitching around "Celebration" and the city since that was done on the last FISD patch run.1 point
-
Congrats, trooper. :-)1 point
-
A little side track about the RS TK kit... I thought it might be good to share some pics of how irregular the RS TK suit is out-of-the-box. This is not the sanitized version of a TK at all. The biggest part of the irregular nature of this kit is apparent in the back. Here are the three back pieces. They are positioned in the same manner as if you strapped them together without making any changes to the returns of the kit. It's not bad, but notice that the OII box is not straight. There is almost a 15mm difference between the bottoms of the OII box corners to the bottom of the back plate. Now, if I make it so that the OII box is straight, there is a gap of - you guessed it! - 15mm on the right side between the kidney and back plates. There is no way to properly strap the pieces together when they are assembled like this unless you're either trimming the top of the kidney or bottom of the back plate. (Or if you made your strapping particularly long on the right side, which is something I suppose could be done, but then you'd have a large black gap on the right. ) And next to each other so you can better see the differences (and if you've been following this thread, you can see the weird gappy part of the kidney/butt plate return on the left side that I was talking about earlier): In the photo below, you can see what happens if you trim the back plate straight and even along the bottom. (I was just getting started on fitting my kit, apologies for the scary shot.) The odd shape of the kidney throws it off. Another pic that shows the wonkiness of the back plate. The back plate is lined up straight in the pic (I was using my floor lines as a guide), but you can see how odd the box looks. And in my case, I'm doing a lot of back plate trimming to emulate the Luke Hero. I doubt that most will have this issue, but the more you trim from the bottom of the RS back plate, the more apparent the rotated nature of the OII box becomes. And here's the unaltered kidney. You can easily see here that there is about 15mm difference between the right side and the left side along the top. So for anyone considering going with an RS TK: You will not be getting something that is sanitized, perfect, or idealized. You will bang your head against a wall sometimes trying to get things to fit properly or look just right. Not much lines up perfectly, but that's exactly how the movie kits were! RS TK kits are weird, and wonky, and wonderful.1 point
-
Updates for today! Firstly, I painted the PlasticWeld on my thighs. Nice and white now! With that done, I started on the thigh ammo pack. There are no guide spots on the AP thigh ammo pack for drill holes, so I used photos from Ukswrath's ANOVOS build to approximate where they should go. My holes ended up being 10mm from the top and 15mm from the back edge. Then I lined up the ammo pack with the right thigh and marked and drilled the holes. Installed it with the supplied AP split rivets: I added some e6000 to the front of the thigh where it makes contact with the ammo pack to keep it in place (even though it held still pretty well on its own). And lastly, I painted the rivets white. At this time, I also painted the ab and kidney rivets. I also got the soft velcro glued into the shins where they will fasten to the boots. And ... that might be it! Tomorrow, once everything is finished drying, I'll do a test fit to make sure I'm not forgetting anything. It'll be the first time I wear the thighs and shins together, so I'll find out how well I can walk and if I need to cut any out of the backs for mobility. Other than that, I think it's on to submission photos! Woohoo!1 point
-
Mine were a little off too. One was okay and off center, the other was centered. But this is an easy fix.1 point
-
Hallelujah, there is movement at last!! Yoke gluing to the inner back plate connection. Once dry, it will be glued into the back plate and be a complete piece ready for final sanding. I did manage more trimming, majority of the rough trimming is done, some of the fine sanding and trimming is done- the hand guards and knee plates are finished in that regard. I've trimmed and molded (where necessary) the boot spats, and now I'm ready to trim to make them look like the shape they do in the CRL photos (they're kinda wonky- I'll take photos later). But I'm not gonna lie, she sat pretty much undisturbed for a good three months before last weekend. I went to a Mando build party and finally managed to get working again. This kit is just a huge snot to work with. I'm constantly frustrated as I keep running into walls where I can't figure out what to do next. So I start on another part, and run into a wall there, then another part, another wall, repeat until so frustrated it sits for three months. Christmas and the holidays were busy (and cold in the garage), so that did slow me down a little, but honestly I had no desire to work on it even when I had time. It's not just the kit itself, by KB, it's FO in general- they're stupid complicated. Though the boot spats have me a bit concerned (more later). I thankfully have a friend's assembled FOTK kit for reference at my disposal (it's basically a mannequin piece, so he's letting me borrow it while I build), and that has helped tremendously. I got a little of the desire back after working on her this weekend, so I'm hopeful I'll be able to continue the trend of at the very least chipping away at it. My goal is to be finished and troop her at the Episode 9 premiere (locally). I need a firm date in my head to get me moving. I'll only forgo that if it comes down to producing quality work that I'll be happy with in the long run or just finishing it to be finished, at diminished quality. Realistic expectations. I should be able to get it done by then, provided I just keep moving. My Geeky Pink gaskets and neck seal came in, and they're phantastic! I really love them, and I can actually move better than I expected. I should be able to start assembling some of the parts, now- forearms, biceps, thighs and shins. My gloves came in (just basic Nomex, like my TK- they'll be primarily covered anyway), and I can mod them and add in the finger tip magnets for finger armor connections. Ironically we've got a potential new member working on an TLJ Executioner right now, and though he started after me, he's pretty far along and I'm likely going to be hitting him up for help and tips. I've also officially decided I'm going to pay someone else to chrome her. I will do the black base coat depending on cost, but I simply don't have the skill level or ability (or honestly desire) to attempt to chrome her myself. I'm actually happier now that I don't have that hanging over my head, too. I have two uncles who work in the auto industry (truck decals) and they have industry contacts I'm going to try and talk with. I have options, but I'm just not quite ready to explore them fully yet because I need more done to show them what I have and what I'm after. It will be expensive to outsource, but like this costume was gonna be cheap anyway, plus, I finally got that raise! (I'm proud of my negotiating skills, had to pat myself on the back there). For me, it will be worth it to avoid all the frustration and confusion. I still think there's a fair amount of viable at-home options for other Phasmas out there, just not this one. So... tl;dr version: finally working on her again, hope to keep it up, more updates to follow! Wish me luck- I need it all!1 point