Leaderboard


Popular Content
Showing content with the highest reputation on 11/20/2020 in Posts
-
I just sent a bunch of cash to RSProps for a trimmed ANH TK. Other than that, I'm doing LOADS of reading and learning.3 points
-
I posted the above photo just so that I could screen shot it and send it to my legion buddies. Yes, sad I know . lol.3 points
-
Hi Rob, and thank you for your application for Centurion! CRL and Centurion Application Requirements All required photos are now in and, after review, we are pleased to welcome you to Centurion! On behalf of the entire DO team, congratulations! Other-Armor Fit/Assembly In this area we discuss areas that could benefit from additional improvement. Note that we consider both text (CRL) and pictures (screen caps/reference images) when reviewing submissions. All that hard work and fixes have paid off, brother! A truly great set of armor you have there no doubt, and we appreciate all the extra effort you have put in. The only small things I see are a few issues which should be a breeze for you to take care of! As seen below, the right bicep is riding down a bit more than the left, and raising the forearm as well would help even out the gaps between the wrist and hand guard. The fronts look great, but the back tops of the thighs could definitely be cut down some. Do they make a "clicking" noise when you walk? Even if not, it would give you more mobility. Reference images The cover strip on the rear of the right thigh should ideally come all the way to the top. Cutting them down as suggested above would take care of this as well. Reference images Last up, to be a lot more screen accurate, the mobility cuts on the rear of your calves should be more of a rounded shape as opposed to angular. Reference images And that's it! Well done, Trooper As soon as you can start trooping again, you will make the mighty UKG proud as it's newest Centurion!2 points
-
Thank you! It's an honor to be both in EI1000 and Centurion500!2 points
-
Modification complete: I finally got the remaining pieces finished. The repair on the rear of the tube was done, and I aligned the scope based on the reference (rear foot lines up with the folding stock swivel point). Then, after a bit of measuring, I created my Hengstler mount (after looking at more reference, I ended up trimming it where I drew the line. I had guessed at 25mm away from the rail, but 13mm was more correct, so I altered it before bending it: Once I got it all mounted to the rail through the scope, then I got the Counter aligned, and marked the location. I drilled holes and screwed in some threaded inserts (with CA glue to help it stay solid inside the infill of the 3D print). Now all that was left was to put it all together! All done! I assembled it all together, and now the scope, rail, and counter are in the right place, and it looks way more accurate with the aluminum rail. And the good part is, with all of my threaded inserts, it can be disassembled if needed, without having to break any glue. That keyhole is filled, so now I can honestly say, it really feels great to have it up to a higher level of accuracy. Thanks @justjoseph63 , @T-Jay , and @gmrhodes13 for keeping me on the path of striving for a better blaster!2 points
-
Cool! I'll put it on my "stuff to do once I get approved" list.2 points
-
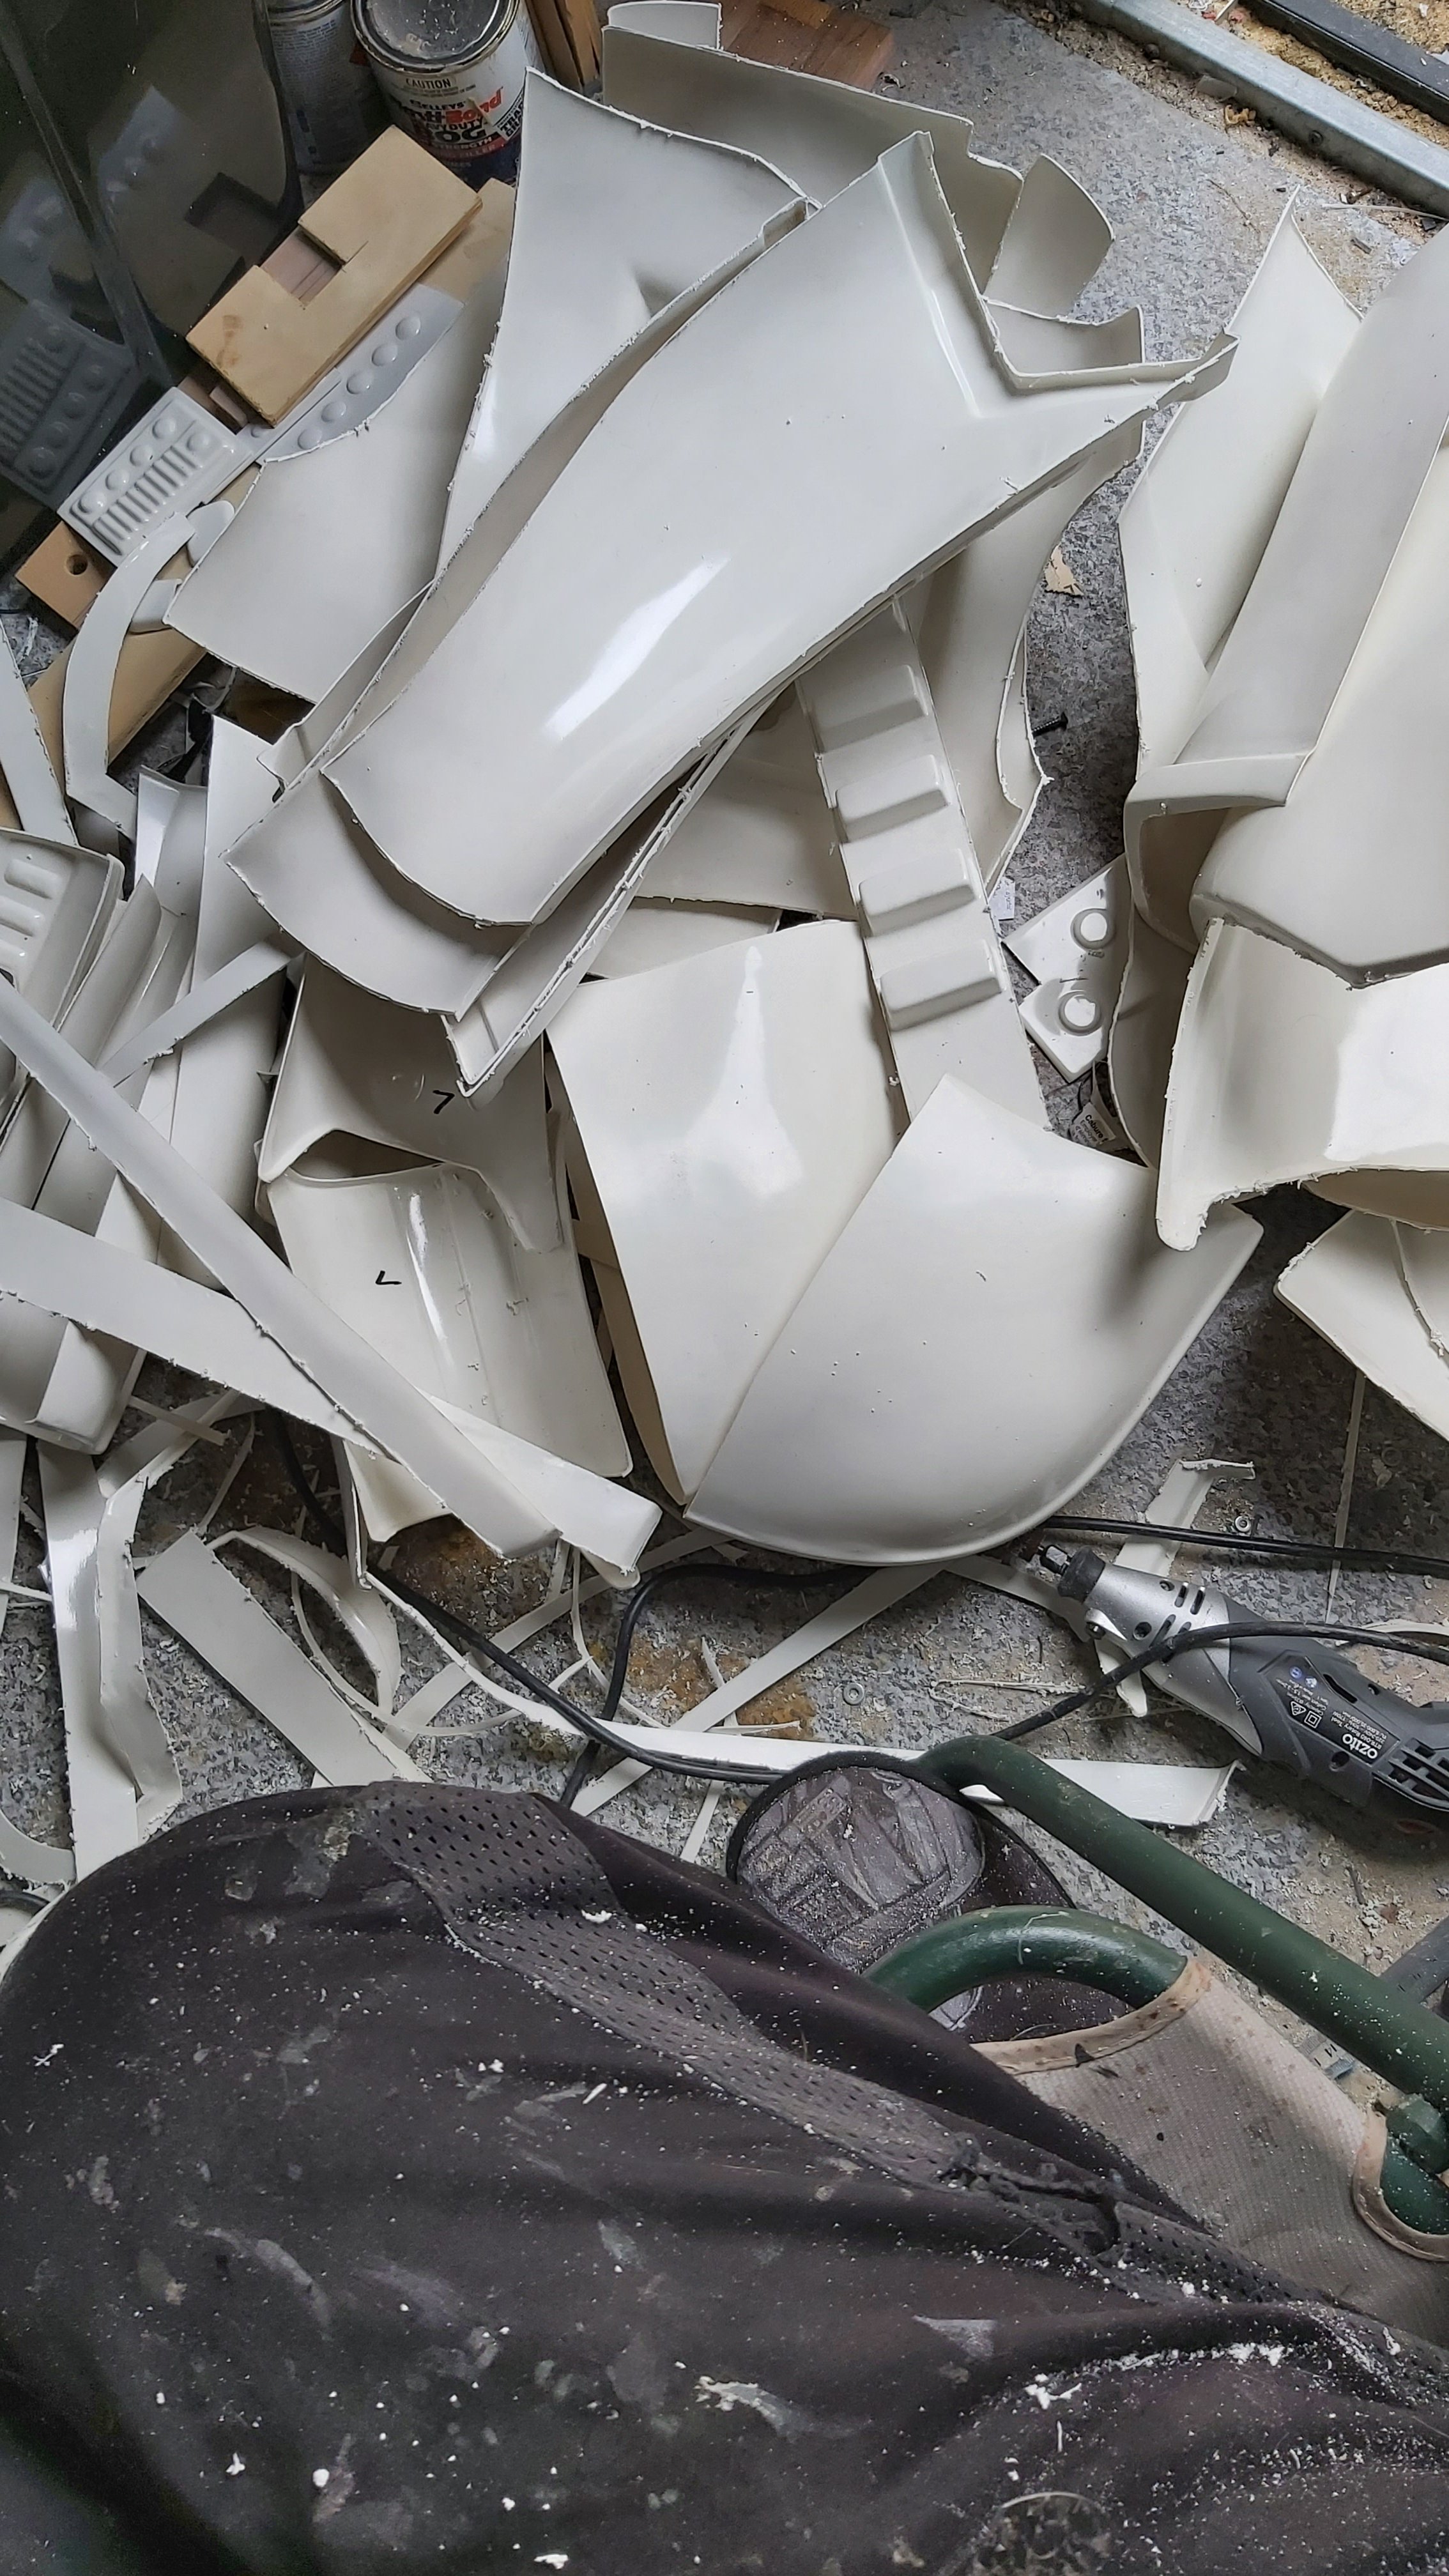
OP (MV) Post #38: Rough Helmet Trimming & One Year Anniversary on FISD This is a relatively (by my standards) short update to show the very basic rough trimming I started on my helmet cap and face. My rough cut lines were drawn out in this post, and in continuing with pandatrooper's guide, I cut in eight areas including the neck opening on both pieces, the ear profiles on both sides of the cap, the top on the faceplate, the brow line, and of course the eyes. I essentially just cut close to my pre-drawn guide lines to give myself room for error, except for the brow line and two spots at the neck opening which I cut right to the lines. On the brow I used the plastic straight-edge again to form a straight line from the backs of the traps across the front to the other side. I left a lot of excess plastic at the neck opening where the cap and face will overlap, as well as at the bottom of where the ears will eventually be positioned. All of this will be further trimmed when I eventually attach the cap and face. Keep in mind, too, this is all pre-sanding since I want to do rough fitment of the pieces prior to proceeding with closer trimming and then sanding. The tools I used were lexan scissors for the large cuts, a dremel cutting wheel (my first ever use of the wheel, and second time for the tool, which was admittedly a bit risky) to start the eyes, and then an xacto knife to further expand the eyes closer to the trim lines. More on the eyes after these first images. Eyes First, know that I am not finished with them, and I would like some feedback. Looking at screen references (Gallery) of ANH Stunt eyes, some of which are shown below, it's clear that the cut lines were all over the place, with varying amounts of return/flashing left visible. However, my plan has been to go for an idealized look, as opposed to the awesome replica style by Dan (CableGuy), so I'll be seeking smooth and even curves and ridges. As of right now I believe I can likely trim some more at the inner points of the ears near the nose, and perhaps also some at the outer corners. Interestingly, I didn't even cut all the way to the suggested trim lines (still seen in photos below) along the tops and bottoms of the eyes, but from the front those areas seem to look ok to me. But perhaps the eyes are still too deep and could use some more trimming in those areas to better match the screen-used thickness of the eye sockets. What do you veterans think? These next images show the remaining pencil lines on ATA's suggested trim line seam. Does it really seem like I need to further trim the long tops, bottoms, and sides of the eyes? As mentioned above, I think there's room to further extend the inner points near the nose, but I'm not sure about the rest. If the consensus is for me to keep trimming all the way around, I think I will experiment with leaving a bit of extra on the right eye to somewhat emulate the screen-accurate bump. Additionally, today marks a special date for me since it is my one year anniversary on FISD (with an account), and tomorrow will have been a year since my introductory post. It's hard to believe a whole year has passed, and it's amazing how much more attuned I am to variances and irregularities in TK armor. Gone are the days of watching ANH and ESB and seeing idealized TK uniformity. Now I can't UN-see gaff tape, dropped or twisted biceps, open calves, and much more. I can only hope to someday be able to discern armor vendors by simply looking at a bucket or ab piece. Then we can talk about a resume-worthy achievement! Haha. Many thanks to each and every one of you who have poured your time and wisdom into my journey. Now on to my next 500 posts and beyond! One final note not really related to my thread, which is somewhat customary. Just this past weekend a family member shared their Disney+ account with me, so let's just say... this is the way... Quote Response: Glen - Thanks for your TD tip! I hadn't thought about clear-coating, but that does make sense considering that the primer will be flat and the screen-used TDs had some shine to them. That was something I was missing on my initial attempt. Printable/downloadable PDF of my entire build thread to this point contained in [THIS SHARED FOLDER]. The PDF will be updated within a few hours of my own new posts and will note sequential version numbers and revision dates.2 points
-
You can't be working hard enough, that's a pretty clean work area Here was mine, but then again I did have it completed in a week so no time for cleaning
 1 point
 -
starting this other thigh.positive vibes to all troopers on this friday.1 point
-
During this time I began to do research into this gun and the history about it. I have decided that I am going to restore it to the look of it as it was originally, but I can dress it up as an E-11. My castings will be used to make full time E-11s. So the magazine will remain as it is and I will get another to modify it to match what we see in Star Wars. Though it is not directly related to the E-11 I bought an original sling and a reproduction bayonet. I need to clean up some of the holes on the barrel and then will need to blue(?) the metal. I may have read it somewhere, but I cannot remember; it the metal blued or is there some other process that was used?1 point
-
Well I talked with a guy from the hardware store and he suggested that, I was afraid the silicon wouldn’t hold. He said this has some flex to it.1 point
-
Hi Garret, just another detail. for Centurion Level, You will need to reposition de rivet located in the meddle as well. Crl: Rivets are equally spaced along the depth of the armor and about 10mm from the edge.1 point
-
Very cool, going to be a lovely project1 point
-
Congratulations Dan, !! Welcome to the Legion1 point
-
Congratulations trooper and welcome to the Centurion ranks1 point
-
Sent from my iPad using Tapatalk1 point
-
Hi Justin, and thank you for your FOURTH application for Centurion! You are getting to be an old hand at this, lol! CRL and Centurion Application Requirements All required photos are now in and, after review, we are pleased to welcome you to Centurion! On behalf of the DO team and myself, many congratulations! Other-Armor Fit/Assembly In this area we discuss areas that could benefit from additional improvement. Note that we consider both text (CRL) and pictures (screen caps/reference images) when reviewing submissions. We really appreciate all the work you have put in on your fixes brother, so nothing to add here except a hearty congratulations! Now that you have your FOURTH Centurion award I gotta' ask.. what's next?!1 point
-
Hi trooper, Just to add what my fellow troopers have mentioned, I’d raise a more fundamental suggestion - armour sizing. It looks like your limbs are quite a bit smaller that your armour, specifically your biceps, forearms and shins. As below, it looks like your arms are a bit lost in the size of the armour. This gives a slightly bulky appearance. You could consider trimming down the parts to better fit your size. This will give a sleeker, more accurate look. As above, there is perhaps a good inch / 1&1/2 inch gap around the bicep. Notice below and above how snug the bicep armour hugs the trooper. To achieve this, you could remove the coverstrip and trim even amounts from each side to reduce the overall diameter. With the big gap, you also ya e quite thick return edge on the bottom of the bicep and tops of the forearms. You could also consider similar with your left thigh and your shins. Below, note that the coverstrip should not extend beyond the armour. Plus, the snug fit around the boot that you could consider aiming for for that sleeker look. Best of luck with your EIB submission. Dan :-)1 point
-
Congrats and looking good, trooper! 23 SPOTS LEFT TO 500!1 point
-
Thanks, James. Nice job bringing in the frown paint but after some discussion the DO team is requesting you clean up the edges a bit. We don't expect perfection, but we'd like to see it a bit cleaner. Should be just a few minutes with some mineral spirits and a cotton swab. Additionally, we noticed you missed painting the last bit of the frown.1 point
-
I have a couple 3D printed kits, resin reinforcement worked well for me also. On another note it's hard to believe it's been 5 years since I built that kit. Glad to see it still helping the community. THT1 point
-
Congratulations #477!!!1 point
-
I used to have a paid account on Photobucket where I kept a ton of archived photos about various props, helmets, models etc. Photobucket canceled our subscriptions and asked for more money, and as we all know old photos are gone or show up with that annoying watermark. I'll look into my home archives and post some more pics in these threads here ESB Stunt resin E-11 aka Pugman present on ROTJ:1 point
-
Great work, it's just the extra print time you get stuck with but saves you so much more in pre paint work, I prefer the less hands on approach now and with 3 printers the extra print time isn't that bad1 point
-
Congratulations!1 point
-
Thanks Tino for your kind words. Hope I can keep up the same quality as the scopes. Some parts like the stock and the end cap have proved very difficult to cast with out incident. Even if they are not perfect parts I think they will be fun to assemble and patch up. Stay tuned!1 point
-
Nice work1 point
-
Congratulations Trooper and awesome work! Welcome to the Centurion ranks!1 point
-
Congratulations Jonas, Welcome to Centurion.1 point
-
TK-70017 California: Golden Gate Garrison 501st Profile: https://www.501st.com/members/displaymemberdetails.php?userID=33078 Requesting 501st status please!1 point
-
Ok cool thank you. I’m going to go out tomorrow and see what I can find.1 point
-
Congrats Jonas1 point
-
The Nomex type of gloves are 100% acceptable for Basic approval. but not for Expert Infantry and above,1 point
-
Congrats Jonas! We both joined FISD around the same time last year (about a year ago now) and I’ve really enjoyed following your build! Well done, Trooper! Sent via Imperial Tapatalk Comms1 point
-
Not much to update yet. Waiting on an order of spare parts from RS so fingers crossed it'll get here soonish. Here's the list of everything left to do on my armor as I see it now (not including helmet): To do now: - Adjust padding that I added in shins (it was pushing the shin into the back of my calf) - Trim back tops of thighs to match the shape of butt plate better - Add little bits of padding to fronts of thighs to make them sit nicer - Replace thigh ammo belt with new ammo belt with corrected corners, paint new rivets - Add padding to abdominal plate to make it sit nicer - Loosen strapping holding butt plate to kidney - Glue pouch for phone and cable management system to chest plate (or maybe abdominal plate) for sound system - Shorten shoulder bell to shoulder bridge strapping To do after basic approval: - Remove top two rivets on ab and kidney plates, patch hole with ABS paste, sand and polish, correctly place rivets ~20mm from top, and midway between bottom and top rivetsas per reference, and paint rivets (most urgent) - Replace current left abdominal strapping with less screen accurate but more handy webbing and velcro - Remove ammo belt rivets and replace with snaps - Add snap to left shoulder bridge strapping to make it removable Not a ton to do, but I definitely want to do it right! I'm going to step back for a week or two and finish up some other projects first and then get back to it and get this thing done!1 point
-
Great job everybody; let’s keep this ball rolling! I have half a mind to take a potential financial loss and just go ahead and fit-trim and assemble my new armor to get in on this, and if I can’t find a buyer for the finished suit later, so be it... Sent via Imperial Tapatalk Comms1 point
-
Jonas Andersson TK 22423 Centurion A4 Joseph Thank you! Yes sir! http://www.whitearmor.net/eib/certificates/22423-centurion.png1 point
-
I ended up ordering the stickers and the paint set from TrooperBay. I figured I could try the stickers and see how they work out. If I don't like them, now or down the road, I can peel them off and paint them. I have had great success with soapy water and stickers.1 point
-
I have snaps on my belt, can swap from ANH S to ANH H to ESB, very handy having the snaps1 point
-
That's the aforementioned fieldmarshall blaster, linked below. Very nice. Very expensive. And very heavy. Haha.1 point
-
That is correct. Your work on the hollowed resin scopes was absolutely outstanding! Thinking of a full blaster kit with the same high level of details makes me want to start right now. In other words: whenever you do this, I would be honored to build it. Guessing I do then need an acrylic glass case not just for the scope, but the whole blaster, he?1 point
-
I wanted to have a go at painting the boots, so after reading several tutorials about boot painting, I got to work. I gave them a good wipe over with acetone to remove the shine and placed the velco to keep the shins in place. 1 coat of white leather paint 3 coats later 6 coats later I still need to go around the sole with a toothpick to remove some paint bleed, but man they were fun to paint and see the transformation.1 point
-
You need to include a link to your 501st legion profile https://www.501st.com/members/displaymemberdetails.php?userID=215521 point
-
I said "YOUR SHIN COVER STRIPS ARE ON BACKWARDS!"1 point