Leaderboard


Popular Content
Showing content with the highest reputation on 11/12/2020 in all areas
-
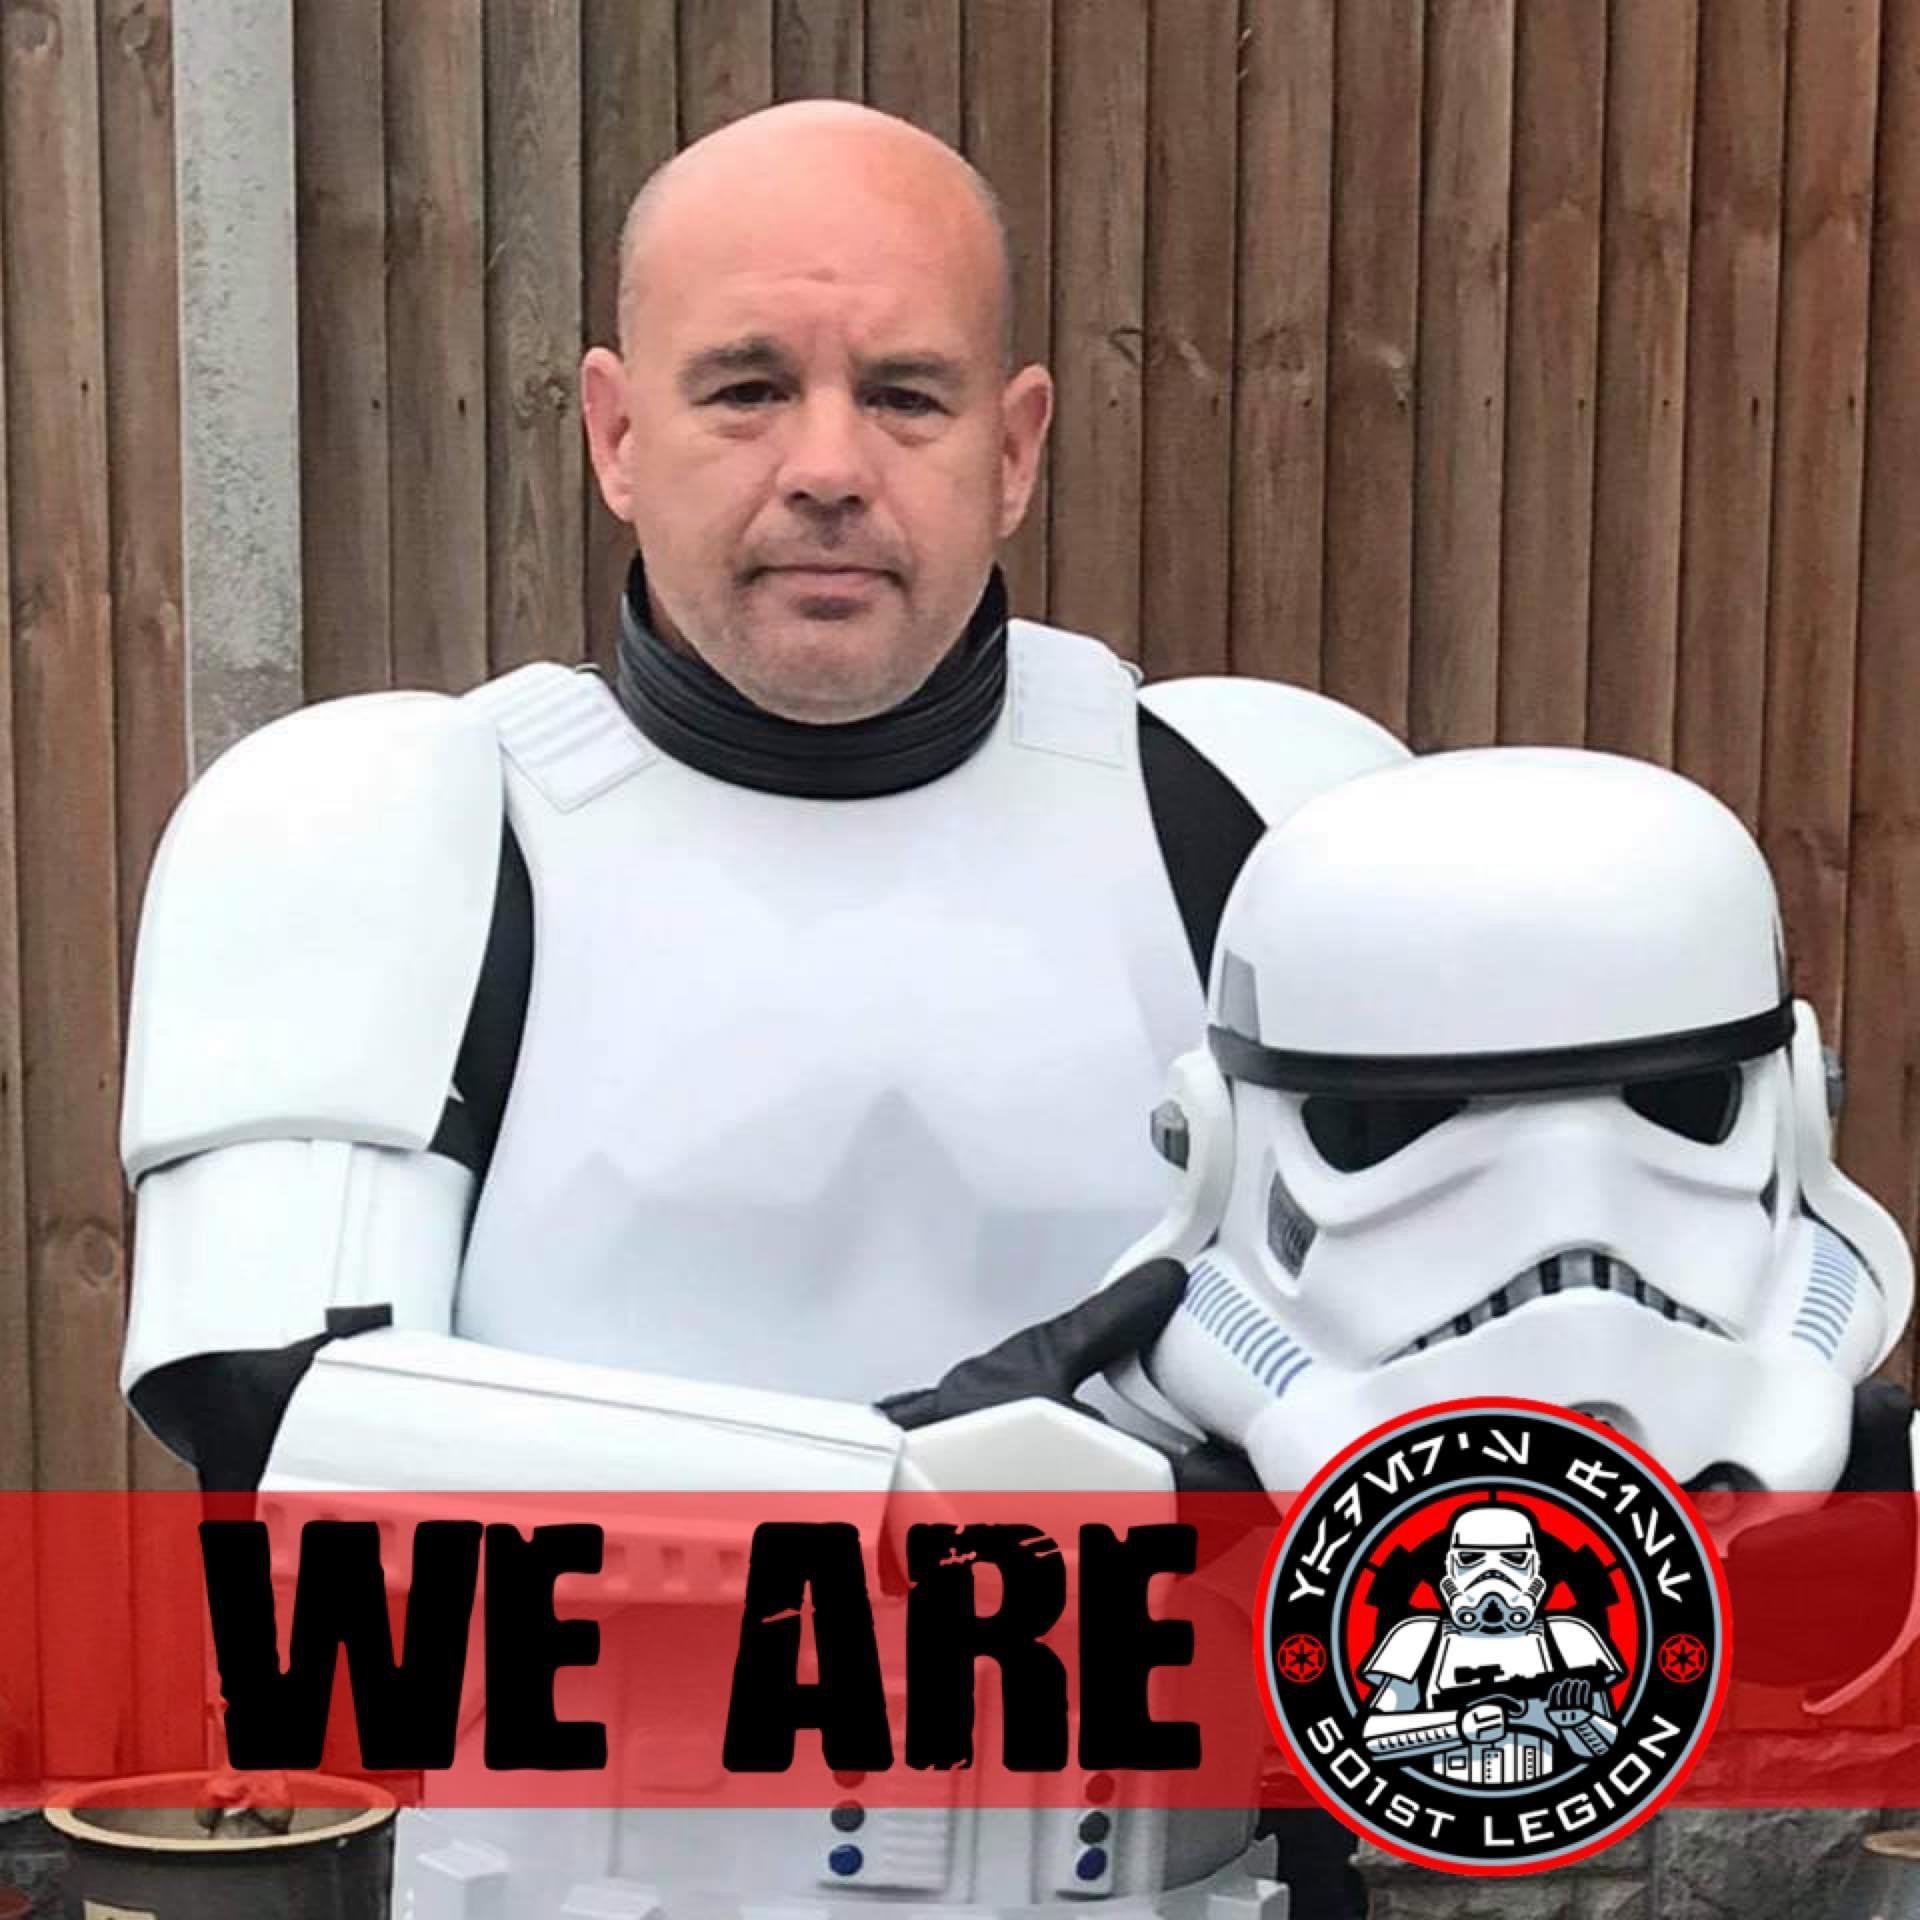
TK 10738 reporting for duty
 3 points
 -
I attached the ammo pack to the right thigh. I centered the ammo pack and each side is 17mm from the back edge. Just need to add the white paint to the rivet heads.3 points
-
Mandatory Information Costume = Stormtrooper, ANH Hero Costume CRL Link = https://databank.501st.com/databank/Costuming:TK_anh_hero Name = Justin R. TK ID = 61490 Forum Name = TheRascalKing Legion Profile = https://www.501st.com/members/displaymemberdetails.php?userID=26076 Garrison/Squad = Southern California Garrison, Orange County Squad Armor = Anovos Helmet = Troopermaster (TM Hero) Expert Infantry Thread Link = Base Suit Centurion Thread Link = Optional Height = 6ft 0in, or 183cm Weight = 175lbs, or 80kg Boots = TK Boots Ammo belt = TrooperMaster (TM Hero) Canvas belt = Imperial Issue Holster = Anovos Hand Plates = flexible latex from justjoseph63 Gloves = Double1 Rubber chemical gloves Neck Seal = Darman's Props Armor Photos Helmet Off (not adjusted) Full Body Front Full Body Back Full Right Full Left Action Shot Helmet Detail Photos Front Back Left Right S-trim Detail Vocoder and Hovi Mic Tip Detail Lens Color (Backlit if necessary) Accessory Photos Neckseal Thermal Detonator Ammo Belt Boots Blaster Optional Interior Strapping Abdomen Detail Cod Details Handguard Flex Sniper Knee Attachment (glue) Thigh Ammo Pack Attachment (single-cap rivets) Belt Box Back Detail (fully closed) Wrist Return Edge Detail (none present) Right Ab Snap Detail Left Side (rivets) and Kidney Notch Detail Shoulder Bridge Attachment (glue) @shashachu, @justjoseph63, and @TKSpartan - I appreciate you guys and your feedback! Thanks for looking!2 points
-
Thanks! Short of tracking down a radar assembly from mid last century, it's the best I could do! Sent from my Imperial Communicator2 points
-
Hey Dan, per your advice I did some research on power cylinders while awaiting my GML outcome. I decided a cheap option would be to make my own! I printed out some photos and went to a local electronics store to assemble anything that could resemble a raw component I could then shape and paint. I'm pretty stoked with the results - thanks for your help! Raw components Testing glue on the glue sticks - metal plate from scrap metal Painting Assembling the capacitors Soldering resistors Painting and assembly of cylinders Assembly and painting complete The outcome!2 points
-
You can trim the curved section a little straighter2 points
-
Take that! You unauthorized weathering on the grip! I repainted the E-11 grip with a couple new coats of paint. I'm going to try to let this cure a bit more before I touch it. Some days I just can't help myself but to pick it up, flip it on, and imagine blasting some rebels. But for now I really want this new coat to stick.2 points
-
Thanks guys! I truly appreciate all the feedback you've provided so far. I also appreciate being able to put those blasted ears to bed!2 points
-
so far so good.im done for the day my back killing me.2 points
-
Ohhoho, I ain't done yet... One more submission! #4 let's gooooo! Mandatory Information Costume = Stormtrooper, Empire Strikes Back Costume CRL Link = https://databank.501st.com/databank/Costuming:TK_esb Name = Justin R. TK ID = 61490 Forum Name = TheRascalKing Legion Profile = https://www.501st.com/members/displaymemberdetails.php?userID=26076 Garrison/Squad = Southern California Garrison, Orange County Squad Armor = Anovos Helmet = Anovos V3 (modified with TrooperBay ESB decals, @justjoseph63 hardware, @ukswrath mic tips) Expert Infantry Thread Link = Base Suit Centurion Thread Link = Optional Height = 6ft 0in, or 183cm Weight = 175lbs, or 80kg Boots = TK Boots Ammo belt = Anovos Canvas belt = Imperial Issue Holster = Darman's Props Hand Plates = AM Snowtrooper-style Gloves = Double1 Rubber chemical gloves Neck Seal = Darman's Props Armor Photos Helmet Off (not adjusted) Full Body Front Full Body Back Full Right Full Left Action Shot Helmet Detail Photos Front Back Left Right S-trim Detail Vocoder and Hovi Mic Tip Detail Lens Color (Backlit if necessary) Accessory Photos Neckseal Thermal Detonator Ammo Belt Boots Blaster (ESB, no Hengstler, no power cells, D-ring) Optional Interior Strapping Abdomen Detail Cod Details Handguards and Gloves (Rubber Glove/Elastic Option) Sniper Knee Attachment (glue) Thigh Ammo Pack Attachment (single-cap rivets) Belt Box Back Detail (fully closed) Wrist Return Edge Detail (none present) Right Ab Snap Detail Left Side (rivets) and Kidney Notch Detail Shoulder Bridge Attachment (glue) Thanks for looking @shashachu, @justjoseph63, and @TKSpartan ! NUMBER 4, let's do it!1 point
-
Okay guys finally after sitting in my basement for 7 years I am going to start putting my TK armor together. Unfortunately I did not see this post 8 years ......long ago at an address far away, so I am starting with the ANOVOS kit . I am posting here but am also following the video tutorial on Trooperbay so I know I can get this done right. That being said do any of you have any advice on cutting tools and tools to make things easier? Also will my ANOVOS kit be able to make 501ST standards.? Any help advice or direction you can give me would be great thanks. Jason1 point
-
Thanks mate! I have a few more small mods to make this week as well. Stand by for pics. Sent from my Imperial Communicator1 point
-
Wow - great work, Mark. What a lovely project, and very nicely done. :-)1 point
-
Came out great, nice work1 point
-
And for your viewing pleasure.....
 1 point
 -
Personally if it's more original screen used version I would go RS1 point
-
thanks those look awesome and not that much difficult.definetly want to plan on attempting them.1 point
-
After being asked a gazillion times about how I built my magnetic shin closures, I've finally compiled everything from my TK build and put it all in one post! Let me begin by stating that I followed the tutorial here for the most part when building these magnetic shins. However, I deviated from it in order to make the closures super strong by using a magnet-to-magnet closure rather than the magnet-to-steel method outlined in the tutorial. I have worn the magnetic shins I made for my RS Props TK out on over a dozen troops, and I have never had them come apart on me. I've only had to reglue magnets twice on these shins over a two-year period: a single magnet came off after being handled a lot (opened and closed dozens and dozens of times at an armor party by those who were trying to figure out how they work), and regluing a single magnet after trooping underwater for a few hours (well, not exactly underwater, but it was a parade where it rained for HOURS and I had to walk in the rain the entire time- for hours I tell you! My boots took days to dry out!). The small amount of maintenance I've had to do on these over 2 years of trooping is quite minimal. Once you get this mod on your kit, I swear you'll never go back to anything less than a magnetic closure on your shins. STEP 1: There are many steps necessary to build magnetic shins, so I begin with making a critical component for them: ABS buttons. The buttons are necessary to hold one half of the magnet assembly in place on the inside of the shin. I'm using 12mm x 3mm n50 magnets. You'll need a total of 20 magnets for the shins (10 on each shin). I strongly suggest buying more than 20, though. I've found that they can easily break, and you'll want backups on hand! You can find them in bulk- and cheap!- on eBay. First, I begin by making a template with a hole in it that is slightly larger than the magnets I will be using. I trace the magnet on a sheet of ABS. Here's what it looks like when done. Yeah, I know my hole isn't perfectly round. It's not terribly important for it to be perfect. I used two magnets to make each button. One on top to help me see where my hole template needed to go, and one underneath to form the button shape. Heat up one section of the ABS sheet using a heat gun on LOW until it gets slightly warpy. You can even leave the magnets attached to the ABS while you heat it up. Once the plastic is soft, quickly press it onto a flat surface, pressing the hole template around the exposed magnet. This is what it looks like on the top and underneath when you're done. And here's how it looks from the side so you can see how the magnets attach to the plastic. See how the bottom magnet sits flush in the new ABS button? I spent about forty minutes repeating the process until I ended up with 10 buttons. I will cut down and shape the buttons to fit each shin later. There will be five buttons installed on each shin. Still lots of work to do, but it's a pretty good start! STEP 2: Another step necessary for how I make my magnetic shin closures is to make sure that the backs of the shins meet up as perfectly as possible. This is to avoid any unnecessary strain on the magnets. This was acheived by some gentle shaping via a hot water bath. Before putting the shins in the water, since I don't have any cover strips installed on the outsides, I reinforce the closure with blue tape. The e6000 gets really soft when subjected to boiling water, and I don't want to weaken the join in the front. Blue tape holds up nicely for this application! Here's a before and after of my shins so you can see how the backs line up a bit better. I will be doing some further fine tuning on the lengths at the bottom later as I move along in my fitting. STEP 3: This stage involves making and securing the "holes" part of the closures for the magnets. I begin by cutting out two 3/4" x 12" strips of ABS. You should have this when you're done. Next make a lengthwise mark in the center of each strip to help keep your holes lined up in the middle. Then mark 3/4" in from each end. That will be the center point for the magnets on the end. I like using magnets with holes in the middle for this, so I can easily find the 'crosshairs'. Trace the magnet. I like to use extra magnets underneath to help keep it secure while I trace. Next, find and mark the center of the strip. It should be at the 6" point. From there, measure 2 5/8" from the center mark on either side. Mark and trace your magnets. When you're done, your plastic strips should look something like this: Next, I used my drill press and a step bit to drill out the holes. It went really quickly! When you're done, you should have two strips with holes in them that can easily fit the magnets. The next part is where people tend to get confused, so I took this photo to show what goes where. The "hole" strip will be glued to the inside half of the shin on the inside. It sounds kind of confusing, but it's not all that bad. Remember that the "hole" strip will be hidden! I begin with my left shin. I mark the center of each hole to assist when I line up the edge of the shin. Next, I test fit the strip on the shin to verify placement, clamping on both ends. Then I apply e6000 to the area of the strip that will be in contact with the shin, clamp and add magnets. This is what it looks like when glued together: Here's the right shin after gluing, but before I added the magnets. Here are both shins as the e6000 cures. I'll be allowing a few days for this to cure, which will give me ample time to get my ABS buttons ready for installation. STEP 4: Once the glue had cured on the hole strips inside the shins, I removed the magnets and clamps. With a light behind the shins, you can see how the hole strips are mounted, hidden inside. Using that light as my guide, I traced the approximate location of the holes with a pencil. This helps me to get a good idea of where my holes are going to be drilled. Yep. I'm going to make some Swiss cheese of my shins. Using a small Dremel sanding band, I carefully cut a notch out, just large enough for a magnet to fit through. Here's what it looks like at this stage when the shins are closed. I'm just focusing on drilling out the holes on the inside edge, following the holes of the hole strip that was glued in. I'm not ready to drill the outer half of the shins yet. Next to clean up my buttons that will hold my magnets. I rough trimmed them all to start. Then cleaned up the corners with a Dremel. I don't want anything poking at my legs! *Important!* If you want to make sure your magnets stay stuck on your shins, you must use e6000! CA glue will not keep the magnets stuck to the buttons; they will fail. I have heard this from several troopers when I have been contacted about their magnets not holding up. I repeat, use e6000 for this next step! I applied a liberal amount of e6000 to the inside of each button, then put the magnet inside to get all cozy. Make sure that you've got the polarity of all the magnets in the same orientation before gluing! Wipe away any excess glue from the top. To make sure that the magnets are firmly mounted in the buttons, I use the magnet intended on going on the opposite side of the shin to clamp it. In the pic below, you can see how I've got all the matched magnet buttons and magnets together as they cure. Back to the shins now. I like this ridge (where the pencil is pointing) to line up at the tops. For me, it makes the closure in the back look much cleaner if this is lined up. I tape it off there to make sure that the opposite side doesn't shift while I'm making my marks for completing the holes. I have an OttLite that fits nicely inside the shin to provide a clear light so I can make outlines for where I'm going to drill out the rest of the holes. Holes were already present on the left side in the photo below. I made sure that I drilled out the holes very conservatively as I went. I used an extra magnet to make sure that the hole was just the correct size for it to fit through. Now time to attach the outer cover strip! I use a 25mm cover strip on my shins for this. I taped off the edge of the inside half to keep any glue from transferring over. Then making sure that the cover strip was straight, I clamped the heck out of it. Praying to the TK gods that it doesn't shift!!!! Now time to wait for everything to cure really, really well. I am going to give these 3-4 days to fully cure just to be on the safe side! STEP 5: One shin is complete, with the outer rear 25mm cover strip glued into place. Woo! Here's a look from the inside, before magnets are installed. Be sure to clean up all excess glue from the inside edges in order to have a clean closure when you're done. If there's extra glue in there, it may not close correctly. I've tucked the outside cover strip to the inside so you can see how the magnets on the "cover strip" half are glued on. No magnets yet. I add a dab of e6000 to the magnet (be sure to check the polarization of the magnet before gluing!!!), and set it so that it fits inside the semi circle and on the outer cover strip. Like this: I wiped away the excess glue from the magnets and then positioned the inner "hole strip" over the magnets to ensure everything is lined up correctly as it dries. I tape the tops and bottoms of the shin to ensure it doesn't shift around during this stage. I'm not completely happy with how the inside cover strip is cooperating here. It sits flat on the top and bottom, but it pulls away in the middle a bit off to the right. I will have to heat bend this before installing the magnets onto the "hole strip". :/ Ideally, the inside cover strip should be sitting completely against the outside part of the shin, and it doesn't want to do that right now. This additional stress could cause the magnets to fail. It's annoying, but I'll need to address this before proceeding any further. Gah! Using the magnet buttons I created earlier, I clamp the magnets into place while the glue cures. Once the glue has fully cured, I'll reshape that inner strip to prepare it for the final magnet button installation. STEP 6: Now that the e6000 has had lots and lots of time to cure, it's time to attach the other halves of the magnets. Make sure that the halves are super clean and free of extra dried glue. It will prevent the shins from closing well. You can do this by touch. Rub all of it off where you feel it. Once everything is cleaned off, close the "hole" half over the "magnet" half. Your shin should be closing correctly at this point. The "holes" should lock around the magnets and prevent the shin from opening at all, even without the additional magnets at this point. If the "hole" strip is not fully engaged over the magnets, you won't have a very strong bond between the magnets to keep the shin locked. Easy part next! Apply e6000 around the prepared ABS button. No need to go crazy with the stuff. You don't want it oozing all around in there. And stick it on! This part goes really quickly. For additional strength, I add some extra magnets on top. Check those clean closures! Left shin. Right shin. I will open these up in a few hours just to make sure that there isn't any extra e6000 that has spilled out and might lock those shins closed where I don't want them locked. Now to allow several days to dry, and these shins will be good to go! Here's a short video so you can see them in action. Have you tried this on your own shins? Loved it? Hated it? Made a few mods of your own to improve this method? Comment below and let me know! Cheers- Cricket TK-104011 point
-
Not a lot of people have done the magnet way as yet so I've not heard a lot of feedback. Velcro is good as long as you have nice fitting shin closures, may need water bath to get them sitting right. Here's a few magnet builds1 point
-
Looks like your mesh is a little too fine, you may need to replace it if seeking higher approval With the rivets it is best to fit them before painting or you can damage the paint applying them1 point
-
Ahh, got it. That's pretty good. I wasn't sure if you made the head or not. I'm going to have to try this out.1 point
-
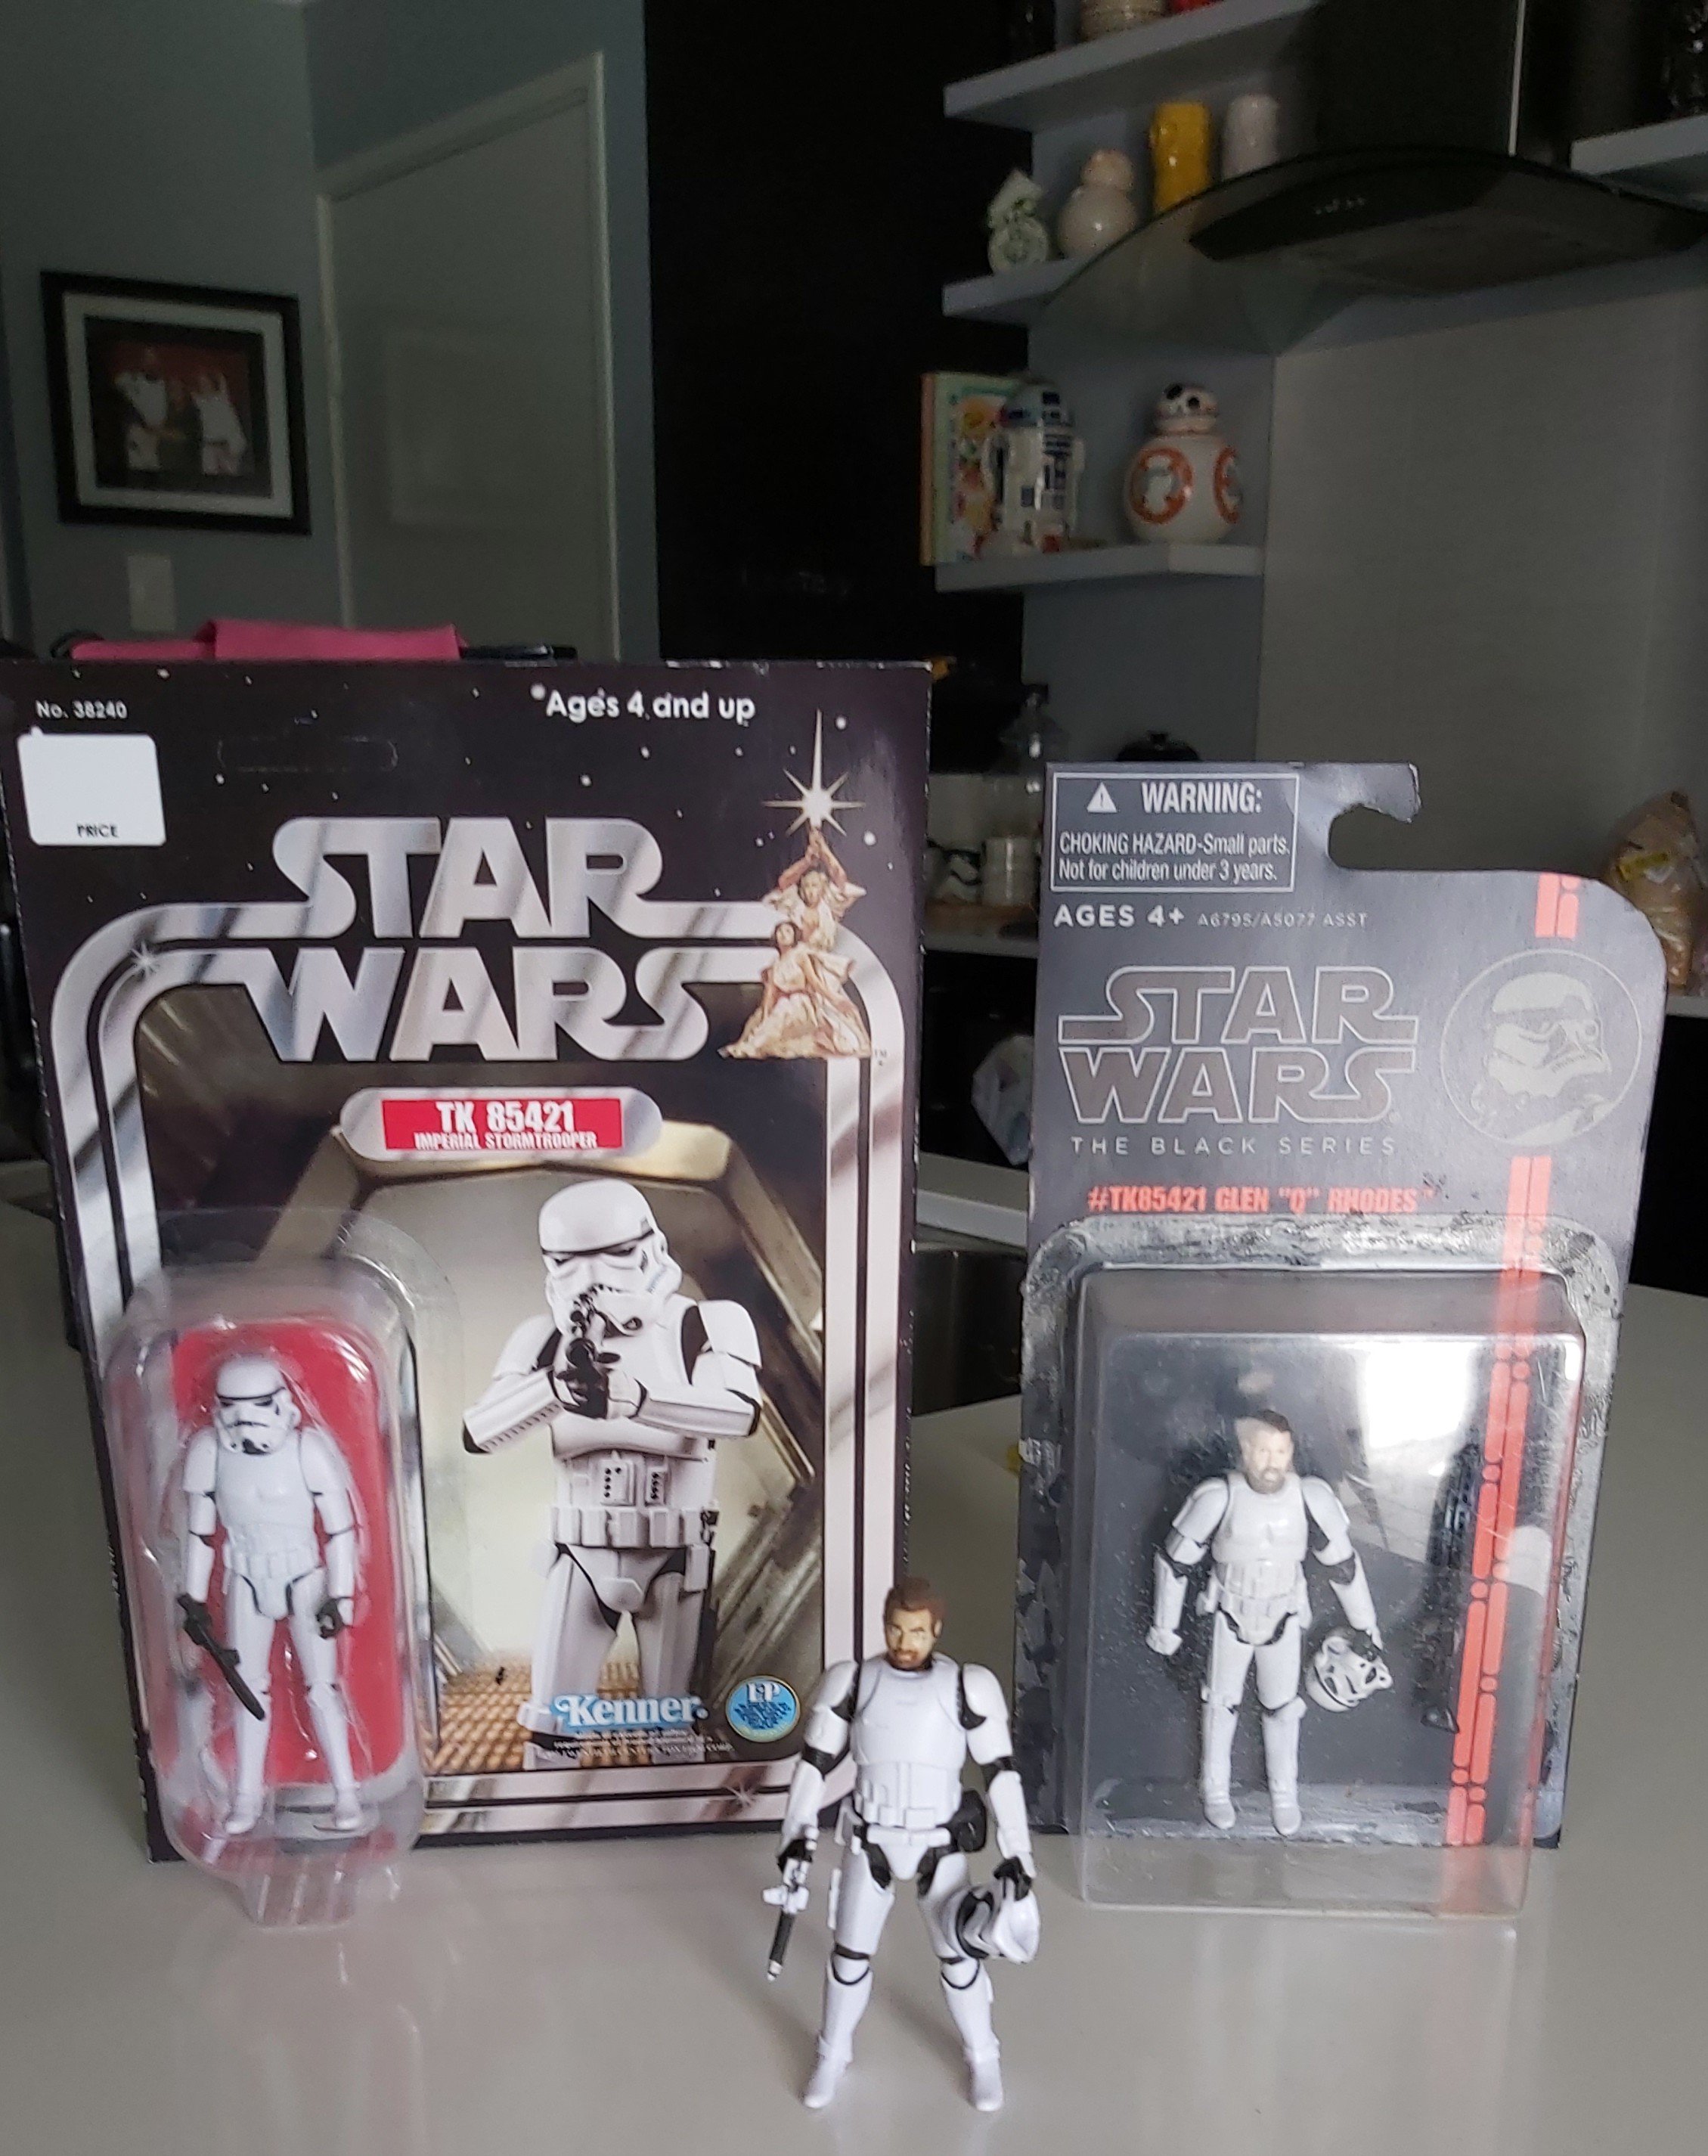
Glen, Perfect. I'll start generalizing things because I was really getting down to the details in my search. If anything, I'm learning a lot more about the armor and finding things that need to be tweaked on mine. Elements of the CRL are also starting to make a lot more sense to me as look closer at the screen-used props. Back to the figures for a minute. How did you do those faces? They're great. My son has a few loose TKs from when he was a little guy. One may have to be sacrificed to build a custom figure.1 point
-
Looks like Justin TK-rate king Added to the processing machine .1 point
-
Nice work, well done1 point
-
It looks great tome.1 point
-
Its been a hot minute.....had some family stuff come up and I had a bunch of home improvement projects come up. Back to work. Upon inspecting what I have completed I didn't like how the left ear had less of a gap than the right ear. So I redid the right ear to make it match better: Now it looks more even: Next step is to strap the back plate to the kidney and see how it looks on me....then work on the belt:1 point
-
Correct you will find once you are approved (and request higher access) you will be able to enter the merchandise sections here and on the main legion boards, hopefully that's not too far away1 point
-
Just be careful with hot glue, it may distort the plastic as it is cooling, I'd suggest using tape to hold in place. I have some extra straps set aside with snaps positioned in several places, I use these to get the spacing right when building others armor1 point
-
Thanks! No wonder I couldn’t find it.. I’m not authorized yet.... YET1 point
-
Yep. That’s is my plan. The hot glue and nylon straps are to ensure I get the length right.1 point
-
I agree with the points made above. I have built quite a few TK's over the years and this hasn't failed me or the wearers yet.1 point
-
Personally I prefer elastic and double snaps, the elastic allows a bit of give when moving and the double snaps so you have a spare if one fails1 point
-
You can, there is a member who makes them https://www.501st.com/forum/viewtopic.php?p=1014485#1014485 I did my own as the postage would have been a killer, still have to do the card for my FOTK
 1 point
 -
Love that quad action shot! Sent via Imperial Tapatalk Comms1 point
-
Gotcha. The forearm and biceps are already attached pre done at RSPropmasters. So the picture with the bicep inserted in the bell of the shoulder, I think I have an idea about connecting them. I’m gonna lay it out tonight, and hot glue in the nylon traps tomorrow to see how I like it. Once I get it right, I’ll fit the snaps and connect it properly.1 point
-
Original strapping Right arm, notice strapping is on the top Example1 point
-
Many of us use an online image host Imgur which is free, some info in this thread:1 point
-
Hi all, thank you for all this answers. I was just interested. It is very intresting how the production methodes have changed. And I am impressed. Because: TheRescalKing: You saw them on set ? You were on set ? That sounds like a dream !!! Are you working for the film industry? And while I am looking around I saw the armor from Jimmiroquai. This was the reason why I asked myself the Material question. Because the way he build it was so unknown. tarok: you are right. 3 D printing could be a interestig method in the future. Equuspolo: Hopefully your friends enjoy to worke for this Films....and hopefully they are now owners of a original screen used armor;) hahaha. For me it is a dream to have a OT armor replica.... I cant imagin how great it is to be a trooper in a movie1 point
-
Lol. This is only a fraction of the collection. Until I get the man-cave finished, the figures rotate. I may have to come up with another name for the man cave, maybe Sarlacc Pit, or something more Star Wars related.1 point
-
Jason, I believe this will be available at Target soon. Keep your eyes peeled.1 point
-
Awesome to see you in here, KC, heck yea! Kit is looking great and I know Ardeshir will have set you up right!1 point
-
Maybe it won't allow any more pics at all. I've exceeded my allowable uploads. Scanning the rest to Imgur and linking. Let's see if this works... Edited Yes, it worked. I added my TKID 12485 to the counter and a clear plastic cover. I'll fill in the chipped paint on the folding stock screws and then mask off the speaker holes scope and LED openings before spraying matte clear on everything to help protect the paint. Works great sounds pretty good and looks pretty decent but unweathered as I don't have those skills.1 point
-
Hi KC. Great looking armor !! (Ardeshir has become an Anovos expert) I have added your EIB App to the process line. one of us will be with you Shortly.1 point
-
Andrew, You got it. I'm digging them up now. Gives me an excuse to re-watch the Mandalorian. I'm waiting for them to make an appearance in season 2 as well.1 point
-
Majority are right over left but there are some left over right

 1 point
 -
Logo is now back at top of Forum header1 point
-
Congrats Shawn and Happy Birthday.1 point
-
Definitely not ABS (which is why you see the new ABS makers including parts that are 3D-printed or resin cast... you simply cannot pull the level of detail that is the hallmark of these suits in ABS), it's most likely a flexible injection-molded polyurethane as stated above. And for the record, many of the suits I saw on set were TRASHED and being held together by gaff tape. We saw guys sitting down in some of the extra feature materials? It was because every one of their posterior armor was cracked almost in half and taped over. But anyways, it's extremely unlikely that any hobby-level maker would be able to produce them using the screen accurate process and material, but Jim "Jimmiroquai" Tripon's proprietary flexible fiberglass is definitely the closest currently available and does a great job capturing the details. His sculpt isn't perfect and some details are off, but it's darn good and much better than the ABS, in my opinion.1 point
-
The helmets were injection moulded parts and then assembled,1 point
-
Definitely not ABS. The below quote is from Paul Prentice on Shoretrooper Fam. Paul is highly regarded for his research into the armoured Imperial characters of Rogue One and Solo. The production process was the same for ST and TK.1 point