Leaderboard


Popular Content
Showing content with the highest reputation on 01/04/2019 in Posts
-
The consensus is yes to some changes that don’t change things unless you want to change those things and then your free to change what you think needs to be changed cause everything changes and change is good..... But let’s not forget a no to changing those things that don’t need changing cause they’re ok not to change and change would be bad for those things.... Sent from my iPhone using Tapatalk4 points
-
I'm not really going to go back 5 pages of discussion, but FYI, there is no intended "brow height" difference between hero and stunt helmets. Some just ended up having lower brow than others. There are several hero helmets that can be seen with a "mid-to-high" brow. The low-brow helmets just had more screen time because Luke happened to wear one.3 points
-
I concur with Joseph's comments on CableGuy's recap. And yes, I think mention of the existence of correct brow spacing is good to have in the CRL, so people building know what to aim for. Keep the "Ideally" language in there, but for someone trying to go it alone, and looking at the wrong helmet for "screen used inspiration" it sucks to get that wrong, when it's so simple to steer them in the right direction. Then no one is excluded, but they have some proper guidance they don't have to dig for.2 points
-
I edited/commented on a few. Thanks for the input!2 points
-
I think this got a liiiiiittle off topic in a few areas, lol, but I was wondering the same thing. Any final decisions?2 points
-
I think SWAT (and Lancer) have moved closer to prop replication than Centurion has. I don't think any of these programs should go to full prop forgery, but it does IMO show that Centurion could be made 'harder'.2 points
-
Were’s the harm in getting credit for hard work, I for one have no need of feeling superior to anyone and that was certainly not the reason for me suggesting a ”screen-accurate program” I feel this is a discussion for another place so we should steer back to making suggestions/discuss current CRL2 points
-
But it does have a visible gap between the eyes and the brow. ;-) [emoji23][emoji23][emoji23]2 points
-
Moved them up, 1 at a time.... tape trick didn't work sigh.2 points
-
It's all good Tino - copy that. I have success following your instructions, thanks! Sent from my SM-G390W using Tapatalk2 points
-
Thanks Joseph. I think this has been said twice already (at least), but needs to be mentioned again so it's clear: EI is meant to be a bump up from basic approval with a moderate amount of time/effort. Various tweaks to make the basic costume look good. Centurion is trying to get as accurate as we can without falling in to the pit of actual prop replication (e.g. flubs, crappy paint, etc.). Usually details like this start off at Centurion first because that's the intent of that program. Nothing should ever go to EI unless it's already a Centurion item that has become so common place and easy to do that it gets moved off as not being challenging enough. Hope that helps...2 points
-
Hello! My name is Laura, and myself and my daughters have a cosplay group I like to call Just Believe Cosplay (hence the forums handle). I'm here because I've been wanting to join the 501st for awhile, specifically as Captain Phasma. I’ve actually had a kit for almost a year now, but have been too afraid to dive into it. I'm in Alaska and live three hours from the nearest seasoned garrison members. I’ve never seen how a kit is constructed firsthand, and since I am a very hands-on learner, trying to figure it out from just photos on the internet has been terribly intimidating. BUT - I’m tired of allowing myself to be held back by this fear. It’s actually a step away from that just to post here, because I’ve been planning to for a year and never had the guts to. I really hope I can get Phasma going and maybe possibly finished in time for May the 4th. I would appreciate any tips or hints anyone could give for this build! Here’s everything I have at the moment- Armor from KB Props Helmet from Jim Tripon Hand armor from Shawn Thorsson Gaskets and soft parts from Geeky Pink's Phantastic Gaskets Boots and gloves purchased on Amazon1 point
-
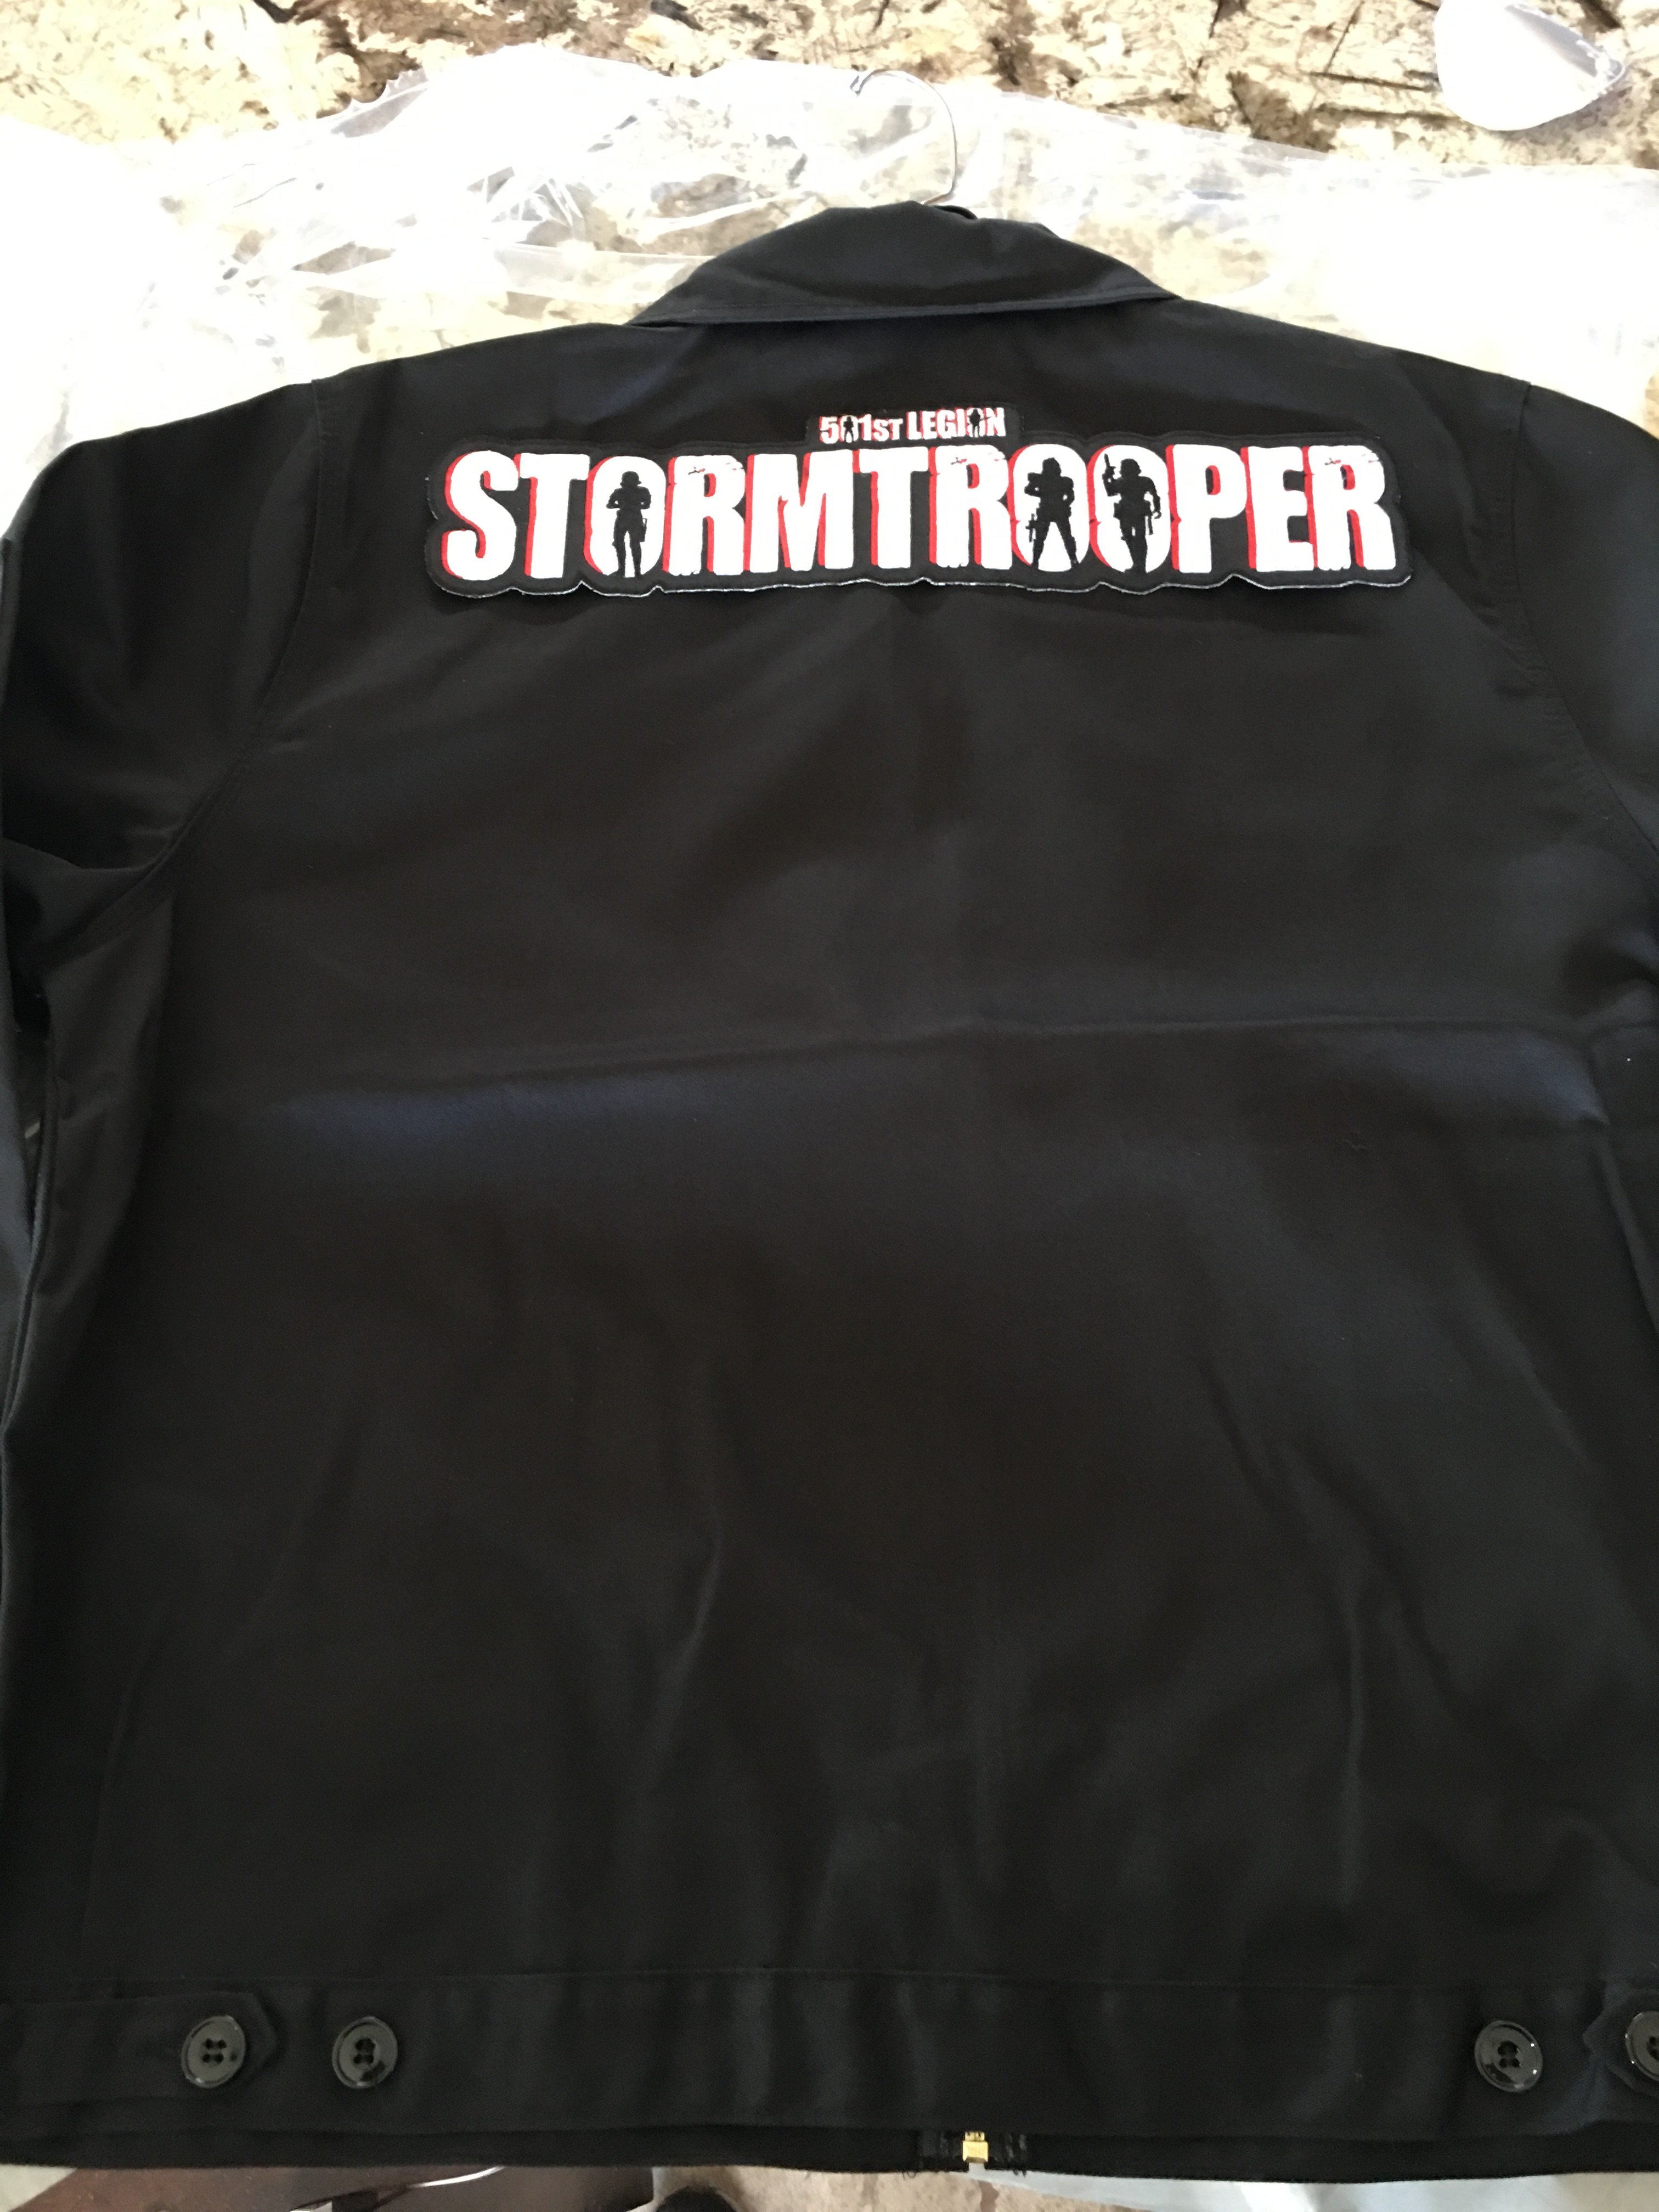
I ended up ordering an Unlined Eisenhower from Dickies. Thanks to all for the awesome pictures, and ideas for a jacket. Im looking forward to getting my first patch on it.
 1 point
 -
"ideally no elbow gap is preferred" seems logical to me which still allows those with gaps to apply, I really would hate to see people being denied for higher level approval because of arm and shoulder gaps, not everyone has the perfect shape, I know I don't. I already hear us being called "elitist" don't think we want "discriminatory" added as well.1 point
-
Yes, buy more beer. You can never have to much!1 point
-
I have an issue with GMLs expecting Centurion level requirements at basic. I know other garrisons that have that problem and it's a bit disturbing. I believe it's unrealistic and takes away from those who just want to do charity work or have fun. There needs to be a balance, what that is is debatable.1 point
-
Mark from AP is sending me another set of the stripes, $5 inc shipping. I'll redo them with fresh decals so they're as close to perfect as I can get them.1 point
-
This is great. As soon as time permits, I'll try to make use of your great vent box. Congrats!1 point
-
OMG! hahahahaha I love this group1 point
-
Wow, a lot of awesome feedback on my 1st post. This is great. Thanks everyone. Thanks Joseph for the great advise and examples. I will definitely trim the return edge in those areas and probably some others. Thanks also Matt. Jordan, I believe I know what your saying. After I read your comment I keep thinking "respect the armor". To me this means treating it with the care and caution that was used when taking out on BBB day when measuring and making cuts. Thanks again guys, I'll be posting some sizing pics soon.1 point
-
So do we have a general consensus regarding CRL updates?1 point
-
Try to line up the lower edge (elbow end). The tops of the originals didn’t line up too great, as below. Sent from my iPhone using Tapatalk1 point
-
Looking great!1 point
-
Nice work. Making great progress. :-)1 point
-
Amazing, thank you!1 point
-
Excellent points in there, thank you! Today I finished up the TD! The glue dried on the front plate and I put the caps back on. I don't think I'll glue them for now. It seems like a nice spot to store car keys. I added the bends to the clips—much easier than I thought. All it took was a couple of pairs of pliers. Then I tightened the clips up, also using the pliers. You can see the difference here: And lastly I added the velcro! I didn't have any adhesive white velcro, so I just used a small amount of superglue and held it firm with a popsicle stick. And it's finished! That brings me to two completed pieces. We're getting there! Next, while the forearms dry, it's on to the biceps.1 point
-
At least the staffers use the "Activity" feature a lot, so they see your thread better the more active you are.1 point
-
All of these award programs in all the detachments are one-time. Consider them "achievement in costume excellence". What you do after getting it is up to you. It's kinda like getting any other type of award for merit/achievement. So yeah, you could get Centurion and then troop with nomex gloves all you want.1 point
-
Those two might very well be the actuall Luke and Han helmets and I agree that there shouldn´t be an absolute but in my opinion it does appear that the intended look for the Stunt was a higher brow. Or...the "low brow Hero" was just a mistake and they should all have white showing between the eyes and brow trim or they made them different so it would be clear who´s who when the Heroes….ehmn scratch that...REBELS are disguised1 point
-
Yes. As someone who is currently mulling a shot at a SWAT application, I can say that MEPD has pretty much moved their SWAT requirements for specific sandtroopers into the realm of "prop replication" (not quite, but close). Not only that, but the required accuracy increases after each approval- so the requirements can seem somewhat arbitrary or subjective at times. And in my case - I needed extra gear for basic and PO (EI equivalent) that I will not need for SWAT - it just isn't very logical. Anyway, I feel the approach at MEPD actually discourages people from trying to apply for SWAT or upper level approval in general. I don't want to see that happen here. The super-OCD, detail freaks (and I'm a little guilty of that) can always build our pet projects and post pictures and feel superior - we shouldn't need special 501st/FISD recognition for it. What a person learns in the process is reward enough.1 point
-
I have 51 different beers in my fridge ATM, so you be the judge :)1 point
-
You need an excuse to buy more beer?1 point
-
For history, MEPD Swat = FISD Centurion. I worked with the MEPD DL at the time to ensure that it was the same program goals. Centurion is to represent the highest level of accuracy that can be allowed in the 501st, as you know the 501st is not a prop replication club but a costuming club. We don't allow Mr. No Stripes, etc. as they are costume flubs. Also, while every sandtrooper looked slightly different, the intent of the stormtrooper was to be identical. For instance there are one or two quick scenes where you see a TK without a holster, but again these are obvious costume department misses that were not uncommon for such films in the 70's. Actually if you look at the films, there is some wear on various TKs, so at some point even a clean TK - again if you really want to go all the way - should be OK to have some slight scuffs for ANH and also ROTJ. You are right though, the point of these programs was to offer choice, even waaaay back in the day when it all started. Some people just want a basic costume, especially if it's a secondary costume or they are starting out. Some want to go all out. Deployed/EI, etc. were developed to have a path for those who want to go beyond base CRL. SWAT/Centurion for those who want to take it as far as they can without going so far that the costume can't be approved (e.g.. gaffers tape, crappy paint). A fourth award would render a costume not 501st approvable, e.g. if you really wanted to go to prop replication.1 point
-
The best thing I did was stuff the fear of failure, take the plunge, and get building. Congrats on that first step! Looking forward to this build; I've always been curious about Phasma's outfit.1 point
-
Great way to start. Just some "to watch out for" advice, you will start to get the hang of the build, one thing I can suggest right now is to stay humble to the armor, if you get too cocky with it you can get ahead of yourself and make a costly mistake. Take you time. measure twice and cut a little as needed till you get the right fit. you can always take more off, cant always put it back on.1 point
-
Looking good! Off to a great start. Sent from my iPhone using Tapatalk1 point
-
Hey Lawrence - good luck on your build1 point
-
This guy (MakerofThings) is a blatant recaster. He has recast Mark's (sskunky) ROTJ suit and JoeR ROTJ bucket, Jimmorquai's work and God knows who else. He claims in his ads that his items are cast from screen-used armor. This is not true. My advice- steer clear.1 point
-
Welcome, Lawrence, and REALLY nice start to your build thread! If I could make a suggestion, it would be to remove a lot more (if not all) of the return edges on a few areas. Some like the fact that it makes you armor appear to be "thicker", but in reality it can really cut into you while trooping. (We call it "armor bite"). I am including some reference images of screen used pieces to give you examples. Important: If you decide to remove these areas, be sure to do another fitting/sizing before gluing anything. Otherwise, the piece will be too loose afterward. The scoop/top on the biceps should have none. Again, these can will cut into you. Also, they can not be seen and may cause your shoulder bells to flare out. Reference image The wrist area should have no return edge at all, which includes the "bump" area as seen at the bottom of the reference image below. You can leave some of the edge at the top, and trim as much as you feel comfortable with or remove it all. Reference image I realize you aren't at these points yet, but this suggestion also includes the tops of the thighs, especially in the groin area (trust me on this one). If you find that the shoulder bells are too far away from the chest/back, the bottoms can be removed on those as well and still be screen accurate. Reference images Keep up the great work, and continue to post lots of photos and ask any questions you may have.. we are here to help!1 point
-
I'm sorry but this helmet does not meet any of the CRL standards...1 point
-
Let's see, for L2 I need to meet the following requirements (ignoring duplicative regular ANH-Stunt requirements that I've already met for EIB): First off, all regular TK parts should be "lightly scuffed,(battle worn), but not weathered like a Sandtrooper (TD)." So I won't repeat that for each armor part, because that's duplicative typing and I have better things to do with my life: Pauldron: Pauldron is of the padded "puffy" variety. DONE Gloves: Black rubber or rubber-like chemical gloves. DONE Backpack: Backpack is lightly scuffed and battle worn, but not heavily weathered or dirty. Belt: Canvas belt may not have visible holes from holster removal. MAYBE DONE? T-21 Light Repeating Blaster Rifle: A ribbed length of tubing shall be installed over the front of the gun barrel. DONE A canvas, leather, or nylon sling shall be attached. DONE Sight shall be present on top where ribbing meets base. DONE That's all the differences needed, between my already-met ANH-S EIB requirements, and HWT Level 2 requirements. I'm curious: When did rubber gloves become a Level 2 requirement? As it happens, I do already have a pair ready to go, as part of my "some day" Centurion application, but did that move from L3 to L2 at some point? I'll have to look to see if the holes from my holster removal are visible. I think they're covered by the ammo pouch, but if not, I might need to pick up another belt. But assuming my belt is ok, I think the ONLY thing I need for L2 is the weathering. In that case, I'll ponder a bit on which removable weathering style I want to use, and get it done, and take some pics! Unless there's something else I missed?1 point
-
So we have the same conversation running across two threads, thought I was going crazy when i couldn't find my posts1 point
-
Thanks, all! As part of my promise to share, I have links here to all the 3D printed parts that I used in creating the pack. They can be downloaded, printed (you can Print yourself, from various vendors via Thingiverse with just a click, or save the model and upload it to Shapeways, etc.). Or if you know Fusion360 you can have direct access to the models, where you can copy them into your own account for tweaking to your needs. These models should work well without any need for modification, for anyone using the recommended configuration in UKsWrath's HWT Pack build thread: The Pop-It plastic storage set (generic Tupperware, essentially) from Amazon, the Photo box from Michael's, generic baby wipes (those should mostly be the same size, or close enough to still work), and a cup with similar faceting to the one I used. If you're using different base materials, obviously they'll need to be tweaked to fit your exact base boxes, or possibly won't work at all without extensive remodeling. I'll probably make a few design refinements here and there as I go forward (the screw holes are a little small, for one thing, and I have a couple of other tweaks noted below), but since my pack is done and approved at this point, I don't really plan to make any substantial changes. Feel free to ask, but no promises. I do kinda have a hankering to make the side panel for the radio box, which would be really simple to whip out. I'll update this post when I finish that, of course. Thingiverse Project link (project includes all parts): https://www.thingiverse.com/thing:3331824 THE PARTS: Faceted Mount: (for the cup assembly bottom right, holds the facets cup in place at a slight angle so it comes down more flat on the pack): Fusion360 link to model: https://a360.co/2F2Cpff Cylinder Mount: (for the baby wipes container top center... I'll probably make a second part to this for the inside, to hold it even more firmly with less movement) Fusion360 link to model: https://a360.co/2FaIOE2 Button Panel: (for the XE-41 Pop-It box top left... you'll still need to glue rubber bumpers to this, although I suppose if there are enough requests I could model plastic ones right onto the plate) Fusion360 link to model: https://a360.co/2TsxYNP Vent Panel: (for the XE-51 Pop-It box top right... you'll need to glue the separate slats from the following model in place) Fusion360 link to model: https://a360.co/2Tsz6B3 Vent Panel Slats: (for the Vent Panel on the XE-51 Pop-it box top right... print 6 of these) Fusion360 link to model: https://a360.co/2ToGcGD Arch Panel: (for the XE-61 Pop-It box center right) Fusion360 link to model: https://a360.co/2TqcFw6 Radio Box Plate: (For the Michael's Photo Box bottom left. Note: depending on your printer's size, you may need to split this into 2 parts, as I did for mine.) Fusion360 link to model: https://a360.co/2F79Kor I'll copy all of this info into a separate thread, as well, perhaps one in the 3D forum in addition to (or instead of?) here.1 point
-
OK so above you can see the helmet with the brow raised. Upon closer inspection yeah the stripes are a bit low depending on what trooper you look at. Below you can see the ears drilled for the countersinking of the screws.1 point
-
Mother f***ing s trim proof photo.1 point
-
How do you eat an elephant? One bite at a time.... You're getting close.....keep chugging.....1 point
-
As a leathercrafter, you never know what you will create since all customers have their different orders, wants and needs. I recently closed my shop due to construction work in the store area, so nowadays it´s crafting in the home instead and on a smaller scale. However, anything is possible still and here are a few examples of previous creations. I also create jewelry in silver, bronze, titanium, pearls, bones etc and specifically and very often, the Norse often seen Kingslink worn a lot by Viking reenactors. A note for the leather: All leather and skin used in the crafts are always from a Vegetable tanned source. No chrome products is, will or have ever been used and that is a very high importance for me. I only use Vegetable tanned materials, everything is hand crafted from the ground up and hand stitched, colored, engraved and made worn. So... as said...some mixed items coming. Starting with a hello from me at Birka 2018 A custom commission for a fantasy larp. Customer wanted a very specific setup with a light battle-worn patina and a crest their group uses. The armor is a two item setup with the Chest and Belt combination. The client had a Thors Hammer, but nothing else. We opted to make him a set of 925 Sterling silver Wolf´s heads clasping rings attached through a twisted silver bar that went through the hammer and held everything in place on the 65 cm long chain. The following picture is the same weave but on a thinner scale and in copper. All these rings where created by hand one at the time, then hand sawed and mounted. Some light engraving for a restaurant to put the customers check´s and credit cards in. And to close with, the old Cosplay pics from Gamex when we did a job for EA / Bioware for Dragon Age Inquisition. Here i used an old Chest armor etc i had at home and a bud´s sword , but we only had 14 days to make the stuff so, sometimes a shortcut is needed haha. Keyword to make it work when in a rush. Layers layers layers.1 point
-
Thank you =) There are plans ahead this spring that will be posted here as well. Got some Artifacts, both Jedi and Sith in planning and am looking a bit for concept arts to make versions of the Force books from the Last Jedi. In short...i can´t afford collectors items, so i´l be making my own1 point
-
Wow. Impressive stuff. :-)1 point
-
After seeing some other cool videos today, I thought I’d stick this on here. I mentioned on another platform that I’d managed to get kitting up, solo, to under 10 minutes. Well, this prompted a challenge to make a video of kit up, kit down and box up. Although the GoPro didn’t like the artificial light, so apologies for the poor video quality, I did it and here is the result.... Sent from my iPhone using Tapatalk1 point


.thumb.jpg.fe734c2874fe147a5789e833ad00772e.jpg)