Leaderboard


Popular Content
Showing content with the highest reputation on 11/16/2020 in Posts
-
Hey everybody I am kenneth from the netherlands And i am very happy to be here and have been wanting to join for like 10 years but never haf the money to start a build. Now i recently bought a full kit and posted some pics in FB some very helpfull people pointed me in this direction so here i am. I will be starting a WIP soon after i finish writing here so ill be looking forward to meeting all of u. Edit: link to my armor3 points
-
Finally got my wife to agree to take the photos, Abs handguards til new ones arrive from Joseph.3 points
-
whole right side of body will be complete.just going to add some extra help for the back calf velcro.i definetly want to do the magnet trick but not sure i trust my skills yet at that.the mesh is in.need to clean up the teeth on frown.2 points
-
I’m very happy with how it turned out. Also, the advice of using a Phillips screwdriver to pre stake the swage pin... can’t remember where I read it, but friggin genius! Straps are 1” by 5”. Numb 24 snaps. 3 sets per side. 2” on center of the bottom two to adjust them from film to, what’s comfortable. Lol2 points
-
ANH TK Stunt Name: Mark C Height: 182cm Weight: 105kg Future Garrison: Knightfall Garrison Armour Maker: AP Helmet Maker: AP Cloth Belt Maker: AP Neck Seal Maker: Darman's Props Boot Maker: Imperial Boots Holster: AP Hand plates: AP (until Joseph's arrive) Thanks in advance for any feedback! Special Thanks to: justjoseph63, gmrhodes13, TheSwede; ukswrath; sly11; Tarok; TkSpartan; husky68, + many others http://i.imgur.com/XDIeFPX.jpg http://i.imgur.com/8nLMgPq.jpg http://i.imgur.com/JQWdQws.jpg http://i.imgur.com/AtYgac0.jpg http://i.imgur.com/fKgSEre.jpg http://i.imgur.com/rHLEsCd.jpg http://i.imgur.com/xDukABy.jpg http://i.imgur.com/6EFp69i.jpg http://i.imgur.com/mh5QcTO.jpg http://i.imgur.com/ShKjlOs.jpg1 point
-
...and then there were these! https://www.homedepot.com/p/Plasticolor-Star-Wars-Stormtrooper-Heavy-Duty-2-Piece-27-in-x-18-in-Vinyl-Car-Mats-001482R01/207163461?1 point
-
Hey everyone! My name is Lucas. I am currently still serving in the USAF and a commander out at Eglin AFB in Florida. Obviously, I have a love for Star Wars especially the original trilogy (specifically ESB). On top of all that, my oldest brother had a disability from birth requiring many surgeries and extended overnight hospital stays in children's hospitals. When I was younger, I remember going to visit him and seeing the faces of the patients (including my brother) when people and characters took time to visit them. Seeing the mission of the FISD and my love for Star Wars there was no way I couldn't do what it takes to join and give my time to share hope and joy with others. My TK ID is the date my older passed away and his first and middle initial just happen to be TK... So it is a perfect way to honor him. Being in the military, we have been moving a lot and with deployments and demanding work days, I am finally at my last tour and look forward to settling down. I have contacted the local GML and have been approved and assigned a 501st TK ID#. See profile here: https://www.501st.com/members/displaymember.php?userID=33092&costumeID=126 Thanks for reading... Lucas
 1 point
 -
Updated https://www.whitearmor.net/forum/topic/22497-howto-align-tube-stipes-on-your-helmet/ restored by gmrhodes131 point
-
A very nicely detailed kit by the looks1 point
-
You may want to remove a little bit of paint, looks like there is still some on the gums. Frown is painted gray and does not leave the teeth area
 1 point
 -
I have elastic which goes through the loop on the boot with snaps attached and snaps inside the top of the shins, I find this a little easier to put on rather than velcro on the tongue1 point
-
I've just been reviewing my photos . I couldn't see a request for these two, but I thought you would need them . Sent from my iPad using Tapatalk1 point
-
Armour Details Sent from my iPad using Tapatalk1 point
-
As Daniel said, to combat twisting, but also to keep them from riding UP over the tops of your boots. Some use velcro/snaps on the tongue, and I believe I've also seen the use of elastic stirrups.1 point
-
It’s to keep them from twisting with coresponding velcro on the shin. If you get the fit right, thight around the boot and fairly snug on your calf you won’t need it1 point
-
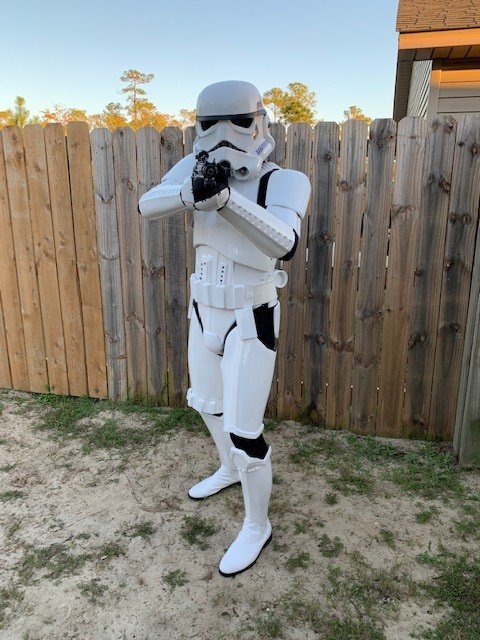
Heyy everyone, I have been wanting to start a armor build for years but dindt have the money or space to do so. Finally i was able to obtain a nice suit of stormtrooper armor for only 425 euro This included: Armor (AFX) Helmet (with vents and padding) ( EFX Blaster Holster Undersuit Boots Gloves The seller told me this would be a cat 3 armor. After some consulting on FB i got contscted by several 501st members who where able to tell me the armor needs a lot of work before it will reach cat 2. A cat 3 was unfortunatly not possible. So i decided to just go with the armor i have and make the best of it. Here are some pics of me in the suit. I am looking for feedback and a lot of tipss as this is my first armor maybe some dutch members who could help me with armor party? =) Will soon be putting some pics of the back side on there as well If u need extra pics let me know and ill be happy to shoot some for u https://www.instagram.com/imperial_stormtrooper13/ Starting from 1st of december ill be starting with a 3d printer printing lotsss of star wars related itemss if u have any requests let me know and ill be happy to make it for u. Thankss!1 point
-
Thanks, was pushing my luck to get my wife to syraighten things up, td was pushing it a bit far. Fixed the K. Will look at the hovitips Sent from my SM-A520F using Tapatalk1 point
-
Great work, left some feedback on your pre approval thread. Good luck with approval1 point
-
Nice work and great build thread, you listened to feedback and took it on board. Just an FYI you need a K on that Nightfall You could add some white to the rim of your hovis tips Also watch the rear belt and TD, slightly on an angle. Nothing I can see should hold you up for basic, submit away, good luck and hope you receive approval soon.
.jpeg.76bda5a86760a288c50f22b79f878af0.jpeg) 1 point
1 point -
Welcome to FISD Kenneth! While FB is hip and cool the white armor forum is truly the place to be to get all the best info. Can't wait to see your WIP. Add the link to this post too so we can check it out.1 point
-
Here is a quick look at the 3 types of folding stocks I will be using for my blasters. The top stock is the original one from the DVH kit; one full casted piece, non-moving parts The middle stock is from Phoenix Props kit. I am not sure if this was modified to cast into 2 parts from the DVH kit stock. It still has the old sterling paint in some areas so I think that is what this is from. Then Dday went with newer parts to cast from. I might be wrong about this so please feel free correct me. The bottom stock is casted from the paint stripped parts I acquired from Dday. Side View Top View Parts For Part For the DVH and Phoenix Prop stocks I am working on removing the inner resin to fit in the folding arm tubing. The DVH stock is really interesting as it has all the paint texture and battle worn look & feel to it. Lots to clean up and patch but still fun to work on. Nice point about this stock is the hinge mount part is casted with the stock wishbone arms so its easy to glue onto the receiver tube & the outer hinge caps are casted into the piece. The Phoenix Prop stock was a huge improvement from the DVH and Doopy stocks as it added more depth and detail by molding the handle part separately. No Need to carve out areas to make it appear like 2 parts. The stock I casted will have all the parts included. I have only molded the large parts so far but hope to start on the smaller parts at some point. The stock will be fully movable, lightweight but with the parts being plastic and very thin, I don't think it will be very strong and will eventually break. Just fun to go from a static one piece stock assembly to a 1:1 part for part replica.1 point
-
Excelente Lluis, muchas gracias!. Great Lluis , Thank you . !!1 point
-
Hi Michael, thank you for your EIB app. One of us will be with you shortly. I have added to the processing line.1 point
-
Nadas, I just completed my build and submitted for EIB status. I was looking for an audio system myself. I found Ukswrath on Etsy and YouTube, and continually saw his products mentioned in the forums. I jumped in and picked up the Hovi mic tips, cooling system bracket, chatter loop and audio system with Modulation. I have no electrical skills and should not be trusted. His products are awesome and come ready to install. The directions are supplied and are easy to follow. The bracket covers the wiring and makes the helmet look very clean. The fans are a must. The chatter loop really adds to the authentic touch. The audio system with hovi tips and modulation sound great. Below are a few pics of my bucket. Good luck in your search. Respectfully, TK-11312 Michael1 point
-
Welcome aboard brother. Your story is moving and thank you for your service. I was just at Eglin a few weeks back for business. Great Base.1 point
-
Funny this comes up again. Here's the pic I posted in my build thread of my shoulder straps: The only issue I had was painting the TPU. However, last week I wandered into Microcenter to pick up some PETG and I saw that they are now carrying 1kg spools of Gloss White TPU. This may change how I do some of my builds. Additionally, please see the following video from Nikko Industries' "How to Smooth Flexible Filament- 3D Printed Armor" found here: https://youtu.be/PcAd0kxbI4I The product he uses is made by 3D Solutech and can be found on Amazon here: http://amzn.to/2CUOeiV. The difference between his and what I used is the flexibility. The TPU I used is incredibly soft and flexible and likely wouldn't stand up to a full print. His is more rigid, but obviously flexes as needed. Though we won't know for sure what the chemical properties of the FOTK bending cod is, this filament may be a great solution.1 point
-
Nice intro and welcome. Yes!! Another fellow ESB trooper! I’m currently waiting on replacement pieces from the manufacturer. Hopefully the pics I took and submitted will at least get me my TKID then the real fun starts!!! Welcome again! Sent from my iPhone using Tapatalk1 point
-
That would be one of my recommendations Came out great, nice work1 point
-
Looking forward to the progress, these links may be helpful\ And for a whole lot more head here1 point
-
Thanks got 2 pair of vise grips and I did get 5 pairs of magnets!
 1 point
 -
I was able to fix it! Here's the new pictures for you!1 point
-
Yea pretty dope I'm learning so many different skills I never knew.ready to finish this and start a merc build.we all learning little things from eachother.from what I hear a trooper's armor is never done.allways something you can tune up or upgrade.1 point
-
Hi Mario, I attach new images after a few modifications realized. I hope I'm in the correct way... Thank you.1 point
-
Oh junk. Justin goin FO after RO! Sent via Imperial Tapatalk Comms1 point
-
Looking great Scott!1 point
-
Good luck with your application Scott.1 point
-
Pew pew, nice work trooper1 point
-
A little TK-arate for ya haha Honestly running out of poses1 point
-
Hey Scott, Looking through your photos, it still looks like you're missing the photo showing the 'Han snap', which is an L3 requirement: A single male snap on the top right corner of the ab plate is present. Reference Image: Finally, as Glen mentioned, we'd like no or minimal overlap between the back and kidney. The overlap isn't present in your EIB application which makes me think it's a dressing issue. Could you take a look and post updated photos? Thanks!1 point
-
Good luck, Scott. Keeping fingers crossed for you. Even with primer, I experienced the same after some events. The bottom of the handle simply is a prominent part of the E-11 and I had to retouch this area several times...1 point
-
Great looking armor Scott! Good luck on your Centurion application! One of Us! I had the same exact thing happen to my back armor in my Centurion application photos and I have the same issue with the paint rubbing off of my doopy-doos blaster grip as well and I even primed it before painting. I think it just happens with use and is highly visible because the off-white color of the resin underneath. Not really sure how to remedy this issue.1 point
-
Oh yes - not ideal, but good practice. I’ve never used white paint first on mine so don’t really gave much advice on that part. I prefer just to paint the blue and then tidy any leakage with a toothpick. You could either consider applying the same templates and try again, or, perhaps consider going freehand. Either way, try to keep the stripes approximately a pencil width from the the cheek. Here’s how I did mine free hand, if you choose that route. Thigh ammo pack looking better. As Mario said, you could trim a tiny bit more if you can, however, what you have is probably fine for basic clearance (check with your GML if in doubt). :-)1 point
-
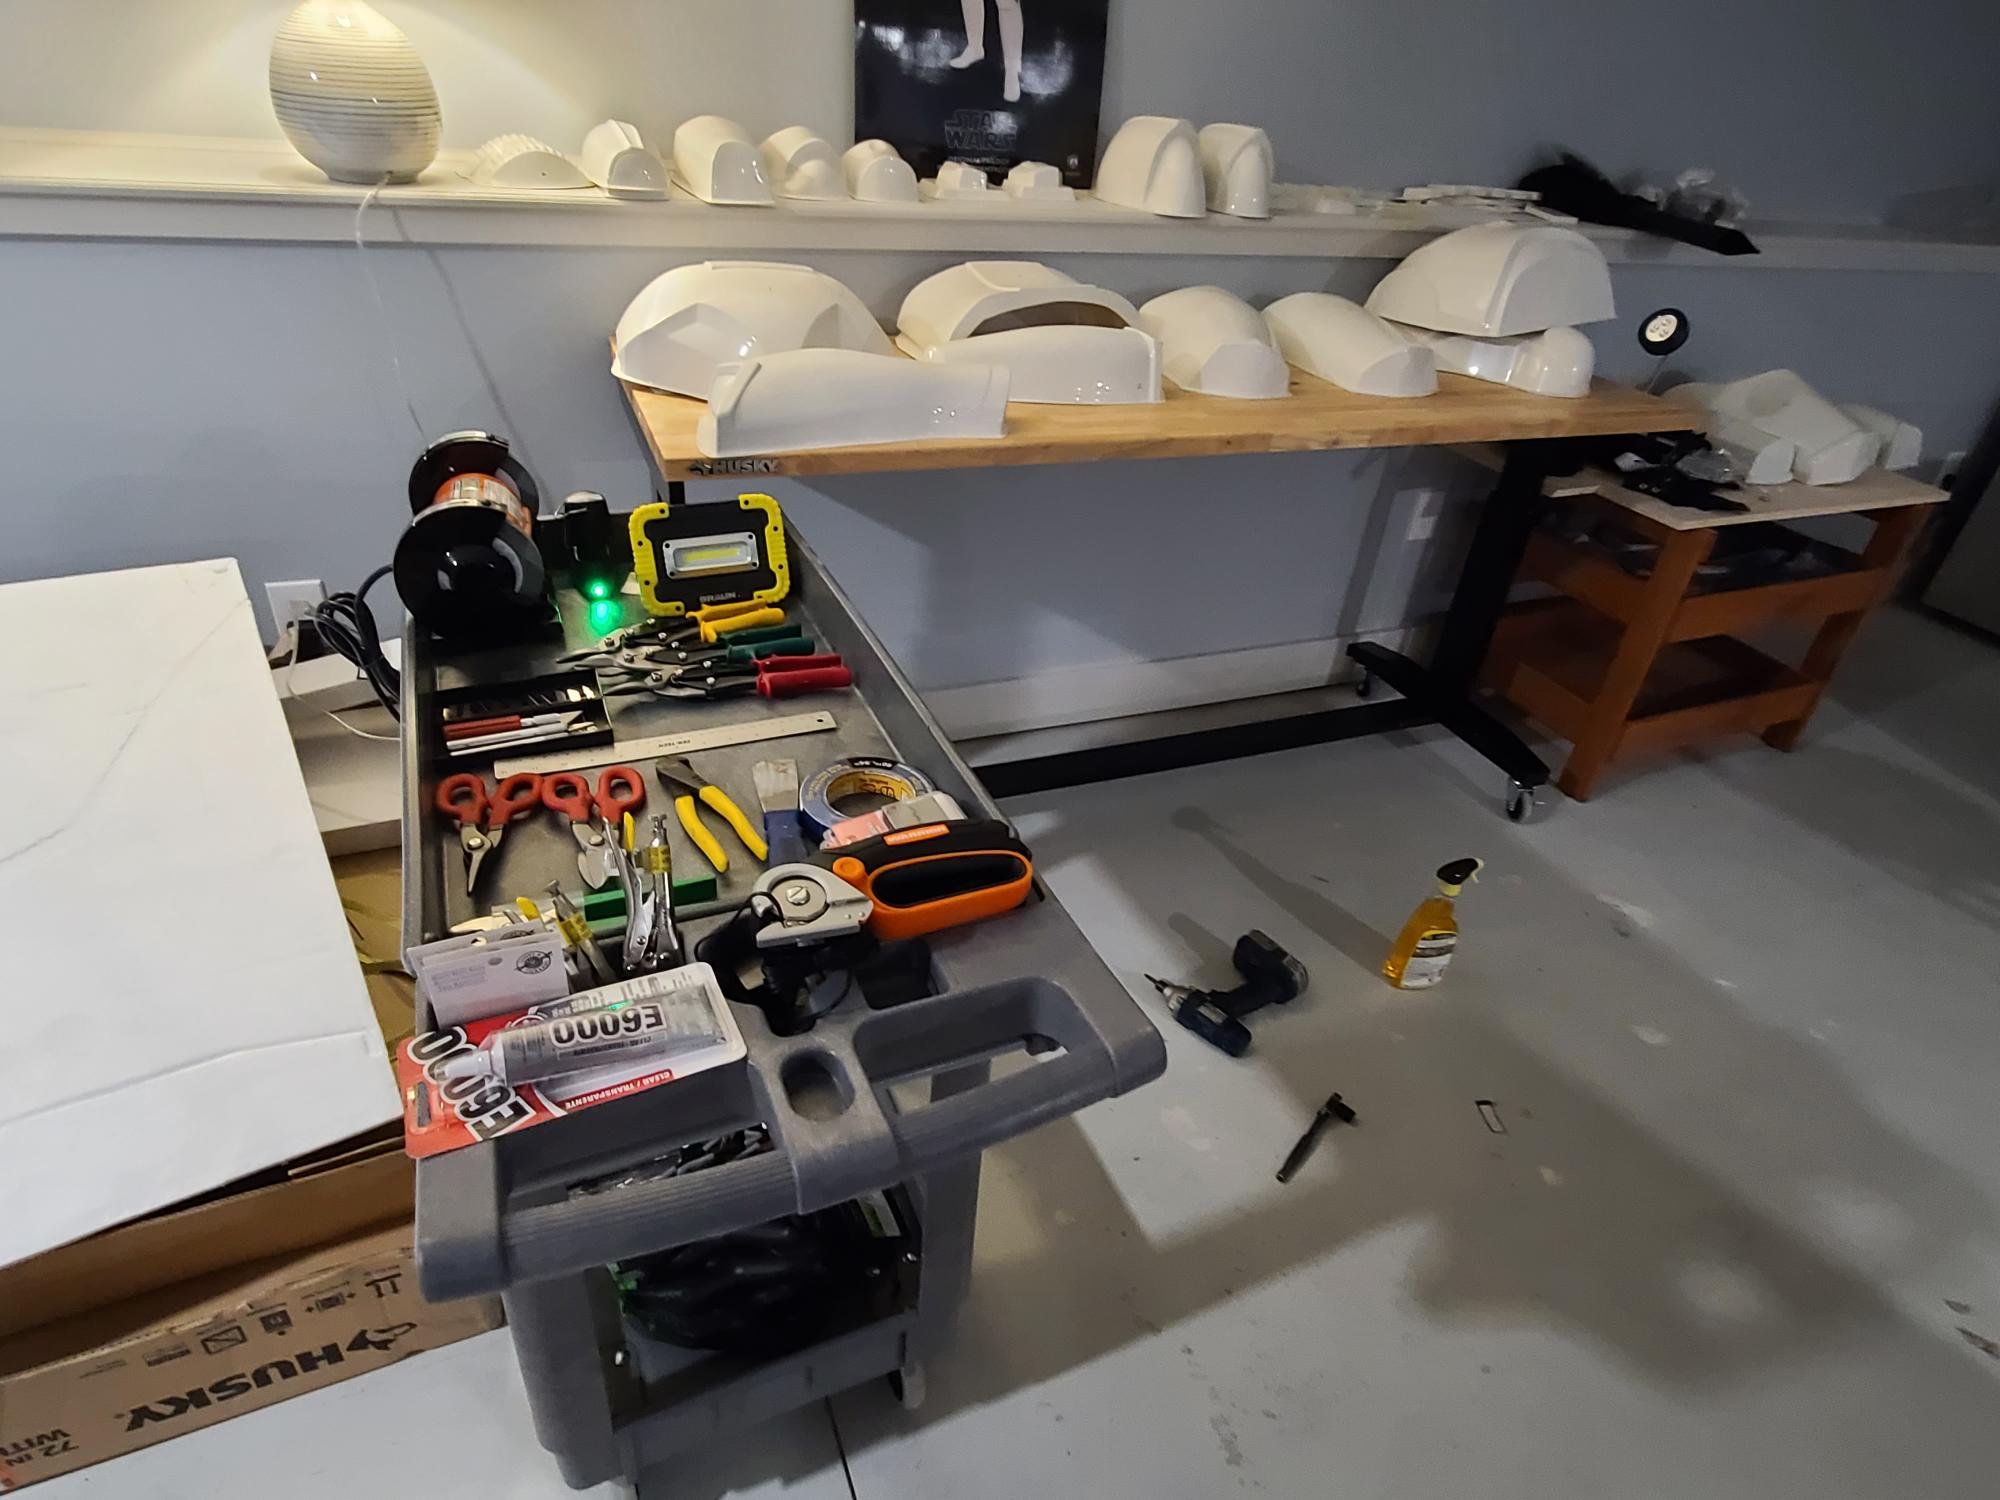
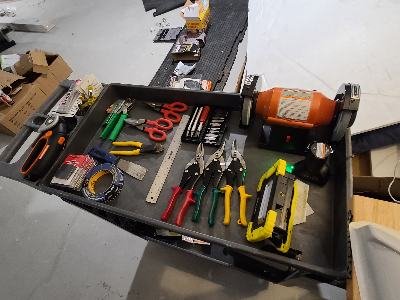
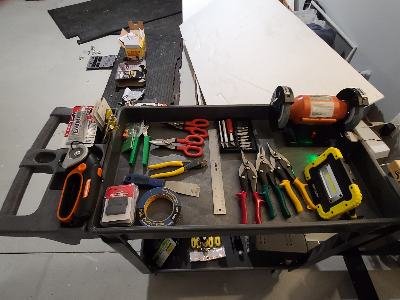
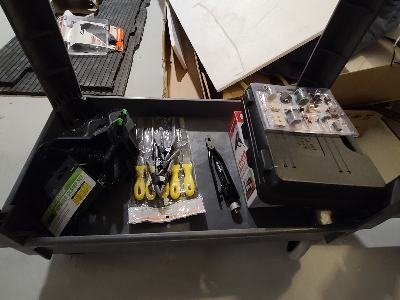
I like it !! very creative. I will have to get with the times. Back in the days this is how I transported my stuff
 1 point
 -
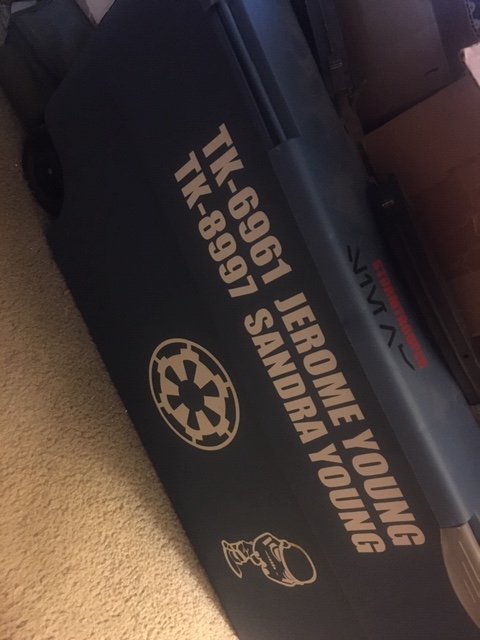
Don't forget about the inside of your bin! I have a ton of patches, so I attached my favorites inside the lid. Also pimped out my Tusken Raider bin. (Genuine canyon Krayt skin on top).1 point
-
I did mine too1 point
-
I know this is old, but then most of the stuff on here is and that's what makes me keep coming back. I like seeing the older stuff again, but I also like seeing the new takes of things with improvments and so on ! When Ifirst started out, I'll admit, the COST of the Husky Bin ( or ANY bin for that matter ) was ( and still is ) allot to me... I use to put my stuff in a regular Wal-Mart type storage container... It didn't have wheels, and the plastic was ALL KINDS OF THIN ! This is when I was still putting everything together... Once I got this done. I was happy to be able to put it in the bacl of a 2005 Honda Civic, but kept questioning myself... I USE TA BE a photographer... I spent too much money on the items I wanted, and figured back then, I should not go cheap with the protection of that stuff... I was called out about wanting to keep one of the MOST IMPORTANT ITEMS I OWNED ( My TK ) in a poorly protected container... I could not justify it any longer and started saving for a good bin... Glad I did. It would have upset me to no ends had I spent so much TIME on getting my armor done, and then something happen to it... ( Yes the money would have been an issue as well, but the TIME involved, was by far more important...) Anyway, I STILL LOVE what you did, and "oneday" will be trying to do something as well... Thank You again for posting... Dan TK-NoWay1 point