Leaderboard


Popular Content
Showing content with the highest reputation on 05/28/2020 in all areas
-
Daniel, Paul, Tony & Joseph: thank you all for the advice and letting me know about the sale. I ordered a kit from RS :)5 points
-
Thank you, everyone! And thanks to all your suggestions, advice and encouragement during the build! It takes a village to build an FOTK!4 points
-
Thank you very much for your prompt review, @justjoseph63! Who would have thought, EI and Centurion on the same day!! And thank you for your kind words! Yes, I believe in giving back to the community, after having received such fine advice from those that have come before me! My build thread is a pinned post there, and yes I intend to share with those who might be joining the FO ranks in the future!3 points
-
Tube Stripe - 5 Bumps Edition:3 points
-
Hey all, for transparency we've made a couple minor CRL wording corrections, these will not effect any approvals. All OTTK armor related CRLs for Basic and L2 were updated. What used to state "Aerators/Hovi mic tips" now state "Aerators/Hovi-MIX tips" All FOTK armor related CRLs excluding Phasma for Basic and L2 were updated. What used to state "The right outside thigh (to the wearer) includes a base for a holster", now states "The right outside thigh to the wearer includes a base for a holster (holster must be present)". Level 2 "Holster must functional"2 points
-
COSTUME INFORMATION Armour, Helmet and Neck Seal: Anovos TFA Gaskets: Imperial Gaskets (rubber) Belt: Belts of the First Order Hand plates and Holster: R2Dan Boots and Gloves: Imperial boots Undersuit: Stormtrooperundersuit F11D Blaster: Resin kit (Justinian) Name: Jasper Tan Height: 170cm Weight: 80kg TKID: 7867 Garrison: Singapore Garrison EIB Approval: APPLICATION PHOTOS FULL BODY HELMET ARMOUR DETAILS NECK SEAL CHEST, YOKE AND BACK THERMAL DETONATOR SHOULDER AND ELBOW GASKETS SHOULDER BELLS BICEPS FOREARMS GLOVES AND HAND PLATES ABDOMEN COD AND POSTERIOR BELT UNDERSUIT THIGHS KNEE GASKETS KNEE PLATES SHINS ANKLE SPATS BOOTS F11D HEAVY RIFLE ACTION SHOTS Here's my submission for Centurion. The photos are largely the same, except for an additional helmet photo showing that the tube stripes are fully cut out, and also some different action shots. For the DO's kind considerations, and do feel free to ask me if you need any clarifications, thank you!2 points
-
belt boxes and holster riser trimmed2 points
-
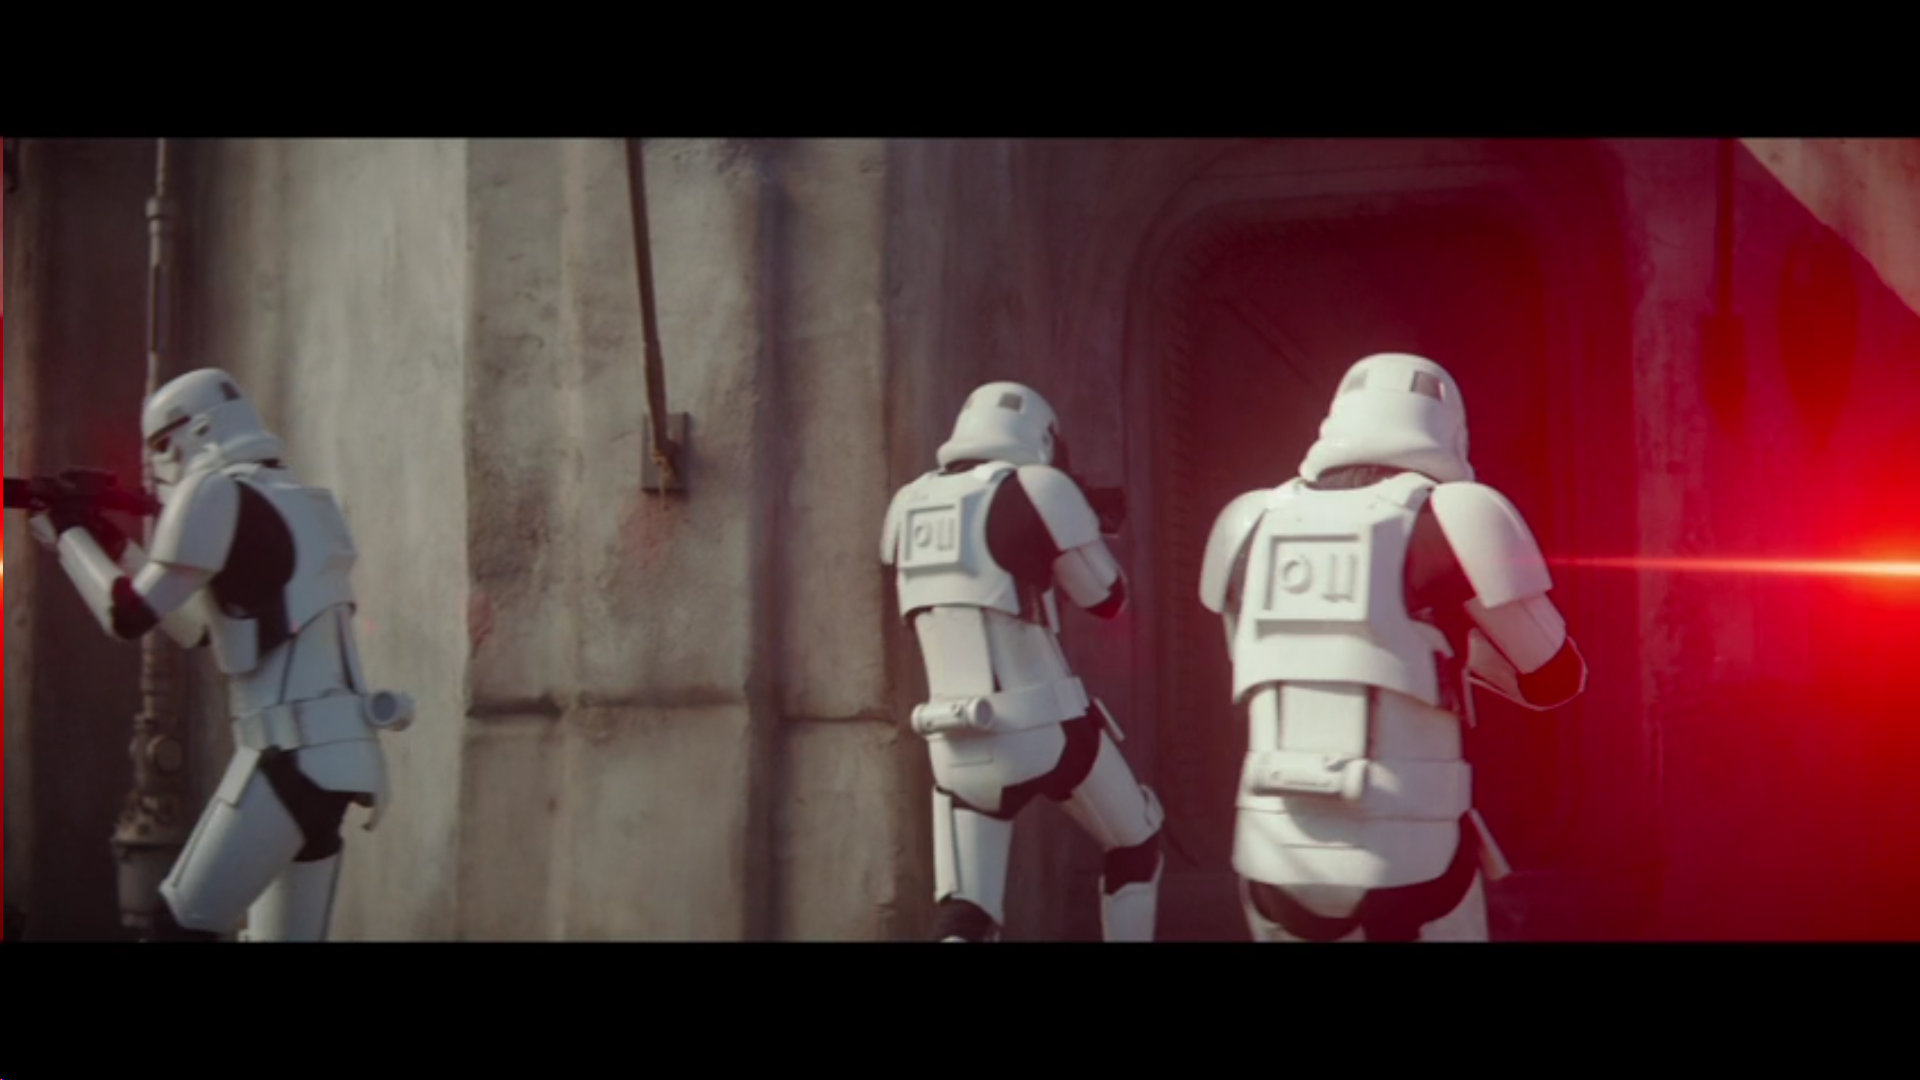
ALL armor worn by studio actors on the show was Rogue One/Anthology style armor. The majority wore R1/Anthology style helmets as well, but notably (and as pictured above), the TKs in service to "The Client" appear to be wearing ANH style helmets, possibly modified Anovos. Pike helmets appear to be modified Black Series. The other exception was 33 members of the Legion, who were mixed in with Moff Gideon's posse (not just the background ) and wore their own armor - mostly ANH but a few ESB, and in this scene only. Technically at this point in the continuity, any of those suits could be canon, as TKs are wearing whatever is leftover/available. I doubt strongly we'll ever see ROTJ or even true OT era suits in an LFL production again - Anthology suits are more comfortable and look better on film.2 points
-
Fixed. And yes, I am working too hard,2 points
-
Thanks TKSpartan really appreciate it. I'm trying so hard to keep to the original suit construction (Just with neater cutting and trimming etc.) as well as following as may build threads as I can, to get ideas on what other troopers are doing to improve the durability, personal fit and comfort of the armour. There are some real Gems popping up the more I read the forums. The experience and knowledge from senior troopers, I feel, is essential to getting this right the first time around. To any future troopers or newbies (like myself) following my Build thread. I have a few words of advice; Take your time, Do your research, Cross check your work with actual pictures from the movies or the movies themselves, Don't be afraid to ask questions as there is so much knowledge and experience within the FISD (Troopers helping Troopers) Remember everyone was "a long time ago in a galaxy far, far away...." a newbie. One of the best pieces of advice i was given at the start was; measure twice (or Five times), before cutting!2 points
-
UPDATE: This post has been moved to a separate thread (linked below) within the Getting Started forum. Topics covered on that post remain below in green for reference. Here is a direct link: OP (MV) Post #21 In addition to documenting my journey and seeking help with my TK build, another one of my intentions with this thread is to provide future builders with a helpful resource for ATA and general (any armor maker) OT TK builds. To that end, this will be a RESOURCE POST containing reference links and documents which have been insightful to me, as well as helpful build threads. My intention will be to continue to update this list as my progress continues and I come across additional resources. NOTE: I am considering starting a new thread with this content. Would that be more helpful to the general TK community? Perhaps this post could serve as a draft, and feedback could be given? What do you think, @justjoseph63, king of TK tutorials? Getting Started or Tutorials & Tips forum? Working title: "2020 Index of Tips, Tutorials, and Build and Request Threads for OT TKs" 501st Legion Links: FISD Forums Getting Started Forum Pinned Threads (selection) Supply Lists Build Tips and Resources Strapping Systems Photo References Helmet/Bucket/Lid Interior Armor Cleaning, Sanding, & Shining Armor Yellowing Image Posting E-11 Blaster Armor Storage/Transport FISD and Stormtrooper Supplemental Posts Recasting ANH Stunt Build Threads (WIPs) ATA Build Threads (WIPs) Pre-Approval Requests EIB & Centurion Informational Threads EIB Requests Centurion Requests Purchase Options (my build) Alternative Accessory Options: Other External Resources Quote Response: Justin - Thanks for all those notes; super helpful! I've seen several people mention reinforcing shoulder bridges, so that's definitely on my to-do list. I'm also going to do my best to stay true to screen-used ANH armor return edges (or lack thereof), while also balancing that with ensuring the armor does look like cheap flat plastic sheets. Oh, and obviously comfort will play a part as well, and I'm planning on using the clean angled mobility cuts behind the knees which Mark from AP employs. And lastly, a belt sander is on my wish list, as I currently only have a palm sander, which won't be good for maintaining straight lines.2 points
-
So I did a bit of an experiment today. I needed to paint the hammer gun metal so that it could mount inside the frame when the frame is glued together. Again, it's easier to paint it before assembly. I decided to also paint the muzzle to see how the metallic paint turns out. The muzzle prints in two parts, front and rear. I did them in two parts because the front part is black (gun metal) and the rear part is more of a chrome. By printing them in two parts I don't have to mask them off for painting. Here are the muzzle parts... I got the parts primed and painted with Alclad Gunmetal lacquer paint. Then I painted the muzzle rear a gloss black and airbrushed light dustings of Alclad Chrome over top of the gloss black. I'm pretty happy with the result. The metallic chrome was actually more reflectivebefore I hit it with a clear coat. The clear coat dulled the reflections a bit but it still has a metallic look to it. Mark2 points
-
Well, what can I say?... Perfect ?...Excellent? ... Congratulations Jasper...2 points
-
Excellent, excellent, excellent,excellent,excellent,excellent,excellent,excellent,excellent,excellent,excellent,excellent,excellent,excellent,excellent,excellent,excellent,excellent,excellent,excellent,excellent,excellent,excellent,excellent,excellent,excellent,excellent,excellent,excellent,excellent,excellent,excellent,excellent,excellent,excellent,excellent,excellent,excellent,excellent,excellent,excellent,excellent,excellent,excellent, excellent work....2 points
-
I made a few revisions per these screen grabs: 1. Flap filter box. Per the game, the box is shorter and the base has an upside-down U-shape where the vents fit into. I have made a new file to reflect this. It is not what is shown in the current CRL (its closer to the ukswrath construction of the flaps in the center of the box) but the CRL also says to make it as close to screen captures as possible... so thats what I'm going with unless its going to cause problems with approval. 2. Tombstone FIlter Box. I have revised the angle to be a little sharper and I have moved the faceplate down further per the game. Again, I'm basing my parts on the screen captures more than the CRL, but per the CRL itself making it as close to the game is the goal. 3. Button box. The screen grabs show the button box to be about the same length of the wipe tube. The thread with the specs show that this part can be up to 200mm so I maxed it out at that dimension, which is about the same height as the wipe tubes that I'm using. The button plate isn't exactly centered in the middle either so I have made mine the same. One other concern I have is the screw/rivet holes in the corner of each part. I can't really see these on the screen grabs. I think most of the pack builds I see use screws to attach a face plate to the plastic bins used for each component and are therefore necessary for construction. As an added bonus I think they add a little more depth and detail to the pack. In the spirit of matching other HWT I'm leaving my pre-cut holes in my files for screws/rivets to be added unless this should be omitted for accuracy?2 points
-
As Tony (ukswrath) mentioned, you really can't get any more screen accurate that RS. It has those glorious lumps and bumps in the bucket and their customer service is second to none! However, AP is also a fantastic choice. All of the armorers listed in our "vetted sellers" area are there for a reason... tried and true products from quality sellers, so you can't go wrong.2 points
-
Hi all. Rather than me posting on specific threads, I thought I’d make a post about the correct use of the “Dave M” style decals/templates for ANH Stunt lids. If it is deemed worthy, perhaps it could become a sticky. I will then try my best not to mention it on individual posts (as the last thing I want to do is upset anyone). As the name “Tube Stripe Police” was bestowed upon me, I feel it’s my duty to try and spread he work to keep up the high standards of TK screen accuracy. I hope I have not become a nuisance by flagging it. So, here are some shots of the Set for Stun, or “Dave M” helmet from ANH. These pictures are from the excellent website www.starwarshelmets.com My interpretation of these stripes are that they were intended to look like vents on a curved surface. When viewed from straight on they should naturally curve with the tube. Here are some shots that I put together (using my old SDS lid, hand painted stripes using Dave M style templates/stencils from Mike at Trooperbay). For obvious reasons, I won’t show pictures of those that have been applied the other way around as they are not mine to share and I don’t want to alienate people. Should anyone wish to share, please feel free. I hope that all makes sense. Any comments of suggestions to improve this thread, please let me know. Kind regards, Dan1 point
-
Hi all, Firstly, I’d like to say that Low and higher brow heights are perfectly acceptable and all members are welcome in the legion. I would just highlight that some appear to reflect Stunt or Hero/Promo troopers. The intention of this post is to share educational reference photos with new and aspiring troopers. Based on watching ANH, viewing the many reference photos and additions behind the scenes and historic photos, there is a clear direction regarding various brow heights in ANH. In the spirit of the CRL, this guide would help improve uniformity across the legion. For those that favour a low brow, I would highly recommend checking out the Hero* or Promo Trooper as an ideal option. *please note that not all Hero helmets had a low brow. Below is the Promo Trooper. This features a hero helmet (this is different to the Stunt helmet) and is an iconic look, featuring a low brow (brow trim essentially ‘on’ the top of the eye sockets). There is essentially zero gap between the bubble lenses and the brow trim. There were just six hero helmets made for ANH, made in gloss ABS, intended for close up shots; Luke has a very similar look; Han, on the other hand, had a clear gap (seen here left of shot) 50 Stunt helmets were made for ANH. These were made from green HDPE plastic, then primed and painted. The majority of TKs seen in action and group shots in ANH were Stunt helmets and had a visibly different appearance, including a longer painted ‘frown’ with (for the most part) 4 ‘teeth’ either side, 3 screws per ear rather than 2, flat lenses rather than bubble and (for the majority seen on screen) had a consistent gap between the top of the eyes and the brow. First up is a photo taken outside Shepperton Design Studios and shows approximately half of the 50 Stunt helmets primed and ready to send to the studio. The brow height is consistent across these helmets, each having a clear gap between the eyes and the brow. Note below that perhaps 2 or 3 of 26 helmets have a slightly lower brow. On to screen used, there are a few lower brow stunts featured through ANH, however they are certainly outnumbered by the conventional look. Note the same scenario from ESB (re-using ANH Stunt helmets for the most part); Even quite a few Hero helmets, including Han’s, had the usual gap. I hope that these reference photos help to show the difference with various helmets. This post,and the information included, comes from a passion for the wonderful character that is the Stormtrooper and is not intended as a negative view on those that choose the low brow. Both have their place in our character lineup. I would simply suggest considering the hero or Promo Trooper as an option for those that prefer the low brow. Best wishes Dan NB - credit to StarWarsHelmets.com for a lot of this information. I’ve learned a lot from there over the last couple of years.1 point
-
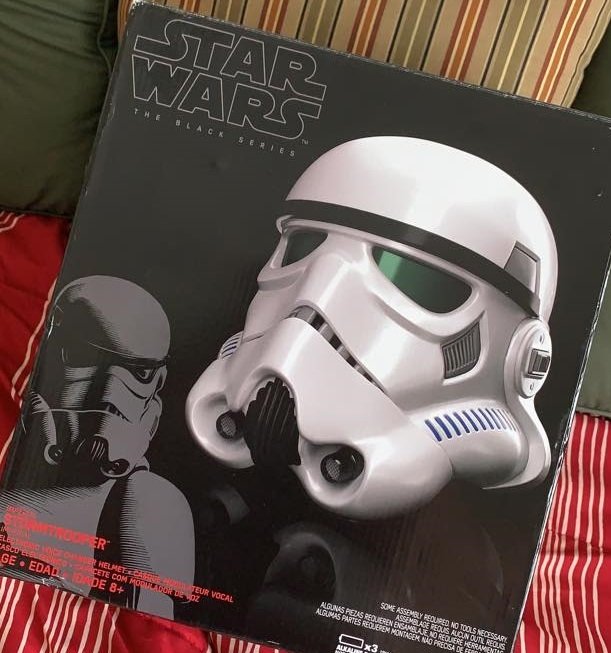
So I just ordered my raw ABS kit for my R1TK from 850 Armorworks. Going to go with The Darkside Closet for my soft parts, Imperial Boots for my boots and gloves. Got my bucket already, which is a Black Series helmet, pictured below. Got replacement hovi tips for Ukswrath, new lenses and helmet gasket from OPLEprops on the way! Just waiting for my BBB day! I'll continue to update this thread as things progress! FOR THE EMPIRE!
 1 point
 -
[EDIT 6-17-20: Please do read this entire thread but the packs are done and the files are HERE: https://www.thingiverse.com/thing:4462006 ] Hey all! I'm an approved ANH Stunt TK with aspirations to become a HWT. I started my pack project about two years ago but got derailed by life. I'm building two packs, one for me and one for a friend currently building a TK. The first pack is almost done and has used my initial 3d printed parts to test it, and after building that I have gone back and modified my files. I'm going to post screen captures first to see if there are any issues or CRL conflicts before I start printing them to make the second pack. After everything is approved and assembled, I will be releasing the files to my Thingiverse for any future HWT that want to use my parts to build their pack vs. scratch building everything. I used ukswrath's build, the published approximate dimensions needed for each component, and screen grabs from the game to base my parts on. The base of the pack is still an oil can, the radio base is still a "memories" box, the upper center tube is a wipes container, and the side tube is PVC. CRL: https://databank.501st.com/databank/Costuming:TK_hwt UK's Build: Game Screen Grabs: Pack Specs: First, here is my "rough draft" pack. It is currently only lacking 1" webbing straps, weathering, and the chest MP40 pack before I consider it complete. Bear in mind the rendered parts are the current revision, mostly just added some radii and screw holes for the corner screws. Upper Left Button Box. I've made each sub component that is painted a different color a separate part for ease of assembly. The frame the buttons fit into actually sits in a pocket in the button base so that everything will easily line up straight. The parts will just be glued together unless there is any reason to add holes for screws? The buttons are based on the same dimensions as the rubber bumpers used in UKWrath's build as they seem popular. The bumpers could be used in lieu of the printed buttons, but its way cheaper to just print them IMO. Top Middle Wipe Tube cover. I'm still using the standard plastic dollar store wipe tube. I could just print a tube with a flat back but honestly for $1 its not worth it, although with the covid pandemic wipes have all but vanished. I may go ahead and make a file just to have it available though. I've seen some people just use black electrical tape to make the cover, others use cardboard, others use sheet plastic. This 3d printed part just makes it look more "real" IMO. Upper right flap vent box. I really thought this would be tough to draw but it turned out to be simple. The vent section prints as a separate part that fits into a pocket in the base. No more cutting of strips and trying to glue them together perfectly as this prints and looks great. The look is more akin to the UKWrath build than the game as the vents go all the way to the bottom of the part. The CRL also shows the vent flaps going lower. I can mimic this if people think matching the game is better than matching what most people seem to build? Lower left radio. I have made two files for the faceplate as it is larger than what my printer can fit. The top section is the "screen" and the lower section is for the knobs. I am still attaching this to the cut-down heavy cardboard "Memories" box as my printer can't make something that large for less than what the box costs. I have also made a file for the knobs with holes to screw into the plastic faceplate. They're roughly the same size as the plastic caps from the oil can base so either could be used but with holes perfectly centered on the printed part I'll just let the machine make them. Center right is the angled box with tombstone shaped vents. Per the game, this box is angled although most builds have it as a flat box due to limitations of scratch-building nice parts. Again, the faceplate is a separate part for painting and assembles with glue. There is a neat trick that if I print the box upside down, the face that points outwards will have some drooping plastic bridges that look like vent media underneath the faceplate (see the pic of my test pack). I've removed the corner screws from the original part and added those screws to the outside of the base instead. Lower right Drop Siphon. Again, the upper black section and the lower tapered grey section are printed in two parts. I have left a lug on the tapered section and a hole on the upper section so that they will easily line up for assembly after painting. Also, I needed this to print in two parts so that they would fit onto my printer. The upper section has the cap integrated into the design with the same rough size and shape as a juice lid used on many builds. The upper black section also has a flat base on the back to allow for simpler mounting to the oil can base. The grey tapered section has 8 1/8" holes evenly spaced around it for placement of real rivets. I could just integrate 3d printed rivet look-alikes but honestly I like the look of real hardware on the 3d prints to give it a bit more realism. And lastly are parts for the 24" PVC tube mounted on the right side of the pack. Instead of buying a vacuum formed TK shoulder strap or PVC caps I have just made files to print look-alikes. The tube stripe prints with the same diameter bend as the OD of the pipe so no need to heat it up with a heat gun and crinkle it to death. The caps could be sourced and cut down from a hardware store, but if I can print perfect parts that are ready to go right off the printer I'd rather just make the file. The biggest concern I have for making it approvable are my "clamps" that attach the pipe to the side of the pack. They make the tube stick out from the body of the pack a hair, but I don't think its enough to hurt. I know some people just screw them on or use toggle screws but I wanted something that looked a little more military and polished. The clamp first attaches to the side of the oil can with 1/4"-20 screws and then the PVC pipe is attached to the clamp via screws. I think it looks super neat and it is very, very solidly mounted so its worth the slight deviation from the norm. So.... please give me any input or criticism to make these parts more accurate, buildable, etc. I'd like to make any modifications to my files before I print up a second batch for another pack and before I release them to the wild on Thingiverse. I can also drop the files on FISD just have a backup source if I can upload STLs.1 point
-
looking great.1 point
-
Here are the bottoms of the shoulder bells with a significantly reduced/almost nonexistent return edge. Used a Dremel and my Baby Plastic Cutting Scissors to take off the plastic.1 point
-
There are also different tension elastic available but doubling up should help. You will also need to adjust your shoulder straps on the rear, on the left it doesn't appear to be in the right position, also need them both to sit down on the back plate1 point
-
I would suggest to leave a flat edge of 7.5 each half and put then together using painters tape and let see some photos of how they go on your arms.1 point
-
Hi Emma , glad to see your build setup, nice. About Return Edges trimming, I would like to suggest you to take a look to this useful link about Trimming . And for the shoulder bells curve, this reference photos may help to figure it out . Cheers1 point
-
Should I make a cut where I drew this line? I feel like the front of the bells curve inward a little bit....1 point
-
What I did to make the elastic stronger was to double it, just fold it a couple of times. I have read of some trooper that reinforces the elastic with an ABS strip inside. I have not tried that .1 point
-
Here it is! The last type of paste wasn't working. I had to use the BBBcode (forum compatible) link. Anyway.... to start with shoulder bell trimming!1 point
-
I am testing uploading pictures with imgur- here is a picture of my setup. I had to dig out everything from my basement. I've decided to start trimming the shoulder bells- they seem relatively straight forward, right? Right?? We will find out... <blockquote class="imgur-embed-pub" lang="en" data-id="a/z7eExLI" data-context="false" ><a href="//imgur.com/a/z7eExLI"></a></blockquote><script async src="//s.imgur.com/min/embed.js" charset="utf-8"></script>1 point
-
The rest of what I said, I can confirm as fact, but unsure about the spike helmets since I didn't see them in person. But that slanted last tube stripe is a dead giveaway for a Black Series if you ask me. No actors to my knowledge wore BSs on set, but I wouldn't be at all surprised if they didn't want to ruin the limited number of actual RO helmets they had and used them for the spike scene. I assume the same for Anovos - they're easy to get, so it's likely, but unconfirmed.1 point
-
This image shows some beat up helmets from the show, so they could either be for troopers or pikes. But either way, that don't look like black series (although I could be wrong, as I haven't extensively studying those). So, definitely Rogue One style helmets used. They would definitely have used the RO style armor because that's what they've got on hand. My guess would be that for the ANH helmets, they got them from Anovos, because the details are so sharp, and also because Disney has deals with Anovos already.1 point
-
In some of the scenes 501st members with their own armor were present on set. They were mostly used in the background. For the close-up and stunt shots it looks like Rogue One armor to me. btw this subforum is ment to be for technical support, I will move the thread to the correct place. ;)
 1 point
 -
Yes. I found I had to give the right forearm a hot water bath to change the shape of the elbow opening. It is oblong in the wrong direction... if that makes any sense. Without the bath, it will still fit but because it is tight it may want to rotate and sit funny while you are trooping. Looking good so far. Keep it up!1 point
-
Congratulations again mate!!!,1 point
-
Thank you! And I’ll be glad to help in any way I can!1 point
-
Congratulations Trooper!!! Well done and I for one will be using your build thread when I start mine.1 point
-
Just a quick note to congratulate our latest additions to the ranks of Expert Infantry. Way to go, Troopers! 1. Eric Foehner- (GoofTrooper) TK 34723 ANH Stunt 2. Jasper Tan- (merkava74) TK 7867 TFA1 point
-
Congrats, Eric! The ear screws are scheduled to be delivered to you by Saturday, so I expect to see that Centurion application soon!1 point
-
I hope you realize that once your 501st approval is granted that I am expecting even more great things from you here on the FISD, Caleb.1 point
-
From a galaxy far, far away, coming to a neighborhood near you. I can't wait to see this at DragonCon1 point
-
I’d work on the arms (forearms, biceps and shoulder bells) that’s where I started after doing my helmet. [emoji6]1 point
-
Yes, you did it!!!...A few easy adjustments and.....CENTURION!!!1 point
-
Welcome back Emma, and of course, good luck!!!! This time yes, you will finish the armor...1 point
-
Congratulations sir, now onto Centurion1 point
-
Another practical tip to remove the E6000 glue in excess is just rub it with a soft cloth. the heat makes it peel off easily. try it.1 point
-
Hi Darin, welcome to FISD. What I have read here and if you look at the screen captured photos It seems like a ANH TK helmet with a R1 armor. There's no official CRL yet. cheers1 point
-
I assume this should read "holster must function" Sent from my Pixel 3 using Tapatalk1 point
-
**Please be aware that is is my personal opinion, explained in detail below.** If you are looking for accuracy with your ANH Stormtrooper build, hopefully you will find this very useful. Before you start building, I’d highly recommend that you use the following; - Magnets; to experiment with, and fine tune, positioning of the two parts of your helmet (faceplate / back & cap) - screen reference photos (found on whitearmor.net and/or starwarshelmets.com) - free collage apps (example, LiveCollage) to compare your progress with screen used examples Aligning the faceplate with the back & cap is a key factor in defining the look of your Stunt Stormtrooper helmet. Based on the reference photos below, especially the various group shots throughout ANH, it is my opinion that the majority of screen used stunts had a ‘similar’ appearance to the photos below. There were, of course, a few variations, however, there is certainly a trend (backed up by the group shots). My suggestions are along the same lines as the CRL, following the most common appearance throughout the movies for an instantly recognisable look. Mounting the faceplate high into the back/cap leads to a long (front to back) but short (height) looking helmet, more reminiscent of ROTJ/ESB MKII. This can also lead to the eyes looking a little cross-eyed from the front. The following photos will give examples of this. I have seen this a lot recently and thought it was worth highlighting. As always, each helmet was handmade so slightly different, however, the vast majority follow this method of construction. Do bear in mind that, due to the differences in helmets from different makers, results may vary. Let’s start with the basic premise - the majority of reference photos show that if you draw an imaginary line (shown here in green) from the rear molded line of the back and cap, this will sit just above the eyes; or to put it another way, it is very unlikely that the eyes will sit HIGHER than this imaginary line; Let’s look at this with a helmet kit. The below example is using an RWA Stunt, 1.5mm helmet kit. The below images show how vastly different the same helmet can look, all based on the alignment of the faceplate and back/cap. There are many examples of the ANH style throughout the movie and reference materials, but very few with the faceplate mounted so high into the cap (in ANH). The below photo is a Hero helmet that also supports this theory. As with most Hero helmets, they also had a clear gap between the eyes and the brow trim. Here is Han’s helmet supporting the same theory; The below two photos are the RS Propmasters screen used helmet, again, supporting this theory and alignment. Another, just for reference. Here are some more examples of helmets following this type of alignment/appearance. As mentioned early on, each helmet was handmade so slightly different, however, the vast majority follow this method of construction, as shown in the many reference photos and screen shots. Do bear in mind that due to the differences in helmets from different makers, results may vary.1 point
-
Oh Dan, I'm not too proud to contribute here. I put the paint templates (roughly fashioned after the Dave M helmet and available from TrooperBay) on the wrong sides of my bucket. In many cases, these links are to the first of many consecutive posts. Here is me screwing up my templates like a total idiot: https://www.whitearmor.net/forum/topic/43437-wooks-first-build-anh-stunt-tk-ap/?do=findComment&comment=589733 Here is me getting called on it (Looking at you, Dan ) https://www.whitearmor.net/forum/topic/43437-wooks-first-build-anh-stunt-tk-ap/?do=findComment&comment=592275 Here is me fixing the issue: https://www.whitearmor.net/forum/topic/43437-wooks-first-build-anh-stunt-tk-ap/?do=findComment&comment=594834 And Dan, if I do this again, I fully expect you to call me on it immediately.1 point


.thumb.jpg.77bd551337f7adc46a4b151e703df6be.jpg)