Leaderboard


Popular Content
Showing content with the highest reputation on 07/31/2019 in Posts
-
Your bells look too big overall. Try trimming them down so they curve to fit closer to your chest and back plates. They look as though they are trimmed flat and that generally prevents them from a snug fit up against your chest plate. The max they should be is 12" along the ridge and 12" circumference on the lower edge and make sure they are not flat.5 points
-
Next steps: - I picked up a 5 yard spool of 1" velcro the other day ($$$?!?!), so my first test "assembly" will be soon. - I will be dropping my undersuit off for some tailoring this week (it came a bit big, but better than it being too small!) - I found a place somewhat near me that specializes in fiberglass and has a showroom/dealer area. I'm going to bring a few pieces of my suit in and see what the pros recommend for reinforcing the kit in key areas. I don't want any cracks and the kit is light enough that I won't mind adding weight. - My gloves are already in, but I'm helping coordinate a group buy from Imperial Boots for some FO boots - we are even bringing other folks from our Garrison in so we can all save a few bucks. Our build group is meeting up this weekend to go play "The Void", the virtual reality Star Wars experience in Downtown Disney, have a few brews, and strategize, so I'll have more to share this weekend and I'll try to post some more pics too. This will be part instruction thread, part just random info and documentation of our adventures - thanks for coming along for the ride!3 points
-
Only a suggestion, but you could also reduce the amount of return edge you have at the bottom of your chest plate. It will allow it to sit closer to your body and then you can re align your shoulder bells to suit as Paul has mentioned.3 points
-
Hello world, A little more progress. This time, hovi tips. The resin is typically yellow in appearance so a couple of coats of white were applied. Then, satin black. Fitting them to the lid really gives it extra character. :-) Next up - tubestripes. :-)2 points
-
Hello TK - 22555 From Garrison Argentina requesting 501 ST access http://501st.com/members/displaymemberdetails.php?userID=309772 points
-
Hi Stuart Joseph beat me too it, it’s like he said shimming from the kidney is what you do and I also recommend taking his advise on the rivets2 points
-
Shimming only the kidney plate is actually what you should do, Stuart. Rivets on the ab/kidney plates are not a requirement for level 2, but for level 3 they are and must be 10 mm from the edge. Since you will need to shim the kidney anyway for level 2, I would move them to the shim. Taking them off is really not that difficult.... just pry up the "legs" of the rivet (slowly, as not to snap them), use a pair of pliers to straighten them and then pop them out. You will have some holes, of course, but these can be filled with ABS paste.2 points
-
SO, the final thing for the night. The TD is finally finished except for painting the screws black.. I have painted the screws with one primer coat and will probably add another before a couple layers of semi-gloss black. I was only able to find 25mm aluminum, so that is what I used. The top bends of the bracket may be squeezed tighter. I drilled the holes in the bracket and attached with one screw. After starting the bend to at least the second screw hole, I removed it. I then bent the aluminum around a 1 3/4" pipe I had laying about. This gave it a nice tight curl. It basically snapped onto the TD when I reinstalled it. Once it was installed I used various clamps and scrap metal stock to bend it into the bracket shape. The back tab is 2 3/4" long, with the final little bend about 1/2" First primer coat for screws. More to follow.2 points
-
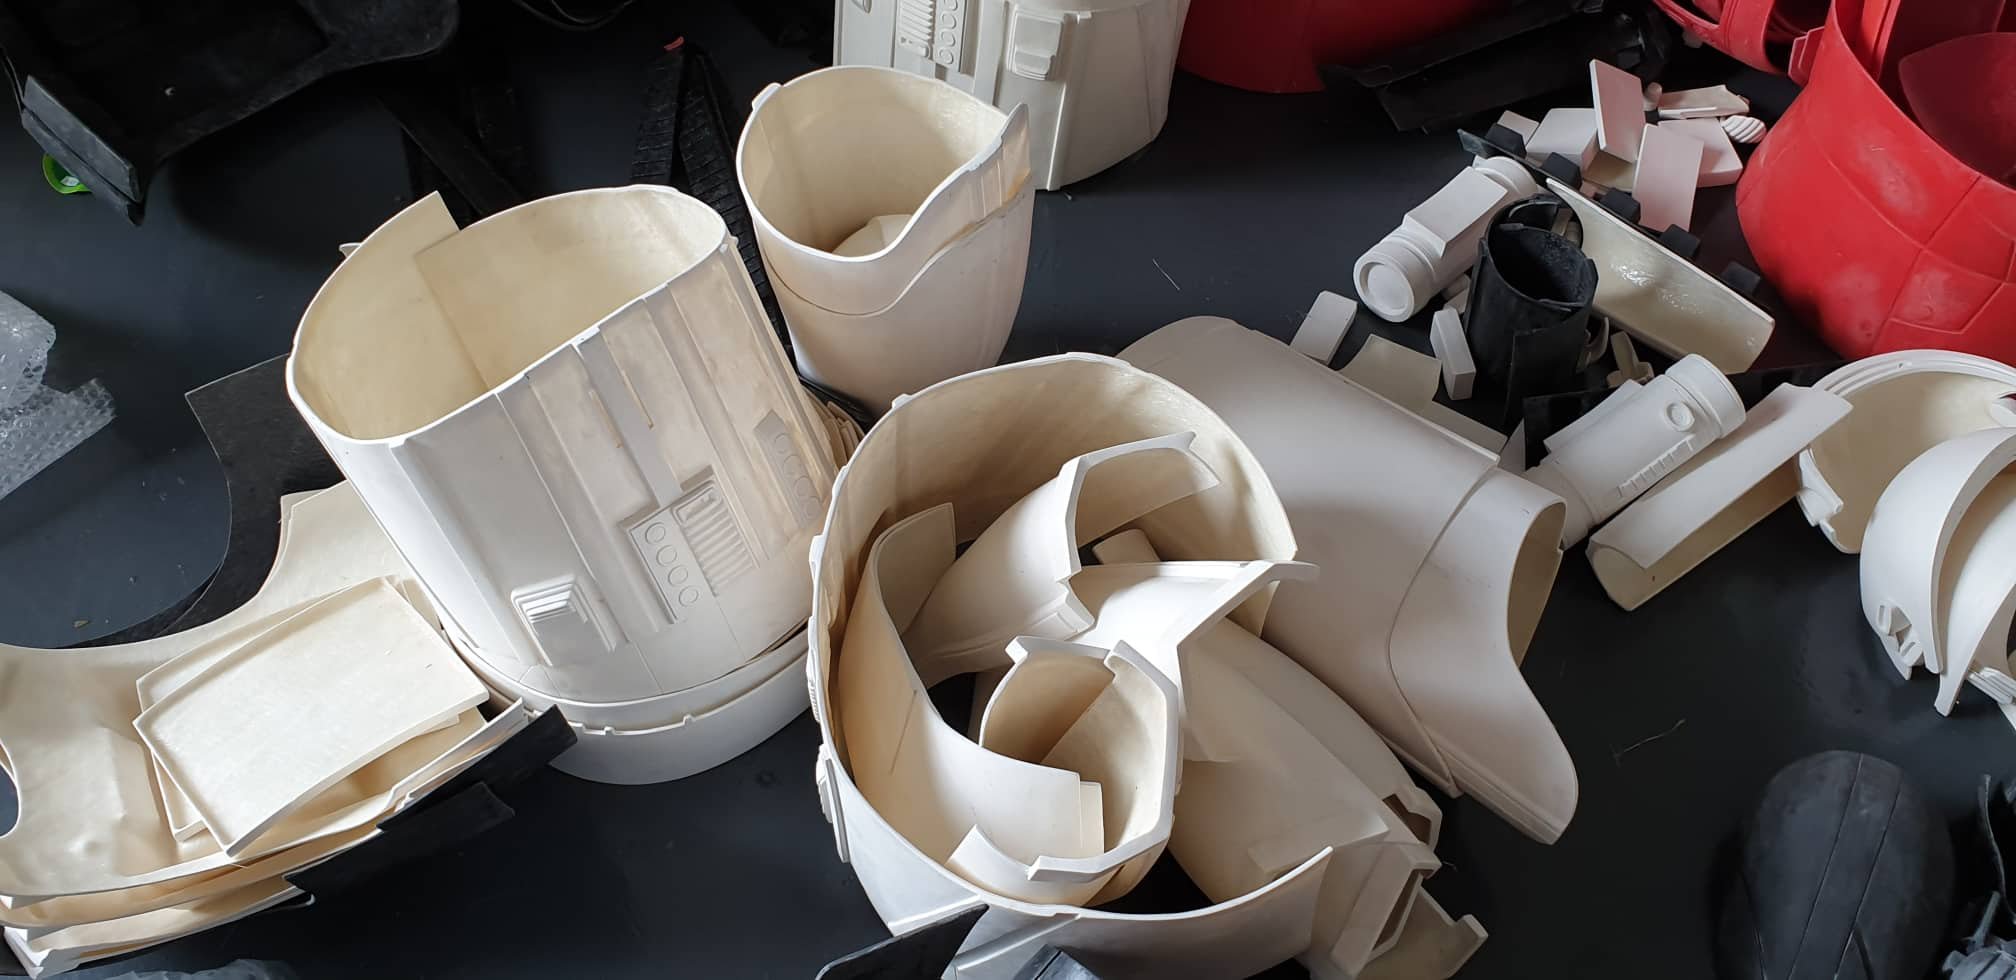
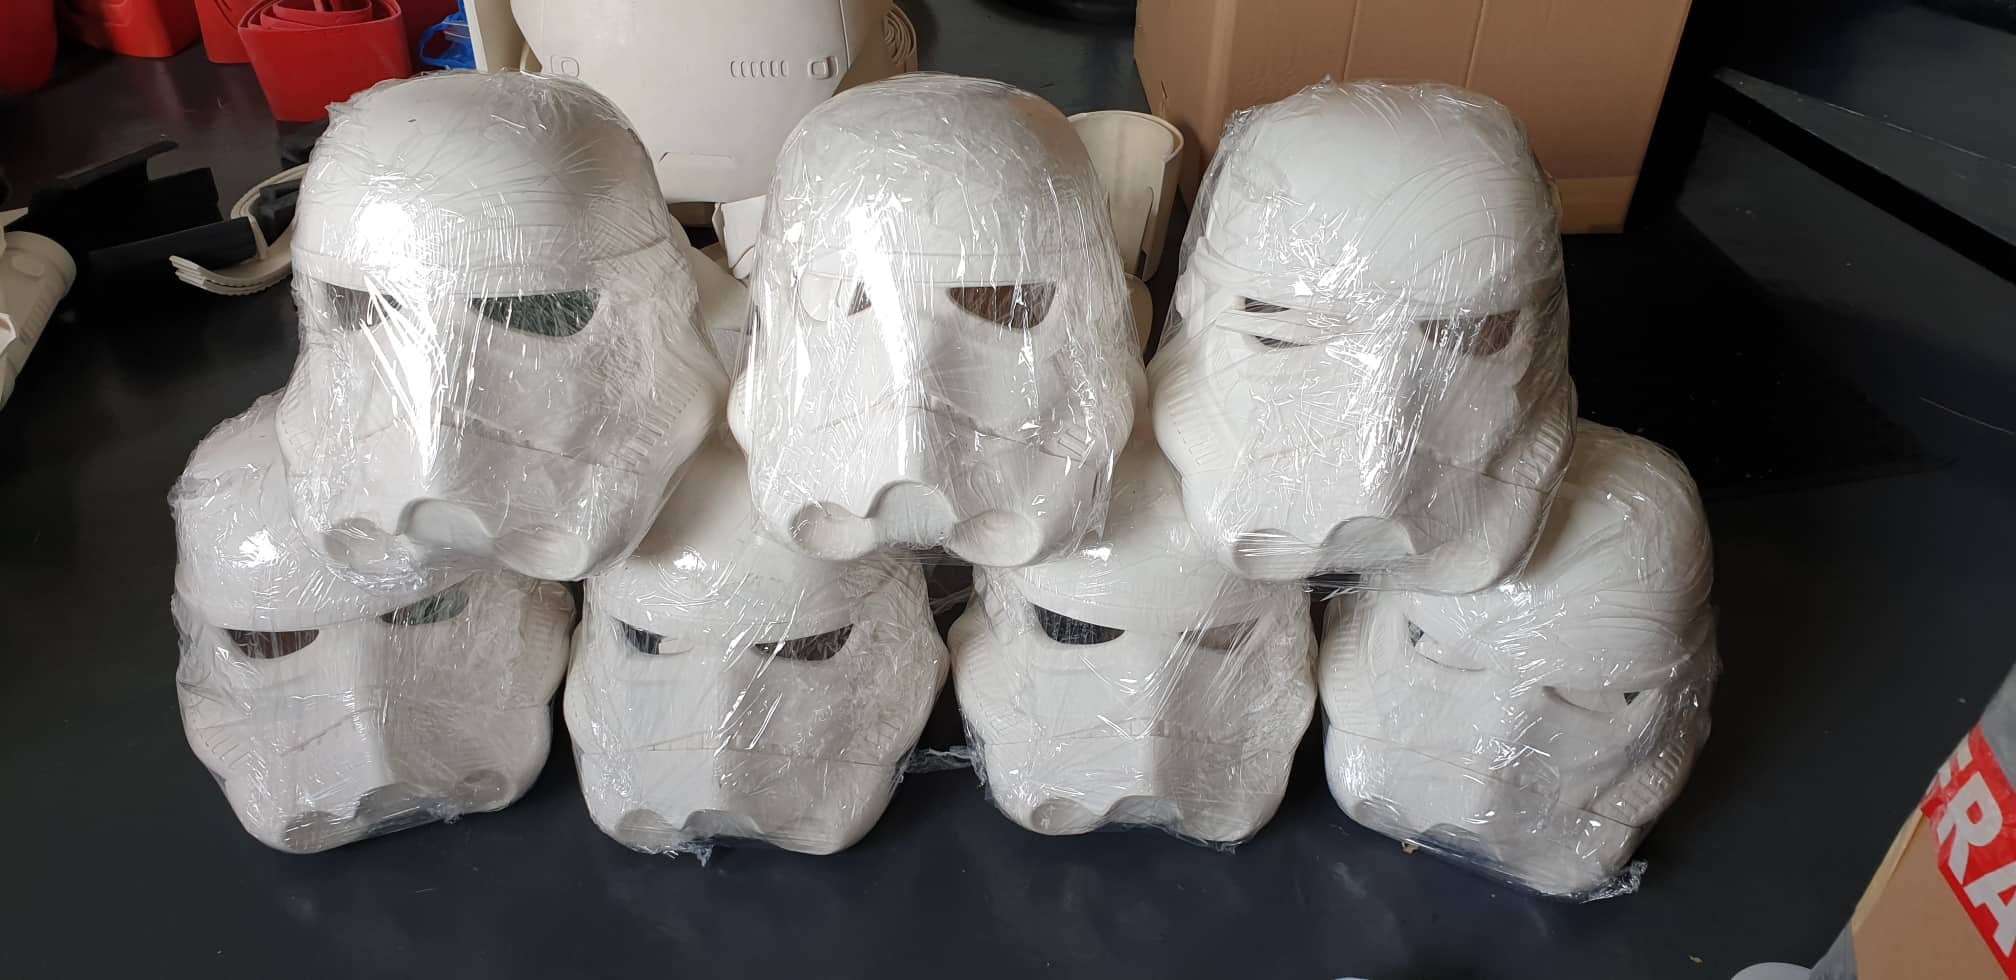
Hey party people, Justin "TheRascalKing" R. here. My Anovos ANH-S TK is starting to show some wear and tear after 3 years of trooping in it pretty frequently, and I've decided that it's finally time to start moving towards retiring it. That being said, I'm a stormtrooper through and through (Centurion #396, TK Mentor for SCG, working towards Armorer), so I knew I had to replace it with something else white and shiny. After some research, (at time of writing) it looks like Jim Tripon ("Jimmiroquai") from the Philippines' kit is the only high quality one currently available (aware of 850AW soon at least). But I liked the idea of flexible fiberglass and I was very impressed with some of his Praetorian Guard suits that SCG members have. Plus, it looked most similar to the material used for the suits I saw on set (recycled from R1 and Solo). I already knew shipping from the Philippines was expensive and group buys were the way to go, so I started reaching out to others in my Garrison to see if we could get something going. Turns out another member was already starting to do the same and we were able to get together a group buy of at least 7 suits! Parts are starting to come off the line and Jim has been great to work with. I'll post back with more when BBB day comes, but I thought I'd start a thread and get things going. I'll do my best to document our build, as there isn't much out there on these suits yet. We have some experienced builders and we plan to loop in some master Clone builders as well, as this almost has more in common with a Clone or FO build in many ways. Teamwork makes the dream work. Planning on getting Jim's undersuit and having it tailored if needbe, and having a friend who has his own paint business spray the kit for me (he mostly does motorcycles, but has sprayed helmets in the past for me and does top notch work). Boots from Imperial Boots, gloves from Endor Finders. Excited to get started and I'll post more soon! Thanks for the interest and keep checking back!

 1 point
 -
[Edit November 20, 2020] This thread was initially created to document my experiments with molding and casting a M38 scope, but it has now expanded and I did not want to create another thread when this one would suffice. I had hoped to finish with this whole project this summer (2020), but when Covid hit I did not have to opportunity to work on it as much as I would like to. I am not the best at keeping my threads up to date so I'll post below where I am now. I am a college student and I don't really have the space or tools for this project so most of this work was done when I visited my parents home or received help from a friend. Oh, lastly it is important to know that my welding skills are almost non-existent, so show some mercy. ______________________________________________ Hello everybody! I recently purchased real M38 scope off ebay for a good price. As I learn more about this hobby I know that the best way to get better is through practice. Therefore I decided I would try my hand at molding and casting replicas of the scope. Here is the scope: It is a 1943 version and it is in very good nick. I began by cleaning the scope and building a little box for it out of foam core. Then I used my pottery knowledge from middle school It wasn't the smoothest, but it'll work. One thing I wish I did was add escapes for air bubbles at this point, but I didn't think about that until after I cast. Here are some pics. The mold itself is not the prettiest, but the detail of the scope was great! One thing that always bugged me about resin copies of scopes is that to make them believable you had to drill and clean the insides out and then add lenses. I have seen others here do this wonderfully, but I lacked the skill and patience when I first started out here. Tino will remember this. So what I decided to do in this case was to cast in clear resin. This way all you have to do is mask the lenses before painting and then pull them off afterwards. Here is the first cast: This is where I learned I needed to cut in some escapes for air and whatnot. But to prove this concept I painted this scope today to see how it would look. Note I didn't bother cleaning this casting up much as it was so defective. Here are the pictures: Let me know what you think! For my first ever silicone mold I am pretty happy, but I will probably make a new one eventually. Cheers!1 point
-
What Sly said. There's no rules... however it fits you best. I like some, visually, but if it's causing problems with fit, have no compunction about removing some or all. Personally, I'd recommend leaving it like you have it, and waiting to see how everything fits together, once you have the rigging done. If all is well, no need to remove more. If you need to tweak anything, it's an easy fix, and doing it later doesn't cause any harm.1 point
-
Yes! Current scoresheet from one group: 4 x black 1 x red 1 x white Sent from my iPhone using Tapatalk Pro1 point
-
This will help tremendously! Thank you. I'm gonna give it another try this weekend. Sent from my SM-N960U using Tapatalk1 point
-
OUTSTANDING, and a big congrats, brother! If there is anything we can do to help with your jouncy towards your Expert Infantry badge (and beyond) just let us know!!1 point
-
The return edge is subjective. In the film many of the suits had no return edge on the biceps, I left a little on mine as it gives the impression of some thickness to the armour. In the end your comfort is also important so if the parts are sized and fit well you can leave some return. The only parts stipulated in the CRL to have no return edge at the higher levels are the wrist end of the forearms. Sent from my iPhone using Tapatalk1 point
-
Overall a GREAT job on this TKC armor, Aizenoso! That paint job is truly spectacular, sir, but there are a few issues that I could suggest. Some of these items may or may not affect level 2 approval, but are definitely things to consider for level 3 (which I hope you will be aiming for)! 1. You shoulder bells are sticking out very wide. Ideally they should lay (somewhat) flat against the biceps and probably should be trimmed down. CRL photo Reference images 2. Your ears seem to be way too far forward at the bottoms. The screws should line up with the angle of the rear trapezoid as shown, just as in ANH Stunt and Hero. Reference image 3. Since level 2 is optional, you will be required to have a weapon. The light saber is fine, but it must adhere to the CRLs as follows, and you will need to post clear, close-up photos of it before the D.O.s can get started. Lightsaber The hilt is Graflex style or has the characteristics of the Graflex, (reference Luke Skywalker's lightsaber from ANH and ESB). If the lightsaber has a blade, it may be one of the color blades used in the video game, The Force Unleashed. The choice of blade colors are: Black, Blue, Green, Gold, Purple, Red and Yellow. Note: Double blades, small Yoda style lightsaber, or inexpensive non-FX Hasbro Lightsaber toys are not allowed. I have every confidence that you can do this, sir, and I look forward to welcoming you to the rank of Expert Infantry TKC!!1 point
-
I went ahead and fix the shins. They look better since you pointed it out! Thanks !1 point
-
Just seen that! Haha. Definetly a typo haha. 92kg for sure!1 point
-
'Sup, Justin! I'm curious about this build... wish I had known about it! I look forward to following this, though, and seeing the final product.1 point
-
Cool, thanks for your replies! So i think i will go for the painting then :-) The painting in general goes very well, unfortunately i forgot to make pictures. So i will add more pictures when the blaster is assembled. Gesendet von iPhone mit Tapatalk1 point
-
Hi Simes, Amazing commitment, jumping straight in with those fixes!! Top job. Regarding the ear alignment, don’t push yourself too hard here. Depending on how you trimmed the face plate and back sections that are under the ears, this might not be possible. Ear alignment is really a task for early on in the helmet construction. (Just keep the ear references if you ever make another lid). However, I’d definitely consider using the spare set of ears that Ross provides to try thinning them out a bit. As you know, I also troop an RWA lid and recently trimmed the ears for a more accurate look. Here’s an example; Screen used - note how thin the “disc” is; For the tubestripes, personally I’d consider removing the ones you’ve added and slowly lean a couple forward. The style that’s been referenced in your EIB review sees the stripes steadily lean further forwards. https://www.whitearmor.net/forum/topic/44755-tube-stripes-anh-stunt-dave-m/ With respect, your new front one leans forward a little abruptly, not quite in keeping with the others. I’d perhaps fit two in the gaps, each with a little more lean. (Or, Just remove the new ones and leave it as it was - the template you have is not the same as the Dave M template so you’ve used what you had very well). :-) Keep up the amazing work, Simes. :-)1 point
-
Hi Marko. As Tino mentioned, the part you are talking about is silver. I opted to use thin aluminum sheeting to replicate that part but silver paint is just fine. the aluminum sheet was easy to do so if you try that you just need some fine carving tool to make a thin seam to insert the sheet into a bit. I used a tiny Tamiya hobby saw. It cuts very precise and clean. Then I used a thin blade to dig out more.1 point
-
First of all, let me tell you are amazing Simon. Great job Trooper. By the other hand, remember the Helmet issue is just a suggestion, and no mandatory for the next level (Centurion) . You can apply for the L3 and delay the helmet fixing untill you are totally secure. I had the same issue with my Anovos Helmet and due it has come pre assembled, It's really difficult just think about to remake it. I'm still waiting for the right moment to do it. You're just ready to do the next step. congratulations again .1 point
-
For this section you can simply use silver paint on both sides. On the pictures it looks like metal, because a thin sheet of self-adhesive aluminum foil was used to cover this area.1 point
-
I personally would echo the above opinions and go with ABS, which is what most of us have. It's not as hard to trim as you may think, and (depending on the thickness) it will hold up for a very, very long time. My Stunt and HWT armor are AM and I have put them though hell and back on countless troops with no cracks or issues. My Anovos (Hero) armor is a lot thinner, and even after a few troops it started developing cracks and splits which I had to patch/repair.1 point
-
Looks good, best of luck with your review Sent from my iPhone using Tapatalk1 point
-
We have a member in our garrison that went the PVC RS and I can concur, it cracks, all over the place. He has had to reinforce the inside of the chest plate, and as he also went the bracket system for strapping all have cracked through as well. He has made extensive repairs and is now going to convert it to a sandy it has become that bad. Sent from my iPhone using Tapatalk1 point
-
Good luck Andrew, almost there. Sent from my iPhone using Tapatalk1 point
-
You only ever get one EIB number. We set a goal of getting 1000 troopers approved for EIB a couple of years ago, so each trooper only gets one EIB number, no matter how many approvals they have.1 point
-
1 point
-
You can request 501st/Stormtrooper access here Appears your shoulder bells have a big gap between them and the shoulder straps, the elastic is being pulled outwards, perhaps tighten the shoulder strap elastic, doubled over can help, then see if this reduces the gap at the top.1 point
-
Andrew, I'm going to ask for a quick fix before I can continue your app. Per the CRL's both new and older versions state "Frown is painted gray and does not leave the teeth area" Take a look at the reference photo on the right and you'll see what we're looking for. Fortunately with a toothpick, mineral spirits and time you get it looking screen accurate in no time. Post the new photos when you get this complete and we'll go from there.1 point
-
Back //////////////// Front1 point
-
Remind me and ill show you the shim job i had to do1 point
-
Thank you guys!1 point
-
One of these days you'll have to troop up here and we can fix that ankle1 point
-
Anytime, Anywhere!1 point
-
Welp, gotta fix that one, no biggie. But I did see UKSWRATH reinforcement on those brackets, and going to wait after approval, and do the mods needed. Thanks for pointing that out!1 point
-
Once you are an approved 501st Stormtrooper you can the request higher access here on the forum Then once you have higher access you can then submit for L2 EIB approval and if approved you can submit for L3 Centurion.1 point
-
Thanks! That clears it up much better. I was confused as I had concentrated on reading the EI and Centurion approval requests, and saw that people were being accepted to those higher levels through the forum. I was mistaken and thought the same applied for Basic. Much appreciated, yet again.1 point
-
Congratulations trooper and welcome to the FO ranks1 point
-
HI David, welcome to the FISD and 501st Legion and congratulations Trooper. Happy Trooping1 point
-
Congratulations Greg, yeah man shoot for the top, way to go!! Sent from my iPhone using Tapatalk1 point
-
Way to go Greg!! Fantastic to hear that you are aiming for the higher levels, and we are here for any help you may need on that, brother. As Glen (Q) mentioned, "Pass on what you have learned". Now that you have been through the trials and tribulations of building a set of armor and being approved, you are now a part of the FISD family, so we look forward to seeing you stay active on the boards and passing on that knowledge!1 point
-
Well done, and extremely fast :-) ! Have fun with it ;-)1 point
-
Welcome to FISD and The Legion, congratulation!1 point
-
Coming along nicely Erick, The ATA ears can be a little tricky. Here's a few photos of my ATA bucket. Hope they help. L R1 point
-
And avoid “Buy one get one free” offers. ;-)1 point
-
This is a close up of a ROTK which should give you a good idea what you're looking for: Rogue One Stormtrooper Reference CE 2016 by Christopher Pearson, on Flickr If you click through you'll be able to zoom right in on the detail.1 point
-
CRL states for Centurion that stitching shall be present between the ribs of the rib-nit fabric so in it’s present form it would not pass. Nothing prevents you from adding the stitching though1 point