Leaderboard


Popular Content
Showing content with the highest reputation on 04/08/2019 in Posts
-
Cheers guys, I've gone with 1.5 mm Sent from my SM-G960F using Tapatalk3 points
-
Neither of you are alone in this. All. The. Time. Sent from my Pixel 3 using Tapatalk2 points
-
My apologies for the delay, but I am still waiting on Mike's name to be added to the program I use to generate these. Thanks for your patience!2 points
-
Sorry for the delay, but I am still waiting on Christine's name to be added to the program that produces these. Thanks for your patience!2 points
-
Hi Mark, first I would remove a lot of the return edge, leave about 4-5mm, this will give the butt plate a little more flex so it wraps around or fits you better. Once you have done that you can work on how much of that extra tab to remove, but I dare say most if not all of it will go. The main reason AM kits have it is to suit larger troopers and you look to be of a close to standard size build so I see no necessity for you needing it.2 points
-
Finally, the folding stock got attached… it took me a long time to get that done as this needed very accurate work here. If the drilling is not positioned centrally, the folding stock won’t be able to get attached in the front. To attach the folding stock, I used a stainless steel cylinder, drilled holes on both ends and added screw threads as well. I used the screws of Tino here, with minor modifications. Thanks for reading and commenting...2 points
-
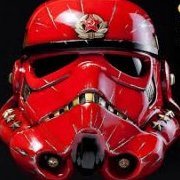
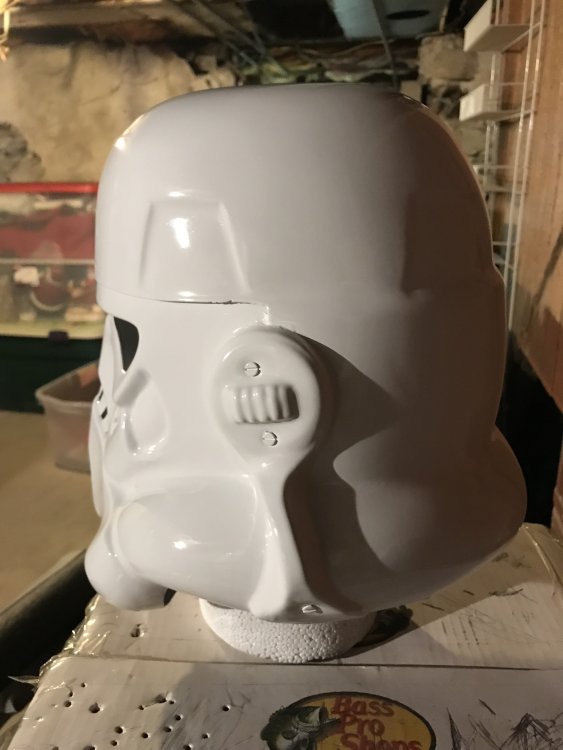
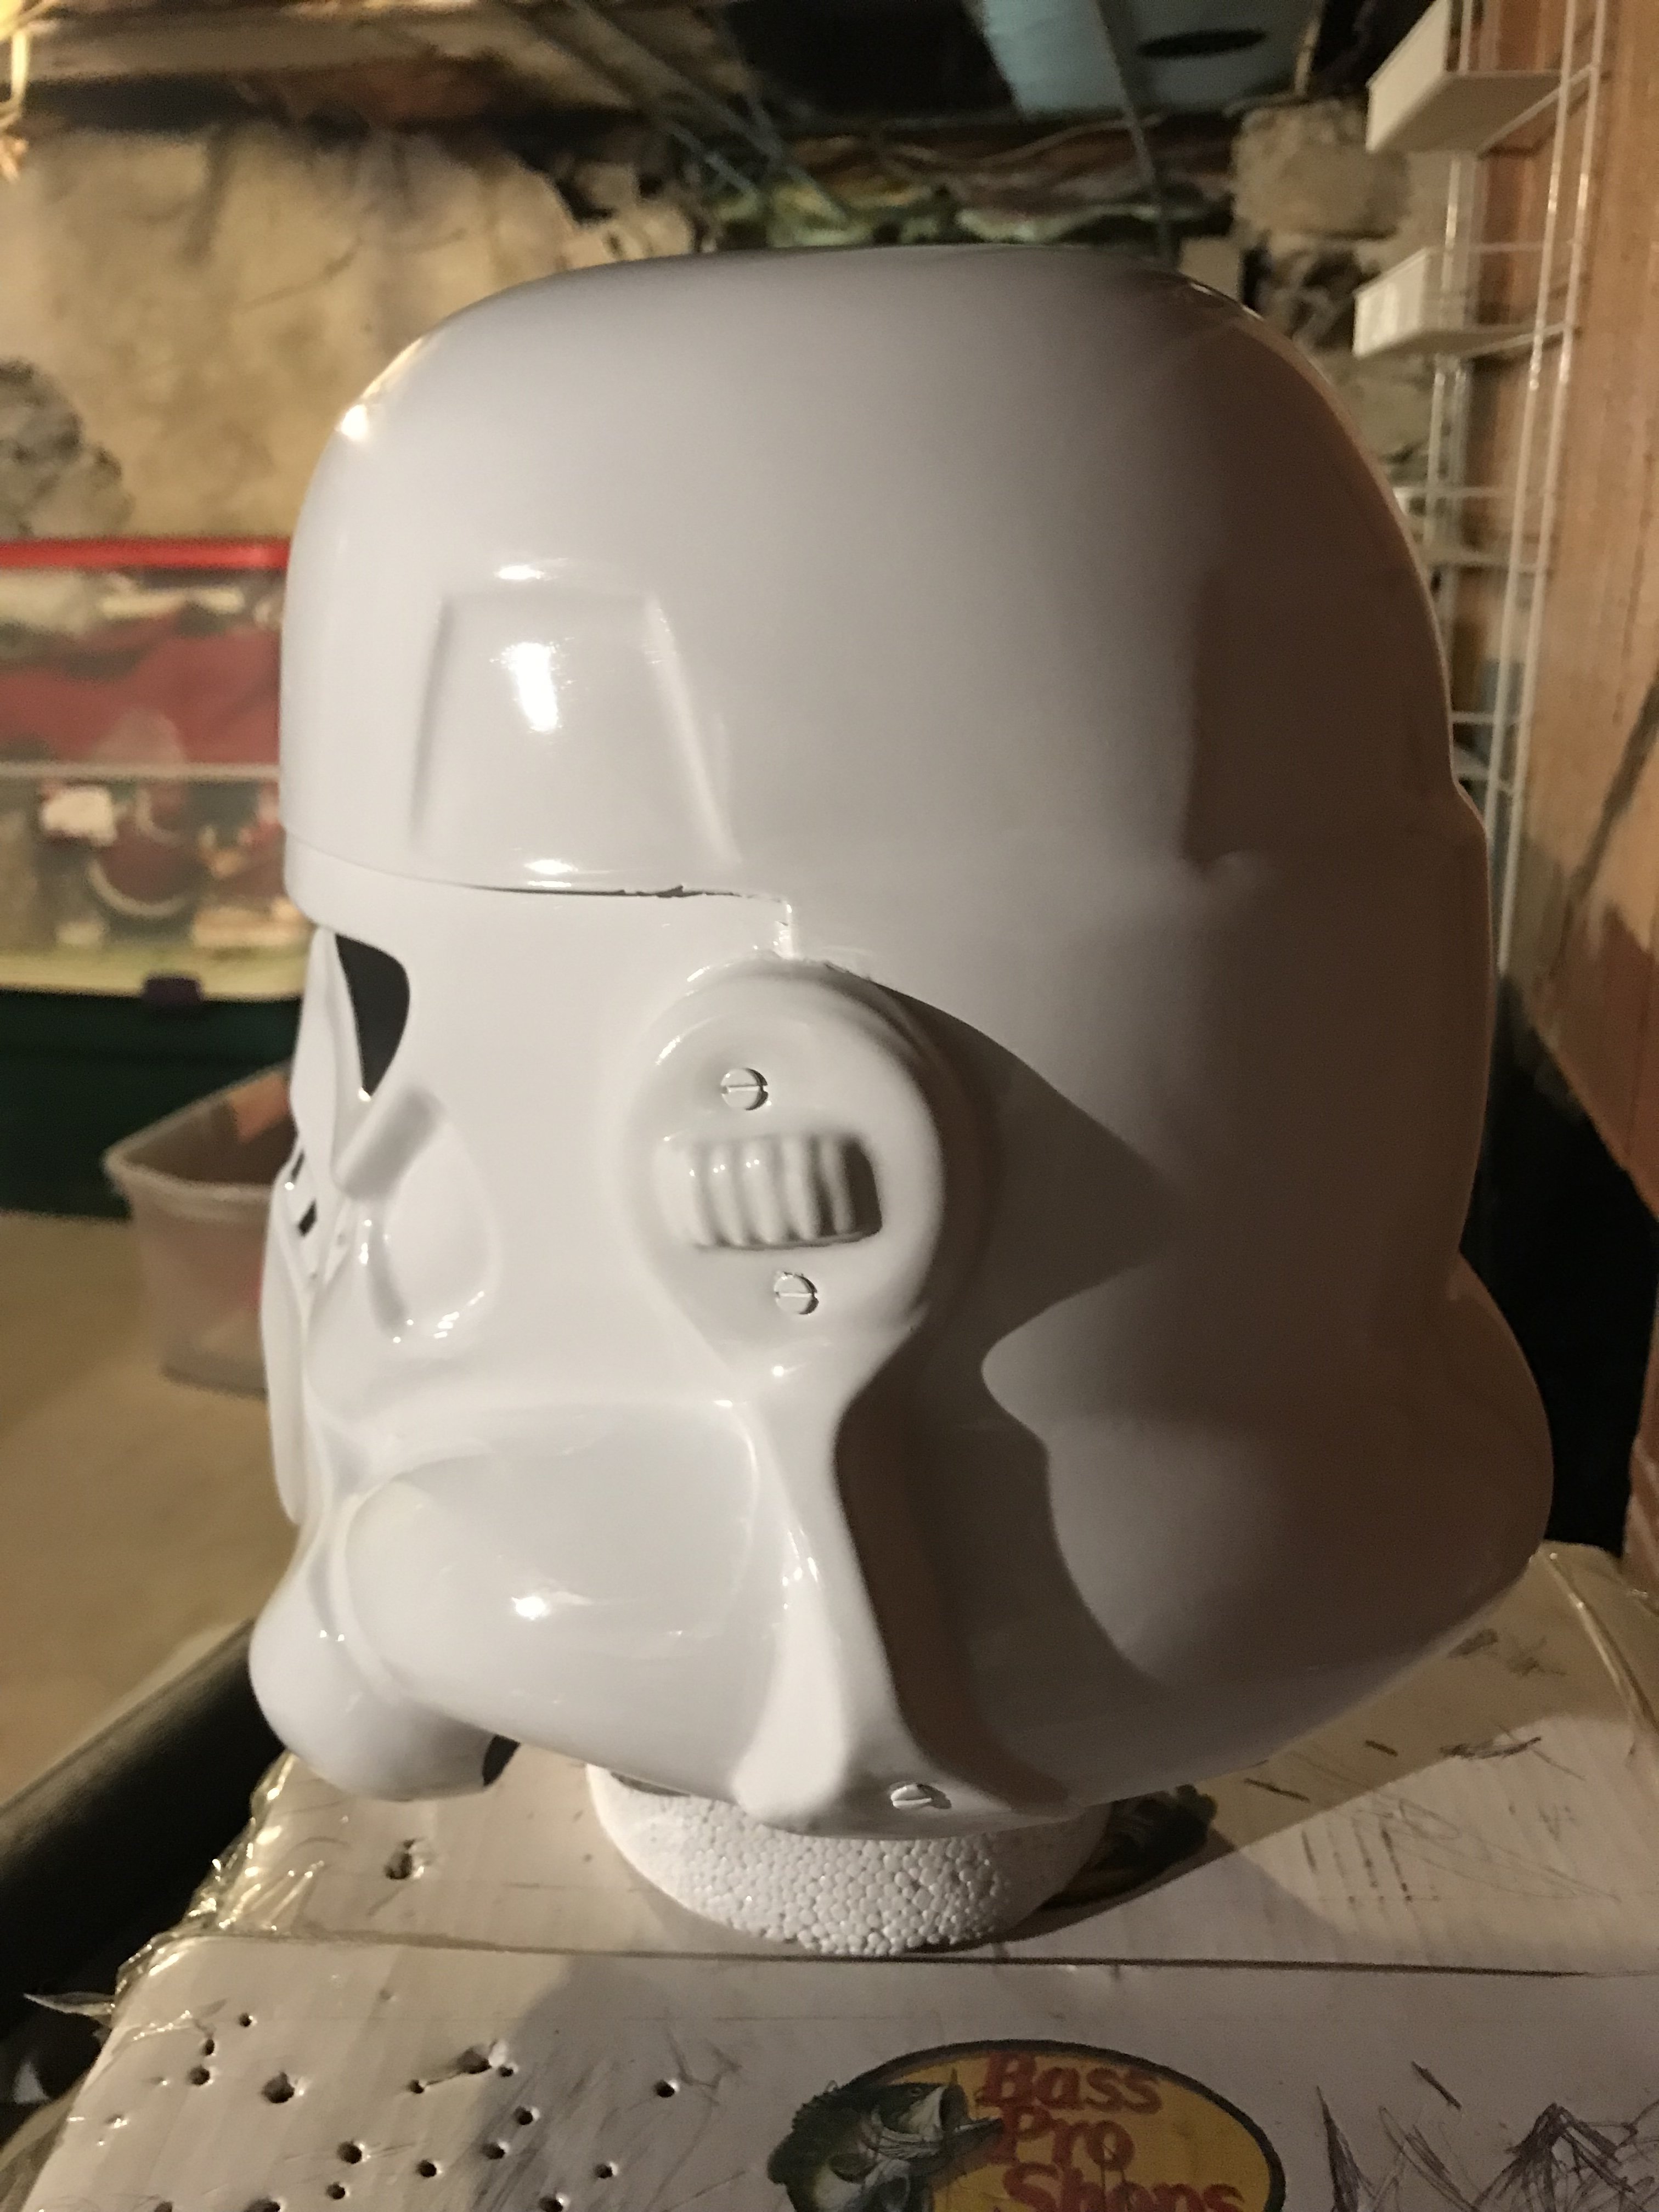
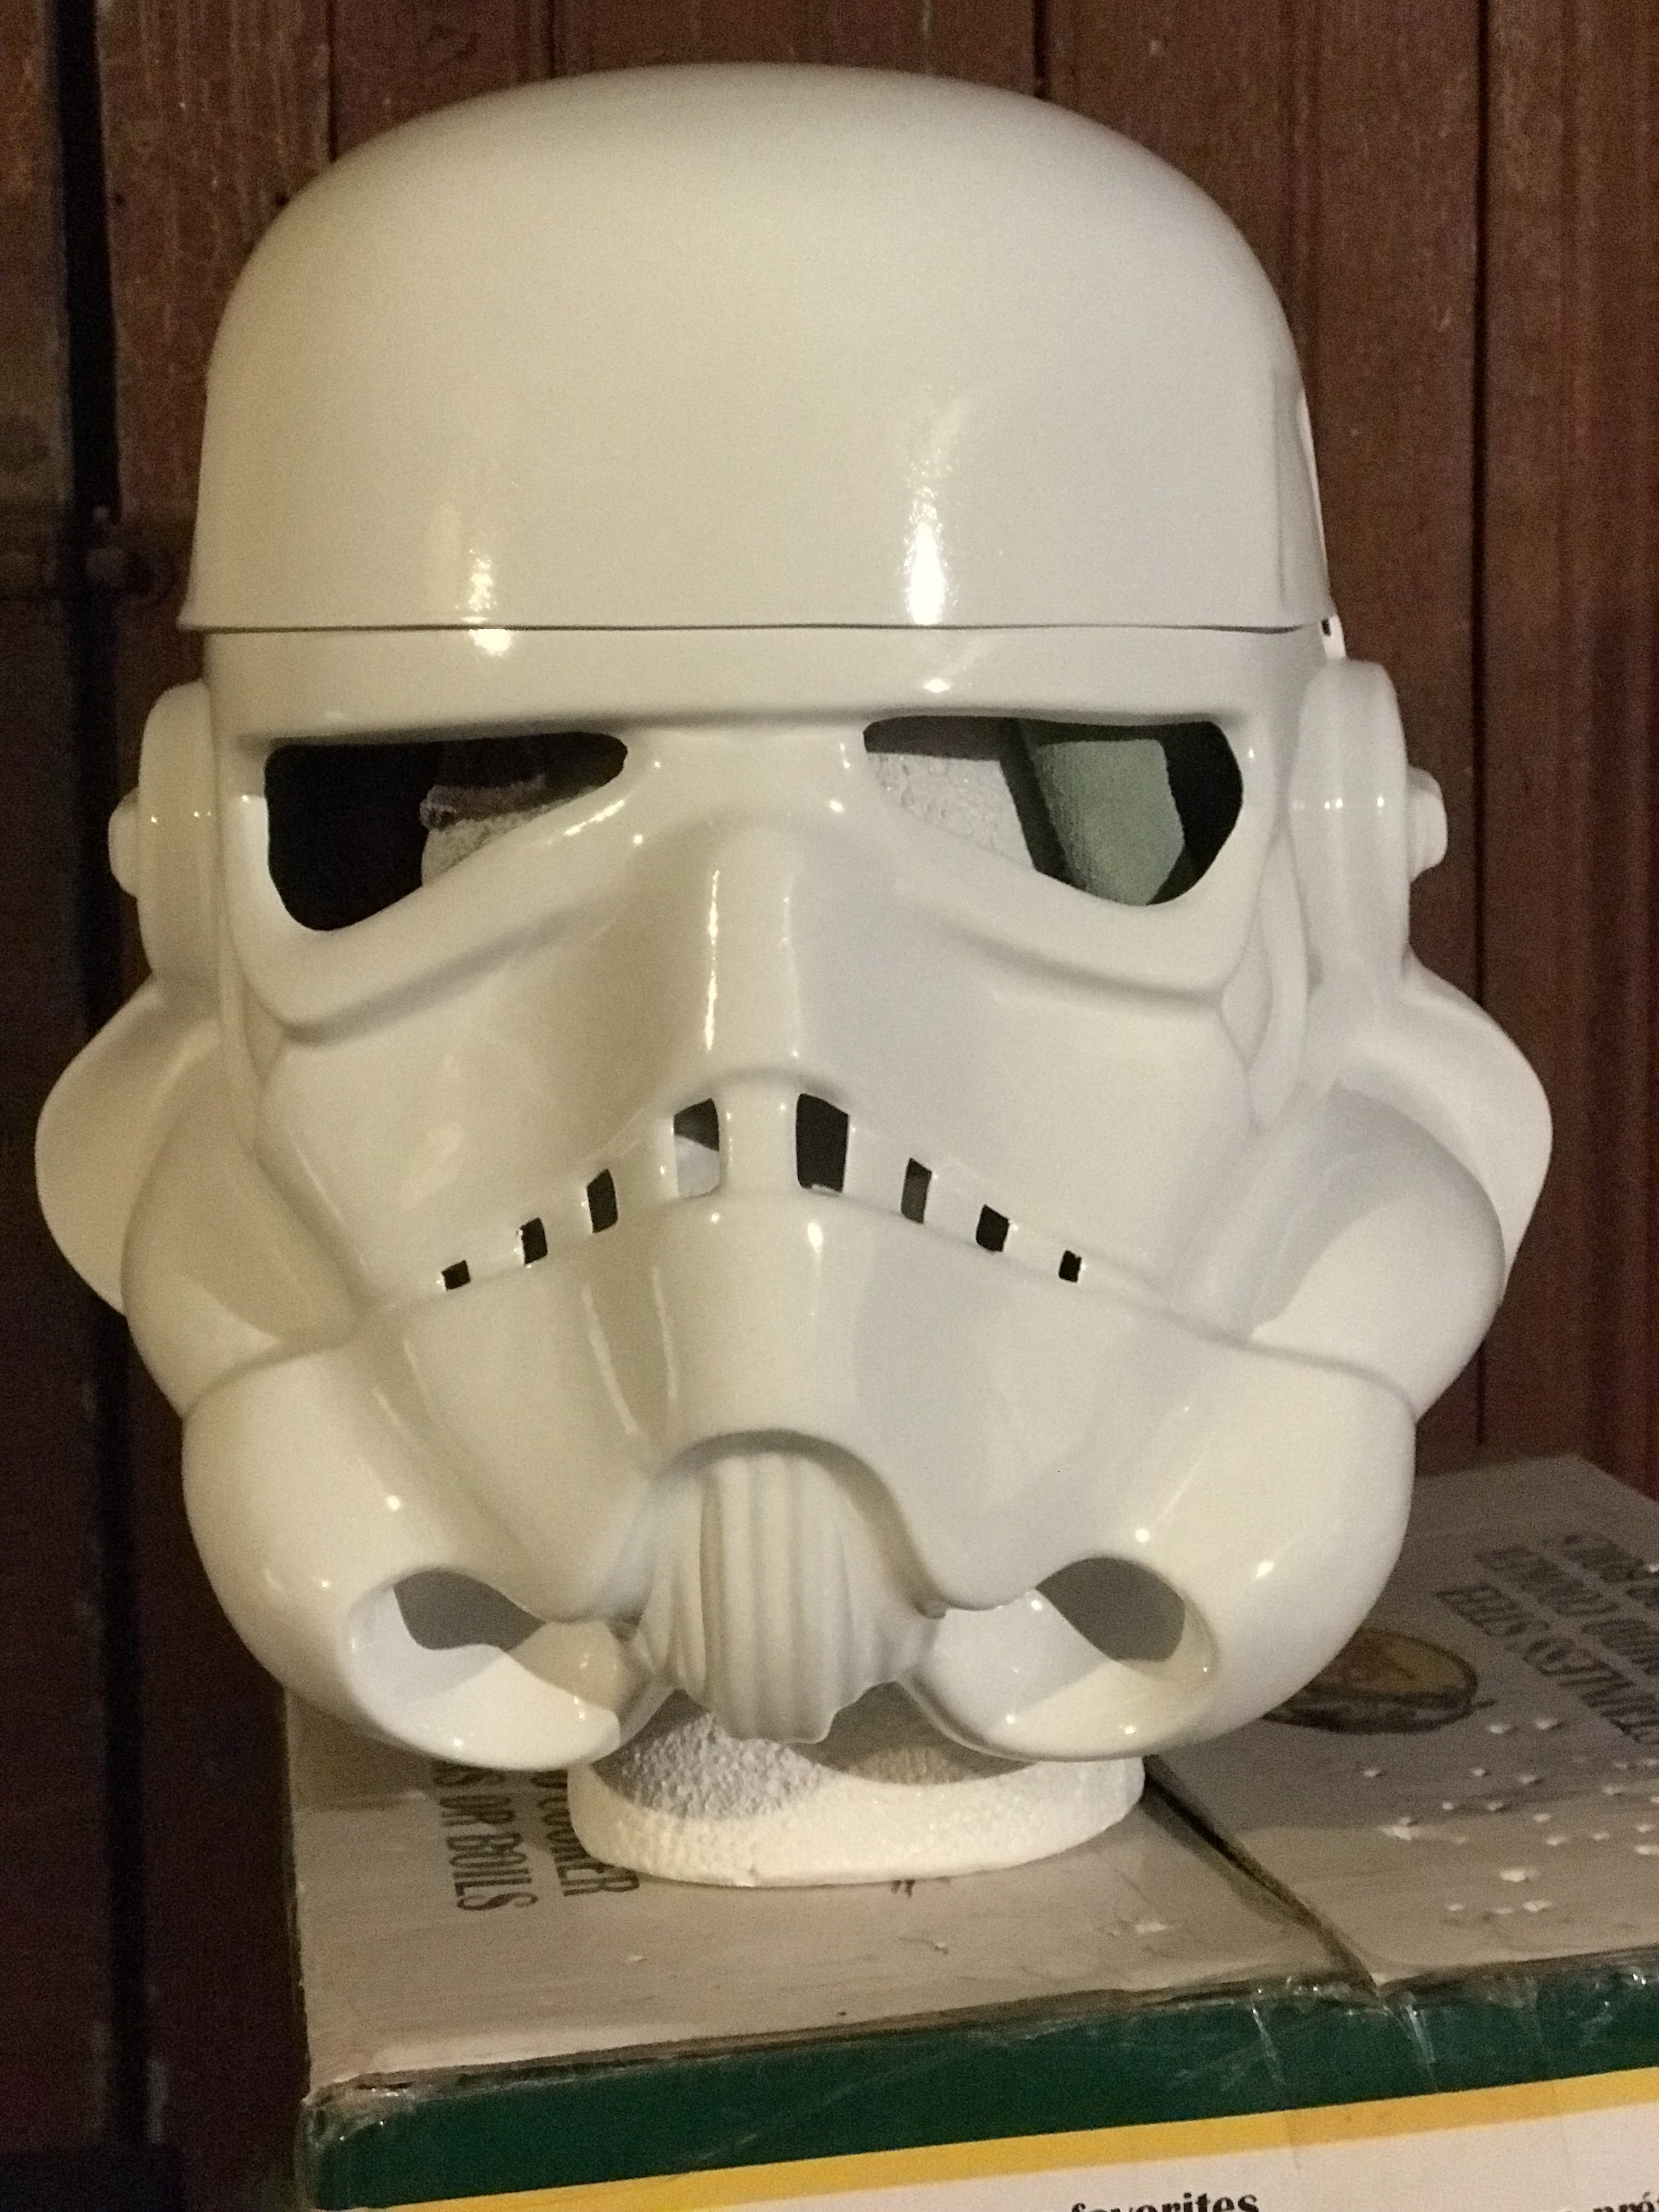
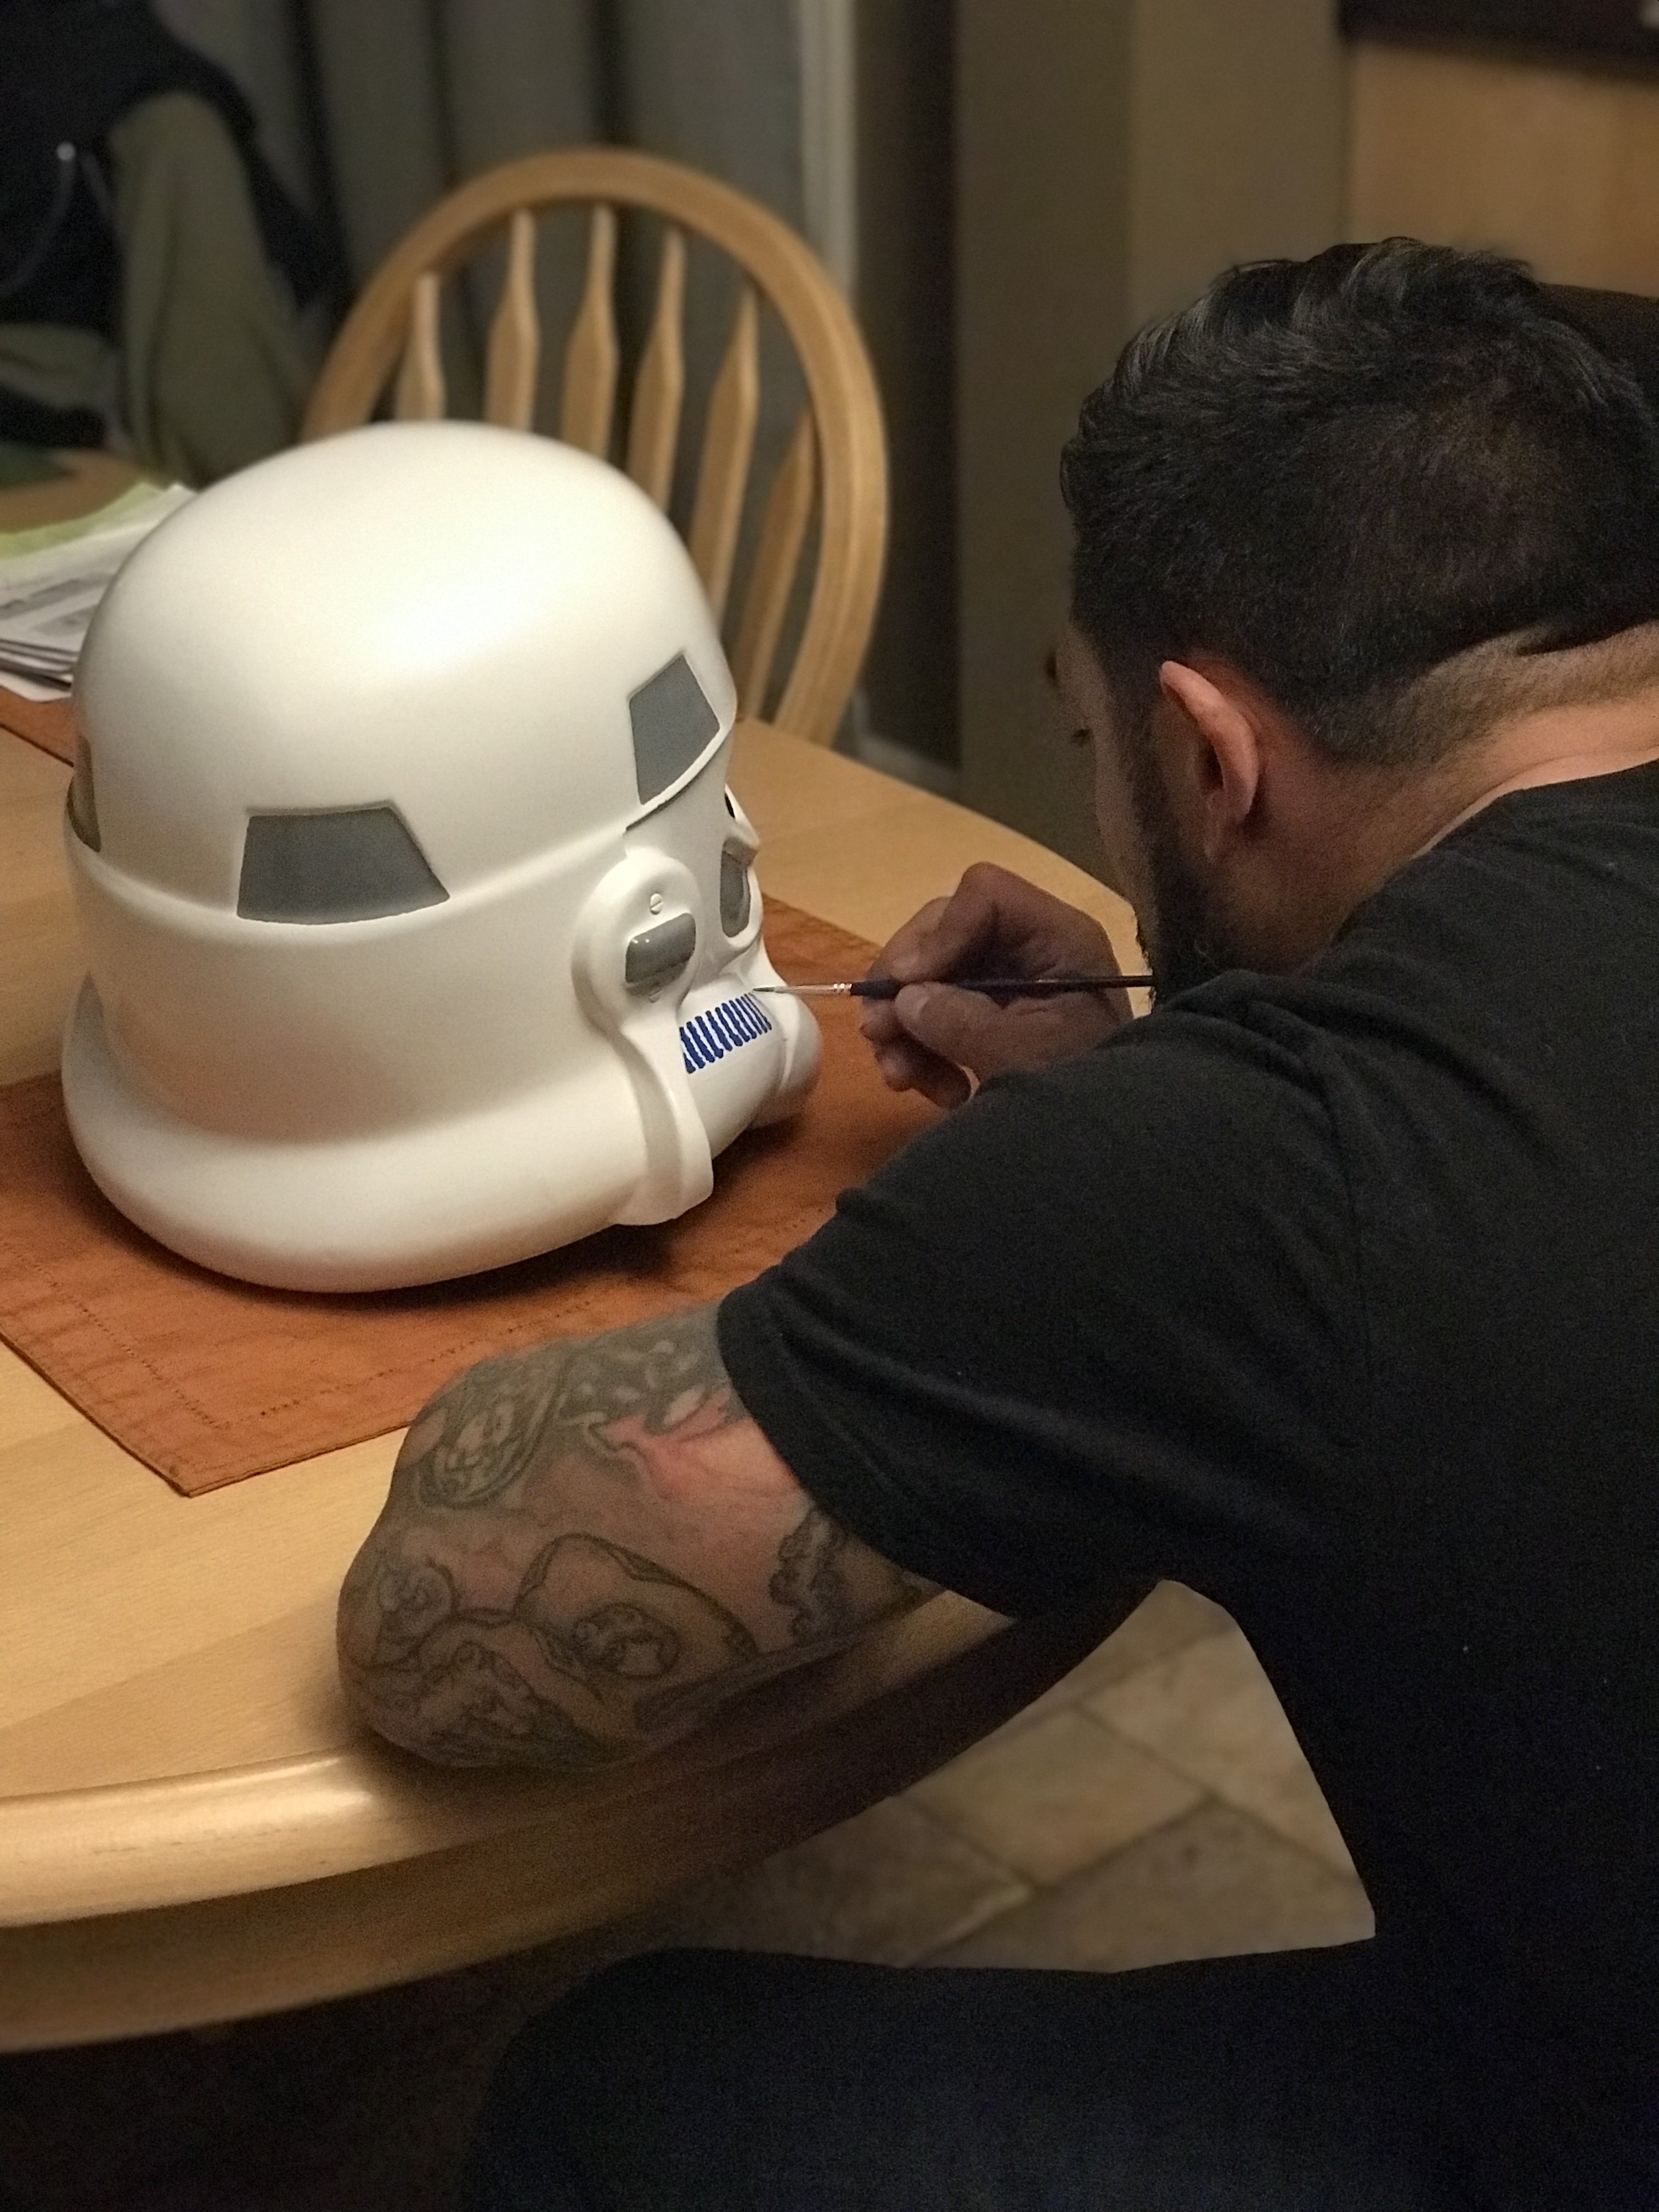
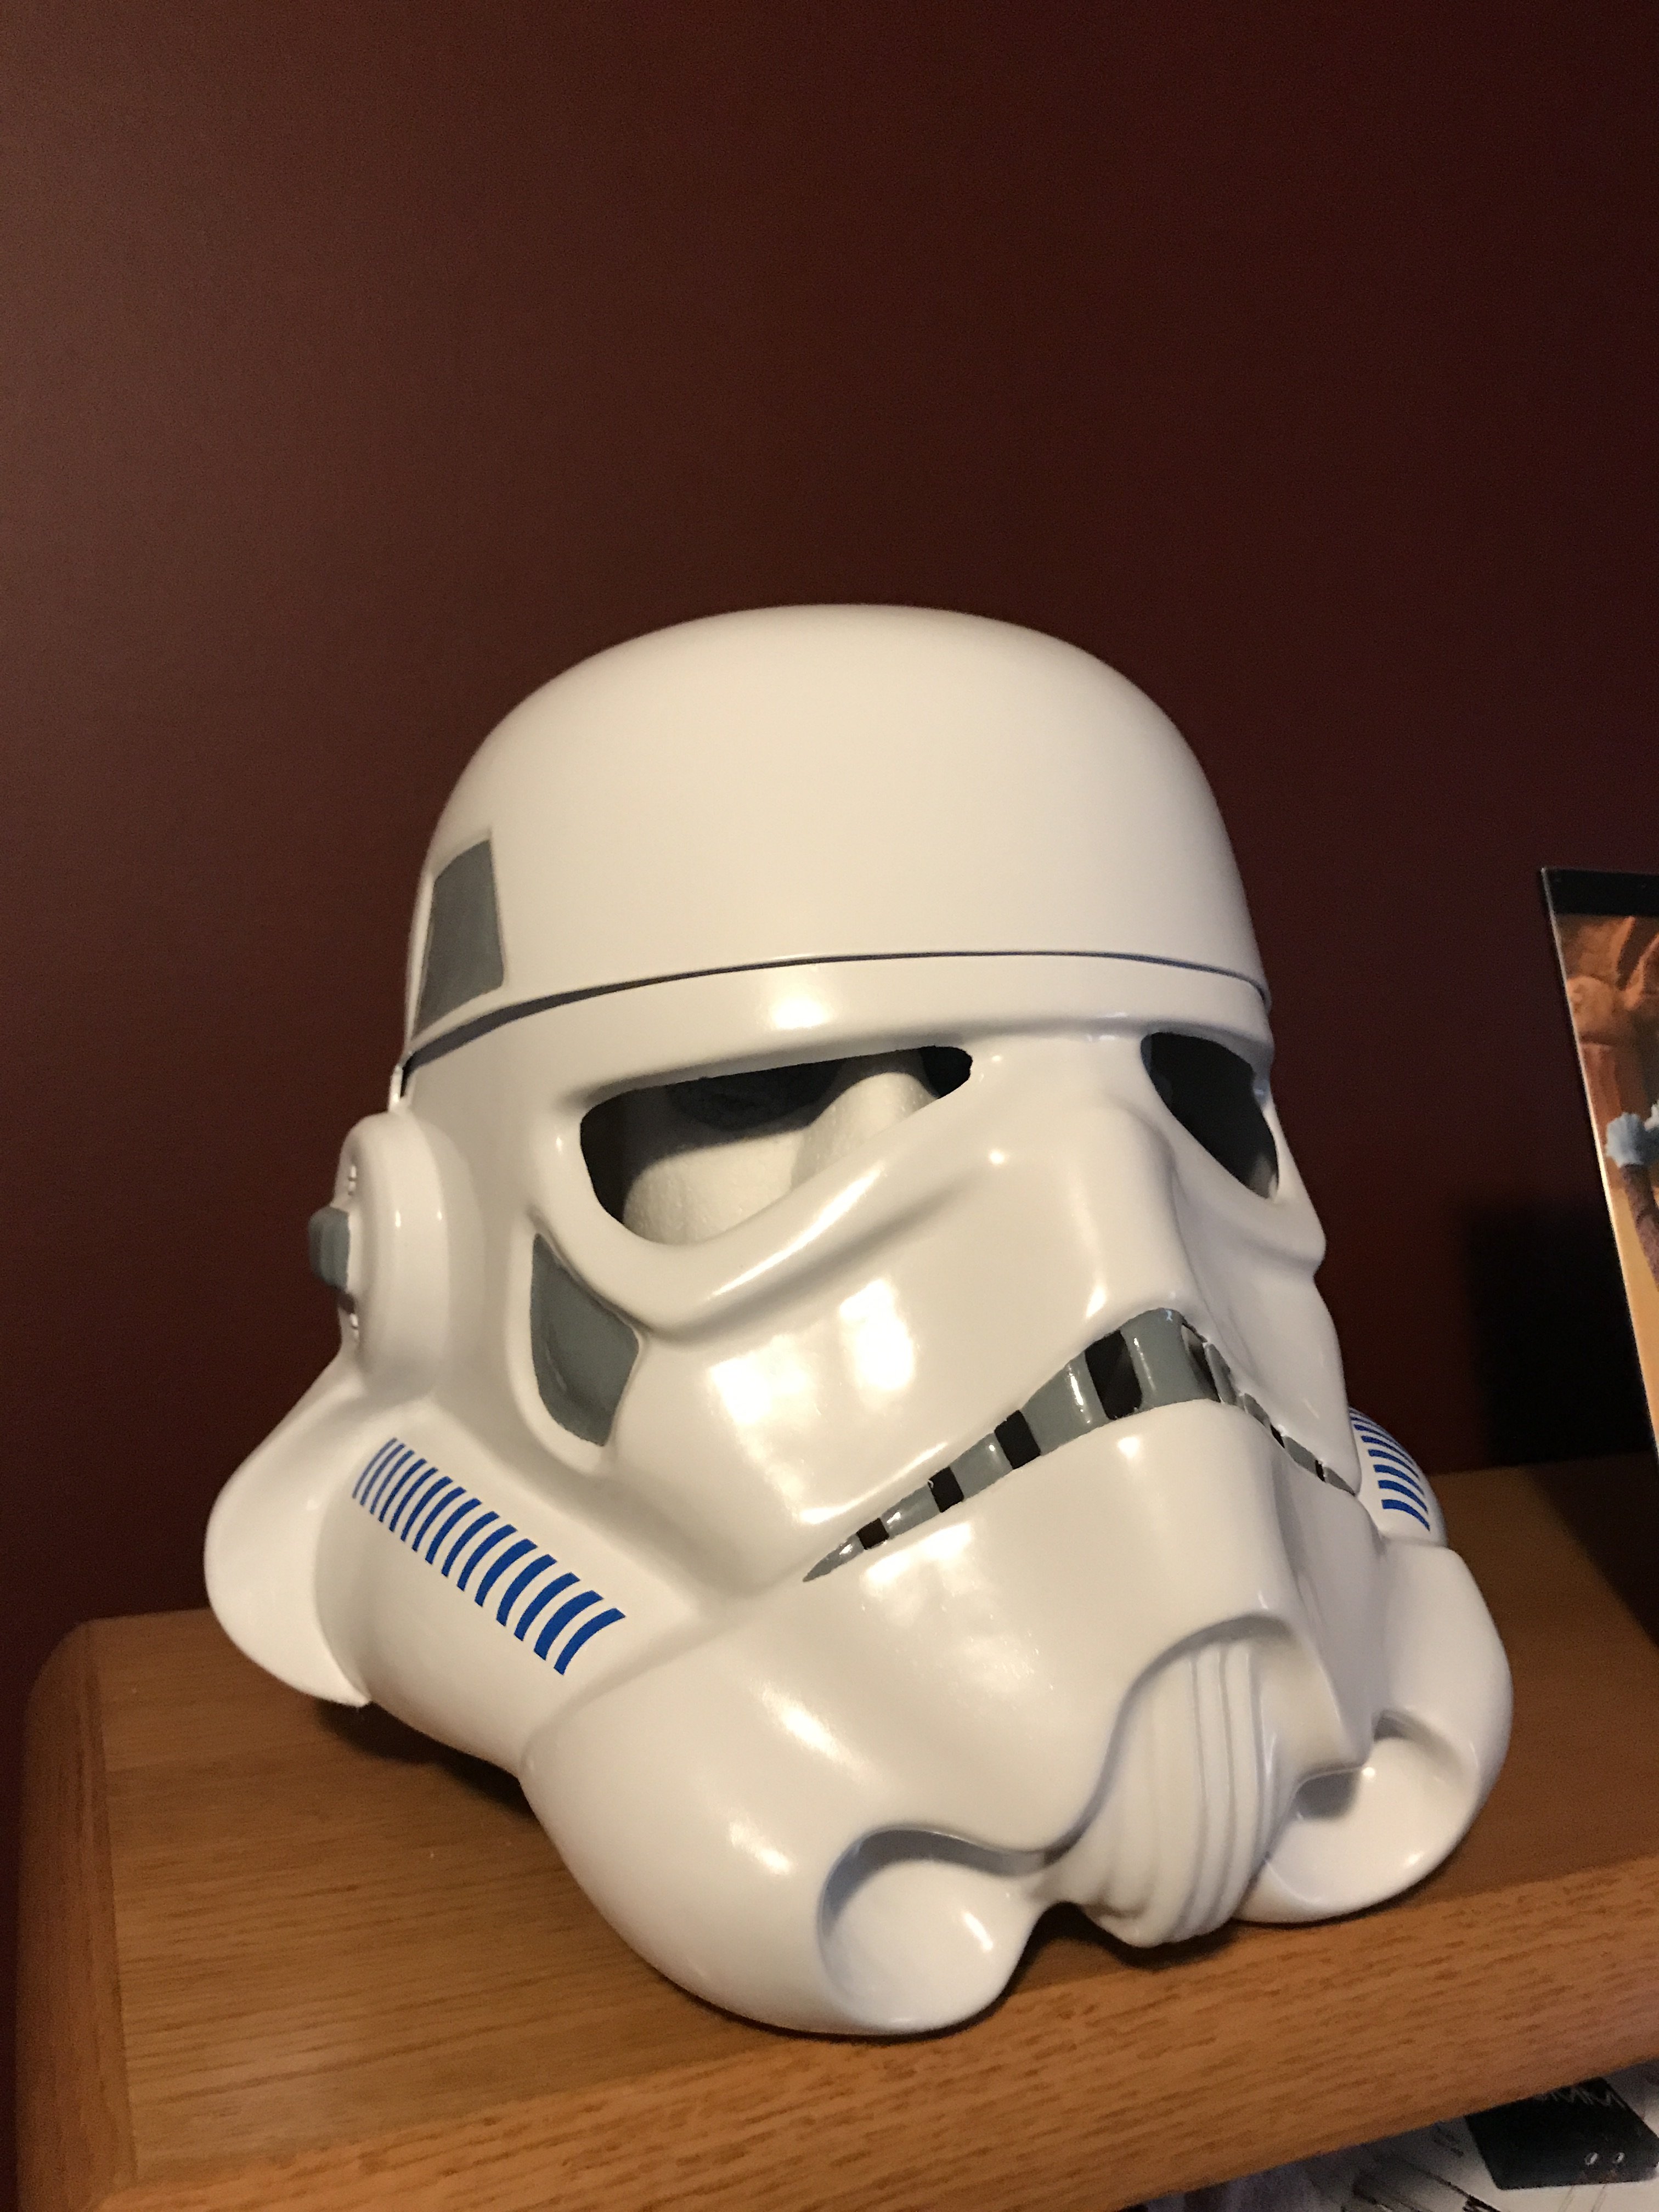
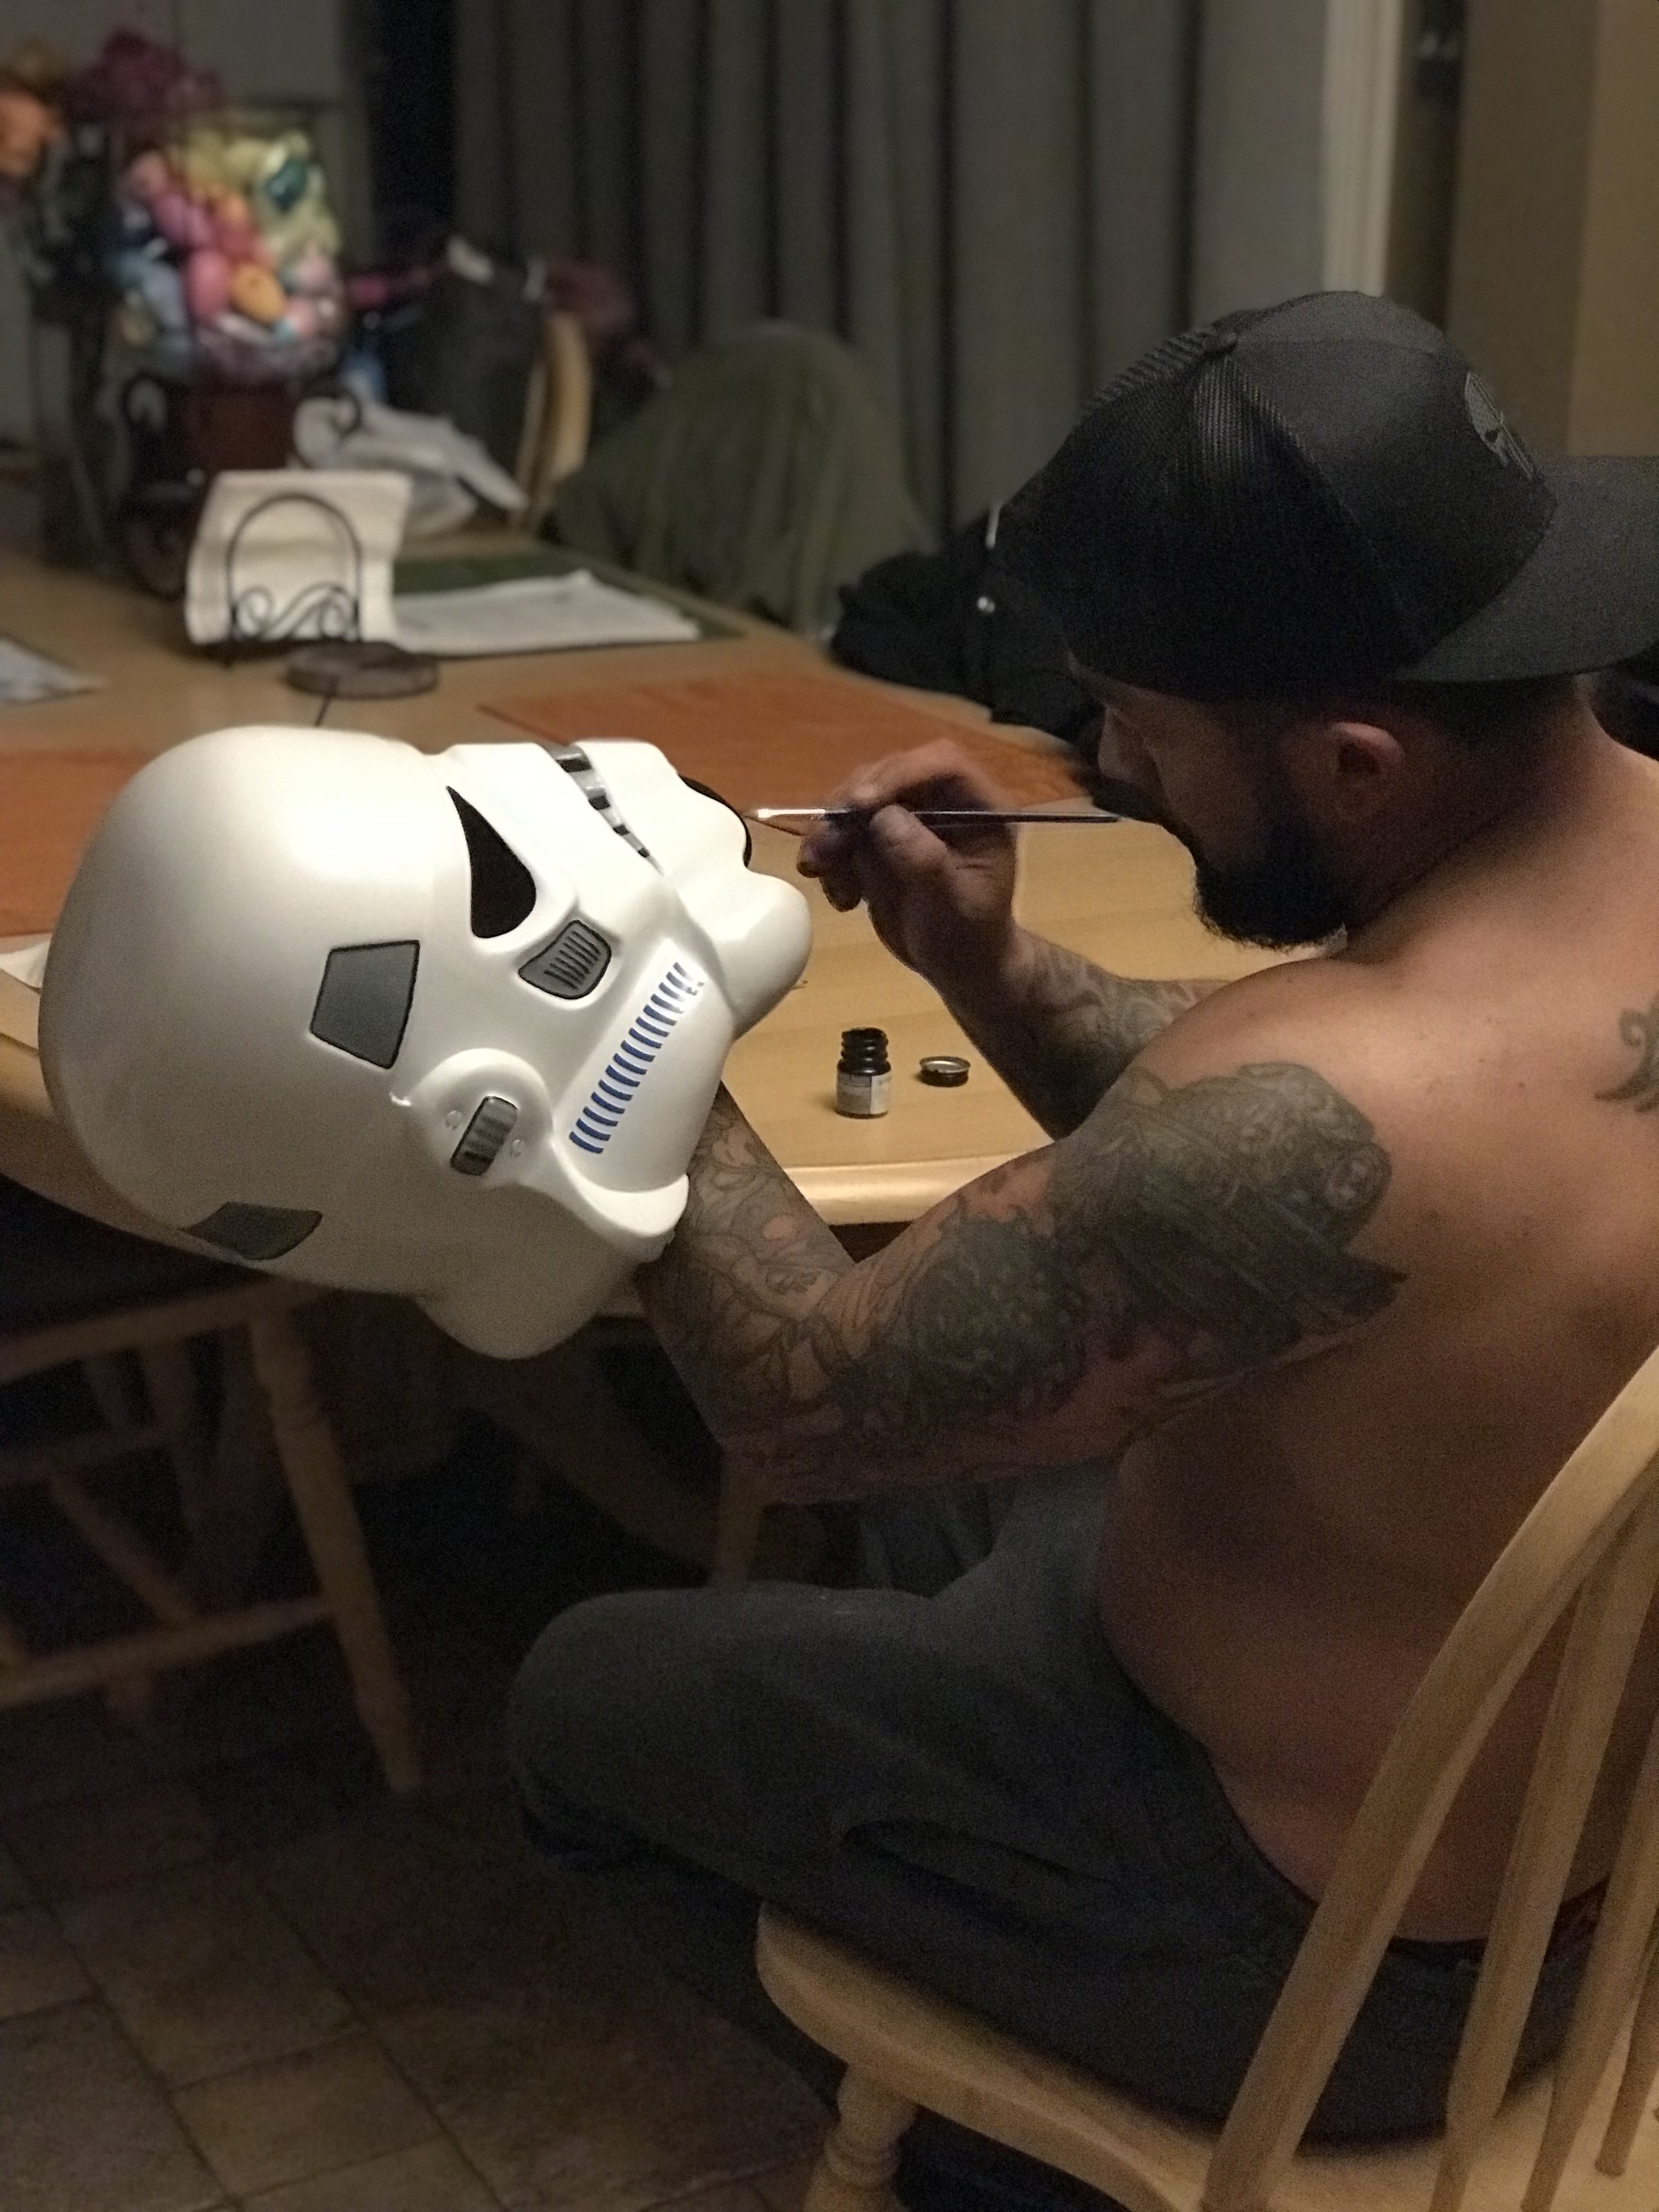
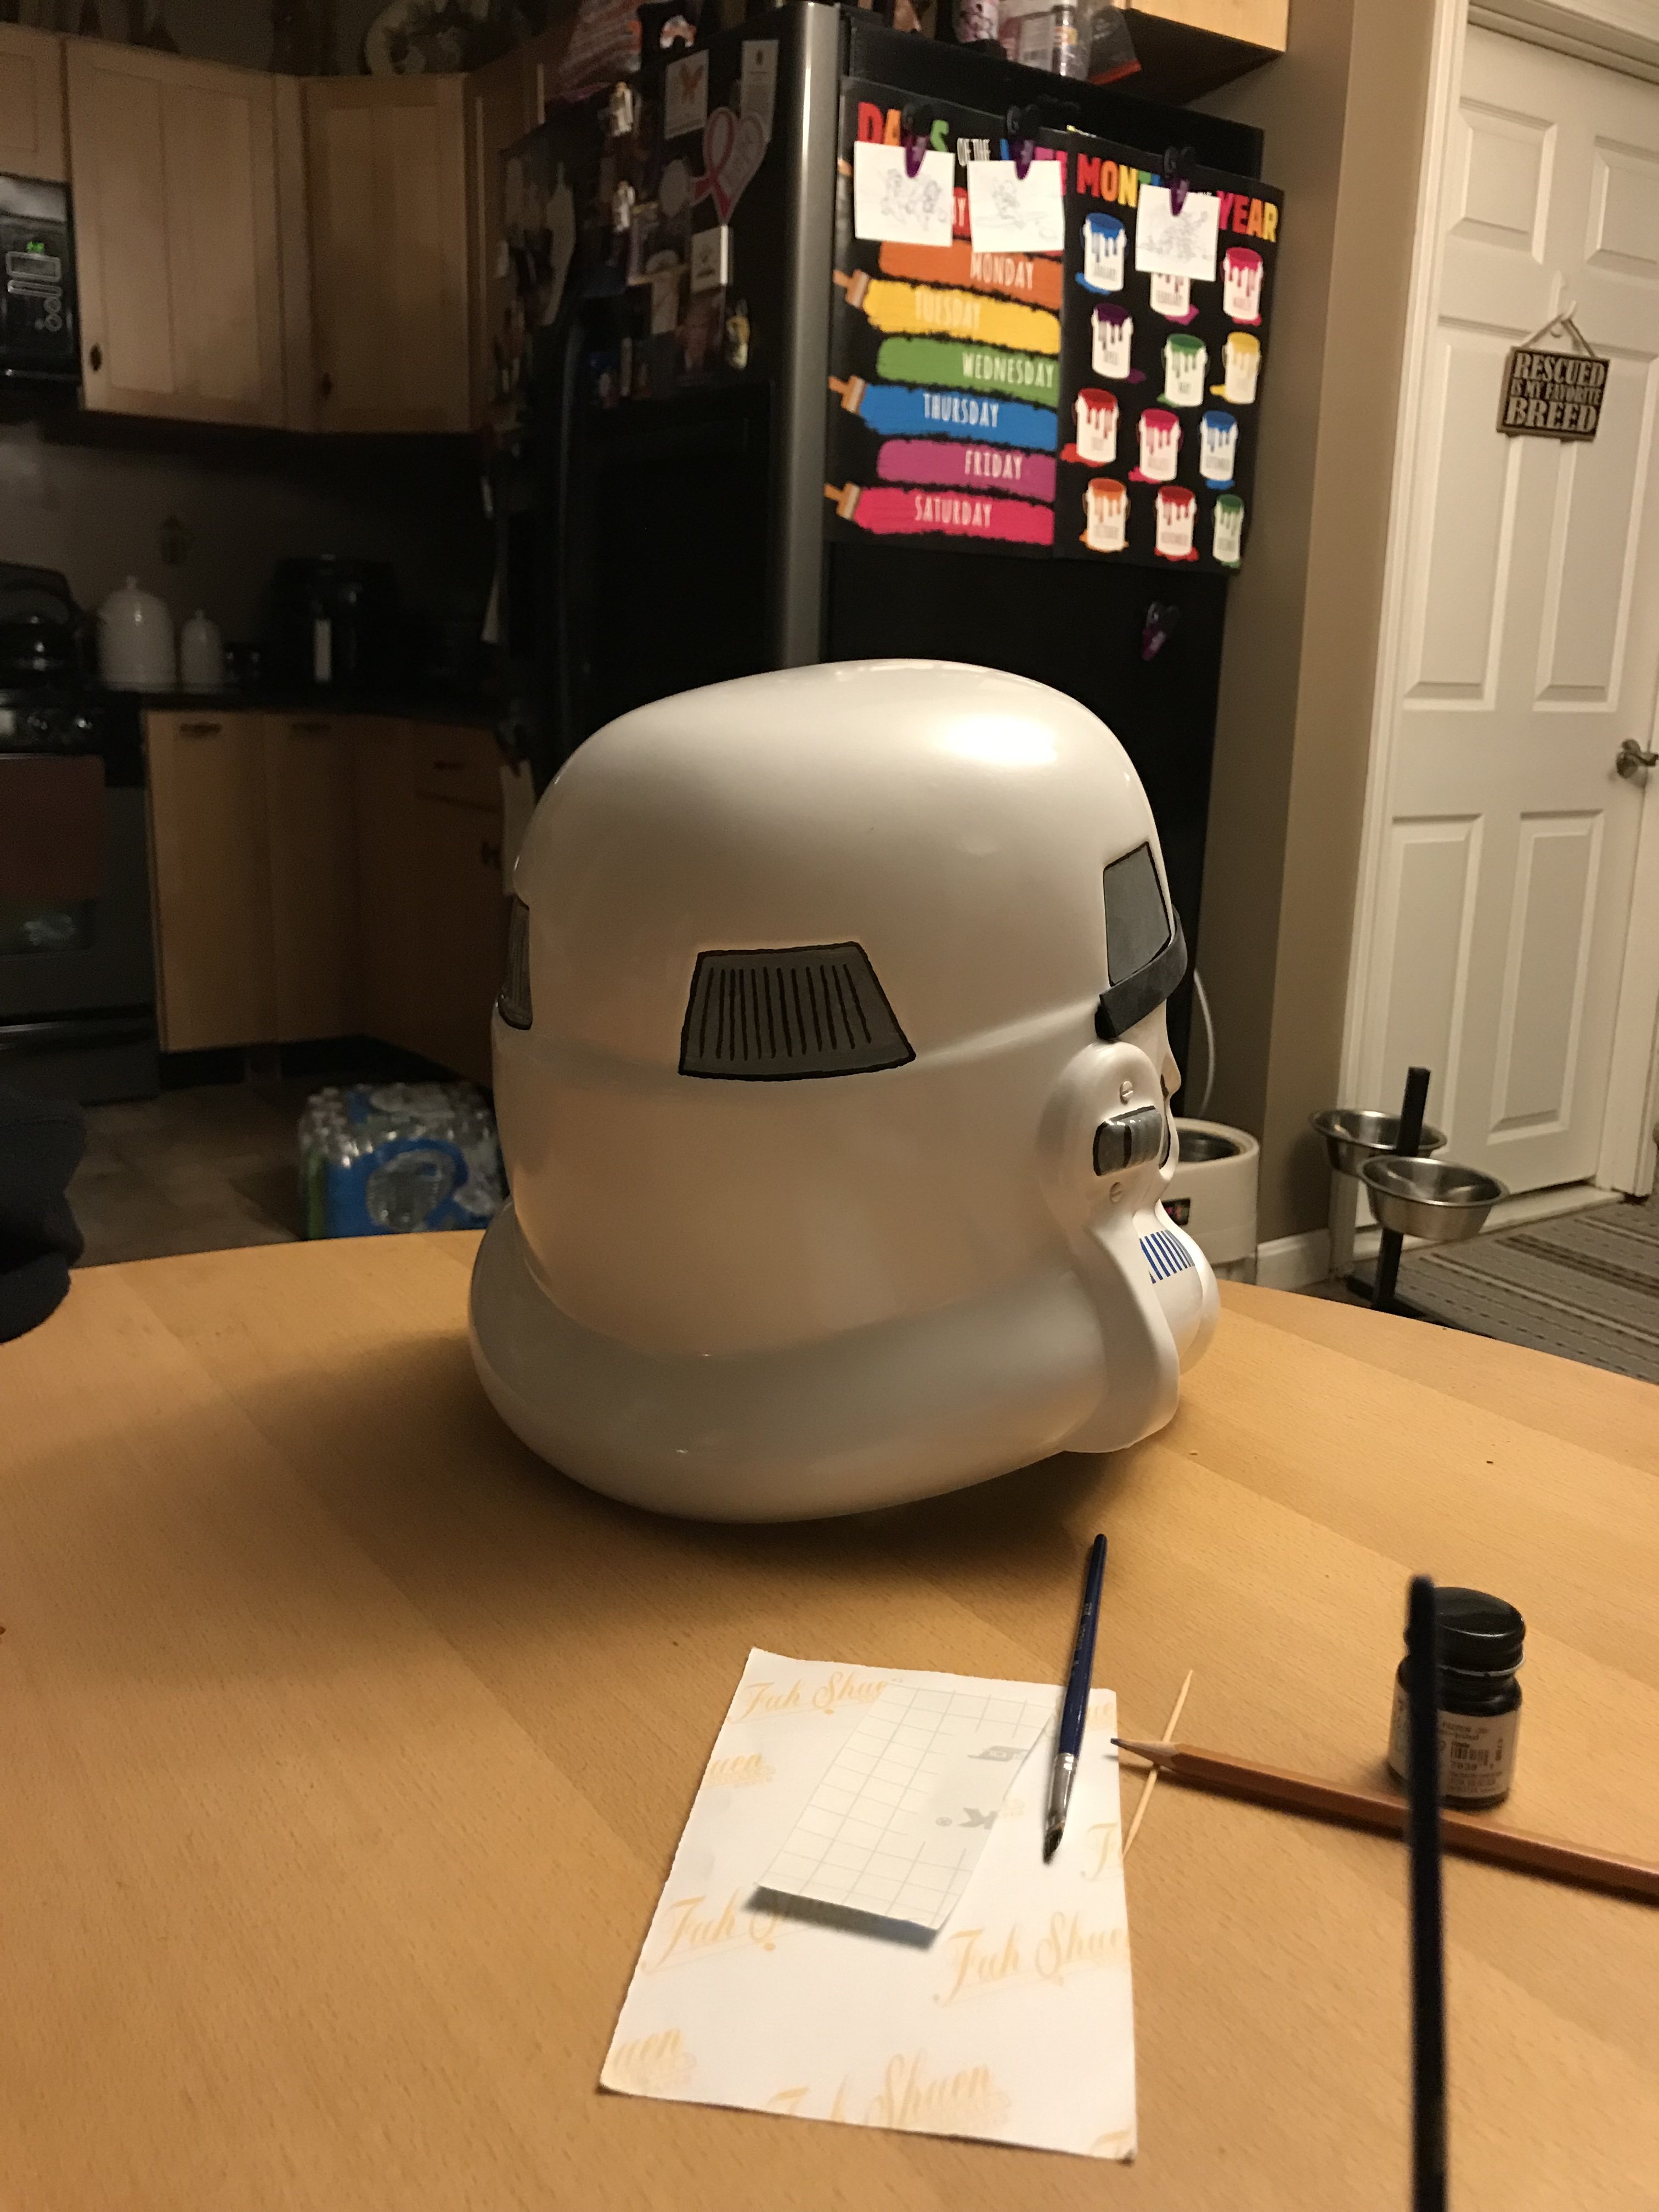
Ok lets try this again. Greetings folks! I am new to all of this but very excited. Been wanting Trooper armor since I was a kid and now I finally have the means so here we go!!! Still not one hundred percent if I will be doing a Battlefront Shadowtrooper or just the Shadowtrooper. I really like the white Imperial logo on the chest but not sure if I like the blue on the helmet or not. So for now, I will just be making it a Shadowtrooper. So day 1 in about four hours, I trimmed all the extra off all the parts and then using painters tape, I attached it to my mannequin. Unfortunately my mannequin is six feet tall but I am only five- eight. Didn't think that one through when I first bought it, but back then I also didn't think I'd be using it for an actual project. Oh well, it'll work for now. I didn't take many photos but here is what I have so far. I used the score and snap method which ended up being pretty easy once I got a rhythm going. I am currently waiting on underarmor I ordered from Amazon so I can start getting things sized and whatnot. Hopefully Weds it will show up. Ok, lets see if i got this photo thing finally figured out! image 1: blank mannequin RUNDMC style and yes, I am also building an HIC!! it worked! sweet!! number 2 mmmmmmm box of joy! 3 me loving the spread! 4: just wanted to see something on me! the rest are each time I added more to the mannequin. that's it for now.1 point
-
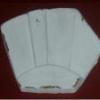
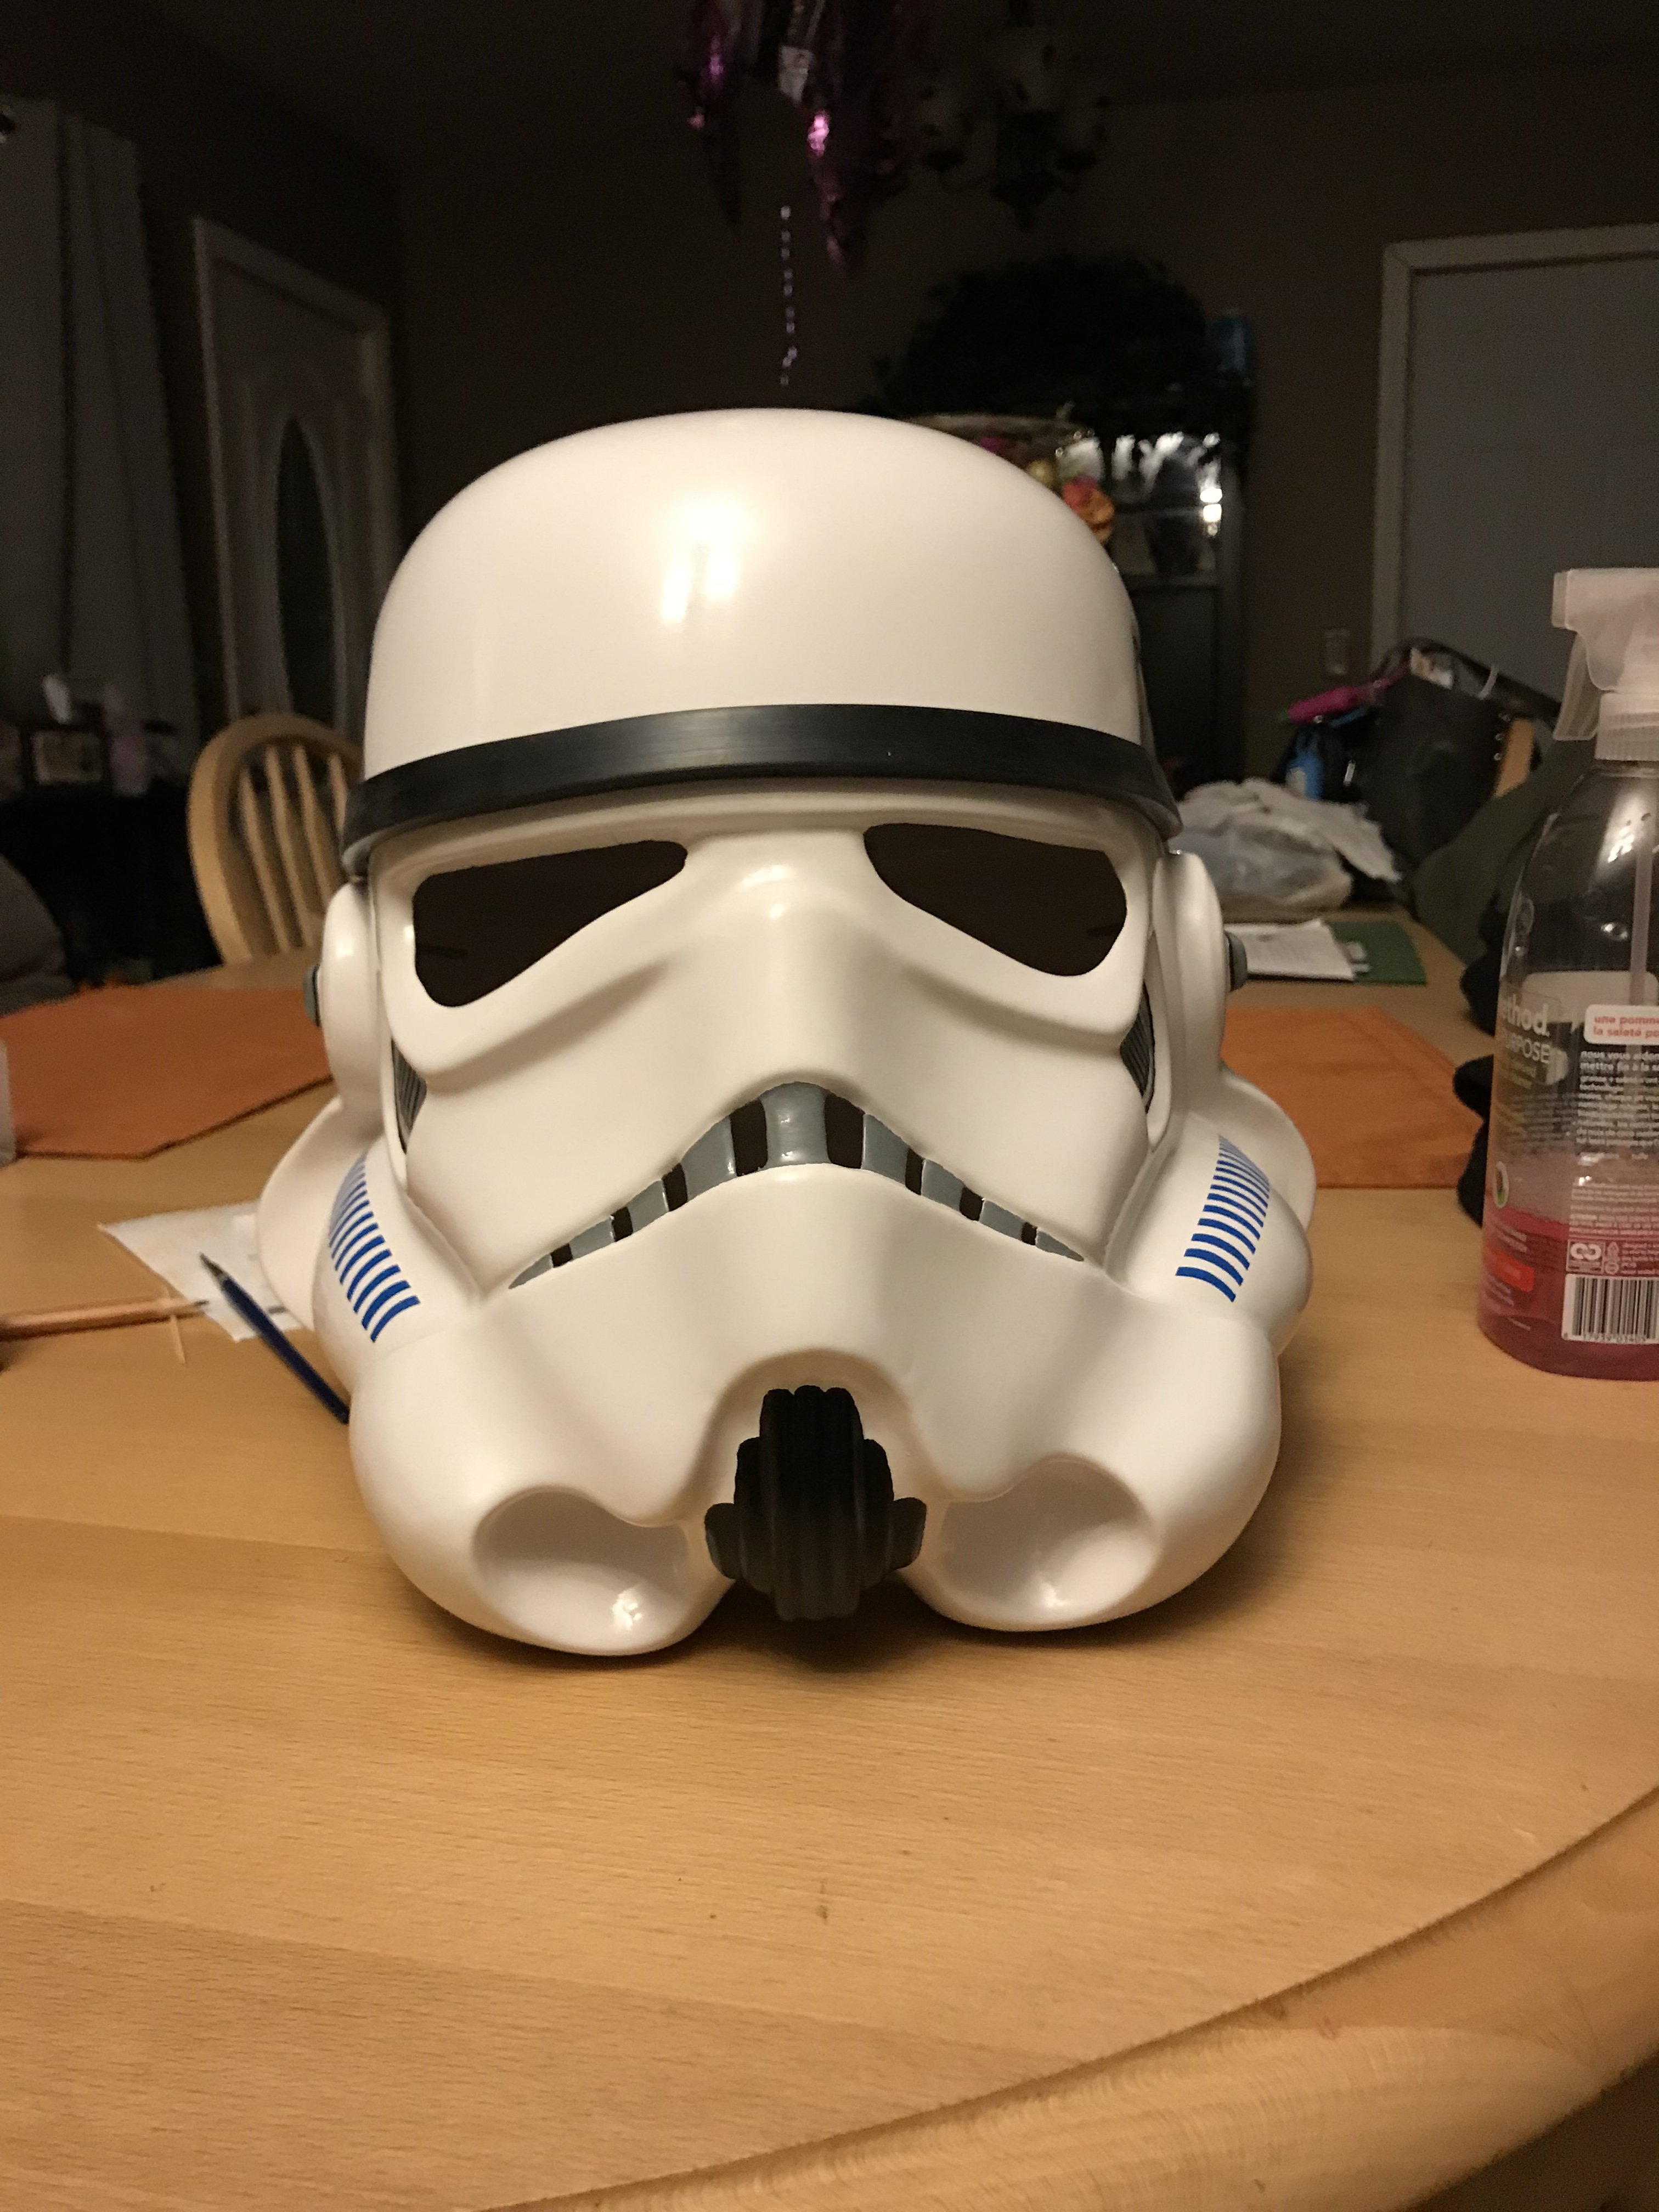
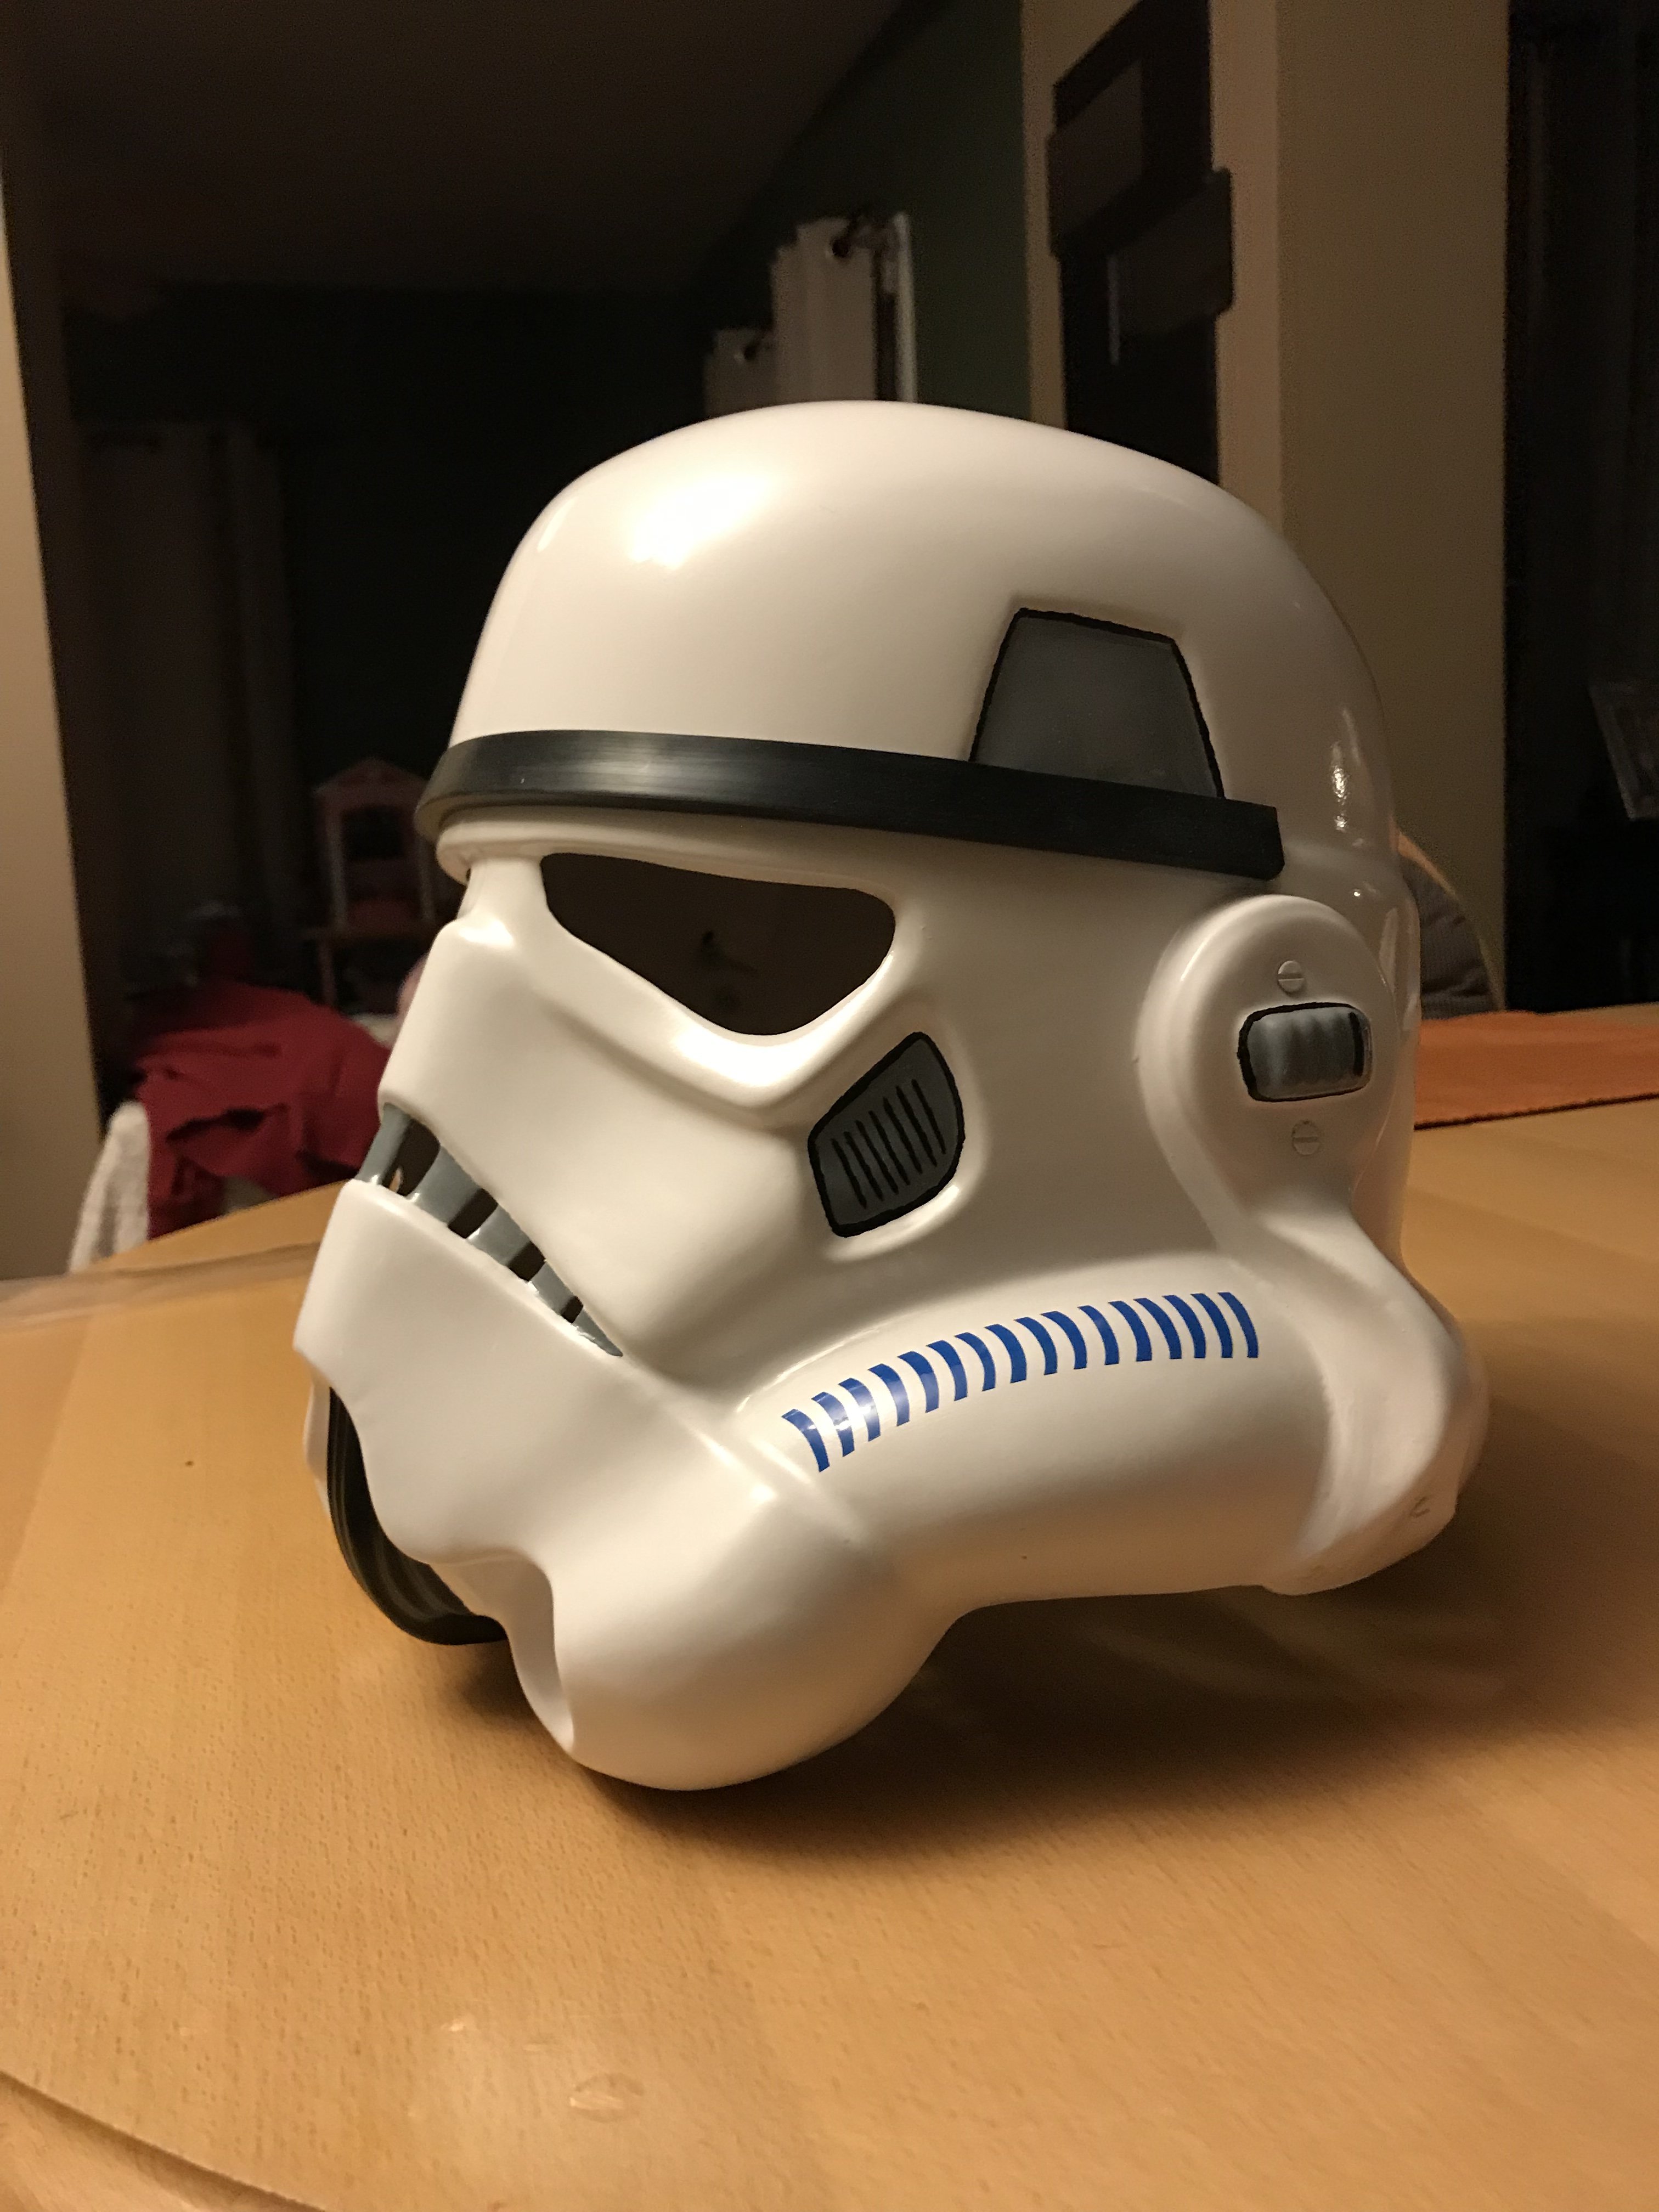
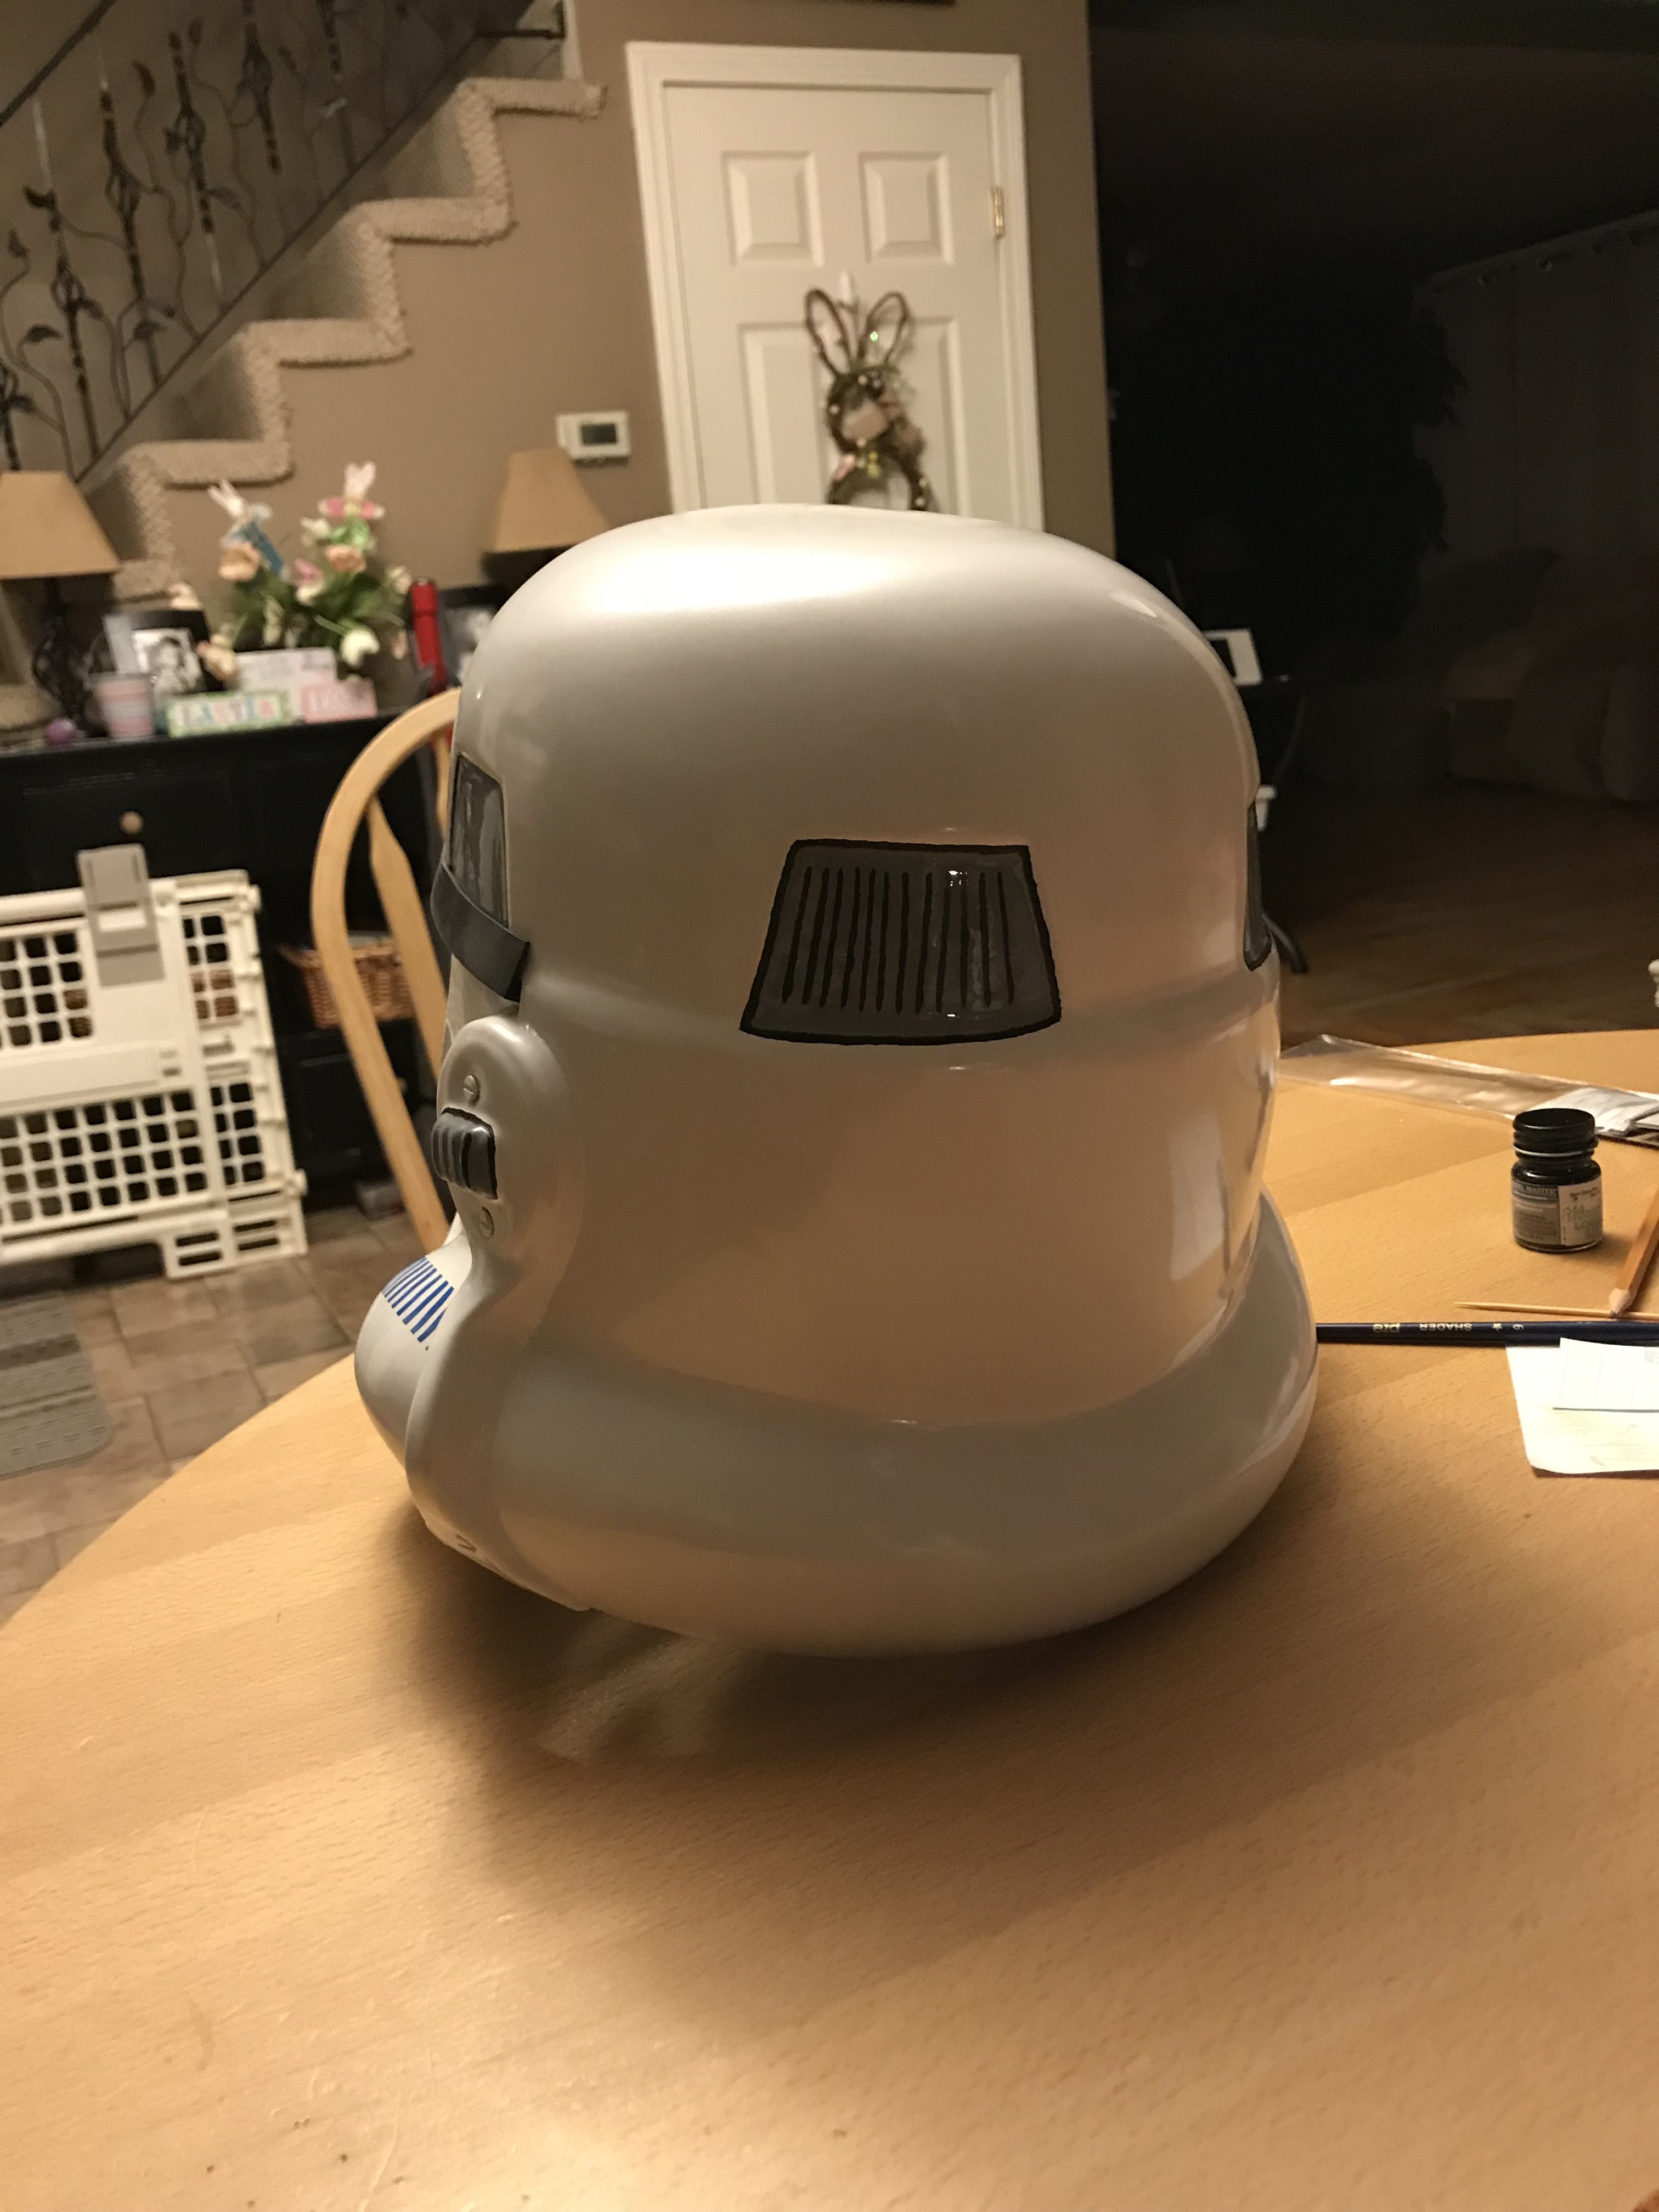
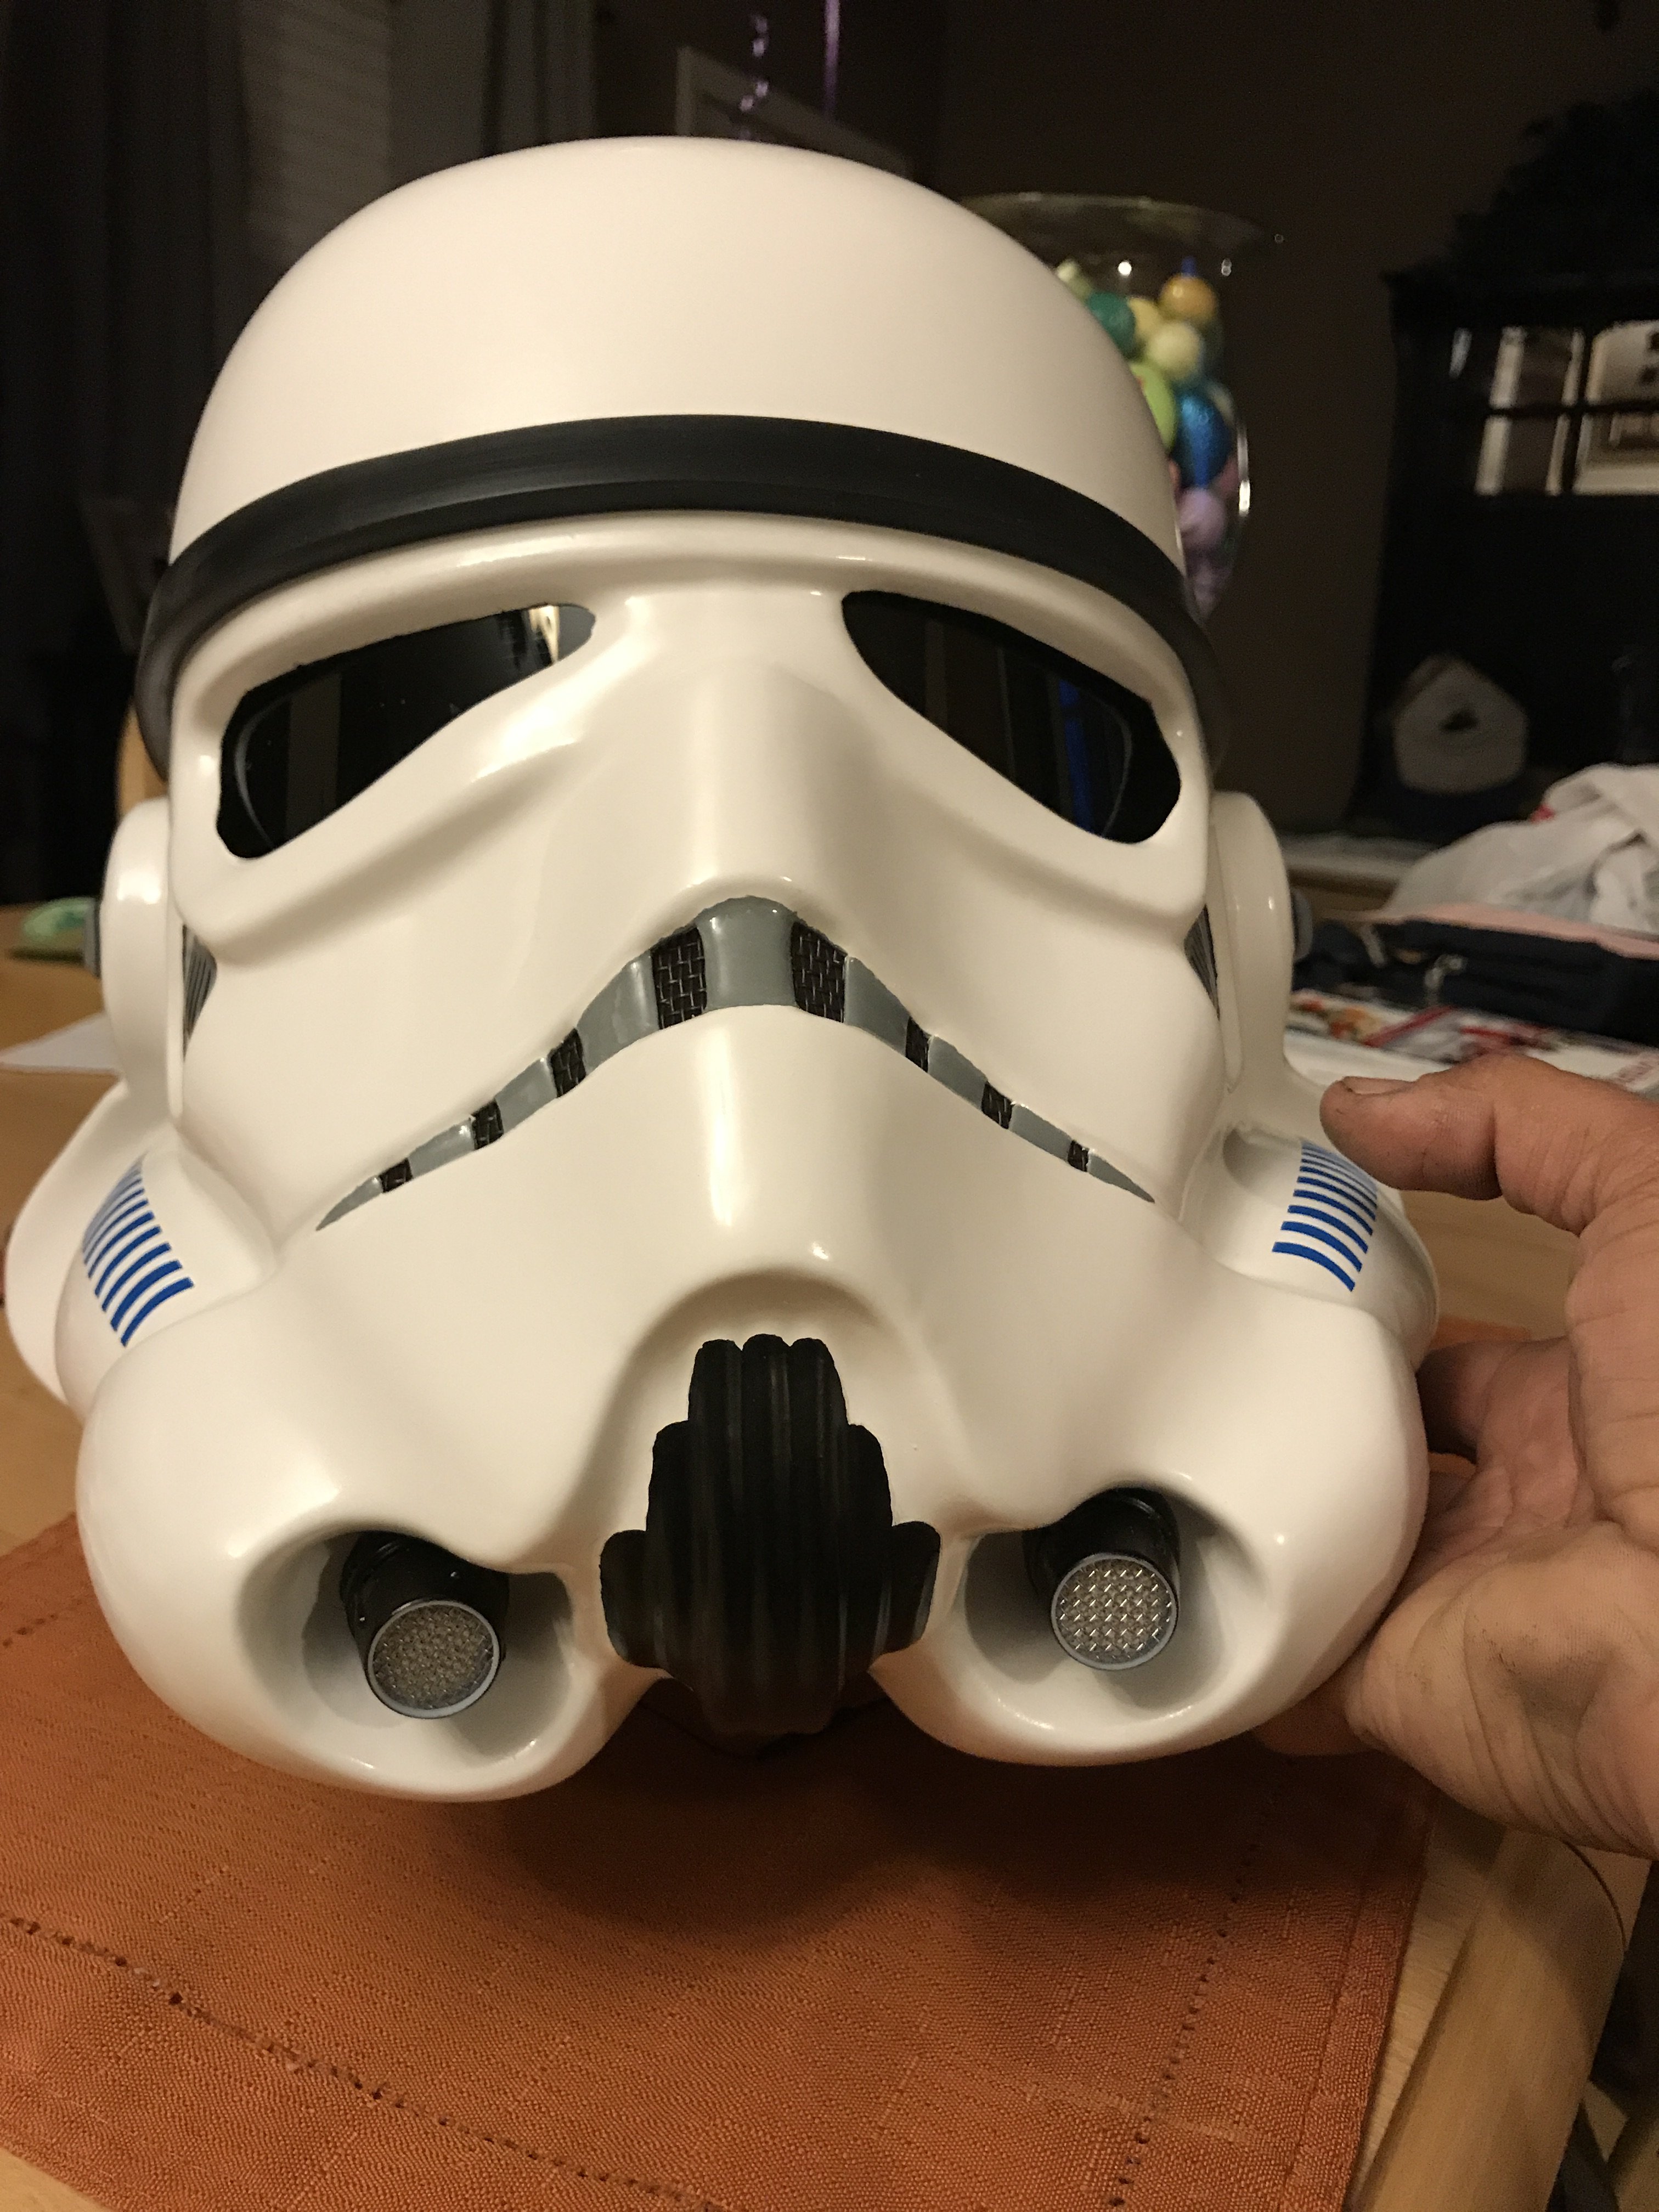
Heres a few pics of my first attempt ! I started with Helmet first it is a TKUK 3 piece kit let me know if i need any adjustments made . Id like to go right for Centerion approval. I appreciate any and all suggestions


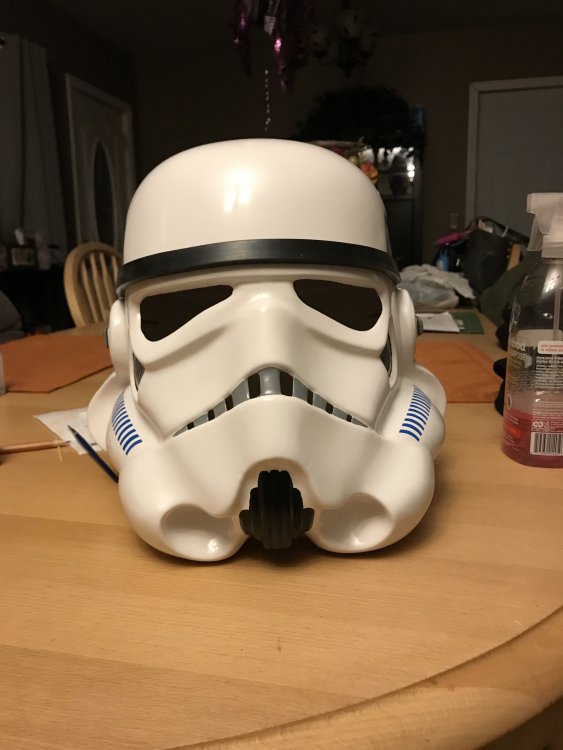

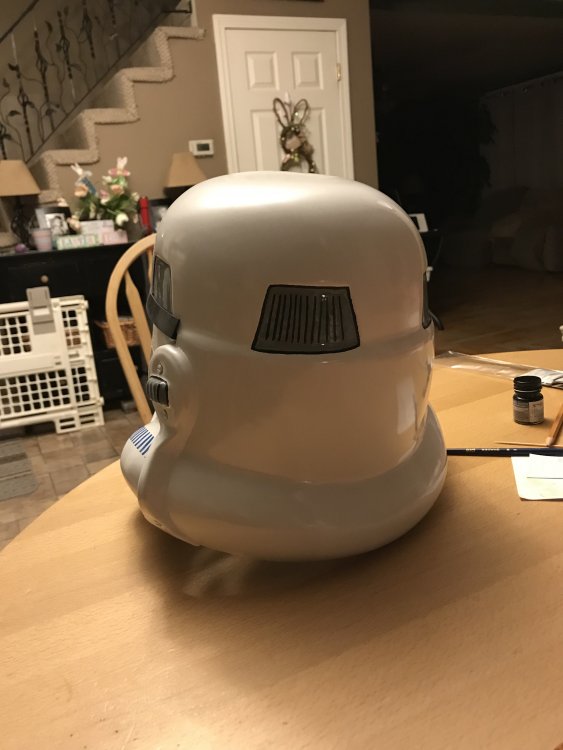


 1 point
 -
Got mine off evilbay for $6 Australian1 point
-
I'm the same a Q, except my forearms are the last on.1 point
-
Right. Kinda what I was getting at -- the sooner there's something up showing how to address that area, the sooner it can be pointed to to help out people who don't realize. Trust me, I have gone through your build thread a good half-dozen times to to get some things burned into memory -- and I know I will again once I have actual armor pieces to mess around with. I meant specifically I'll be looking for people's approaches to turning the TLJ cod into the TFA cod. I'd rather, if it's at all possible. I'd rather not have to source a TFA cod separately. I'm also going to be looking at how resilient the resin for the ab/belt boxes is and how tricky it'll look to be to hollow them out further. If I have to source plastic ab/belt boxes, I may do the cod, too, if modding the included one would be too difficult or too likely to crack. The fan builders are good, but I like the lineage of the ANOVOS kit. I'll cede the latter if I have to, but grudgingly.1 point
-
I'm not sure if I'm posting this in the right place, but way back in August/September I discovered the scope used on the SE-14R. Here's a link to my discovery thread on the RPF. https://www.therpf.com/forums/threads/se-14r-rexim-trooper-blaster-pistol-scope-prop-discovery.299904/ I can make replicas, so PM me on the RPF if you're interested.1 point
-
I like it. Great start1 point
-
Awesome!1 point
-
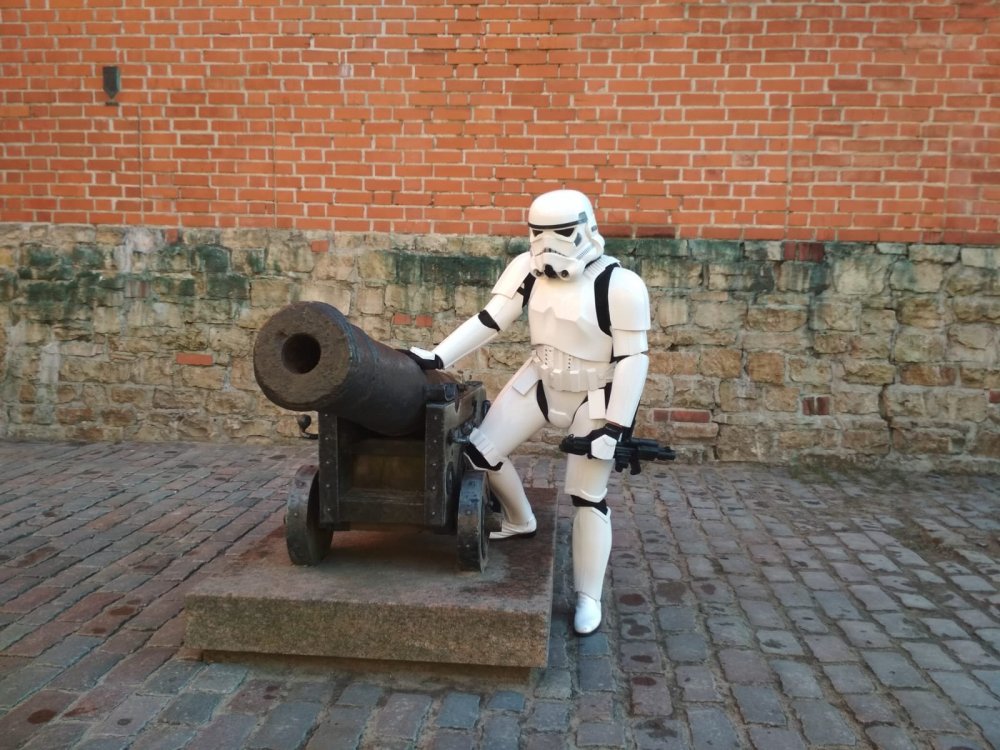
Eat your heart out.1 point
-
Exactly. One part is out of brass, the other out of grey plastic. So if you want te be really accurate, you should make grey color look through.1 point
-
The original handle was made of "Bakelit" which is black and glossy. It's not painted, it's just the regular material color. I have some orginial grips here, they look like this: It's more or less glossy. Pretty much scuffed.1 point
-
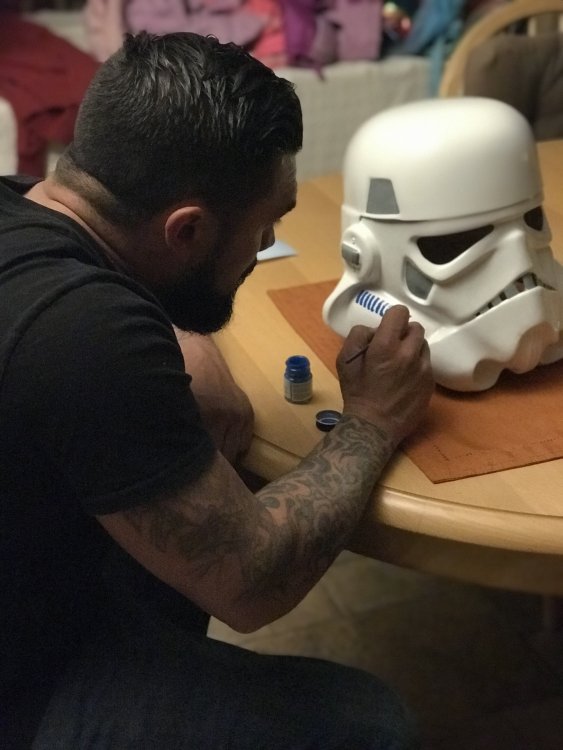
Great to see, you've been to an armor party! That's the best way to get some first hand information. Your choice on the armor kit and boots is great. Are you making the canvas belt, holster and neckseal yourself? If you're looking for silicone handplates: @justjoseph63 is making them, just PM him and he'll have more detailled information.1 point
-
I usually wear some thin silk gloves underneath the rubber gloves Makes it much better during hot summer troops.1 point
-
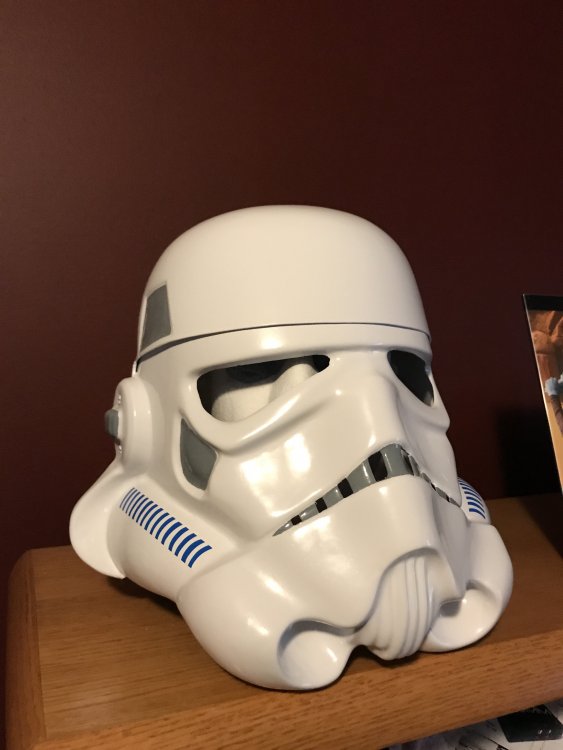
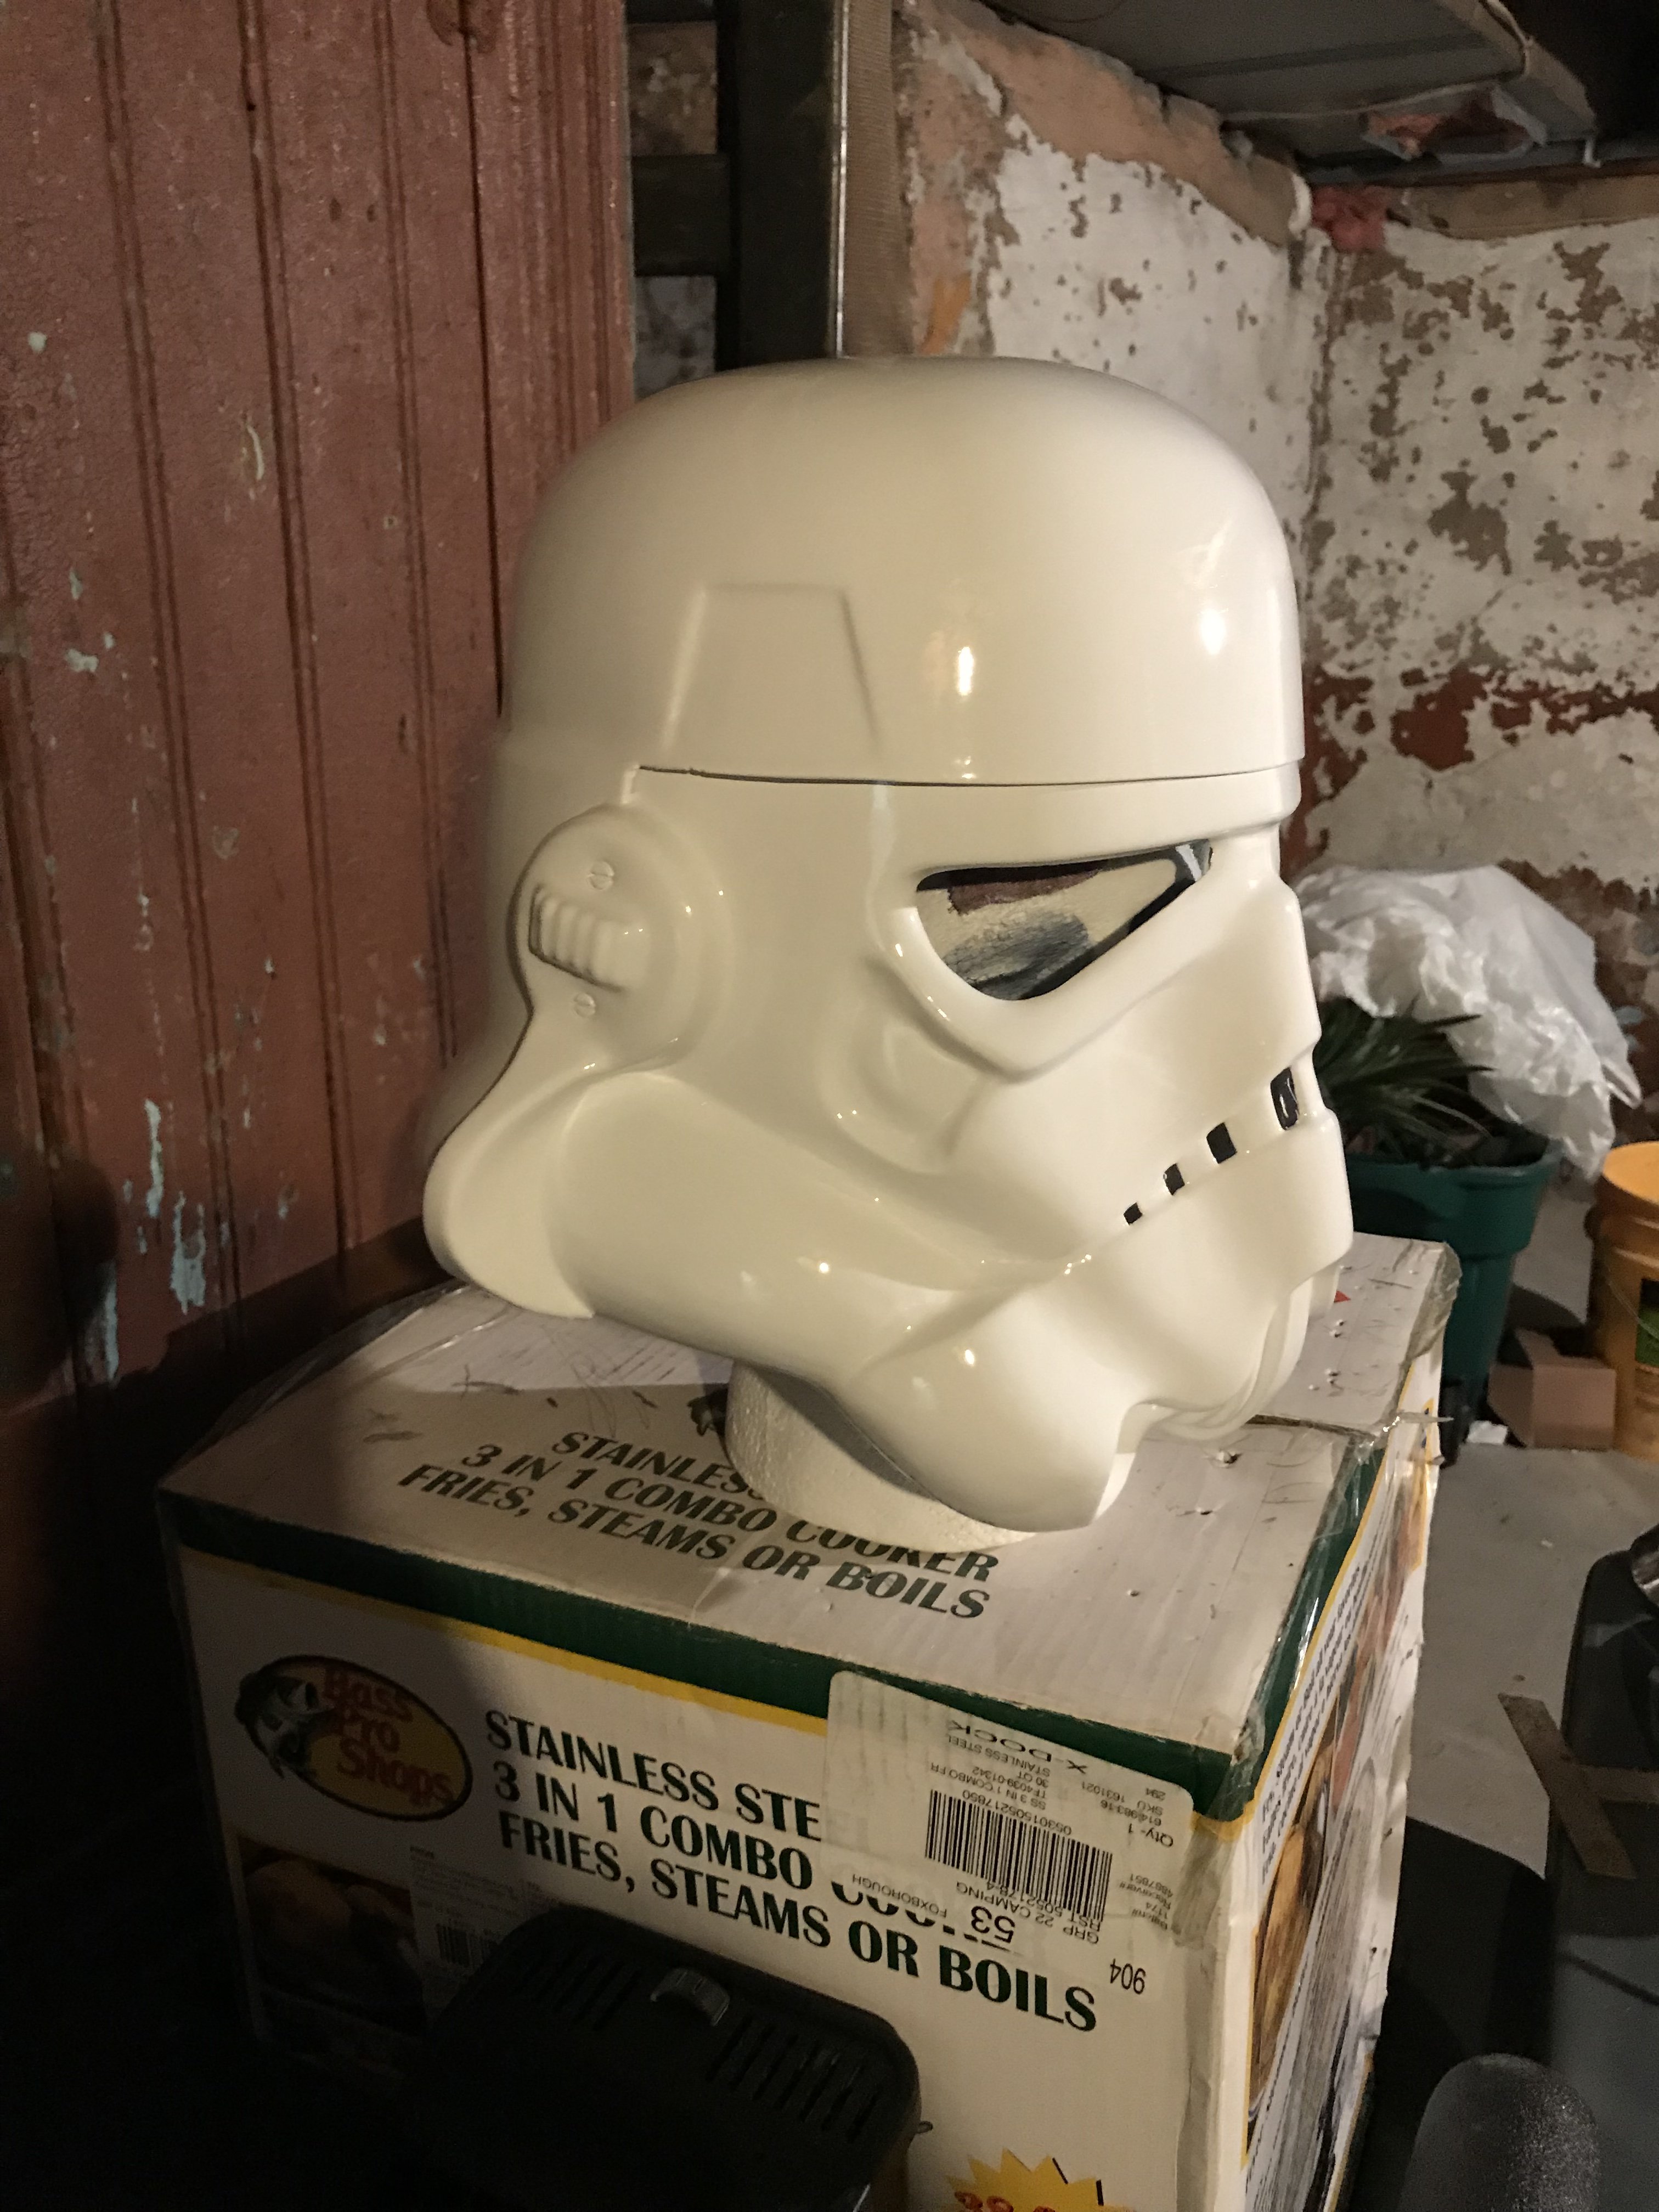
looking forward to that build thread! The capped ABS is really glossy. Most other troopers have more of a creamy off-white look.1 point
-
Shame y'all can't all sign with a bamboo pen.1 point
-
no problem Joseph1 point
-
My apologies for the delay, but I am still waiting on Mike's name to be added to the program I use to generate these. Thanks for your patience!1 point
-
My preference would be 1.5. Bit more flex than 2mm so should be a tiny bit more comfortable and crack less (less is relative btw they all crack after a while). It will also have more detail and be easier to cut when assembling. I find Capped too white for my taste and doesn't look right.1 point
-
Most of us use an online photo host, Imgur is a good one, once you upload your photos there you can select the "direct link" or just copy the image directly here into your post, multiple images can be added this way. Looking forward to the progress1 point
-
As the ole saying goes "The more things change the more they remain the same"1 point
-
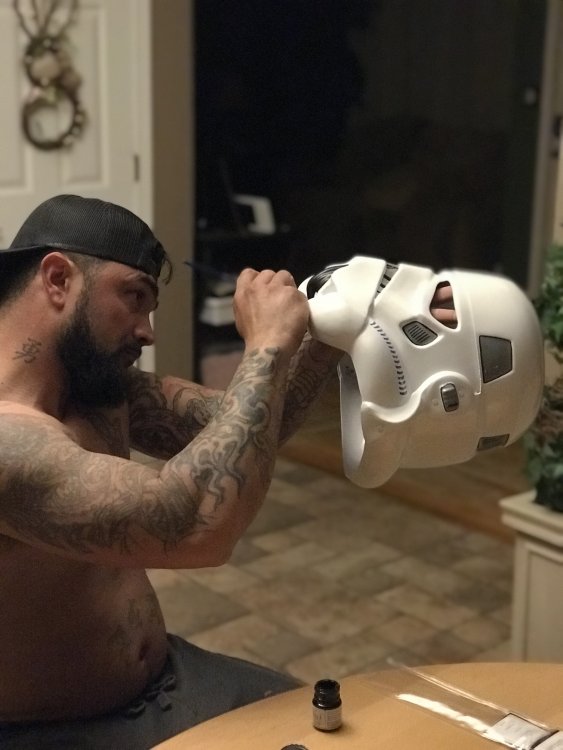
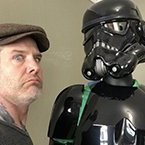
Hey I found you here James! I'll keep an eye on this and your Garrison work in progress. This is the place to get some great help from a whole bunch of us. Keep up the great work! And for God's sake. Put a shirt on Good Luck Future Trooper!1 point
-
Without fail I always forget the neck seal and have to take something off to put it on Sent from my iPhone using Tapatalk1 point
-
Congrats and welcome to EIB!1 point
-
GUUYS! i WAS APPROVED! Finley i ive reched this! TK28584 Reporting for duty!
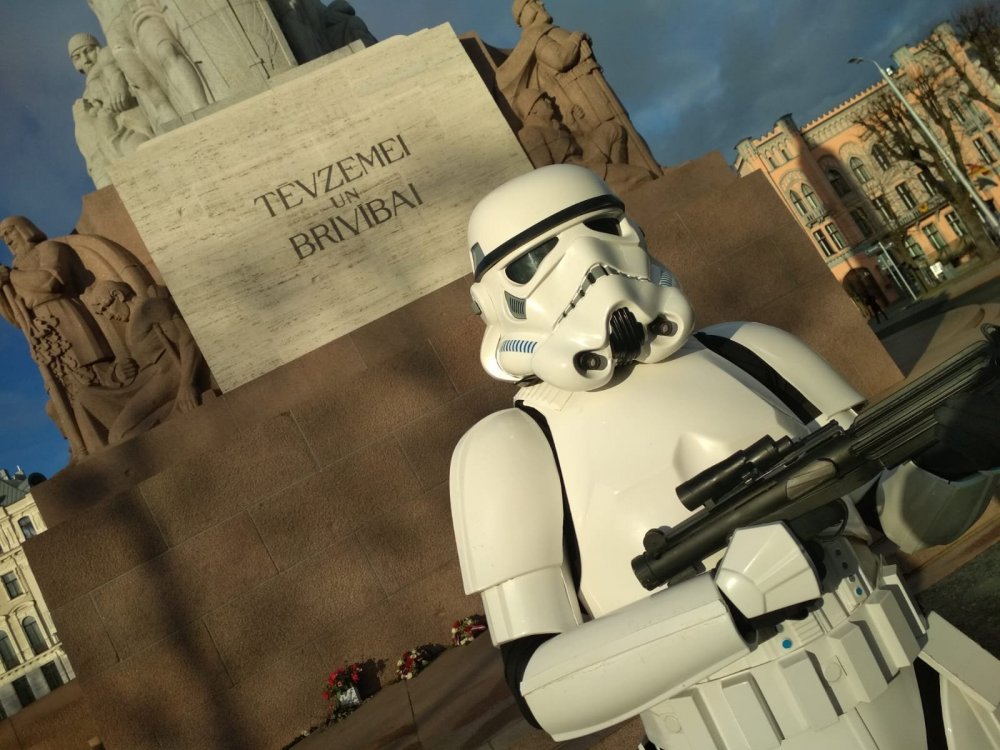
 1 point
 -
I've been struggling with what to write. You've been a hallmark of integrity and quality for so many years, I think at this point you have the longest tenure of any active armor maker, which is quite a record. History lesson for some people - when we created the CRL and EI standards back in the day (remember, at the time out of the box FX armor was the standard before then), several armor makers complained, but you never did. You just adjusted your molds so it would comply with the new CRL. My favorite memory though was when I had to head up to a troop in Vancouver with some garrison-mates and needed a new set of shins. Not only did you help GPS me to your home tp pick them up in person, but you had them pre-trimmed and ready to go. You even glued the fronts and added the sniper plate on. That was an above and beyond courtesy that set the bar as an example of how people should help each other out. I can think of no better person to pass the torch on to than Terry (PandaTrooper). His artistry and talent is first class, and his dedication to his hobby and community are beyond question. I remember when Outer Rim was what - 3 people? Your involvement in forming that squad and growing it to where it is today is something few have matched. I could write for hours praising the work and ethics of you two gentlemen, surely. It's a blessing to all that the tradition of RT lives on. Thanks again Rob for all you have done, and thanks Terry taking the armor to the next level.1 point
-
I'm a long-time lurker, first - time poster on this forum. Im seriously considering a set on Jimmi's R1 armor. I worked with needle files and a Foredom (which is basically a much more reliable version of a Dremel tool) every day for almost a decade - in the custom-manufacturing industry (jewellery). An area of 1mm x 1mm was actually quite noticeable in these cases. One thing to remember is... to USE A VERY LIGHT TOUCH with your file, and let the "sharpness" of the tool (i.e. crustiness of the diamond bits) do the work for you. Avoid the temptation to use the force of your muscles to get the job done. (You know how you need to use a lot of force to use a dull knife to cut a tomato, or a loaf of bread - and still the knife might just crush the food? Well, then you need a sharper knife.) Using more force puts pressure on the material in ways that can torque it and give you undesirable results - like breakage ...whereas practice at using light pressure (yet varying between tool surfaces that cut very deeply versus tools that cut very shallow) will yield MUCH more predictable results. In regards to the picture that 11b30b4 posted above, I would actually recommend diagonal strokes - from either corner - to ensure your vertical lines are kept straight, from corner to corner. Additionally, once you get comfortable with the tool (the file), always work from the most difficult (or hardest-to-reach) areas first, then to the easiest areas. 1. For example, it appears like the top corners of the vent slits don't line up. I would ensure those are perfect before finishing off the long strokes in between the top & bottom corners. 2. Furthermore, if you notice that a tool slip will cause a blemish in area you have already completed, that's a problem & you've just made more clean up work for yourself. So try to figure out ehoch surfaces will likely receive some tool-slip marks & finish those up LAST.1 point
-
I’m on my iPad so it may be a shade different on a real computer, but: top menu > account > my attachments from there you can delete any you want to.1 point
-
1 point
-
This one looks pretty ugly:1 point


.thumb.jpg.fe734c2874fe147a5789e833ad00772e.jpg)