Leaderboard


Popular Content
Showing content with the highest reputation on 06/11/2018 in Posts
-
So I've made some more advancements: After several hot water baths and the offset mentioned above, I finished the shins by finally gluing on the sniper knee plate. I'm pretty happy with how it turned out. Next I set my sights on the thighs. I decided to leave the slight height mismatch on the front (top) of the thighs (it will be mostly hidden by the cover strip) but the back was a different story. On the right thigh I wound up with about 2.5 cm height difference. The knees lined up well but the tops were way off. I cut this down to about 1.5 cm but any more would have required losing a huge portion of the top return edge to maintain the "swoop" of the leg hole. I settled for cutting off 1 cm because that didn't require that much reconstruction and in the end, I rebuilt the return edge for about 1 inch. I didn't have a heat sealing iron and I didn't want to order one and wait weeks, so I experimented with a clothes iron. And you know what? It worked ok. I played with the heat and finally settled on the "silk" setting. I was able to melt the ABS and roll over a new return edge without making a mess of everything. I had a couple of minor "flat" spots where the iron melted a little much, but after sanding, wet sanding and Novus plastic polish, it looks great. Unfortunately I forgot to take a "before" picture but here is after melting but before sanding. I continued gluing on cover strips... And then again I ran into an issue with the right thigh. This time the bottom (at the back of the knee) didn't line up that well. It had a height difference. It's a little hard to see in this photo but the halves meet well horizontally, but vertically there is a difference. I gave this piece a hot water bath to ease it down to a similar height and then glued a strip of ABS behind to hold it in place. Next I worked on the knee ammo pack. I cut it out (it was untrimmed) and sanded it to square edges. Then used a pipe piece similar to the TD to draw a pencil line to round off the lower edge. (View from back) Then a hot water bath to get it to curve to the knee... I centered the piece around the knee portion of the thigh. That means I have equal space on the left and right halves of the knee but the center ammo rectangle does not line up perfectly with the center of the front cover strip. From what I understand, this is expected with the AP kit and similar to the film. I used two of the included split rivets to hold the knee belt in place. I put a few dabs of E6000 on the inside to hold the belt in place. I still have clamps holding the knee ammo belt in place while the glue dries. Mark4 points
-
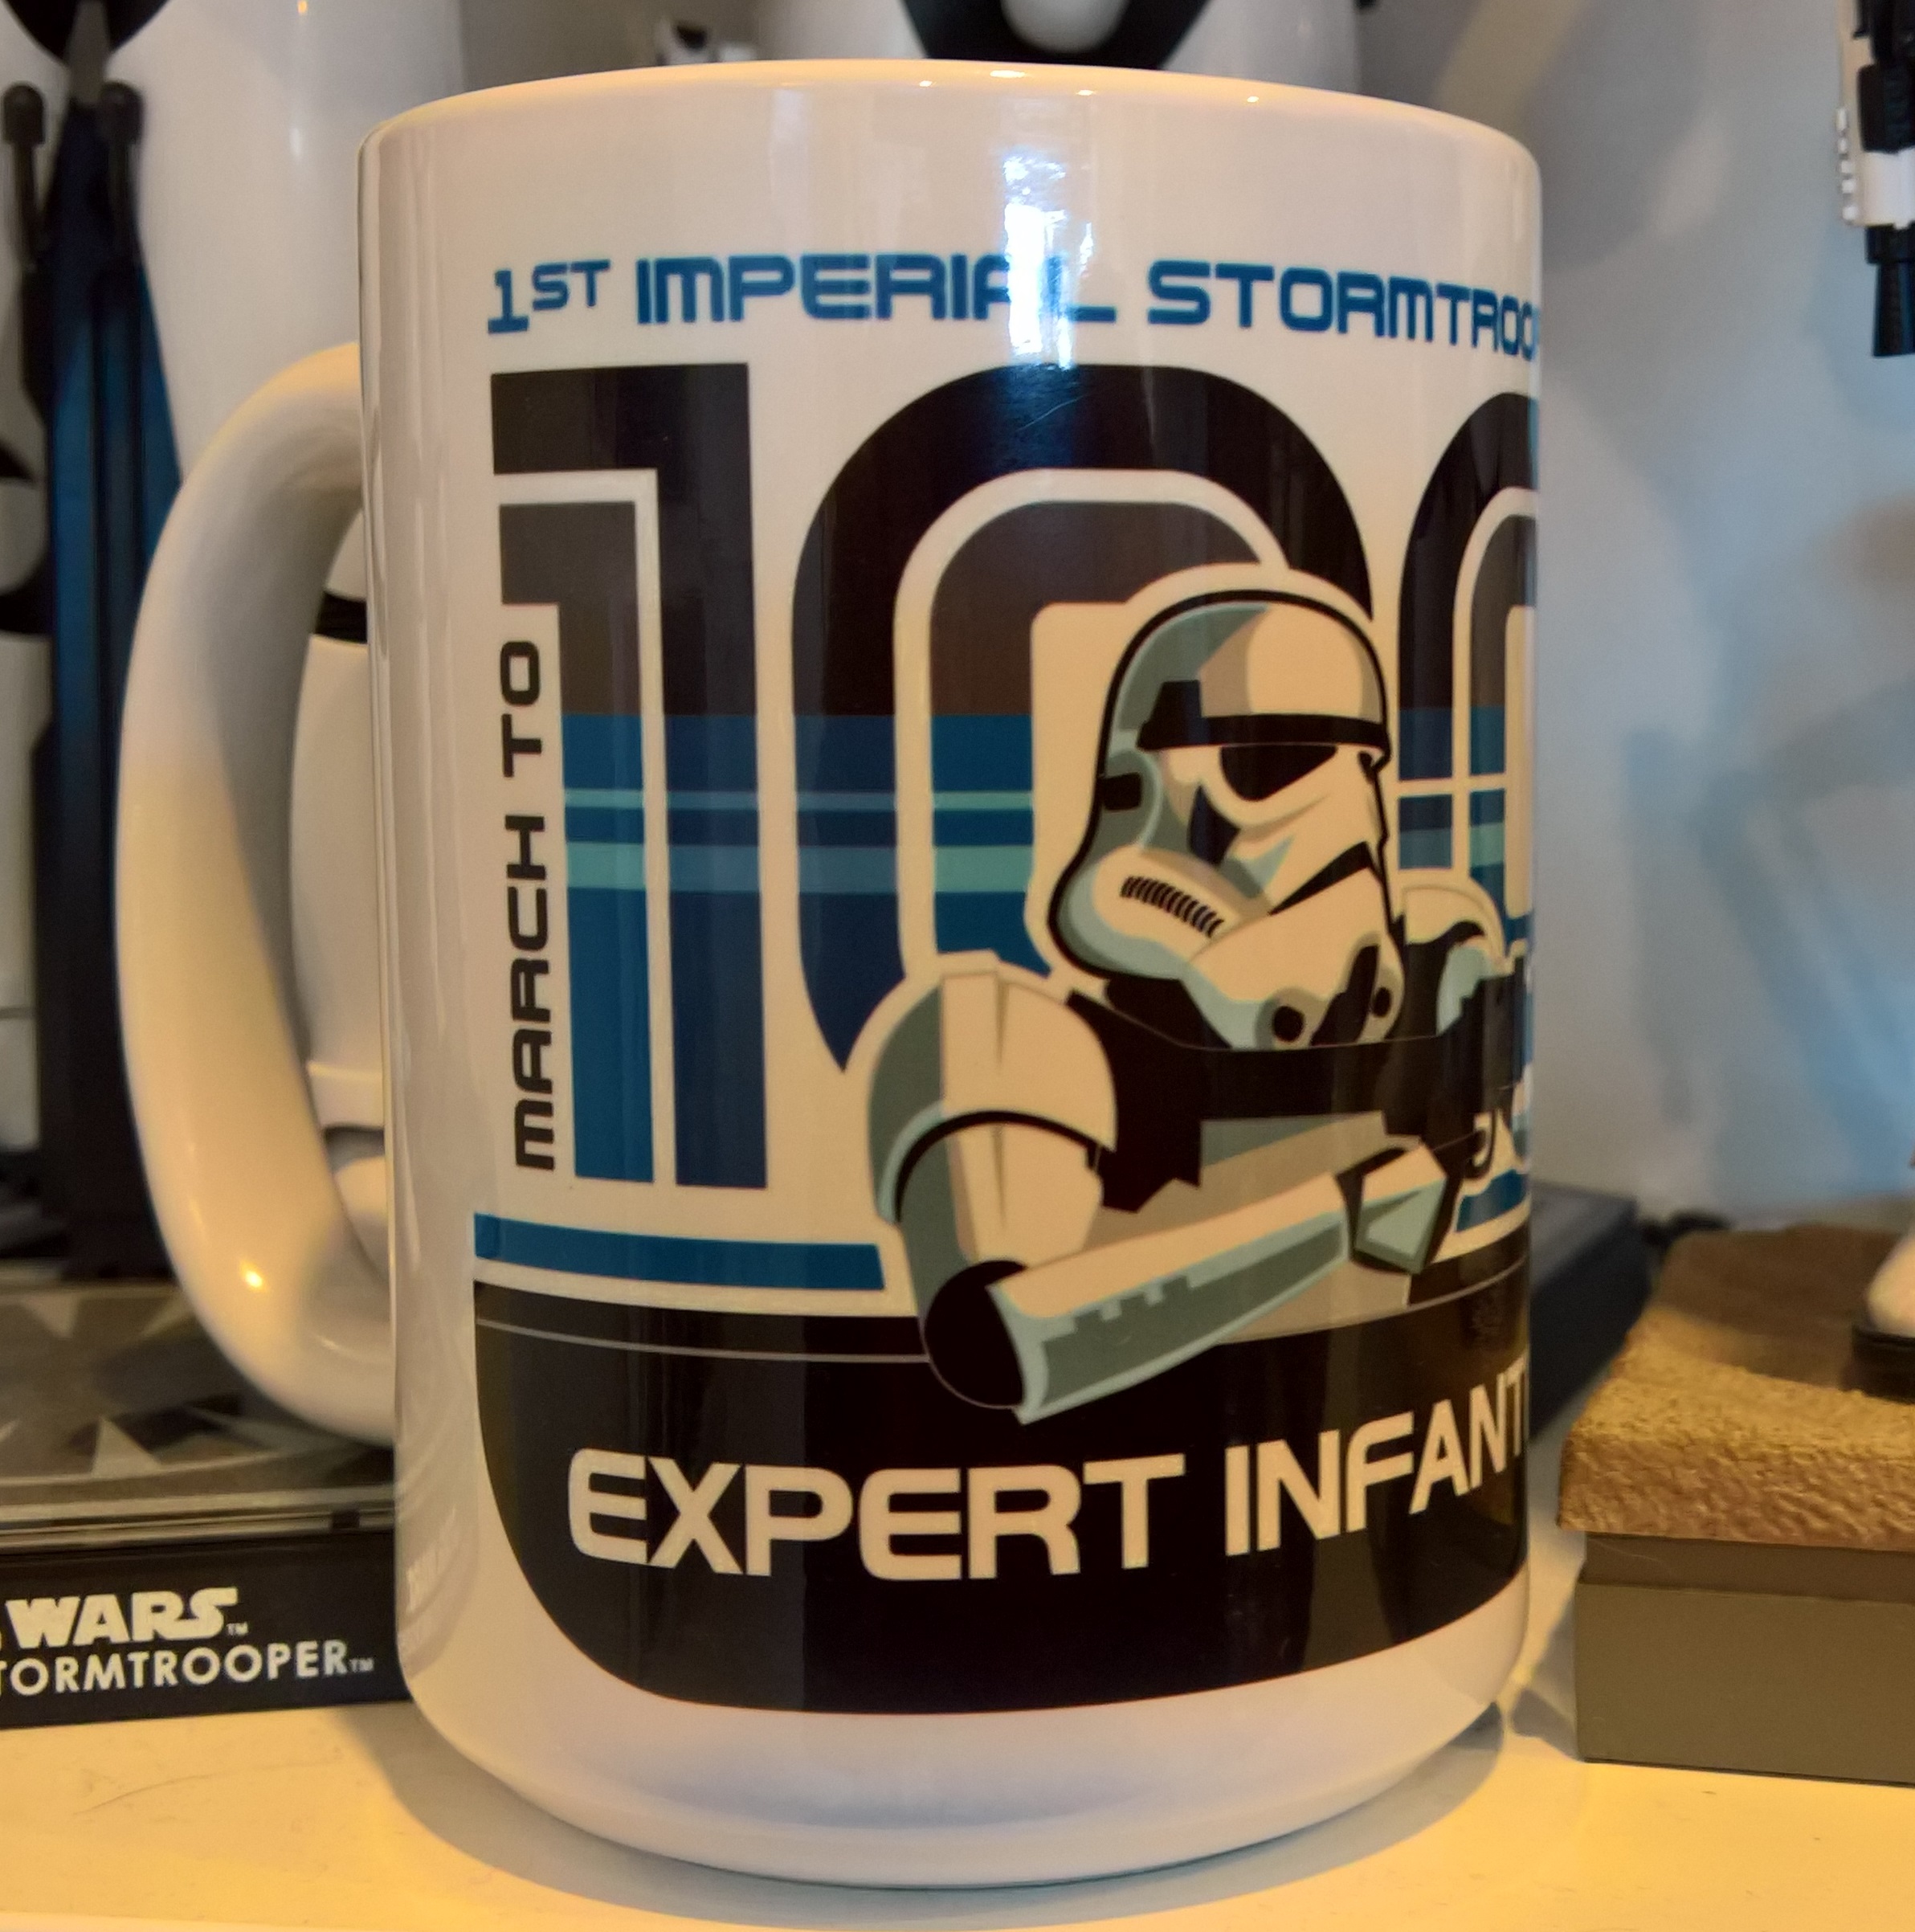
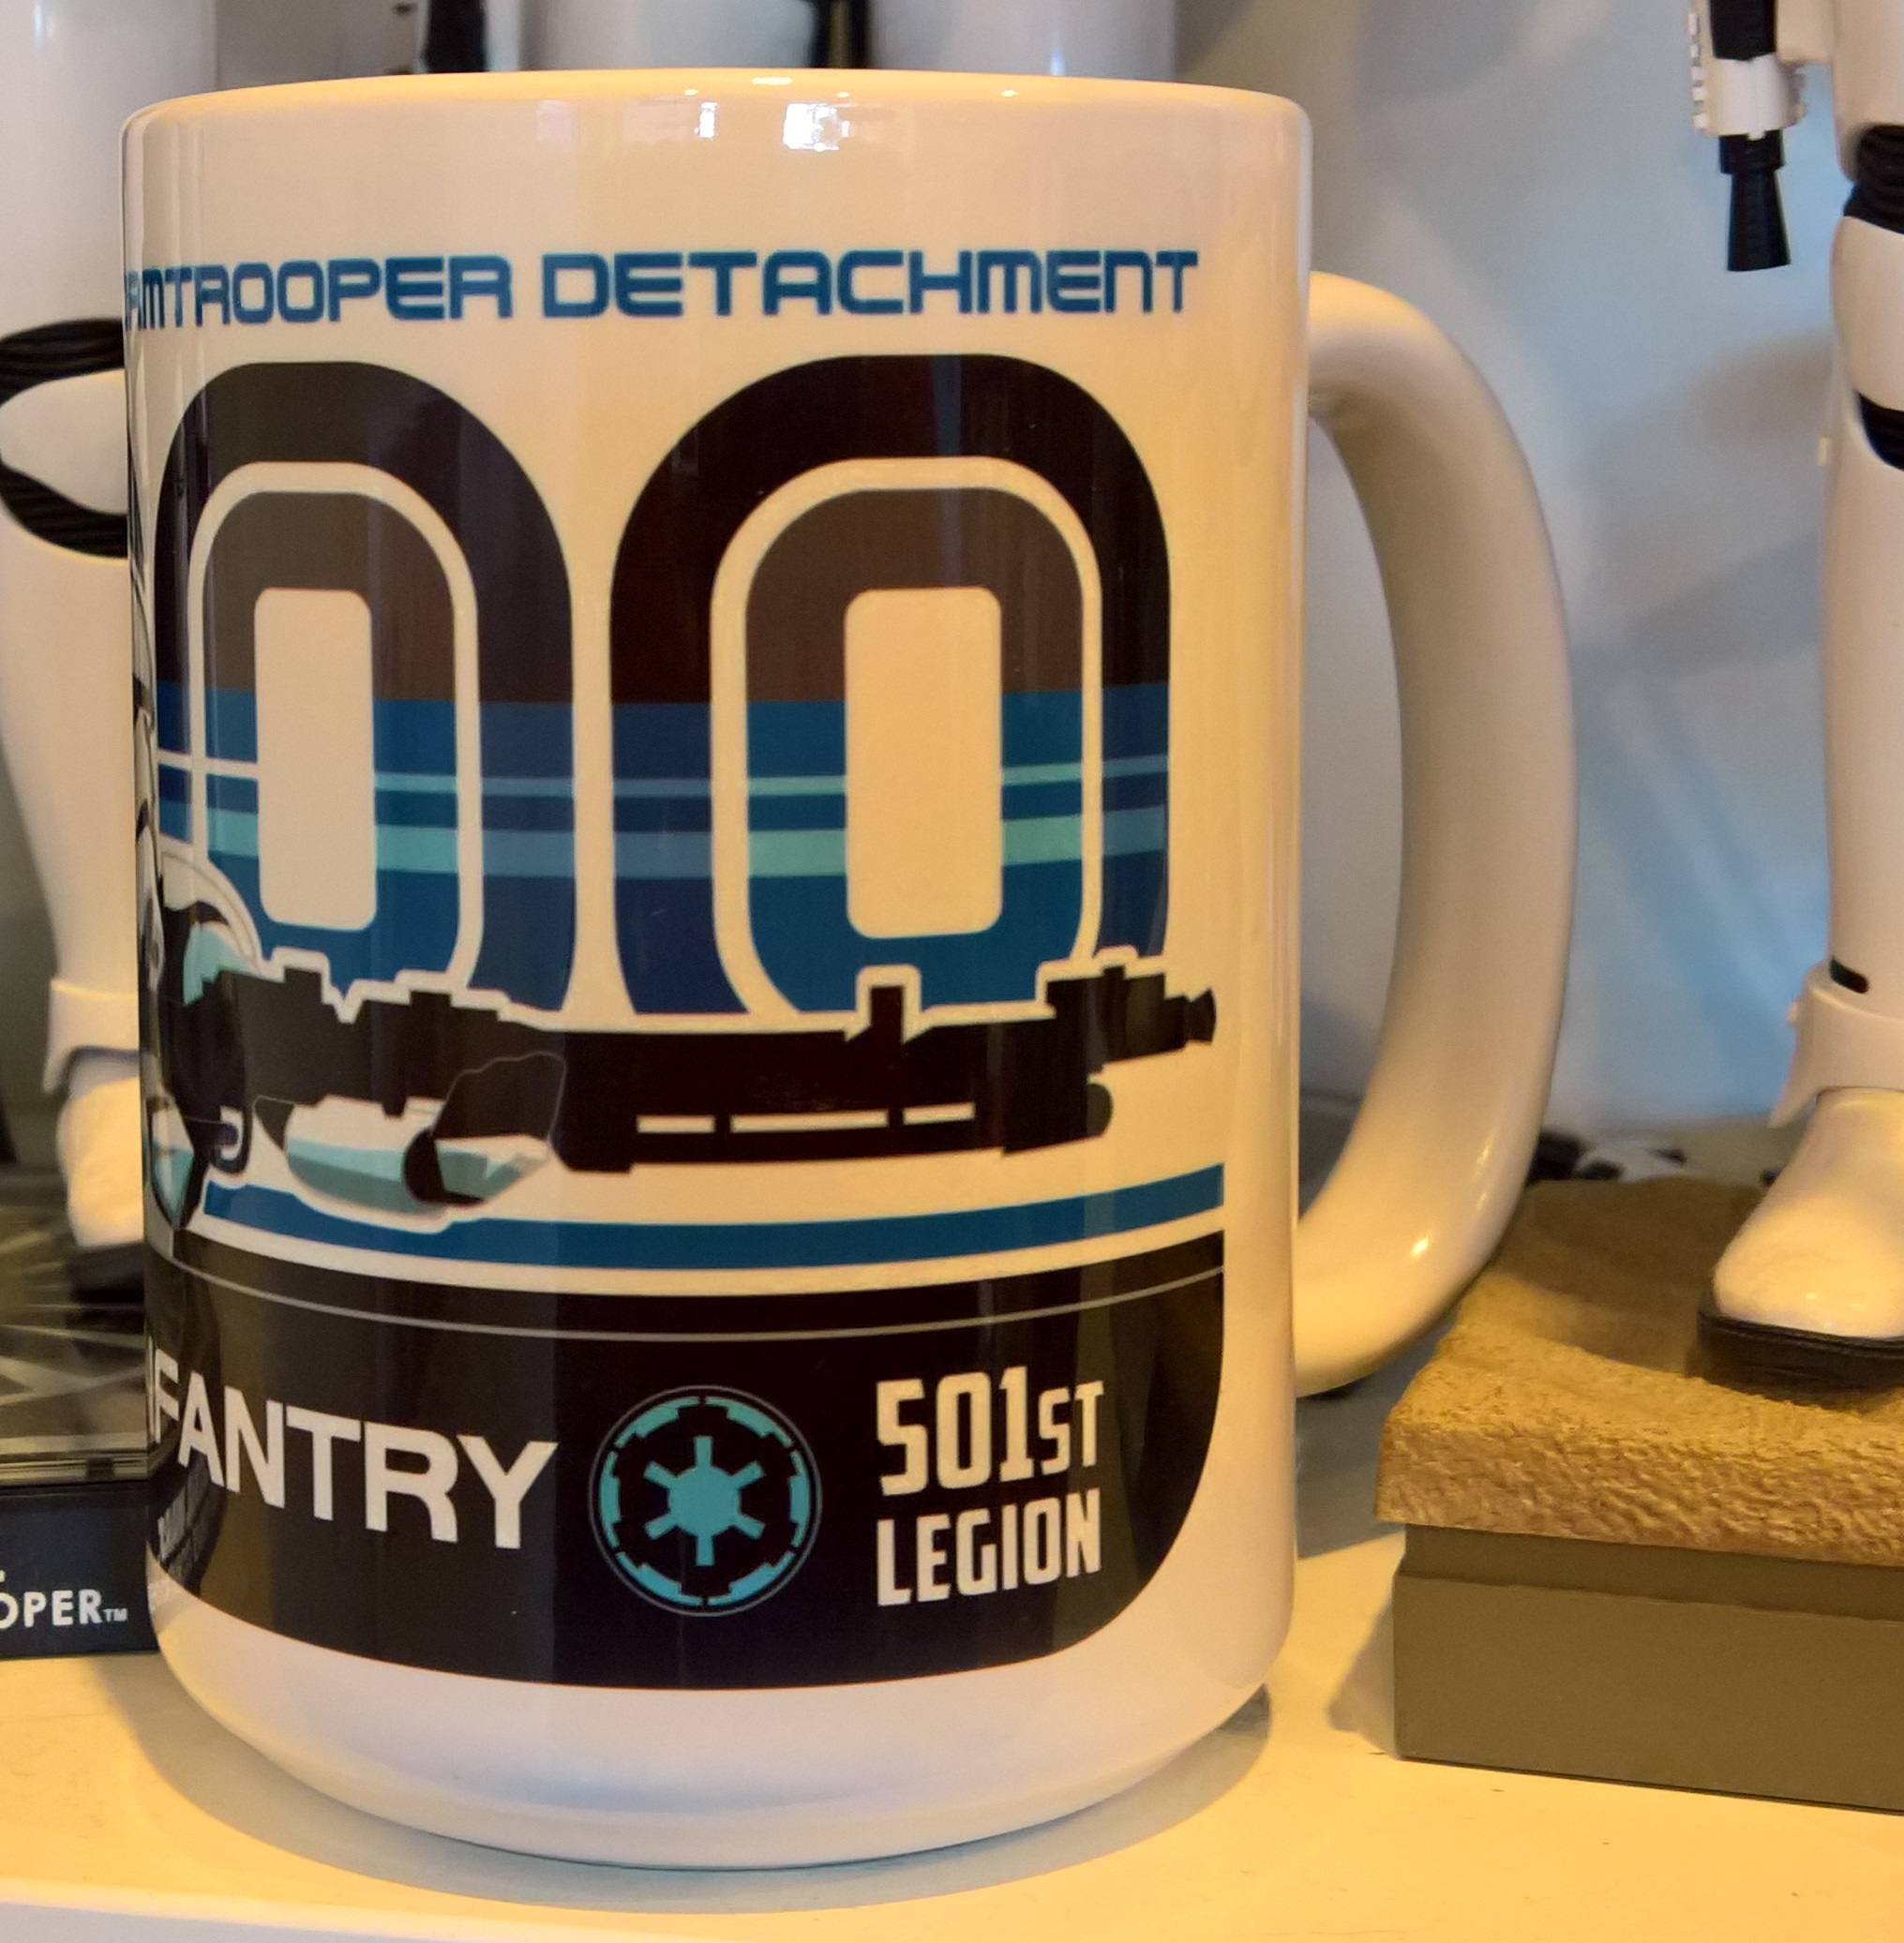
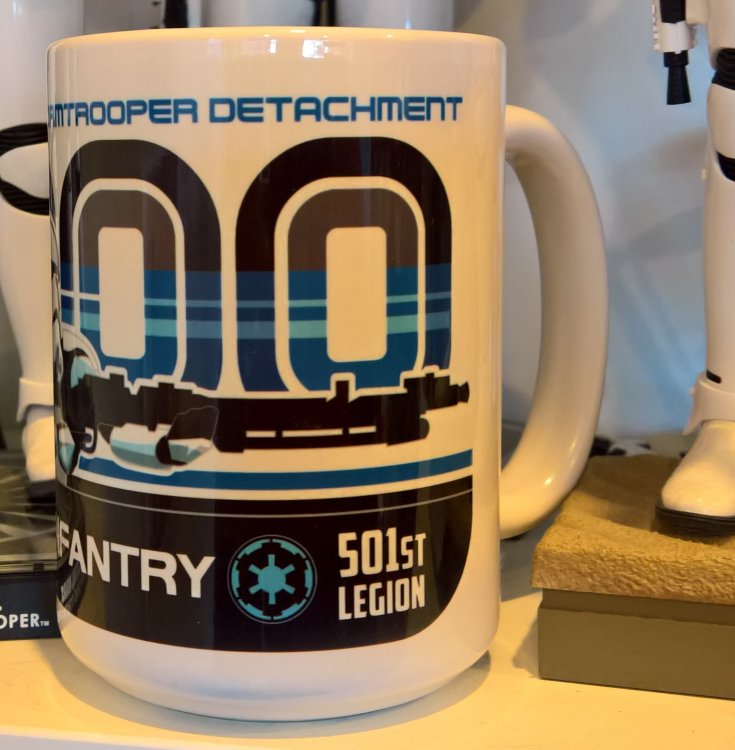
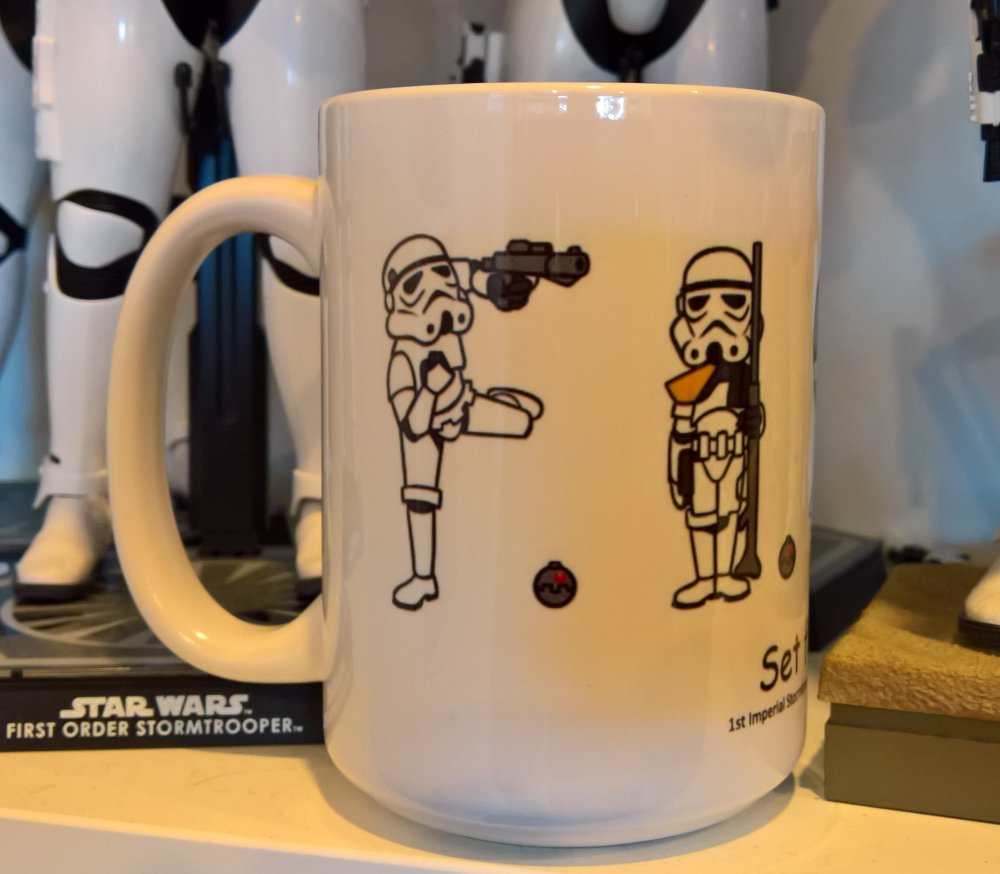
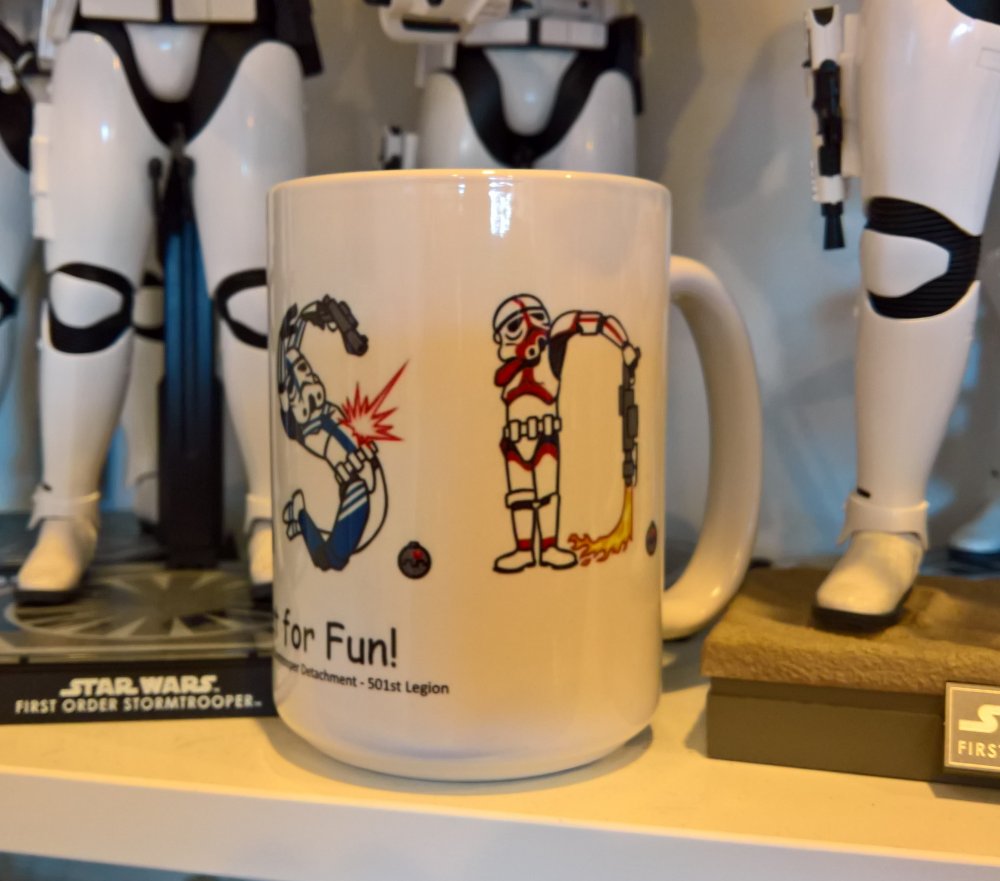
In Memoriam Detachment Officer Executive Officer Pre Approval Forum Trooping & Hydration Hall of Fame Just For Laughs In the Media FISD Facebook Group Mega Troop Trooping Imperial Attaché Program EIB & Centurion: What do these terms mean? Advanced Tactics Awards EIB - The March To 1000 Merch Reform Merchandise Public Relations Follow FISD On the 29th April of 2018 Christian John Collins passed away. “CJ” was aspiring to become a 501st member and had supported several troops in his own Shadow Scout armor. Sponsored by his father—who is also a 501st member—and the 70th Explorers Garrison, and in recognition of his son’s intent, ...Legion ID Number TX-51695 has been awarded to CJ Collins. CJ is survived by his younger brother Jeremy and his loving parents Rhodie and Chad (SL-6876.) Our condolences go out to his family and friends. "Buckets Off" Last month I touched upon the subject of the value of vetting the source of information before believing what you read, especially on social media like Facebook, and that FISD will always be the source of truth for anything detachment related. This month we close out on a FAQ regarding the events of the silver coin run and the fallout that ensued. As this is Legion business, it is accessible to 501st only and is located here: Hopefully it will provide the needed closure and we can move forward, as there is much still to do this year. For instance we're going to pick up the pace of CRL clarifications, with updates coming soon to the FOTK, ANH, ICN, and TKC costumes, as well are remedying an "oops" to the ROTJ. Phasma TLJ CRL is still waiting on photos, so alas no progress there. The FN-2187 CRL was done as a first draft and has been paused by the LMOs - and rightly so - while we get better photos as otherwise they are just not where we need them to be. So, cross fingers both will be done next month! There is much more going on, but I don't want to steal the staff's thunder so keep reading and enjoy! With Unquestioned Loyalty Paul Hoeffer TK8020 “Daetrin” Detachment Leader Greetings all One month in as XO and I have been thinking, what can I can do for our Detachment, then an idea came to me. Why not create a new section for our forums, based on subject matter that has become a very strong part of the Cosplay universe, and that subject matter is something I and I know many others are interested in and passionate about …..3D printing. My plan is to create a home for all things 3D printer related, be it the machines themselves, 3D design, a permanent depository for free to use files and tips n tricks the sky is the limit. I know we have many very talented members out there that will have plenty to share on this subject and you will now have a home in FISD to do so. I’m in the process of building the new tabs behind the scenes, so keep an eye out in the near future for these new sections. Main forum title: 3D Parts and Technical Sub topics: 3D Printer owners Your place to discuss what printer/s you own, recommendations, tech talk and the like, It’s a place to learn something new 3D CAD Designers Home of talented 3D cad designers, show off your 3D renders, of FISD related costume parts and accessories. Offer help and advice on programs, or offer to commission a piece for a fellow member 3D File Depository A home for 3D file sharing, Troopers helping Troopers is what this section is all about; yes a single location to keep any 3D files offered up by our extremely generous membership. This will be a 501st member’s only section and rules will apply to any usage of the content. I will be looking for content to get these new sections started so If you are interested in helping drive these new forums, then please send me a PM and let’s get the threads and the filament flowing. 3D printer heads will understand that last comment With Unquestioned Loyalty Andrew Franke TK-11469 "Sly11" Executive Officer The FISD is pleased to announce the addition of a new area in the Advanced Tactics forum dedicated to those ready to submit for basic 501st TK approval. This section will allow future Troopers the opportunity to submit photos of their completed build to be reviewed by the Staff, Imperial Attaches and others in preparation for forwarding it to their GML for approval. Any and all advice/suggestions given will be specific, constructive, helpful and respectful. Please note that this program will NOT take the place of your local GML, as Detachments are not chartered for costume approval and can not override a GMLs decision, but is instead a peer review program designed to help you look your best and offer guidance and positive feedback. You will have the opportunity to ask questions about your completed armor, weapons (if applicable), accessories, etc. and get accurate information from the experts here at the FISD.. the definitive home of TKs worldwide. For more information on this program, please visit the link here While trooping it is important to keep hydrated, you would think this is just for the hotter months but you can also find you can overheat on the coldest day if you are in a confined place indoors. Make sure you have enough food and drink during the whole trooping time (as trooping is quite exhausting, especially for beginners). The nature of our costumes and trooping events can put a lot of stress on a trooper. Always make sure to take frequent breaks and stay well hydrated. You may not always feel thirsty when taking a break but you may still be getting dehydrated, so grab a quick drink whenever possible. The lack of breaks and proper hydration can lead to heat related illnesses even under mild conditions. Heat Exhaustion is a condition whose symptoms may include heavy sweating and a rapid pulse, a result of your body overheating. It's one of three heat-related syndromes, with heat cramps being the mildest and heatstroke being the most severe. Causes of heat exhaustion include exposure to high temperatures, particularly when combined with high humidity, and strenuous physical activity. Without prompt treatment, heat exhaustion can progress to heatstroke, a life-threatening condition. Signs and symptoms of heat exhaustion may come on suddenly or may develop after days of heat exposure. Possible heat exhaustion signs and symptoms include: •Cool, moist skin with goose bumps when in the heat •Heavy sweating •Faintness •Dizziness •Fatigue •Weak, rapid pulse •Low blood pressure upon standing •Muscle cramps •Nausea •Headache Heatstroke is a life-threatening condition that occurs when your body temperature reaches 104 F (40 C) or higher. Heatstroke can be brought on by high environmental temperatures, by strenuous physical activity or by other conditions that raise your body temperature. Heatstroke is the escalation of two other heat-related health problems: heat cramps and heat exhaustion. In these conditions, you develop signs and symptoms that are milder than those of heatstroke. You can prevent heatstroke if you receive medical attention or take self-care steps as soon as you notice problems. Heatstroke symptoms include: •High body temperature. A body temperature of 104 F (40 C) or higher is the main sign of heatstroke. •Lack of sweating. In heatstroke brought on by hot weather, your skin will feel hot and dry to the touch. However, in heatstroke brought on by strenuous exercise (trooping), your skin usually feels moist. •Flushed skin. Your skin may turn red as your body temperature increases. •Rapid breathing. Your breathing may become rapid and shallow. •Racing heart rate and strong pulse (tachycardia). •Headache. You may experience a throbbing headache. •Neurological symptoms. You may have seizures, lose consciousness, hallucinate, •Difficulty speaking or understanding what others are saying. •Muscle cramps or weakness. Your muscles may feel tender or cramped in the early stages of heatstroke, but may later go rigid or limp. Avoiding Heatstroke and Heat Exhaustion •Take Frequent Breaks •Stay Hydrated: Drink plenty of fluids before during and after a troop. Water and "sports drinks" are the most beneficial to help avoid dehydration. Alcohol and sodas should be avoided as they can actually aggravate your dehydration. •Listen: One of the symptoms of heatstroke mentioned above is a decrease in mental understanding. You may not be aware that you are developing symptoms of a heat illness. So, listen to your handlers, if a handler or fellow trooper tells you it's time to take a break do it. •Don't be a Hero: Even if your in a parade or other venue where there isn't an easy exit or place to get out of view of the public if you start experiencing symptoms of heat exhaustion or heat stroke get to the side, find shade, sit down if possible, get your bucket off, get a handler to help, find water, rest. It is much better to have you break character in public than to have you pass out in public. For more information on trooping head to the 501st Trooper Survival Guide. I want to take a moment this month to sincerely thank everyone for their amazing contributions to the Field Exercises. Each month since becoming the curator, I’m seeing more and more reports come in sharing some truly phenomenal moments for us to share. You are all deserved of a salute and a big ol’ hugging handshake. Now for the final decision... This Trooper is definitely no stranger to us all. With that being said, I normally try to recognize pictures from Troopers new to the Field Training Exercises or have not been inducted yet - making it very difficult for those who have already earned their place in the Stormtrooper Hall of Fame to be honored again. However this time, I feel this recipient should be recognized for his ongoing efforts not only in the Field Training Exercises but also for his contributions throughout this Detachment and within his own Garrison. Whether it be greeting new recruits at the door, helping all of us at one point with our builds, giving words of encouragement /advice / praise, diligently working as a Trooper /Attaché / Staff member, selflessly contributing many hours of his own time to organize and co-ordinate us in the IPM... ... Yes I’m looking at you through my bubble lenses Glen. Please join me in Honoring TK - 85421 Glen “Q” - now a 3rd Time recipient of the Stormtrooper Hall of Fame Award. “We stopped for a scenic photo backdrop of the city we had just liberated.” With Unquestioned Loyalty Aaron Gibson TK99725 "Pyrates" Imperial Propaganda Fan Made Movie Stormtroopers is a fan film about a platoon of Stormtroopers who raid a remote Rebel Mining outpost, starring troopers of the 501st Ireland Garrison. Filmed in Ireland on location in Cork, Waterford & Tipperary. Stars Carolyn Bracken, Peter Cosgrove, Klancy Casey Williams, Micheal Fitzgerald, Michael Stack & Melissa Ciepierski. Written and directed by Micheal Fitzgerald and was produced by Cork Racing. You can find the film HERE or on Vimeo Jamie Oliver Massive Star Wars Fan http://digitalspyuk.cdnds.net/15/51/768x761/gallery-1450547621-jamieoliver-stormtrooper.jpg It's no secret that long before Jamie Oliver was the Naked Chef, he was a Star Wars super-fan. And let's not pretend his obsession has lessened over time. For instance, if you ever spot an Imperial Stormtrooper walking children to school it's probably Jamie Oliver. FISD now has a dedicated Facebook Group Yes, you read that correctly! The Command Staff does indeed hear your requests, and for the most part we want to make them happen! There was one trooper who asked for all of us to be a part of their underwater basket weaving graduation ceremony, taking place on/beneath a boat near the Cape of Good Hope... Nobody was actually prepared to make that happen. Aside from that instance however, we do what we can to make you happy as members, with your experiences at/associated with the 1st Imperial Stormtrooper Detachment! One of the primary requests from the membership at large was for a more interactive presence on Facebook. We have a great Facebook Page, but that is not an interactive space. That desire was what led to Paul asking me to consider returning to the Detachment Staff. I was excited to come back but knew that Facebook is a large machine and that I would need help and so I asked Marcus Dohring @JODOKAST to be a part of this new phase of FISD's growth, and here we are, discussing the new Facebook Group. I phrase it that way, because it is live. Right now. You can go there and join, and begin asking questions etc there instead of finishing your reading here - but I encourage you to finish this first, I mean, this NL will be one of the very first official posts there after all. So, what will you find when you go there (aside from a link to this newsletter)? Sharp-eyed members may notice some hidden gems when they get there, but generally you'll find a few different spots for questions and answers. Over time, more content will be worked in to the group, dependent upon the requests we receive from you, and from observations made by us. It is there, and ready, but it will indeed grow and evolve with time. Okay then... Where is it? It is right here: 1st Imperial Stormtrooper Detachment (FISD) Official That's what you need to get started. What do you do next? Spread the word, share the link. It is Social Media after all, let's make it more social! With Unquestioned Loyalty Tim Waychoff TK-51878 “Dark CMF” Social Media Relations Want Your Troop to be Included? Post your troop report in the Field Training Exercises section here Those with troop logs please post a separate troop report as it is easier to link too. May - June Star Wars Night at Tampa Bay Rays More here By: Mike, WhiteWalker, TK82666 Northern Fan Con 2018 More here By: Teresa, Soulart, TK41307 SOLO Premier Disney Private Screening More here By: Glen, gmrhodes13, TK85421 RSPCA Million Paws Walk More here By: Glen, gmrhodes13, TK85421 HBF Run For A Reason More here By: Glen, gmrhodes13, TK85421 SOLO Midnight Screening More here By: Glen, gmrhodes13, TK85421 SOLO Charity Screening More here By: Glen, gmrhodes13, TK85421 Serve proudly, ladies and gentlemen, and as Tim (Dark CMF) says: "Keep doing what it is that got you here"! Are you an approved TK that spends more time on the boards than the average Trooper? Do you enjoy using your knowledge to help out future and existing Troopers? If so, we would like to invite you to join the Imperial Attaché program! Members of the I.A. team are chosen to help out not only those here on the boards, but on a local level as well. Our aim is to have at least one in each and every Garrison, Squad and Outpost in the entire legion to be the eyes and ears of the FISD on a local level. A suggested level of EIB or above is preferred, as part of the duties include assisting those aiming for levels 2 and 3, but is not a requirement. Being active on the boards on a regular basis , welcoming new members and helping out where you can is, though. Some of the benefits: 1. Access to exclusive Attaché merch., including patches, etc. 2. Having the Imperial Attaché title under your name. 3. Being a part of the team that welcomes new and prospective members of the FISD. 4. Being the "go-to" person in your Garrison, Squad or Outpost. 5. Exclusive access to the Attaché HQ area, Imperial Propaganda Machine (newsletter) and merchandise discussions. We are currently in need of Attaches in many units, especially International Garrisons/Squads and Outposts. For more information on this program, please head here and if you should have any questions or concerns, feel free to contact me at any time. (Pretzel) For a complete list of Imperial Attaches, go here NEW ATTACHES! Please join me in welcoming 2 new Imperial Attaches to the FISD: 1. Frank, (Frank75139) - Truly dedicated member here on FISD and always on the front lines giving solid advice and welcoming new FISD members. Frank has displayed extraordinary dedication in his short time here. 2. Sha Sha, (shashachu)- Very pleased to see ShaSha apply when she did! Truly talented Attache that gives excellent advice and always happy to lend a helping hand! Serve proudly, Ladies & Gentlemen, and as Tim (Dark CMF) says: "Keep doing what it is that got you here"! IMPERIAL ATTACHE AWARD Imperial Attaché Award for those attaché's who have gone above and beyond [minimum 1 year of service] This month, I would like to highlight the newest recipient of the I.A. Award. Please congratulate Sarah (Alay) of the Connecticut Garrison. She has been serving with the FISD as an Attache for well over a year. The most notable service is for her tiring and relentless efforts in the most recent FISD racing shirt run. This is a true labor of love, and we feel that is well deserving of this prestigious award. Sarah. Thank You. I Salute You With Unquestioned Loyalty Preston Christman TK-91488 "Pretzel" Attaché Ambassador ATTACHE MERCHANDISE Attaché Patch Attaché patches should be back up and running soon, please stand by So what exactly are EIB (Expert Infantry Badge) and Centurion levels? These programs were designed for those who choose to take their armor above and beyond the minimum requirements for basic 501st Legion approval. It gives you the chance to show a level of dedication and pride that takes your armor closer to being as "screen accurate" as possible, without as much extra work as you may realize! It also works on giving a better look to the Legion as an entity, and you can bet others will take notice of your hard work. The 501st has a list of detailed requirements for Basic approval, (level 1), EIB, (level 2) and Centurion, (level 3) which can be found here in the Costume Reference Library, (CRL) http://databank.501st.com/databank/Costuming:FISD_CRL Here are a few of the questions people may be wondering about: 1. "I am a (tall/short/heavy/thin) Trooper. Can I still apply? Of course! These programs are open and encouraged for all sizes of TKs, as long as the costume is correct and meets the guidelines. There are many specific build tutorials to every option, as well as a vast network of fellow TKs on the FISD to help you out and offer suggestions. 2. "How much extra will I have to pay for extra items"? The cost is actually quite reasonable, considering the few extra supplies you will need, which are listed in the requirements area. While it may run you a little more to implement these additions to your costume, they will go a long way to improving accuracy. All needed items can be found for sale on this thread: https://www.whitearmor.net/forum/forum/16-ongoing-sales-project-orders/ While blasters are not required for basic approval, for EIB and Centurion levels they are, and may need upgrades (also listed in the CRL). 3. "I haven't even got my kit yet, is it too early to start planning"? Actually, aiming for Centurion is easiest to do right out of the box. 4. "I have my basic TK approval, can I still get in these programs"? In a word... absolutely! 5. "Are there any "perks" to this extra work and cost"? Besides knowing that you have a great looking set of armor, the 501st and FISD believes you should be deservedly recognized for your achievement(s), and allows you to wear the appropriate embroidered "rocker" badge of rank (available for a very minimum cost) on your shirt, helmet bag, etc., as well as rank decals to put on your armor bin. You will also have access to select "challenge coin" runs, receive (free) a cool certificate for your new rank, and have your title posted below your name in your FISD signature. Plus, once you reach these levels, you will have the extra knowledge to help out those who are looking to apply as well. 6. "Is it hard to apply, and what happens then"? After basic approval, all you do is make sure your armor is up to the standards set forth in the CRL, post a thread with the required photos in the appropriate area (see below), and wait a bit for the D.O.s (Deployment Officers) to address it. (Hint: Studying other people's threads before you submit can be a GREAT help). These are also listed on the main page of the FISD site. While waiting for approval, you will get some comments from others who will offer suggestions and constructive advice to help you out. If you should need any changes, the DOs will let you know, so you can adjust accordingly. Don't be dismayed if you do need changes... it's all for your benefit! After you are approved for EIB, then you can submit for Centurion. EIB https://www.whitearmor.net/forum/forum/19-request-expert-infantryman-status/ Centurion https://www.whitearmor.net/forum/forum/72-request-centurion-status/ Note: You will see some suggestions in the existing submissions/approval requests that, while not actually part of the CRL, are highly suggested items, (for your benefit), such as "flat-head screw heads on the TD (thermal detonator) should be painted black" for Centurion, etc. Those small details all add up to closer screen accuracy. Just remember that the FISD is here to help you every step of the way with whatever other questions you may have, but if you can't seem to find what you are looking for in your research, just post the question, (or PM justjoseph63) and best of luck on your build! This area lists all those who have gone above and beyond basic approval toward screen accuracy. FOR APRIL-MAY the 1st Imperial Stormtrooper Detachment would like to congratulate: Expert Infantry Badge Award: Daniel Melin "The Swede" TK 99665 EIB (Approved for THIRD EIB)! Ignacio Garcia "501 pendragon" TK 13912 EIB 828 Carl H. "cjdesign" TK 10171 EIB 829 José Castro " José" TK 52410 EIB 830 Ilan Boogaerts "Ilbo1996" TK 40996 EIB 831 Peter "Sith Thundercracker" TK 29916 EIB 832 David Ruel "hollowbodies" TK 41123 EIB 833 Jon Hall "IBKyde" TK 12124 EIB 834 Alan Ibarra "Thumpy~" TK 6306 EIB 835 (Our first Sky Trooper to reach EI)! Colin Moreh "menschie" TK 11626 EIB 836 Zac Bates "DEVOLVER" TK 82214 EIB 837 Gary Sellers "Asystole" TK 52417 EIB 838 David Williams ""vmax1974" TK 41774 EIB 839 GREAT job on your approval, now on to Level 3! Request your free EIB certificate here Centurion Badge Award: http://www.whitearmor.net/eib/centurion_badge.png Daniel Melin "The Swede" TK 99665 (Approved for THIRD Centurion)!! David Ruel "hollowbodies" TK 41123 Centurion 400 ! Ilan Boogaerts "Ilbo1996" TK 40996 Centurion 401 Peter "SithThundercracker" TK 29916 Centurion 402 Carl H. "cjdesign" TK 10171 Centurion 403 Outstanding job on reaching Centurion, Troopers! Request your free Centurion certificate here If you see any of these Troopers around your Garrison or Squad, be sure to congratulate them! As many of you are aware, the FISD is currently in our March to 1000 program. Our goal is to reach the one thousand mark of Troopers who have earned their Expert Infantry Badge, and although we are well on our way to this goal and have just passed the 800 mark! The amount of approved submissions is increasing (over 80 this year alone) thanks to the dedication of those willing to go the "extra mile" toward screen accuracy. Here is a brief description of EIB as written by Paul (Daetrin), our founder: "Expert Infantryman status is not required for members of this detachment. It should be viewed as an optional set of requirements for those who wish to take the accuracy of their costumes to the next level, and be recognized accordingly. We're a costuming club - think of it as an award for costuming excellence and you get the picture. The requirements will not replace or supersede 501st standards, but only serve as an inspiration for the level of accuracy that can be achieved. The standards are meant to be high but achievable..." Besides the added pride you will have in your armor, those reaching this level can purchase exclusive EIB gear (patches, decals, coins etc.) and get a free certificate for your accomplishment. If you are interested or would like more information about the program head here that will help. You can also contact myself "Pretzel" or any Imperial Attaché, and we will be more than happy to assist you! For those interested a graph of EIB approvals by year FISD Merch Reform Proposal (to come into effect June 18th) The FISD for sale and merchandise rules have been in a place for a long time - they were liberally taken directly from CTN (the 501st clonetroopers detachment) and haven’t had to be tweaked much in 10+ years. For the most part things have been going well, however we’ve seen an increasing amount of reports of buyers making demands that fall outside reasonable expectations. We have had more than one occasion during merch runs, where a member files a PayPal dispute immediately upon seeing someone else post that they have received their items, and the filing member has not received theirs yet. This is a major pain. It locks up the PayPal account of the person managing the run, and could potentially cause other members to panic and file claims. Nobody wins in this situation. It clogs up the management of the run, creates a mob mentality, and cannot lead to anything productive regarding possible resolution to what wasn't a problem until that PayPal dispute was filed. The run manager (whether the DMBO or not) is acting on behalf of the Detachment to include the membership, and going straight to PayPal disputes is disrespectful of everyone involved, to include other members who ordered the item(s). Filing PayPal disputes without seeking resolution or an answer from the run manager/Detachment Command Staff should carry a suspension of no more than 30 days - really it is the same as someone messing up the forum experience for others, except that this is actually messing with people's lives and money. To protect against this, the following changes are being made to merch runs for FISD effective immediately: 1. Buyers have 30 days from shipment to report a missing or lost item for domestic runs. Sellers are only required to retain proof of shipment for 30 days. Why? Domestic shipments should normally arrive in about 7 days. Some people are claiming items never shipped 5 months after a run was closed, which is way too long to ask people to retain shipping material. If your domestically shipped item hasn’t arrived after 30 days IOW, you lose the right to claim it was never shipped. 2. Buyers have 60 days from shipment to report a missing/lost item for international runs. Most items are received in under 30 days, however we know some countries are pretty bad. Sellers must keep shipping documentation for 60 days on international items. If the shipper can provide tracking information (e.g. a tracking number for domestic or a customs form for international), they are not held liable for items lost or missing in the mail. Any concerns post them on the thread here: With Unquestioned Loyalty Paul Hoeffer TK8020 “Daetrin” Detachment Leader FISD Coffee Mugs - 2 Designs! $14 each + $5 shipping in the US + $10 shipped international Sales thread here Design One Design Two FISD Brothers in Arms Sticker 3.5 inch round stickers $4.00, shipping included Reference: Brothers in Arms Thread here paypal [email protected] Phasma Coin $10 shipped US International buyers email for quote: [email protected] Thread here Riot Control Coin $10 shipped US International buyers email for quote: [email protected] Thread here FISD Classic Style Patch $5 shipped US International buyers email for quote: [email protected] Thread here UPDATE FISD Racing Shirts Great news FISD racing shirts are on their way, for international orders please stand by shipping does take time. Any issues please contact Sarah in this thread here On behalf of the membership I would like to say a massive thank you to Sarah for undertaking this run, you have definitely gone above and beyond "troopers helping troopers" Thank You Sarah "Alay" TK20466 How To Fix A Shirt That Has Incorrect Info? Occasionally there can be an issue with printing and a mistake may be made, if you find either your name or id is incorrect you can at least save the shirt, here's how. Purchase some T-shirt transfer sheets, (use for black shirts as this is thicker and can be printed any color) Next in your photo software find a font similar and enter your info then print, wait to dry then cut out and iron on to the shirt. Newsletter We are always on the look out for content, ideas, funny photos or even your TK adventure story so feel free to contact either Danny, Tim, Marcus, Preston or myself. With Unquestioned Loyalty Glen "Q" Rhodes TK85421 "gmrhodes13" PRO - Newsletter Facebook & Twitter With Unquestioned Loyalty Daniel Lauber TK55550 - "Ripper_L" PRO - Facebook Page Instagram With Unquestioned Loyalty Preston Christman TK-91488 "Pretzel" PRO - Instagram FISD Facebook Group With Unquestioned Loyalty Tim Waychoff TK-51878 “Dark CMF” PRO - Facebook Group With Unquestioned Loyalty Marcus Dohring TK-14057 “JODOKAST” PRO - Facebook Group Don't Forget We're on Facebook and Twitter! Facebook: www.facebook.com/whitearmor If you're on FB, stop by and say hi, ask questions, and share stories! NEW Facebook Group: 1st Imperial Stormtrooper Detachment (FISD) Official If you're on FB, stop by and say hi, ask questions, and share stories! Twitter: www.twitter.com/FISD501st or @FISD501st follow FISD on Twitter! Instagram: www.instagram.com/fisd501st On behalf of the 1st Imperial Stormtrooper Detachment Command Staff and the Imperial Propaganda Department

 3 points
 -
Trimmed up some small bits while some glue dries. Sent from my iPhone using Tapatalk2 points
-
I think that'll be my policy, too, though I see your point about uniformity, Frank! Ugh. So many decisions. Gotcha. Hm. Duly noted. Glam gloves! That's what they were called! I thought you said it in your thread but hadn't dug back through it yet to check. Silk liners seem like the way to go, too. Hey do you wear silk socks in your boots? I saw that recommended. Hooray! You don't know how good that is to hear. When I first started looking into this, I wasn't sure I could be a TK at all due to my height (or lack thereof), let alone a Centurion! Thanks for the other recommendations, as well. I'm all set up on my garrison's boards. I now feel *super* bad for not having any real progress for y'all to follow... I've ordered a couple more things and will doubtless appreciate a second (third, fourth, twelfth) set of eyes on them so stand by! Thanks again!2 points
-
So it doesn't matter if the calf return edge is not even? That does simplify things a bit @hollowbodies I am going to cut down the biceps a bit more so they should fit under the shoulder bells easily. Another question: are the back plate and the kidney plate connected at all? I just trimmed down the return edge on the back plate and then realised I might have made a mistake there Good news, I finished painting the helmet! So I am making some decent progress, and especially with your help I'll be finished in no time2 points
-
Double check the cling film won't pull up the ink first! Try find a similar white shiny ABS scrap and write on it in blue sharpie Give it time to dry and then wrap it and leave it for a couple of weeks (ie much worse than what will actually happen).2 points
-
I can be frustrating for sure. My best source was the screen shots from ANH. There are plenty of photos in the gallery section and worth pouring over. Also it’s best to post up photos of any part you are not sure about and ask away before attempting another mod, plenty of veteran members here who know their armor inside out and can guide you to level 2 or 3. Also if you have time, I can try and meet up with you sometime and answer any questions you may have, modding the SDS armor is not my specialty but I can research anything you are concerned about. Happy to help out however I can.2 points
-
yea after reading the getting started thread im probably going to go with rs props2 points
-
Thanks for the feedback Dan! I agree, definitely going for Stunt so the white has to be there, just slightly on the shorter side of brow height per my reference pic of the Trooper that stuns Leia (within your pic, I'd say the Trooper on the far right fits my liking). OK, onward with some pics and thoughts on my first cuts. I'm going to dwell here a bit more than I likely will as I progress in the build with thoughts and experiences after making those first cuts but only because this is another resounding topic I've read throughout the forums that I can relate to. Numerous other peeps (noobs like me) have expressed fear and trepidation on what to use and how to cut. Now, I'll qualify this with a little background on myself. As a Systems Engineer by trait, I tend to dwell on topics and details more than most. Some say ad nauseam or with a degree of analysis paralysis. While this approach is sloooower, my success rate in terms of defining requirements, attention to details and solid solutions is high as a result. Personally, I appreciate analytical and methodical and appreciate it even more when I recognize it in others. Ah yes, self validation lol. So, I apologize in advance for the following. Hopefully it's not too much for a topic that ultimately will rely more on individual practice and the experience gained... Trimming Biceps: Preface this by saying, this was all done with Lexan scissors. No score n snap as yet. (I personally think I'll reserve this method for the longer/straight cuts such as cover strips but that's more inexperienced comments since I have not attempted this method yet) Also, these are just rough cuts and not the final lines, for practice sake. One of the larger lessons or take away's that I've learned in these forums is "if you're not sure, take a little off at a time. You can always taker off more later but it's much harder to put it back". 1st Cut I used the curved Lexan scissors for this and while it went well enough, I was far too conservative in getting close enough to my pencil marks. (sorry for the poor quality of this pic as I used my iPhone due to camera being out of charge but you can sorta see on the right, I was well outside my pencil guide marks). Thoughts on this: I was pretty impressed by how easily the Lexan scissors cut through this 1.5mm ABS. I had to press inward (toward line) on the cut to hold my line. If you lose your line, its kinda hard to get back on track (the blade just wants to shave off rather than bite) so try to maintain your line and not drift too much. The curved scissors seemed a bit better at regaining the cut line than the straight ones. Go figure In addition, the more you leave, the more you have to sand/cleanup later right! The curved scissors tend to make curved-wave-like cuts of you use the entire length of the blade. I learned quickly to make shorter 'choppy' cuts just using the center/sweet spot on the blade which resulted in much straighter cuts. I'm guessing I was using about 1/4 the length of the blade in each 'chop, maybe a bit less. 'This approach does have a slight downside in that it leaves a little 'chug chug' pattern (which will be easy sand smooth) as you can see in the 3rd cut - image below. 2nd Cut I learned that a combination of the curved and straight Lexan scissors works well (depending on the length and curve of course) but also when you need to get under the lip of a cut to resume, the curved ones did that nicely with a little less torquing of the plastic. Be mindful of the upper surface of the scissors in relation to your cutting surface. If you angle them like I did to get through the tight curve seen in the picture below, you'll score the surface of your armor (argh, first self inflicted scratch/mistake ). On the angle and torque factor, I was a little concerned at first that bending the plastic with various scissor angles as I cut might result in a crack, especially around the 90 degree return edges. Turns out, while this is still a concern or suspicion for me that I want to be wary of, the plastic is impressively pliable and forgiving. No cracks yet...! 3rd Cut Gained more confidence with the scissors as you can see by a cleaner line. As with anything, practice makes perfect so I feel good about my first experiences here knowing I'll get better. Part of the cutting - success criteria for me is less sanding or cleanup later. Note the gouge in the upper left portion of the curve as it's more easy to see in this pic. That was the outer/upper surface of the scissors making that scratch because I angled them too much to get through that tight corner cut.2 points
-
I am making my own pauldron and need some advise on this last part. How do I go about sewing the trim without the corners bunching up? I thought about cutting darts in the corners but that wouldn't look very clean in my opinion, so I am hoping there is another way. Thanks1 point
-
Yes mate. I think the bicep clip is pretty rare in these parts. Many have passed Centurion without so you’ll be fine. I’ve seen some added in the past for those following the hero look (as the ref pics show that Han had them), but they’re not that common with most builds. Nice touch if you wanted to add it though. :-) Sent from my iPhone using Tapatalk1 point
-
Congratulation on your approval trooper and your EIB. Good luck with Centurion and keep up the good work1 point
-
Updates: Ok so I decided to ditch the elastic suspenders that were strapped to the belt on my pants and go with the idea from the previously posted Rogue One behind the scenes strapping. I did not have any 1 ½” black webbing on hand so I used 1” but I can change this later if it becomes too uncomfortable. I permanently attached the straps to the back of the abdomen (at the top of the picture) and used snaps to attach them to the front. I made them adjustable with Velcro and a plastic D ring. Again I did not have a black 1” D on hand so I used some green ones. You will be able to see this better in a later picture. Also I added two small straps that attach to the outer edges of the posterior plate with Velcro to hold is closer to the body. Next I placed some soft Velcro on the inside front of the abdomen to attach the strap you see in this picture. The strap has a snap at the top and will snap where you see the clamp to help hold the chest plate in position and not let it ride up. Next I started filling in the inside edge of the back cover plate to the Velcro or whatever method I come up with, will mount to the back of the armor better. I used two layers of .90 styrene and glued it in place. It is still recessed under the edge by 1/16th”. Next I sanded the gauntlets with 100, 150 and 220 grit then filled in some cracks with glaze. Ok so I was figuring out how to attach the back belt and make sure it was centered when I found this behind the scenes pic. Notice the snaps on the side of the front belt (yellow circle). I assume they are to hold the back belt centered, so I figured why not. I glued two 2” white cotton straps on each side of the front belt with E6000 and added 3 snaps to each side. There is one snap that connects the ends of the front belt to the abdomen and two snaps that connect to the back belt. Next I lined up the snaps with the back belt and added the snaps to receive the front snaps. Lastly I tested most of these changes and here are the results. Notice how well the chest armor and front belt lay on the abdomen. Also, since I discarded the elastic suspenders and crisscrossed the new 1” straps, I needed to attach the shoulder bells to the elastic straps that sit under the shoulder straps. Here is a picture of the abdomen where you can sort of see the 1” shoulder straps snapped on the top and the chest armor strap hanging from the center. Ok so I need to test the back belt and figure out how to attach the back cover strip and then its heavy sanding. I am planning on painting in late July or early August if not sooner. It really depends on how far I get with the sanding and prep work and then I need to construct the paint booth. Thanks for the interest.1 point
-
Yes, from what I've seen it is more important to have the spacing at the back equal. For the rivets, there was some rumblings about the knee ammo pack needing to be a single cap rivet for L2 or L3. You are still good to use the split rivet at this time as far as I can tell from the CRL. It is still one of those "screen accurate" things at this point. The build is looking amazing! The attention to detail is impressive. I think I might try the iron trick as well. Good job!1 point
-
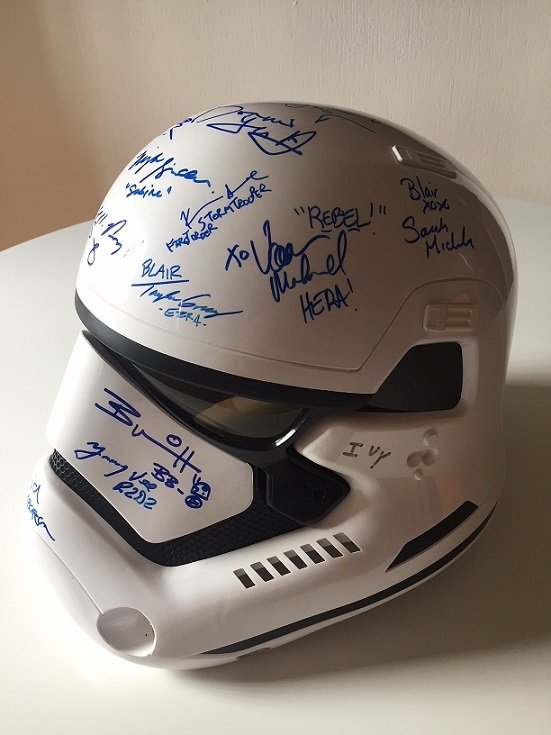
Oh wow, I feel like an idiot as I never thought of the clingfilm idea, and it's pretty much perfect! You're right in that the wear and tear happens when I take it to cons, so it's a brilliant solution, thanks! And yeah, I still need to get Mark Hamill to sign it, he's perhaps one of the last main guys I'm looking to get it signed by! (With the exception of those actors who aren't going to cons yet, your Daisy Ridleys and John Boyagas ) Thanks! It's the one big nerdy thing I do, get Star Wars signatures. Got pretty much all the Rebels cast at Celebration last year, and have been adding to it with cons at the UK ever since. Has some curve ball ones too, such as Sarah Michelle Gheler and Kevin Smith, people I love more from other things but had little roles in the SW Universe! Here's the other side, have some more on the back too
 1 point
 -
For the right thigh I used a combination of having a little extra return edge below the cover strips in places and trying to bend the cover strip. I got a bit of a bend in the cover strip by gluing the bottom half first - letting it set really well - then gluing the top half. The flex in the cover strip allows for a little bit of movement to correct for the curve. I also used an inside cover strip beforehand to "rough" attach the thigh pieces.1 point
-
The entire armor is pretty much asymmetrical, or loaded with personality Thigh shape, absolutely normal. The following canon photos illustrate the position of the cover strip. Left Some builders like TM will curve their cover strip to follow the contour on the right thigh.1 point
-
Excellent job!1 point
-
Also have a look at the centurion approved armor applicant threads. Approved SDS for either level 2 or 3 will have undergone the correct mods to pass. But I would only refer to recent approved applicants so the mods they have undergone are according to the latest level requirements.1 point
-
With a big gap as you said, you did the right thing. I wouldn’t replicate a line just yet. See how it looks after you get it sanded and polished,it should be just fine like that.1 point
-
Whilst recasting is "A Bad Thing"™ there's also a lot of grey area. If you are literally going to pour some latex into a plastic guard you already have? I see no issue personally. It's for you and you're not selling it or making them for others. Even if you do that for you and and gave a pair to 1 friend, probably not the end of the world but at that point your well on your way to recasting in a way that would be a problem. I know some people see recasting as a black/white issue but I see it as a much more complex issue in general, and generally look at it pragmatically.1 point
-
Not for selling, just for personal. Not even for others. Just happen to have almost a gallon of latex left over from other projects. Sent from my HTC One M9 using Tapatalk1 point
-
I eventually got the brass split rivets in [emoji2] Sent from my SM-G950F using Tapatalk1 point
-
Doopydoos is a strange beast to say the least. I just ordered my third kit from them (and another one of Tino's kits of course). My first one took about 4 weeks to arrive. After waiting 7 weeks for the last one, I emailed DD several times over the period of a week with no reply. I finally got in touch with PayPal, who apparently lit a fire under them and I received a reply the next day and the kit 5 days later. The thing with DD is that their communication is absolutely horrible.... no tracking number, no "item sent" email, nothing... but you will eventually get your kit, (which is a nice one, btw). Being in CA., I would give it 5-6 weeks. If you haven't received it by then, send them an email and include the order number. If no response within a week, contact PP.1 point
-
stay away from origionalstormtrooper or SDS armor if possible1 point
-
No need to apologize for your "likes" Dan. I am glad if all the work would be of any help for other troopers. Thanks again.1 point
-
+1 And...by wearing thin cotton gloves underneath there`s no sweaty hands1 point
-
After hot water bath I had much better luck shaping my shins this time. Almost no gap and using the elastic calf closures that Ukswrath sells. Now some people will ask why the elastic and why not go the easy way. I wanted to mimic the screen used suits as close as possible. The elastic also has some give to it. So while walking during test fits this moves with the leg as it expands. Velcro acts differently as it will hold and prevent no gap but will not stretch, it's either holding or it's not. But is very easy to assemble. Both options have pros and cons I just wanted to touch base on them. Below are the new rear of my shins Right shin Left shin1 point
-
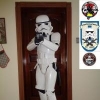
I think I annoyed my roommate. I was wearing this: That mask is really good. I could not tell how stinky Plasti-Dip is until I was done and ready to clean up. Wow. I put the helmet halves outside and sent the air-cleaning droids to work. When I checked in on them they had passed out. (They deserve special paint jobs for this work, don't you think?)1 point
-
Yeah they'll be there but I've seen so many different ways to attach it. I have an idea of how I want to do it. I guess that's the fun part though. I want it to stay tight and together there ( I believe I read there could be 1/2" gap on each side but I'd like to keep it clean looking.1 point
-
Been a bit, but been busy with other things so the build has been on hold. I did however finally get my shoulder straps elastic and hard straps done, but one of them decided to wander a bit so I'll need to reglue it. I'll probably do it tomorrow. Sent from my VK815 using Tapatalk1 point
-
10-4. That's what I'll do. I have a question on the 6 side rivets. Can I just put them in attached to nothing and use the double snap method on the inside instead? I think i read it should be elastic as well?1 point
-
So last night I did the scary job of cutting back the trim on the thigh armour that goes all the way to the bottom - because the trimming is of a different type of plastic it’s bonded pretty strong to the main armour and even careful sawing left holes in the armour. I filled these with ABS putty base from the original belt backer. first heavily filling the back of the thigh armour to give added strength and then to the front. This morning the putty had cured enough to add another layer. once this has fully cured it will be sanded back and then polished to hopefully match the rest of the armour.1 point
-
Martyn, thank you for your offer to help answer questions. The start of our build is a little bit off in the not to distant future. We are just starting to acquire all the bits and pieces.1 point
-
Yeah I saw that in your build Dan, the problem with the RS kit is that it doesn't have the same little ledge (if that's the right word) inside where the mesh rests once you've pushed it in enough, there's just nothing there .. that's why I'm struggling with it1 point
-
Very entertaining!1 point
-
I would cut it. Take a look at what I did for my RS TK. https://www.whitearmor.net/forum/topic/41502-crickets-wtf-hero-build-even-more-tk-for-the-vertically-challenged/?do=findComment&comment=5665431 point
-
OK... new plan of attack. Was planning on fitting forearms today, but with LTM bringing up the Thursday armor party, I think I'm going to focus on trimming everything (aside from what will be sized) to get more out of the trip. I've marked out the spots to trim on the fronts of the greaves, and thighs, but will probably wait for hive mind approval before making the cuts. My theory on this is to cut at 11 to 12 mm knowing it should be 10 on each side, but allowing for error, with the intent of sanding down to the appropriate 10. The thighs seem easier, there's a nice edge to run the ruler off. I marked at 9mm to allow for the gap between the first hash mark and the edge of the ruler. The shins...hmm. Well it feels like a bit of a guessing game, feeling for the start of the curve, with my thumb, and then trying to get the 0mm mark as close as possible. My other thought was trying to run a pencil on the inside to generate a line to measure from, but it seems a little sloppy and may not be the best. Suggestions welcome, cod and butt marks to follow. Sent from my HTC One M9 using Tapatalk1 point
-
After all the paint dried and I was able to glue the wood pieces together that needed to be glued, this is what the display looks like finished: I must say I am pretty happy with the result, but I had to add an extra wooden wedge to keep the blaster in an upright position. I think the mistake I made was that I didn't cut out enough wood from the front leg which left the blaster in a quite unstable position. However, if you guys are interested in rebuilding this amateur work, I would be more than happy to measure out everything exactly. My last update will be one with the blaster display and the little metal plaque that I ordered from a German Garrison member, so this wasn't the last picture1 point
-
Sorry for all the “likes”, Tino. As you can tell, I’ve just gone through your thread again and am still blown away. The armour itself from Paul, the way you’ve constructed it, the weathering, AND the way you’ve documented it. Truly excellent, sir!1 point
-
Update 08: - transport box for the armor As participation in events became more frequently, I had to think about a suitable transport box for the armor. Up to now I attended 9 events, carrying everything in that 4 years old BBB. After seriously researching, I ended up with a Stanley box. Many here will think of the popular 190 liters box, because it is a good choice for TKs with original strapping. My TK has the standard strapping, so I looked for something smaller and found a 113 liters size. Note: It took two months with lid opened for the factory stench to evaporate… The box seems very robust. I can sit and stand on it without problems. The integrated lock is a nice feature, but be warned: I tested my key on 5 other Stanley boxes and it worked on each of them! Looks like they use the exact same lock for all boxes. Guessing a few guys (including me) will soon replace their locks. Now onto decorating the box… Was happy to have that V-groove covered in a useful way. There is space for about 60 - 70 events. Enough for me. Went on with the sides. Seen many boxes full with interesting stickers, but I had not enough to fill the sides. What I had instead, were two laser-cut imperial cogs “from an earlier project”. I am really happy with the result and do like the clean look. In case anybody wants to pick up the aluminum cover on the v-groove, then please make sure to use a sufficient thickness. My alu stripe is only 0.8mm. A bit more would be better, as these boxes might be stacked on big events.1 point
-
That should be done now.1 point
-
TD done, clips by Tony1 point
-
This is his sale thread: T-Jay1 point
-
The build thread has been updated to reflect the most current information, improve down time between sections, and clarify details regarding the shins. The build technically concludes on page 7, the remaining pages are Q&A. If I missed anything please let me know.1 point