
Leaderboard


Popular Content
Showing content with the highest reputation on 03/22/2024 in all areas
-
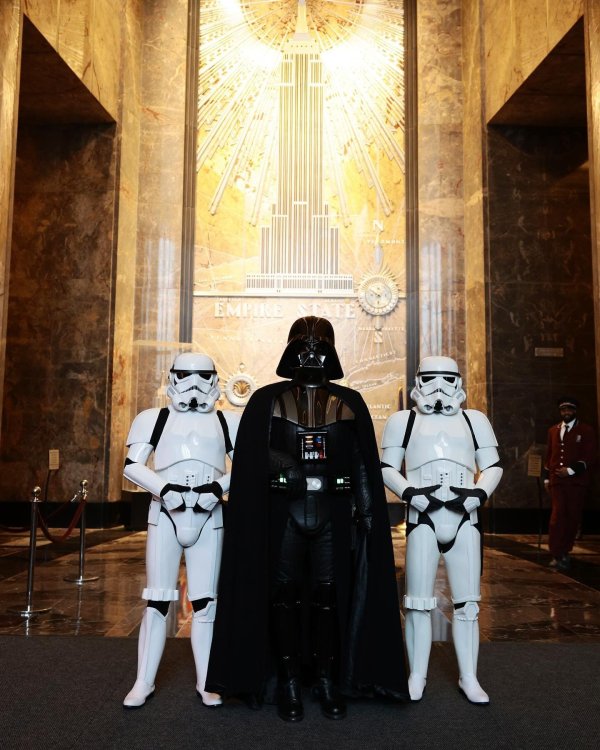
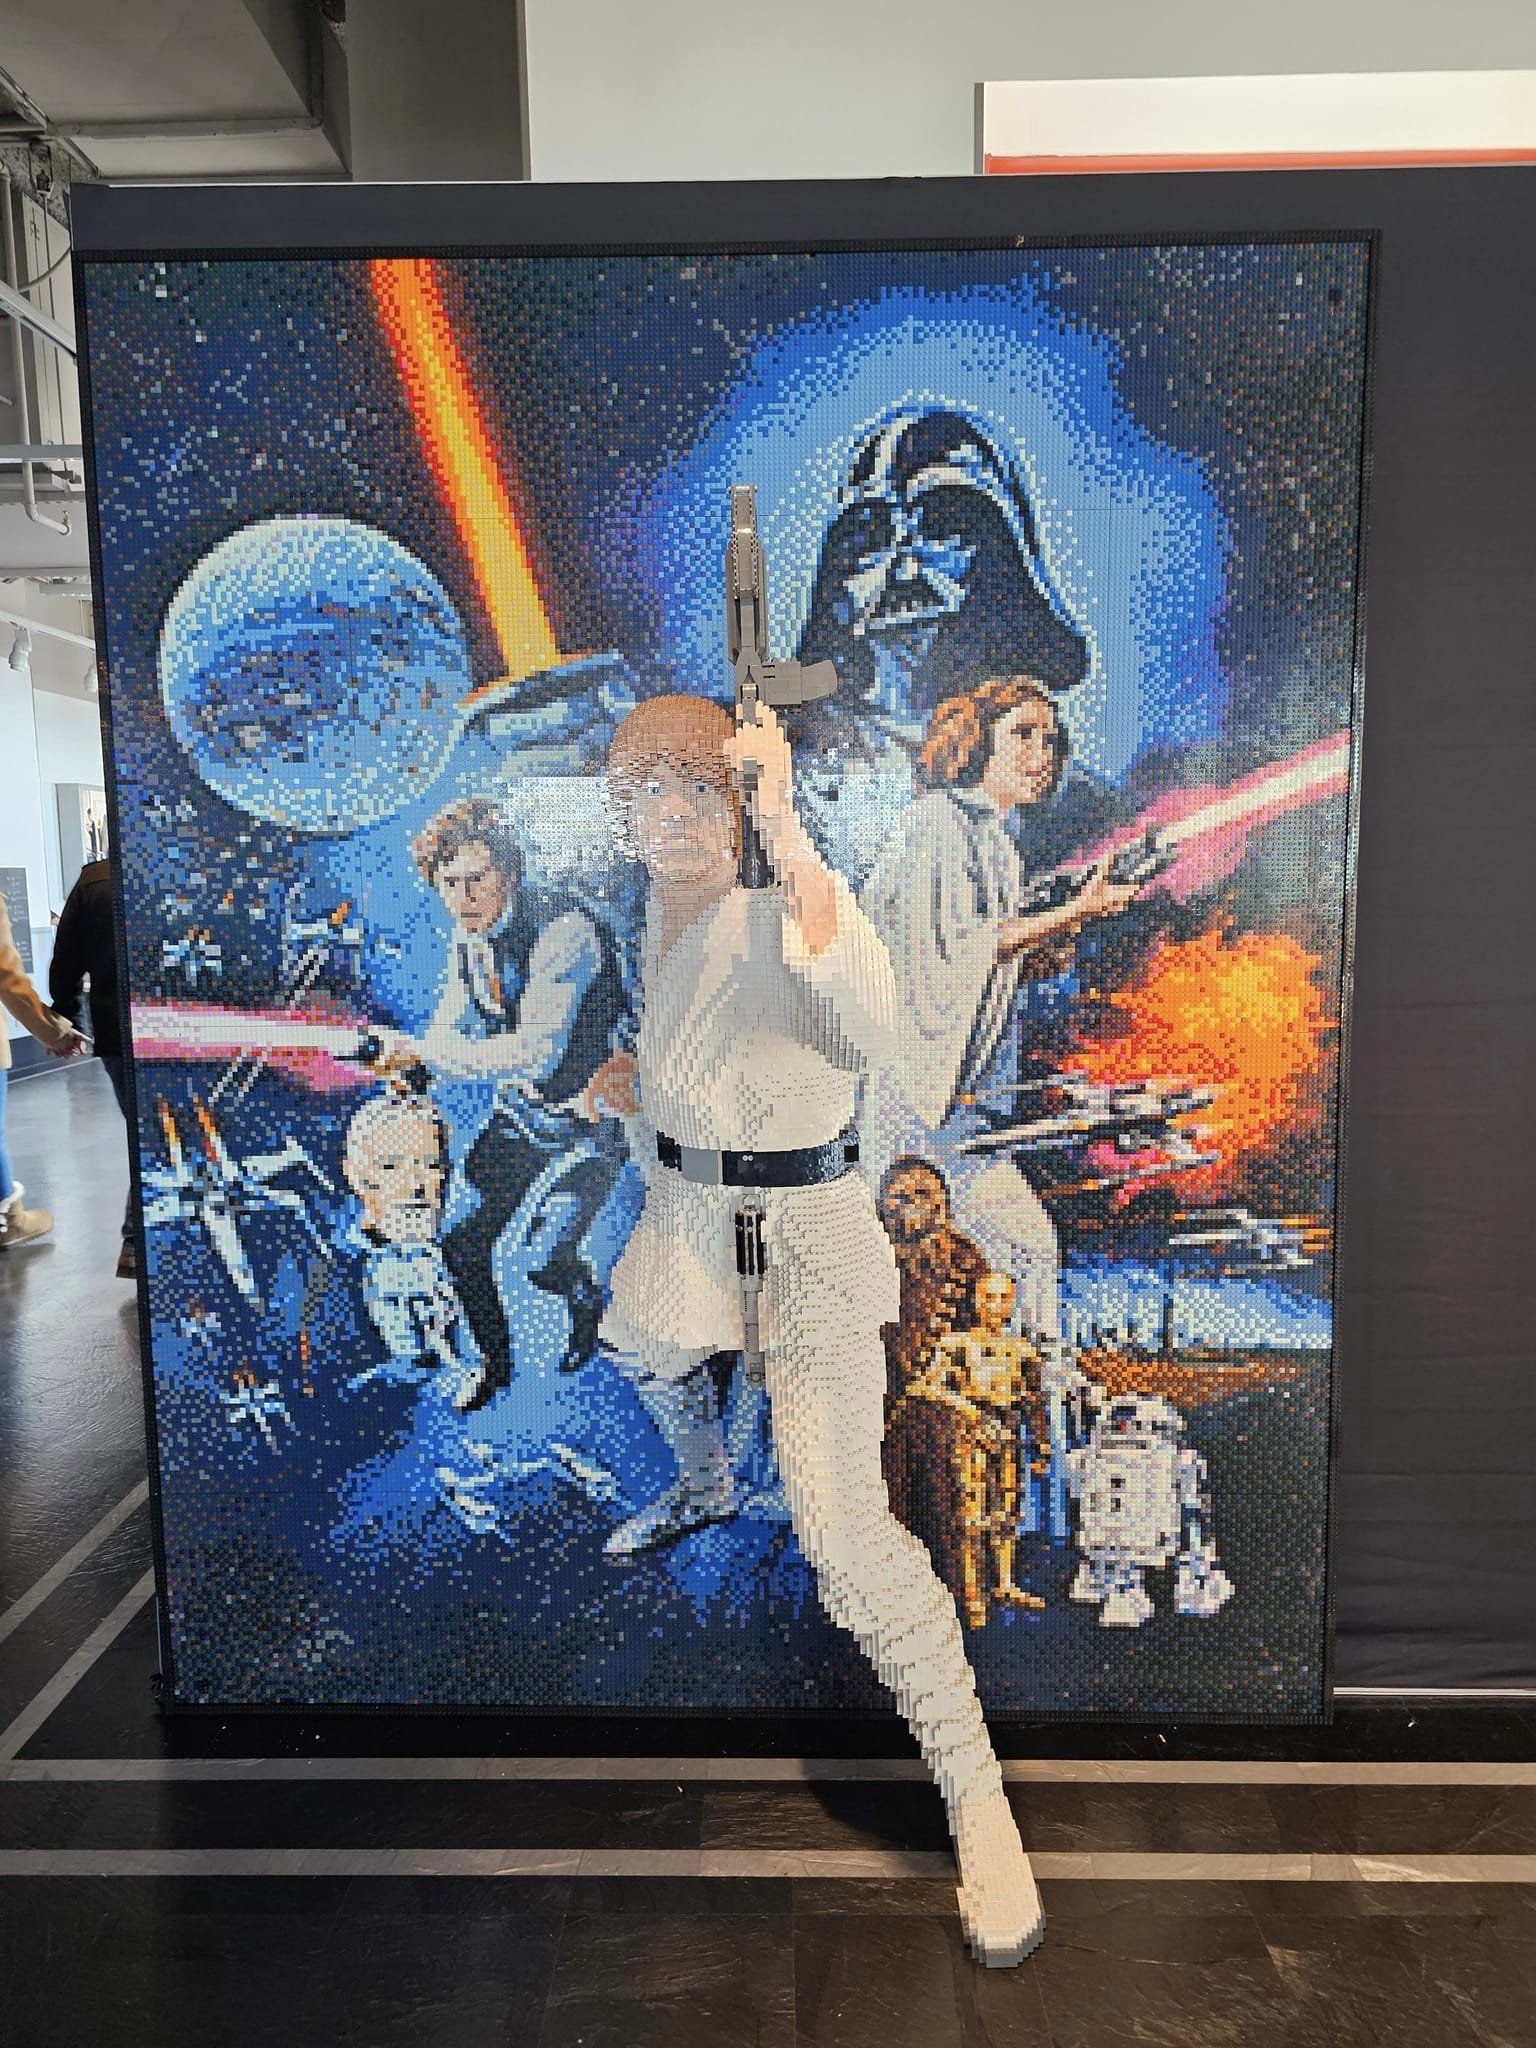
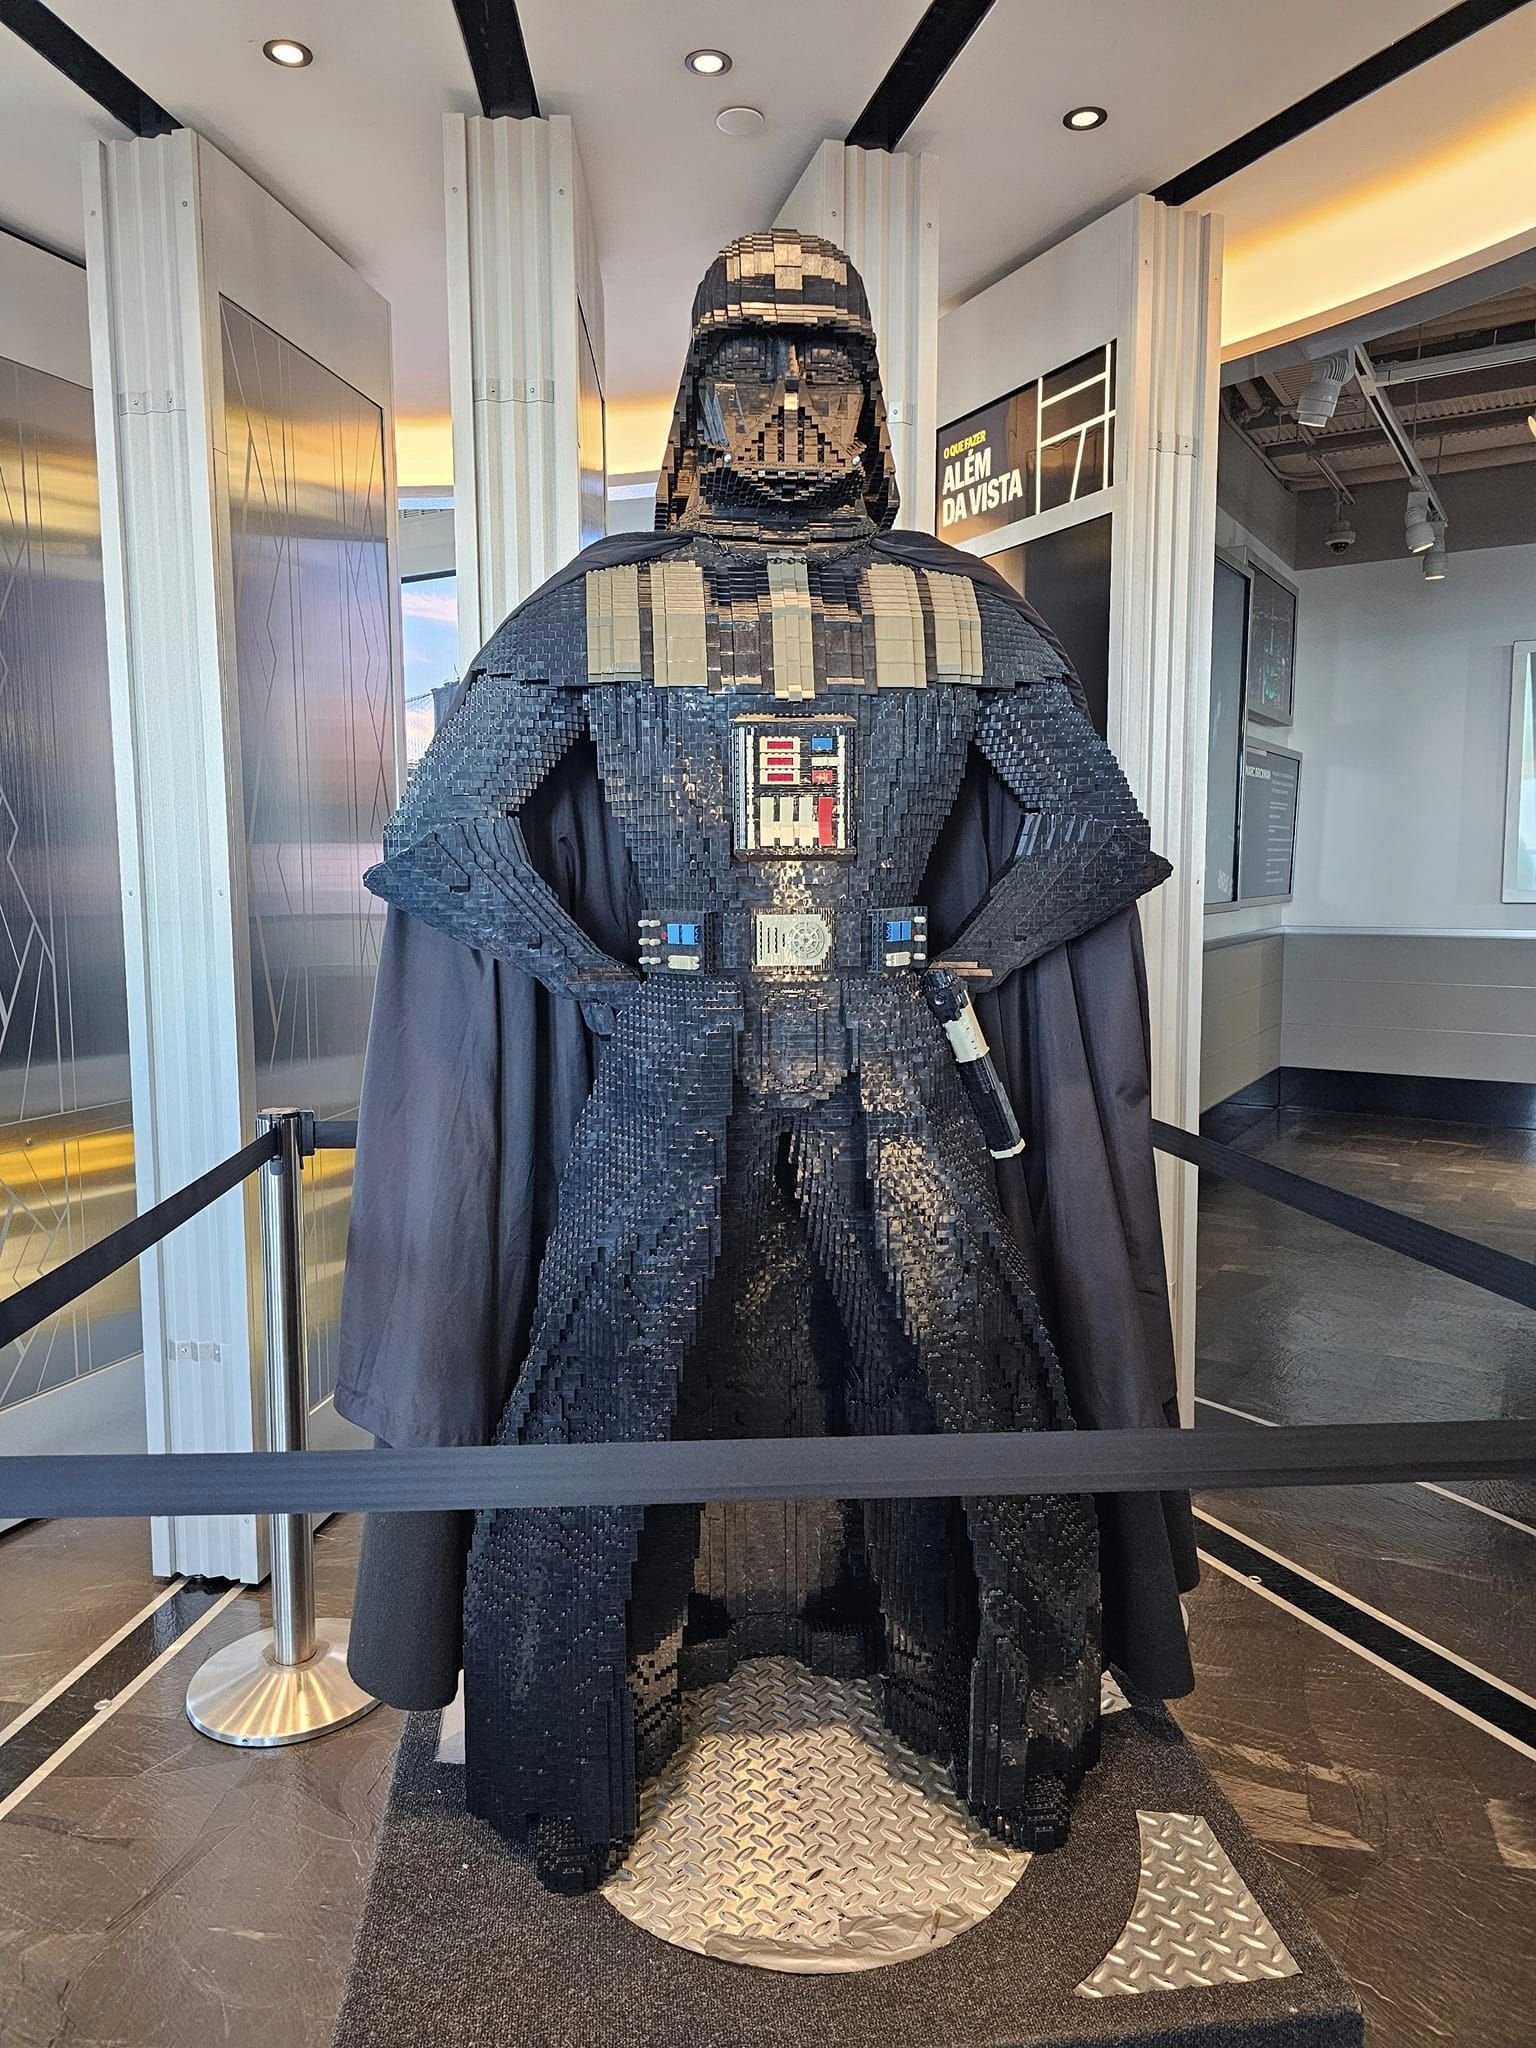
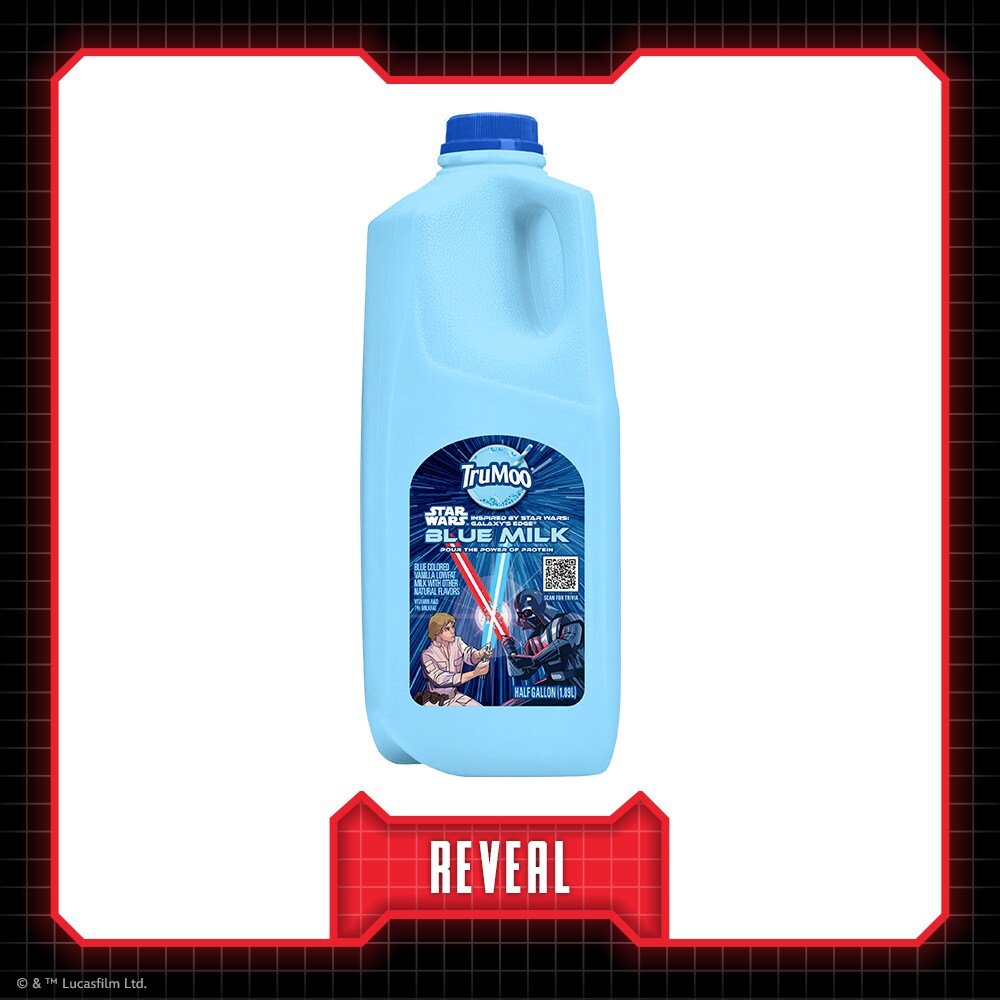
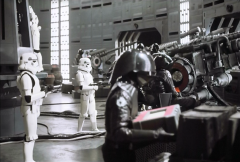
Imperial March Star Wars Empire State Building Takeover Merchandise reveals here https://www.starwars.com/news/imperial-march


.thumb.jpg.6e1a565dadc20ffa7c277c166a316ed2.jpg)


 3 points
 -
Greetings Troopers, I have wanted to be a stormtrooper since I was 10, and I am starting my journey. I met some troopers from the Dune Sea Garrison, including the commander last weekend in Phoenix and I think now is the time to do it. I have a million questions, but I also want to set my expectations. For example, this is my first costume and my first armor, but I really want to shoot for Centurion Armor. There's nothing obvious in the requirements to steer me to the lower levels, but it does seem like you need to make that decision on day 1. Would I be crazy to try? Pros: I am a fairly handy person in general, and I am a lifelong maker of things. I am pretty good with 3D modeling, and I have a Prusa MK4. So I do have the ability to make my own small parts. I have made a Han Solo Blaster and Marvin the Martian's blaster. Both are fully finished props. I am working on Hellboy's gun, the Good Samaritan. My intent is to make that one fully realistic gun metal colored, so it's a good test for an E-11. I am an avid woodworker. I'm pretty good with a Dremel. (clamps people, the secret is clamps) I have built many small things, such as a set of steampunk goggles. That project included leatherwork, which I enjoyed. Cons: Uh, none of those things seem to have anything to do with the skills I need here. Also, I can't sew. (yet?) That would seem like a pretty huge liability. I understand that I will be purchasing the molded parts from someone, so I guess I don't need to build a vacuum form machine just yet; so that's good. Yeah, the con is that I don't know what I am doing. The Dune Sea Garrison does seem to have regular build parties, so I should be able to get some in-person help. Anyway, based on the resume above, should I shoot for centurion, or am I kidding myself?3 points
-
Greetings troopers! For a while now FISD has been hosted on the Legion web servers who cover our hosting costs along side those of the Legion. We do still have costs we cover ourselves, the big one being the email service. Over the last few years this has been generously paid for by members of staff, who have already covered a chunk of this year. In order to fully fund the email service we need to raise $150 to keep the emails going until the end of the term. We would like to let as many of you contribute as possible, so we are asking for a $2 donation towards the running costs from any members who are in a position to do so. Now you might be asking what do I get out of this? First we all get emails! You also get the warm feeling of knowing you are a trooper helping troopers. All members who donate will also have the 2024 supporter banner added to their profile. We are now funded, thank you to all of you who donated. With Unquestioned Loyalty, Your FISD staff team1 point
-
Ah, good point! I had already removed the clamps after 24 hours. Putting them back on. I would love to shoot for EIB or Centurion someday. I wasn't planning on having a blaster at first, but I think I'd feel a bit naked without one.1 point
-
Spacer worked well, I used just a strip of offcut coverstrip in-between the shin and sniperplate. The twist is very hard to get rid off but not impossible with this armor, clamps, magnets, tape and even more tape under stress can work but definitely leave it all clamped for at least 72 hours, any areas of pressure needs longer for the glue to dry. I'd think you should be fine as you are for basic approval, may get mentioned for EIB L21 point
-
I did go ahead with the spacer idea (don’t remember where I saw this before). It did also help with giving me more surface area for E-6000 adhesion. I traced out a rough pattern, used my bandsaw to cut some ¼” acrylic, rounded out the top edge of it (just in case it might scratch me), and glued it on. But I decided against trimming the sides of the plate any further. Since I can only cut once, I’m being conservative. The photos that Glen provided seem to all show a bit more of the plate cut back, but hopefully this is OK. I then went ahead and glued the shin plate, with the spacer, and made fine adjustments as I could to line things up. The sides are pretty much in line with the shin ridges, and the angle appears correct. I then glued the cover strip on the back: Whew!1 point
-
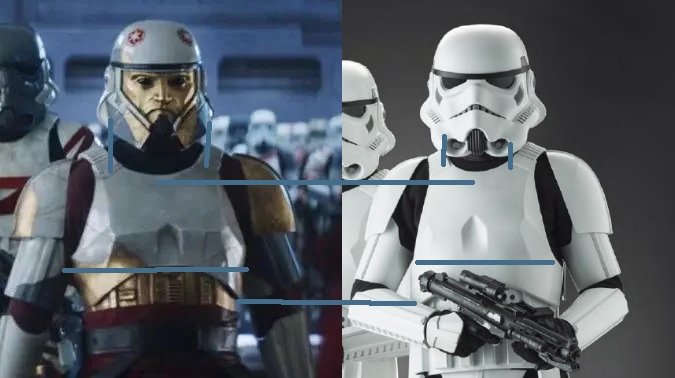
Really depends on the files and how accurate they are, I've heard the files print very small. I would suggest before you start printing comparing your files to this image, as you can see the chest is lower and wider around the neck, different angle of the coversrips, not as long as a regular TK and also is very wide on the sides, like wings
 1 point
 -
since i will only print the chest/backplate, this should not happen to me, right?1 point
-
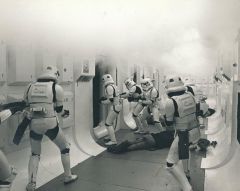
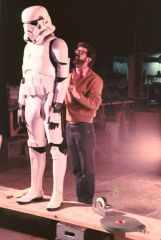
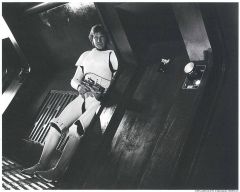
Some familiar looking TKs here ... [emoji1787]1 point
-
Donated!1 point
-
Wow! Thank you so much for approving my armour for EIB and the detailed feedback for my Centurion application, which I will submit soon. In the meantime, I’m going to enjoy this moment. When I do come to make the suggested corrections, should I post any questions I have on this thread or my build thread? Thanks again, I’m so pleased. Sent from my iPhone using Tapatalk1 point
-
Congratulations and welcome to Expert Infantry!1 point
-
Congratulations Trooper.1 point
-
Congratulations Tim!!! Looking sharp!1 point
-
Congratulations on your second EIB trooper, updated Honor Gallery image added1 point
-
Hi Tim, and thank you for your EIB application! CRL and EIB Application Requirements: All required photos have been submitted, and on behalf of the entire D.O. staff we are pleased to welcome you to the rank of Expert Infantry. Congratulations! Other-Armor Fit/Assembly; In this area we review observations made by your fellow troopers and the DO team. Some observations may lead to suggestions to improve the overall look of your armor, and please keep in mind that we consider both text (CRL) and pictures (screen caps/reference images) when reviewing submissions. The angle of screws should ideally line up with the back of the trap. The left side is pretty close , but the right is just a bit off. References The shoulder straps are floating a bit in the back. This should be an easy fix with a hot water bath. References Your left thigh is sitting a bit high when compared with the right side and will likely cause armour bite where it meets the cod piece. This is likely more of a strapping issue and should be an easy fix. The sniper knee plate may need to be shifted forward to make room once the thigh is lowered. This may be achieved with some padding at the top front portion of the shin armour. May also want to trim off the top of the front cover strips on the thighs as they will dig into the upper leg when walking. References *************************************************** Centurion Requirements: In this section we prepare you for our highest tier of approval. Because Centurion photos must show more detail than EIB, items pertaining to Level 3 might be seen there and not here and additional photos may be required. We try to point out all that we can from what we are able to clearly see, but the final accuracy is the responsibility of the trooper. Your right shoulder bell distance from the shoulder strap is perfect, the left could be moved in a bit. This can be corrected with a slightly shorter strap or by moving the snap further in on the shoulder bridge L3 CRL: There should be a minimal gap between the shoulder armour and the chest/back plates References Fill in gap at bottom of rear of the right thigh. You can use Sugru or ABS paste for this L3 CRL: Lower thigh ridge joins (front and rear) shall butt-up flush against each other. Any gaps must be backed with ABS or filled as not to be noticeable. References Your ammo belt should be brought up slightly to sit at the bottom of the lowest blue button. This can be corrected with a bit of Velcro to hold the belt in place. L3 CRL: The top of the ABS ammo belt should sit at or just above the bottom of the central and vertical abdomen button panels. References1 point
-
Donated1 point
-
OK, this donation is done now. Thanks. Bart1 point
-
This is me all over, lol1 point
-
1 point
-
1 point
-
Trooper 90974 Carolina Garrison reporting for duty! https://www.501st.com/members/displaymember.php?userID=33499&costumeID=3801 point
-
Brian, you are most welcome. Thank you for making the scope for me and everyone else who wants one. I finished my review and will post it here after my update and I also posted it in the E-11 Rogue One thread. Ripper_L, thank you for your comments. No worries on moving the thread. Somewhere on page one I mentioned that I just noticed the build section on the board and I did not see that section when I started the thread. Ok update…. Sanding… More parts completed and ready for masking and painting. I also added a ton of glazing to the thighs, they were very rough on the sides. All I have left here is to finish the sanding and then its on to the paint booth. Bear with me… Also I finished my full review of Bulldog Props Resin 1943 M38 Telescope. Here it is in total and I apologies for re-hashing part of it. I contacted Brian Hall owner of Bulldog Props in Japan through his Bulldog Props Facebook page on May 9th 2018. I was familiar with his products from his post here in FISD and on RPF. I knew Brian made resin cast versions of the 1942 M38 scopes used on E-11s in the OT; however, these were not just a cast of the outside of the scope (like DoopyDoo’s). These were a complete reconstruction of the entire scope in resin parts. The scope can be completely assembled and disassembled and the price is less than $50.00 shipped. Anyway, I contacted Brian on May 9th inquiring about him making a 1943 version like the ones used in Rogue One. In our conversation Brian pointed out that they used the 1943 resin scope made by DoopyDoos for the film. I found his honesty and candor refreshing and asked him if he could make a version of his 1942 into a 1943. He advised me that he could not alter the 1942 model but he did have a 1943 scope and would be happy to attempt to cast it. Casting these small parts is very tricky given the level of detail in the threads and how the parts fit together. Timeline: 05/09/18 Contacted Brian with request 05/12/18 Disassembly began on the original scope 05/27/18 Mold Making 06/05/18 Molding 06/08/18 Mold Complete 06/09/18 First Casting 06/17/18 Completed and shipped 06/25/18 Received and reviewed After receiving the package sooner than I had expected, I examined it and determined the packaging was well protected and professional. Once I removed the outer wrapping and bubble wrap I expected a simple box with the scope inside wrapped in bubble wrap since this was the first cast and not a production item. I was surprised with the presentation. I recalled Brian testing out ideas on how to package the 1942s and M19s on RPF and I thought his advertisement sheets and packaging were first rate. Well, not only did I get the scope which looks awesome but also two sets of instructions on different types of paper. These were not an extra set of instructions from a 1942 scope but a 1943 specific instruction sheet. Apparently Brian is all set to produce and sell these 1943 scopes. All the small parts were packaged and wrapped in protection then neatly secured in the shipping box under the scope. Brian put some serious thought into how he would package these scopes and parts. Once I unwrapped everything I discovered just how detailed the scope was and how much time and work Brian put into this. All the parts are a resin plastic that is slightly flexible and less rigidly shatterable if that makes any sense? In other words, I do not think it would shatter if dropped and you are more likely to scratch and dent it than you are to crack it. For anyone who 3D prints, its more like ABS than it is PLA. This is also a pleasant surprise for me because I was concerned just how fragile this scope would be to drops and trooping. All my concerns are now set aside for basic trooping. Anyway, the lenses are crystal clear and two of them are convexed on one side. The screws are all machine thread and look to be near perfect matches for the original screws in the original scope. So what to expect from a resin cast scope. The small thin parts (like the locking rings) are brittle and cannot take a lot of force. They don’t just break like a rigid plastic would, instead the plastic will deform and peel away like nylon would if you forced it with a tool. Once Brian finished making the first scope, Brian notified me that one small ring not screw into one of the lens subassemblies properly but that it would most likely not be needed. Brian even included a few extra rings in case I damaged some in the assembly process. This is obviously one area where actual metal parts win out but it was not the goal of this product and I did not want a metal version of the scope. Regardless, this is the first version of this product and I do not know if Brian will make an attempt to address this issue. Even if he does not, I am very happy with the results. Next, due to the molding and casting process, most of the screw holes need to be drilled out. For this you will need some very small bits (which you can get at harbor freight or in Dremel kits). Brian notes this in the instruction sheet and suggests using a bit that is slightly smaller than the screw. The only difficult part in drilling these is making sure they line up properly with the parts. There are a few screws that pass through two or more parts and must be aligned properly. Once you get one drilled, the rest are fairly simple. Lastly, the prism cell is a cast part and does not have any reflectivity, so actually looking through the scope is not possible unless I alter the prism. This is because the objective lens is not aligned with the eye piece. I will toy around with some mirror vinyl when I have time and see if this works but to be honest I wanted this scope to add a reticle and LEDs and possibly the small micro display made by Trooper Amps. Looking through the scope was never my intention. So far the only issues I have found are the two things that Brian told me about before I agreed to purchase the scope. There is a small bubble defect in the Eyepiece Mounting Plate which is an internal part and will not be seen and does not affect the scope in any way. The other issue is the Ocular Lens Retaining Ring not screwing in properly. So to address the Ocular lens subassembly I put a piece of aluminum tube on my lathe and machined it to fit inside the subassembly. This is necessary because the actual lens from the original scope is thicker than the one furnished by Brian. Once I milled the sleeve (yellow arrow), I cut it to fit inside the subassembly and then screwed in the retaining ring. It will only screw in three or four threads but that is all that is needed to hold the sleeve and lens in place. After that I finished assembly and I am very pleased with the results. So I wanted to also compare this scope to other options available. For a 1943 scope like the ones used in Rogue One and Solo, there are only three other options that I am aware of: 1. DoopyDoos resin cast scope which is only the outside of the scope. I believe it is solid and most of the builds I have seen, people have drilled out the scope to add lenses. It sells for 9.99 British Pounds or $13.08. This is not including shipping to the US. Also keep in mind that it would still need to be sanded before painting. 2. An actual 1943 M38 Sherman Tank Sight Scope if you can find one for sale goes for about $185.00. 3. A 3D print of the scope, I found one version on Shapeways for $32.00 and I do not know if that includes shipping. With some time I could probably find a free version of the model but like this paid version, it is just the outside body like the DoopyDoos; however, it is hollow and modifying it would be less work in my opinion than the DoopyDoos. Also keep in mind that it would still need to be sanded before painting. The other available M38 scopes out there are 1942 versions like the ones used in the OT. There are some really nice options for the 1942 versions made in brass and aluminum ranging from $169.99 for the brass version, $105.00 for a hybrid version of aluminum and brass parts, or 79.00 for the all-aluminum version. All of these are completely assemble and disassemble capable; however, I have not found a 1943 version of these and there are enough differences that for a Rogue One or Solo build, you really need the 1943 version. Overall, I am very impressed and pleased with this product. Personally I feel for the price and the detail, you cannot beat this option. Last month I asked Brian to make something new. Something he was not already making and had no way of knowing if it would sell. This scope was a special request to fit my needs and Brian achieved this. I appreciate his willingness and professionalism. I recommend this product and doing business with Bulldog Props. I have been in contact with Brian and we have discussed many of the things I have mentioned here. I also suggested that he make a video and post it showing the assembly for those people who are not as mechanically inclined as he or I am. Brian has been very receptive and open in our conversations. Full review here: https://www.whitearmor.net/forum/topic/45138-bulldog-props-1943-m38-scope-review/ And that is it for this update, thanks for the interest.1 point


.jpg.b92cd5617ed5bbf248e16a3e16b4893c.jpg)


.thumb.jpg.0367dc1fb0148833b7384ca3451abc45.jpg)
