Veist
-
Posts
78 -
Joined
-
Last visited
About Veist

-
 Seems like. But i have some question regarding the Over skirt. 1) the CRL states that all panels have red trim. But the 2 back panels dont have it, or in a different color (colour of the skirt itself), right? 2) from the CRL i can only read that the 2 front panels are out of leather of leather-like. What material are the other panels out of?
 -
Yes, as soon i recieve the kama again i will weather and darken the kama, especially the brighter border trim
-
Some pictures from a photographer from last weeks event
-
Update: kama weathered moderate, since in the show it doenst looks like too much weathered:
-
So, its done now.
-
I do. Thats why i was asking so much questions about the kama etc, because that was the only point i was unsure about
-
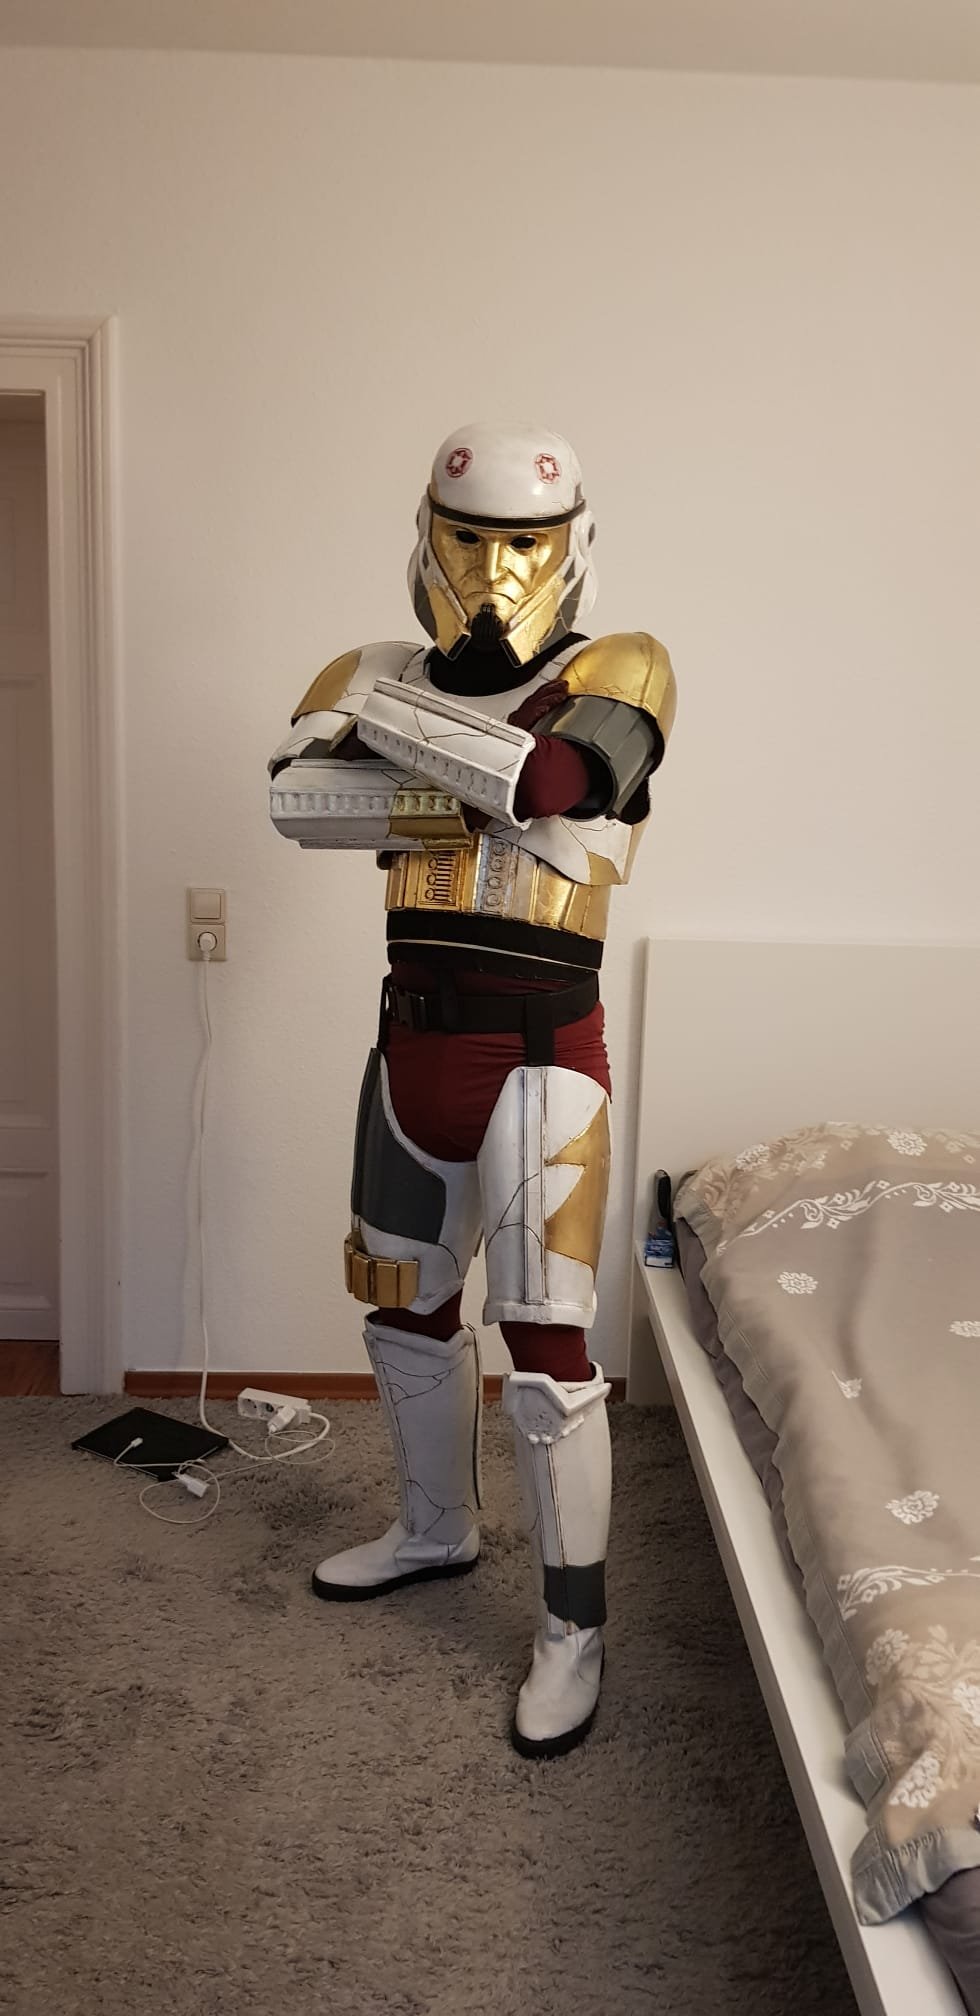
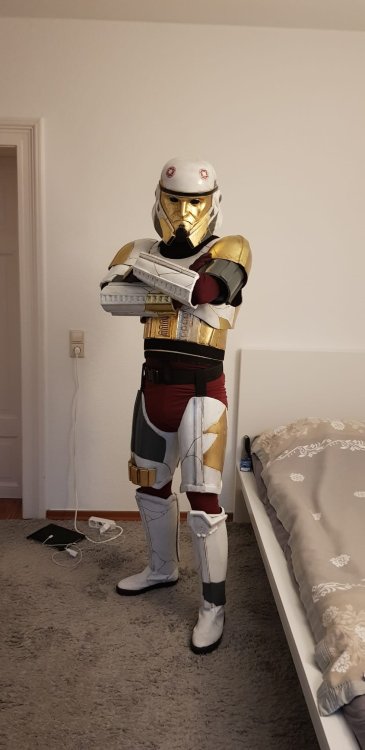
Kama should be done by next week (wearing here my clone neckseal, since i wanted to gear up)
.thumb.jpeg.56000cf12f5a77ac11f0b7585e06eede.jpeg)
.thumb.jpeg.7112072405615918943728e7bd5e612f.jpeg)
.thumb.jpeg.8074b46ea629f2f0348ad15f2ec1a6e1.jpeg)
-
New cogs
-
The file from the new helmet is from vek3d & walsh3D
-
So, kama is now really the last part thats missing. Should be done by the end of june. Then Enoch is 100% complete. By the time im looking for a sound modul system to try to match his voice, since he sounds just badass
-
Finished my new Enoch helmet last night And here are both in comparison, new left, old right
-
So this picture shows for me that the main belt has the same colour as the panels and the borders are definitely brighter And this picture from the Premier collection statue shows the back of the kama. Not sure how accurate this is, but it shows how it could be. Left side over right side
-
because on some pictures it looks like the borders are way brighter and the main belt has the same colour as the panels: on others it seems like the borders and main belt are brighter together:
-
One thing regarding the over skirt: Is the main belt supposed to be a brighter red than all other parts? To match the trim border of all panels.
-
Yeah exactly my thought

.jpeg.3ff2004ff67d5e83ff3fb3aaffb6da17.jpeg)
.jpeg.89f76e076f37b508446c314521e8c7a5.jpeg)
.jpeg.3260e5db1c234ab5327394169bb02e8c.jpeg)