Leaderboard


Popular Content
Showing content with the highest reputation on 12/13/2020 in all areas
-
How do you know we didn't think about 501 , see this way it's cool for who ever is 500, and whoever is 501! It's cool for everyone that hits this milestone and ultimately cool for anyone who makes centurion level regardless of the number their approval is. It is a wonderful achievment to do those few extra little bits and pieces and is why we already have designs for a general EIB and Centurion pin so everyone that achieves those levels can buy a few. Those will come next year after we have had a chance to celebrate this next detachment milestone. (lets the cat outa the bag) Best of luck Victoria, I hope you make it in too3 points
-
I'm surprised they didn't go for 501 for Cent but hey who ever gets that number has ultimate bragging rights in my opinion. I hope i can make this one i missed out on the 1000 and am waiting for ESB now3 points
-
With the gradual lifting of pandemic restrictions and the chance to catch up with good mates again, my mojo has started coming back. The fact that I eventually managed to get my little Ender 3 working helped too As mentioned above, we can't get the Wedco oil change pan here in Oz (unless you want to pay a fortune in shipping), but the Daytona pan is readily available, albeit 10% smaller than the former. A fellow builder and garrison mate printed Eric's awesome pack parts (https://www.thingiverse.com/thing:4462006) at 90%. Size wise they look good. However my concern is that to have them sit flush on the pan, we'll need to cut much of the "X" away, thus weakening the structure of the pan. A further, but related, concern was how to securely fix the parts to the pan. The weight of the parts was less of a concern if they're printed with a low infill %. Encouraged by the fact that they look good, I decided to prototype some changes to Eric's files, starting with the flap box. I began by hollowing the box (walls are 3.5mm thick), and then removed the floor. Next up, I added pillars to each corner, with 3mm holes aligned to those in the lid (after reducing the scale to 90%, I had to enlarge the lid holes) so in theory I should be able to attach the box using M3 screws. To reduce print times, I decided to split the lid from the box (eliminating the need for excessive print supports). A further efficiency update was made by merging the flaps with the lid (this would save a couple of hours print time). Before spending several hours printing the entire box, I took a cut of the bottom 12 layers (an arbitrary number really) and ran off a test print. Overlaid on the oil pan, the part looks good, but I think I'm going to try reduce the size of the pillars, maybe curve them a bit. We'll still need to reinforce the inside of the pan with plastic card stock (I'm thinking just plastic signage from the local hardware store), but at least we'll be removing less of the pan, only those sections where the box walls need to cut through. The test print can be used as a stencil on the outside, but I've been contemplating using it as a gasket on the inside simply to further strengthen the structure. Come Xmas break, printing begins in earnest.2 points
-
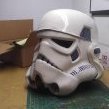
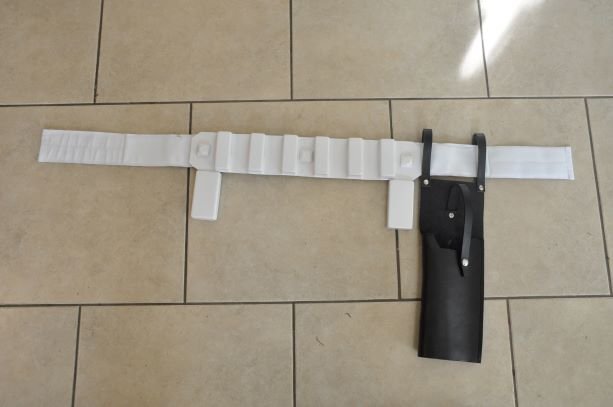
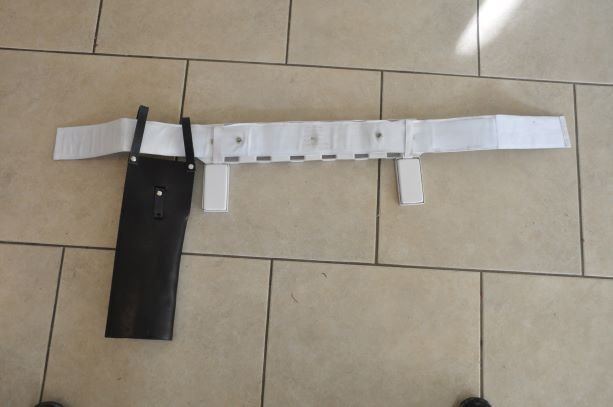
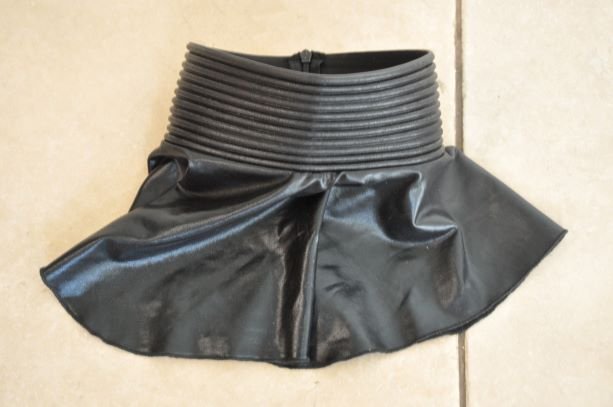
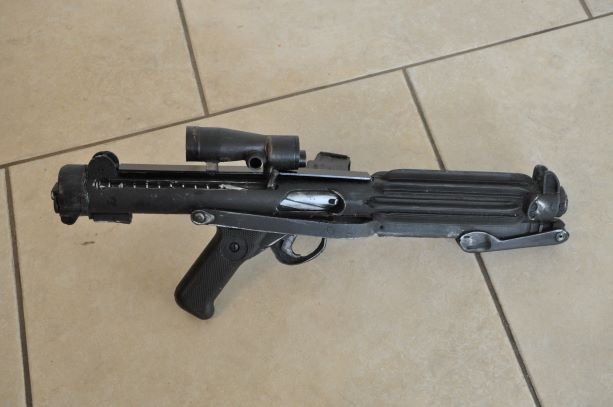
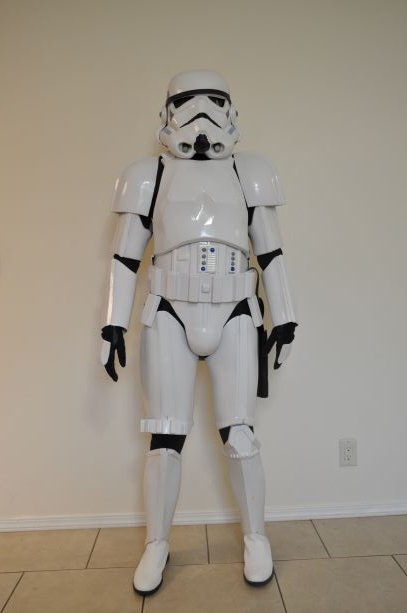
Armor = Walts Trooper Factory Helmet Maker = Me? (was a part of the Kit from Walt) Blaster= Shear Tech Height = 5' 10" Boots = Imperial Boots Canvas belt = Tkittle Neck Seal = Geeky Pinks Phantastic Gaskets Holster = Darmans Props

 1 point
 -
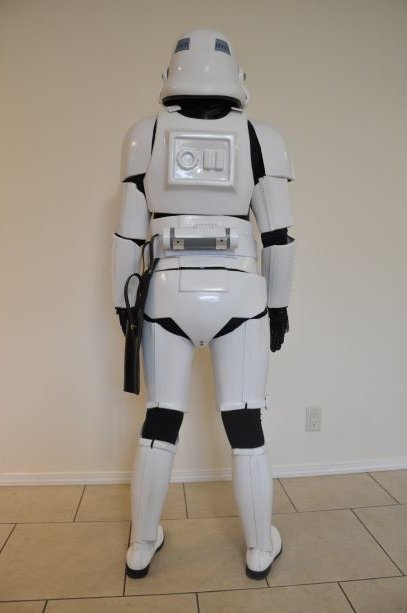
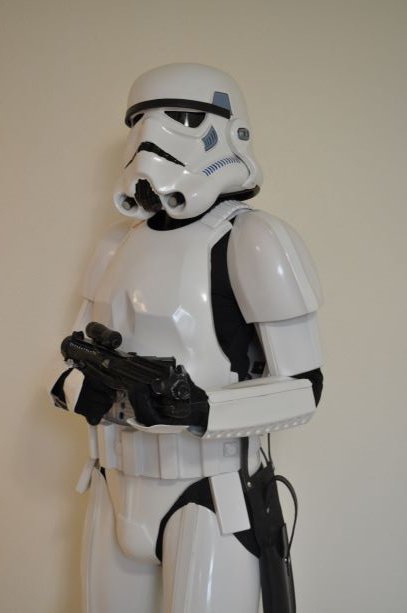
Armor Info: Armor Maker = Primarily WTF, thighs are from Intergalatic Supply Helmet Maker =WTF Blaster Type = Praetorian Blasters E-11 Boots Maker = Imperial Boots Canvas belt = Trooperbay Hand Plates Type = Trooperbay Electronics = iComm + UKSWRATH helmet audio system Neck Seal Type = scratchmade Holster Maker = Darman Props Trooper Info: Thomas Choiniere 501st ID: TK/TI/IC/IG-11730 Carolina Garrison Height = 5'9" Weight =230 lbs1 point
-
Thank you! Wow, boy! I am definitely proud and grateful, and very, very stoked! A big thanks to the DOs for their guidance and patience. You're all doing (and have always done) an amazing job to help everyone get to 500 and beyond. A rising tide lifts all boats, as they say. A big thanks also to my fellow troopers at Knightfall for their help and guidance. It's been a tough year for many, but the feeling of isolation has been lessened somewhat knowing I could always reach out for assistance. It won't be long now and we can actually meet and troop!1 point
-
Congratulations and welcome to the Centurion ranks trooper1 point
-
Congratulations Mark, very well done. Welcome to centurion rank1 point
-
12 to go, congratulations to Mark @MightyAtom , TK-84212 of the Knightfall Garrison, Centurion #488!1 point
-
Hi Mark, and thank you for your Centurion application! CRL and Centurion Application Requirements: All required photos have been submitted, and on behalf of the entire D.O. staff we are pleased to welcome you to the rank of CENTURION. Congratulations! Other-Armor Fit/Assembly; In this area we review observations made by your fellow troopers and the DO team. Some observations may lead to suggestions to improve the overall look of your armour. Note that we consider both text (CRL) and pictures (screen caps/reference images) when reviewing submissions. Nothing to add here Mark. Sharp and Clean Centurion Application Trooper!! You did an outstanding work with your build and must be proud of it. Well done.1 point
-
WOW, Mark! Actually, wow does not even do this armor justice, brother. Outstanding work, sir.1 point
-
We are here to help with anything you need, Victoria. You can post up any questions here or in a new thread and we can go from there!1 point
-
Very cool mods to Eric’s parts! I might be interested in using them myself, if you’d be willing to share your final files. Keep up the good work! Sent via Imperial Tapatalk Comms1 point
-
I used white gaffer tape behind my knee ammo pack to reduce it movement. It can’t be see from the front and I chose it as an homage to the original wardrobe staff that used white gaffer tape to make on the fly repairs to the armour in A New Hope. Sent from my iPhone using Tapatalk1 point
-
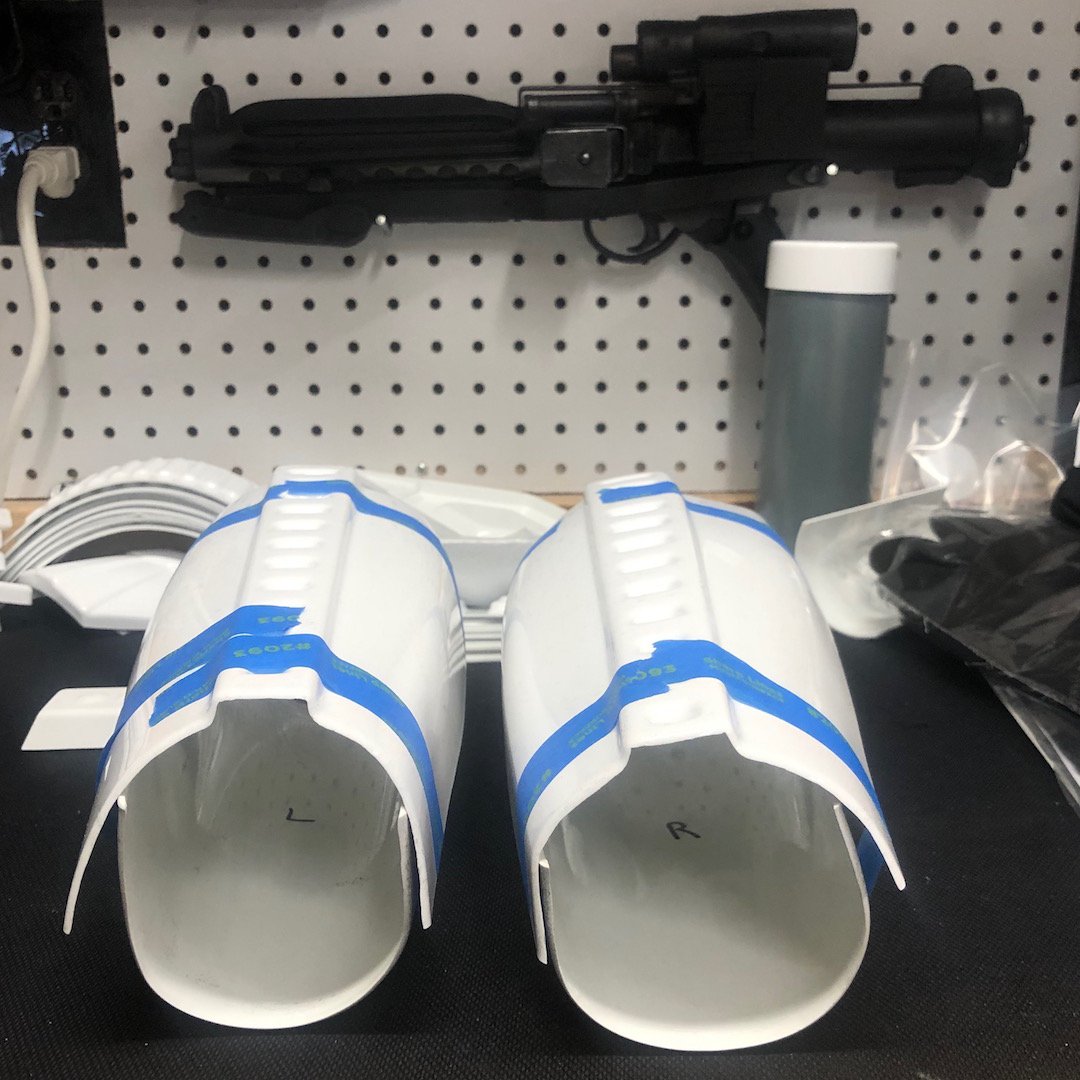
Just a quick heads-up.. I realize that you still have some trimming/sanding to do, but be careful to round out any sharp angles to prevent stress cracks, which is especially important on areas like the calves which flex a lot from being put on: The same goes for the posterior plate corners.1 point
-
Great to see you back at this one Rudi, I have aspirations of converting my Stunt to a HWT, so I'm very keen to see how this pack build comes together.1 point
-
Really helping and explaning hint. Thank you Sir.1 point
-
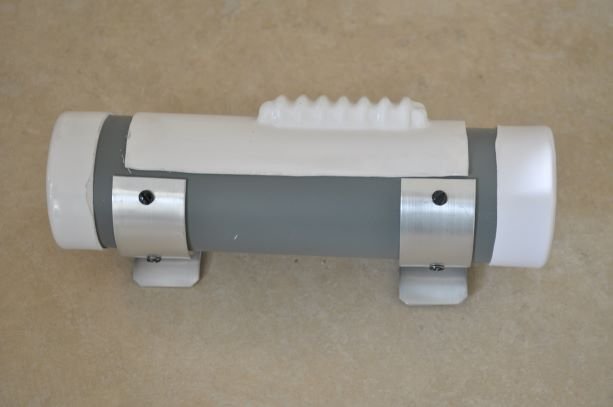
If making changes to the TD, you might want to rotate it so the panel is facing out. I had to make a similar change to mine. Sent from my iPhone using Tapatalk1 point
-
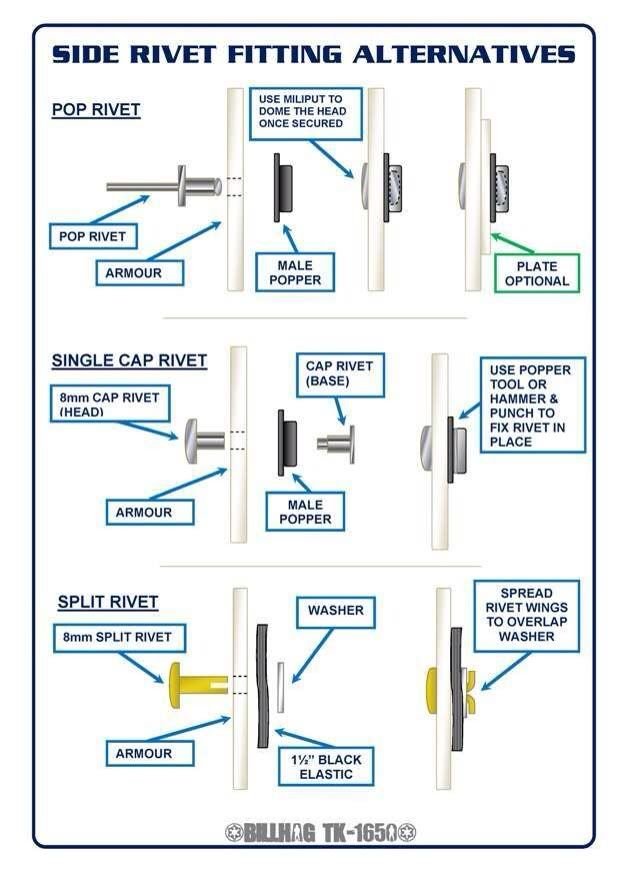
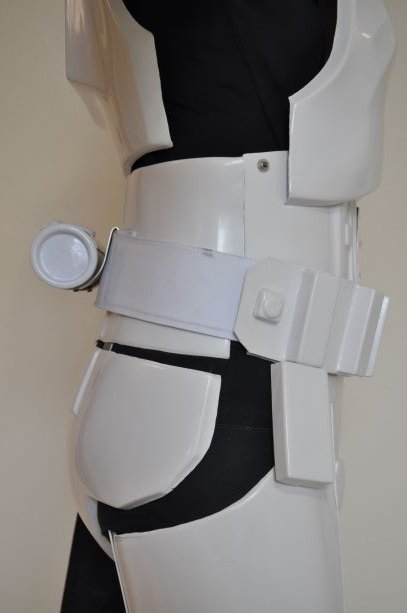
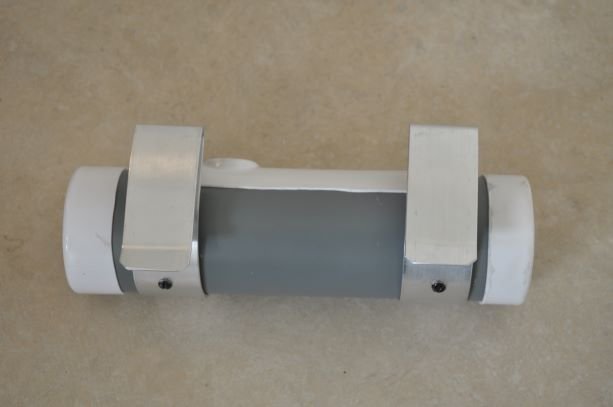
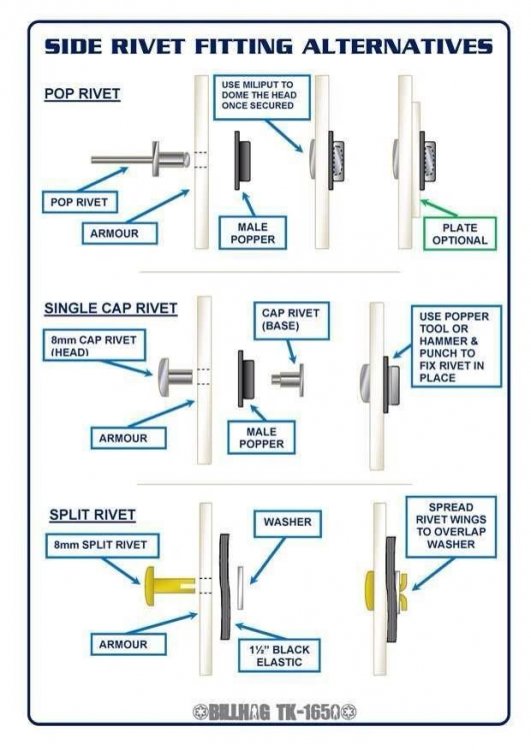
Some use rivets, some use chicago screws (note below image is a Hero version ) I used split rivets, same as ab/kidney, thigh ammo strip approximately 5/16"(8mm) diameter
 1 point
 -
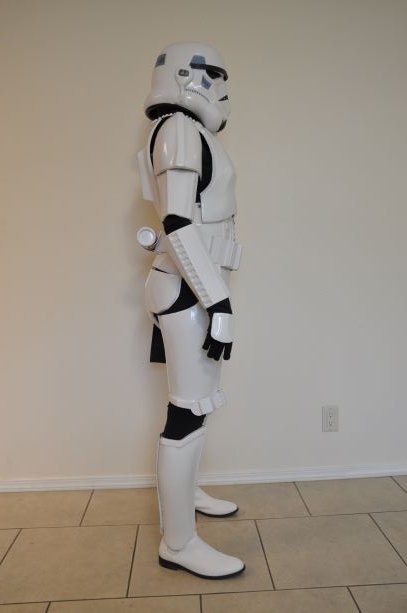
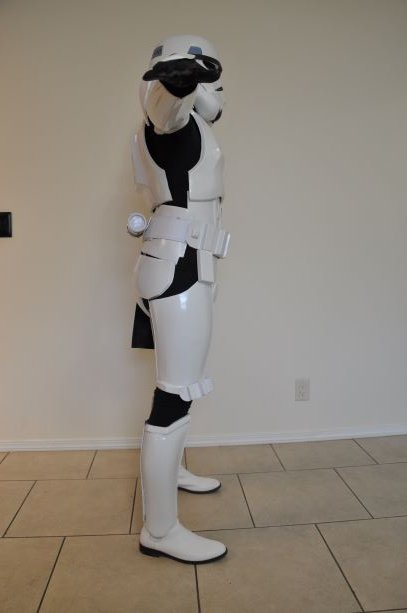
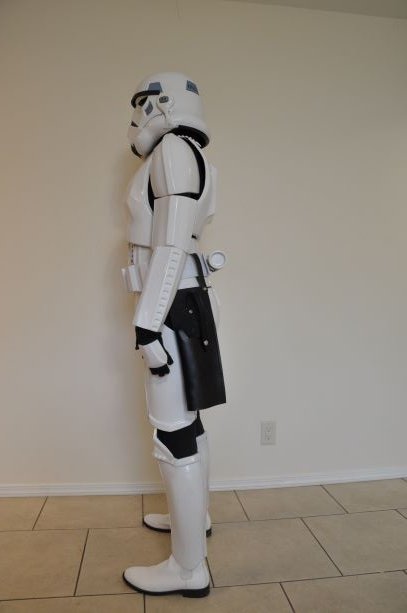
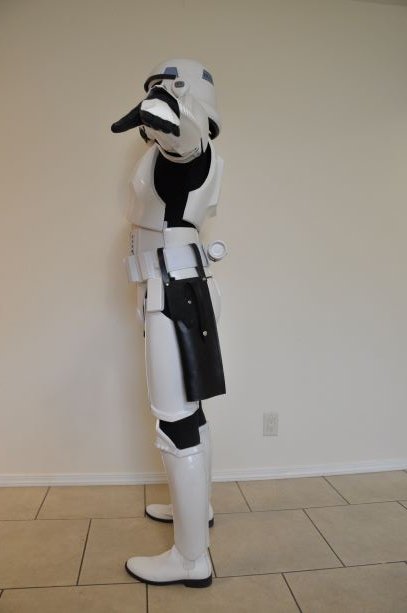
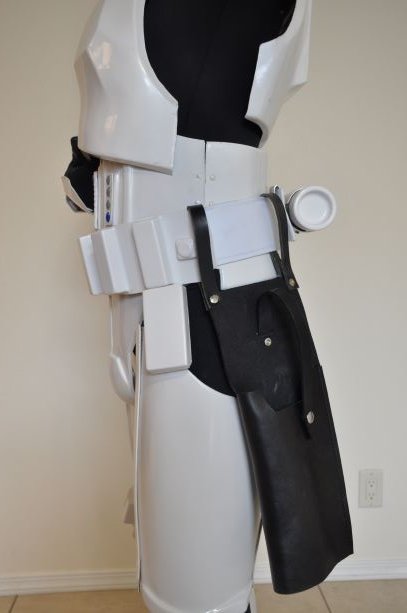
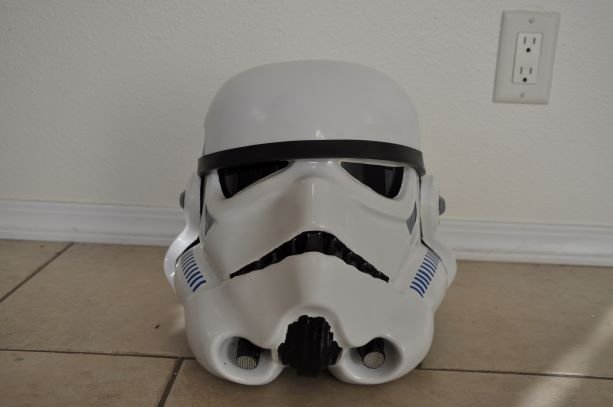
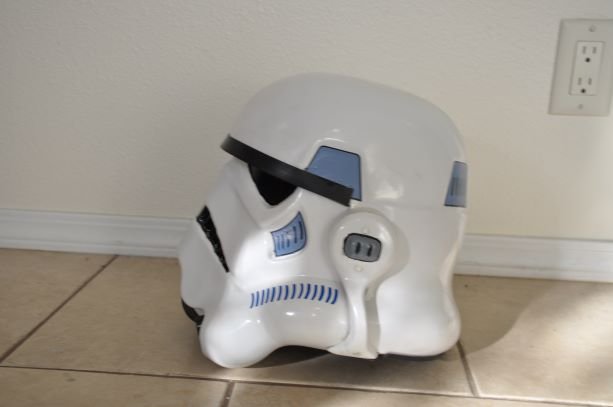
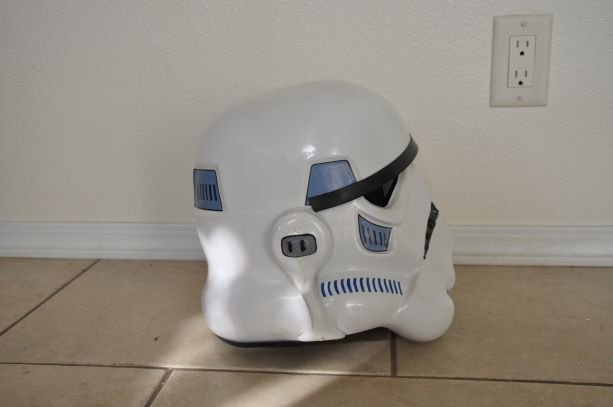
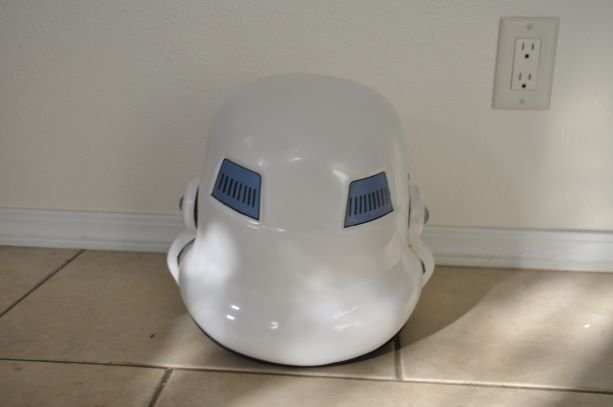
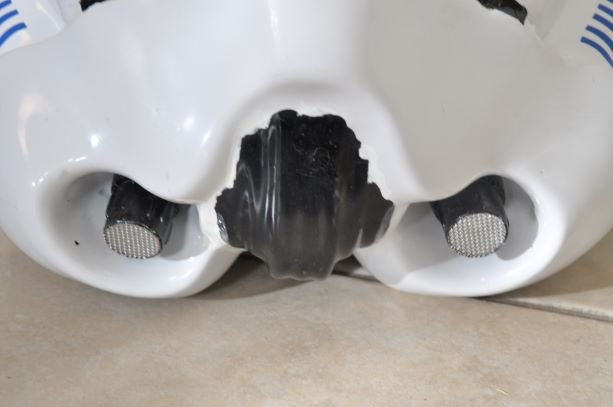
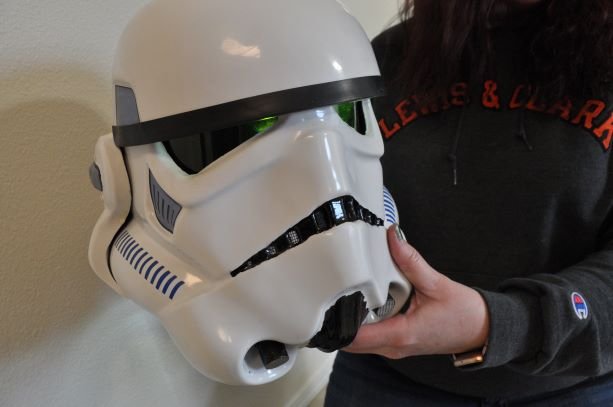
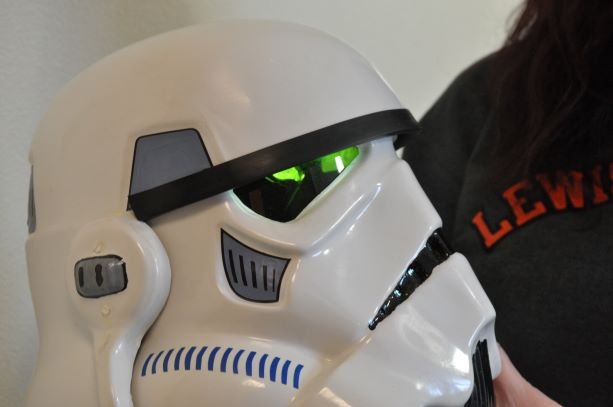
Nice work trooper, there are a few suggestions you could address before the DO's get here. You will need to swap the holster to the other side for ESB Sniper plate is under your thigh, you may want to add some foam behind the shin so it pushes away from the thigh. Could you post close up photos of your thigh fronts, cover strips look a little off but can't quite see because of the low resolution of your photos. Belt should sit just under or touching the lower ab button Your left bicep has dropped below your shoulder bell. You have a gap between the backplate and kidney on the sides. Shoulder straps should be centered at the backplate. It's a little hard to see from your images as they are a bit small and not a great resolution but just checking your the back of your shins should close outside over inside so the opening isn't seen from the outside. Also a large gap between your right bicep and elbow. Should bells should have the same gaps on each side. You may also want to add some scrap ABS plastic behind the gaps in the bottom of your thighs. There shouldn't be a gap between the brackets and the end caps on your detonator. The right end cap has been trimmed a little rough. You may also want to check the length. Corners of your plastic belt are too large, they should be cut to meet the width of the belt. You also have a gap between the kidney and the butt plate which with need to be closed. Belt boxes have to align with the end of the plastic belt section. There is also quite a lot of excess material left on the sides of the chest and back plates. Appears you may have your side rivets in the wrong positions Helmet brow trim is not straight and you should see some white between the eyes and brow trim. Ears are very thick on the top sections. Hovi tips should have a white rim. Vocoder paint is a little wobbly in places. Also appears your hovi mesh may be a little bit small Right ear is a little too far forward on the base, should be angled backwards Ear has quite a large gap all the way around and the top section of the ear is quite thick, normally a small gap on the lower section is allowable but not the top of the ear You could move your shoulder straps a little further down on the chest, looks like you just have the large tab and one small attached, ideal is 1 larger tab and 4 to 5 smaller tabs There are quite a lot of photos you are missing you may want to check this list as well as other EIB applications Some photos required Close up of both sides and inside connectors of your thigh ammo strip Close up of the rear of the shins Close up of the sniper plate, front and both sides Close up of the blaster D ring Close up of your ab/kidney side rivets Close up of ab "Han" snap (top right corner) Close up of cod rivet. Close up of butt snaps Close up of your ab buttons Close up of your boots Close up of the S trim around the base of your helmet Close up of your ear screws, top and bottom Interior strapping Good luck with approval1 point
-
Congratulations Mark, Welcome to the rank of EI.1 point
-
Congratulations and welcome to the ranks trooper1 point
-
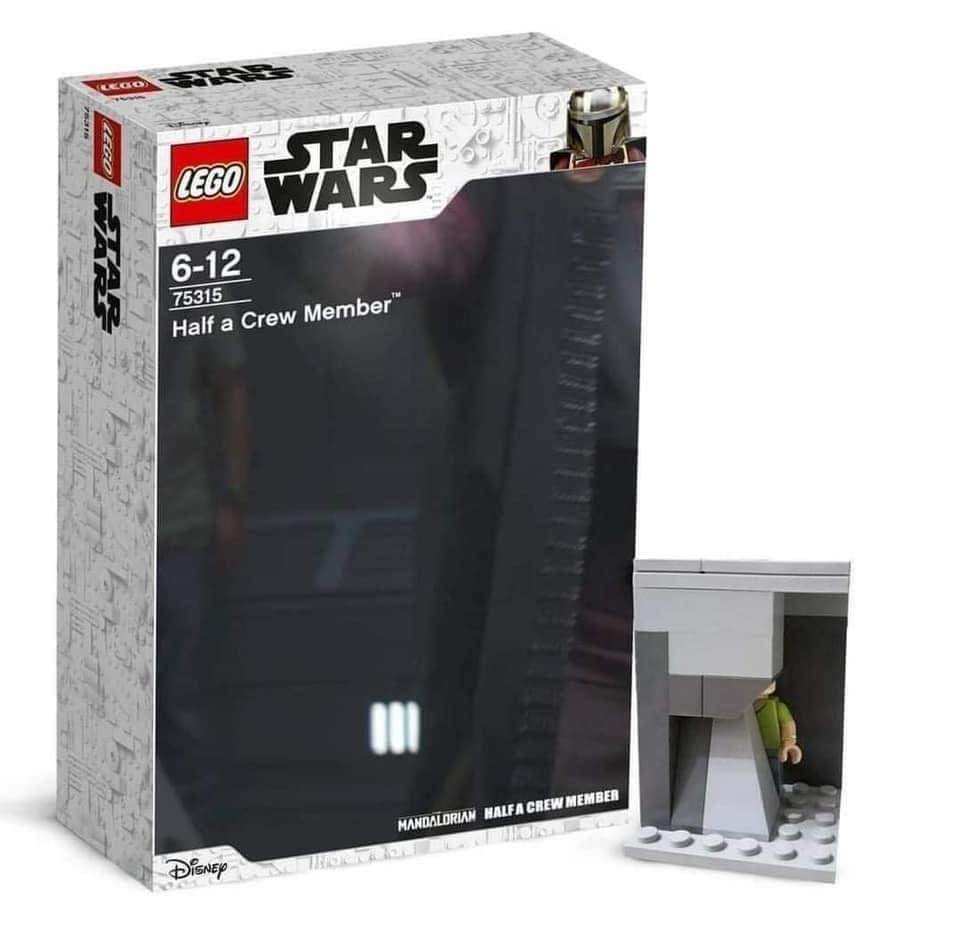
So, more Remnant Stormtroopers appearing in this week's episode of The Mandalorian. Oh, and since we were talking figures a few weeks ago, look what I was able to pick up last week. I think I have enough screen shots and given the fact that I have two different Remnant Stormtrooper action figures, I'd say they have made this a reoccurring character. I'll start getting everything organized and see what I can come up with. Also, can anyone tell me how the Anovos interest list thing work. I put my name on the list a few months ago and still haven't heard anything. Now I just get Star Trek costume junk in my email everyday. I'd put it in my junk mail, but then I'd be afraid I'd miss word when they finally do a helmet run.1 point
-
Oh yah I made sure of that. Thanks1 point
-
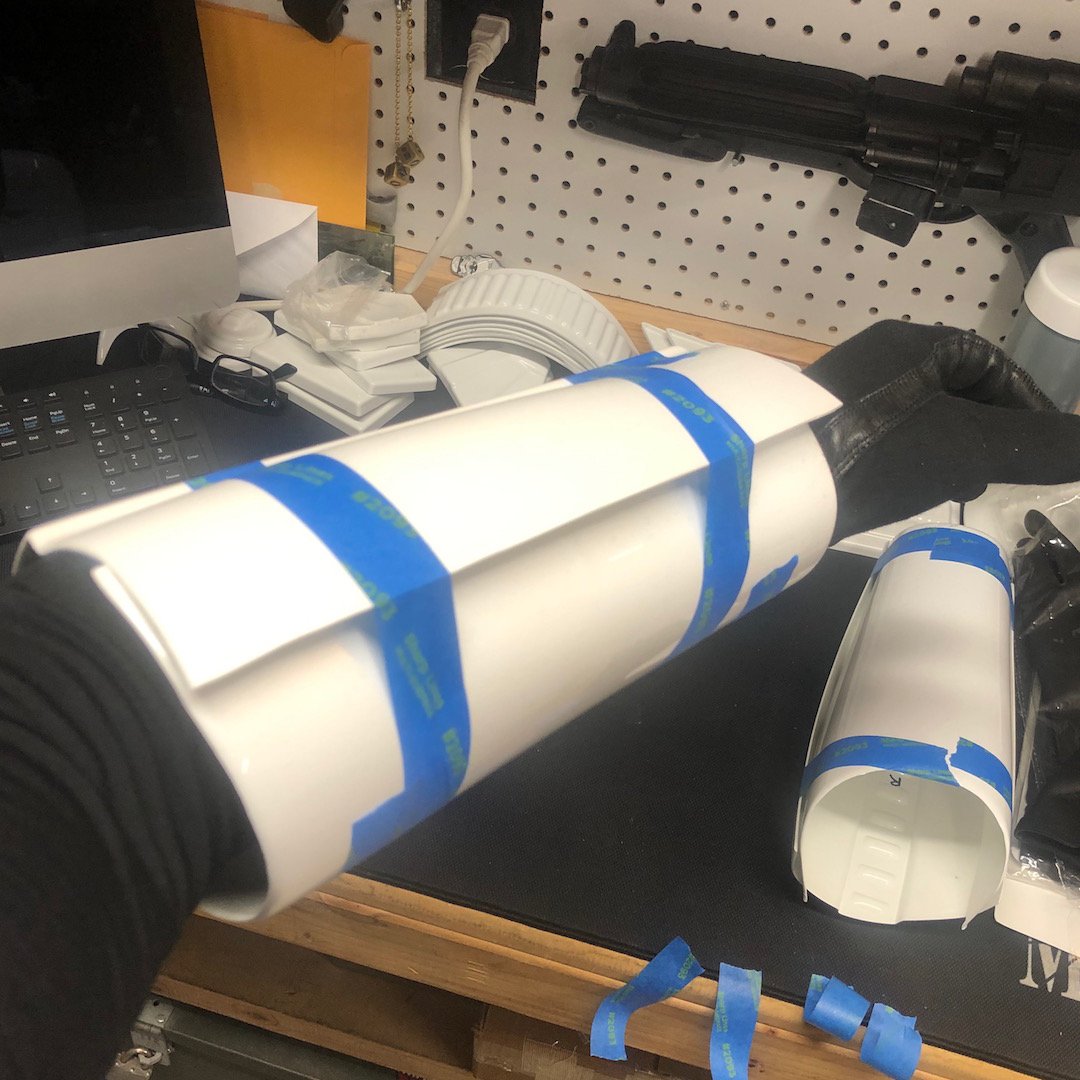
Just make sure once taped together that you can still get your hand through1 point
-
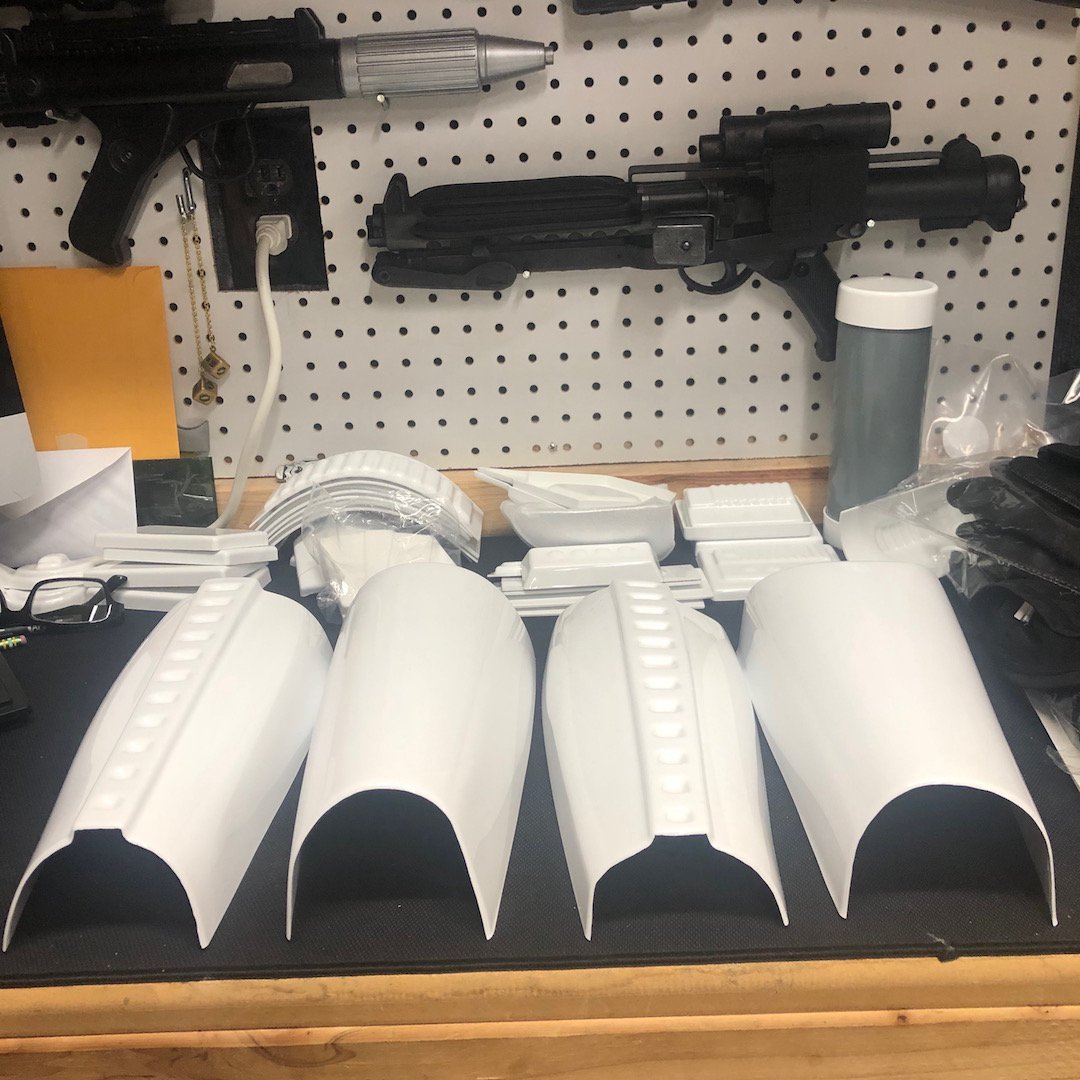
Ok I removed all the return edges from the forearms. Fitted them up with my gloves and under suit on. Next is to trim off the excess material. Also will cut the back and cover strips.
 1 point
 -
Coming along nicely, there is a great thread on return edges here1 point
-
looking good so far1 point
-
Nice work1 point
-
Success! As you can see I've started the hand painting. I'm a little rusty but I think I can pull it off with minimal touch ups We're back on track1 point
-
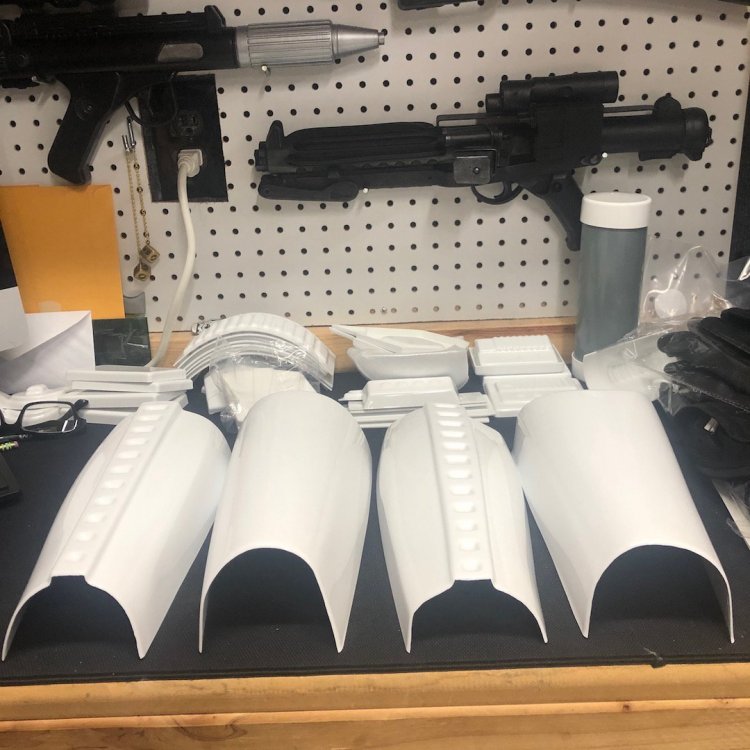
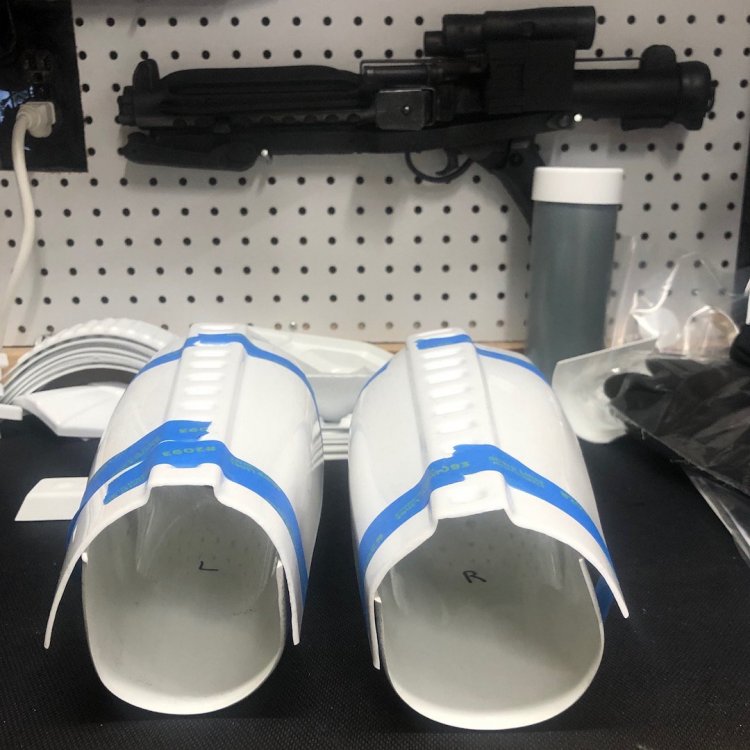
Still trimming the parts, i took some pictures of rs parts, in comparison to rwa big boy kit. The pictures speak for themselves. Much space to fit in, for big guys and also for rounder ladies. More to come. Cheers Wolfgang1 point
-
It's as if millions of Wranglers suddenly cried out in terror and were suddenly silenced.1 point
-
Finished the arms strapping system. Will be going back later on to double up snaps on the bicep and forearm. Put in the new screws. And cleaned up edges of rubber hand guards. Just used exacto knife. Having trouble uploading that pic for some reason.1 point
-
We've been joking about this in command, must be real, he has his own figure, and a Lego figure
 1 point
 -
Hey all, what's everyone's opinion on this? http://www.thingiverse.com/thing:1964331 Based on my research, it looks to be pretty accurate, once I sand everything down, paint it, add a scope, etc. Does anyone notice anything I don't, though? EDIT: This model seems better, thanks @Gilbert Lai! https://www.thingiverse.com/thing:2274864 I know it's a year later at this point, but I am finally converting this to a build thread. Keep reading to find out how this prints and the mods I end up making to make it a tad better.1 point