Leaderboard


Popular Content
Showing content with the highest reputation on 10/06/2020 in all areas
-
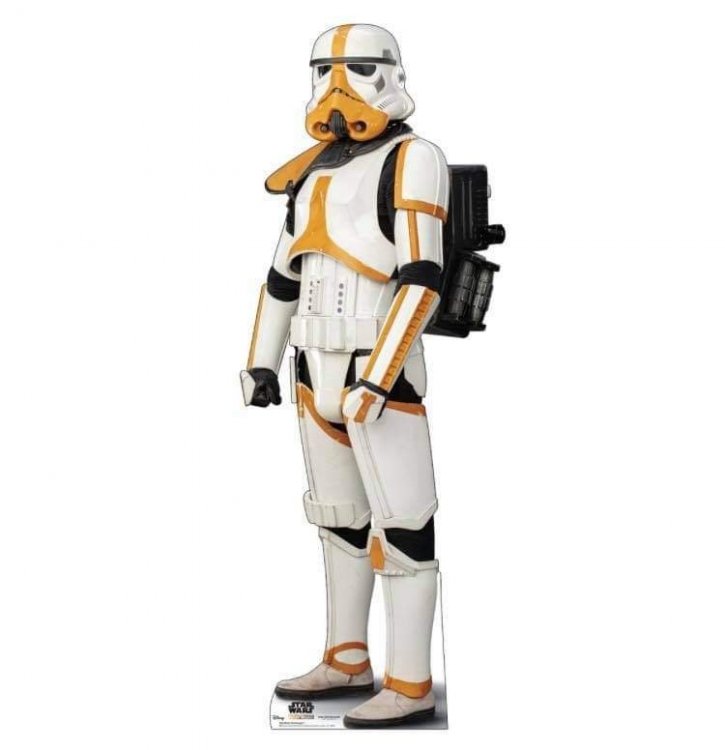
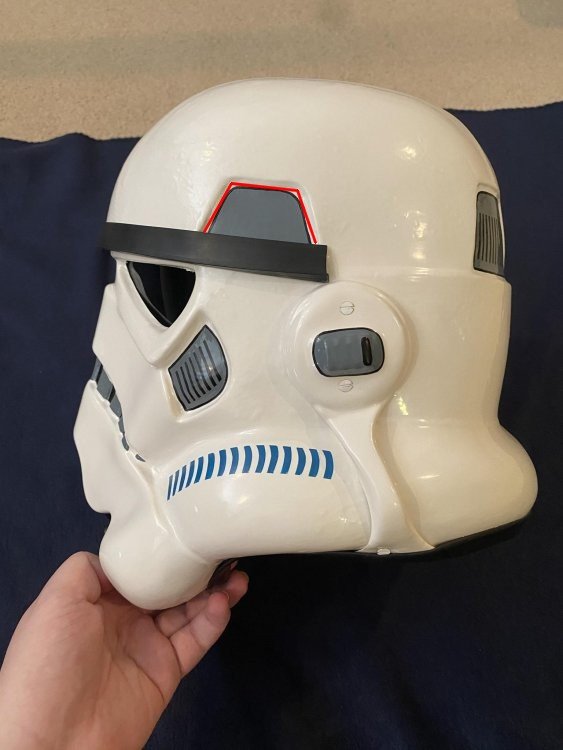
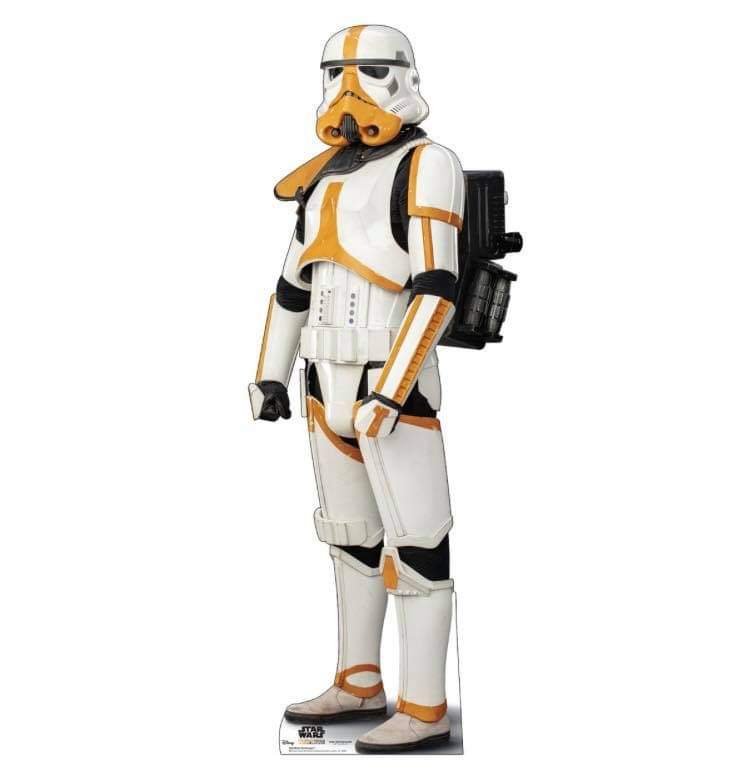
The Mortar Stormtrooper was a specialized variant of stormtrooper that specialized in mortar weaponry. The stormtrooper was equipped with stormtrooper armor, albeit with yellow markings, a yellow pauldron, and a military backpack. The style and position of the yellow markings on the Mortar Stormtrooper were identical to the red markings of the incinerator troopers deployed by the Imperial remnant led by Moff Gideon.
 3 points
 -
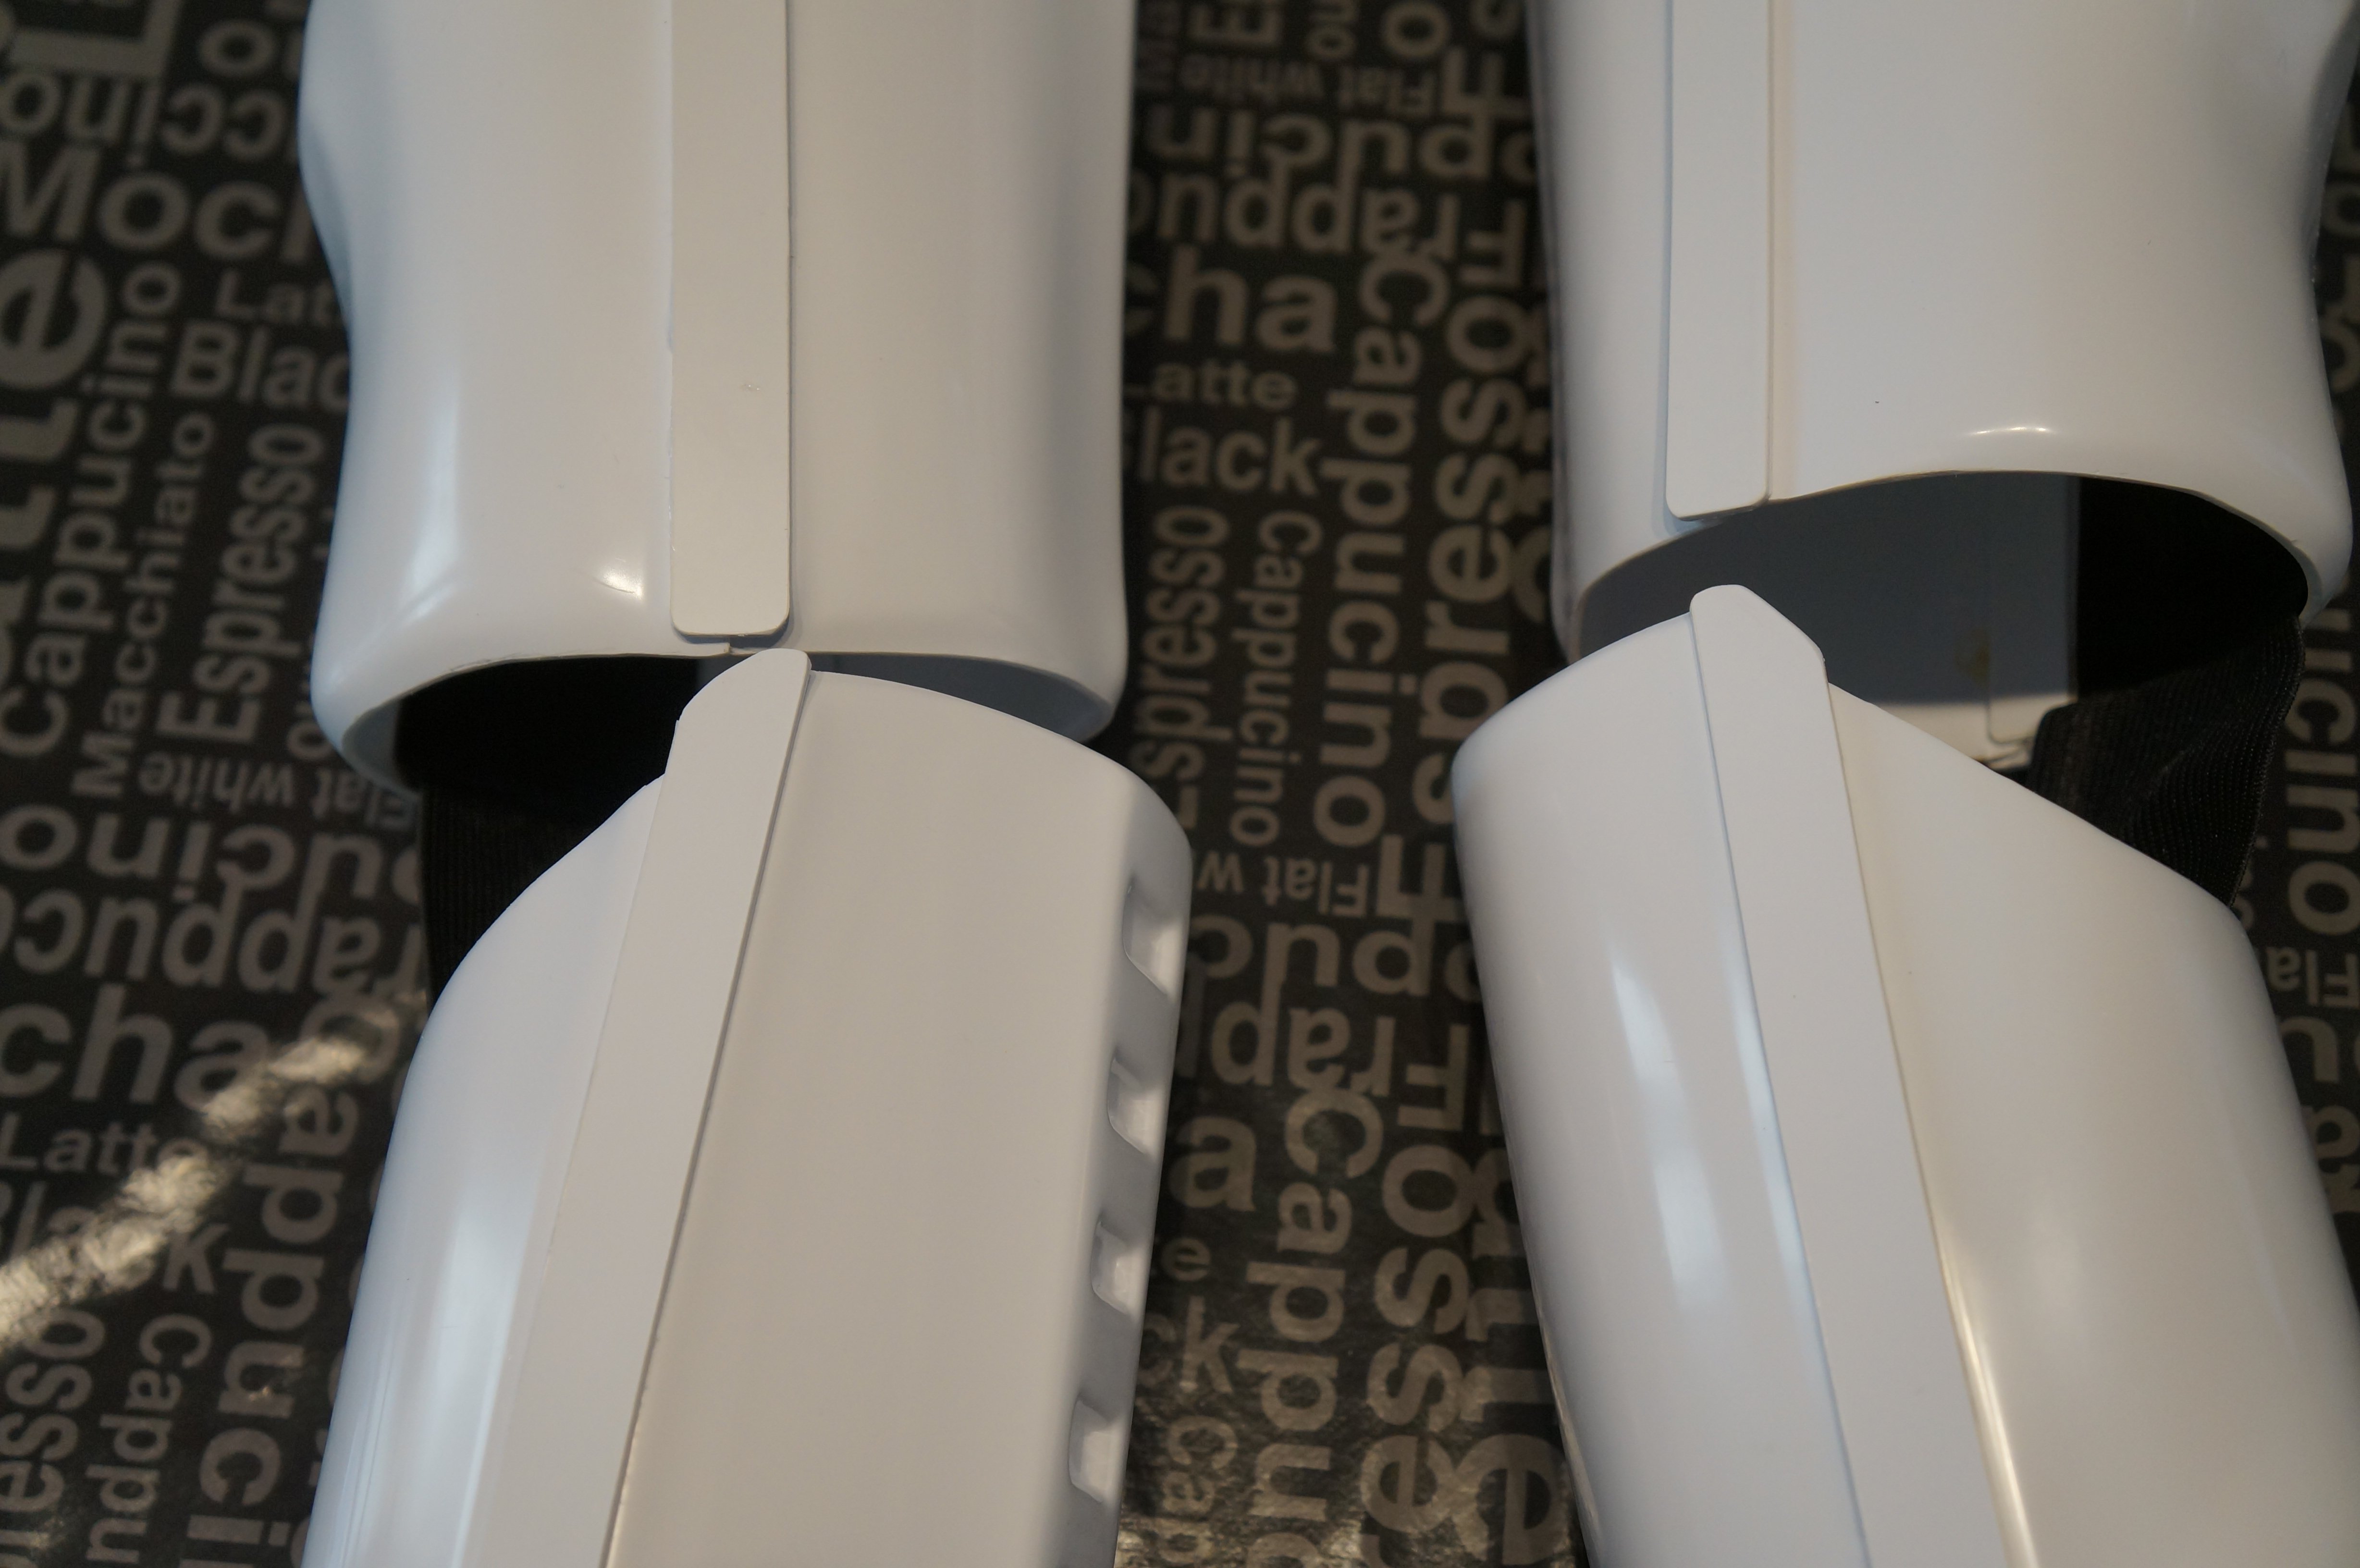
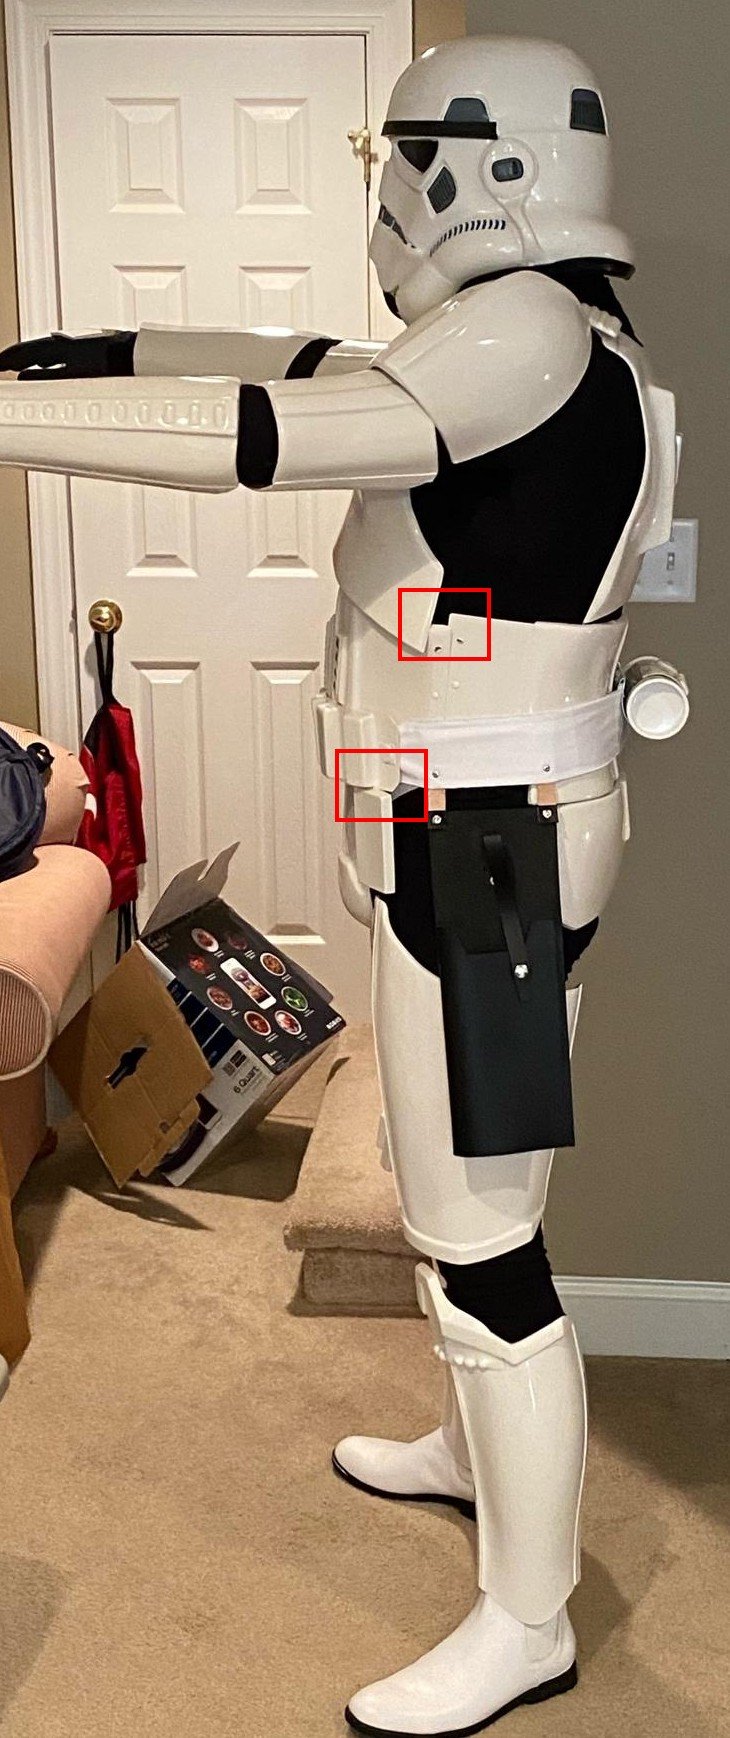
I'm working on shoulder bells and biceps next. How does this placement look?3 points
-
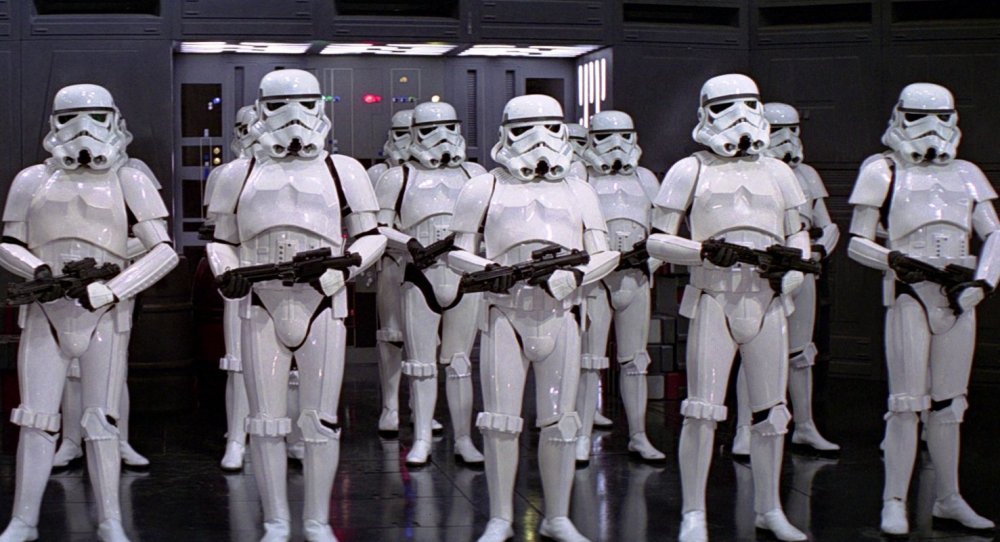
Hey all! Got my ANH-Hero basic approval today from my GML, so let's shoot for that next EIB! Mandatory Information Costume = Stormtrooper, ANH Hero Costume CRL Link = https://databank.501st.com/databank/Costuming:TK_anh_hero Name = Justin R. TK ID = 61490 Forum Name = TheRascalKing Legion Profile = https://www.501st.com/members/displaymemberdetails.php?userID=26076 Garrison/Squad = Southern California Garrison, Orange County Squad Armor = Anovos Helmet = Troopermaster (TM Hero) Pre-Approval Thread Link = Base Suit Centurion Thread Link = Optional Height = 6ft 0in, or 183cm Weight = 175lbs, or 80kg Boots = TK Boots Ammo belt = TrooperMaster (TM Hero) Canvas belt = Imperial Issue Holster = Anovos Hand Plates = flexible latex from justjoseph63 Gloves = Double1 Rubber chemical gloves Neck Seal = Darman's Props Armor Photos Helmet Off (unadjusted) Full Body Front Full Body Back Full Right Full Left Action Shot Helmet Detail Photos Front Left Right Back S-trim Detail Vocoder and Hovi Mic Tip Detail Lens Color (Backlit if necessary) Accessory Photos Neckseal Thermal Detonator Ammo Belt Boots Blaster Optional Interior Strapping Abdomen Detail Cod Details Handguard Flex Sniper Knee Attachment (glue) Thigh Ammo Pack Attachment (single-cap rivets) Belt Box Back Detail (fully closed) Wrist Return Edge Detail (none present) Right Ab Snap Detail Left Side (rivets) and Kidney Notch Detail Shoulder Bridge Attachment (glue) Got some great feedback in my pre-approval thread, hopefully nothing that will hold me back from EIB! I'll plan on taking new photos for Centurion for sure to fix some of the minor adjustments needed. Thanks for looking!2 points
-
I mounted my fail-safe snap at the top, and it works. I just made a single snap mount and strap, roughened the spots next to the pockets to prep them and glued them in with E6000. First the bottom mount, and let dry for 24 hours, and then snapped the strap on, and glued and clamped the end down taught. Once the second part was cured the next day, I tried it out, and it can be easily reached to snap shut, and extreme bending my leg never opens the top. To pop it open is even easier, just slide a finger down under the strap and it pops off. Next up in a few days, a tricky repair after a trimming mistake. Time to learn the lesson "Measure twice, cut once" again!2 points
-
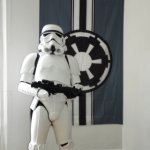
Hello my name is Mike TK 99332 . I just joined the 501st big family few weeks ago. I am based at the french garrison as a stormtrooper ESB. I am ready to serve the empire and being a bad guy doing good ! May the Force be with you all.1 point
-
Thank you all for your sound advice and consideration. Now I brood while I contemplate my next move.1 point
-
Pretty much same build over and over but new helmets, and after L3 this is the last time before this suit gets retired, I swear haha Same photos from my Pre-approval thread - hopefully none are deal breakers and I'll suit up one more time to correct anything for Centurion I appreciate you guys! Hopefully my Hero is fine. All fine here. Thank you. How are you, DOs?1 point
-
Hi Justin !!! what a surprise!!,...... naaa not a surprise . Glad to see another great build from you mate. One of us will be with you shortly1 point
-
Okay it appears to be working correctly now, Good Job getting that figured out!1 point
-
1 point
-
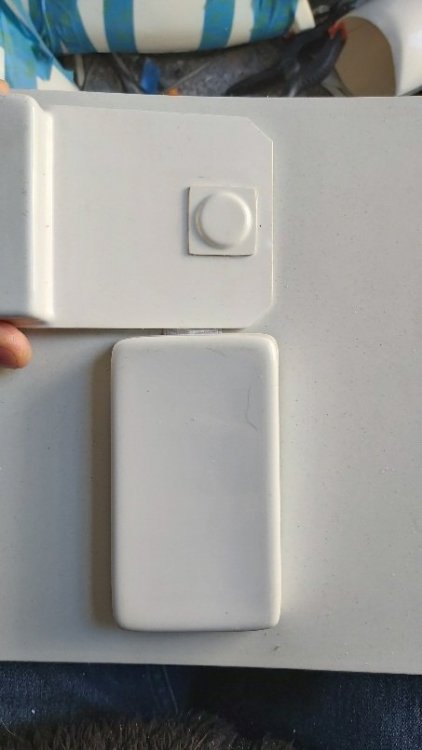
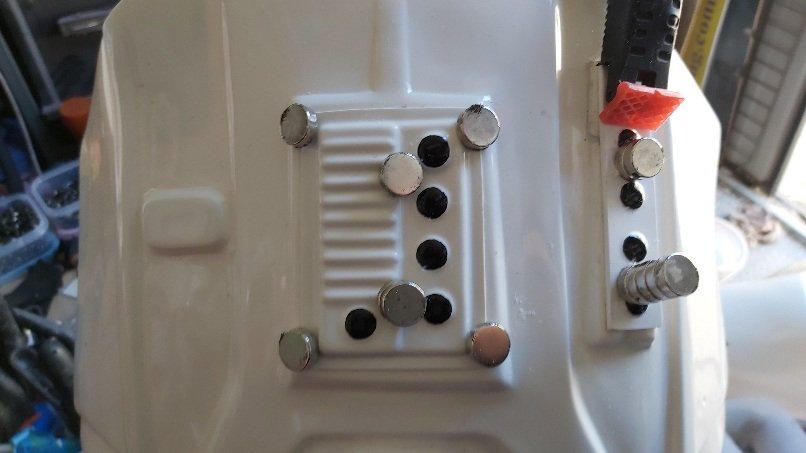
DarthBiscuit, When I did my T-nuts, I only needed a 1” square hole on the back side of each box and I used PC-7 to hold the T-nuts in place on the inside. If I was doing it all again today, I would go the route I did for Kal Akaan’s vacuum formed kit. Just cut the entire back off each box, then make a Sentra inset for each box. Drill out the mounting points for each T-nut (2 per box) then glue the inset inside the box. This gives you a nice secure look and fit and you can always remove the boxes later if you need to repaint or whatever. Its not a lot of work and in my opinion well worth the extra effort. If you are interested in this method, check out Kal’s WIP to see how I did it and hit me up if you have any questions. The only other option I would suggest it to use 3M industrial outdoor double sided tape like this: https://www.homedepot.com/p/3M-Scotch-1-in-x-1-66-yds-Permanent-Double-Sided-Outdoor-Mounting-Tape-411DC-SF/1005753851 point
-
WOW! Excellent work sir,,, looking SHARP (as always)!!!! I'm kinda' tough on you because I know you are perfectionist .1 point
-
Great progress thus far, Mark! I’ve thoroughly enjoyed lurking and following your build, and can relate to the cyclist leg-fitting challenges. Haha. My thigh pieces were a bit tight when I test fit them. Sent from my iPhone using Tapatalk1 point
-
Looks good
 1 point
 -
Keko Bescós TK-10650CENTURIONA4Mario - TKSpartan Thank you so much! http://www.whitearmor.net/eib/certificates/10650-centurion.png1 point
-
Boring stuff, cleaning off excess E6000 Angle cut belt corners AB button plates glued
 1 point
 -
Keko Bescós TK-10650EIBA4JustJoseph63 Thank you so much! http://www.whitearmor.net/eib/certificates/10650-eib.png 3121 point
-
Yea even the text formatting is all messed up for the E-11 section on this CRL, I’m guessing that definitely has something to do with it too. None of the others CRLs are like that, just this one.1 point
-
Nice work, looking good, just watch your ab/kidney side placement, also drop boxes need to align with the ends of the plastic belt Watch to rotation of your shins to thighs Traps could have had a little more paint Thighs could come up a little if you can adjust the strapping Good luck with approval

.jpg.5f86af44cae85ee2da2766c94aa1b083.jpg) 1 point
1 point -
Yes it's ok.1 point
-
Throwing in some pics of my sight for E-11. Sent from my SM-G930T1 using Tapatalk1 point
-
I've never seen the ref pic about the ear placement! Thanks, that's a big help. Removing ear tonight. Sent from my SM-G930T1 using Tapatalk1 point
-
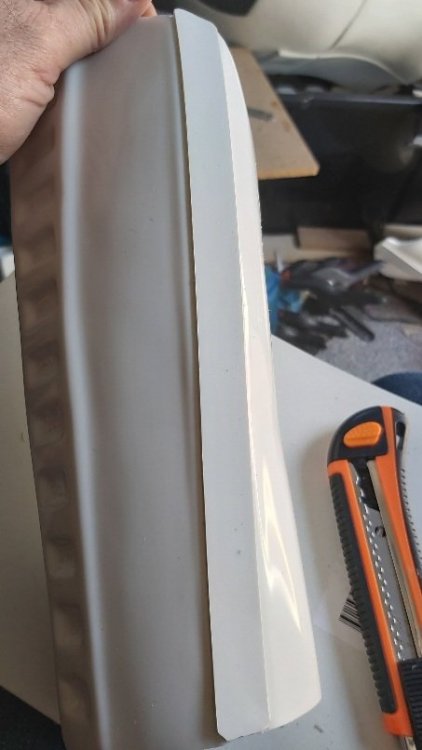
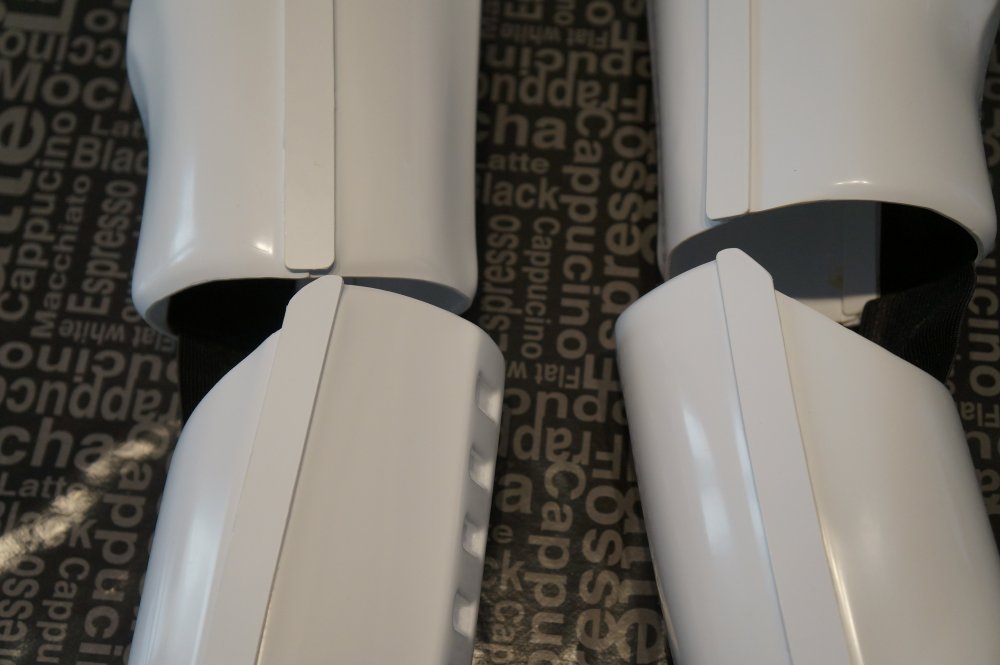
Cover strips stop above the lower ridge of the thighs, front and back, notice some ridge showing in some places and not others. But on the shin fronts the cover strip covers the top ridge on the front On the back of the shin they stop below the top ridge1 point
-
Here's a tall EIB recipient for reference . Always a good idea to look through other's EI builds as a guide, especially search "taller"1 point
-
You can also cut the cover strip on an angle across the two halves for comfort so you have no exposed sharp points. that's how I built my AP kit.
 1 point
 -
Thanks!! trying to get over to Jeff's as often as possible! Hopefully, we can take a weekend and get much more knocked out.1 point
-
Welcome. We are opposites. I did a TK then a TB. Looking forward to your approval.1 point
-
Welcome, KC!1 point
-
Welcome to FISD, Good luck with your project.1 point
-
Welcome to FISD KC, good to see you are going full hard armour, not as comfortable as your TB I'm sure but every bit as much fun.1 point
-
Hello and welcome aboard, we have a pre approval area if you would like to post some photos for feedback https://www.whitearmor.net/forum/forum/193-request-tk-pre-approval/, if not good luck with approval and hope to see you join the ranks soon.1 point
-
i just tested the new pcb board where i replaced the led drivers with 3 small transistors and it was working fine if there wasn't an error on the original scheme (i used a differente transistor schematic) so i have to reprint another stock1 point
-
Dave Galant 98695 Letter Sha Sha http://www.whitearmor.net/eib/certificates/98695-centurion.png Thanks!1 point
-
Glad to see another build. Keep up with it and work on it when you can even if all you do is sand. I added you to the roster.1 point


.thumb.jpg.a22c59871126b71e159a4adfd3e00414.jpg)