Leaderboard


Popular Content
Showing content with the highest reputation on 07/11/2020 in all areas
-
Aww, thanks, troopers! You all know how to make a FOTK Mom feel amazing! Finished painting the remaining odds and ends that needed some cleanup today. The big thing was getting the ab piece all done. It had some drip marks last week, so I sanded them down and repainted it entirely. Very happy with how it turned out. And it feels good to get everything white and glossy! I also tackled refurbishing Cameron's helmet. It's an adult size Rubies Deluxe helmet that I had converted for his old FOTK kit. He doesn't know about the surprise upgraded lid, so in order to keep up appearances, I needed to repaint the old helmet to match the new armor. I wet sanded the helmet with 400 grit to remove some of the old paint and give it bite for the new white gloss. I bought a small paint shelter and a cheap turntable so I could paint the lid without worrying too much about extra particles landing on it while it dried. A turntable is a really nice convenience for painting something like a helmet; it allows for slow and consistent rotation while the paint is being applied. I also rigged the spray shelter with a small swivel hook in the inside top so I can hang and rotate small objects in the shelter while painting. I didn't need it for today, though. I had enough extra 2k Gloss to cover the helmet twice. And whoa. Again, I am in love with the ease of how it applies. It self levels beautifully, and I didn't see any drips at all on any of the parts I've painted. It's pricey stuff, but seriously worth every penny. Before repainting this helmet, it was shiny, but nothing like how it is now. The finish is like glass. You can see the blue sky and trees in the reflection on the dome. It is so difficult to get accurate pics of how shiny this stuff is because the white color blows out the reflections. I'll be letting everything cure for a week before painting the black details on. I still have a lot of strapping things to assemble and sew, but it feels like the finish line is in sight!3 points
-
Left side, thank you! I’ll update my list. And I’ll have plenty of questions! I can’t stress how much of a help your thread has already been @MaskedVengeance it’s a wealth of good information. As an add on to my previous post I received my gloves and flexible hand guards as well as the centurion hardware kit from @justjoseph63 I also got my boots from IB last week. I’m glad I ordered a full size up because they fit perfectly.3 points
-
I spent this past week patiently waiting for the gloss coat to cure. I was able to get more strapping details done, such as fine-tuning the ab suspenders and adding velcro to the inside of the limbs. I've decided to close the shins with a strip of elastic that has velcro sewn at each end, so I sewed a few closures together. Easy and quick, and should hold up well for trooping. Yeah, I know it still might be a while until then, but it's always good to keep looking forward, right? Yesterday I did a little detail painting on some black areas of the armor. I know that some areas are supposed to use black decals, but I've got semi-matte Testor's on hand, so that's what I'm using. I got the paint for the forearms and back plate done. Here's the back plate. So shiny! And the partially-completed shoulder bell elastics. I've got the snaps done inside, I just need to sew in the velcro into the ends (and yes, I know the straps are too long. I still need to take proper measurements for fitting.). Today I installed the screws into the thigh holster, and I am thrilled with how it now looks. So legit! I installed the hex button screws into the blaster and made sure that everything lined up. It worked! That blaster fits in there perfectly. Holding the thigh up here so you can see how it looks. Love this! Cameron is super happy with it as well, but I couldn't get him to stand still for long enough to get a pic with him wearing it!3 points
-
Bicep outer cover strips are glued and curing for 24 hrs. Next up is forearm reshaping and begin on the legs.2 points
-
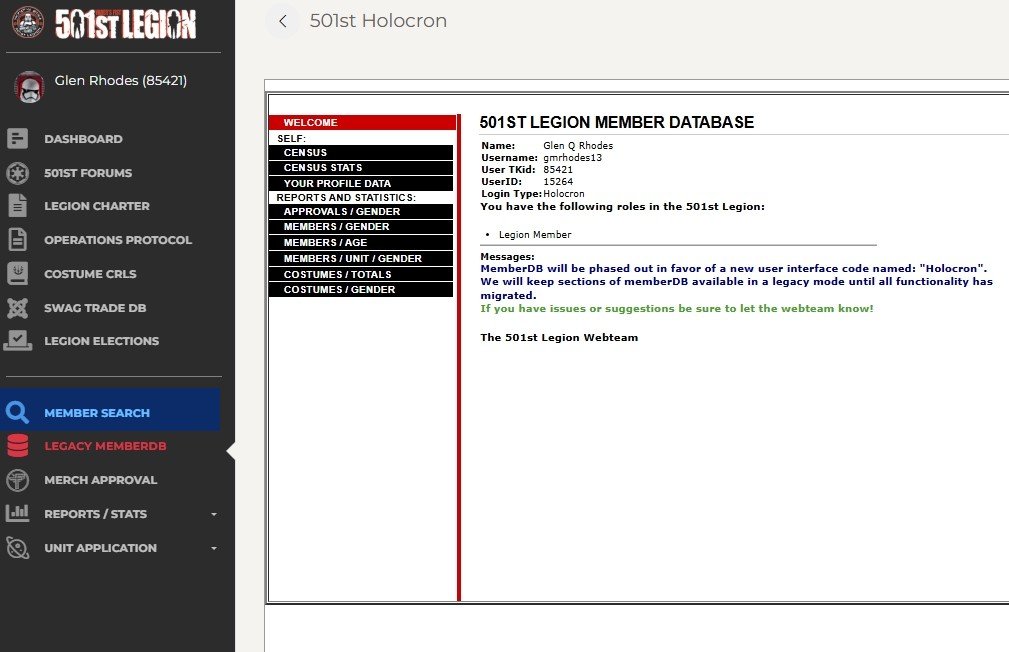
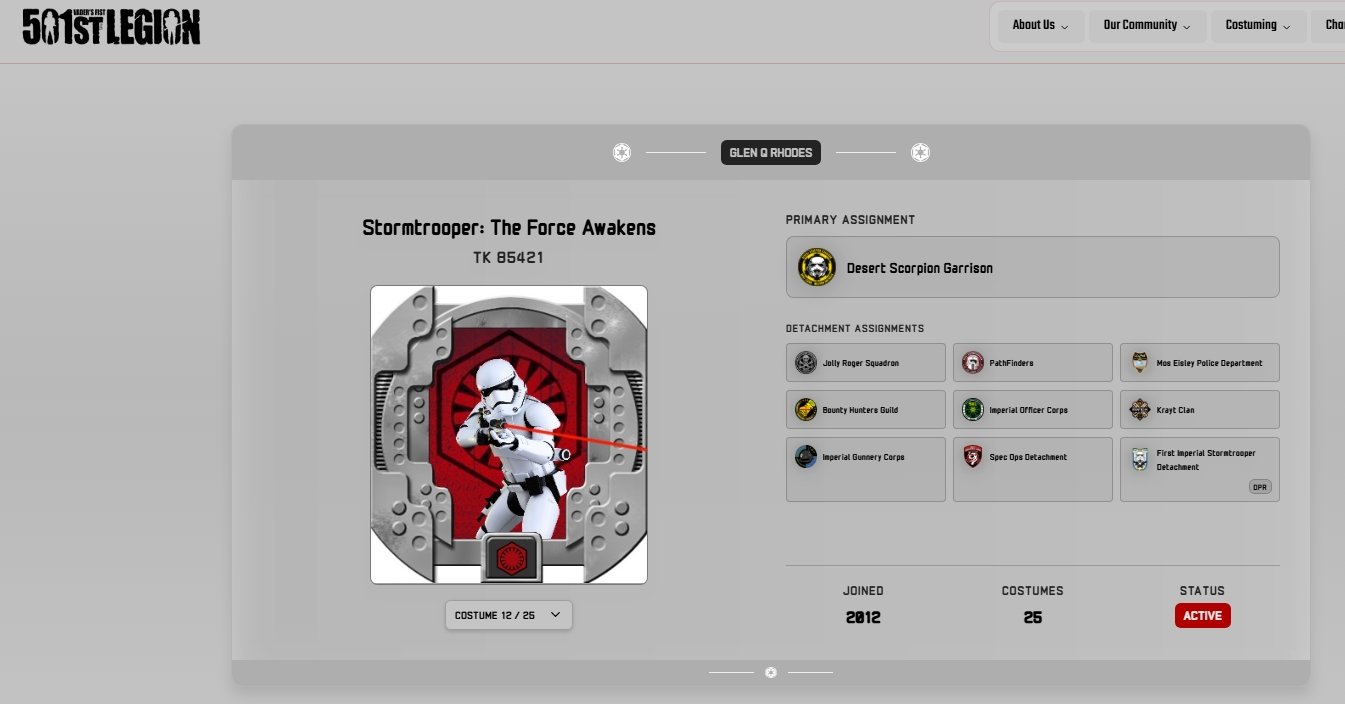
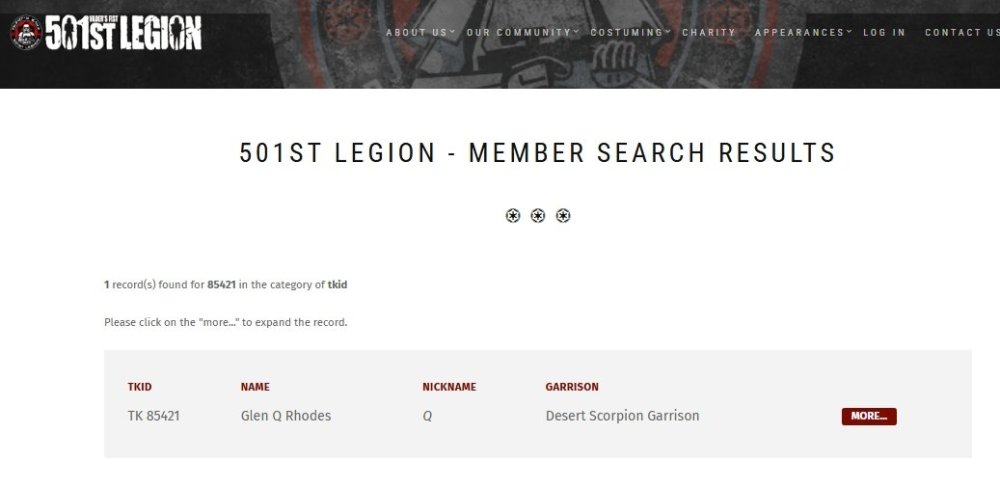
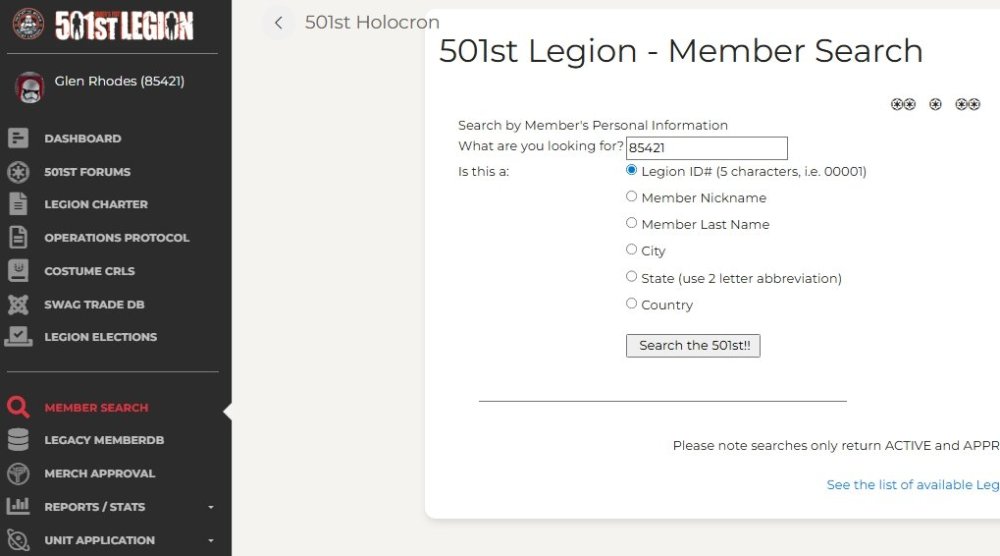
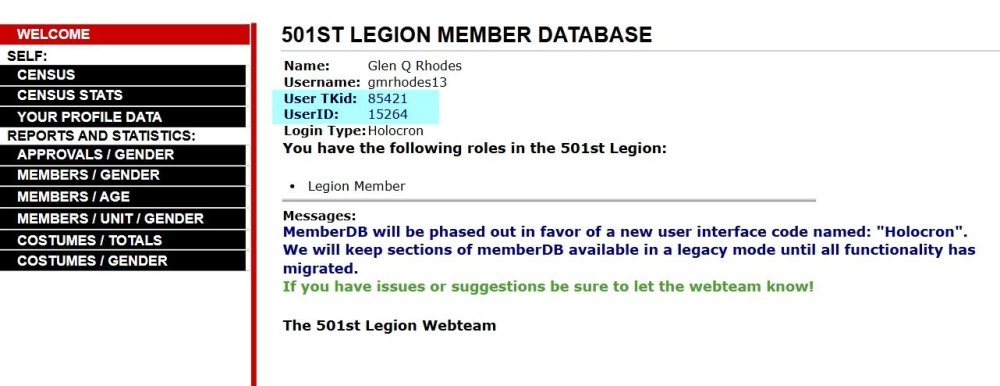
Request 501st status changes here. You must be an approved legion member with an official TKID to request higher forum access, or you can request TK higher access if you are an approved legion member with an approved TK version costume. NOTE: we (the site admins) will periodically check the list of people in this forums database against the list of 501st members as kept by the Legion COG. People will be added or dropped automatically, so it's a good idea to ensure that the email address you use for this board is the same you use in the Legion records. If you need your status adjusted in between database checks, please post here. UPDATE 05/04/2026 NOTE: You must include a link to your 501st record as per below, else your request will be ignored: With the recent legion website updates the link has changed. Please add both TKID and the User ID to your request, you can find this in the legion Holocron NEW INSTRUCTIONS There are 2 ways to find your membership profile: In the navigation bar post this link https://www.501st.com/member/85421/ and replace 85421 with your TKID then click enter OR Go to the Legion Forum https://www.501st.com/forum/index.php Then Holocron, (enter your legion forum username and password) https://www.501st.com/holocron/login?returnUrl=%2Fmember%2Flegacy MEMBER SEARCH on left side menu Enter your TKID (in this case 85421) CLICK MORE Copy the link in the navigation bar and paste into your request https://www.501st.com/member/85421/ (this will show your primary 501st costume) A.C. @NoVATie will then check the members costume list for TK costumes and update access accordingly **Please test your link when you post your request to make sure it goes to your legion profile page. We cannot use links for the Legion forum or Garrison pages.** Thanks to @gmrhodes13for pointing this out. Swapping your TKID into the link below no longer works http://501st.com/members/displaymemberdetails.php?userID=4733 Using the link below, replace 12345 with your TKID: https://www.501st.com/members/searchresults.php?searchfield=12345&criteria=tkid Paste that link with your status request post to have your FISD profile updated. Thanks to @revlimiter for pointing this out. 1. Go to https://www.501st.com/members/searchform.php 2. Input your TK number and "Search" 5. On the "Results" page click "More" to the right of your name 6. On this page that lists all of your costumes, copy the URL and paste it into this thread with your request.


 1 point
 -
I honestly don't know the exact cure time for it. There isn't much info on the can except for how to mix the product once activated. Oh, and a TON of warnings. I'd say it's basically Death in a Can if you don't wear PPE. From what I've read on various automotive forums, it's best to wait 24 hours until you handle it, and at least a week (preferably longer) before polishing. It goes on fairly thick. The only areas I'll need to polish down are due to small contaminants that drifted onto the paint shortly after application (dust, curious gnat, etc)- and there aren't many of those (you really can't see them unless you're looking very closely).1 point
-
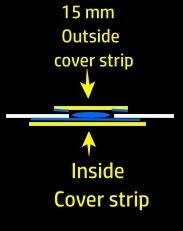
I have a question on the leg cover strips. Looks like I need the full 40mm on the thighs with some space still needed at the top of the back and can get 20mm on the calves. Since my arms are 20mm should I go for 25 or 30mm on the legs and shim the backs of the thighs for more space similar to the picture below from justjoseph? I will try and get pictures soon.
 1 point
 -
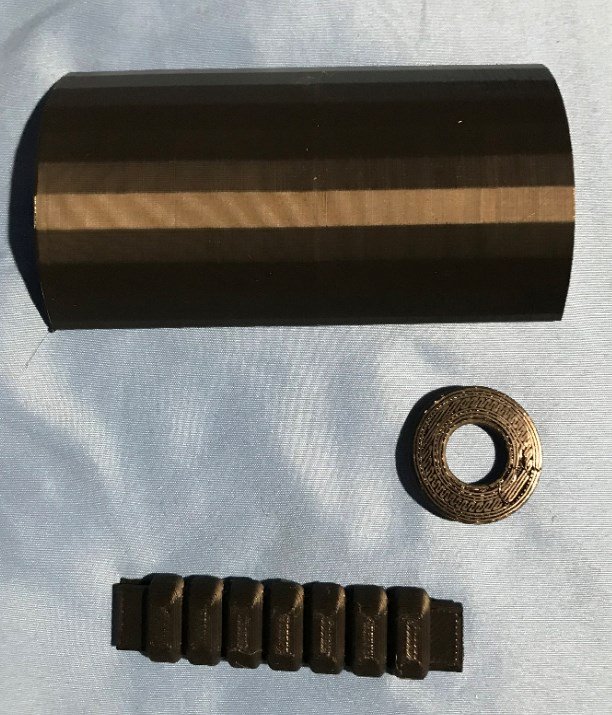
Finally, something came! The parts for the custom thermal detonator plate I'll have to make!
 1 point
 -
Awesome Job Laura! Congratulations! One more Expert Infantry for our Garrison.1 point
-
Well...not a whole lot going on until the full kit arrives. I still have the left over parts from when I built my Sandtrooper, so I decided to get the Thermal Detonator out of the way. Gave the grey tube a quick measure to make sure it's not 2 feet long. Also, drilled a hole to relieve the air pressure when the end caps are put on (the hole will be hidden by the "control panel" plate). Then, I measure the end caps to 20mm. This photo is post "scribe" of the line...and the ruler isn't exactly in proper position. To give a consistent line around both end caps, I "scribed" the pencil line using a compass. I double checked the measurements at a couple of points to ensure nothing got too wonky. A quick cut with the lexan scissors. Scrap/waste goes right into a shoe box to save for ABS paste down the line. Then, a quick sand on a flat surface to even them out. That's the backside of the sandpaper...I did turn it over. Quick test fit. I'm using the belt clips from @ukswrath, and numbered them so I knew which one went where after marking the holes for the screws. Instead of the screws that come with the belt clips from Tony, I'm using the screws from @justjoseph63...and securing them with some self-locking nuts. Belt clips secured, it's now time to glue on the "control panel" and then the end caps. And finally, what do you do when you don't have your paints yet? Improvise! And hopefully I can cross this off the list as well.1 point
-
I love how it looks!!!!.A little paste and sandpaper and that kidney will be finished ... Can you see the finish line now? Do you know what you are getting? ... You are overcoming all the difficulties that appear on your way ...Congratulations!!!1 point
-
Big updates! Today was BBB day! It’s very exciting and I’m also feeling a bit overwhelmed, there’s so much information to take in. My first step i think should be to label all pieces right or left. After looking through @MaskedVengeance wonderful build thread I think I have everything labeled but I’d love to have my work checked. The shoulder bells: From what I can tell the “swoosh” should angle forward. The bicep: “Thumb print” on the right? Lower Arm: On to the legs. Thighs: Calf Hopefully these pictures are clear enough to determine the correct side, any help would be greatly appreciated! What’s everyone suggestions on what pieces to start trimming return edges? I’ve heard biceps are something good to start with. Since I’m building for EIB status I will be removing all return edges as shown in @justjoseph63 return edge 101 post. Thanks for reading, I can’t wait to get started!1 point
-
You did an excellent job, Emma! You can’t even tell in that last photo! And as Glen said, you could also use ABS paste to hide some ripples. The learning process through this will also be very valuable to you as you progress. Keep it up! Sent from my iPhone using Tapatalk1 point
-
Seconded on both counts! I also cut my single-snap nylon tabs to more rectangular and give them more surface area for the glue to grip...1 point
-
A lot of work but well worth it, any messy areas you could build up with ABS past and sand smooth but as it's not seen you should be ok. A heat gun and using two small pieces of wood can be useful to for smoothing out areas1 point
-
Somebody previously proclaimed “Mom of the Year,” but I think “First Lady of the Legion” might also be applicable! Sent from my iPhone using Tapatalk1 point
-
Greetings Troopers! I know a great many builders use this awesome thread for guidance while assembling helmets, and since I love printed resources, I created a PDF document of Terry's tutorial. When viewed on a computer, and possibly other devices, the Table of Contents is clickable and scrolls the document straight to the selected topic. I've also compiled several other threads in this same fashion, and that post can be found in the Getting Started forum. I hope this can be helpful to anybody who stumbles across it!1 point
-
Thanks... i just wait as a child at christmas lol1 point
-
Right on. We're in tough times. I use forum searching and researching to keep me feeling like I'm making progress until I can work on it again! Thank you for writing that up! Your thread plus @kman's thread both were very informative and got me to my decision. I'm so excited to get the blaster! It looks so great!1 point
-
We will be here waiting for your return brother.1 point
-
There's no specific criteria we follow. But this thread here is definitely worth pinning! Thanks a lot for the hard work!1 point
-
Looks good, I am surprised you didn't get your neighbor Marion to help "put your pants on"1 point