Leaderboard


Popular Content
Showing content with the highest reputation on 03/01/2020 in Posts
-
The putty has dried. And I decided to put on my undersuit, neck seal, and harness to see how it all fit. Then threw on the biceps, forearms, and gloves just for the heck of it. Need to take in the elbow gaskets, but for the most part it fits pretty well. The mod adding to the shape of the forearm is definitely limiting. But I guess I’ll have to learn how to rotate the forearms before bending my arm. Taking in the gaskets May help a little. And it just feels good to finally suit up at least a little bit for the first time! Sent from my iPhone using The Force3 points
-
I’ll get to it when I’m at a computer and can copy my build thread link! Sent from my iPhone using Tapatalk2 points
-
As Glen mentioned, it all depends on what you want to do with it. If you are looking for an inexpensive costume for Halloween/cosplay, you can find them with a Google search. A decent kit for those purposes will run around 3-4 hundred dollars, but they will still need to be built (trimmed/glued). Be aware that these are usually made from rather cheap materials, though, and in 99% of the cases are nowhere near screen accurate. However, if you are looking to join the 501st I would suggest using one of the "vetted" (tried and true) armorers here https://www.whitearmor.net/forum/topic/11538-the-various-types-of-armor-and-where-to-find-them/ They cost more, but you get what you pay for. The quality and screen accuracy of these kits are leaps and bounds better than what you will find online, and once you are approved you can use them year-round for trooping at various 501st events. Getting approved and joining the 501st also means you can meet fellow Stormtroopers and all kinds of other SW characters at these events and make a lot of new friends (fellow Star Wars nerds like me) lol. If you have any questions (no matter how small) always feel free to ask. It's what we do here!2 points
-
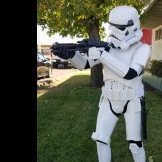
I'm looking forward to my first troop! I was fortunate enough to meet some fellow troopers at an armor party yesterday. Since I was approved on Valentine's day, I'll post this silly picture -1 point
-
Hey Names Rob, just ordered my first Kit from ATA Works. My Helmet is on its way. The Rest of the Kit is about 4 weeks out. Really excited about doing this. Something I have wanted to do for a really long time. Been reading all the pages about building for some time now. Will try reaching out to the local Garrison here in Seattle if I need to.1 point
-
I got my other thigh roughly trimmed out. I took the cut from the other leg and just transferred the outline. Couldn’t resist throwing one of the legs together now that I have most everything close to being completed. Sent from my iPhone using The Force1 point
-
Congratulations Andrew! Good job!
 1 point
 -
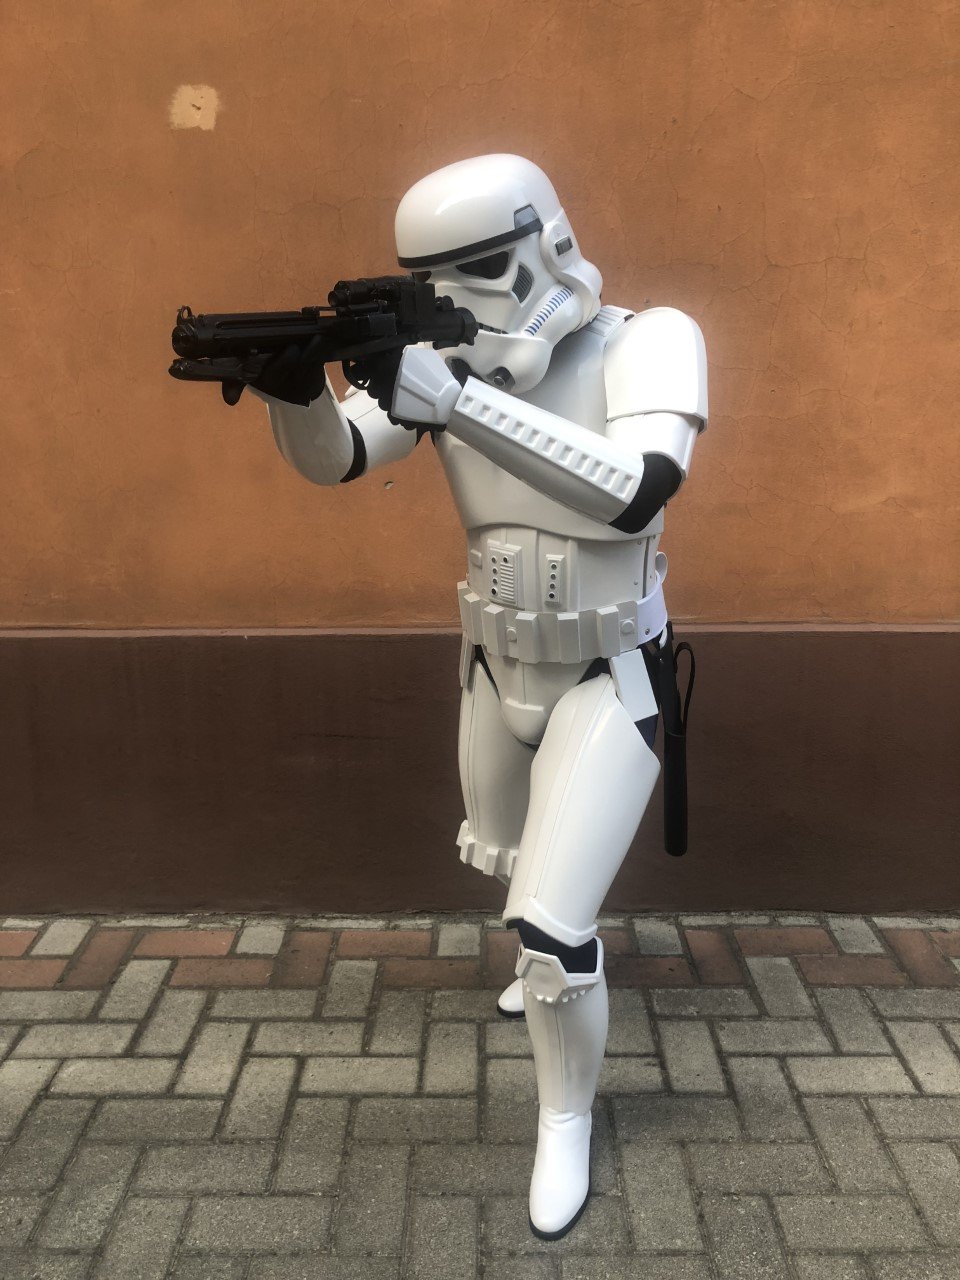
Greetings Imperial soldiers and citizens , I'm, Andrea, TK-91186 ready for duty! I'm from Italy (Genoa, North-West, 501st Italica garrison, 77th Alpi Squad) and I'm very honored to have become a member of the 501st (Stormtrooper ANH Hero). My first event (unforgettable) was last december for the Ep. IX broadcasting in my town! I hope to participate and meet you in future events. Ciao a tutti! Greetings! Strenght and honour!!! Andrea
 1 point
 -
Congratulations trooper !! Welcome to our big family1 point
-
In short, the "sellers list" we have is not intended to be the only place where you can get armor - you are free to get armor anywhere you like - however it does capture vendors who have a proven track record of quality product and integrity in selling. As always, caveat emptor1 point
-
So branching off on what Joseph has said. The vetted seller section is really the go to list. You have to understand that most places to get armor do not have websites as it is copyrighted material. RS Props in the UK is the only legitimate place that has a website and you can purchase off of. Otherwise if you are on facebook then you can find facebook pages for Troopermaster, RWA, Walts Trooper Factory, DA Props, CFO and maybe a couple of others that I'm missing.1 point
-
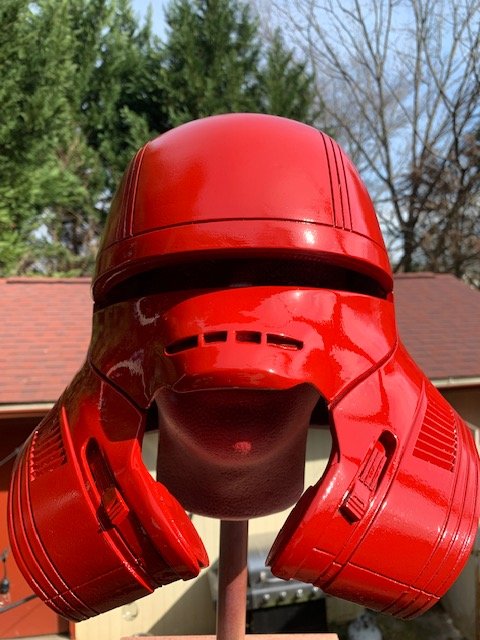
Haha. “Sexy helmet” - I’ll take that!! Many thanks, Paul. :-) Many thanks. I’d recommend these methods to anyone looking for a more screen-like appearance. The TM lid is a big part of it, too. :-)1 point
-
Sanded most of the armor going to put another coat of primer then ready for paint need to reinforce the thighs a bit on the weak spots just need the chest and back besides the shins that i will do when i glue them together still debating what adhesive to use for the shins other than that good days work1 point
-
Hello troopers! My name is Jeremy, but everyone calls me by my last name “Biddle”. I have recently started work on my first kit ever and I am loving every second of It so far. I have a jsin/kb props jet trooper kit(yeah, we fly now!) that I am planning to goto the 501st with. So far I have the helmet near complete and the armor should be coming in sometime within the next couple months. I know the jet trooper is really new and no CRL is in place for it yet, but I was referred here from a Carolina Garrison member to hopefully help with that! I really look forward to getting to know some if you and to learn as much as I can along the way! Cheers and MTFBWY! EDIT: Photos added!
 1 point
 -
That's better...1 point
-
Hi all! I'm Matt from Texas and am currently working on a TLJ Captain Phasma. Hoping to be done for Celebration 2020!1 point
-
This community is awesome. I've spent months looking over the forums checking out the various reputed dealers. Can't decide between a biker scout or ANH build but so excited to get started. Just wanted to thank all those that have come before, your enthusiasm has made this a far easier world to enter.1 point
-
Hi all! My name is Paige and I'm a nerd residing in Nashville. My boyfriend is just about to get his first armor kit and I'll be helping him build/potentially acting as a handler if there's need for it, so I wanted to have access to the build guides and other resources around here. Someday I'd like to put together a Phasma build myself, but for the time being I'm just around to spectate. I look forward to learning from all of you!1 point
-
Greetings all - just wanted to introduce myself and say Hi. My name is Andy and while I'm not a member of the 501st yet - I will be. How's that for confidence! Doing so has been a goal of mine for many many years. Now I finally have an opportunity to act on it. I looking at the ANH Hero and have been having a chat with TM. Given my height - around 5'6" - 5'6.5" - he's suggested perhaps going for the "Luke" version. I think that makes sense but any thoughts? If I go that route, are there things I should be aware of with regard to submitting eventually for 501st approval. I've been scouring the threads and haven't really found anything - but there's a lot of material. BTW, if I should have posted those questions somewhere else, just point me there. Thanks much - it's pretty exciting - even for an older guy like me. Cheers! Andy1 point
-
Good Job Dan1 point
-
Nice work1 point
-
Found it Tony!!!!1 point
-
That is one sexy helmet1 point
-
Keep up the awesome progress Chris. I’ve used the plastic weld putty to reshape a set of 3D printed hand plates for a friend, it’s pretty good stuff to work with. Speak of hand plates, is that a set of R2 Dams resin plates you have? Sent from my iPhone using Tapatalk1 point
-
More sanding, more primer... Don't mind the Rubies Rebels E-11 conversion - it's for a friend. And has been giving me all kinds of trouble with its seam-filling and paint. Almost done tho. I also have two Jawa builds that I'm wrapping up and are heading out for friends. More time to focus on this! Also filled the oval slot on the back left shoulder, left the round one (I don't plan on relocating the shoulder bridge tabs at this time). Used a 2-part flexible body filler meant for bumpers, then a thin skin of the Dynatron 650 spot putty. After another coat of filler primer, it's pretty much gone. Makeshift paint booth did its job, except when a piece of cardboard fell off the fence and marred some wet paint on the chest piece... Sigh... I'll fill and fix it again. More sanding in the coming days and then spraying a bunch of panel's backsides flat white, then front sides their first coat of Rust-Oleum Gloss White.1 point
-
Great work, coming along nicely1 point
-
A little progress. Testfitted the upper armor to my mannequin. Looks a little strange to me. But it's just a test. In the last days I just made minor work to the armor. That's today's work. The biceps got some strengthening from the inside, the tighs as well. The forearms just need the coverstrips, which I still have to sand and paint.1 point
-
That should do it, but some polish may be needed as well.1 point
-
Welcome aboard, Pepper. I’d be interested to learn more about this Mighty Tank armour maker. Can’t find anything about them/him/her online. Is there a specific reason you’ve chosen this maker, pepper? :-) Dan1 point
-
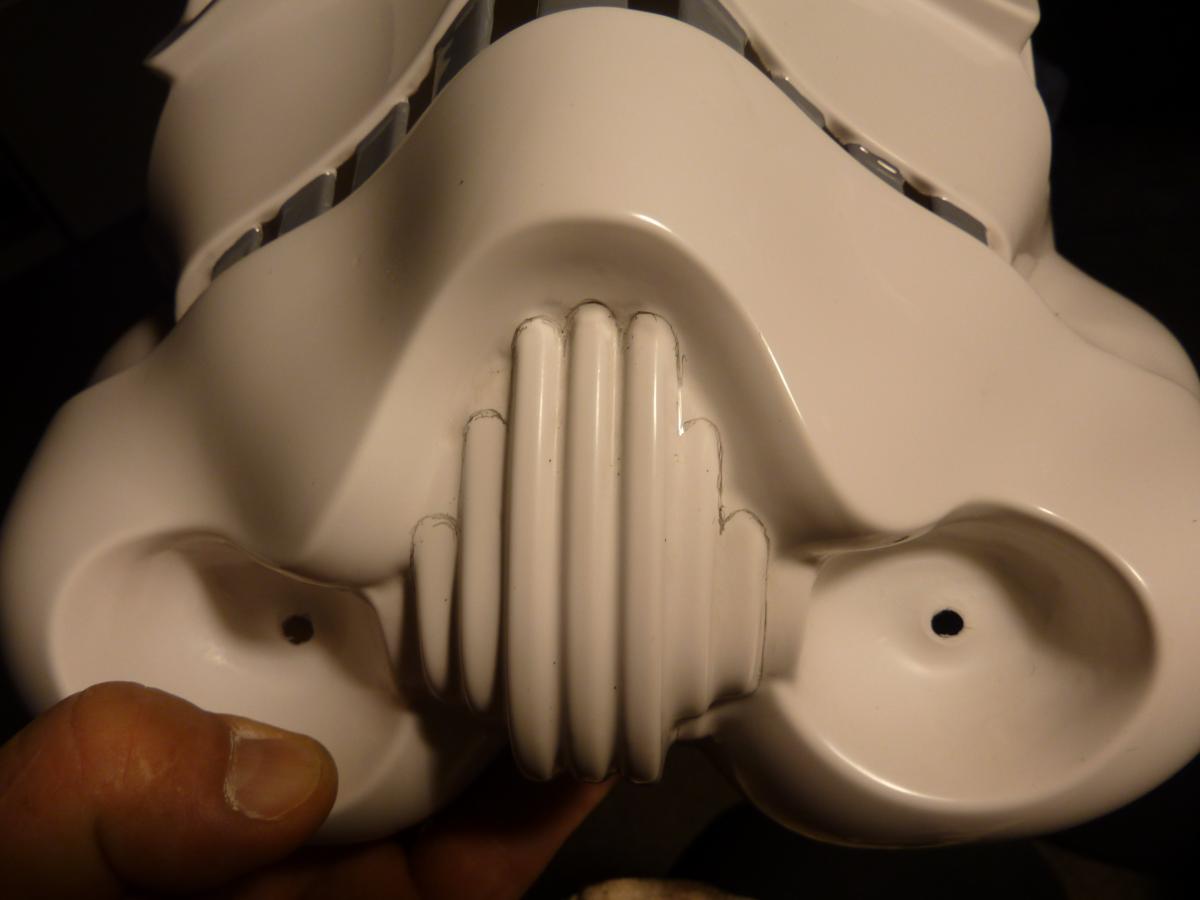
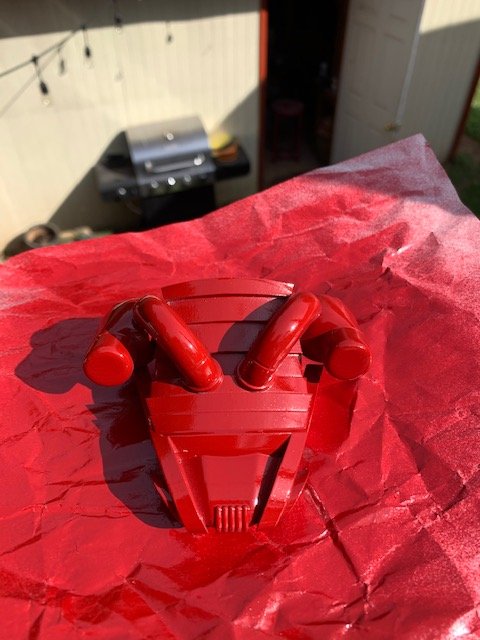
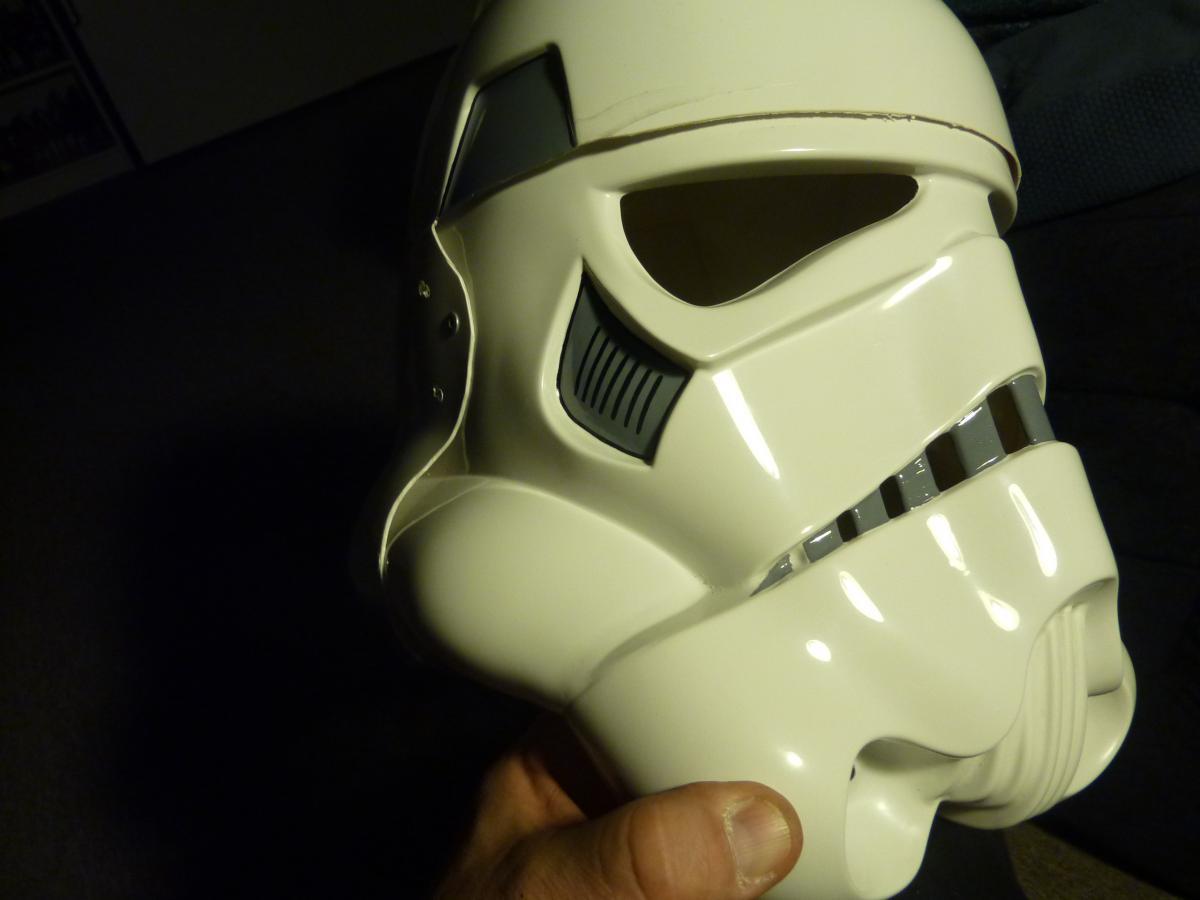
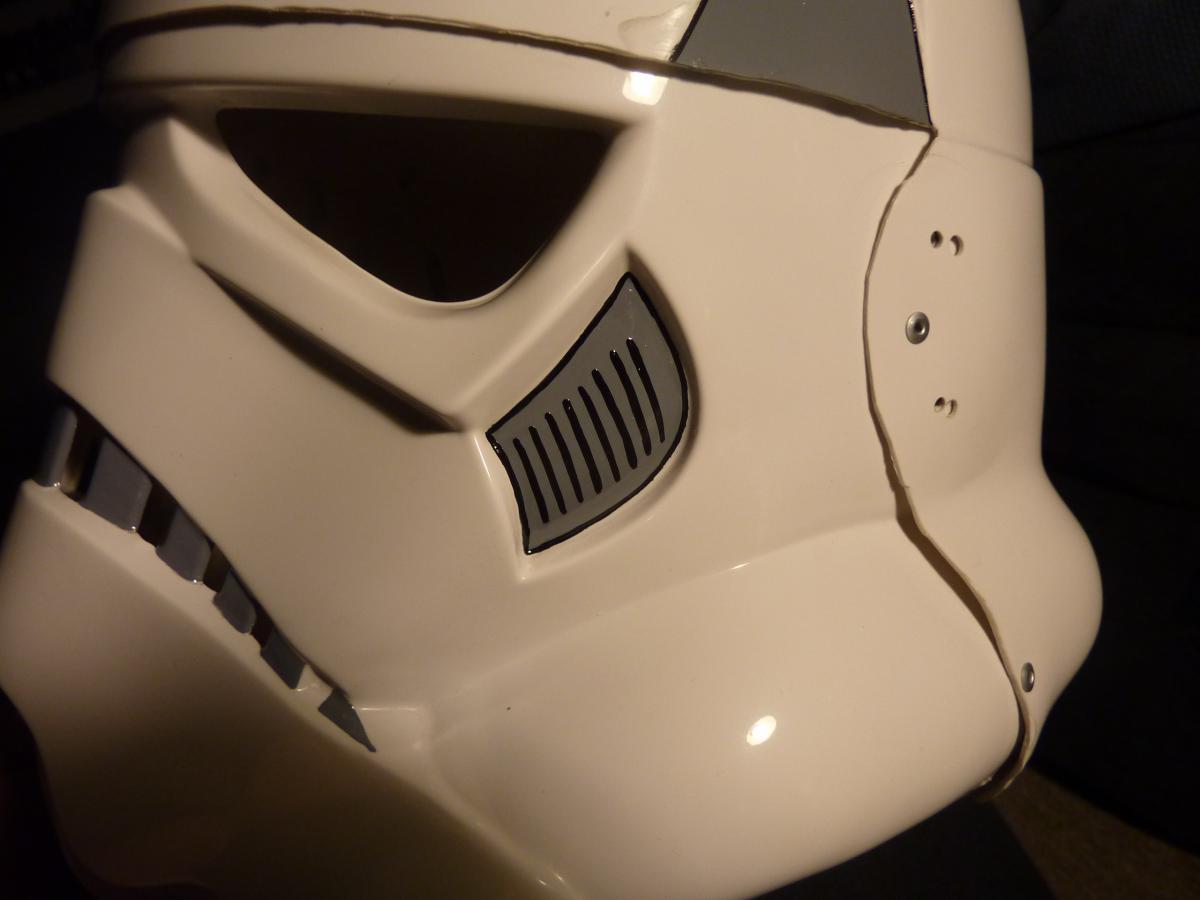
One side done. Cheek vents look much better!1 point
-
I didn't realize that I stopped updating this build log as I pushed for membership. From the last picture I see the old lock for shins which just did not hold because of the tension and force pulling glued stips off. So I switched to a slot lock much like the ab/kidney. I put double hooks on right shin and a single hook on the left as an experiment. This proved that making the two hooks was harder to stay glued down but holds the shin more firmly with less shifting. Both work so have not replaced the single with the double design yet. Also it appears I never shared the right side slot lock of the ab/kidney which was much simpler not having to work around the rivets.1 point
-
Time for the CableGuy montage. ;-) CableGuy Builds: Troopermaster completed montage1 point
-
I think I'm close to finished. (Please ignore the crotch strap in one photo!) Have moved the shoulder bell straps forward to stop the bells rotating back, raised the belt, got a holster from Darman which is great, fitted blowers in the helmet, painted screws and buttons, and added elastic to pull down the shins. Having read advice on here, I've also got a Plano box to transport everything but the helmet. Hopefully now ready for LFCC next weekend. Will it hold together for Cadet Eds first outing.... possibly.1 point
-
Haven’t gotten too much in terms of work done on the armor as of late.. besides filling the seams on the biceps, and ab/back pieces. That JB Weld PlasticWeld stuff is pretty darn sweet. You squish it together to mix the two parts and it’s basically a play-doh type material. I rolled it into thin pieces and pushed it into the seams. Cure time is 3 hours but I waited a day or two and then sanded it down. It sands just like bondo does. In the realm of parts and pieces, I did happen to receive what I believe to be the last set of uncut rubber gaskets this side of the Outer Rim. All thanks to a man that honors the fact I called dibs on them when he was thinking of letting them go! Now Centurion is definitely within reach! And last but not least, Mrs. Teresa (who has been a complete delight to work with) is sending out my harness, seal, and fabric gasket sets. Sent from my iPhone using The Force1 point
-
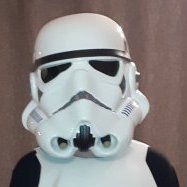
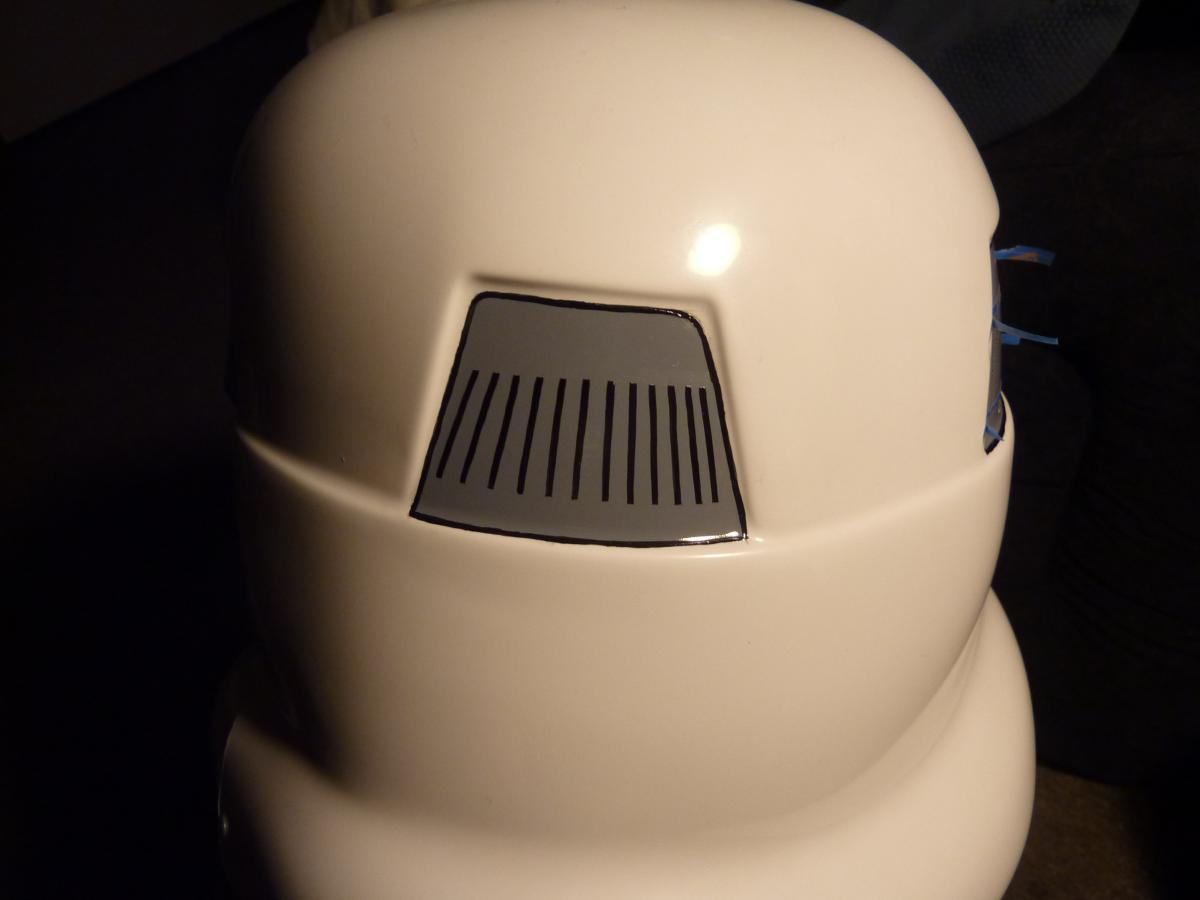
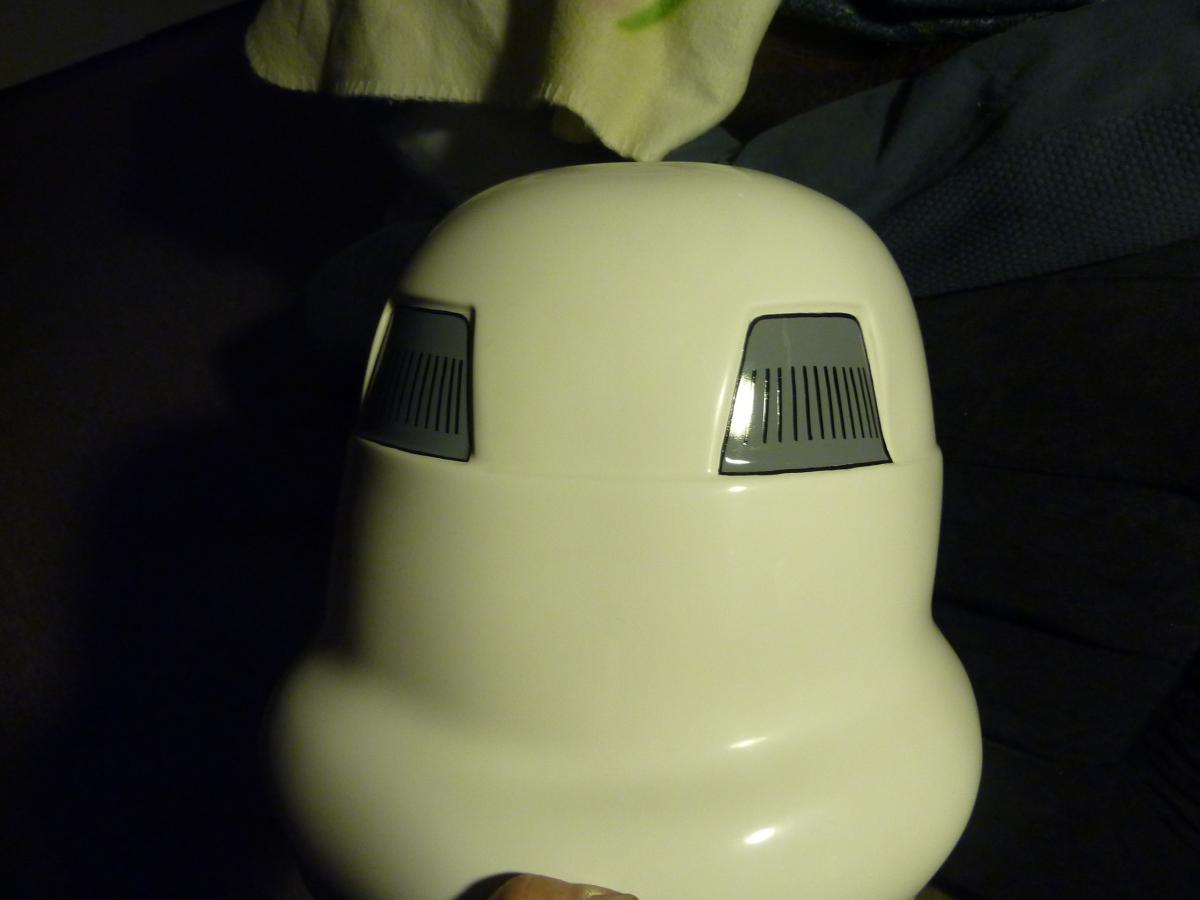
Sorry for the delay guys. Here are the final shots of the helmet rebuild:Vent striping continued. I used Trooperbays templates to mark out where the vent lines should go. A couple masking strips on the top and bottom assured the stripes would be flat on the top and bottom. The tear stripes were freehanded. as was the vocoder area
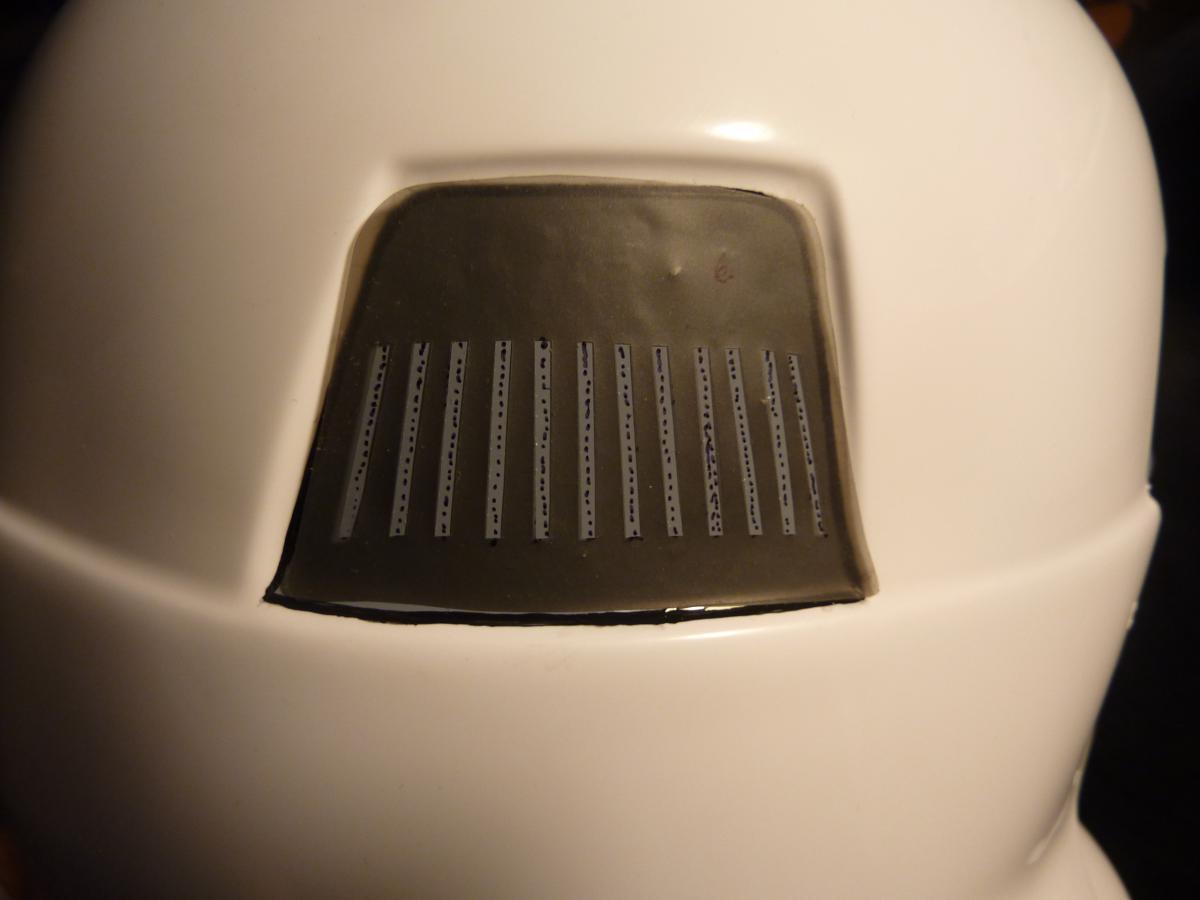
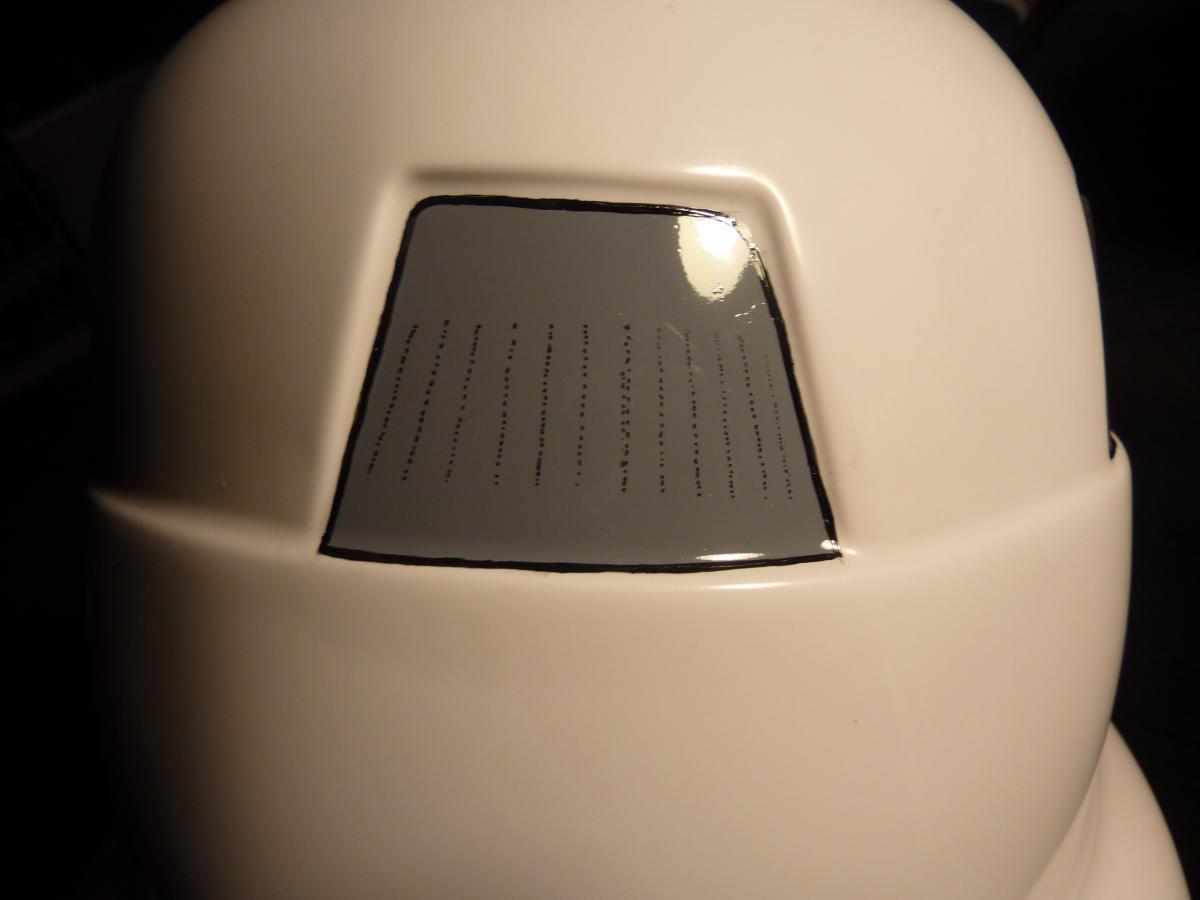
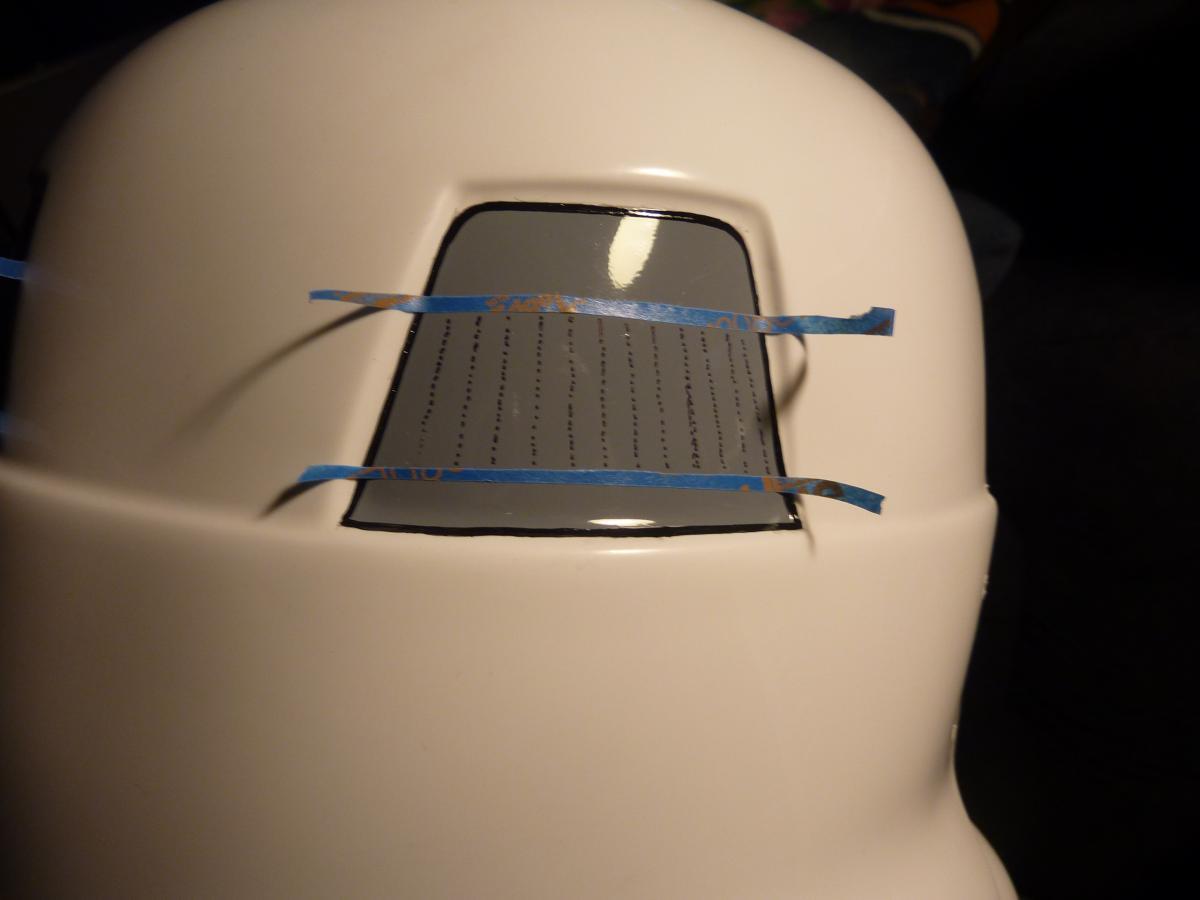
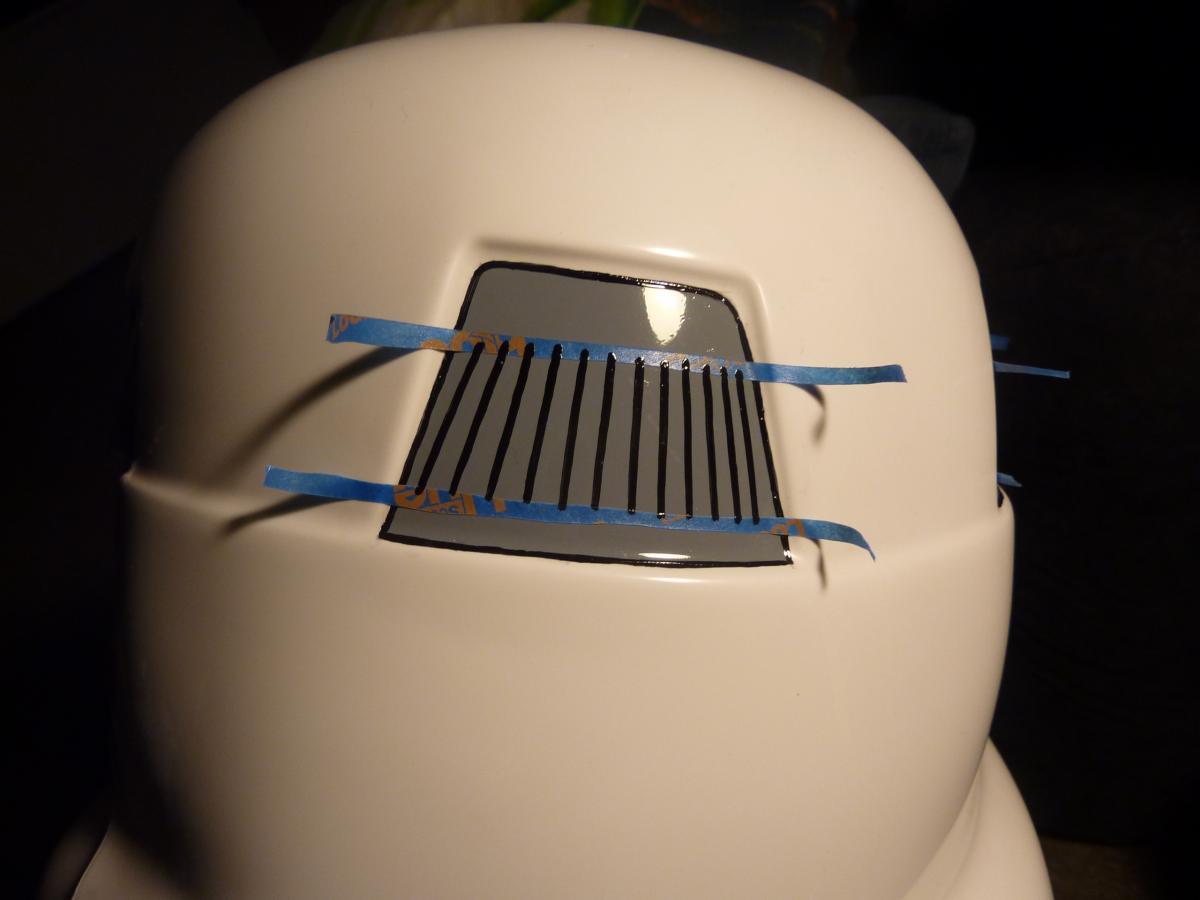


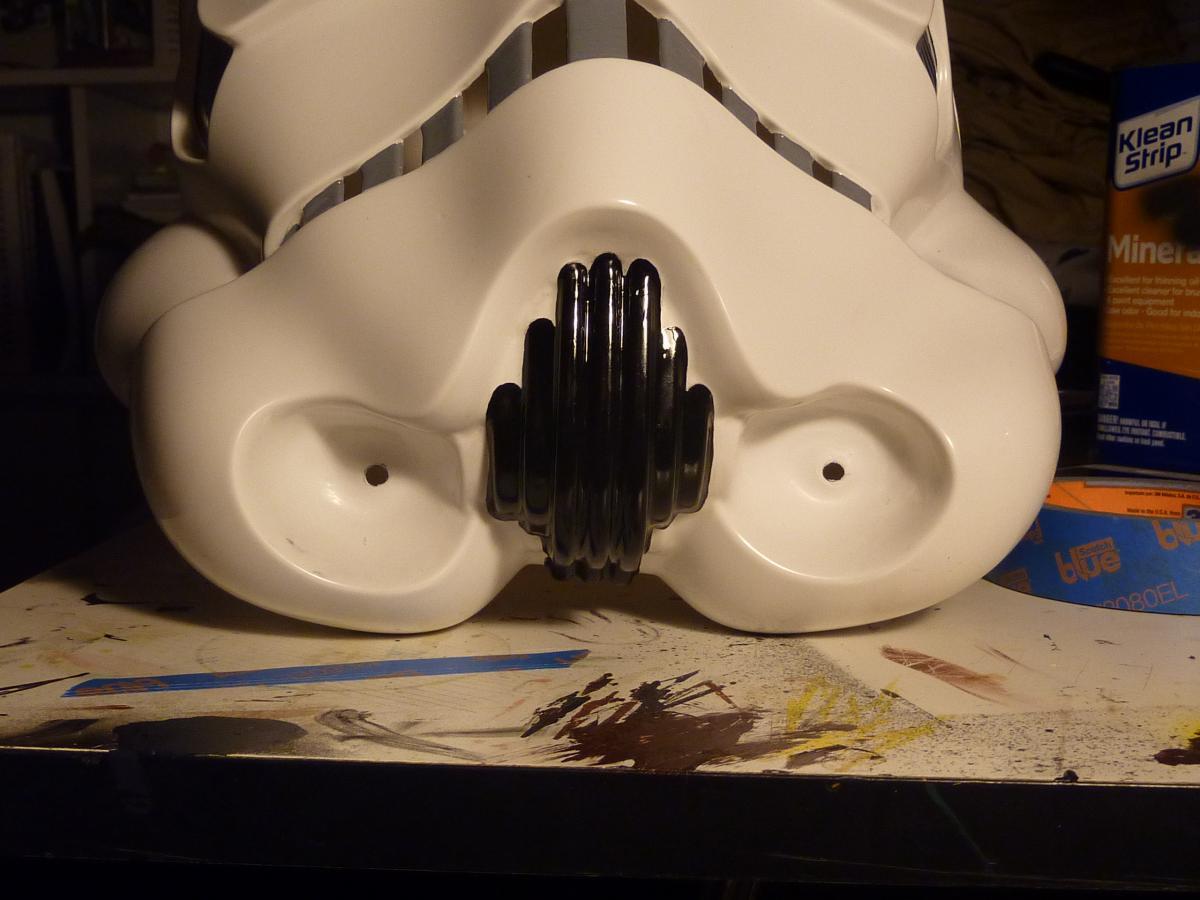 1 point
 -
Looks like a great start!1 point