gmrhodes13
-
Posts
31,206 -
Joined
-
Last visited
-
Days Won
1,069
Content Type
Profiles
Forums
Gallery
Articles
Everything posted by gmrhodes13
-
I normally use doubled over elastic and take off 5mm from the desired width. Using nylon will stop it coming apart but the down side is try to get it closed as you won't have any give, still it's worth a try
-
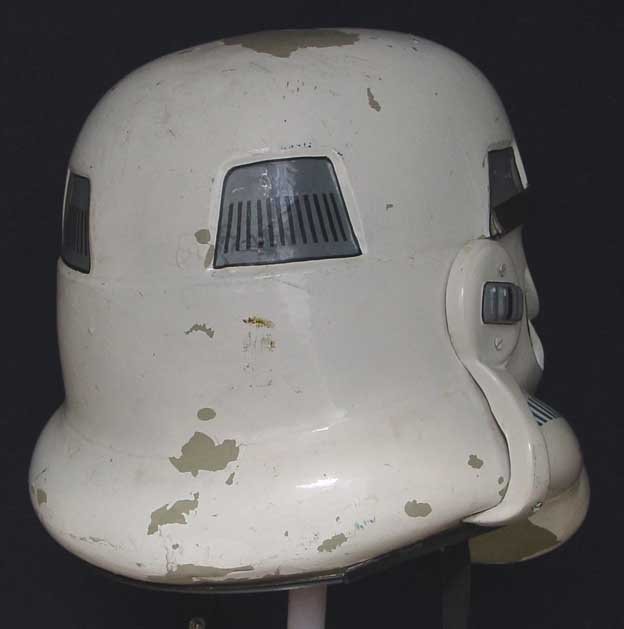
They have to appear hand painted, so not quite perfect. Tears/traps shall be hand painted or use decals that emulate hand painted (with correct ANH TK details). With the tube stripes make sure you add the correct lean of the first tube stripe, it falls from the top You can find some great references over at star wars helmets http://www.starwarshelmets.com/original-ANH-Stunt-Stormtrooper-armor-helmets.htm
-
Hello and welcome back sounds like you have been busy. ATA's molds had been purchased by another member some time ago and that's as much info we have had unfortunately. Can you post a photo of what is wrong with your other ab piece, we may be able to give you some helpful feedback, I went to you build thread but it's 21 pages long and I'm not searching all of that
-
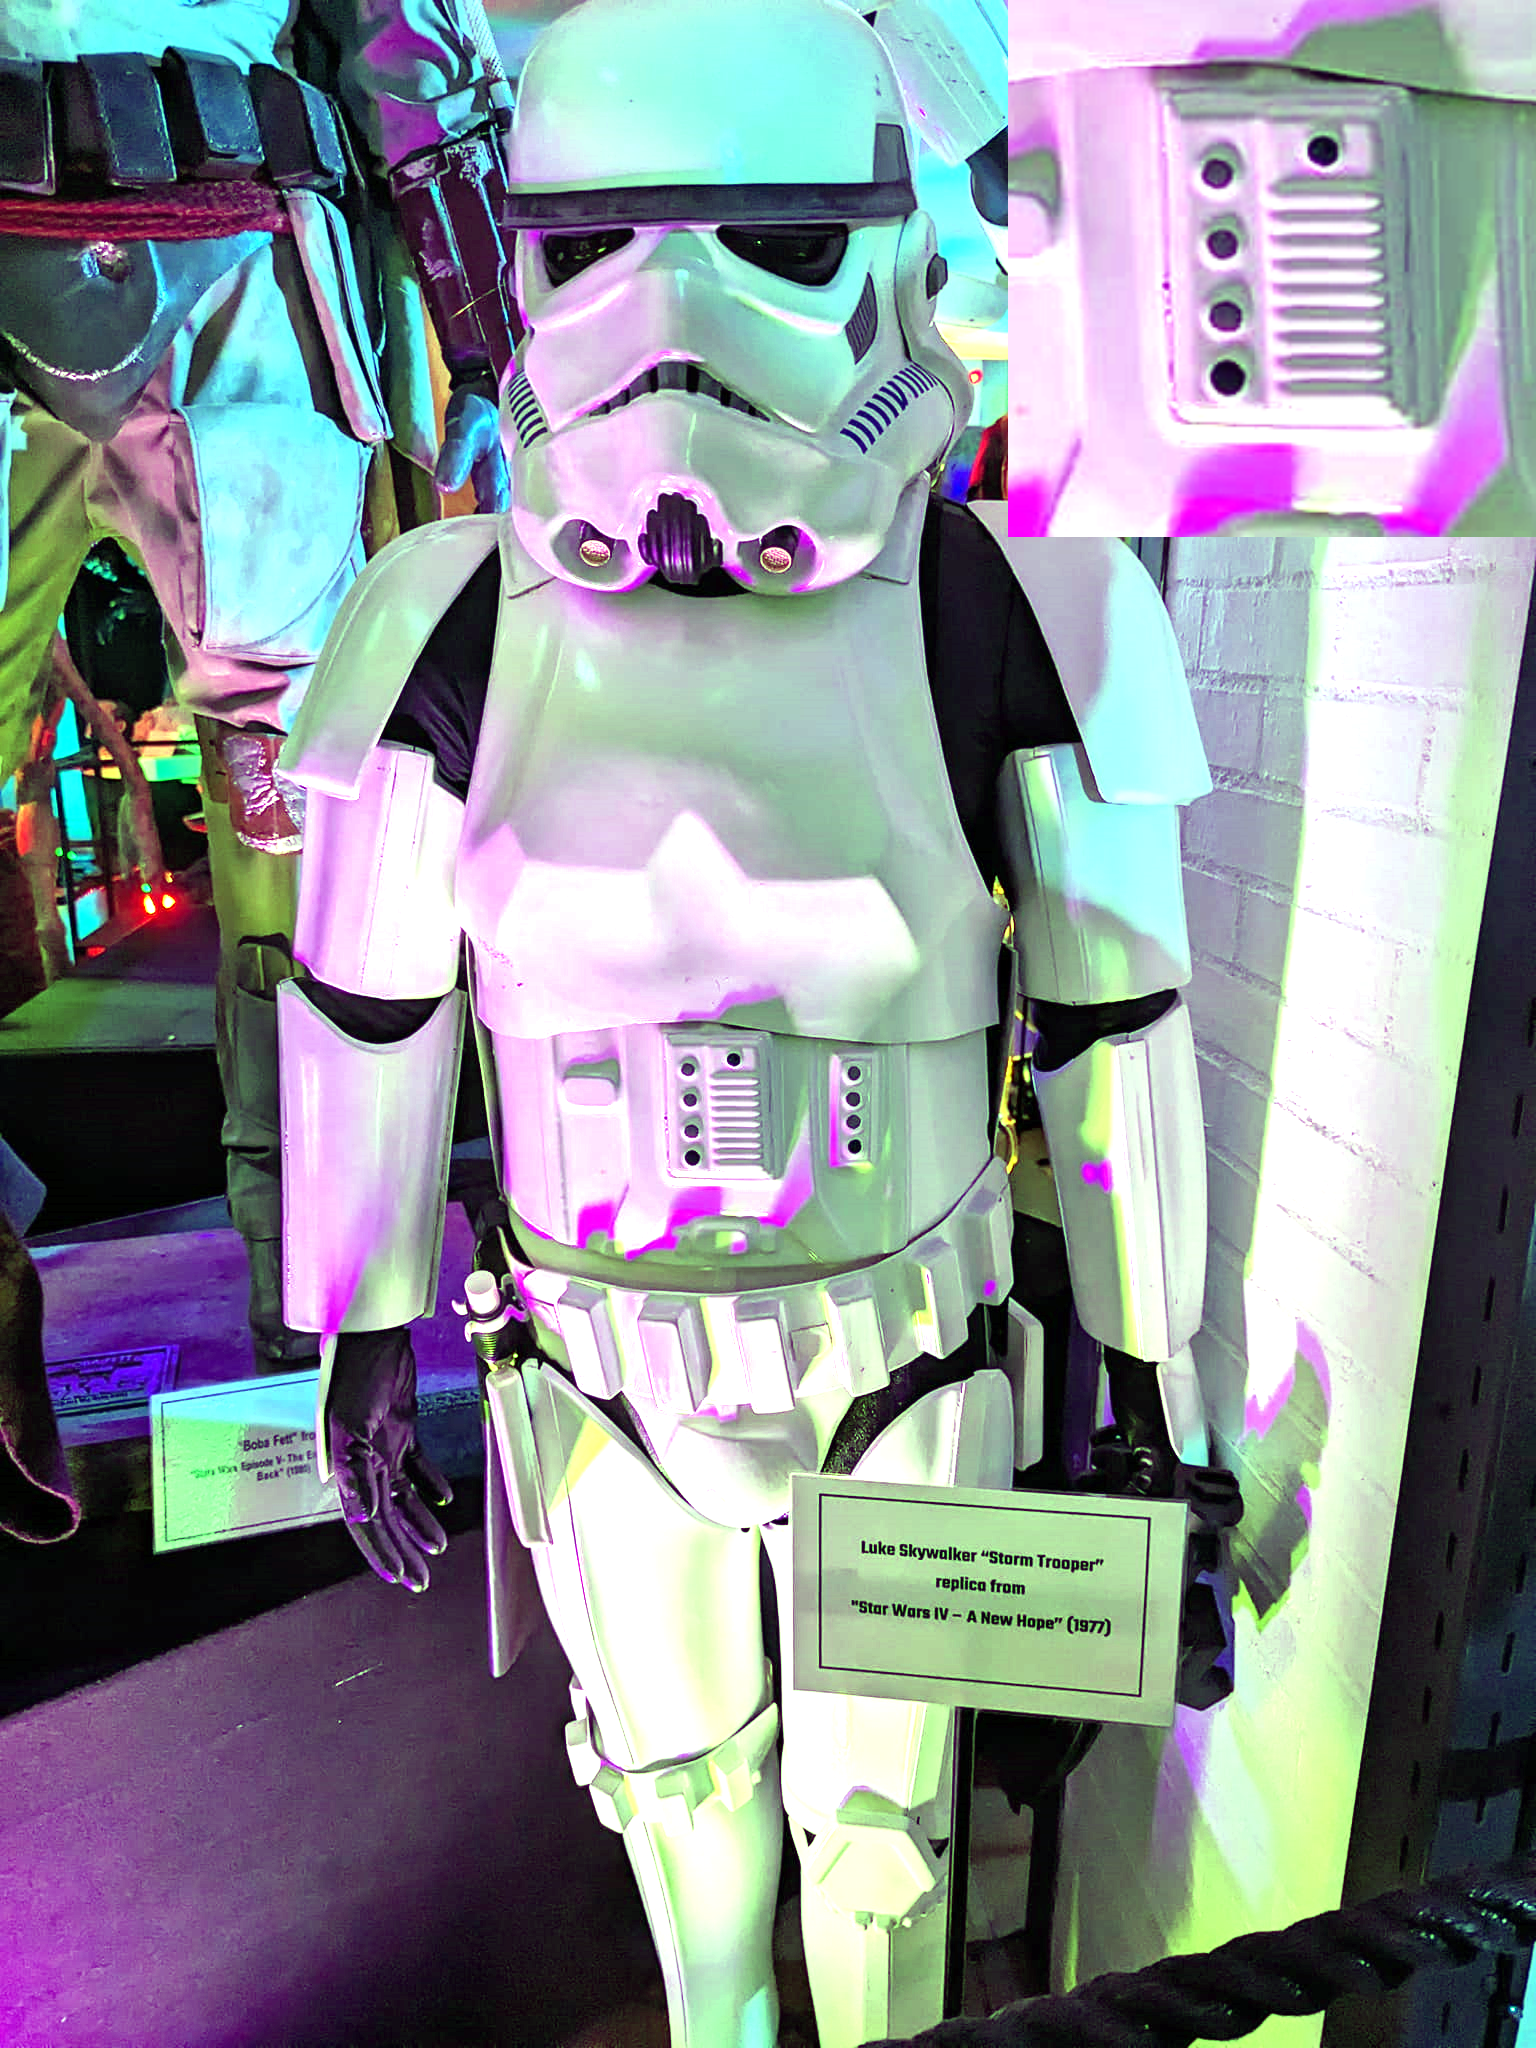
I'm very confident it's not a suit from back in 1977, too many things on the suit which doesn't align with screen used armor. No curve on the shoulder bells. Communicator is on the wrong side. The list goes on. Anyway no matter who made it they didn't do a very good job on the large abdomen

-
In this image it looked like the angled corners didn't meet the outer edge of the fabric belt, if they do they are fine
-

New TK build - RS Props (TI-97531)
gmrhodes13 replied to RippTiger's topic in Tutorials, Tips and HOWTOs
You can also trim the ends of the cover strips which are also over hanging, and cutting on an angle is fine
-
New TK build - RS Props (TI-97531)
gmrhodes13 replied to RippTiger's topic in Tutorials, Tips and HOWTOs
If you add the "direct link" option your images should show in your post You may want to remove any overhang, it can catch Info here on adding images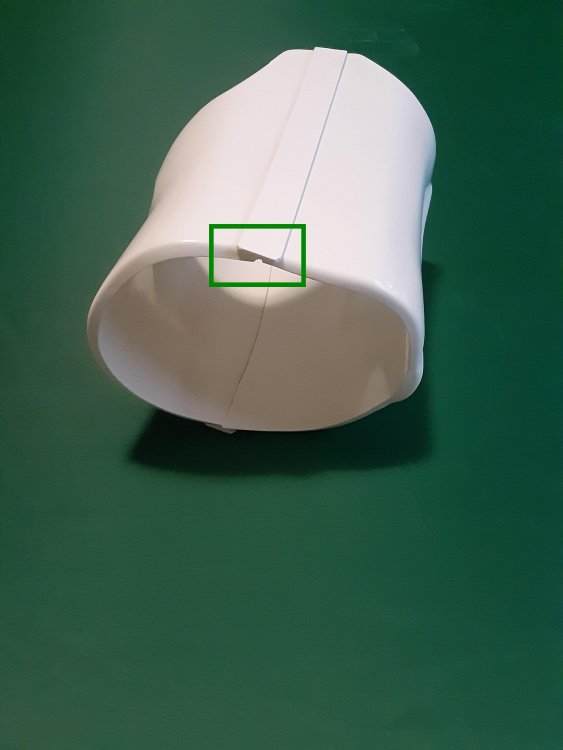
-
There has be several sets of armor from 501st members who appeared on The Mandalorian which have been actioned and this could be one of those. It's a grey area, although they were "screen used" armor they weren't actually made specifically for the show, it's a case of buyer beware.
-
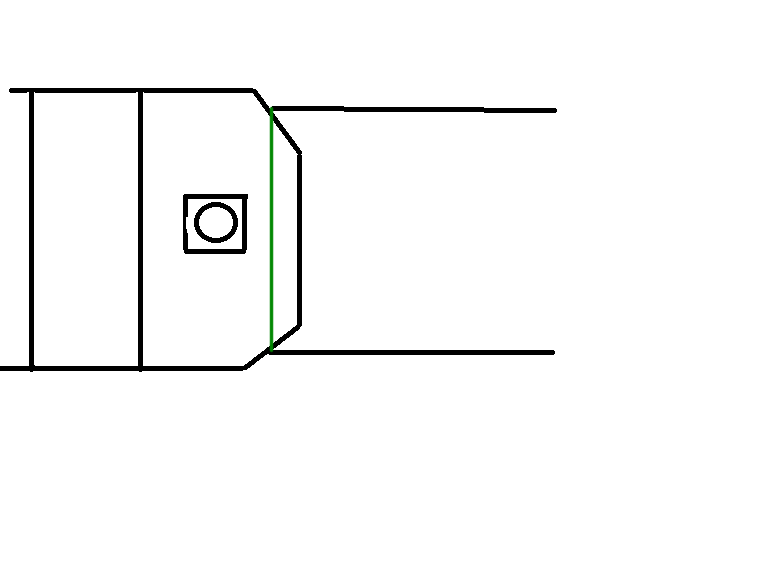
Just check: The corners of the plastic ammo belt shall be trimmed at a 45 degree angle that that meets the outer edge of the cloth belt
-
Trim marks look fine. Buttons paint just above the base of the plate Ab button paint shall not extend beyond the bottom of the actual raised button.
-
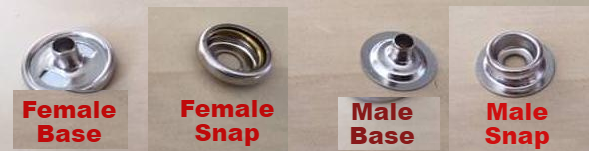
Snaps are not matched, image corrected Tandy Line 24(5/8") snaps are what are normally used BUT there are other brands out there, try to match your brand and not a different as they can be slightly different in size and will either not hold well or are too tight. If you can't find the same brand think about replacing them all as it will save you time in the long run.
-
Depends on what glue has been used, if it's E6000 you should be able to lift a corner and pry them off. If it's more permanent glue you wont be able to remove the button covers. In that case I would make snap plates and glue on the back of the plastic setion. You should be able to bring up your thighs too How I make mine
-
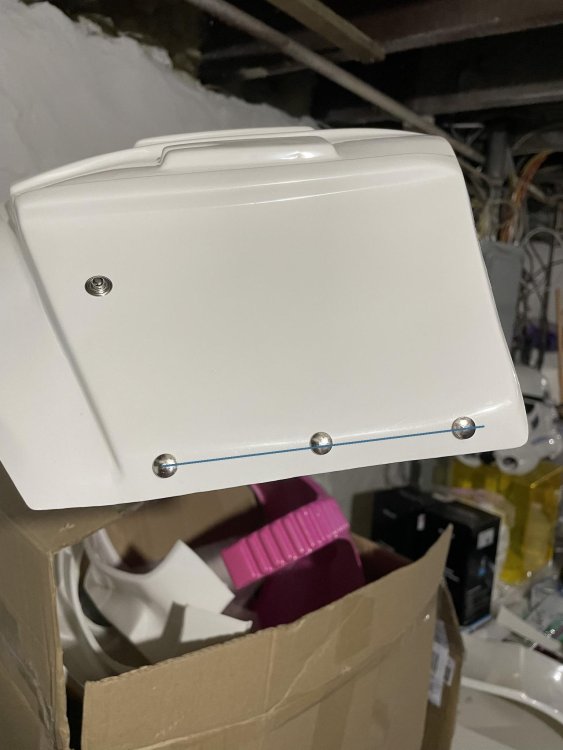
You should still be able to add sugru Adding a washer can help tighten them, some legs are a little longer than others so check it is split all the way. Just check the alignment of these, middle one looks a little off on the photo, you may be able to oval the holes just a little to move over
-
Red can stain armor quite badly and is tough to remove, you could try automotive polish or buffing compound which is a little coarser. You may find this helpful If no luck you could try wet sanding with very fine sandpaper
-
This may be of help deciding which version you are building. https://drive.google.com/file/d/10tEVteIreh6AHMogW010cuH_Bf8TBfU6/view Note with a few additional pieces you could swap between different versions
-
I use snaps on both the plastic to canvas and canvas to abdomen, some use a combination of snaps and rivets or velcro. I also use both snaps on the outside as well as the center, stops the belt from drooping. Does not matter what way you attach. Rough position. CRL L3: The corners of the plastic ammo belt shall be trimmed at a 45 degree angle that that meets the outer edge of the cloth belt. The top of the ABS ammo belt should sit at or just above the bottom of the central and vertical abdomen button panels. Canvas belt must be firm / sturdy in appearance. No creasing or sagging Bending your belt will also help it not to spring off when you move Also make sure your drop boxes align with the end of the plastic belt section Drop boxes are vertically aligned with the end of the ammo belt with minimal gap between belt and box.
-
Very nice work, thanks for sharing
-
If you know anybody that sews there was a template and cape build here You could also check the Phasma facebook group page.
-
Please read the first post, you need a link to your legion membership profile
-
Looks great, the only issue I can see is the closure strap is a little wider compared to the screen references Much improved on the puffy look pauldrons
-
A few approved RS centurion application references for you
-
These brackets are also on the back plate to kidney. Adjustable spanner and screwdriver
-
You have to remove the brackets to separate the chest to the abdomen, same on the back
-
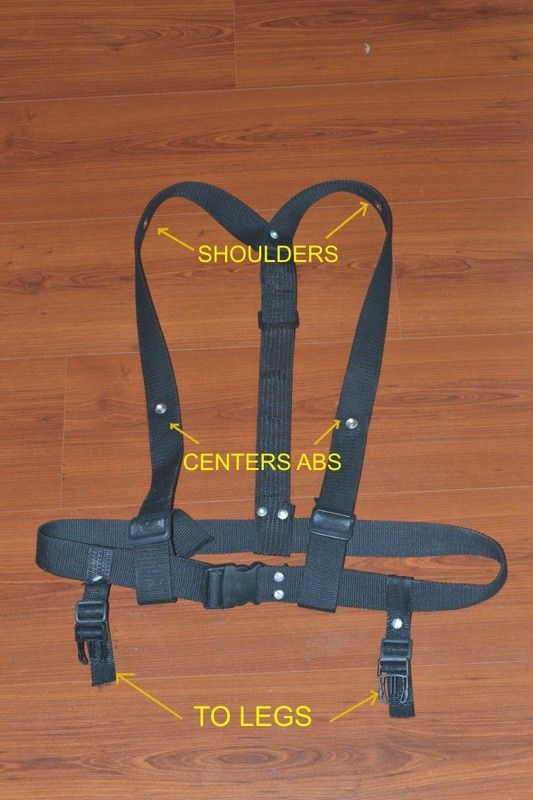
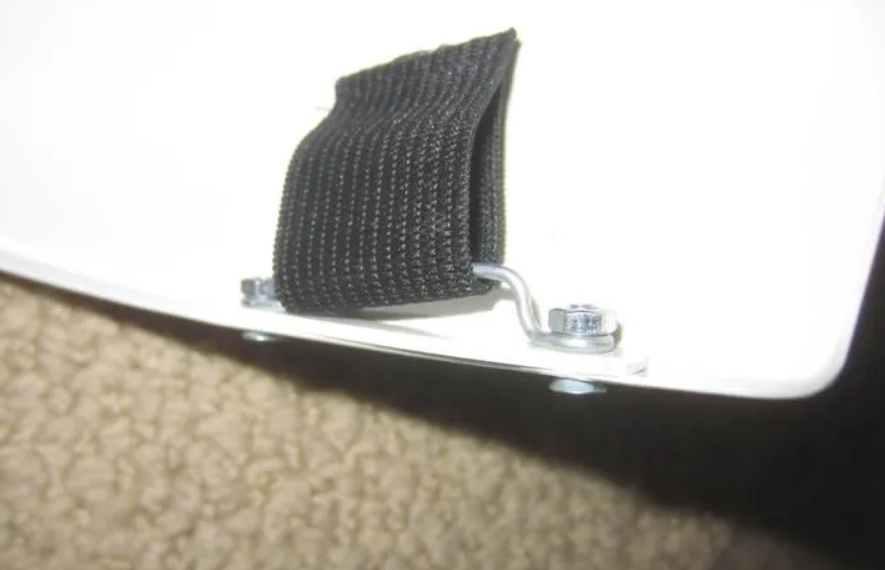
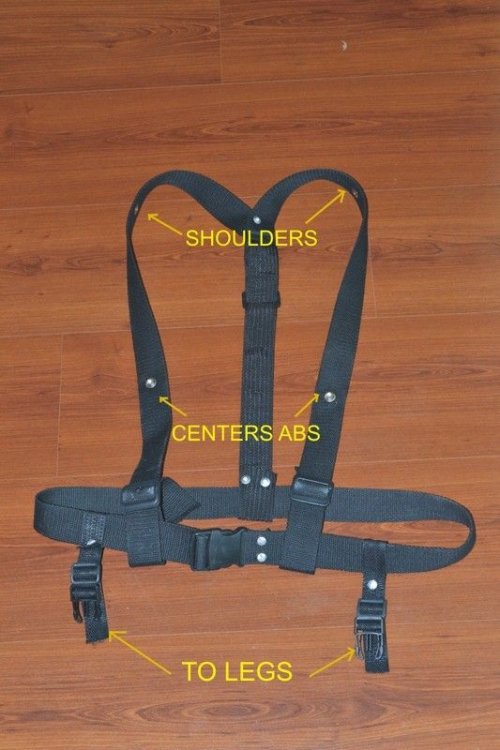
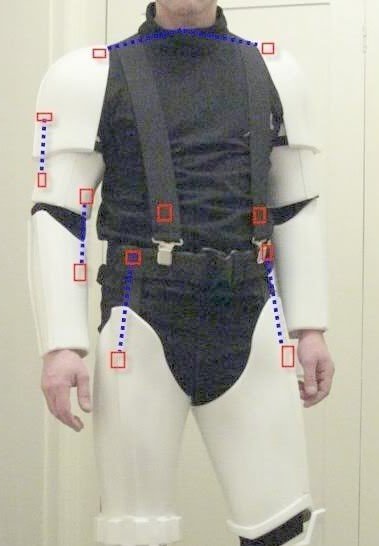
Braces can help bring the belt up, I use nylon not elastic braces too as the elastic ones stretch quite a lot. This is for a FOTK but similar
-
Was not part of the original discussion as I only noticed it yesterday reading the CRL. Continuing discussion in this thread as requested