Leaderboard


.thumb.png.69856e02550a2e6d07e44a2b1bda020c.png)
Popular Content
Showing content with the highest reputation on 05/06/2022 in all areas
-
Clear coat application… Transporting home from the spray booth. I let it set up for about 24 hours. …all laid out in the garage to finish curing. I did purchase some Novus polish to perhaps make the sheen more uniform.4 points
-
Oh sorry don't take it the wrong way haha, you're encouragement is what gets me to perfect this. The more and more I looked at it I was like, yeah they're wrong [emoji23][emoji23] Stay tuned for next week's post when I notice something else and go back and redo haha Sent from my SM-G991B using Tapatalk2 points
-
JUUUUUUUUUST as I thought I could live with how it was for now, Dan had told me the ears were wrong. As much as I tried to figt the sleepless nights with nightmares of the ears, I sucumbed to redoing them. I also remade the faceplate mould as it was just a little too thin vertically. My solution for this was to recast the mould in bondo and while its still warm and soft push the sides out. This worked ok but it cracked from the force, no big deal, just needed a little more reshaping. As you can see below the finished result looks much more full. And for the ears. I totaly forgot to add the concavity on the sides, I remade the 4 bars and also shortened the length. I might play around with how the scoop transitions into the circle but these are much better already. Sorry for chrome pics, working on a sandy that Ill show off but this at least gives you an idea for the new shapes. What you think?2 points
-
Using heat does take some practice, I use different pieces of wood, some curved some flat, when you heat an area you can use a piece of wood either side to hold it and move it around to keep the plastic from deforming. Having thin arms I had to add a few pieces of foam to the insides to help keep them in position, not the biceps, once you have strapping attached they all sit nicely and don't move around. I also did heat the round forearm and carefully applied some pressure to help make it a little more oval, ATA's are pretty large and I wanted to have them appear roughly the same. You also don't need a return edge on your thighs. Just in case you haven't seen this thread2 points
-
Thanks for the warm welcome! I just posted my build thread over here: That was indeed helpful and probably saved me some time to look up how to post images. Thanks!2 points
-
I dug around for how I want to dye the belt, and for the moment I decided I’m going to hold off! to many variables to go wrong… so I’m going to use Chicago screws to hold everything on it. That way I don’t have to worry about dealing with glue later when I finally do decide to tackle this. I moved on to cleaning up the bucket for now! the eyes where just horribly trimmed. (Don’t care if some film used where just as bad!) left sill needs cleanup, but the right is cleaned up. I can live with these now. I am also going to paint the inside with black truck bed liner spray, so time for some masking. plugged the holes from the inside and then the eyes from both sides to make sure nothing gets on the outside. and used heavy plastic for the outside2 points
-
Okay, I have a confession to make. I'm in way over my head, but it's fun. [emoji3] My BBB from RS Propmasters arrived last week, and I couldn't be happier with the quality. I love all the bumps and irregularities of the original parts, and I honestly hope I don't screw this up. Getting into this hobby as a total newbie can be intimidating, but thanks to all of you guys (And the video tutorials that Rob from RS provided) I was able to collect enough info to start working on my armor. I'll take it step by step... Biceps and Forearms Those are the pieces that most people seem to start with. Cutting the biceps to fit me was relatively easy. I'm in no way shaped like a stuntman from the 70's (I'm 6'1" and 209 pounds), so everything has to be slightly wider and larger than what is considered "screen accurate". Luckily the parts that RS supplied have enough material on the sides, so I can work with that without having to shim anything (The kidney being the only exception). I also taped the forearms together. I noticed that the large opening of the right forearm seems to be a bit more oval, whereas the left one is more rounded. This results in the left forearm being a bit more loose than the right one. I think I read that this is considered screen accurate? Is there a rule as to how tight or loose certain parts have to sit? Right now my arm pieces can slide around quite a bit - I know that this is probably going to be no problem once the strapping is attached, but I can't bring myself to apply any cover strips before showing you a few pictures. [emoji6] Does this look okay to you? Now to my first screw-up... As you can see, I failed to observe the most important rule of crafting: Measure twice, cut once. The first version of the right forearm was too tight, but I had already removed too much material, so I decided to introduce a wedge-like gap to make up for it... It's narrow enough to be covered up by the cover strip, but I will probably have to shim it from the inside. Is this an issue when it comes to approvals? This way it seems to fit me quite nicely. The right Thigh - My Nemesis! Okay, now to my second screw-up. I thought my work on the right thigh was going well. Once again I had to build it with my own size in mind, which turned out to be no problem at all. The prototype fits me well, and I'm confident that it is just "thight" (hehe) enough without being uncomfortable. Sounds good, right? The problem with making the thigh larger is, that there is a very noticable "bump" on the back of the thigh. Maybe you know the little "flatted" area at the back that is there to but the strip on? In my case it was a good two inches towards the right side of my cut, so I could not use it as a base for the cover strip. This made the "flatted" area stand out like a sore thumb, and from the side it looked like an ugly bump that didn't seem to show up on the screen-used costumes (probably because they were cut differently). So what did I do? The most idiotic thing possible, of course. I took my heat-gun and carefully heated the bump and tried to push it in. The result is an ugly patch of dents that you can see in the next photo. Of course it didn't flatten out completely, and I feel that I have made it worse? Is this going to be an issue for centurion approval, should I ever go down that route? Maybe some ABS paste and sandpaper can help to smooth it out? (Disclaimer: The light in the photo makes it look much worse than it does in regular daylight) I also decided to cut off some material of the top of the thigh, to make the curves look a bit more like what I've seen on screen. I think this is not so big of a deal, but now I'm missing two inches of return-edge at the back of the thigh. Apart from the ugly bumps in the back, I'm happy with the look. I hope I didn't ruin it. That's it! My first post in this build thread. Mistakes were made, lessons were learned. I'll be back with more soon... More mistakes, probably. [emoji3] Cheers, Bantha Hunter1 point
-
Hey guys! My big brown box from RS propmasters arrived last week, and I thought this would be a great moment to introduce myself. I can’t wait to share my (hopefully not too wonky) build with all of you! Cheers and greetings from Germany, Lukas1 point
-
I couldn't help but spot a muddy Anthology trooper...1 point
-
Hello and welcome aboard Lukas!!!1 point
-
Congrats and welcome! Lots of information and support available here if you need it, just reach out.1 point
-
Congrats trooper!1 point
-
Is this program still active? No awards since 2020... If so, I'd like highlight @trooper96 for the work put into his L2A1 Sterling design since his last award, as well as continuing work on his M38 scope, perhaps consolidating his previous silvers to a well-earned gold award? *Just re-read and noticed Gold is usually given after 5 Silver awards, but he's well on his way and deserving of another... something, I'd say! I'd also like to highlight @BigJasoni , perhaps for a silver award, for his work on the Rogue One ammo belt boxes! I don't know if that's how this works, but I'm happy to see people continuing to develop, submit, and support excellent 3D designs, and hope this program encourages people to continue to make great files available to the FISD family!1 point
-
That is just sad :)) Guess I'll have to try imgur...1 point
-
Nothing beats a BBB on the door steps. Congratulations!1 point
-
Helmet done! (Except for the lenses) And on me: Maybe not perfect, but it looks good to me. Next up is finishing the backpack and the shoulder bridges.1 point
-
Render. I hope these new posts aren't spammy.1 point
-
Congrats. Looking forward to your build1 point
-
Can't do it from Google Drive, but you can do it from Google Photos. As posted above, all those are just links from gp Just copy & paste the image url in the post, and the forum auto-adds the bb code to make it a photo. Will use this system going forward.1 point
-
I’m very excited to share this post! Applied the final paint and clear coat on Star Wars day…1 point
-
I updated the belly plate and added v2 belt+boxes in separated plus pre-attached versions https://www.thingiverse.com/jaztermareal/designs
 1 point
 -
Well, well, well... how the turntables... from making memes about everyone else, here's a few about myself. Once again a reminder that this is not "Morgi's Memes" and everyone is welcome to join the fun1 point
-
Welcome in Brother!!!1 point
-
Firstly, please let me know if I've forgotten someone, I've only ever known Andrew as the DL and couldn't manage to find a comprehensive list whilst researching this meme. If there's anyone I should add, I will do so as soon as possible EDIT: thank you, Caleb, for providing me a complete list! Secondly, thank you all for all of your work, time and effort keeping this Detachment going. I can't tell you how much I appreciate it1 point
-
Honestly, I'm sure it's not just me, who's insanely grateful to everybody who's ever put up a tutorial1 point
-
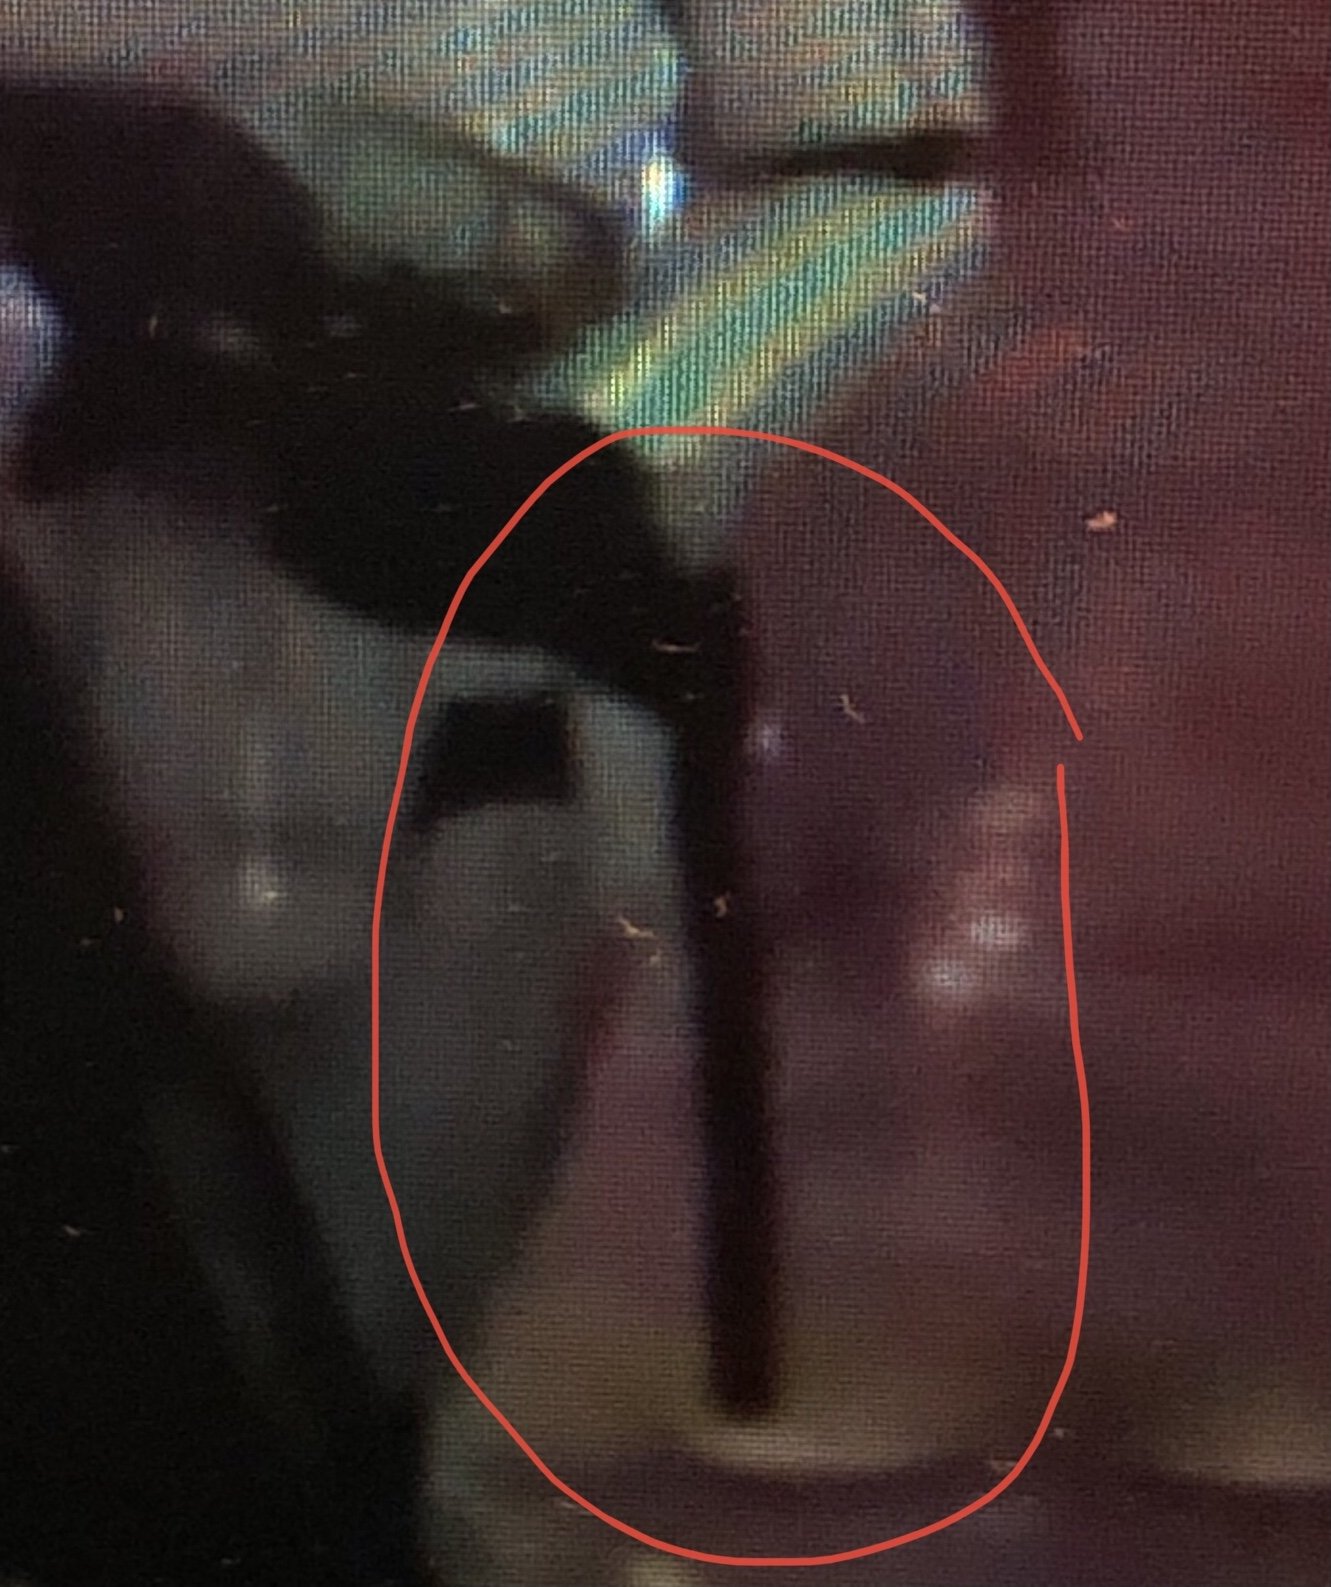
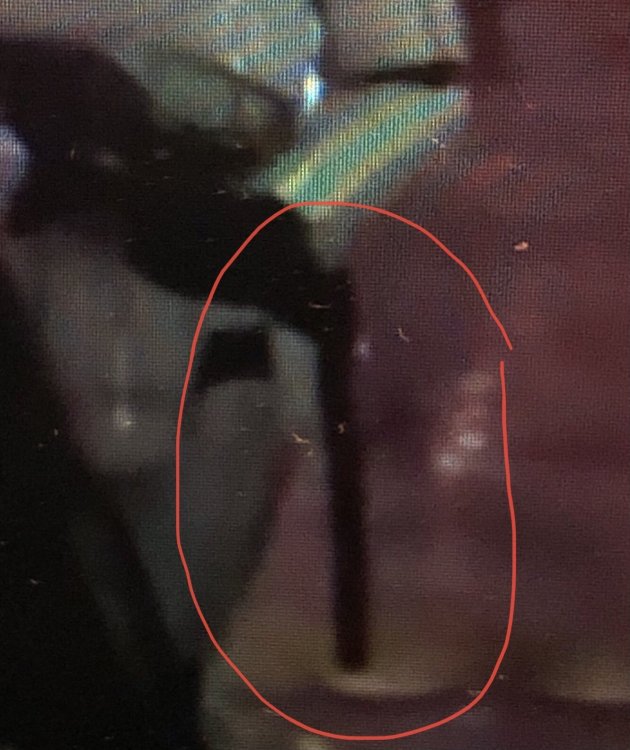
Also, either they have holsters now, or the riot baton from R1 and Battlefront II has returned...
 1 point