Leaderboard


Popular Content
Showing content with the highest reputation on 07/11/2021 in all areas
-
Hi Chemi, This is really great. Thanks for providing such detailed feedback. I’ll start with the easy fixes first Thanks, Tim3 points
-
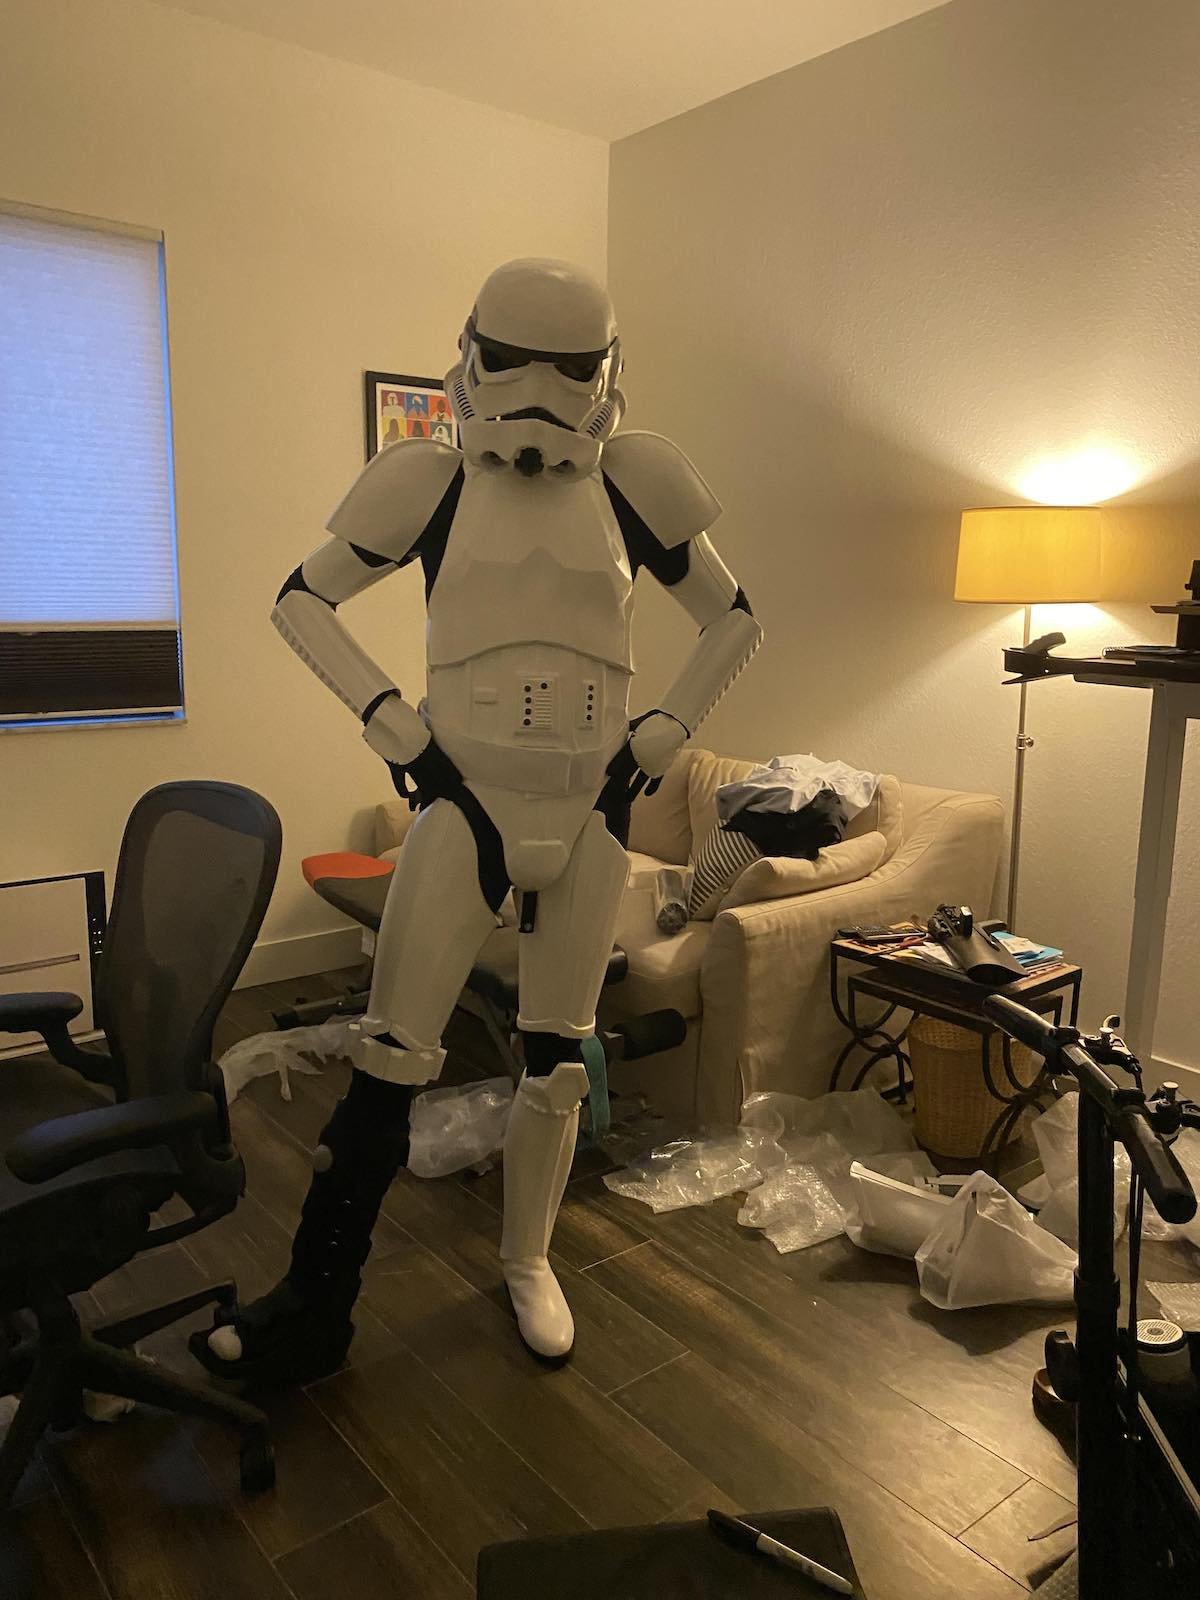
1 years, 2 months, 7 days later I hosted an armor party and made some progress! Shout out to #DevastatorSquad!
 3 points
 -
Hello everyone, I received my BBB a couple weeks ago. I am working on an AM 4.5 TK build. I have been lurking the past couple weeks and reading everything I can on here. In some ways its very intimidating because I worry about making a bad cut! I have worked with EVA foam for cosplay. and when I mess up, I can just build a new piece. For this armor, I am being overly slow and cautious before I do any trimming. I am from the Orlando area, and this is something I have wanted to build for many years, but just could not find the money or time previously. Having my TK armor and joining the 501st is really a bucket list item for me! This has been a dream for over 40 years, so I am very excited to start getting into this! I have gained so much knowledge just from reading these forums already, that I want to thank everyone who has shared tips from their experiences because it is very helpful!2 points
-
Went to armor party yesterday got to do my first test fitting. My other arm shoulder bell to shoulder strap was too tight so would pull and un snap so I have to make it a little longer. I would also like to lower the cod/ab piece just a little more. Trim my neck line in a little more also.2 points
-
Hi Tim, and thank you for your EIB application! CRL and EIB Application Requirements: All required photos have been submitted, and on behalf of the entire D.O. staff we are pleased to welcome you to the rank of Expert Infantry. Congratulations! Other-Armor Fit/Assembly; In this area we review observations made by your fellow troopers and the DO team. Some observations may lead to suggestions to improve the overall look of your armour. Note that we consider both text (CRL) and pictures (screen caps/reference images) when reviewing submissions. Tim, You have an excellent armor, and keep in mind that most things are just dressing issues. -We think that the brow trim of your helmet (as you can see in the photos below), should be a little shorter, this is a quick fix, just be careful to do it little by little so as not to cut too much. Reference Images -Vocoder should ideally be painted black using a gloss or satin finish. The paint on yours looks a little matte. Reference Images -It looks like you may have too much padding in the top of the helmet. It is quite high and for a better overall look should sit a lot lower. In addition, it will surely improve your field of vision as well. Reference Images - Just a dressing issue here. On the right side, your forearm is a little high (the left one is perfect). Probably because your glove is wrinkled... Surely, placing the glove properly would decrease the space between the wrist opening and the hand guard. Reference Images - Although not specifically listed in the CRL, AB button plates should ideally be squared at the corners and be trimmed to where the actual plate is inside the ridge area it is mounted to as seen below. Reference Images - Another dressing issue (we don't want to see Vader get angry ). Your TD should be more "horizontal". Pushing it down (until the clips meet the belt) will solve the problem. Reference Images - The angle on the top of the sniper knee plate. It's close, but for a better look we are recommending that you trim it down (to closer match the reference images). Reference Images - This is a dressing issue that you may want to take care every time you put on your armor. It is a noticeable misalignment in the top section of the ridges of your calves closure. Reference Images *************************************************** Centurion Requirements; In this section we prepare you for Centurion. Because Centurion photos show more detail than EIB, items pertaining to Centurion might be seen there and not here and additional photos may be required. We try to point out all that we can from what we see, but the final accuracy is the responsibility of the trooper. - The screw of this ear is located too low. It will be necessary to raise it a little. You may have to cover the old hole with some ABS and make a new one. Reference Images L3-Ideally there no gap between the abdomen and kidney armor. Abdominal and Kidney Plate align horizontally at top. A small adjustment in the straps(or tighten the belt a little more), will close that gap. Reference Images -Your Han snap is present, but also positioned farther away from the corner than the reference images. You will need to drill out the snap, reposition it, and fill the old hole. Reference Images -We have a challenging issue here, but we have confidence that you can do it. Unfortunately, the kidney rivets are too far from the edge (and misaligned) and will need to be moved closer to the edge, as seen below. The ones on the ab plate appear to be better positioned. After moving them, you can fill the holes with ABS paste and then sand/polish them. A bit of a task, I know, but it seems more difficult than it is in reality... Reference Images - The corners of the plastic ammo belt shall be trimmed at a 45 degree angle that meets the outer edge of the cloth belt. The right side seems to need just a little trimming to be ok (the edge of the belt is covered by one of the drop boxes) . However, on the left side it is necessary to raise the ABS belt a little and trim it a little as well. It will also be necessary to move the square button. Right side Left side Reference image -It would be necessary to raise your AB belt a bit. One popular fix to this is to add a piece of Velcro to the belt and AB plate to keep it in place. Reference Images L3-Drop boxes are vertically aligned with the end of the ammo belt with minimal gap between belt and box. Yours are very close to their perfect position. You only need to lower them a little and move them closer to the edge of the ammo belt (very little). Applying a little E-6000 (or similar) to the back of the strap can prevent them from moving. Reference Images -The Belt is too dirty in some areas. Remember that Centurion is more "attention to detail". Reference Images -The gap in the bottom rear ridge needs to either be filled or have a white ABS shim behind it. Reference Images And that's all Tim. I know all these pictures can be scary, but most of the fixes, have quick and easy solutions. You have a great armor, and we have complete faith that you can address all the issues. After that, I look forward to seeing your submission for Centurion!!!2 points
-
While I'm waiting to get started on another armour I figured I'd try something to help me relax. No idea how this is going to go!1 point
-
Hi to all of you,the day has come to make a dream become true and I just sent my application to the 501st Legion to join this great community. I received a few days ago my commissioned Stormtrooper ESB costume and cannot wait to get started. Waiting for my approval and the TK ID.My passion goes as far as being inpatient despite a leg injury, hence I am one legged being in a boot (was pretty difficult to wear and stand on one leg)!In general, I do look for guidance on tips and tricks for wearing stormtrooper armor as well as what to consider for trooping (how to prepare, best practices for trooping, etc.). Thank you!
 1 point
 -
Welcome to FISD Tarkan!1 point
-
Hi Tarkan, Welcome to FISD! Whatever you need... We are here to help... Hope to see you at 100% soon.1 point
-
Thank you and I am in touch with my local Garrison and the Squad. Definitely will ask them for some tweaks on the armor (as there some I have in mind). Tarkan1 point
-
Welcome, if you use the "direct link" option with the image tags ie: .jpg, .jpeg, .png you will find your images will show in the thread. How to for adding images Looks like you could take a touch more out of the teeth area, a little top and bottom, you can just see some ridge before the gums. Some of my favorite go to's for helmet assembly: https://www.whitearmor.net/forum/topic/14806-how-to-assembling-ata-abs-helmet-1/ Also for ear fitting https://www.whitearmor.net/forum/topic/29238-my-helmet-ear-tutorial/ https://www.whitearmor.net/forum/topic/41250-ear-trimming-made-easy/ Brow height http://i5.photobucket.com/albums/y200/ukswrath1/DO/Screen%20Reference/gallery_14191_25_57708.jpg Teeth Angle of ears And if you need more references there is our gallery area or Star Wars Helmets If you have any scrap ABS you could make some ABS paste to fill the openings in the bottom of the thigh ridges, also add some white paint to the thigh ammo strip rivets. Front views Back views Looks like the sniper plate could use a little work, many of us use E6000 glue as it is very forgiving but also very strong, minimum drying time is 24 hours, but I normally leave a few days for anything which is under strain. A lot of clamps, tape and magnets can help keep it in place while drying. Some references: Here was my RS sniper plate attachment Really depends how your back shins are closing, make sure you are wearing boots as that will make a difference, you may need to tighten the hook elastic or even do a hot water bah to help both sides to meet and lay flatter Be good to see some images with your wearing so we can give you some more feedback, especially for you snins. Looking forward to seeing the progress.1 point
-
I think an armor build would be easier than that You have more patience than I, good luck1 point
-
Hello and welcome to the forum1 point
-
Hi, Welcome to FISD! I hope you didn't injure your leg in the excitement of your armor arriving!! If you haven't already its worth checking in with your local garrison. I think this would be yours... https://www.fl501st.com/ Even fully commissioned armor often needs some tweaks, and you may find the GMLs (the guys that finalise approval) ask you to do some things before you're cleared, but that's OK. Check back in here and with the Florida Garrison and we'll get you sorted out and trooping in no time. Well, once your leg is better anyway [emoji4][emoji106] Rich1 point
-
Welcome to the FISD! The waiting is always the hardest part. Keep an eye on your thigh ammo pack. Good Luck Future Trooper!1 point
-
Congratulations Tim, and welcome to the EIB ranks! I knew you'd do it. Maybe some of the changes needed for Centurion seem scary, but if I can help at all please let me know. Everyone here at FISD will give you all the help you need to achieve Centurion, no problem. Rich1 point
-
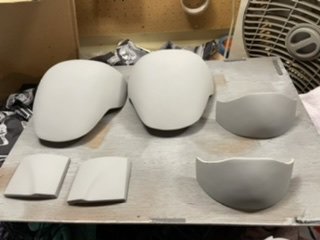
Been working on an MTK kit (technically it'll be going Sandtrooper but don't hold that against me ) I've run into one area that I need some advice or assistance with. The shins have a molded section on the back and I'm not sure if it needs to be cut off or if it's acceptable as is. This is with them taped to size and where I'd most likely put the cover strip With the tape and cover strips removed to see the full back detail1 point
-
Hi Paul. If they fit you correctly and have no more space to allow trimming, you can leave them as it, they should be ok.1 point
-
Will do. Thank you.1 point
-
Some prefer to be hands on but no reason you can't have a commission build, many do and are happy, on the odd occasions some modifications need to be made, but nothing too serious. While doing research make sure you check the ESB CRL's for specific differences, one of those is the blaster which is setup a little different to the standard E-11 most use for ANH (no counter or power cells). Some ESB blaster references here, blaster builds area here1 point
-
Indeed, time to play the waiting game. I think I misspoke, I said build instead of commission. Perhaps I took the "easier path", if there is such a thing, with my first entry into this new world, but nevertheless very excited.1 point
-
The anxious wait begins. Looking forward to seeing the BBB opening and build underway.1 point
-
Hi Rob, those handguards looks great !! About the TD, if I can make a suggestion. consider the allocation of the TD panel in such way that the rounded washer detail looks more to the front than upwards . I suggest to trim a bit the bottom section to allow the panel rotation to the front. Reference Images We are here to help.1 point
-
Hi everyone, I’m about to commence a build of my RS ESB kit and I’m looking forward to getting started. I’ll admit it’s a bit of a daunting task so I’ll be asking some questions! But to start, is there a thread specifically for RS builds? I’m not sure how much trimming is needed for each part of armour? Does anyone go into specifics with photos etc? Many thanks everyone!1 point
-
Hi Piers, Another ESB stormtrooper, excellent choice [emoji1] (though there are no bad choices when it comes to the empire [emoji6]). Not much in the way of info I can add to the messages you've already had, other than to add my welcome, and to say that there really is no such thing as a silly question. All the best with your build, Rich1 point
-
Hi Luca, It's really good to have you here. With the replies you've had already hopefully you can already tell you're in the right place if you need any help or reassurance. There's a huge amount of skill and experience over here, and there's no such thing as a silly question, so if you're not sure about anything just ask. Good luck with completing your build, Rich1 point
-
The originals used single cap rivets for the thigh ammo pack connection, but split rivets or double cap are 100% acceptable at Centurion level. If you need any specific hardware for any part of your build I keep those in stock (sales thread here) at all times and can send you whatever individual pieces you need, just PM me.1 point
-
Auto bondo/filler will crack if there is any flex, many of us used JB weld or Devcon to glue these pieces together. The joy with JB weld is it won't crack and can be sanded so you can pretty much fill any gap. I did however finish with a coat of bondo/filler and it's held up fine.1 point
-
Hi all, Firstly, I’d like to say that Low and higher brow heights are perfectly acceptable and all members are welcome in the legion. I would just highlight that some appear to reflect Stunt or Hero/Promo troopers. The intention of this post is to share educational reference photos with new and aspiring troopers. Based on watching ANH, viewing the many reference photos and additions behind the scenes and historic photos, there is a clear direction regarding various brow heights in ANH. In the spirit of the CRL, this guide would help improve uniformity across the legion. For those that favour a low brow, I would highly recommend checking out the Hero* or Promo Trooper as an ideal option. *please note that not all Hero helmets had a low brow. Below is the Promo Trooper. This features a hero helmet (this is different to the Stunt helmet) and is an iconic look, featuring a low brow (brow trim essentially ‘on’ the top of the eye sockets). There is essentially zero gap between the bubble lenses and the brow trim. There were just six hero helmets made for ANH, made in gloss ABS, intended for close up shots; Luke has a very similar look; Han, on the other hand, had a clear gap (seen here left of shot) 50 Stunt helmets were made for ANH. These were made from green HDPE plastic, then primed and painted. The majority of TKs seen in action and group shots in ANH were Stunt helmets and had a visibly different appearance, including a longer painted ‘frown’ with (for the most part) 4 ‘teeth’ either side, 3 screws per ear rather than 2, flat lenses rather than bubble and (for the majority seen on screen) had a consistent gap between the top of the eyes and the brow. First up is a photo taken outside Shepperton Design Studios and shows approximately half of the 50 Stunt helmets primed and ready to send to the studio. The brow height is consistent across these helmets, each having a clear gap between the eyes and the brow. Note below that perhaps 2 or 3 of 26 helmets have a slightly lower brow. On to screen used, there are a few lower brow stunts featured through ANH, however they are certainly outnumbered by the conventional look. Note the same scenario from ESB (re-using ANH Stunt helmets for the most part); Even quite a few Hero helmets, including Han’s, had the usual gap. I hope that these reference photos help to show the difference with various helmets. This post,and the information included, comes from a passion for the wonderful character that is the Stormtrooper and is not intended as a negative view on those that choose the low brow. Both have their place in our character lineup. I would simply suggest considering the hero or Promo Trooper as an option for those that prefer the low brow. Best wishes Dan NB - credit to StarWarsHelmets.com for a lot of this information. I’ve learned a lot from there over the last couple of years.1 point
-
I've been asked by more than one Imperial Cadet recently if I would make a post that details the steps involved in becoming a Stormtrooper. Here it is, and here are the steps: 1. Find the First Imperial Stormtrooper Detachment website/forums at www.whitearmor.net. You are reading this so, CONGRATULATIONS! You are well on your way! 2. Begin researching the available armor kits in the Getting Started section so that you can make an informed purchase, research is your best friend throughout this process: http://www.whitearmor.net/forum/forum/38-getting-started-read-this-first/ 3. Contact your chosen armor vendor and begin waiting patiently for Big Brown Box Day. 4. While you're waiting, begin collecting your accessories for the build, and additionally required items like an E-11, boots, canvas belt, tools, snaps, etc. There is plenty more, but remember step #2. 5. Big Brown Box Day! (take pictures, this will be a day long remembered!) 6. Start your build thread at FISD here: http://www.whitearmor.net/forum/forum/31-costuming-and-builds-501st/. Take pictures, take a deep breath, measure twice, cut once, ask questions before you do something you'll be unhappy about later, all mistakes (within reason) are fixable. 7. Complete the build of your High Quality Imperial Stormtrooper costume, and rejoice. It's about to get technical. 8. Ensure that you are 18 years old, and visit the 501st Legion website's Join Us page: http://www.501st.com/members/join_how.php 9. You will need to make a decision about what you'd like your TKID to be. You'll have to list five choices in your order of preference. Available numbers can be found here: http://www.501st.com/members/search_avail_ids.php 10. Fill out and submit the application found here: http://www.501st.com/members/join_form.php 11. Take your submission pictures and submit them to your Garrison Membership Liaison (GML). A list of the Garrisons can be found here: http://www.501st.com/members/displayUnits.phpIf you don't know who your GML is/or how to contact him or her, this list will assist you with that process. Photo's required: Full length, Front, Side, Back, Side, Action and Helmet off. 12. After you submit your pictures to the GML, he or she will contact you (be patient) to let you know if your costume is accepted, if you need to make alterations, or whether you need to re-take any photos. 13. If you need to make alterations or re-take pictures, submit them in the same manner in which you submitted the first ones. 14. When your costume is accepted by the GML, he or she will forward your pictures to the Legion Membership Office for approval and assignment of your TKID. When your costume is accepted, all you can do is wait for an email from the 501st Legion to arrive, confirming your TKID assignment. Congratulations, and welcome to the 501st Legion, and again, be patient. 15. When you have received your assigned TKID, you have one more important step to complete, and that is to request Legion Access here at the FISD. You do that using this thread: http://www.whitearmor.net/forum/topic/16-501st-trooper-status-requests-include-link-to-your-501st-profile-in-your-request/In your request post, include your newly assigned TKID, and a link to your Legion profile page.1 point
-
Don’t be too worried - It’s really not that bad. With the stencils carefully applied, then applying light coats, then tidy any bleed with a toothpick. Stencil applied: Before and after toothpick corrections: Hope that helps a little. :-)1 point