Leaderboard


Popular Content
Showing content with the highest reputation on 08/31/2018 in all areas
-
Thanks, all! Oh boy oh boy oh boy. Backtracking, most exciting news first, regarding the... NECK SEAL The first one I made looked great from the front and was nice and squishy but also it was tight and the seam in the back was much too wide and visible due to closure issues. A no go, overall. In my quest for deep, rubbery ridges, I did not rule out actual rubber as some do (citing sweat concerns). I figure my neck is small enough that I'll have ventilation space inside. Brainstorming with my boyfriend led to an idea for a system of magnetized rubber tubes. It was a crazy process and I didn't have enough hands to take pictures while I worked (yes, I would take a spare arm or two if they were giving them out) so I'll just describe it as best I can in the next post. This is where it stands. Front and back Video of closure here. It truly becomes nearly invisible when closed. https://i.imgur.com/u3nJ5BU.mp4 I am quite fond of this little guy. I'll be putting the upper rows on (the ones that taper off before the front) later. I'll have to wear a balaclava under it. I will likely attach the bib to the balaclava. Though I have some sport fabric that I may make the whole thing out of... we shall see. MISCELLANEOUS In other news, I have half-made my canvas belt (pending sizing of my armored torso), have all supplies at the ready to make my holster (thanks, Darman!), have my silicone hand guards awaiting gluing (thanks, Joseph!), got a super nifty tabletop snap press (you're going down, snaps), and will be getting together with a few garrison-mates on Labor Day to continue the armor side of my TK adventure. TO DO Top of my list is purchasing elastic and nylon strapping. Just have to actually DO it which is SO much harder now that my helmet is sitting in a box in the living room, begging to be held. :p5 points
-
Go with what you like the most, like Tony said the TD (Sandtrooper) has more extras like a Field Pack, it´s optional for basic but for L2 is a requriment and in my opinion the Field Pack is what makes it a Sandtrooper If you are having a hard time deciding then go Stormtrooper first and Sandtrooper next3 points
-
Mail arrived! I’ll post more info later. Sent from my iPhone using Tapatalk2 points
-
Since the armor is pristine now, and continuing to build a TK will result in pristine armor, I'd start there. You'll certainly bang it up over the next year or two. My suggestion is to go TK first, and start putting aside a nest egg for a second set of armor. Then, right about the time you've saved up enough for another BBB your TK will be nice and used (and abused), and ready to covert to a Sandy. Just make those changes with the buttons, straps and such and dirty it up some more. Then start on your brand new TK. After that build, you'll have both. A.J.2 points
-
Actually with the allowable Sandrooper combinations you don’t necessarily need a backpack or DLT-19 for approval or in fact even for some of the higher levels. A pouldron and pouch/es yes.2 points
-
It's really quite simple. If you want the facts and highly researched and correct line of information, FISD is the perfect answer. More experience here than anywhere else in the universe.2 points
-
I made a really complex strapping device1 point
-
Good job on your armor !! And Goodluck with your EIB application !!!1 point
-
True but who wants to go through all the extra work and not be able to wear a cool back pack lol.1 point
-
Thanks guys, I’ll knock that out. Easy-peasy Sent from my iPhone using Tapatalk1 point
-
Nice work1 point
-
By using E6000 it comes off no problem but still remains put as long as one likes1 point
-
Congratulations!! Welcome to fisd !1 point
-
Yeah that smaller button is large, I did mine the same way at first before I went back and trimmed more off. Easy fix trooper!1 point
-
Nice work, Dave. One of the team will be with you soon. :-)1 point
-
I don`t care what the dog thinks looking good there Alex A little tip is to watch your cover strips, they seem to be a bit long on the arms and the smaller ab button plate seem a bit to large, hard to say for sure so here`s a reference so you can have a look see1 point
-
For basic no pack is needed but for L2 Police officer you MUST have a pack even if your SWAT-Trooper L3 does not1 point
-
Just now got to checking my thighs since adjusting the strapping much better I think. Sent from my VK815 using Tapatalk1 point
-
Thanks for the clarification Glen. Sent from my VK815 using Tapatalk1 point
-
Sandy is much more involved and costly but least you get to get dirty, bang into junk and not care, become one of a few and if you go SWAT you'll join the elite class of less than 60 members in the entire world.1 point
-
Looks like it’s riding too high on your back. Align the kidney to abdomen then go from there. Use that as your start point. Sent from my iPhone using Tapatalk1 point
-
Time to make some strapping for the posterior plate Center snap is for the belt The belt will "rest" on this ledge so using that as a guide Simply but carefully set the plate up against the belt, you feel when it`s in place Using a pen to mark the ends and glue them down, I only glued a little to begin with for those "just in case-moments" Time to test and all was good, feelt good and then glued the straps in full1 point
-
Here`s some reference for you1 point
-
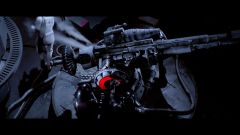
The photo with the primer looks good so far. The only thing I would suggest, is aligning the counter to make it parallel to the main receiver barrel. Curious to see this blaster with black paint...1 point
-
Ah, ABS cuts, there like paper cuts.....but worse1 point
-
Another update to share. First, I've been slowly working on my mitcheg1 helmet, and have been adding gloss coats to the white. Unfortunately, I had a slight run on the beak, and will have to do some spot sanding, probably 1 re-coat of white, then 3-4 recoats of gloss. However, the helmet is coming along nicely, probably only one more round of gloss coat before I moved to painting the black. Then a few more coats of gloss and probably a light wet sand and compound + polish. I hope it works out....I truthfully don't know what I'm doing when it comes to painting, and there are so many opinions on the internet that I'm not sure exactly what to do...but if it turns out halfway decent, I'll be happy. I know it won't be perfect. I have to keep telling myself that the biggest critics will be others in the 501st. Most people off the street won't notice the imperfections I know exist. Helmet after 3-4 gloss-coats on the white. Next step: paint the black I last worked on the helmet about 4 days ago, so last night I took a big step and began prepping the rest of the armor for paint. Most of my strapping is done, and what remains can be done after the painting (lower-legs, velcro inside forearms and biceps). My Darman neckseal should be arriving on Thursday, so I'm excited to see how that makes everything look. Anyway, I began taping things up for primer. Because this armor is flexible, one of the major concerns is cracking of paint. Many Jimmi builders have found this to be an unavoidable fact of life with this armor. I have therefore elected to use two different types of primer: Rustoleum Filler Primer SEM Flexible Primer The Rustoleum will be used for the majority of the build, particularly in parts that won't experience much flexing (shoulder bells, biceps, helmet, forearms, thighs, calfs, knees, hand, belt boxes). The SEM will be used for the parts known to flex, particularly the abs, chest-plate, spats, and yolk. The SEM is nearly triple the price-per-can of Rustoleum, so here's to hoping it works out. The idea is that the underlying primer must flex, or the paint won't flex with it. Who knows it it will work. I bought one can, and was able to coat the above-mentioned flexible parts with just the one can. Here are some pictures of the process. All these parts used Rustoleum Rustoleum filler primer used here Everything here used SEM flexible primer These parts also used SEM flex primer Parts laid out to dry, which they do fairly quickly. The butt-plate is turned over so I could spray the bottom edge. You can see I also sprayed my helmet greeblies I was fairly happy with the smoothness of my armor. I have to go out and inspect it again now that it has dried overnight, but I don't have too much more filling to do. I spent alot of time, particularly on the lower half of the armor and chest-plate filling in air-bubble holes from the casting process. I still have some work to do, but overall it shouldn't be much more than a night of light spot-sanding, fill, dry, then spot sand and light re-coat of primer. Two days total effort, and only on select pieces. Some of the armor will be ready for a light wet-sand and painting. I do plan to tape over some additional snaps which caught more paint than I thought they would, but otherwise I'm close to starting the full-on paint-job for this armor. Here's to hoping I can get it right.1 point
-
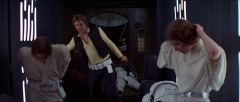
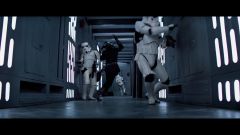
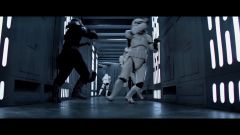
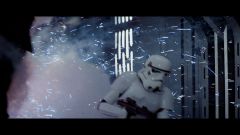
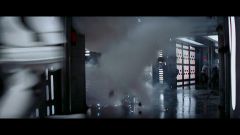
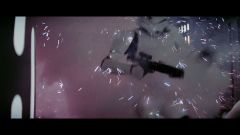
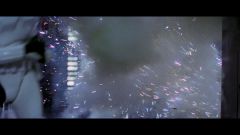
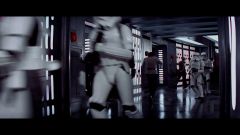
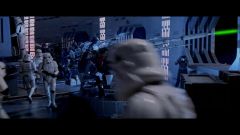
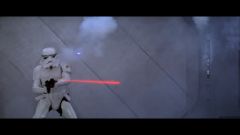
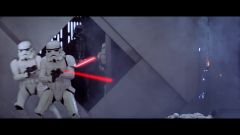
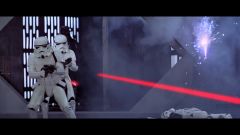
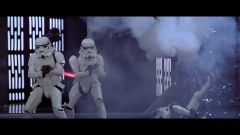
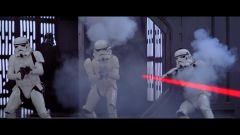
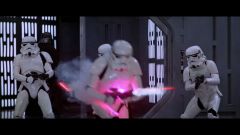
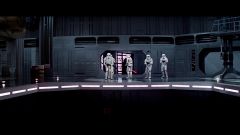
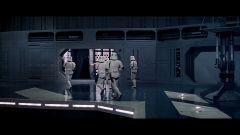
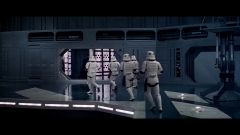
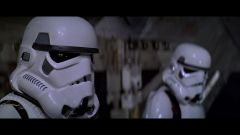
Screen captures from A New Hope1 point
-