Damon
-
Posts
34 -
Joined
-
Last visited
Content Type
Profiles
Forums
Gallery
Articles
Everything posted by Damon
-

ANOVOS (DENUO NOVO) FOTK Armor Delivery Possibility
Damon replied to JonnieBear's topic in TFA Stormtrooper
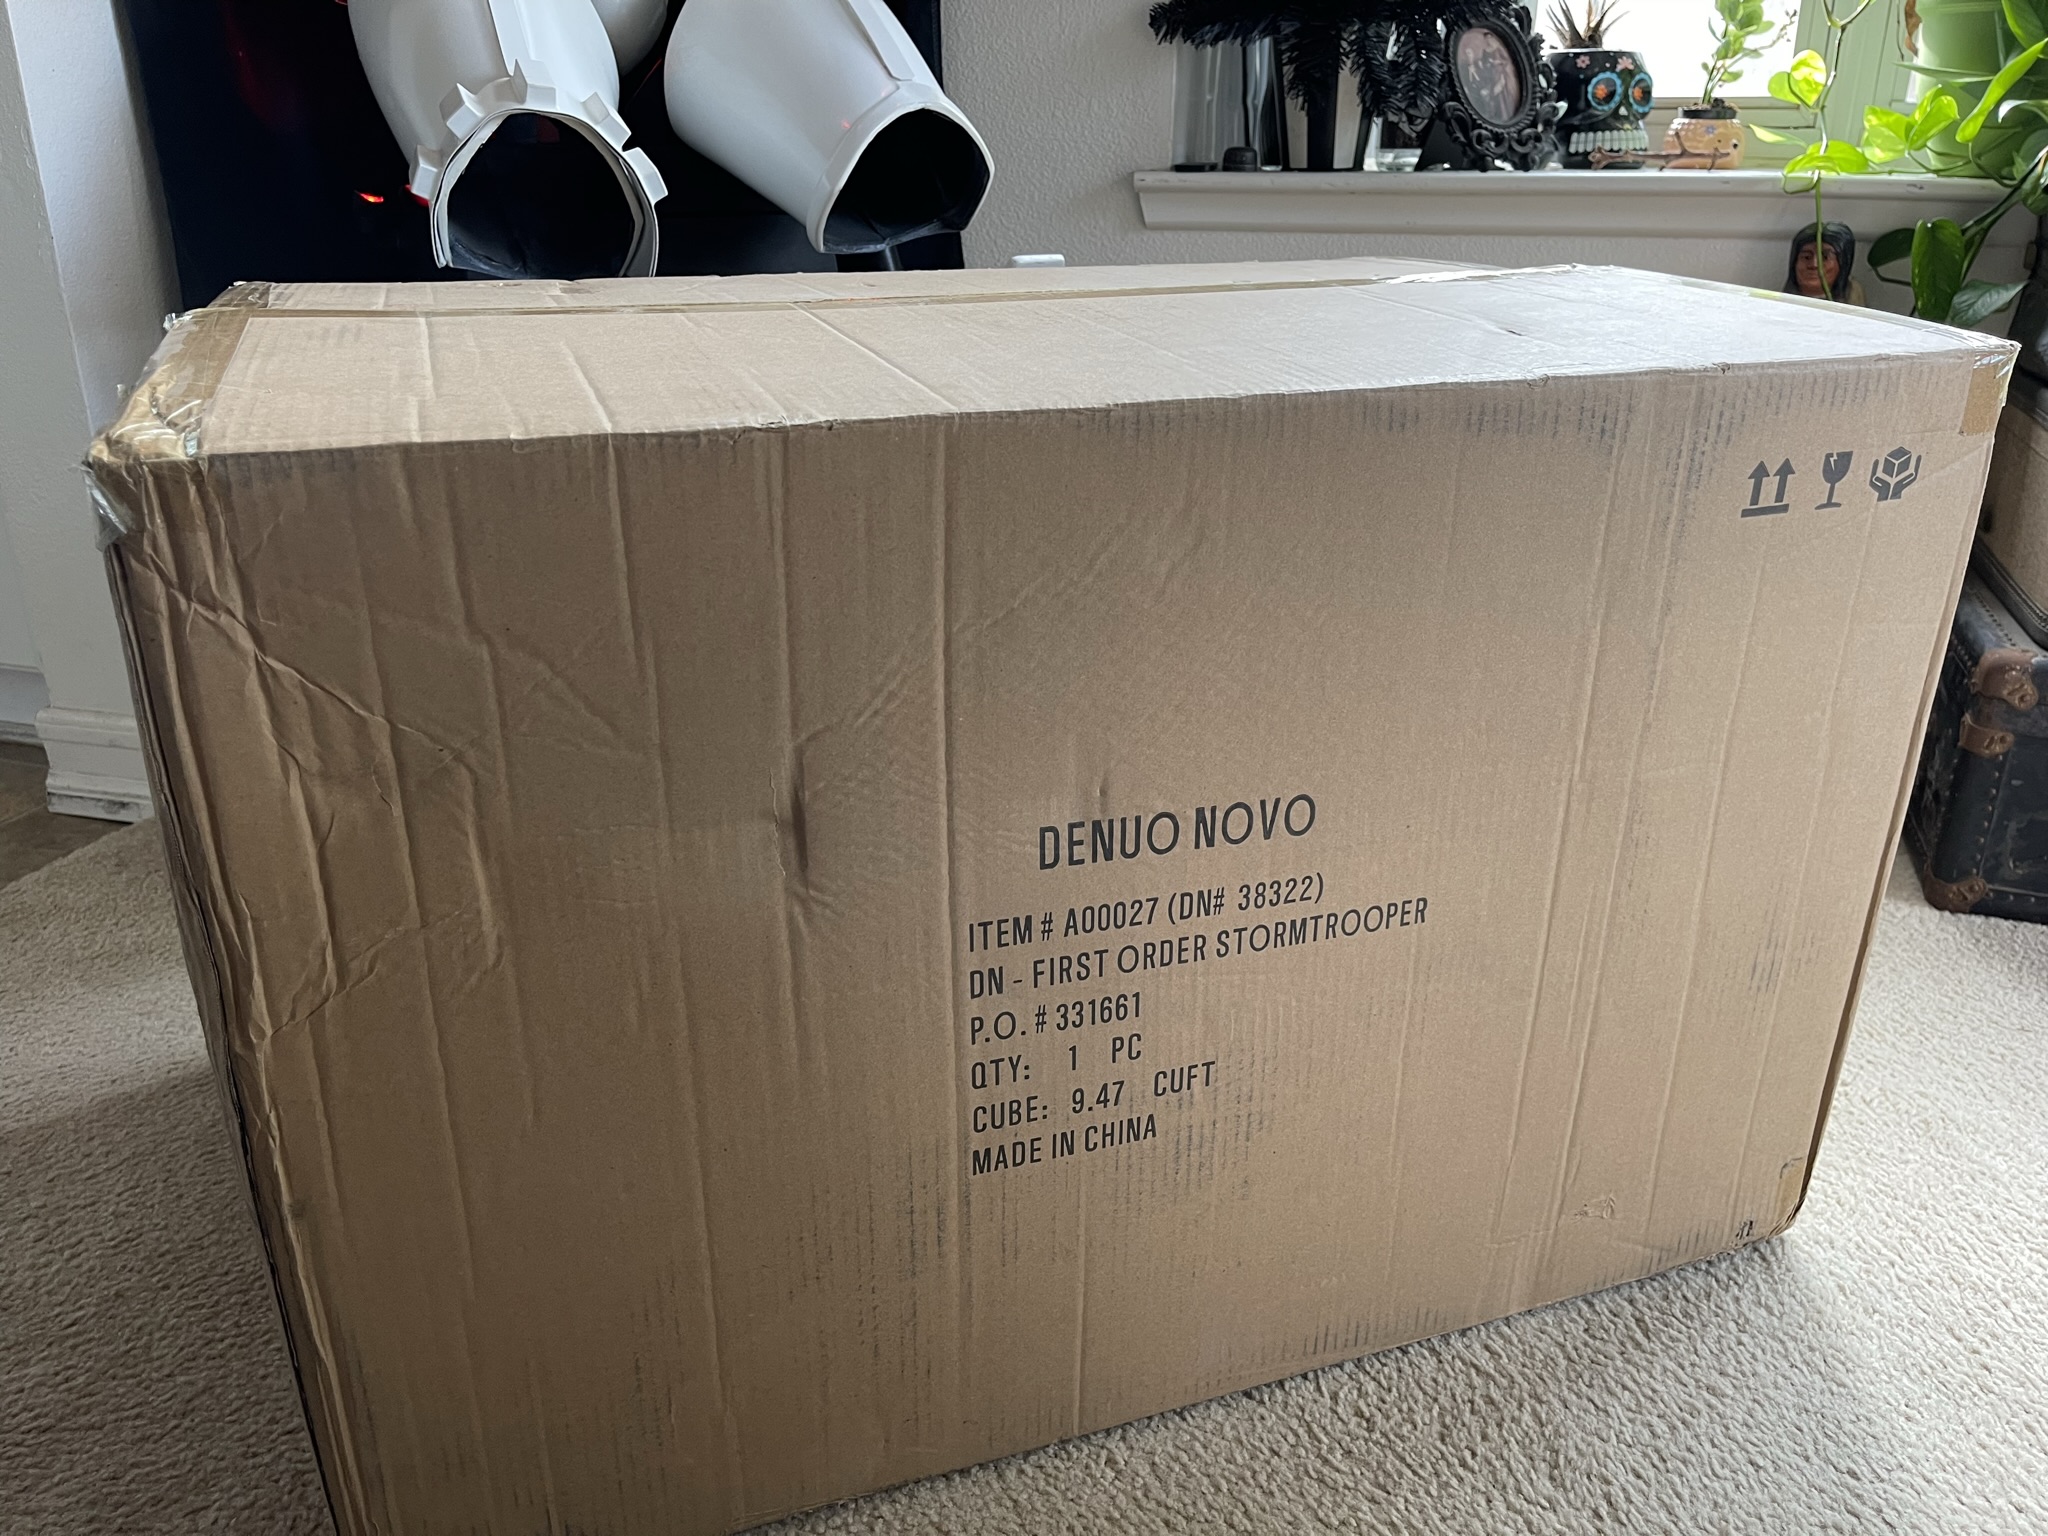
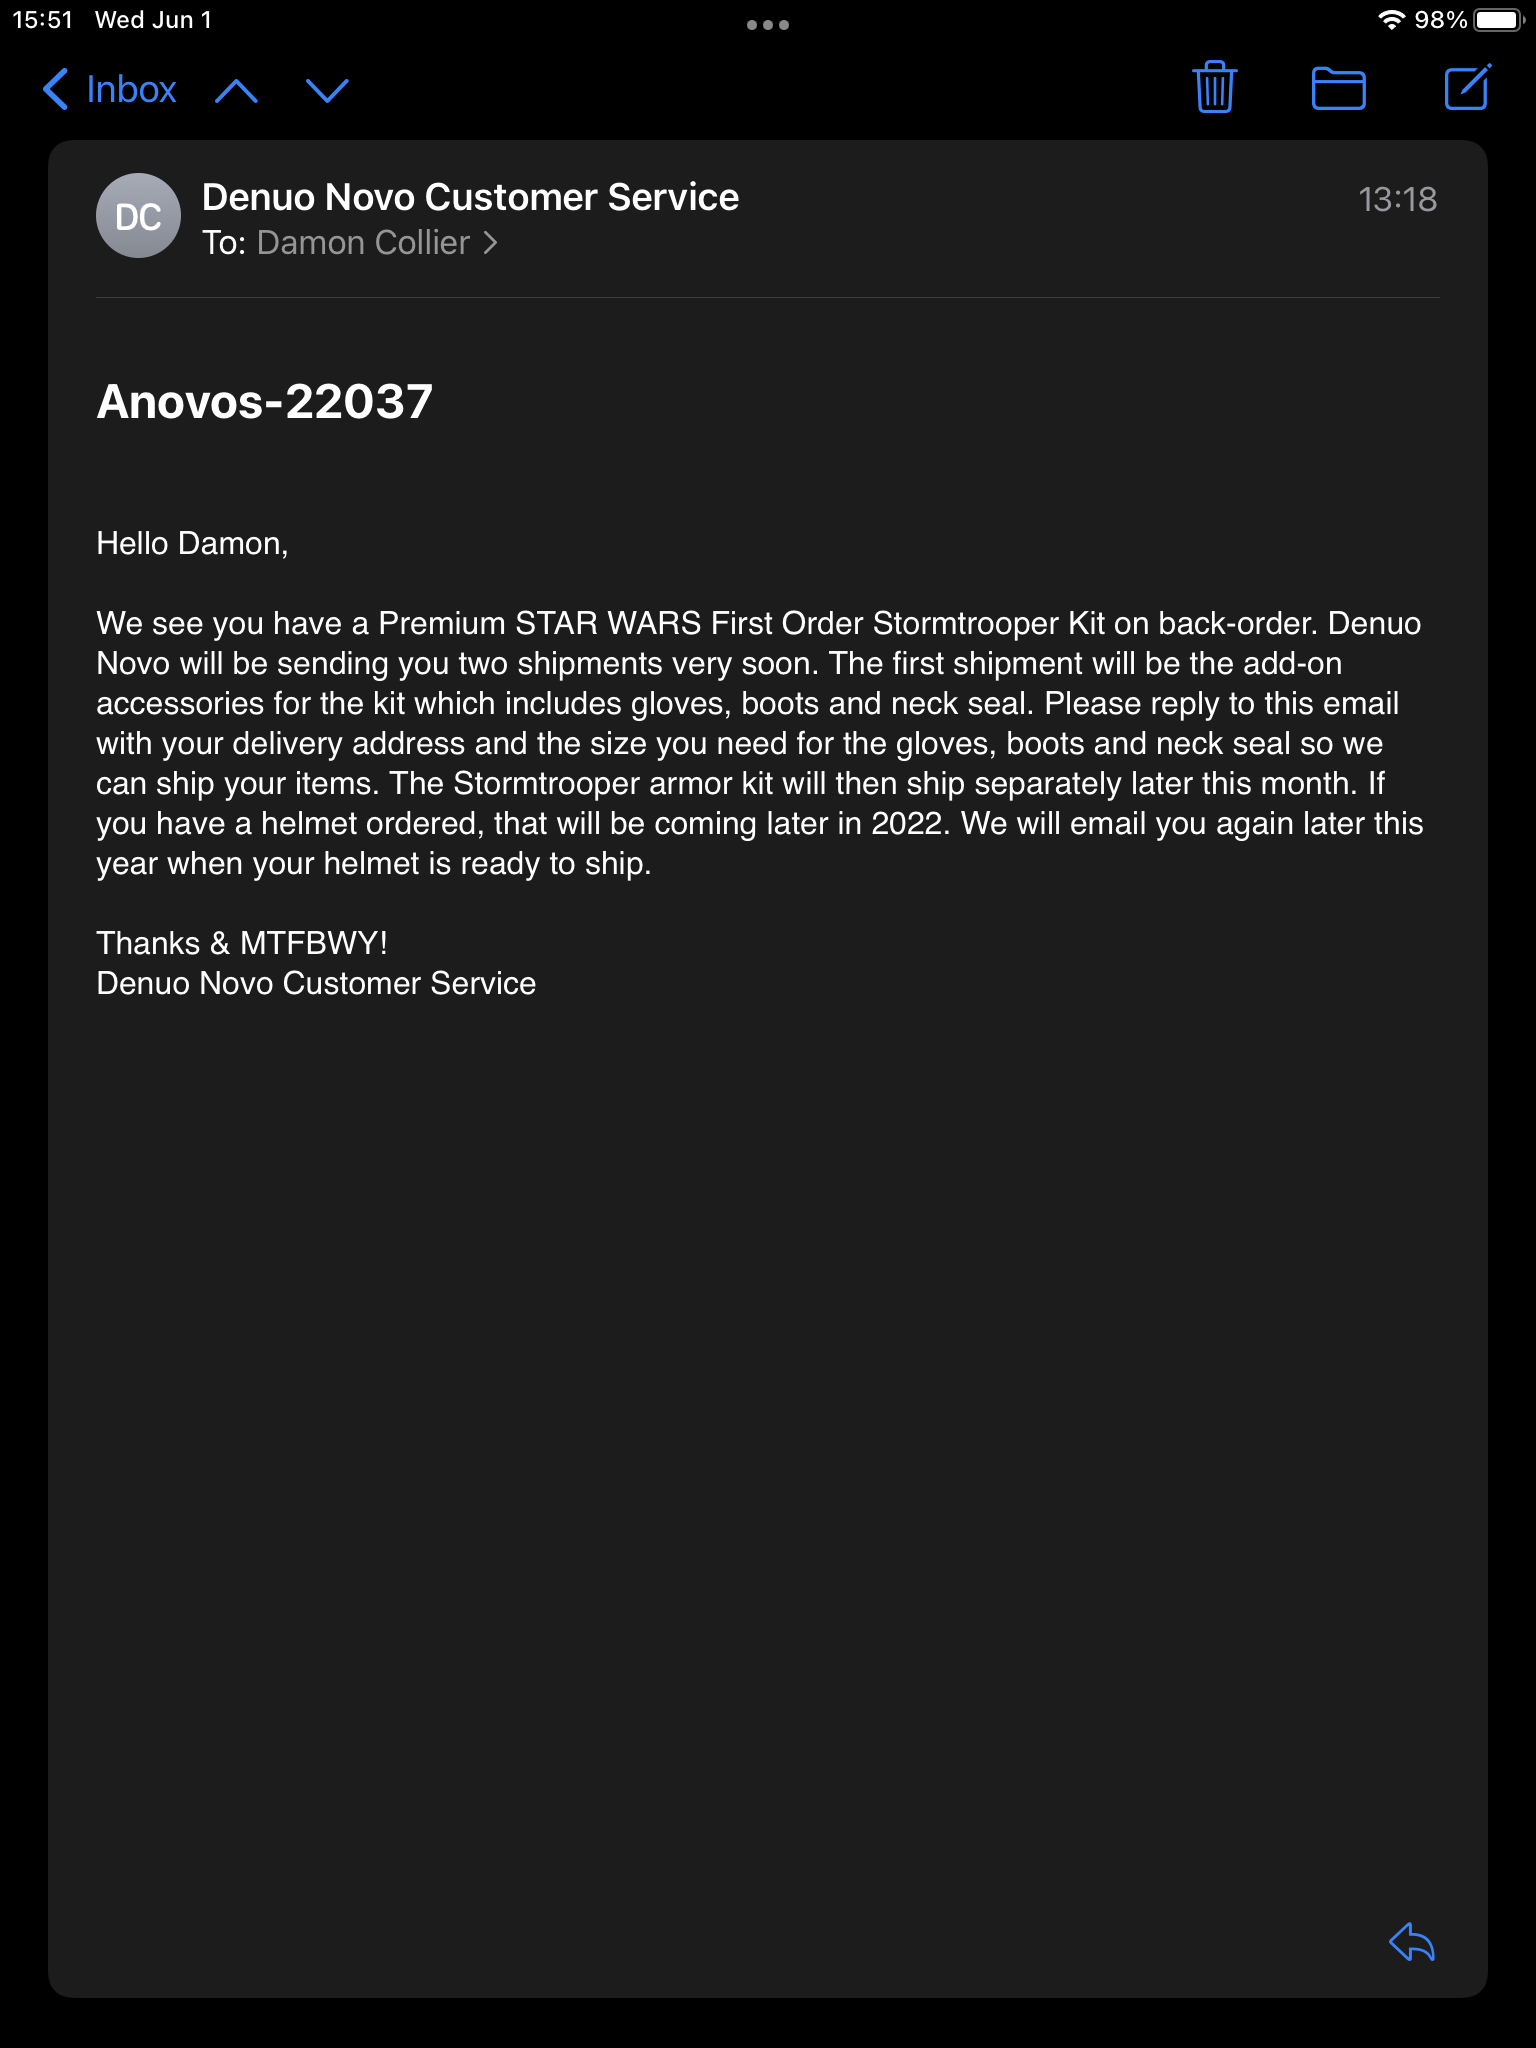
Got the hard parts! Just waiting on the undersuit, gloves, boots and helmet now.
-
ANOVOS (DENUO NOVO) FOTK Armor Delivery Possibility
Damon replied to JonnieBear's topic in TFA Stormtrooper


-
ANOVOS (DENUO NOVO) FOTK Armor Delivery Possibility
Damon replied to JonnieBear's topic in TFA Stormtrooper
Next year? Sure whatever. We’ve waited 5 so far, what’s one more? I agree it’d be really nice to finally get my kit, but definitely not holding my breath either. I too wonder if they’re gonna use the original molds that are shown in the ANOVOS assembly instructions or if they’re going to use more screen accurate chest plate and yoke pieces. Either way we’ll at least have something to show for our patience (if we get them). -
ANOVOS (DENUO NOVO) FOTK Armor Delivery Possibility
Damon replied to JonnieBear's topic in TFA Stormtrooper
Yeah, just like they’ve been moving facilities and have had to re-start the manufacturing process over and over again. So typical. -
ANOVOS (DENUO NOVO) FOTK Armor Delivery Possibility
Damon replied to JonnieBear's topic in TFA Stormtrooper
No notification here either, but my guess is that those that ordered the “Premier” kits are the ones that are still waiting. I’d also wager that the corona virus is going to be used as an excuse for yet another delay in shipment. Who knows, maybe they want to make it an even 4 years since it originally went on sale before they fulfill the orders. Call it stubborn or naively hanging on to hope that I’ll get this kit before the next trilogy hits theaters, but at this point it’s all about the principle of it now. -
Damon's ANH(stunt) Helmet Liner/Electronics Build (Revised)
Damon replied to Damon's topic in ANH Build Threads
-
Yeah I figured that was the case. Like I said, I think ANOVOS mistakenly used the files for Phasma’s armor for use in the FOTK kit. It’s good to know that there isn’t yet another variant out there that we have to worry about (other than the new red troopers that have been promoted on the cast and crew gifts). Appreciate the input. (Hope there wasn’t an NDA violation there, either way, your secret is safe with us[emoji2958][emoji6]) Sent from my iPad using Tapatalk
-
Well, I can’t speak for the buckets, but in doing some further research, I found a behind the scenes photo of Gwendoline Christie getting kitted up and it looks like her Phasma armor chest & back plate are similarly constructed like what ANOVOS has done with this trooper kit. Probably just got a hold of the wrong digital files or something At first I thought that maybe they got ahold of some of the armor files from Rise of Skywalker (are we calling it “ROS”? Is that a thing?) and used those instead of what has already been used, but I don’t think anyone that isn’t under an NDA can verify whether or not the armor went through another change after TLJ. Although I’m sure that none of us would actually rat anyone out if they just so happened to have some of that information...right? Sent from my iPad using Tapatalk
-
Definitely one day at a time. My first build was kind of a "learn as I go" process which was time consuming and not very cost effective. So now I am trying to avoid that frustration by getting ahead of the game and using that experience, doing my research and planning out what I'll need to do it right the first time. All of the inputs and support have been amazing and greatly appreciated. And when BBB does finally come, I will most definitely share that build with all y'all via a build thread so that we can all get the benefit of dealing with modifying this "production" version of the Anovos kit. Thanks again!
-
Y’all are awesome! Thanks! Sent from my iPad using Tapatalk
-
I appreciate the heads up, and I’m glad I’m not alone in this. Do we have anything (other than what’s presented in the CRLs) that list the specific differences between the TFA & TLJ Armor? (other than the helmets, that much is obvious).
-
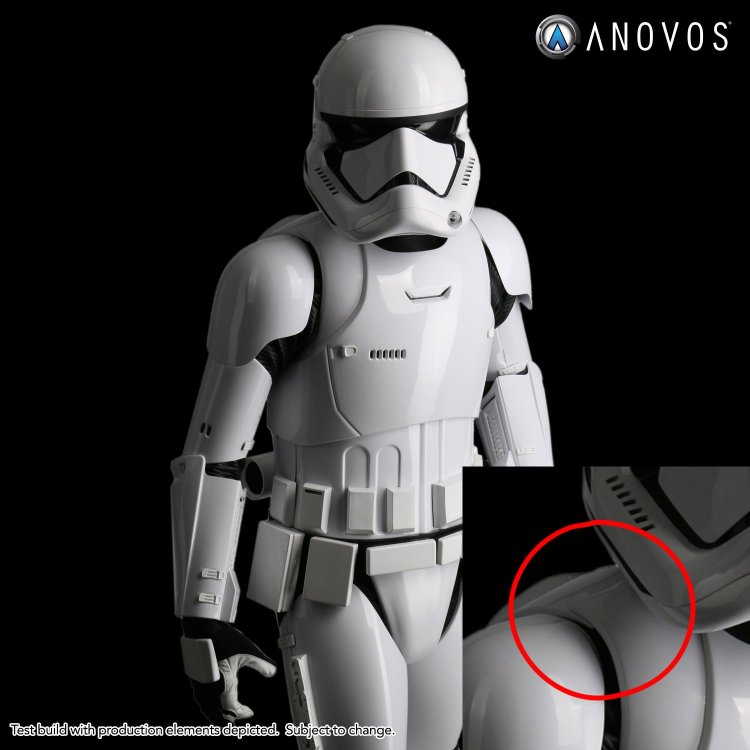
Anovos has just recently made available the downloadable instructions for their First Order Stormtrooper Kit. While I think we all can appreciate the detail (and for the most part, the quality) of their products; I know that for some of us, the mixing of the variant details (i.e. Stunt Helmet with Hero Belt), inconsistencies with instruction manuals and of course the shipment delays have naturally caused a somewhat distasteful reaction at the mere mention of the company's name. A lot of us have jumped ship with this particular kit and purchased kits from other vendors, but like some, I have held onto hope that someday soon I will receive that fateful email stating that "Big Brown Box Day" will soon be here and that I can join the proud ranks of the First Order Troopers. Unfortunately, the downloadable instructions have raised some questions and even worse, made me question that I would receive a kit that would be legion approved without requiring any major modification. First off, the instructions live up to Anovos' standard of being misleading and forgetting details such as specific tools required. There are low resolution photos of both the TFA and TLJ variants so it is unclear which one you are actually receiving. Photos of the test build suggest that we are getting at least the TLJ cod piece and for those that ordered the Kit with the TFA Helmet, that could be an issue. The Tools and Supplies Required page lists: Utility Knife, Sandpaper, Ruler/Straight edge, Philips Screw Driver, Pencil, Clear Glue (E6000 Industrial Strength Adhesive), Scissors, Clamps, Drill Motor, 3/16in or 4mm Drill Bit and Gloss White Spray Paint (Rust-Oleum - Painters Touch 2X). What they don't list is a Torx screwdriver (for the Thigh Holster Hardware) and a means of sewing velcro to the black webbing (whether a machine or hand sewn). There are no mention of any type of gaskets and leaves the attaching of the pieces to the builders imagination. Additionally, it does not indicate where or how the webbing should be attached. The images are unclear in parts as to which side of the pieces the velcro attaches such as on the interior side of the "Inner Chest" plate (?!) or sandwiched between the Inner and Outer Chest plates. This brings me to the major question that I have regarding this kit. All of the CRLs only mention a Chest Plate with a Back Plate/Yoke. The diagrams indicate that Inner Chest plate is glued (and velcro'd?) to the Outer Chest plate and acts as the exposed front portion of what would normally be considered the Yoke. The Back Plate has a drastically reduced Yoke that appears to be velcro'd to the Interior/Underside of the Inner Chest Plate creating an overlap and a seam. This very concept goes against the requirements of the CRLs. There is one photo of the test build that actually depicts this overlap. Anovos states that they pride them selves on having access to the the screen used artifacts, but after scouring all of the images that I could find from TLJ, I couldn't find any detailed enough photos that would indicate this change in the armor from the original pieces used for TFA. Naturally, as have no experience with the FOTK armor of any kind, I could be wrong which is why I present this conundrum to the subject matter experts. Far be it from me to suggest that the CRLs are not completely accurate, but if anyone has any additional clarification to this, I am sure that there are a lot of us that would appreciate it. Granted, it would take that much work to modify the pieces to make them approvable, but after nearly 3 years of waiting and a serious chunk of change spent, it would be a shame to have to. For those that haven't seen the instructions, please see the attached link: https://www.anovos.com/pages/star-wars-product-instructions
-
Thanks...I appreciate the heads up. Rookie mistake. https://www.501st.com/members/displaymemberdetails.php?userID=26607
-
Damon's ANH(stunt) Helmet Liner/Electronics Build (Revised)
Damon replied to Damon's topic in ANH Build Threads
Wow, had I known it was THAT easy, I would have done it months ago. Thanks! Sent from my iPad using Tapatalk -
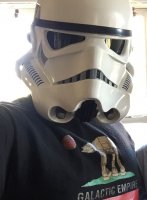
TK-10742 reporting in and also requesting 501st status! https://www.501st.com/members/displaymemberdetails.php?userID=26607
-
Damon's ANH(stunt) Helmet Liner/Electronics Build (Revised)
Damon replied to Damon's topic in ANH Build Threads
Thank you. I appreciate the the reminder. It's something that is going to happen as soon as possible. I am Active Duty Navy, and without getting into too much detail or breaking OPSEC, my deployment cycle over the past few years has been brutal (at best), hence the long build time. Since my introductory post, I have been sent on extended detachment twice. Hopefully now, things have calmed down enough to finally take some good pics and officially request "EIB" status. -
Damon's ANH(stunt) Helmet Liner/Electronics Build (Revised)
Damon replied to Damon's topic in ANH Build Threads
Thanks! All in all, I've probably invested a little over $350, due to trial and error. The most expensive part was the ROM-FX. I am looking at stream-lining the process which will help bring the cost way down. -
Damon's ANH(stunt) Helmet Liner/Electronics Build
Damon replied to Damon's topic in ANH Build Threads
Thanks, Here's a link to the (mostly) completed build. http://imgur.com/a/xVA40Es -
Damon's ANH(stunt) Helmet Liner/Electronics Build
Damon replied to Damon's topic in ANH Build Threads
Thank you! -
Damon's ANH(stunt) Helmet Liner/Electronics Build
Damon replied to Damon's topic in Build Threads Requireing Maintenance
Thank you! -
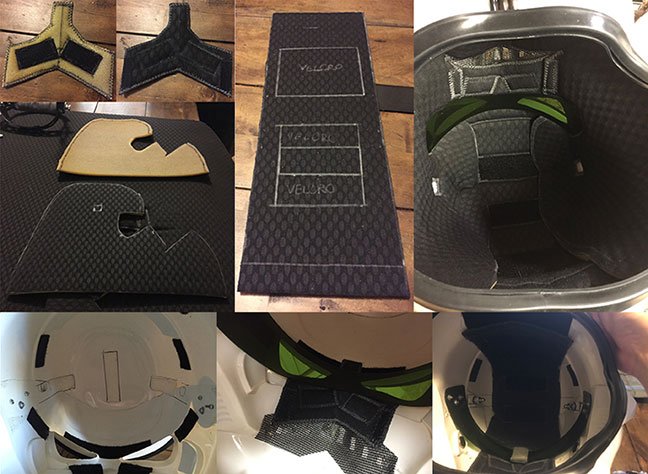
1st off: Please forgive the multiple posts as I've been trying to figure out the best way to upload these images for the first time and doing it all after being up for over 40 hours straight. I will save y'all the lengthy background on the how's and why's of the start of the build and just share the images (that never seemed to post the last 2 times I attempted this). I appreciate your patience with this. I wish I had a better excuse, other than being a noob. I am not officially an idiot yet, but I have requested the status and it's pending approval. Please enjoy the pics. I welcome any and all constructive criticism as I am always looking to improve. Thank you. https://imgur.com/a/xVA40Es
-
Damon's ANH(stunt) Helmet Liner/Electronics Build
Damon replied to Damon's topic in ANH Build Threads
Sorry, I forgot to add, yes it is attached via Velcro. The pile side had adhesive backing and I had sewn the hook side to the back of the head-liner. -
Damon's ANH(stunt) Helmet Liner/Electronics Build
Damon replied to Damon's topic in ANH Build Threads
Thank you. It’s an automotive head-liner that I picked up at a local upholstery shop here in San Diego. If you go to my revised post, you can see the rest of the images of the build. I’m new at this whole posting thing, so I’m still working thru the ins-&-outs of uploading images. -
**Being the Noob that I am, it took me a little bit to figure out how to properly post images, so let's try this again...** After many requests, I am (finally) posting the pics of my ANH (stunt) Helmet Liner and Electronics installation Build. The pics are on the large size as I wanted to show as much detail as possible, I am going to have to upload them over a series of posts. Please bear with me and I apologize in advance for being so "wordy". Keep in mind, despite it's finished look, I still consider this build to be a work in progress as I have left room to add some additional pieces/functions to it over time. My goal is to take the experiences from this prototype and streamline the process to make future builds easier and more user friendly. Any and all feedback on how to do that will be greatly appreciated. This build began back in April of 2015 at the Star Wars Celebration (Anaheim) where I purchased my full ANH Kit from Anovos. At Celebration I was inspired by those whom had fully functioning audio systems in their helmets as well as seeing the liners and padding inside new FOTK Premiere helmets. I appreciated the fact that they looked both finished and comfortable and weren't just either the typical construction helmet rig or worse, just a thin piece of foam hot-glued at the top that didn't prevent the helmet from bouncing around with just basic movement. Trust me, the irony is not lost on me knowing that the original artifacts used for the production of the movie had just that with only a simple chin-strap to keep them from flopping around. During the next year I spent waiting for delivery, I researched the work that others had put into their buckets. I looked at everything from the types and quantity of electronics, to how they rigged the padding as well as how and where the power supply and wiring were routed. Finding a lot of inspiration from the various "how to" build threads both here and on youtube, I decided to take on the daunting task of fabricating something that balanced functionality, comfortability as well as being aesthetically pleasing. Additionally, I preferred the idea of being able to have full function just by simply donning the helmet without the need to flip any switches, push any buttons or connect any cables prior to putting it on. Naturally, this meant that I had to figure out how to have everything self contained within the helmet, adding to the complexity of the build. My first step was to figure out size and placement of the padding. I toyed with various sizes and shapes, using everything from old football helmet padding to that of ballistic helmets and flight deck cranials. I quickly discovered that the unique shape of the opening, forcing one to put the helmet on semi-sideways and then twist it into position presented another problem as far as component placement was concerned. It's funny how (despite it's size) you run out of room pretty quickly in the classic TK bucket. The deciding factor to finally just fabricate something from scratch came when trying to figure out how and where to incorporate the electronics without scraping up my face or getting snagged on something when putting on or removing the helmet. I opted then to utilize smaller components inside of the padding in order to save space. Please see the below link for images. I look forward to any and all feedback. Constructive criticism is always welcome as I am always looking for better or easier ways to make things work . https://imgur.com/a/xVA40Es
-
Please see updated post: Damon’s ANH(stunt) Helmet Liner/Electronics Build (Revised) for link to images and full post. Thank you