Leaderboard


Popular Content
Showing content with the highest reputation on 05/23/2018 in Posts
-
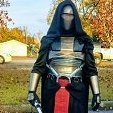
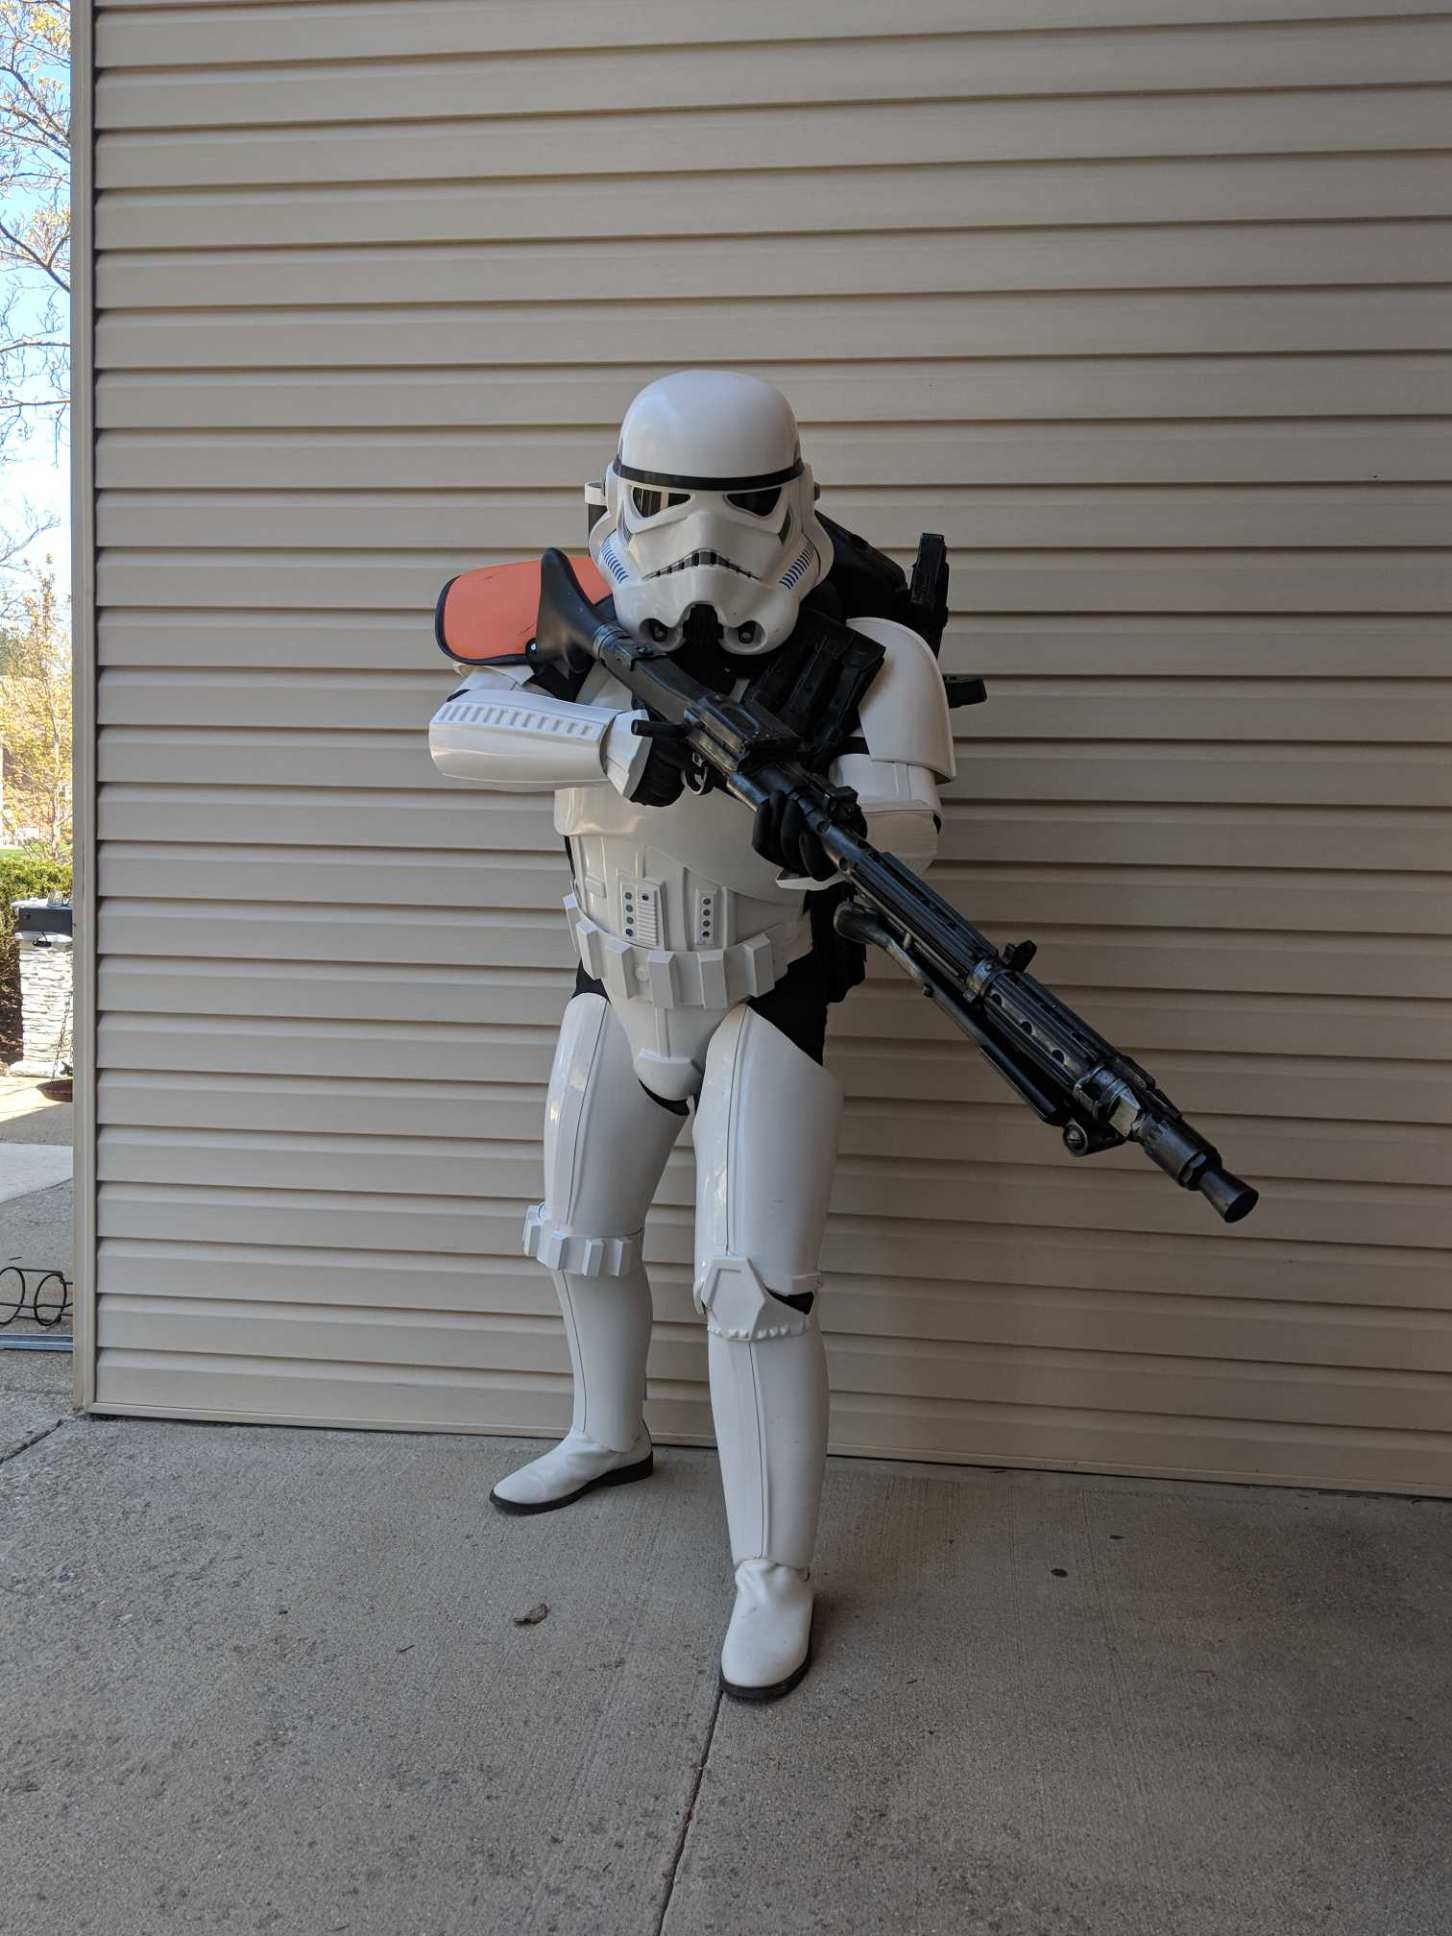
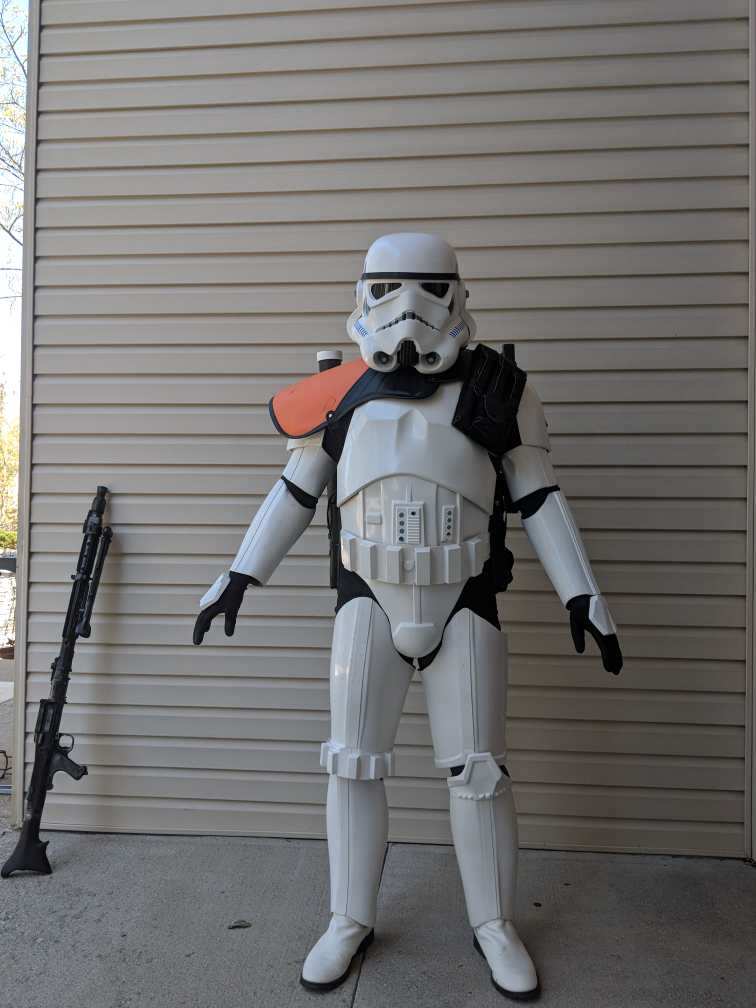
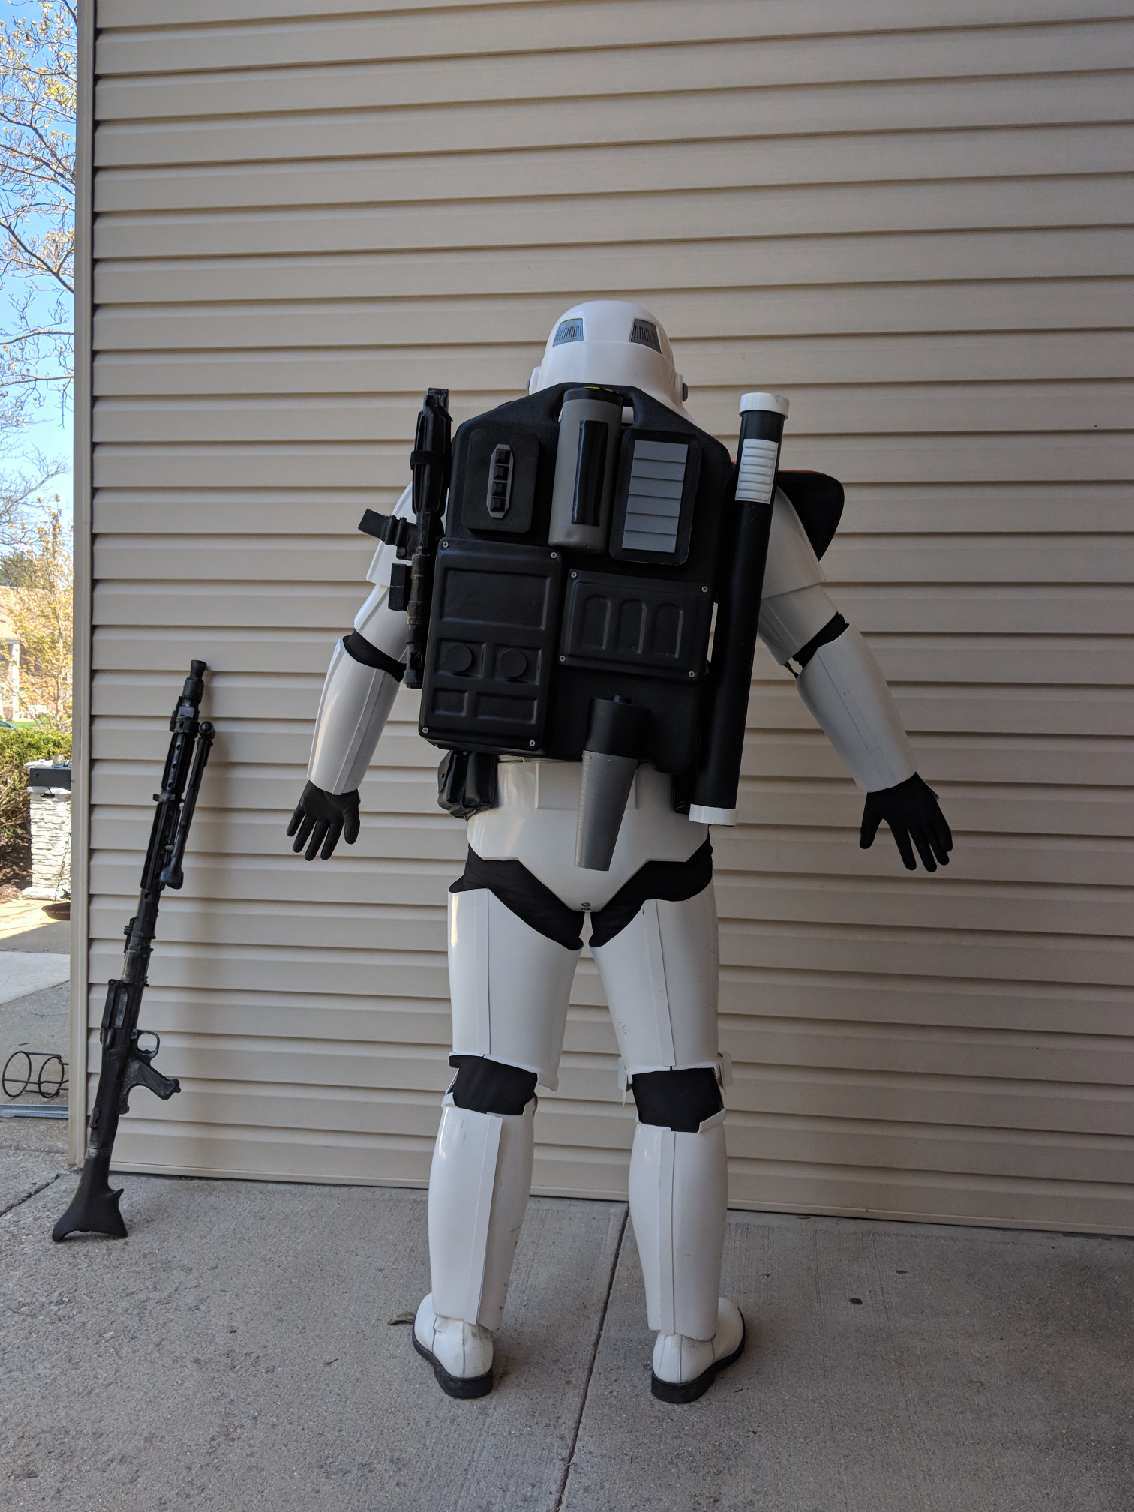
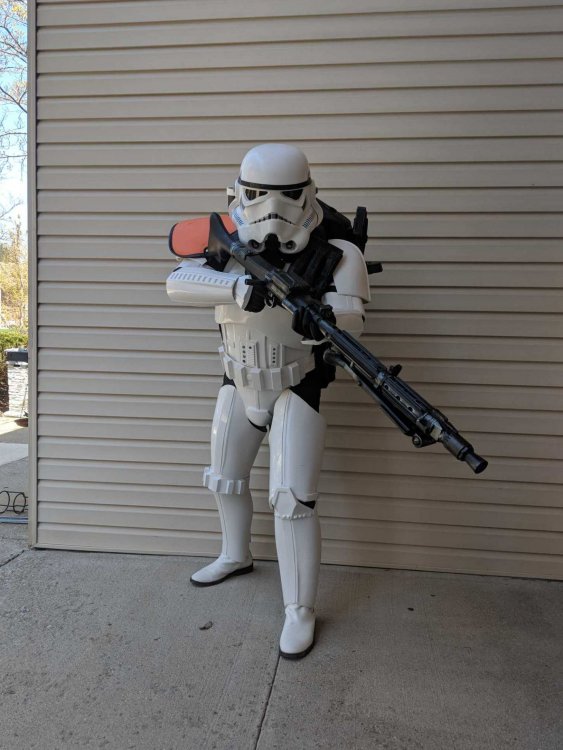
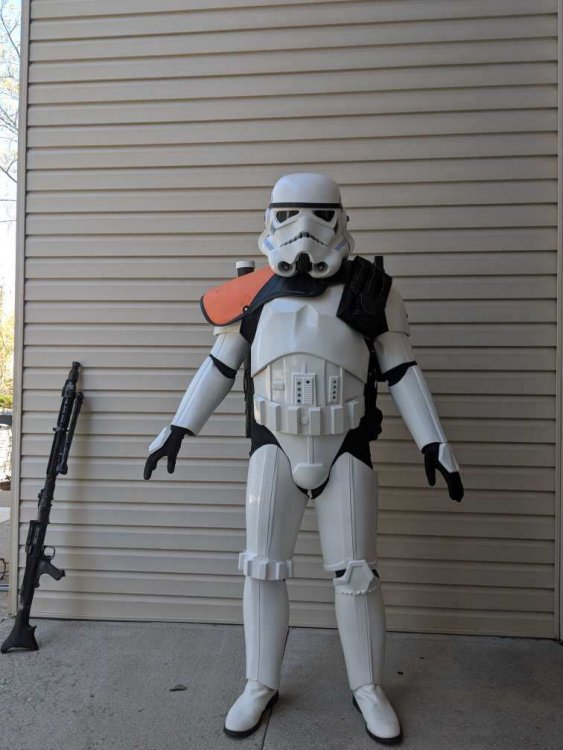
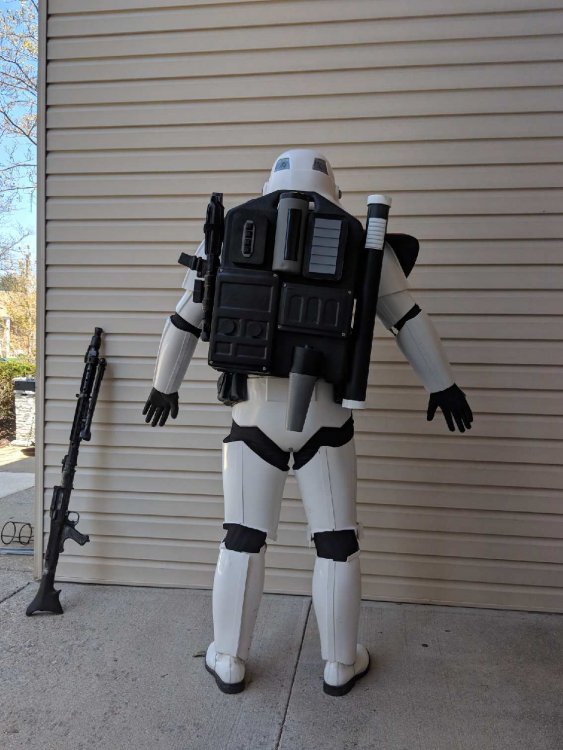
Well, I haven't been posting as much as I'd have liked last week, but it was because I wanted to really focus on finishing my costume before the release of Solo... and I did! I also wanted to be part of the Legion for the release, and so I just got my official approval and ID today!!! I am now TK-41123, part of the Forteresse Impériale garrison in Canada!! I will so be trooping with them on Friday at a cinema for the release of Solo and let me say that I am pretty stoked! I'm so thankful to everybody who contributes to this forum and who helped me throughout my build, and I am sorry for having been a little silent lately - too muc busy with life stuff and finishing my armor, but I should be back *for real* now and I'll try to help people as much as people have helped me. I will also be posting my EIB application very soon, as I have (hopefully) taken care to do all that is needed for the EIB and Centurion levels. Here is a little shot for now, before I post the rest of my stuff :4 points
-
The RS comes with identical shins so it doesn't matter which leg they go on since they are the same for both sides. They are actually made from two outer halves (outer right and outer left) with the right side being slightly longer as per the original LFL shins. You can trim the ankles so they line up better if you want a cleaner look or keep it true and stay off-set.3 points
-
I do have the stencils for painting them. Which is probably the route I'm going to go. I'm doing all of the electronics in the helmet now. Then I'll run and grab paint.2 points
-
Bravo et felicitations! Have fun at the premiere! Nice to see you got it all done so quickly. Hard work pays off!2 points
-
Props to you sir! Hoping to have my approval back soon as well. I just heard back from my GML saying everything looked good so it shouldn’t be too much longer. I have also been hoping for the Solo premiere to be my first troop! Sent from my iPhone using Tapatalk2 points
-
I had also worked on the shoulder bells. 12" up from the return edge of the spine and 5" horizontally from the bottom. I used a cloth measuring tape and then traced my lines. I was a bit nervous about how much I was trimming off, but after looking at other build threads, I steeled myself and made the cuts. I noticed that one shoulder bell was way larger than the other one, but I heard that is just how RS makes them. Here they are, minus the straps on the insides. http://2 points
-
Happy BBB day, the tube stripe police will be with you shortly. Looking good! Sent from my iPhone using Tapatalk2 points
-
Oh wow I just saw it, it worked!!! Yesterday I sent my membership application for 501st and today (!) came the e-mail with the confirmation: I am officially admitted! My costume was taken off and I am now a member of German Garrison !!! I am very happy and thank you all for the great support, the help, the encouragement - without you I would not have made it! I especially thank Christoph for his direct support here in Germany and also special thanks to Paul (troopermaster), you`ve just made it possible with your great armour kit and all your great help here!!! Also thank you Joseph and lucnak for all your advice and your help through my building process! Thanks to all who encouraged and helped me! You can`t imagine what this means to me. Not too long ago I would not have thought that any of my wishes would come true at all or that I am still here. When I think about it, it fills me with pain and I`m so glad that this time is over and I hope that it never will come back. Maybe it sounds crazy, but all this, the trooper and the membership here, are good signs for me for a new beginning. I'm really looking forward to my first troop Thank you guys from all my heart!2 points
-
Yes there are a few mods that need to be done. That's what I'm doing now1 point
-
Looking good so far. :-) If you are going to apply new tube stripe decals or paint stencils/templates, feel free to stick up some pictures of them before you do. It looks like the ones you’ve applied could be on the opposite cheeks. The furthest front Stripe usually gives this away. :-) Sent from my iPhone using Tapatalk1 point
-
Congratulations and welcome to the Legion Trooper1 point
-
Many congrats on your clearance!! Well done. :-) Sent from my iPhone using Tapatalk1 point
-
e11 trigger frame and guard preceeding1 point
-
brow looks good. You want just enough clearance from the eyes so it doesn't look "hero". Those gaps will vanish when you add the screws. Also, sometimes when you screw in the sides and therefore compress the back part of the helmet, the brow curves up a little. Try clamping the sides together before drilling the holes.1 point
-
Trying to do something each day when I can. Trimming the belt angles. I see on the AM build it should be 48mm from the end before creating the angles, but the belt with the kit is only 45mm. So hopefully not a big deal. Trimmed1 point
-
Yep, I screwed up my tube stripes too. It is almost a rite of passage to be a TK.1 point
-
Thanks mate and thanks for your help along the way; all really appreciated!1 point
-
LOL. Totally understandable! You are gonna love the troop!! Again, nice work on the build!1 point
-
Congrats!!! You look awesome! You need to request access for 501st. Welcome to the ranks, trooper!1 point
-
Rolling right along. Good Work so far!1 point
-
Congratulations on your BBB Craig. Your spacing looks perfect, but yes.. please flip that around before applying. Making me nervous1 point
-
Nice job! Feel free to stick around and help out others Sent from my iPhone using Tapatalk1 point
-
Congratulations and welcome to the ranks! Your armor is looking awesome!!1 point
-
I pre-ordered a kit from Anovos in August last year and was told that it was going to arrive in December. In December they told me it was going to take a bit longer, so I carried on waiting. Then, in March, on the deadline day they set themselves I got a message that the kits were now on the way to the states and would be shipped "soon". At this moment I cancelled the order because I was quite mad at them due to the immense waiting time and the constant delays. It then took them more than a month to refund my money. In comparison, the kit I have ordered now is by RS Props and between the day of my order and the arrival date were 7 working days. So choose wisely1 point
-
Contratulations and welcome to the Legion Trooper You can request yout 501st status here1 point
-
Helmet Assembly1 point
-
Alrighty, my armor delivery is just around the corner and I'm getting pretty excited to get started. I've been trying to keep busy preparing with more research and assembling my equipment. To that end, one of the questions I had when I first started on this journey and one of the reoccurring comments for beginners like myself are, what will it cost? While I will not address armor costs for obvious reasons, I have been keeping track of what I've bought, where I bought it (links are embedded for online purchases) and how much it cost. Here is a compilation of all the things I've acquired in three categories; Tools, Accessories and Materials. I generally looked for quality, preference, what I felt most comfortable and informed on and the best price. I would not say I went overboard because I could have easily spent more but I also know one can do this on more of a shoe string budget so I'm not trying to discourage anyone. Hopefully this will be useful to some. Tools: (1) Lexan Curved Scissors (Amazon $10.40 USD) Not shown in Pic; I purchased Lexan Straight Scissors for $10.40 too since I saw evidence of curved leaving 'wave' patterns when cutting straight lines (less to sand?) (2) Small Clamps w Rubber Articulating Tips for outer glue clamp work (Harbor Freight $4.49 for 4) (3) Pencils for marking cut lines, 5B - slightly darker (Hobby Lobby $3.98 for 2 plus sharpener) (4) Respirator for paint, glue fumes, Acetone, etc. (Ace Hardware $34.99) (5) 3M Sanding Sponge - Fine, for light shaping and finishing edges (Amazon $5.44) (6) Folding Lock Back Utility Knife (Harbor Freight $5.79) (7) Qty 12 - Neodymium Rare Earth Magnets 7/8x1/8 N40 for inner glue clamp work (ebay $19.98) (Ref: Joseph's Magnet 101) (8) Blue Painters Tape (Already have a bunch on hand) (9) Set of 12 small files, various shapes - half moon, triangle, flat, etc. for Frown/Teeth (Harbor Freight $4.89) (10) Soft measuring Tape US/Metric for circumference and angled measurements (Hobby Lobby $1.99) (11) and (12) Tandy Leather Craftool Line 24 Snap Setter 8058-00 + Tandy Rivet Anvil - 20/24 (Amazon $8.54 USD) (13) Leather Punch Tool for creating holes in strapping and elastic (Harbor Freight $6.99) (14) Rivet Gun for helmet Rivets (Already had this on hand) (15) TEKTON 30812 Double-Faced Soft Mallet, 35 mm recommended as easier on snaps (Amazon $7.91) (16) Not numbered in pic (40 inch Aluminum Ruler US/Metric straight edge for measuring/cutting cover strips (Harbor Fright $2.99) (17) Not Shown in pic (Dremmel with sanding drums for helmet eyes and smaller rounded corners) (18) Not Shown in pic Popsical sticks for even spreading of E6000, toothpicks for cleanup of paint or glue. Various sandpaper 150, 180, 250 grit for smoothing edges and roughing up of glue surfaces. Subtotal: $ 118.88 Accessories: (20) TK Boots Size 12C ($84.00, $102.00 USD Shipped) (21) Correct TD Screws (Justjoseph63 $3.25 USD) (22) 5/16th Single Cap Rivets - set of 4 REPLACES HEAD SET RIVETS FOR AMMO PACKS (Justjoseph63 $3.00 USD) (23) Centurion Level Rivet Set of 10 (Justjoseph63 $2.50 USD) (24) Correct screws for TK ears (Justjoseph63 $3.75 USD) (25) Centurion Flexible Silicone Hand Guards (Justjoseph63 $25 USD) (26) Lavento Men's Compression Long-sleeve T Shirt, Large (Amazon $12.99 USD) (27) CompressionZ - Compression Pants Men, Large (Amazon $18.97 USD) (28) Trooper Black Latex Gloves (Trooperbay $9.00, $16.99 shipped) (29) Neck Seal (Trooperbay via Amazon ($59.99 +Shipping) Subtotal: $248.44 Materials: (30) Qty 100 Nickel plated Line 24 SNAPS (Joseph recommended) (ebay $32.33 USD) These will be for double snap method on 2 inch strapping. (31) E6000 220011 High Viscosity Adhesive - 3.7 fl. oz (Amazon 3.7fl.oz. $7.80) (32) Cosmos 2 Inches Wide 10 Yards Black Nylon Heavy Webbing for high tension areas if you are using the double snap method. (Amazon $6.98) (33) XFasten Adhesive Hook & Loop, White, 1-Inch x 10-Foot Industrial Grade Velcro (Amazon $12.97) This will be for back of calf closure although I'm not entirely certain I'm going with Velcro for this as yet. (34) Dritz Ribbed Non-Roll Elastic, 2" by 1 yd, White (Amazon $7.69) This is elastic between chest and back plate, under shoulder Straps (35) Dritz Nylon Strapping - Black - 1" x 60" (only need 8ft total) (Amazon $6.13) Additional nylon strapping as/if needed for additional areas besides torso-2 inch strapping. (36) 1/4 inch wide white Elastic (1 ft.) for securing rear shoulder straps (Hobby Lobby $ 4.95) (37) Performix 11203 Plasti Dip Black Multi-Purpose Rubber Coating Aerosol (Amazon $5.82) For coating inside helmet in black. (38 and 39) Gourd 1 Inch Heavy Knit Stretch Elastic 5 Yards White and 5 Yards Black (Amazon $9.99) 1 inch wide black for shoulder bells, etc. and 1 inch wide white for drop boxes. (40) Sugru Mouldable Glue - Original Formula - Black 3-Pack (Amazon $9.99) For attaching lenses to inner helmet (Ref JustJoseph63) Subtotal: $112.45 Total: 490.17 nylon (correction previously referencing elastic) Additional Consideration: I May go with 2 inch nylon (correction previously referencing elastic) on arms and 3 inch nylon (correction previously referencing elastic) to hold upper thigh to inner belt but I need to have the armor in hand, fitted and positioned such that I can determine what will better hold some of this in place. This is by no means an end all, complete list. I have numerous aditional items to obtain (helmet stuff, TK Belt (awaiting armor fitting to size it), holster, E-11 and probably things I haven't even thought of yet) but this was the minimal "base" list of things that I both; felt comfortable enough in my research to purchase and knew I'd need to begin and get through much of the build. Special thanks to Joseph for helping me to prepare for my build and getting me set up with many of the Centurion required components (absolutely love the Centurion Flexible Silicon Hand Guards). He is the epitome of Stormtroopers helping Stormtroopers. While I have a growing list of 36 links to reference as I build, below were excellent supply and resources references that helped me to fill in a number of gaps: Supply list for your TK build - by justjoseph63 (Extensive list of tools/supplies for TK build) TK Resource Thread - by bobojuice (Great TK Build Resource References)1 point
-
Very INFORMATIVE !!! Ps-I Inboxed u, Joseph. Sent from my iPhone using Tapatalk1 point
-
Just took a “fresh look” at the forearms after being at work for 34 hours and I think they’ll be fine as is. If I trim them down to get rid of the ridge, I’ll have to lose ALL return edge to save myself from nasty armor bite and they’ll still be a bit snug at elbow. So, foam as needed it is! Sent from my iPhone using Tapatalk1 point
-
GML gave me the verbal OK. I'm in the club! ** UPDATE ** Got the official approval email. I am now one of 113 HWTs as of today per my GML, an most likely the first in my garrison
 1 point
 -
It's simple; if you host an image or anything on the internet and you don't own the web space, it's no longer in your control and it can be gone tomorrow. Photobucket has always been garbage tier service, but I'm kind of glad it showed so many folks that this kind of thing can happen. If you value information on the internet and don't want it gone tomorrow, host it yourself and save a copy locally!!!1 point
-
That’s correct when paring them up the shorter swoop goes on the inside (conforming to the muscle) but if you are really in for it then it doesen’t matter since the movie-suits on occasions had doubled up part, for example the shins could be two outer parts (longer swoop on both sides)1 point
-
Lots of extra material with this kit, no need to add shims. That being said, time to trim the junk in the trunk Made the cut on the same line as the 22mm notch Trimming the shoulder straps Instead of scraps pieces to make a larger gluing surface, I used the epoxy putty. Trimmed the smaller plate Trimmed the larger plate, happy with the results1 point
-
I can see them! Question... Are your forearms too loose? It could be an optical illusion, but they look a bit big. I don’t think it’s an issue just maybe a comfort thing if they were a bit tighter. Also are your ab buttons scratched? Or is that an illusion as well? I also agree with the shin comment which you already took care of. Other then that, if your getting ready for submission pics I’d lift the belt a bit and rotate the legs so they line up a tad more (I speak from experience, I was dinged for it). These are just my opinions. You did an amazing job on this kit be proud. Sent from my iPhone using Tapatalk1 point
-
Going to follow this one. Good Luck Mike. This should be a fun one.1 point
-
Thanks Shashachu! I will trim to fit.1 point
-
How much is your undersuit? Sent from my iPhone using Tapatalk1 point
-
1 point
-
Can't see them! But your paint job is perfect!1 point
-
I can't see them, either. All I see are logos for bilderhoster.net.1 point
-
Ah, your photos won't display for me! Not sure if that's on your end or on mine...I wanna see!1 point
-
I added a snap to the ab, and I took as much paint as I could get off the butt snaps, and just replaced the cod rivet. If it's still not enough on the snaps, I'll just replace those as well once I get more in. As for the spacing between my neck and the top of the back plate, I tried bringing that up a bit (was a bit awkward holding it up as I ran out of snaps, so haven't been able to shorten the shoulder straps yet). It appears I can bring everything up a bit, but in doing so, I can't help but feel like my butt is pouring out of the bottom (unless the thong look works for me and I don't realize it ). Not sure what the lesser evil would be... leaving it as-is with more space above the back and below my neck, or moving everything up and creating more space between my thighs and butt plate (with some exposed flab), or creating a bit of a gap between the kidney and butt plates to allow the back to go up and the butt to stay down.1 point
-
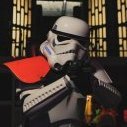
Some screen helmets for reference and as you can see they are a bit rugged and I think the way you have yours are perfect and would like to suggest that you use the lens (tape it in temporary) to see if the look appeals to you - as it is your helmet, I´m mearly offering my opinion1 point
-
We’ll be watching1 point
-
Thank you very much! Sorry I posted. I had other people direct me here and said this would be the place to ask. I have gone ahead and jumped on SpecOps so hopefully someone has some clarity. I guess my size is quite difficult to find as far as armor that is already ready to go and trimmed.1 point
-
There are 2 choices, Jim... You can pick up the supplies at a craft store or online (nylon, elastic, strapping, snaps) and do it yourself, or get in touch with Sara (screen name Alay), who I believe is selling the complete kits. If you do decide to go the DIY route, I have a snap setting tutorial here: https://www.whitearmor.net/forum/topic/44617-snap-setting-101/ Supplies can be found here: https://www.whitearmor.net/forum/topic/31404-supply-list-for-your-tk-build/ Another GREAT item to think about is one of Pencap's thigh garter systems. Makes life SO much easier! I can attach my thighs in about 5 seconds each, and they will never, ever slip. https://www.whitearmor.net/forum/topic/29991-thigh-garter-system/1 point
-
Could I add a suggestion to your great info piece? When making magnet sachets, it's a really good idea to make sure that you've got polarity-correct pairs. An easy way to help identify magnet pairs is to assemble them using fabric with high-contrast colors. Kind of like this:1 point
-
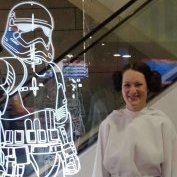
Here we go, a pic heavy update of the very first full fitting we did today. So I really didn't know how it would all look as one coherent costume. There are some finishing touches to do; hem the bottom of the cape, add pleats to the inner robe, new boots, finish the reveal mask greeblies and clips joining the two halves, and other little fitting tweaks, but it is otherwise pretty close to finished. It's two weeks until we debut this one at Supanova, so plenty of time to finish those extras. Pics with both the full mask, and reveal mask... Although we were larking about in this last shot (it was the end of our photo shoot!), it shows the undersuit which is a layer of faux leather over fleece wadding, then spandex underneath. It was hell on earth to sew this and is very rough inside...1 point
-
I have the exact same kit. Getting started was hard. I too started with the forearms. That and the biceps were a good place to figure out the basics. And... congrats on starting the build! Sent from my iPhone using Tapatalk1 point
-
Hey Molly, Like the above poster, I use an audio system in my TK armor that works great and has a very large range of easy adjustability, called TKTalkie. The guy who runs it's name is Brent and he's on the FISD boards here as lerxstrulz - someone may have already created a custom voice map for the TKTalkie platform that sounds like Phasma (I know it's also able to be used for multiple character voices with ease). If anyone did, he might know. Or he might just have some suggestions. Hit him up! Good luck1 point