Leaderboard


Popular Content
Showing content with the highest reputation on 03/25/2018 in all areas
-
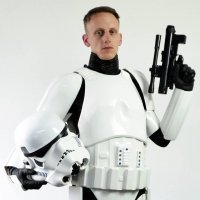
I just got my approval! I am now TK11485.....whoo hoo! Agreed Jordan! I think I will drop my thighs about 1/2" and raise the shins about the same. The knee will overlap the thighs if I tweak it. I imagine I will be doing a lot of tweaking as I start figuring out what works best. Cheers!4 points
-
I just received my basic approval and 501st membership! TK 11485 reporting for duty! Now, I need to finish my blaster. I don’t think this is going to work.... Cheers! Sent from my iPhone using Tapatalk2 points
-
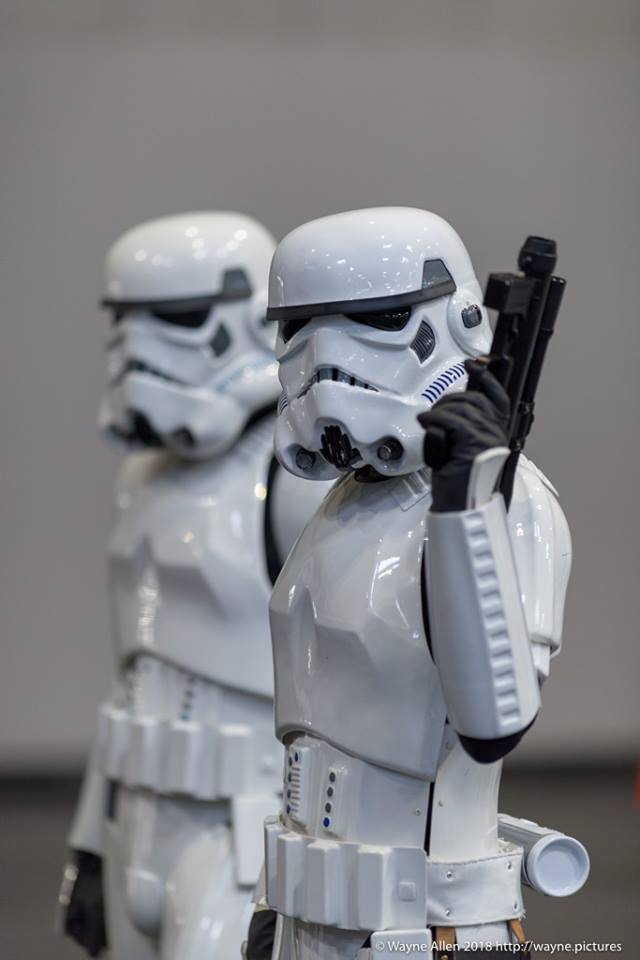
Centurion class Hero from DA Props2 points
-
I have a BFA/ DA Props and love it. TK-21799 Centurion. Sent from my iPad using Tapatalk2 points
-
Tubes are getting clean up and prep for ano....... so close now2 points
-
Until we have better sources, please use the below as the paint guide.1 point
-
Well, the button paint is literally not dry on my WTF TK and look what arrived on my doorstep today! My first build (WTF) was definitely a learning experience. I had to make numerous modifications to the armor to fit my 6’1” , 200 lb frame. Everything finally turned out well. However, I really wanted something that would fit me better. So, I ordered an AM 2.0 kit last week and it arrived today! I must say, this kit is REALLY nice. The packaging was impeccable as you AM builders know. I spent some time comparing parts to my WTF kit and I really think it’s going to fit me well. After playing with parts for a bit, I decided to jump right in, and get started on the forearms. Here we go again! Sent from my iPhone using Tapatalk1 point
-
Btw the CRL for TFA the upper sabatons(the armor pieces on the boot) are pictured with incorrect placement. the top edge should go under the spats not on top of it. It always looking wrong to me but I just figured it out today. They were displayed wrong in the prop show. Scenes in the TFA shows with it under but also showed with it slightly over. I think they are meant to be placed under like every other set of sabaton I have seen on every other suit of amor. I think that during shooting they had a tendency to pop out of placement because of the method of attachment. Its shown here slightly above and then below the spats. Lastly if you look at the visual dictionary for the force awakens, it shows the sabatons under the spats. So that's my reasoning for why the spats have incorrect placement.1 point
-
ouch..so expensive variants Thanks i will think about it.1 point
-
Regarding the sides, yes remove up to roughly 6mm per side. The cover strip is roughly 10mm in width. 12mm armor surface width will give the cover strip plenty of surface to glue to and everything will look uniform afterwards. The top and bottom return edges are not required. They give the armor the illusion of thickness. Unless you want or need them, remove as needed. Reference photo
 1 point
 -
Hiya. I’m loving my TRamp system. It’s not the cheapest in the world but it’s all in one unit, easy to use and sounds GREAT! Here’s a little demo I did with mine: Or here (skip to around 12mins): Here’s a link to their Facebook page you’re interested. Excellent service and an awesome piece of kit. :-) https://www.facebook.com/trooperamp/ Best wishes. Dan Sent from my iPhone using Tapatalk1 point
-
Yes, EBI very shortly I hope. I think I can probably finish my blaster this week. Sent from my iPhone using Tapatalk1 point
-
Beautiful set of armour that fits you perfectly. Congratulations on your approval, EIB next? Sent from my iPhone using Tapatalk Pro1 point
-
Very tidy work so far. Lovely loft space, too. ;-) Following with interest.1 point
-
For anyone still interested in any progress on these scopes,etc. please go to my Facebook Bulldog Props Page. Due to the photobucket fiasco, I haven’t found a reliable way to post pics so I am using the Facebook page for now. https://www.facebook.com/BulldogPropsJapan/1 point
-
The tall one fits my iPhone and wallet Sent from my iPhone using Tapatalk1 point
-
Yes sir! Here is the link. You are going to love the AM kit! It is TOP NOTCH in my opinion!1 point
-
FWIW, the Anovos belt... sucks. Any of the belts you'll find on here/Trooperbay/etc. will be more rigid, so no holster sag.1 point
-
The baton is still the wrong image and still the wrong description There's no rectangular area, and is very likely a regular riot baton.1 point
-
Not sure if I ever posted my left bicep yet. I'm not too concerned with the oval shape because we'll my arm is not circle shaped.1 point
-
I bet. I would have thought originalal brass brazing would have been something you could pull off. Sent from my SAMSUNG-SGH-I257 using Tapatalk1 point
-
Here you can see it roughly on the RS suit...I used measurements from Troopermaster, top and bottom 25mm and middle 140mm from the bottom seem to be pretty consistent with the original and as to how far in from the edge just make sure the holes are hidden by the coverstrip and not to close to the edge they pull threw, I made mine 5mm from edge to centre of hole and so far so good, the RS seem a bit further in1 point
-
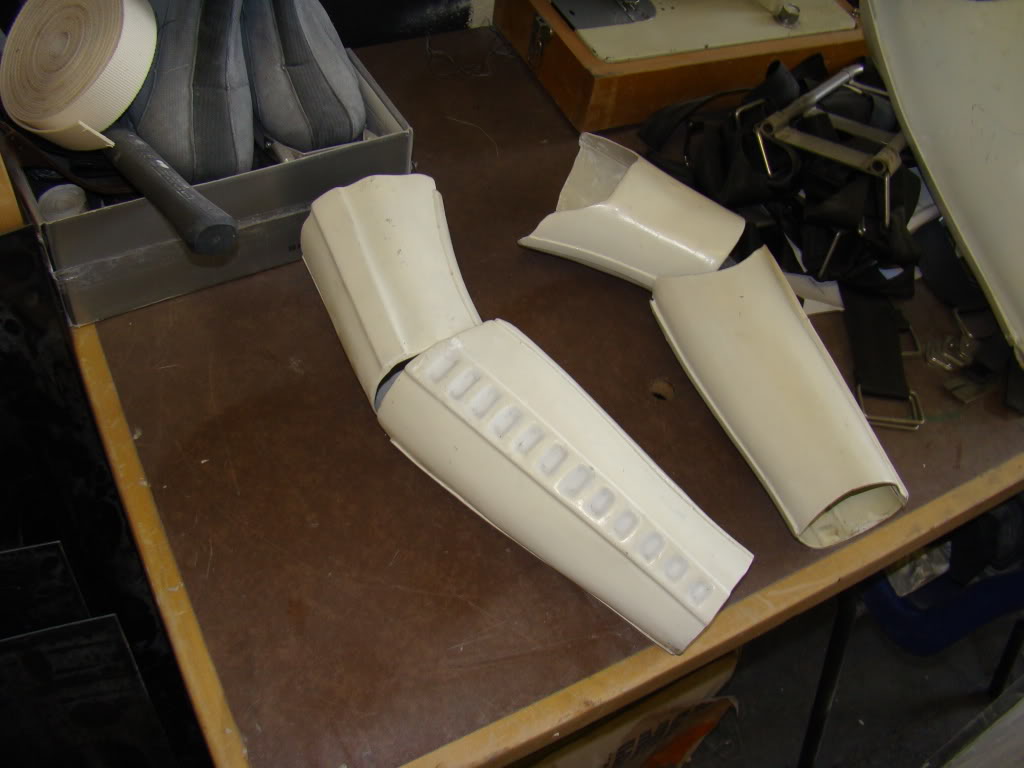
Yeah, that's what I aimed for... I wanted it to be tight enough because I think this part (and the legs overall I guess) looks way better when its more slim/tight. I still left a bit of free space around the knee and the calf and overall though... However, looking at the pics, I'm not sure if I tried them low enough. But I think it should not be too much of a problem - hopefully. ^^ Sent from my LG-M470 using Tapatalk1 point
-
Congratulations trooper1 point
-
Good to hear They looked snug at the ankle so was worried for a bit they don`t fit when you got the boots on - that tight fit will look awesome1 point
-
Vocoder looks great Shins look the part to and question though, did you size them with boots on?1 point
-
Quick update about my build. I have worked on a few things this week. One of them is the shins - I've started fitting them. And before I go further, I just wanted to make sure the correct parts are put together. They were marked from the trimmed kit I received, but still asking just to make sure. Here is how I'd assemble them : From what I've looked at, the correct parts seem to be together... Am I right? 8-) Also, on another note, I re-did my vocoder because I thought it was way too glossy. This time I really did stir the paint from the inside - not just shaking the tin like a mad guy - and the result I amazing. It's completely different - all satin - and I like it so much! Was worth re-doing it all over again. Here's a picture of how the paint looks now : As always, thanks for your so valuable tips guys! And have a good day!1 point
-
Congrats trooper, welcome to Centurion!1 point
-
Congrats on Centurion!1 point
-
Alright Julian thank you for your Centurion application, let's get you approved shall we. CRL and Centurion Application Requirements: All required submission photos are now present. Andrew and I absolutely delighted to welcome you to Centurion. Thank you for making the suggested adjustments mentioned during you EIB application, Great job! Other-Armor Fit/Assembly: That's it Julian, welcome to Centurion1 point
-
Perfect thank you1 point
-
Hi guys, just gauging info of how many troopers have a cleared TK with armour from Andy Rodgers (DA Props / BFA / Shed Of Glittering Delights)? I'll kick off with myself who has a Centurion level cleared Stunt TK and also a Hero Promo Trooper.
 1 point
 -
I've got the ones from Imperial Boots:1 point
-
Ukswrath’s system Sent from my iPhone using Tapatalk1 point
-
Keeping tabs, like to know how many (DA props) BFA armor troopers there are out there1 point
-
TFA will be easier to build as the finish isn't mirrored but slightly dingy, and parts have been around for a couple years so more vendors and the kinks have been worked out for the most part.1 point
-
I was the first Bfa/DA Props Centurion TK number 54 and still wear the armour today
 1 point
 -
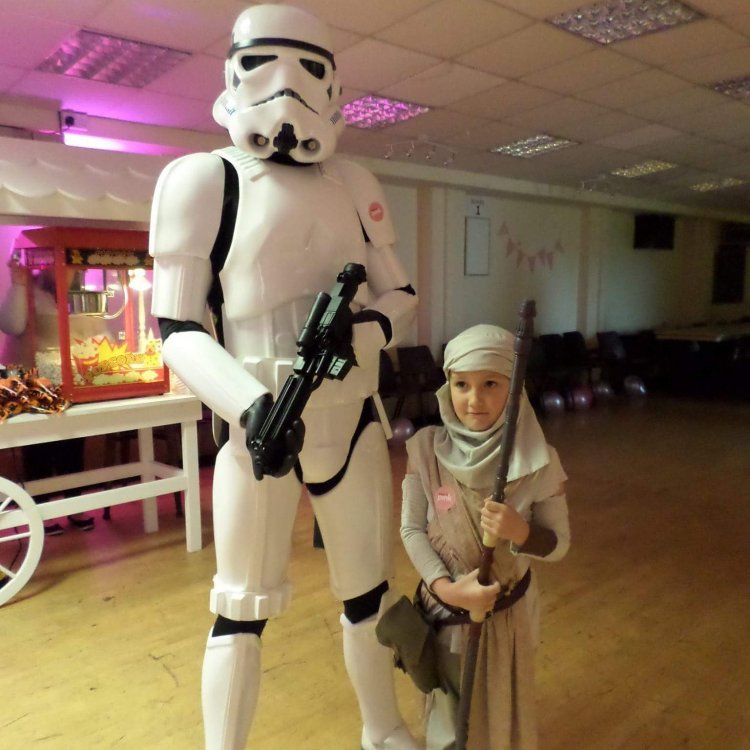
I was approved! Introducing TK11372 Sent from my iPad using Tapatalk1 point
-
Also, for now, we don't have enough CRL images to complete the TLJ Phasma CRL, so this is a great time to add any requirements to it before it goes up for LMO review.1 point
-
PLEASE PLEASE stop telling people this! It is *not* in the CRL and you are giving a lot of GMLs fits right now as people are cutting them off and applying for membership and getting denied. We can update the CRL in the future, but I do ask everyone to, when giving advice, to not suggest anything that conflicts with the CRL.1 point
-
Awesome. Is the grip frame available yet. Thats money in your pocket waiting. Sent from my SAMSUNG-SGH-I257 using Tapatalk1 point
-
Hi! Im a Phasma here in Orlando. I think you may have already found the Phasma Costumers group on FB. I have fabric and rubber gaskets, both are great. For LFL and Disney troops I like to go with the rubber ones from Imperial Gaskets. For casual troops either ones work. My armor is fiberglass which really does a number on the fabric ones. Shouldn't have that problem with light ABS, not sure about Jim's as it is flexible fiberglass. My neck seal is Anovos which is super nice but hotter than Hades.1 point
-
If you're happy with it that's great, power to ya! While it may be the best blaster that you have personally ever owned many people on this forum will disagree with the statement that it's the "Best E-11 Blaster EVER". I commend you for doing your research on the lawsuit between Lucasfilm and SDS however you are very incorrect in assuming that Andrew Ainsworth at Shepperton Design Studios is "the original prop maker of all the props in Star Wars A New Hope" he actually didn't make any props, not a single one. He was contracted to manufacture the stormtrooper armor for the costume department and that's it. He DID NOT design or sculpt the stormtrooper Armor, that honour only goes to Liz Moore (R.I.P.) and Brian Muir. Andrew Ainsworth being a maker of canoes and fish ponds at the time simply molded Liz and Brian's sculpts, that's all. The actual props were made by Pinewood studios, SDS had absolutely nothing to do with the props. The golden standard for the E-11 Blaster will always be the real genuine vintage parts used on the original props. Many people on here have paid more for a real vintage Scope or Counter than you have for your entire blaster so you'll understand why they would disagree that this is the best blaster "EVER". It just doesn't get any better than the real thing. However I will point out the the power cylinders on the airsoft based E-11 blasters in the new Rogue One movie are believed to have been taken from an SDS E-11. However these power cylinders are very inaccurate and much different than the original power cylinders seen in A New Hope as they claim to be.1 point