Leaderboard


Popular Content
Showing content with the highest reputation on 07/19/2017 in Posts
-
My replica Hengstler is coming along nicely3 points
-
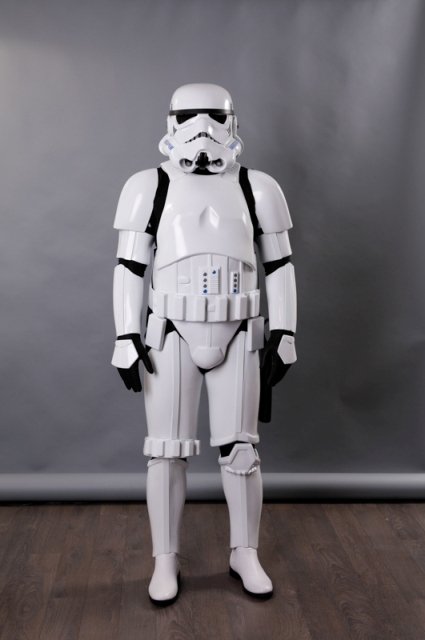
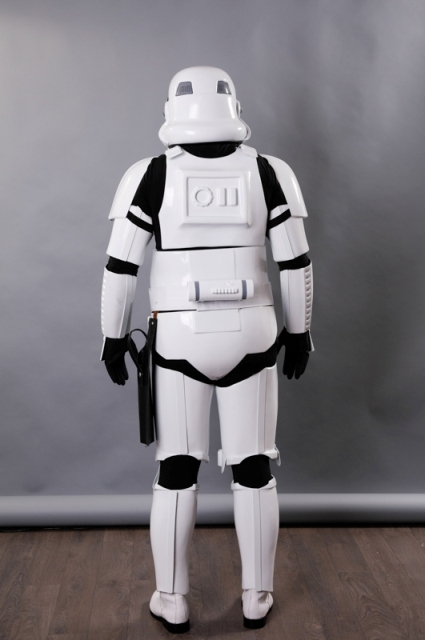
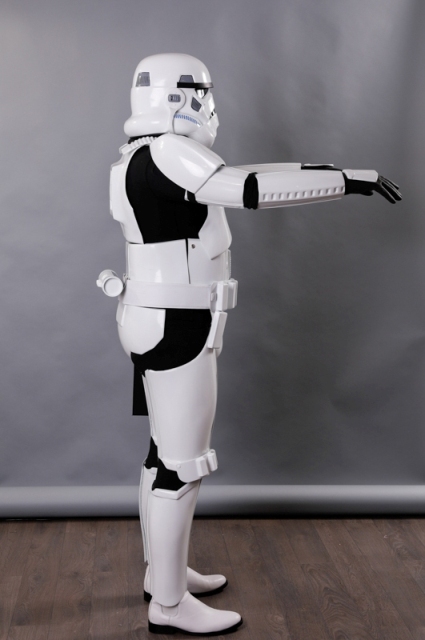
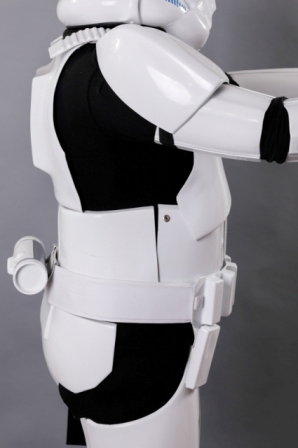
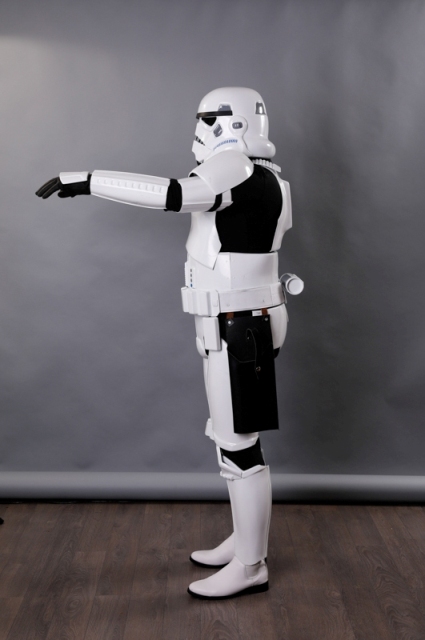
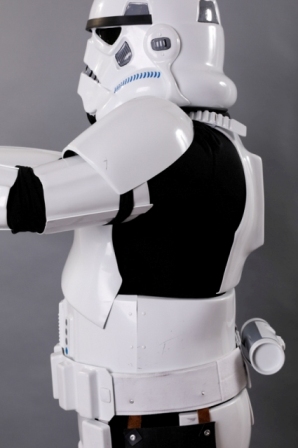
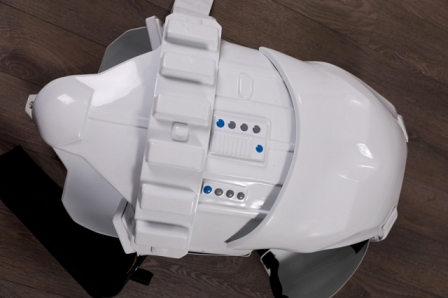
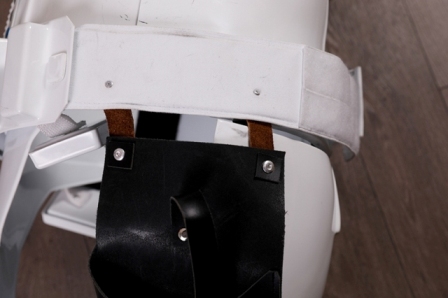
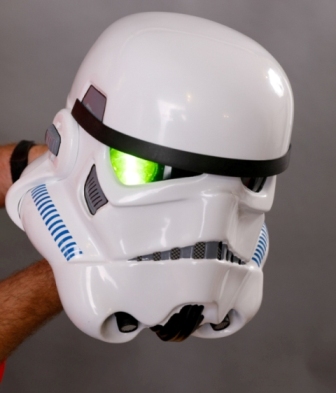
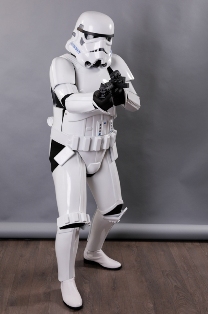
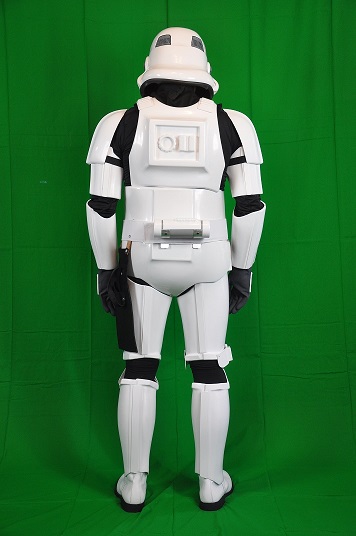
Name: Martin Dauphinais FISD name: Dauph197 501st ID: 66303 Garrison: Forteresse Impériale Armour: Authentic Props (AP) Helmet: AP Blaster: Brett Fulford Height: 5'10" Weight: 190 lb Neck Seal: Darmans Props Electronics: None at this time Pictures:
 2 points
 -
At the very least the holster should have to be removed, and a flashlight added to the right side of the blaster. We can't make it that simple to have cross-approval on two costumes. This is the 501st after all, I think our standards are a little higher than that. Some of the troopers in this photo didn't remove their holsters and it's actually quite Noticeable, also some of us have flashlights while others don't. While the R1 TK was definitely inspired by the ANH Stunt TK there are obviously many differences and we need to draw the line somewhere, these two small things are rather noticeable differences IMHO. 1 Holster Removed, 2 Flashlight Added. We actually had 10 of us out there in armor that day at the beach, I did the photoshopping myself, here's another photo.2 points
-
Going to have two numbers availible for the display2 points
-
I've seen something like this for Army Flight helmets, so I don't think it's impossible with some creativity getting it to reach the sides of the helmet.2 points
-
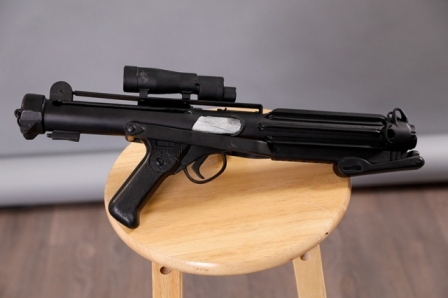
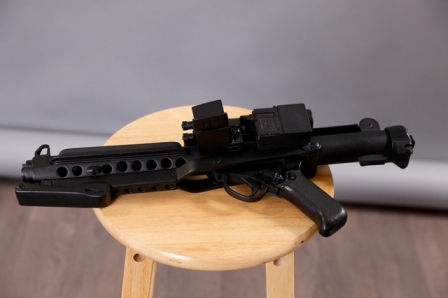
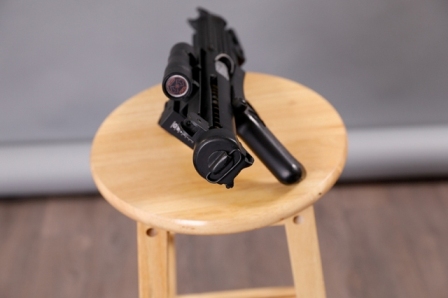
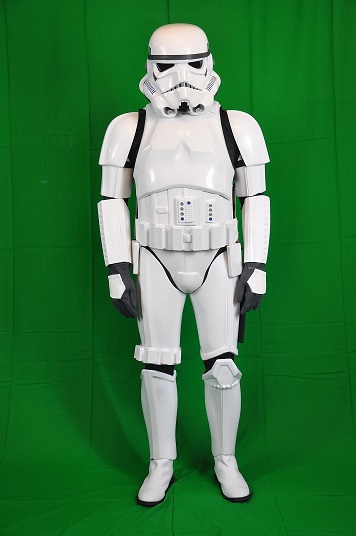
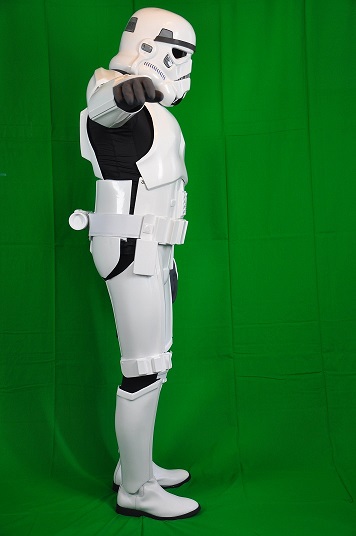
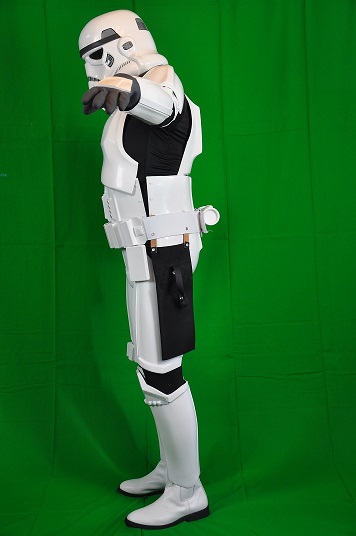
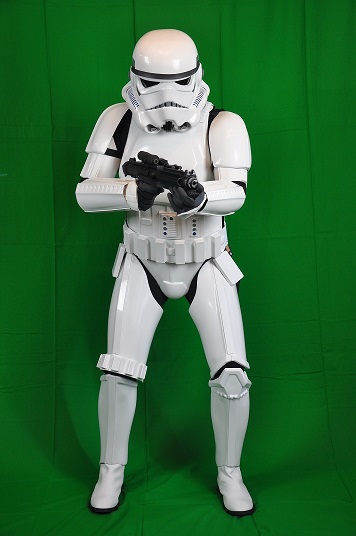
Basic information. Name: James Mihal FISD name: jamihal 501 st ID 72179 Florida Garrison Mandatory information. Armor and Helmet: ATA Blaster: Hyperfirm Optional. Height: 5'7" Weight: 173 lbs Age: 60 Boots: TK Boots Canvas Belt: Trooperbay Neck seal: self made Holster: Trooperbay Hand Guards: Trooperbay Front: Back: Right side: Left side: Action Shot: Side Details: Abdomen Detail: Strapping: Helmet front: Helmet back: Helmet side: Helmet Lens: Tips: TD: Holster: Cod and Butt attachment: Neck Seal: Blaster: Thank you for your consideration,

 1 point
 -
Yeah tell me about it! Sometimes the shipping cost more then the item itself1 point
-
And you did absolutely right in doing so, for me that`s the fun in building, you try something and see how it goes and if your not happy with the result, redo and I say use the templates but not a brush, in her build she uses a sponge and it looks super-easy and super-clean! My TX came with a ready-made helmet but I´m going to use her tip on my Hero-kit and there are many other great building advises, tips and tricks from her and others that really makes it worth while to read it and she also has the tread divided into chapters which makes it easy to navigate to what your interested in for the moment, the shin closure for example is a work of art..so...you won`t regret it1 point
-
So that's a new bucket, new shoulder bells and a new yoke - that's half painted black too!1 point
-
Hi fellow Swedish trooper here....I would repaint and check out Crickets RS build on some great advice in doing the painting1 point
-
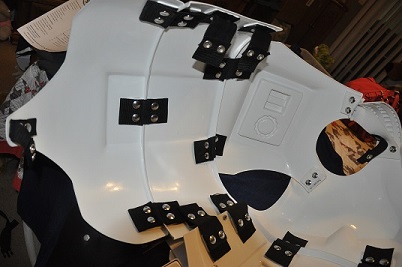
Made this the other day for my Shadow and have extra pieces to make one for the Hero "yeey" ...made a support-pole for my plastic "mannequinn" using a 30lbs plate, wall mounted door stop, scrap abs, double sided tape, aluminum rods and some soft velcro and printed a Cog and laminated it. Added som duct tape to make a snug fit Put it tohether and then added the scrap plastic using double sided tape with soft velcro underneath to make it more steady and easy on the floors. Ended up putting some soft stuff on the door stop as well and it worked out pretty good. Drilled a hole.....see were to drill? Ready to get dressed...sorry for all the black and I forgot the helmet at home (removed the "feet" as they are no longer needed for support and as a bonus it makes dressing easier). It will be better when I get some stuffing the keep everything lined up properly...instead of wrapping myself in duct tape I will use an inflatable mannequinn and stuff it with pillow cushioning since it won`t be inflated for obvious reasons1 point
-
The box: Started with some plastic, made a 4x4 inch plate (perhaps it`s too big?) Cutting the sides Glueing it together Using the glue as a reference for size and cut the backplate down afterwards and the strip will become the holder for the hook. added some strips for support and for the glue to have more to hold on to and gave the strip a bath and bent it in shape. That`s the progress thus far, any suggestions would be very much appreciated1 point
-
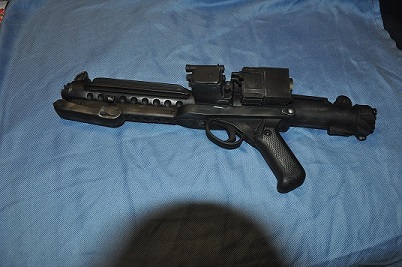
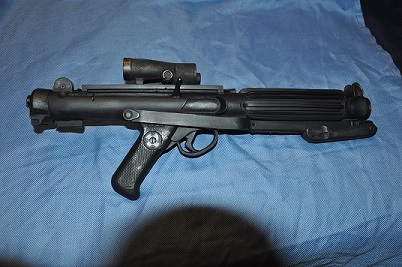
Great photos! Yes, I would love to see it where we can have an ANH blaster with the flashlight on the side. That was my plan, to possibly get a Hyperfirm B grade at some point and carve out a section of one of the rails and put the flashlight there.1 point
-
Look forward to seeing it - TM is the shiz and should look awesome. I love the Hero look too!1 point
-
Yay, Hero build on the way! Excited for you!1 point
-
Great news! I am looking forward to seeing your build progress. I am glad you are already aiming for Centurion. Good luck!1 point
-
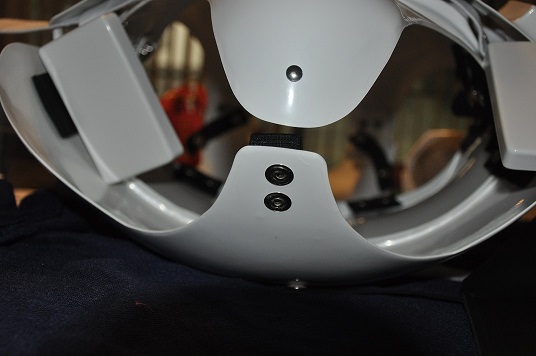
This is the original broken cod piece of the RS armour, clearly showing the brass rivet and washer.1 point
-
Hi Stephen, Your trim lines at the bottom of the sniper plate are spot on. When I did mine, I couldn't find exact measurements for the trimming of this piece so Christine got me some images to review and I looked at the reference ones from the RS suit on this site. I made the top of the snipe plate 10mm, flaring out to 20mm down to the corner, then reducing the taper at the sides. Makes more sense if you look at my build, chapter 20 . The small ab button trim lines look good. You want this piece to sit flat atop the ab panel so you'll need to trim off the vertical parts left over from the ABS pull. I put the piece on my belt sander to make it flat. Test fit it over the ab area, and trim as needed so the edges don't overhang the raised part of the ab that your attaching it to. For the larger button panel I'd leave 8-10mm then do a test fit. Look at my Centurion correction for the placement of this piece, I had to rip mine off, re-trim it and re-center it. At the shoulder bridges I left 3-4 mm on the sides, a bit more on the front and back. The wide rib goes on the chest. Drop boxes should be 10mm tall. I had fun with the belt, for some reason it was really fun to put together. Maybe because it used up so many pieces of the kit, I felt like I really accomplished something after it was done. Good luck.1 point
-
Looking good trooper!1 point
-
Your armor fits you well and that is a great blaster. Good luck!1 point
-
Glad to see you applying for EIB Robert! They're gonna need a few more pictures. Outside and inside of thigh ammo pack, sniper knee left and right side. Cod rivet and butt snaps. I'd show shoulder straps and elastic also. Maybe I'm missing something else. Sly or Tony will let you know. Your side gap looks good, you just need to line up left side. It shifted on you. And tighten up those shoulder bells. They should be up against strap. Good Luck Robert! Soon the NEG will have another EIB!1 point
-
I would be careful using paint thinner on ABS plastic, it can melt1 point
-
You can use the Dave M decals from Trooperbay.1 point
-
thanks for the input. the backs on the bicepts i cant do much about tho i have 17in bicepts soo i had to improvise. these kits went built with buff guys in mind aha. thanks magni i will check the knee plate again. and my quads are large as well so i might have to figure something out there. i was thinking larger cover strips. but my supplier heard i had some trouble and sent me a new pair of legs for free1 point
-
Hi John. So there is one thing I can tell you about this hobby and that is do not always believe people's estimated ship times. Even people who are "vetted", have a proven track record, or anything of the sorts. There are many reasons why products get delayed. I have had numerous situations where I finally got my product many days after the quoted shipping times. After a while you just learn that you will get them when you get them. If they are vetted or a person who has a proven track record you can be certain that you WILL get your product. Having said all this, the one thing that has always bothered me is if something is going to be delayed then please just send me a quick message and let me know that. Of course after I did say this to one of our "vetted" vendors in the past the response I got was, "well you have to understand that my mailbox on here is always full. If I sat and always responded to everybody all of the time then I would never have time to actually make the product." And I guess I can understand that to a degree as well. So if anything, I would say it's unfortunate that you have not received your product in a timely manner and I understand the frustration of not having any response to your messages but you will certainly get your product. I just had one of the most frustrating times dealing with a vendor for Tie Armor that anything stormtrooper related that I have dealt with has been a walk in the park.1 point
-
I've been alternating working on the helmet and armor the past few weeks. I started with cleaning up the teeth. Anovos left a lot of extra material between the teeth, so I used small file set to reshape everything and open up the spaces between the teeth. You can see the before (left) and after (right) in the photo below. The eyes also got a quick sanding to smooth out a few places. After sanding, I disassembled the helmet to prepare it for plasti-dip and replacing the brow trim, lenses, and ear screws. The Anovos brow trim was about 1.5" too short, so it will be replaced with one from Trooper Bay (you can see in the top photo the difference in length). The Anovos ear screws are close, but I'm still going to replace them with #6 machine screws. I've also been working on the leg armor. I started with the thighs and after test fitting them with the body armor, decided to only trim the backs. I ended up taking at least 2" off the top of the back pieces. Here's a comparison of the cut vs. uncut pieces (and the final cuts are even deeper than shown here, I just didn't get an updated comparison pic). After getting the thighs trimmed, I added the shin pieces and tried everything on. I'm very happy with the fit and even happier that I started with the body armor first. When I was first cutting out the pieces, I was certain I would need to trim the width and length of the leg pieces, but it turned out that trimming was only necessary on the backs of the thighs. The shins will need some padding to keep them from sliding around, but everything looks proportional. I kept a 1/8" return edge on all of the leg pieces, except for the bottom of the shins (removed completely).1 point
-
First off, he didn't have to show his moulds to anyone, however if he does use his own molds to form his armour and he were to show them it would stop people accusing him of recasting someone else's work. Which brings me to another point you made "Is he hurting you" the answer is no he is not hurting me personally but if, and I repeat IF he is recasting the work of others he is "hurting" someone. Last point, TK's do not cost $3000! Mine is from a vetted member and cost £800 all in. And as I always like to end on a high, you look the business in the armour, nice build Trooper.1 point
-
We will be at Swindon Comiccon if you would like to see the armour We are supporting alot of events on the other side of the world1 point
-
I find it laughable that this seller states that his TK armor was used for Simon Cowell's dancing Stormtroopers. They looked awful!1 point
-
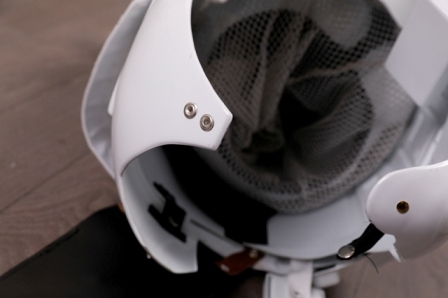
Kman said it well. I highly recommend the cheesecloth. It gives the inside of the helmet a really cool "lined" look. When you apply it, make sure you have a lot of pieces pre-cut. Spread a layer of plasti-dip into the helmet. Work in sections. Don;t try to coat the whole inside at once. It will skin over before you get to it all. Anyway, Coat a section and lay the chesecloth into it. Dip your brush into the can of "dip" and DAB the brush onto the cheesecloth until it is all embedded. Don't brush it!!! The cloth will stick onto the brush bristles and pull out of the plasti dip. Once everything is done, you can speed up the drying time with a hair dryer on a low setting. Then one more coat and you are good!! http://www.whitearmor.net/forum/topic/28633-howto-ata-helmet-build-hand-painted-details-pic-heavy/ there are pic of my process here1 point