Sly11
-
Posts
13,367 -
Joined
-
Last visited
-
Days Won
278
Content Type
Profiles
Forums
Gallery
Articles
Everything posted by Sly11
-

Repairing armour cracks - the “t-shirt & superglue” method
Sly11 replied to CableGuy's topic in Assembly, Mods, and Painting
Excellent Dan, I took the liberty of pinning this post so we don't lose it. -
Good to see you are still with us and on this journey Piers.
-
Welcome aboard Kyle, you are in the right place for support and the TK research hub of the galaxy. Good luck on your journey to becoming a Stormtrooper.
-
ANOVOS (DENUO NOVO) FOTK Armor Delivery Possibility
Sly11 replied to JonnieBear's topic in TFA Stormtrooper
Its a pity their cheaper plastic versions were considered more accurate than the very expensive and quite heavy fiberglass helmets. I wouldn't mind a TLJ Anovos plastic variety even though it in itself isn't accurate due to the shape of the jib (chin) under the beak. -
Topic is now released, please update your post when ready
-
Can you post a link to your thread here, or will it not allow you to ?
-
Welcome aboard Jonathan, it's a pleasure to have you as part of our mighty detachment.
-
@themaninthesuitcase you need to get into the "it" crowd of the UKG, Gary knows something about that
-
This is wonderful news Brit, congratulations, you look fantastic. Don't forget to request 501st access to the forums so you can see our members only areas. Here is the link
-
Electrobinoculars with Bluetooth speakers
Sly11 replied to revlimiter's topic in Electronics for Helmets / Blasters
Fantastic, Fantastic, Fantastic!!!!! -
Nice work Ray, excellent to see the stock being used.
-
Welcome aboard Dimitri, you wont be disappointed with the RS armour.
-
Fantastic news Daniel, congratulations and welcome to the 501st.
-
Truth.
-
R1 TK and FO TK are very different, it's ok to love both for what they are, I know I do. Both sets of armour are also vastly different and each has it's own differing construction methods and intricacies so their is a lot to like. Maybe start off with what captured your imagination first, work through that and once done and you become an approved 501st member, then focus on the next project. Like many once you have completed one, you will most certainly be looking for another to get cracking on. Welcome aboard Michael.
-
Welcome to FISD Arvin, we are here to assist you where we can.
-
Oh good to know, look forward to seeing the end result once you are not sidetracked
-
CableGuy Builds...replicating the RS Prop Masters ANH Stunt helmet
Sly11 replied to CableGuy's topic in ANH (Stunt and Hero)
Beautiful work as always Dan. -
Anyone doing a 3D print version of these binders? would be good to see something as an alternative that was accurate, minus the join lines as seen on the Galaxy Edge version. If we have something maybe we can consider adding them as an additional accessory to the CRL There is a challenge for our talented designers and printers
-
Good result Dan, keep the updates coming and I look forward to see you reach that final goal.
-
There is a 3D built FOTK in Australia, a few have spoken with the owner who created the files asking if he might oneday make them available for purchase but that was a while ago. I shall see if that has changed.
-
Welcome to FISD Nolan. Two places to start, the first is the best to help you understand hoe the forums and our community work. https://www.whitearmor.net/forum/forum/38-getting-started-read-this-first/ The second is the Armory where there are several forums about Stormtrooper armour, making, painting etc. Research is the key in this hobby, so you have come to the right place for all things Stormtrooper https://www.whitearmor.net/forum/forum/30-armory/
-
TLJ/Tros Thermal Detonator differences from TFA and CRL update discussion
Sly11 replied to Sly11's topic in TLJ Stormtrooper
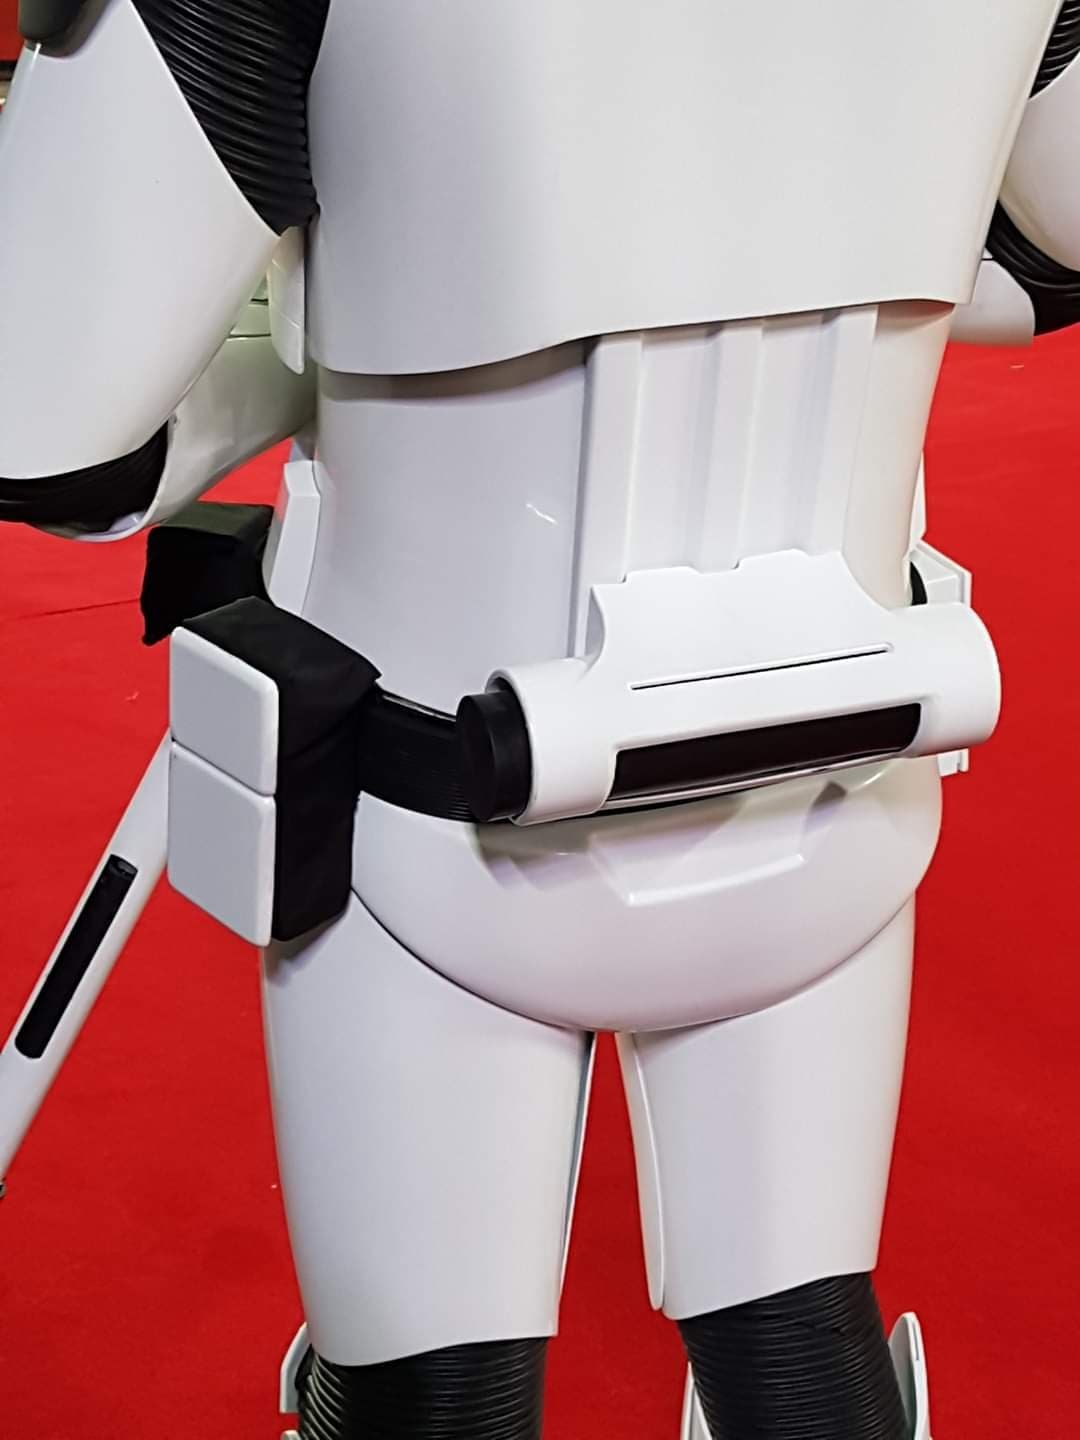
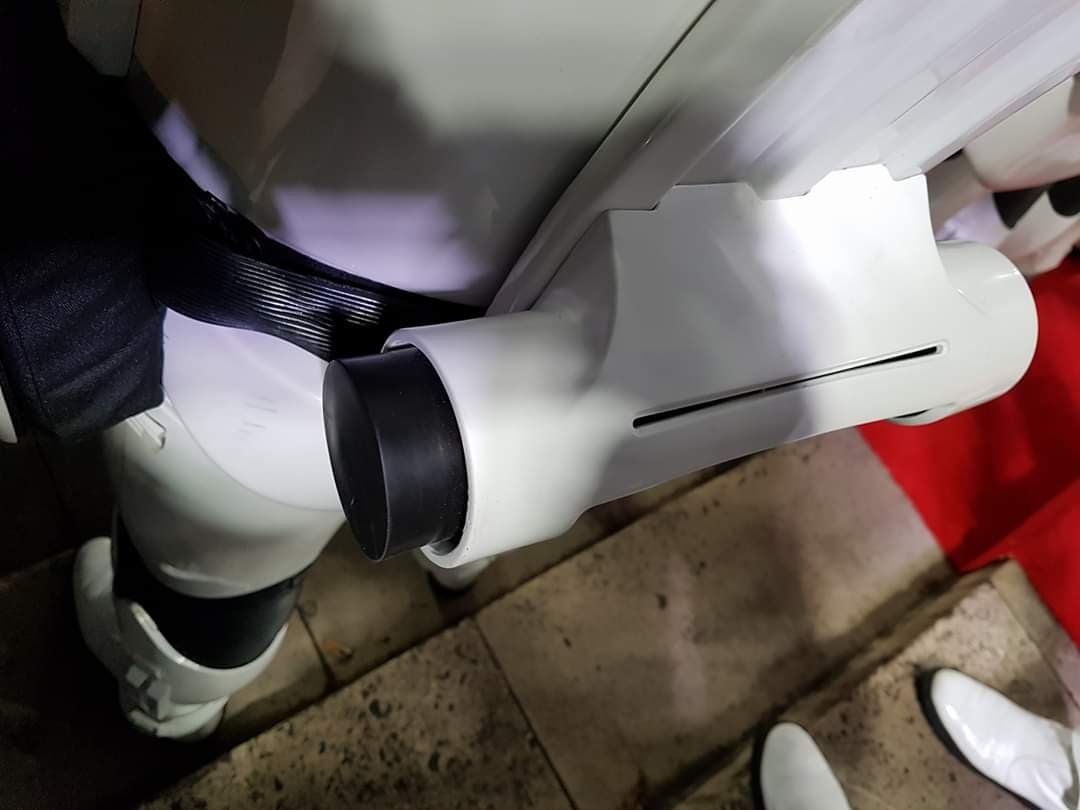
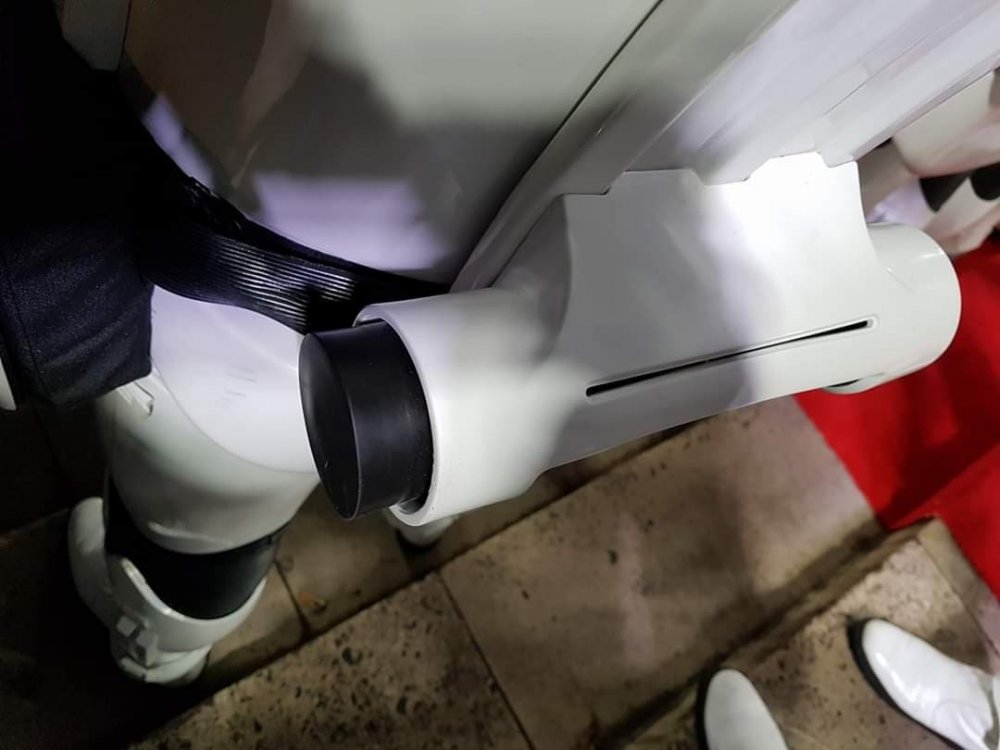
From Screen caps showing definite separation from the carriage to the inner tube. Photos from the UK Red carpet. All information found so far has indicated these are screen used assets with paid actors. 501st members took some exceptional photos as did professionals posting these around the internet.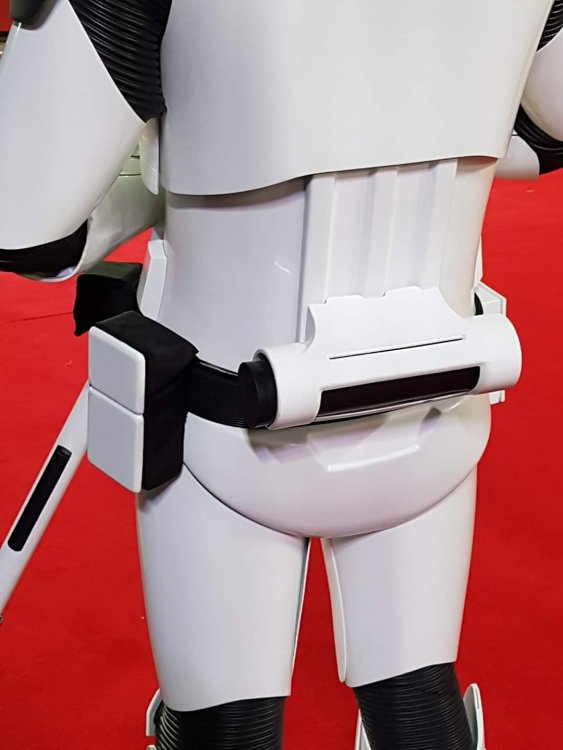
-
This thread is to discuss the improvement and updating of the Thermal detonator as seen in The Last Jedi and The rise of Skywalker. As some may or may not be aware, the TFA TD was made of a solid resin cast weighing in at 1.4kg excluding the mounting plate. This was revised for TLJ to be lighter in weight and from what can be seen in several photos , it was made as a 2 piece item consisting of a carriage and inserted cylinder, excluding the mounting plate. Recently we offered up a proposal to have this updated, and although the Poll voted in favor, I think we do need some more discussion around it, potentially some changes in the wording, or even possible allowances. Ultimately the changes we are talking about are only very simple for Basic, and as you would expect increase as we look at Expert infantry and then Centurion where we aim towards the more accurate look of this piece. The proposed changes or additions to the CRL as per the recent poll were as follows. White is existing text in the CRL Green is additions and corrections Red is what exists but requires change/removal or to suit TroS where needed. Thermal Detonator Basic addition and word correction The left-hand end cap extends from the detonator assembly and is all black. · There should be no visible seams A visible seam is permissible between the detonator assembly piece and the detonator mounting plate. Correction to the text for EI OPTIONAL Level two certification (if applicable): Small section of black around the base of the left extended end cap shall be present. The slot that runs across the top of the detonator shall have a black decal or be painted black at the bottom of the groove. Additional explanations and and requirements for Centurion OPTIONAL Level three certification (if applicable): The end cap is part of an inner cylinder that slides into the detonator assembly. The cylinder is completely painted black. The slot that runs across the back of the detonator (control panel) should be cut through so the inserted black cylinder is visible through the slot The plan is to bring across images of the detonators for comparison when I have a little more time, or I welcome others to add them here to get this discussion moving forward. Lets discuss CRL wording, how one could modify an existing TD or 3D print one etc. We know not all makers supply accurate pieces as it is and many of our members are highly creative in making their armour more movie accurate so this is an open discussion for all.
-
Great work Daniel.