Leaderboard

Popular Content
Showing content with the highest reputation since 06/17/2026 in Posts
-
Thank you to everyone for you help. We have now met our goal.11 points
-
With many Thanks to the recent donations, several of which requested to remain anonymous, we are now only about $100 ($107) away from our Goal. Thank you to everyone that has donated thus far.9 points
-
Look who’s back. @TKNick8350, @jsilvius is correct. I retired last year due to a myriad of issues and my increasingly busy life, but a sudden resurgence of interest in New Generation Armor has brought me back from the dead. There’s some incredible things going on right now and I’m excited to see what pans out. Regardless of my current status, I’ve still been helping people with their builds and frequently respond to DMs. If you want some assistance, please reach out and I’ll be happy to help.8 points
-
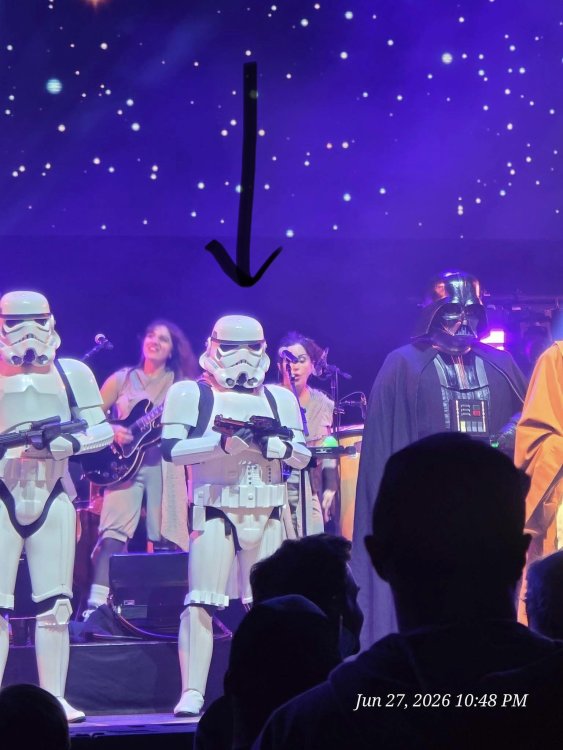
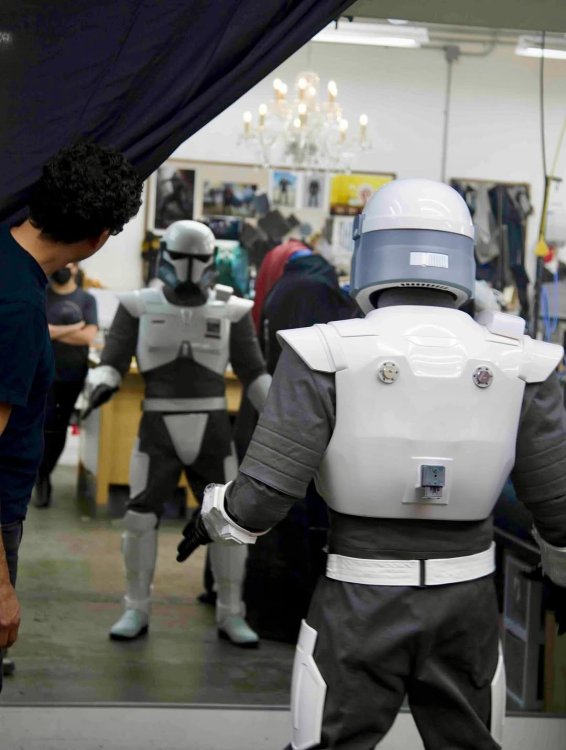
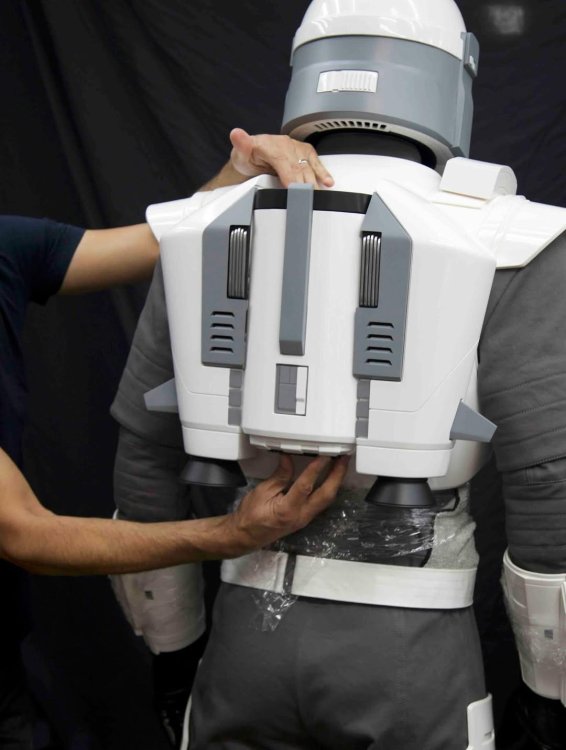
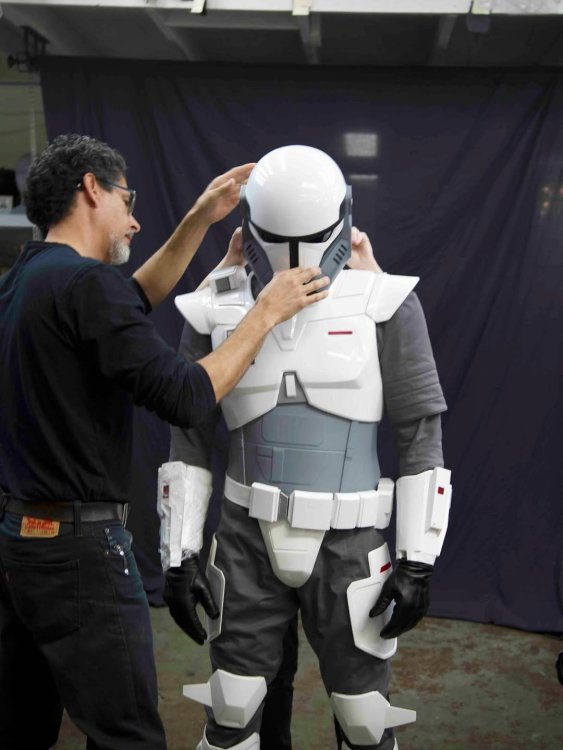
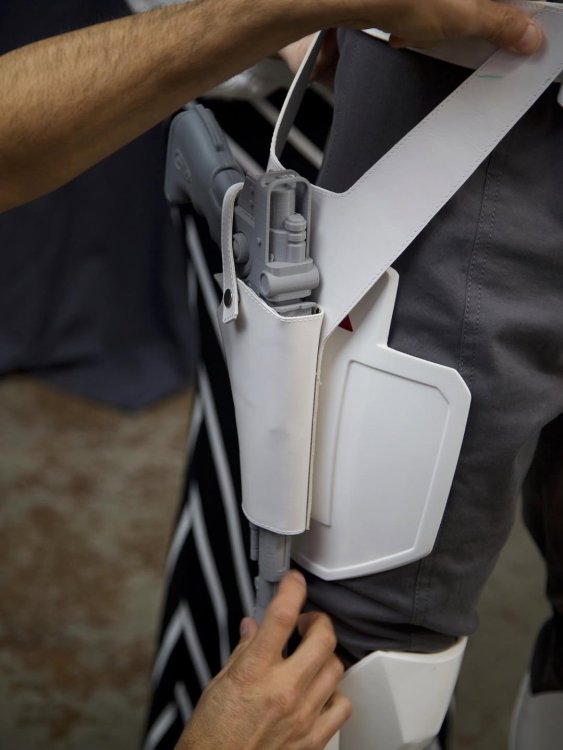
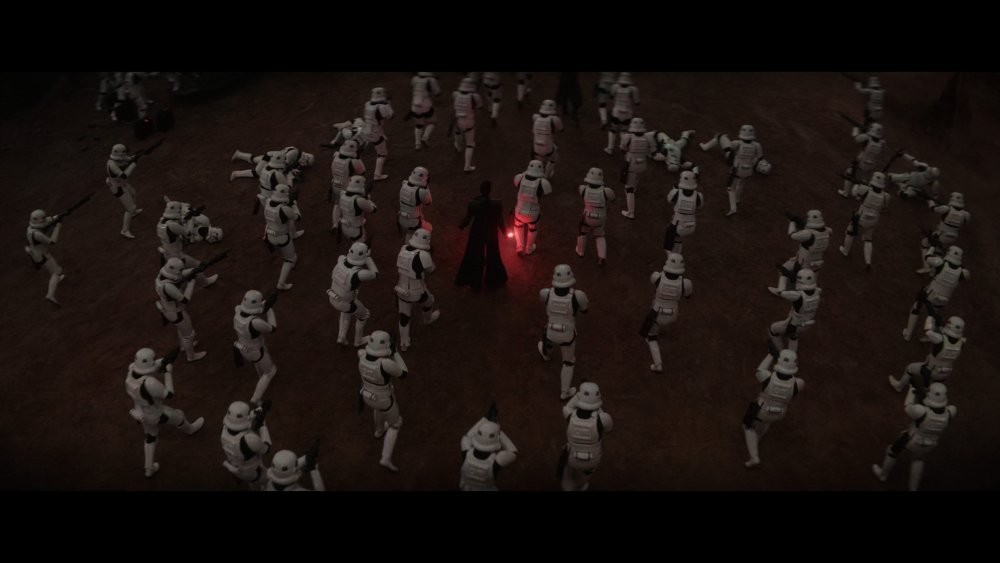
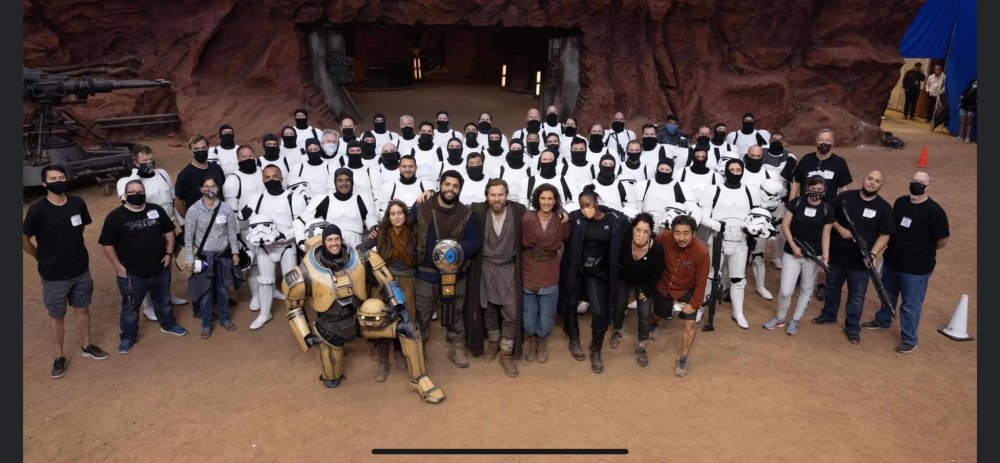
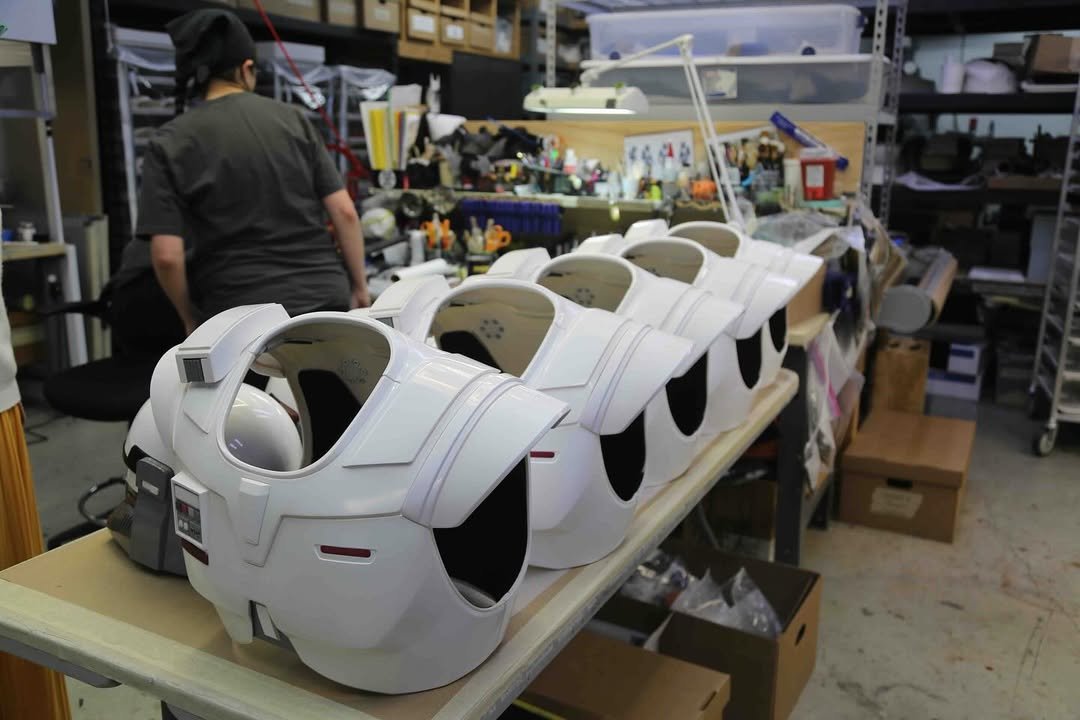
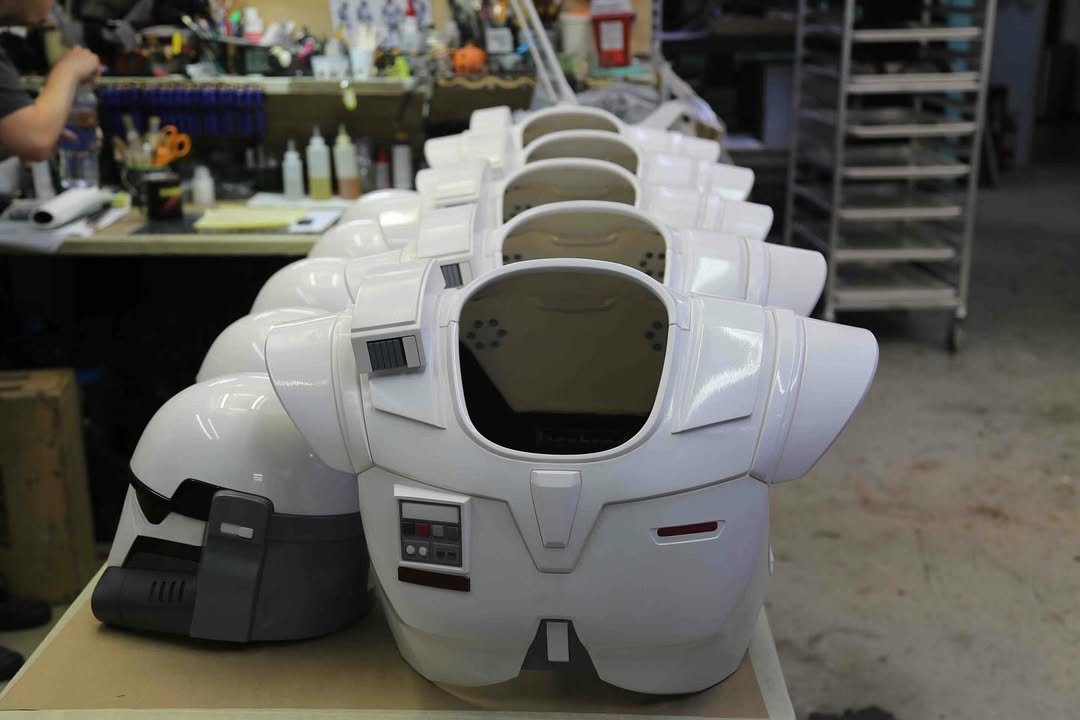
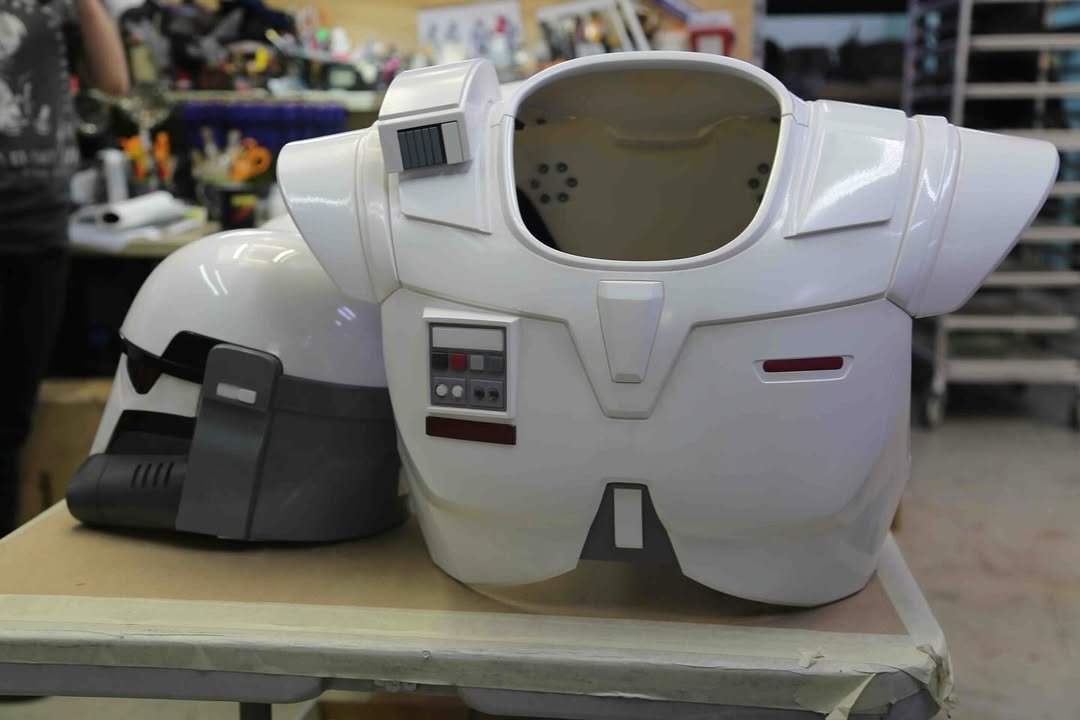
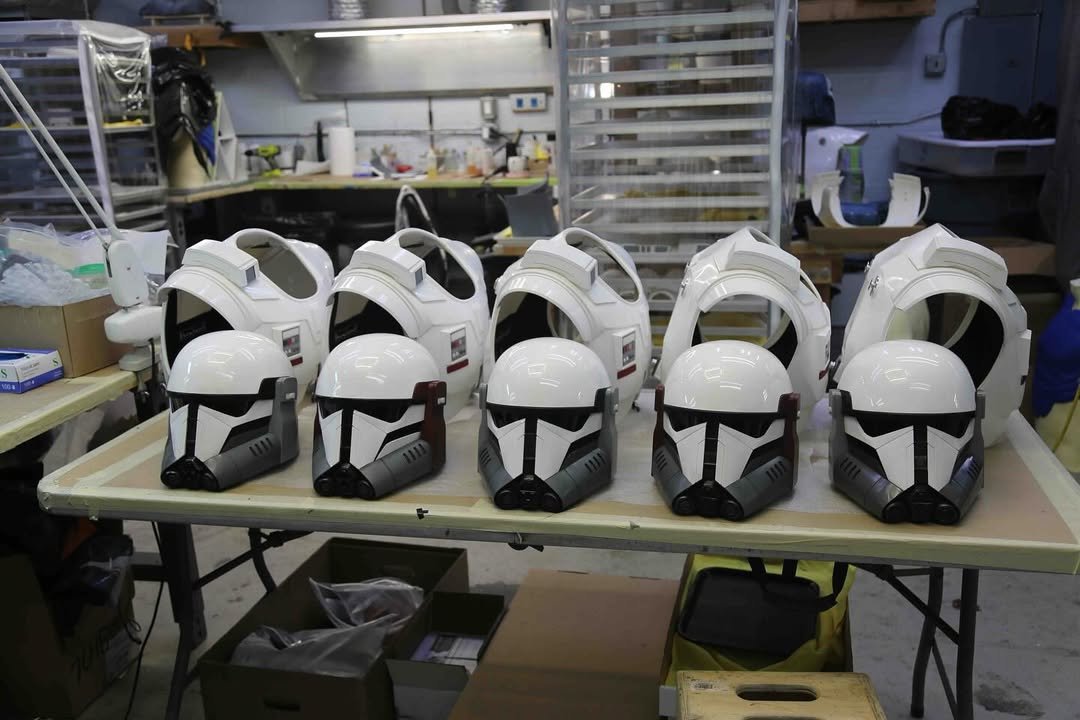
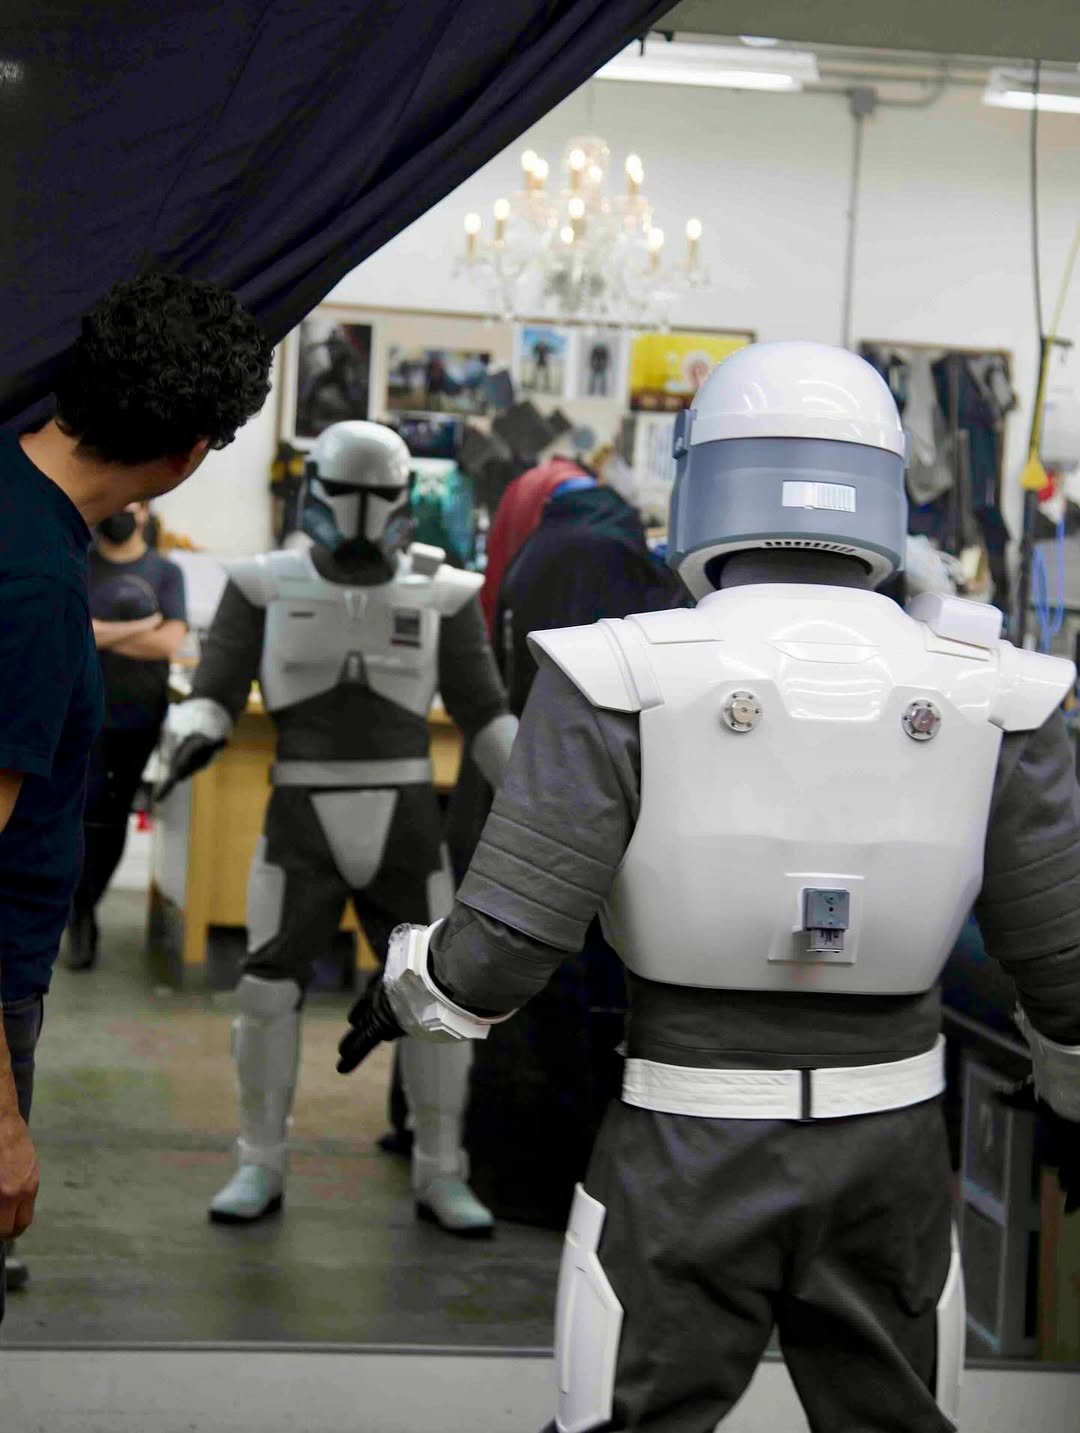
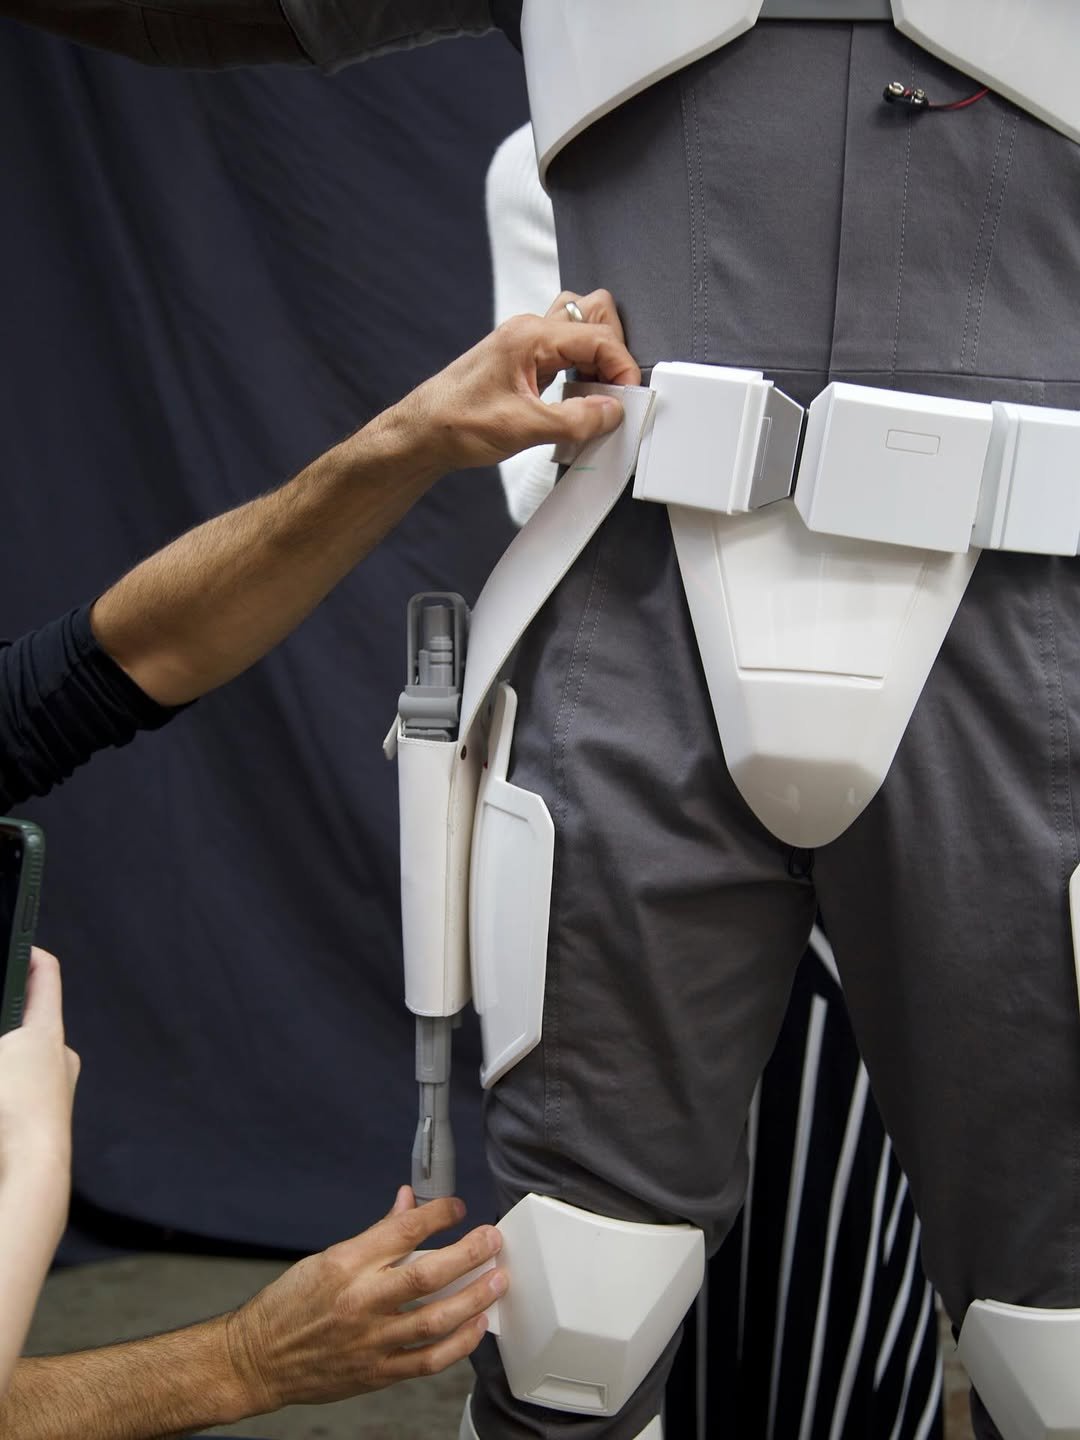
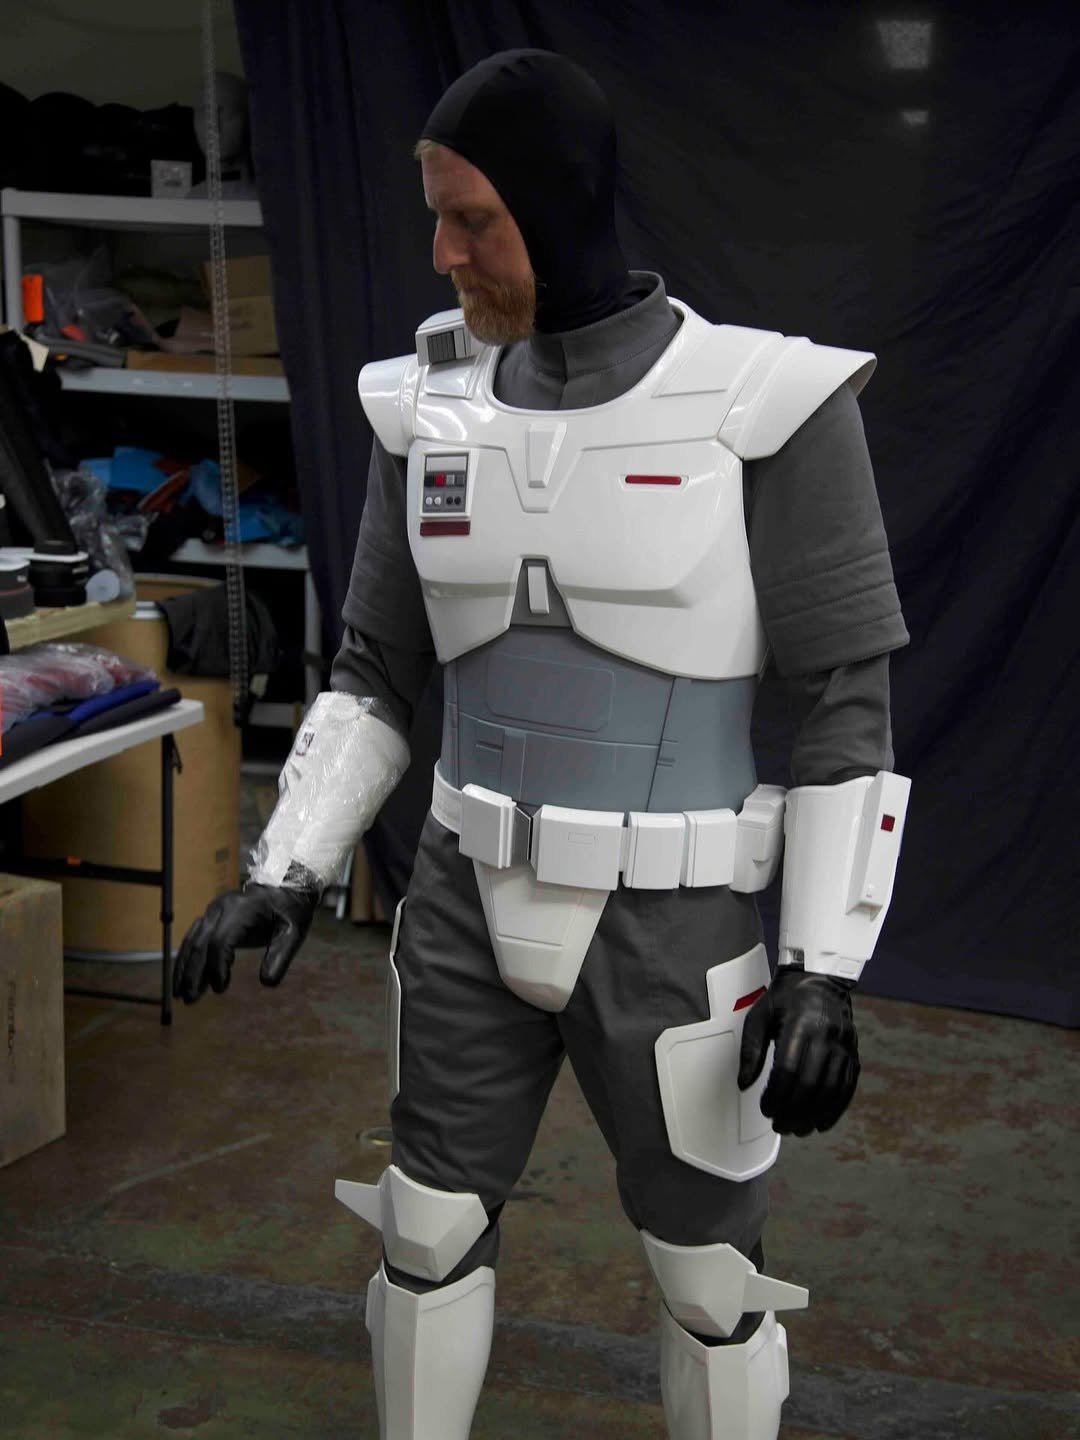
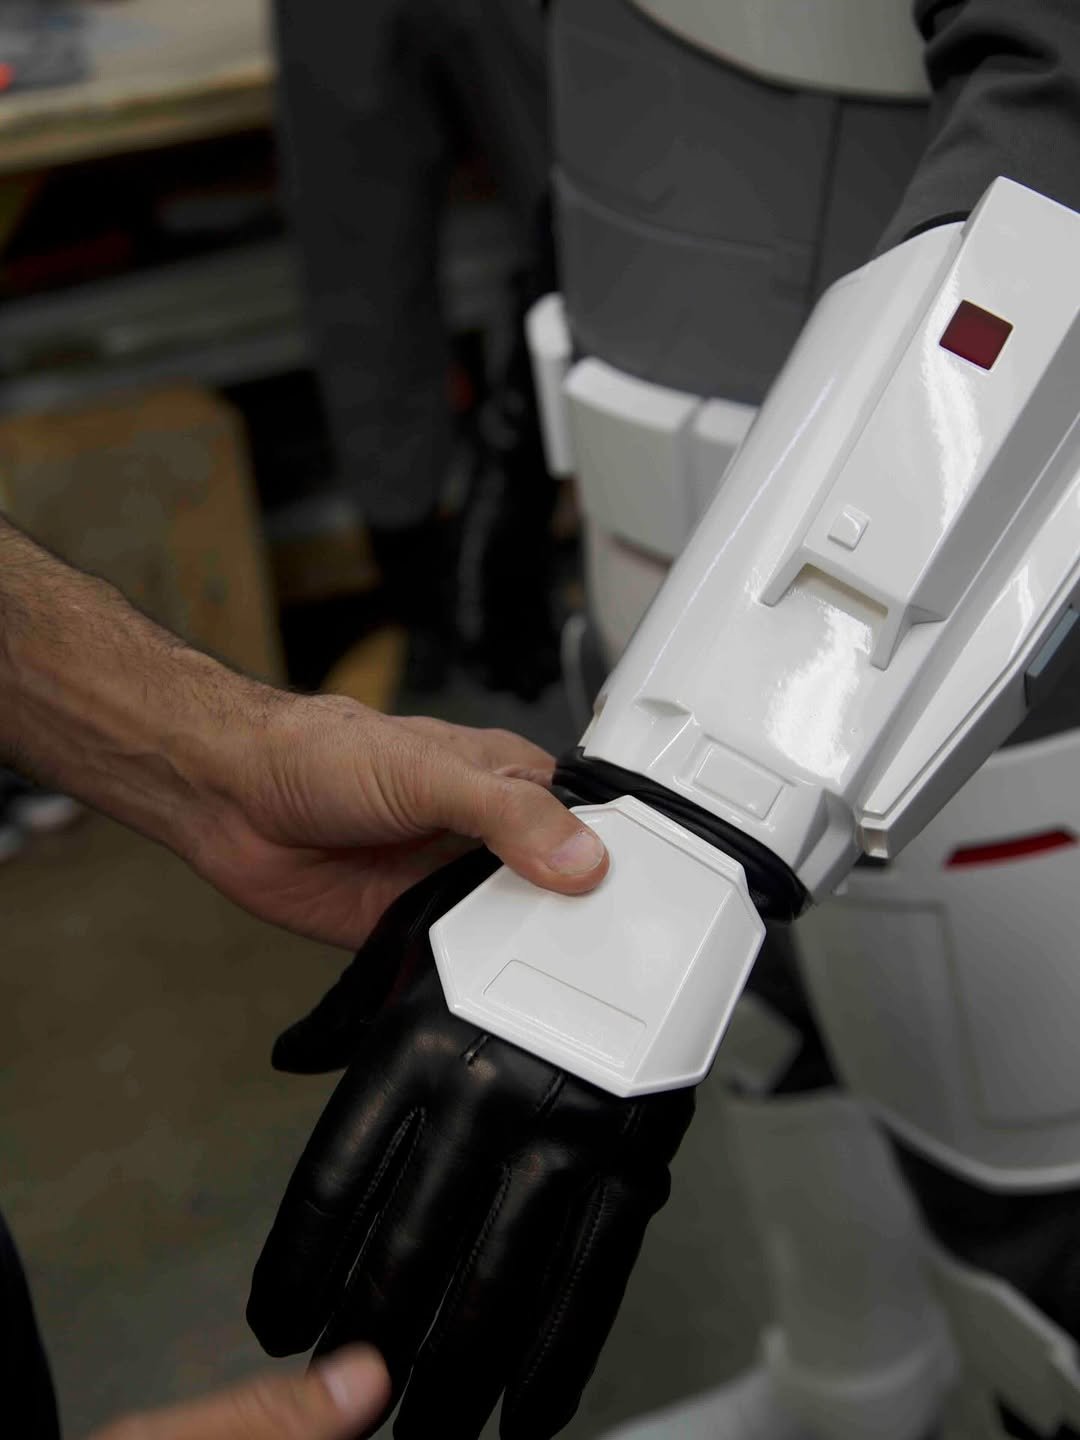
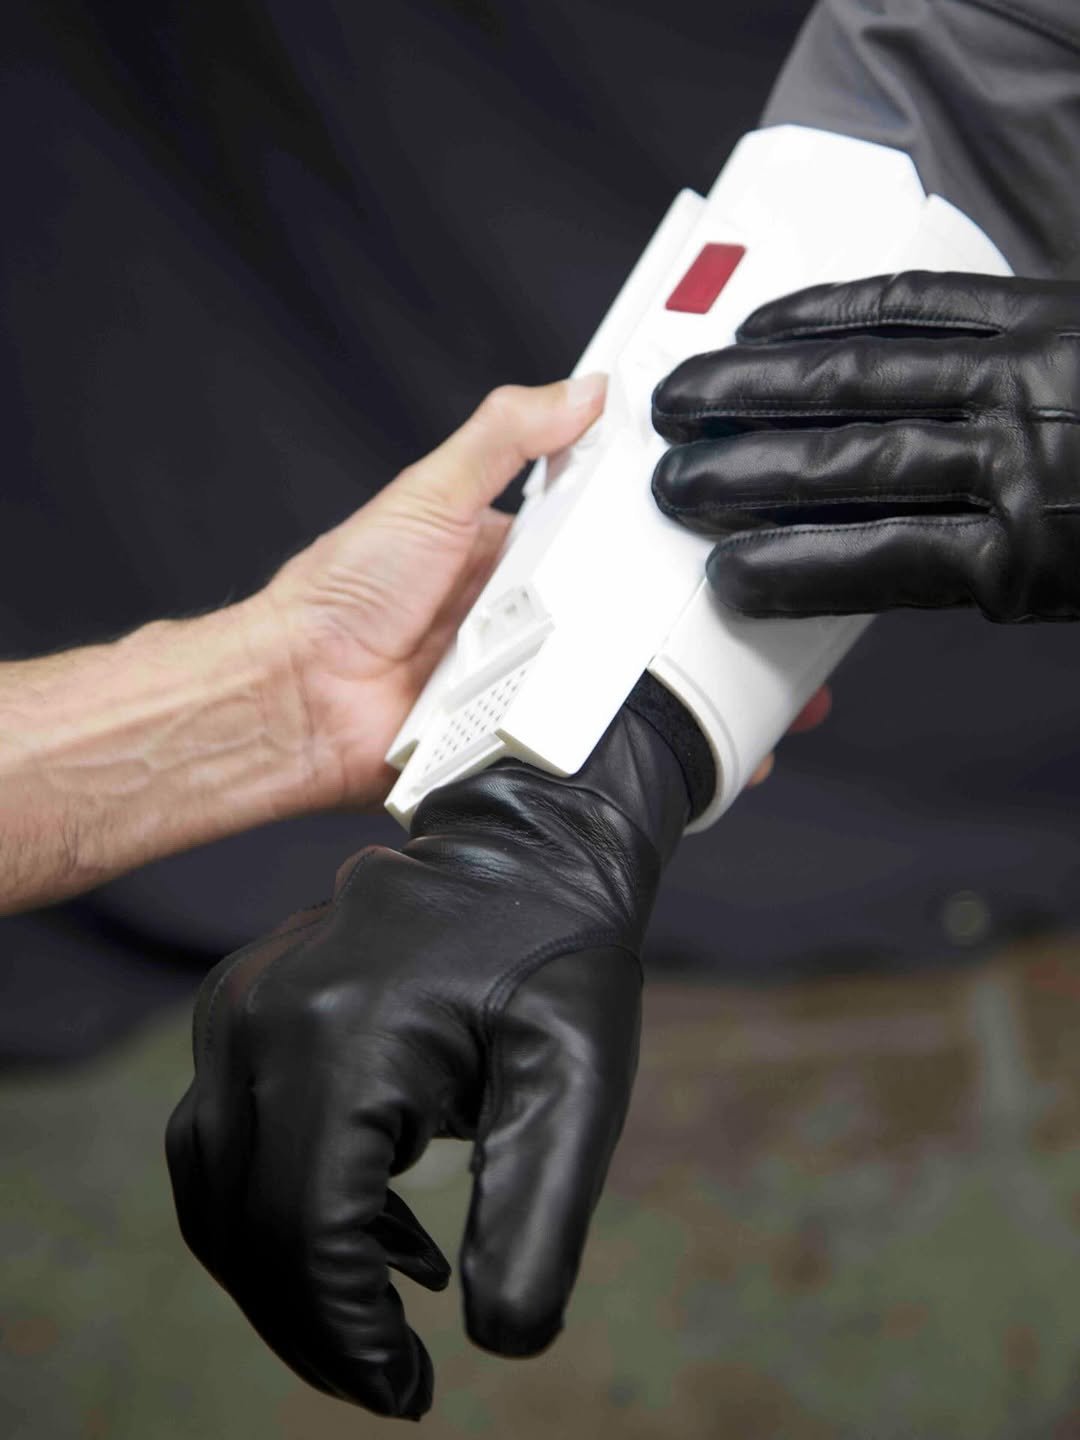
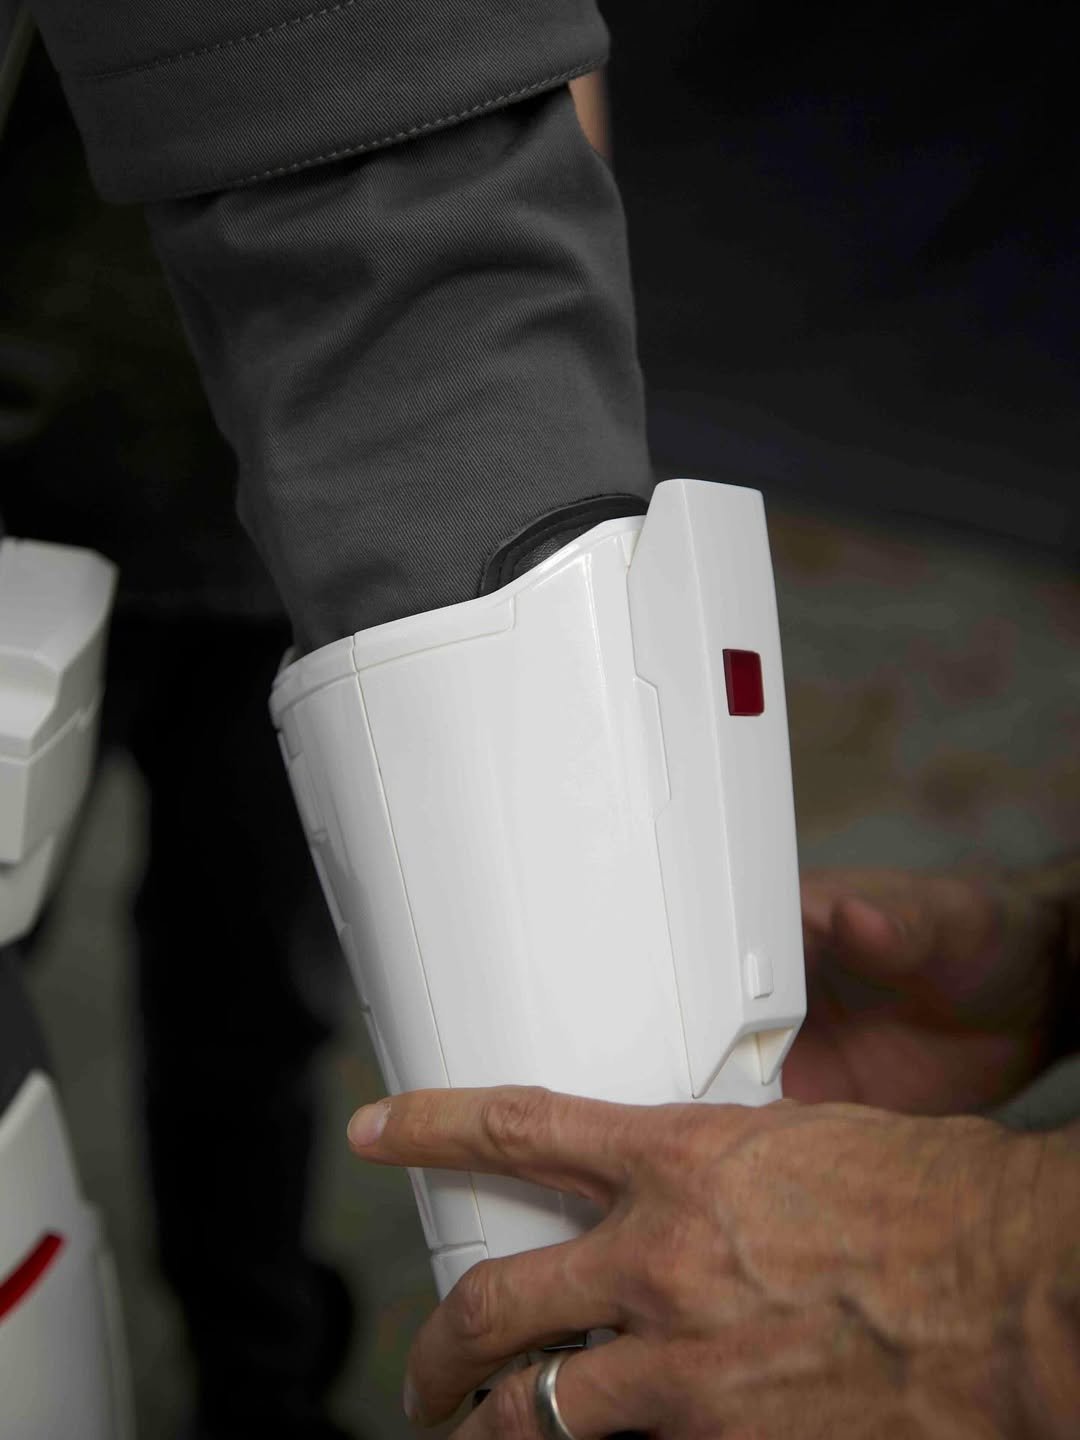
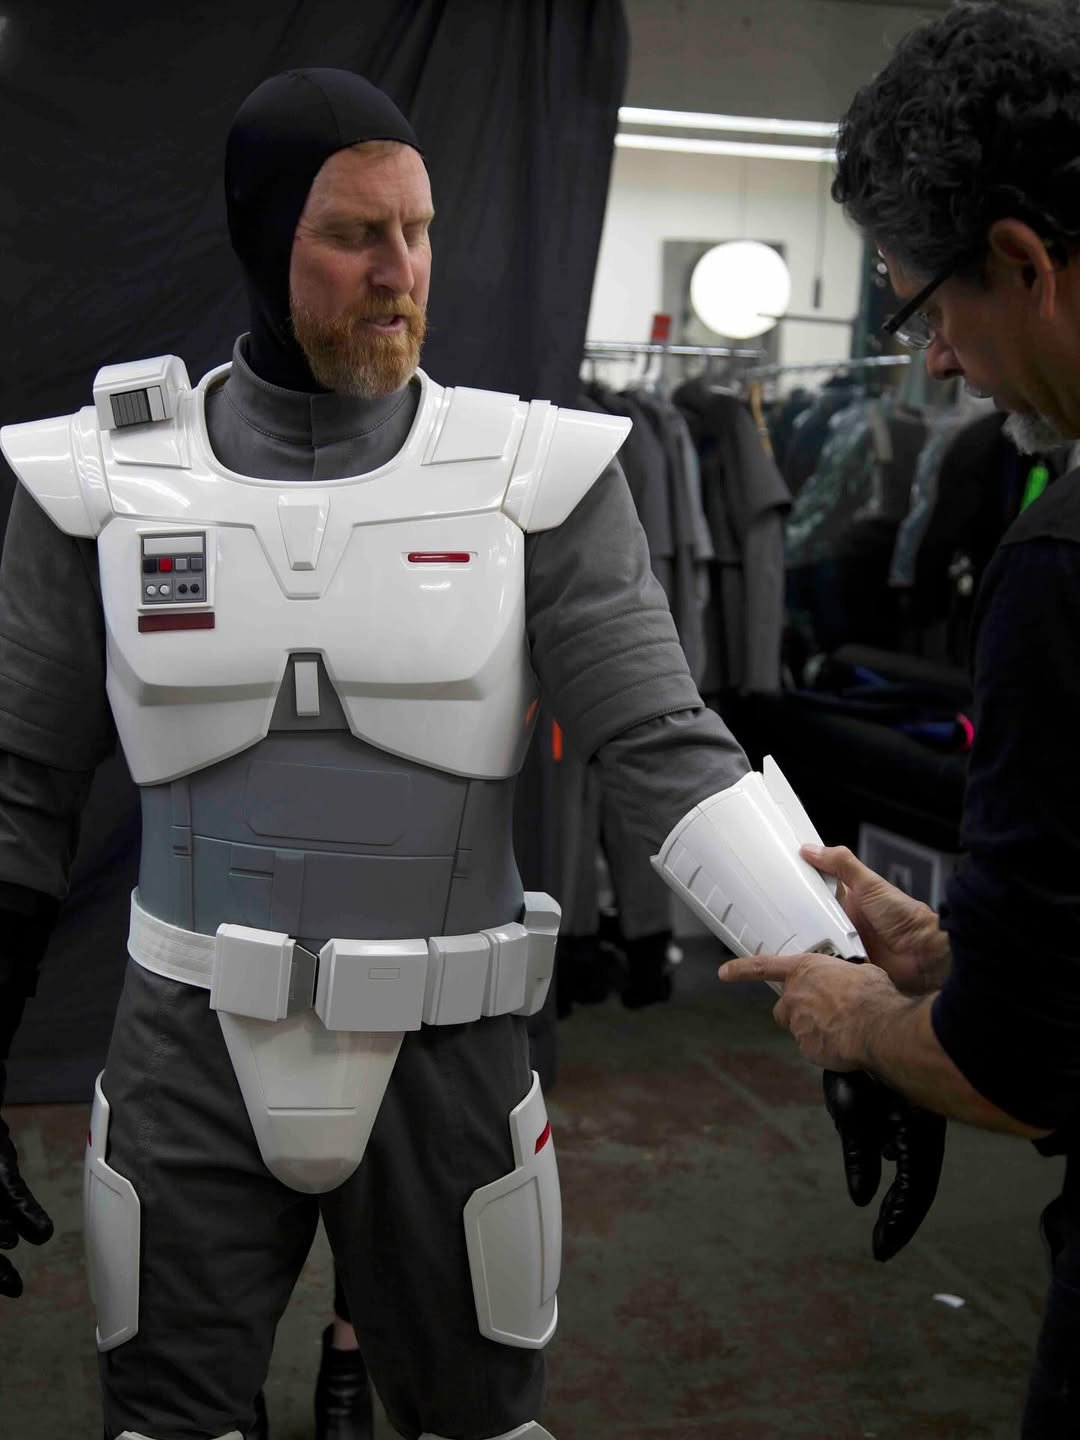
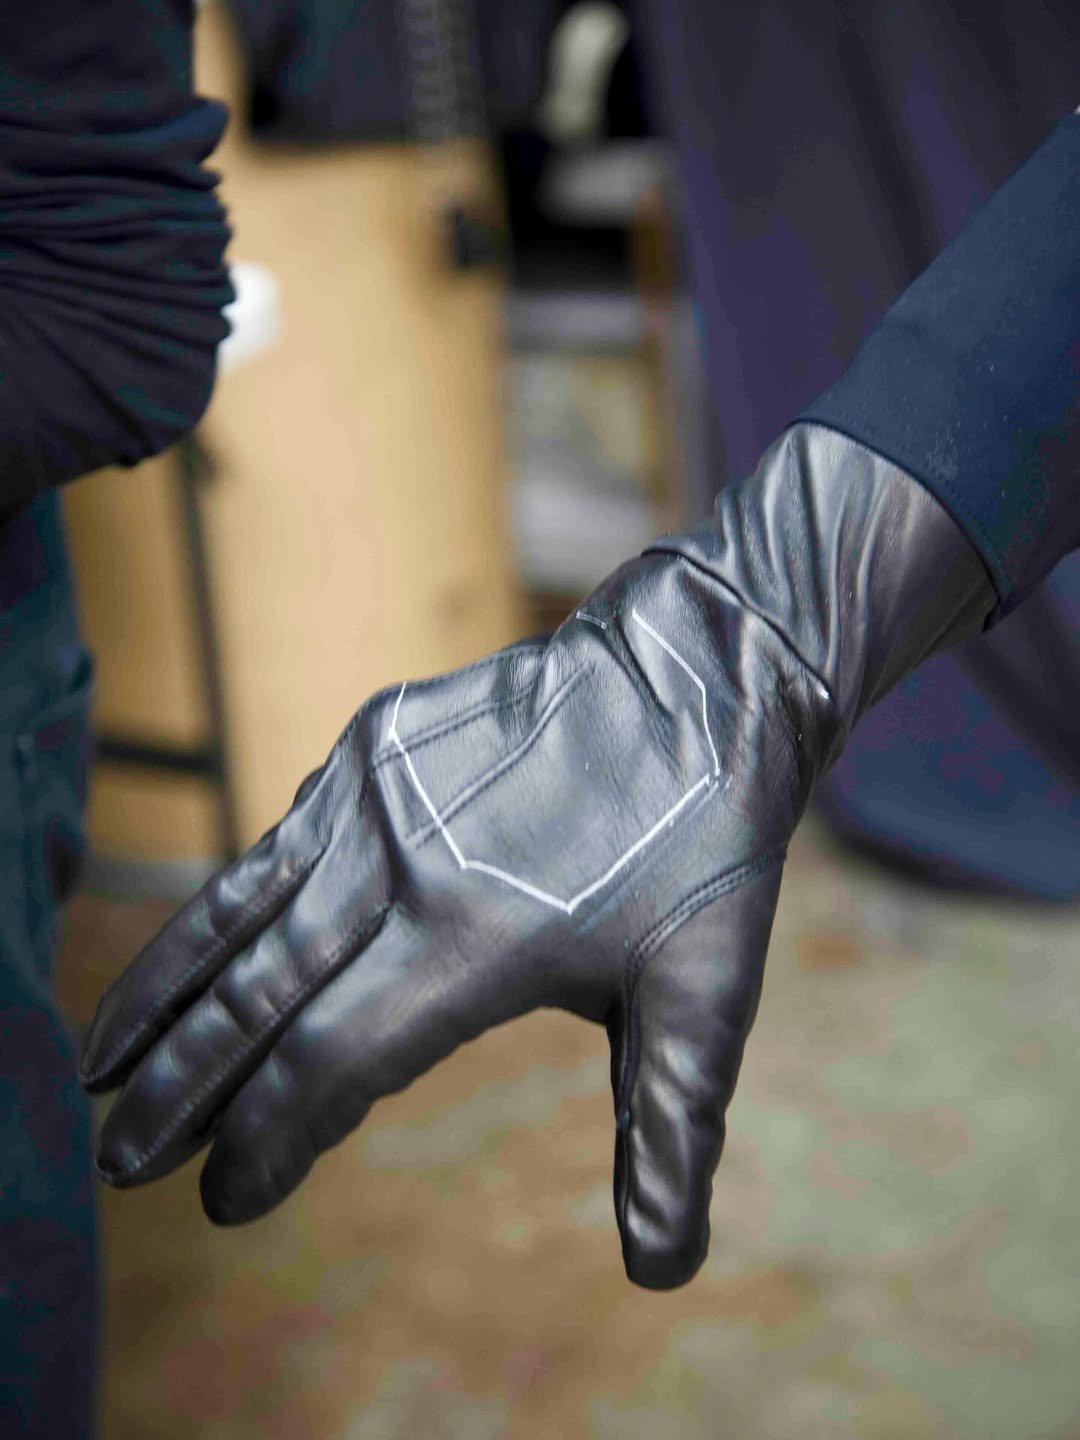
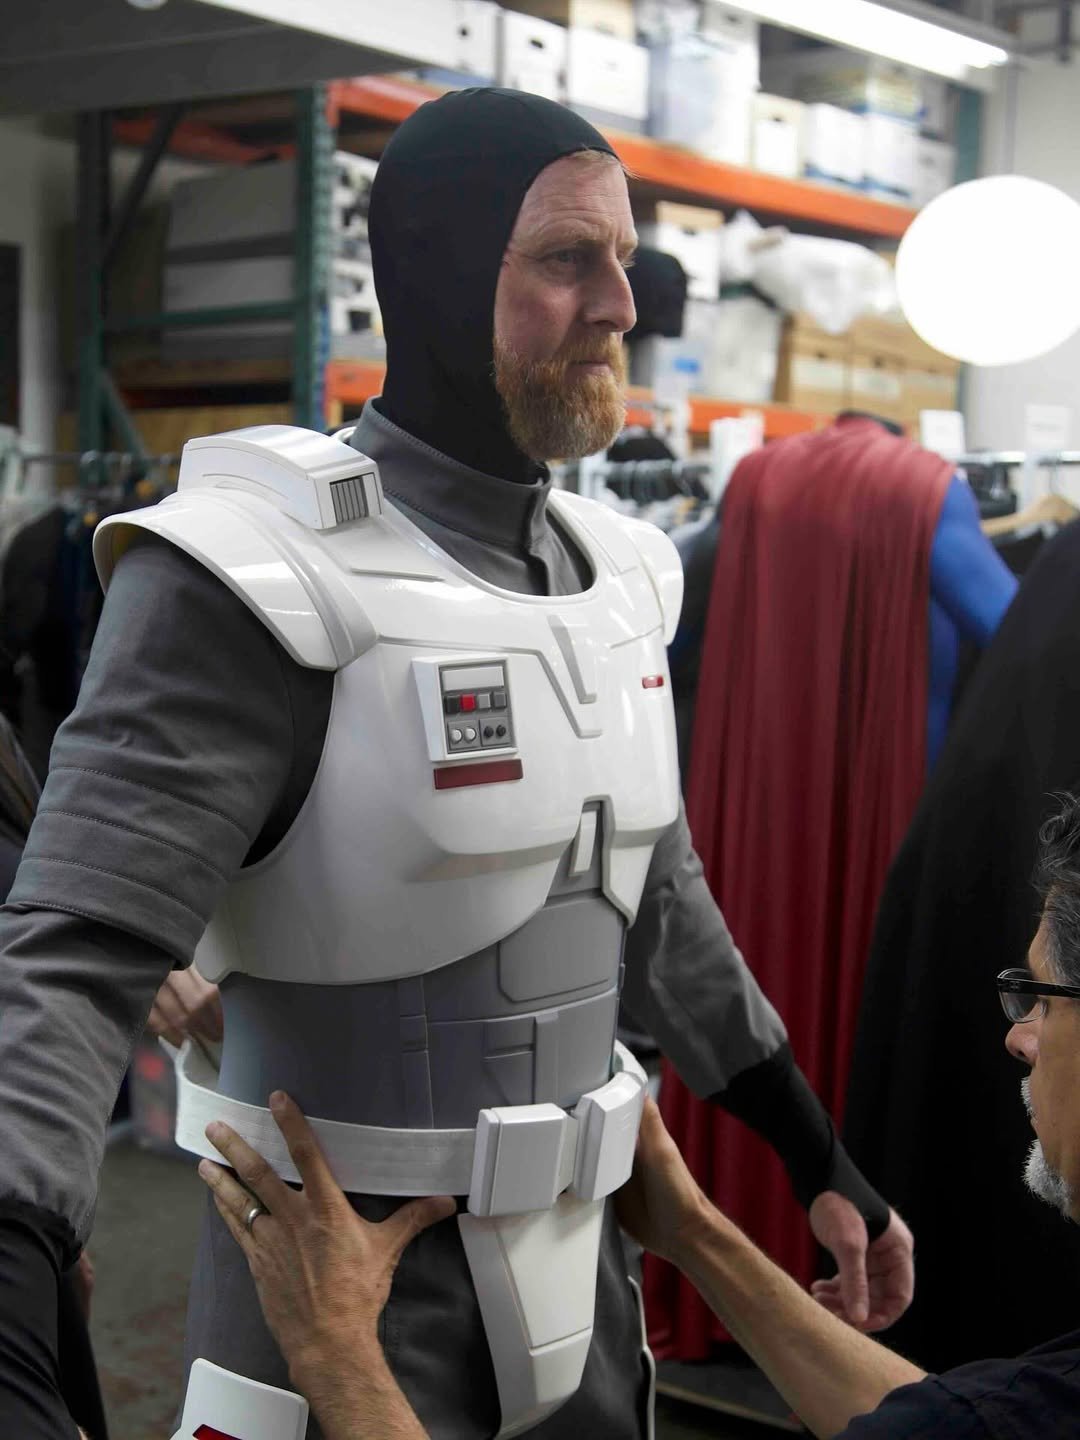
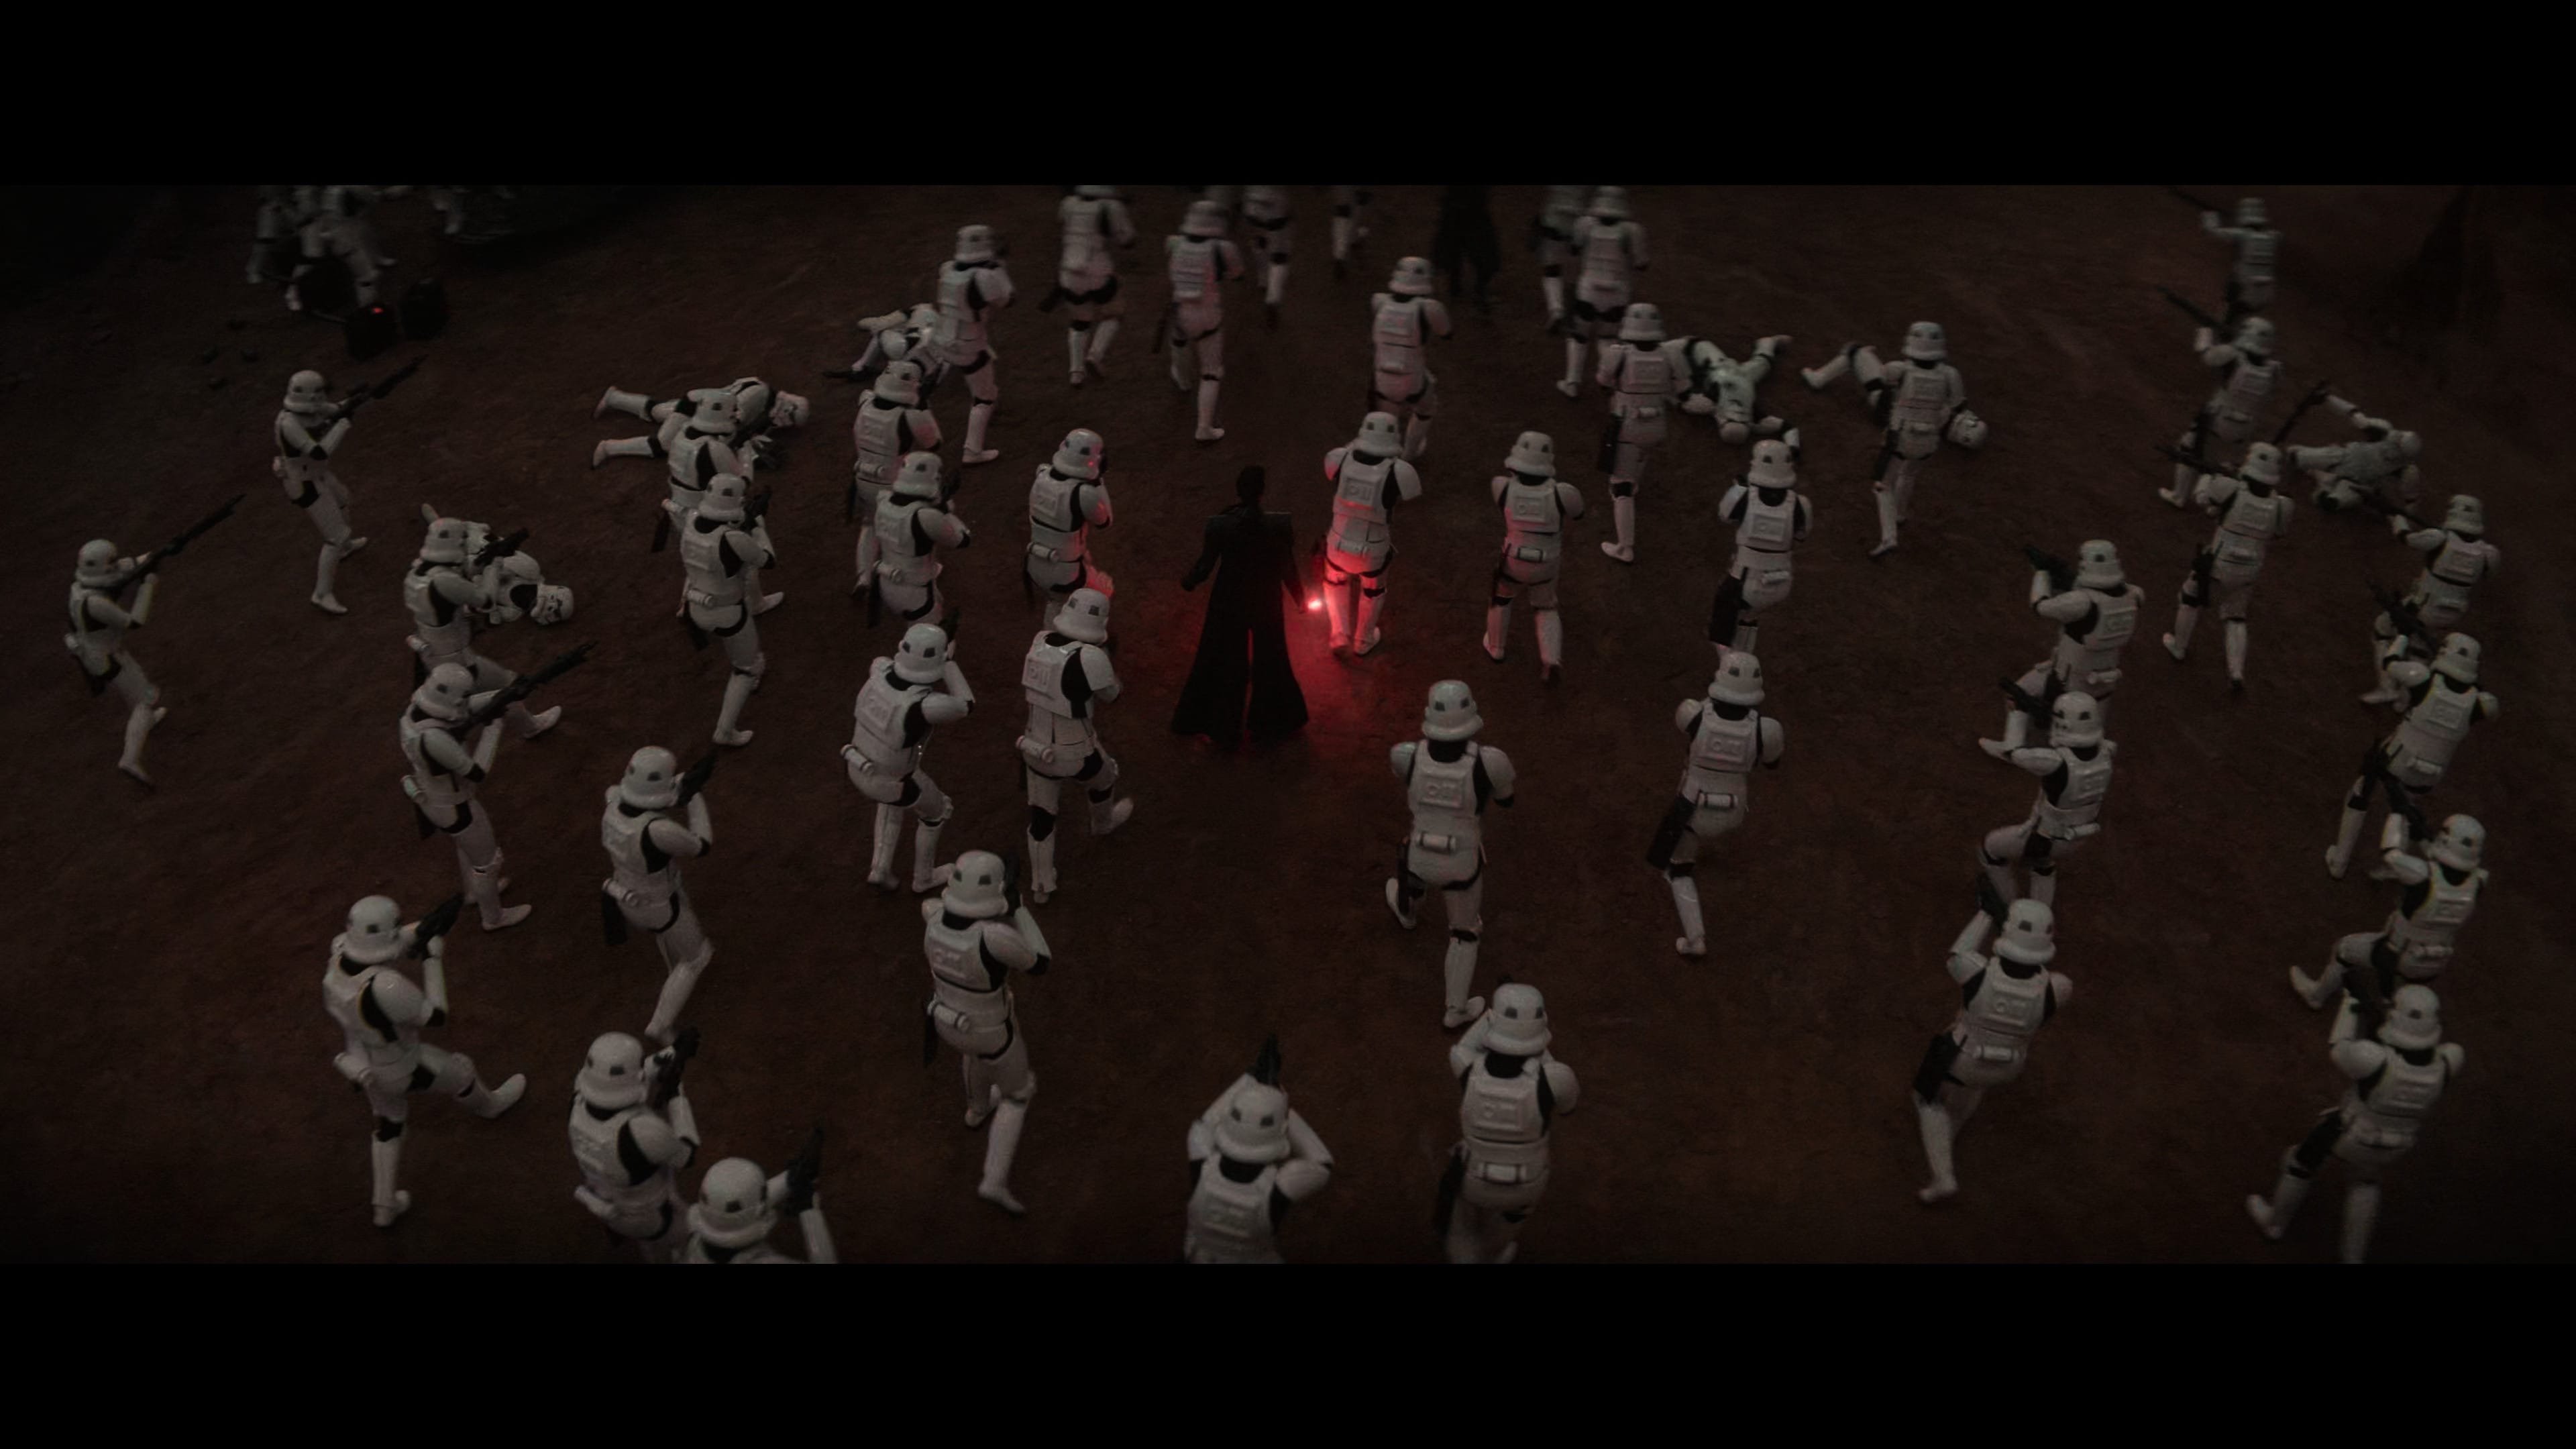
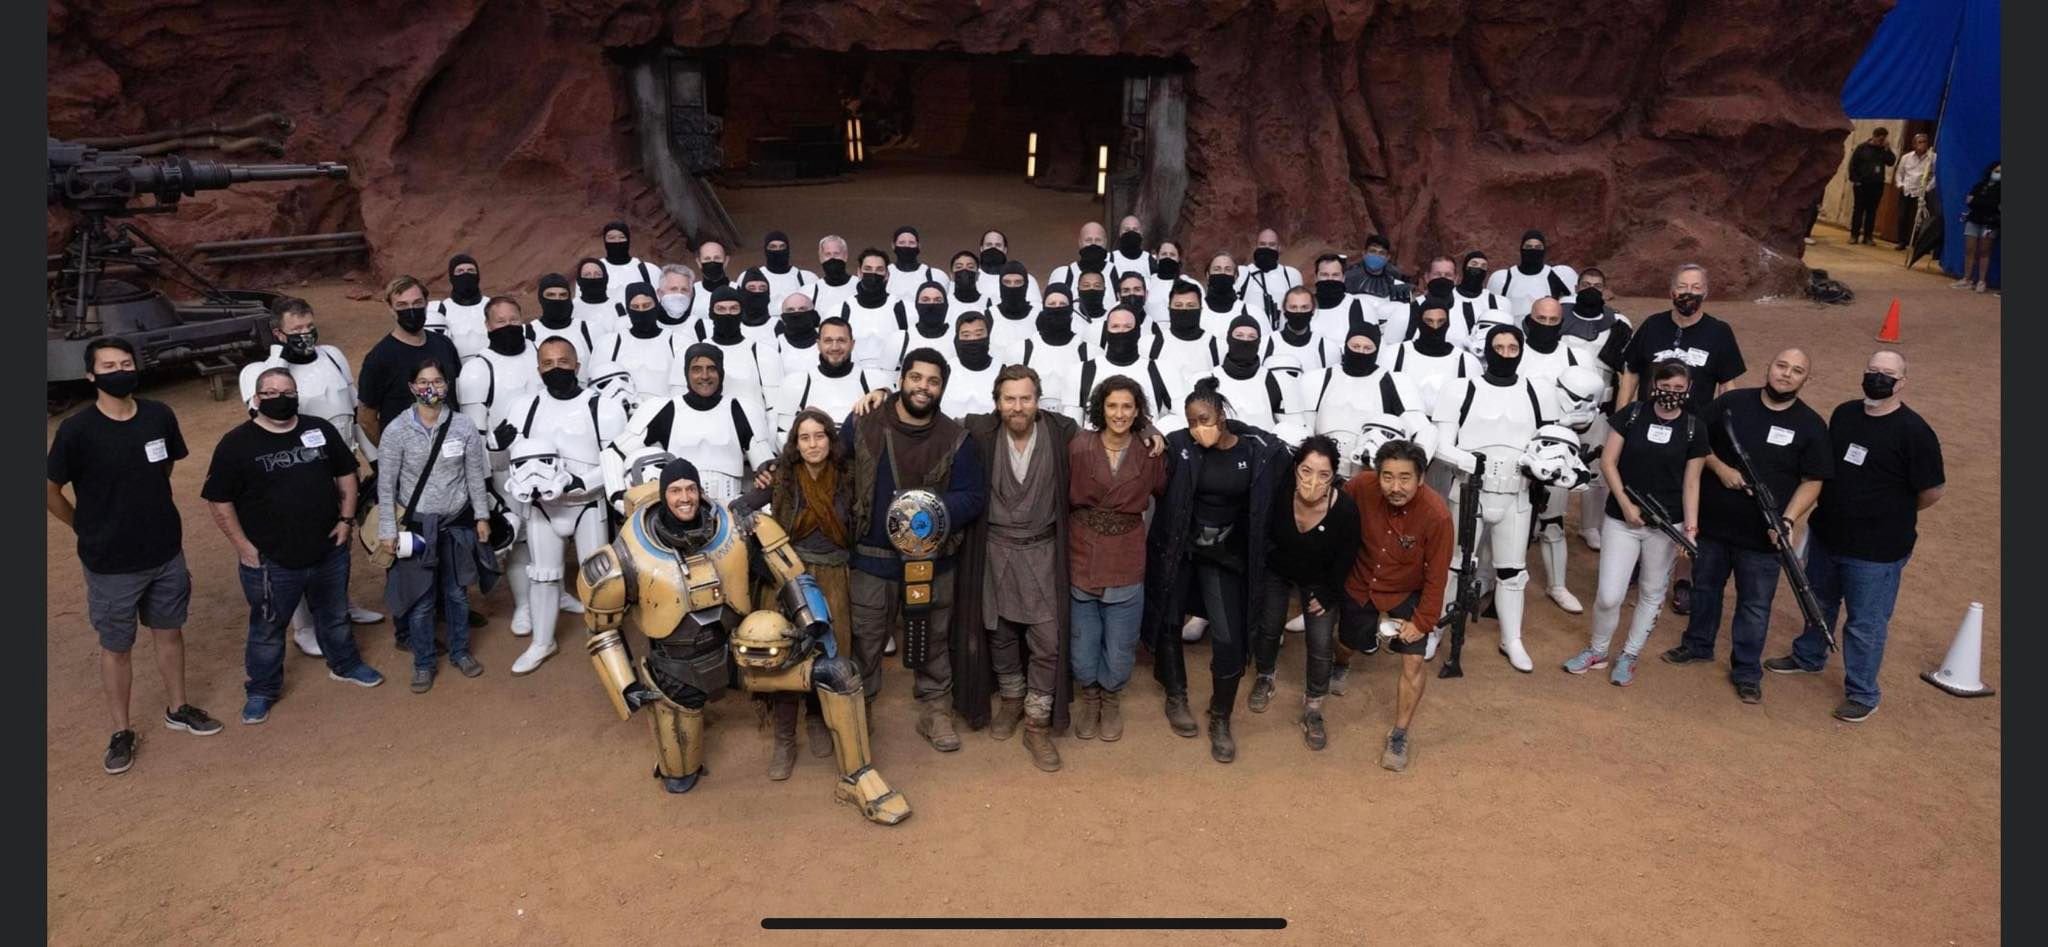
I don't like to talk too much about it, as we did all sign NDAs and some of us continue to do contract work for D/LFL so we try to be discreet. Most of this has already been stated publicly, but this was a situation where a post went up on like Friday night and we filmed that Monday-Wednesday. It was the first time 501st members have been invited for production in numbers, so we did not expect it at all and figured it was a commercial or something until we arrived at the studio. Production work involves LONG hours (12+) in armor, hence some of those troopers' unfortunate posture. This was not a troop or official event - we were cast as background actors. Taking photos at troops is one thing, but actually being a stormtrooper in Star Wars and running around all day in full armor is something else entirely. It was hard work but they were opportunities I'll cherish all my days.8 points
-
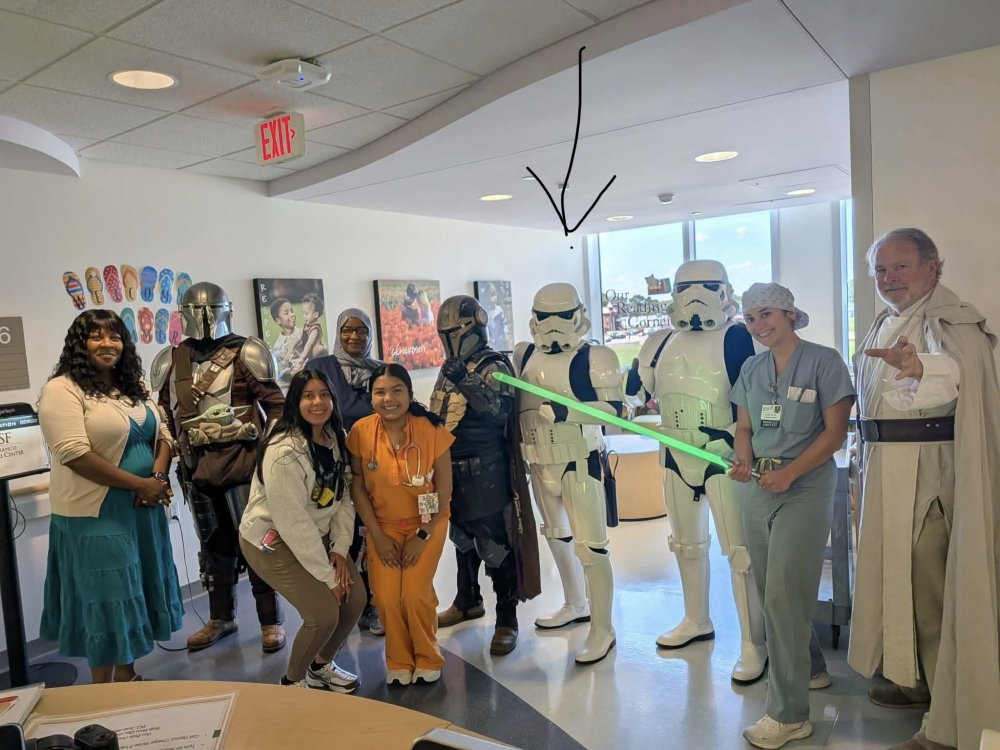
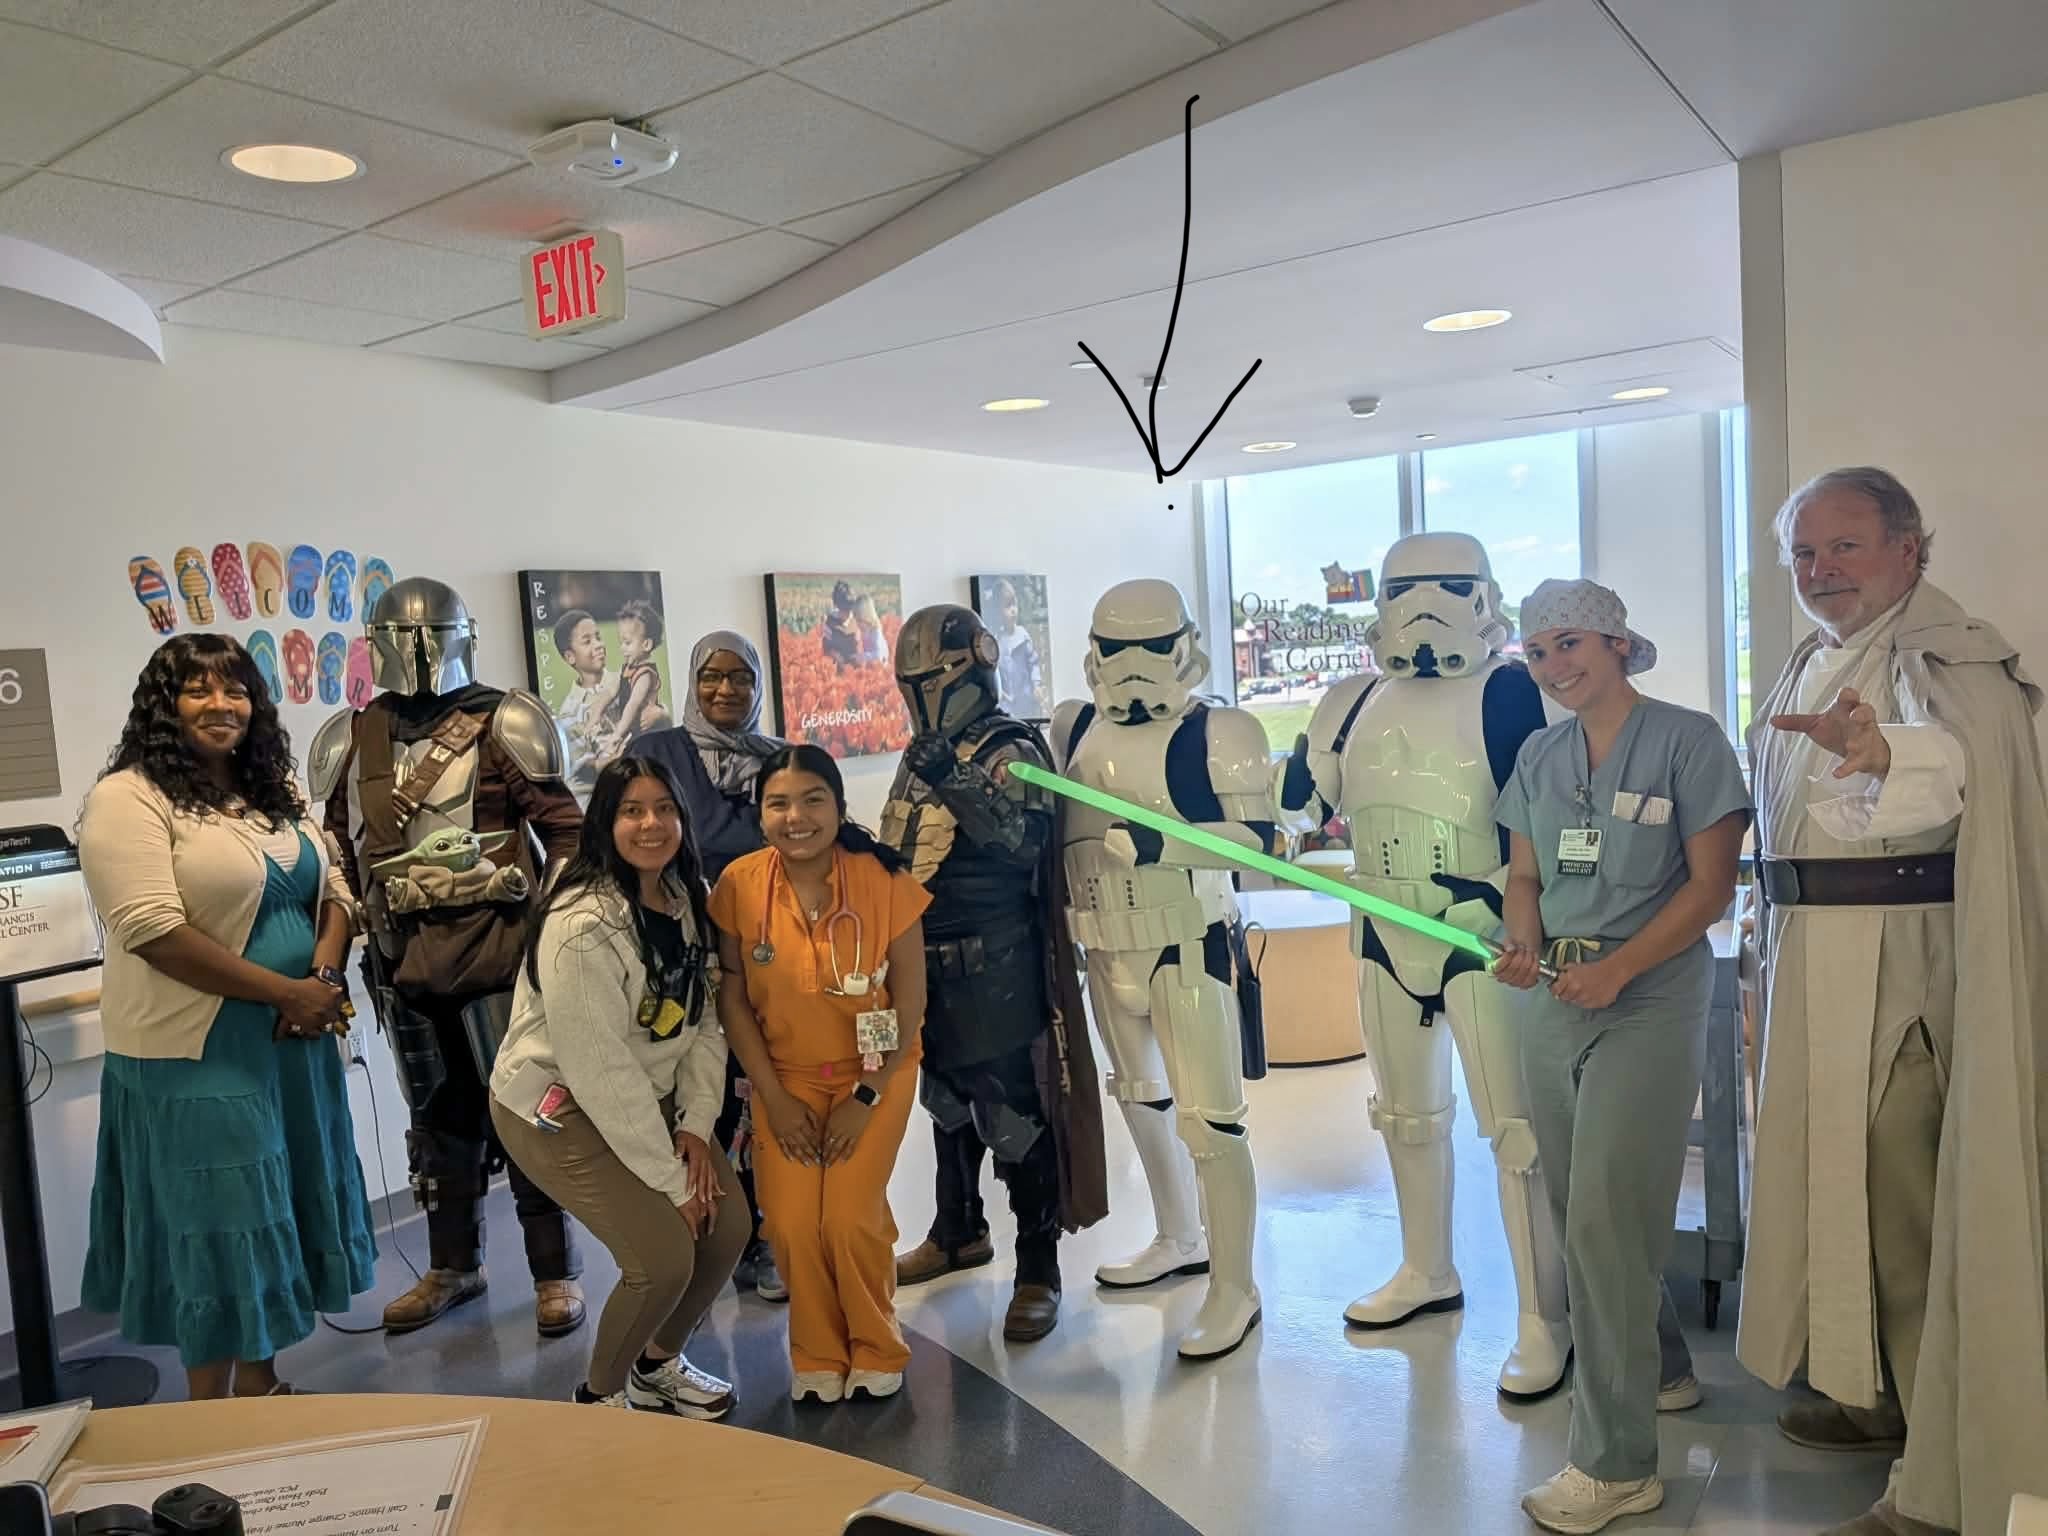
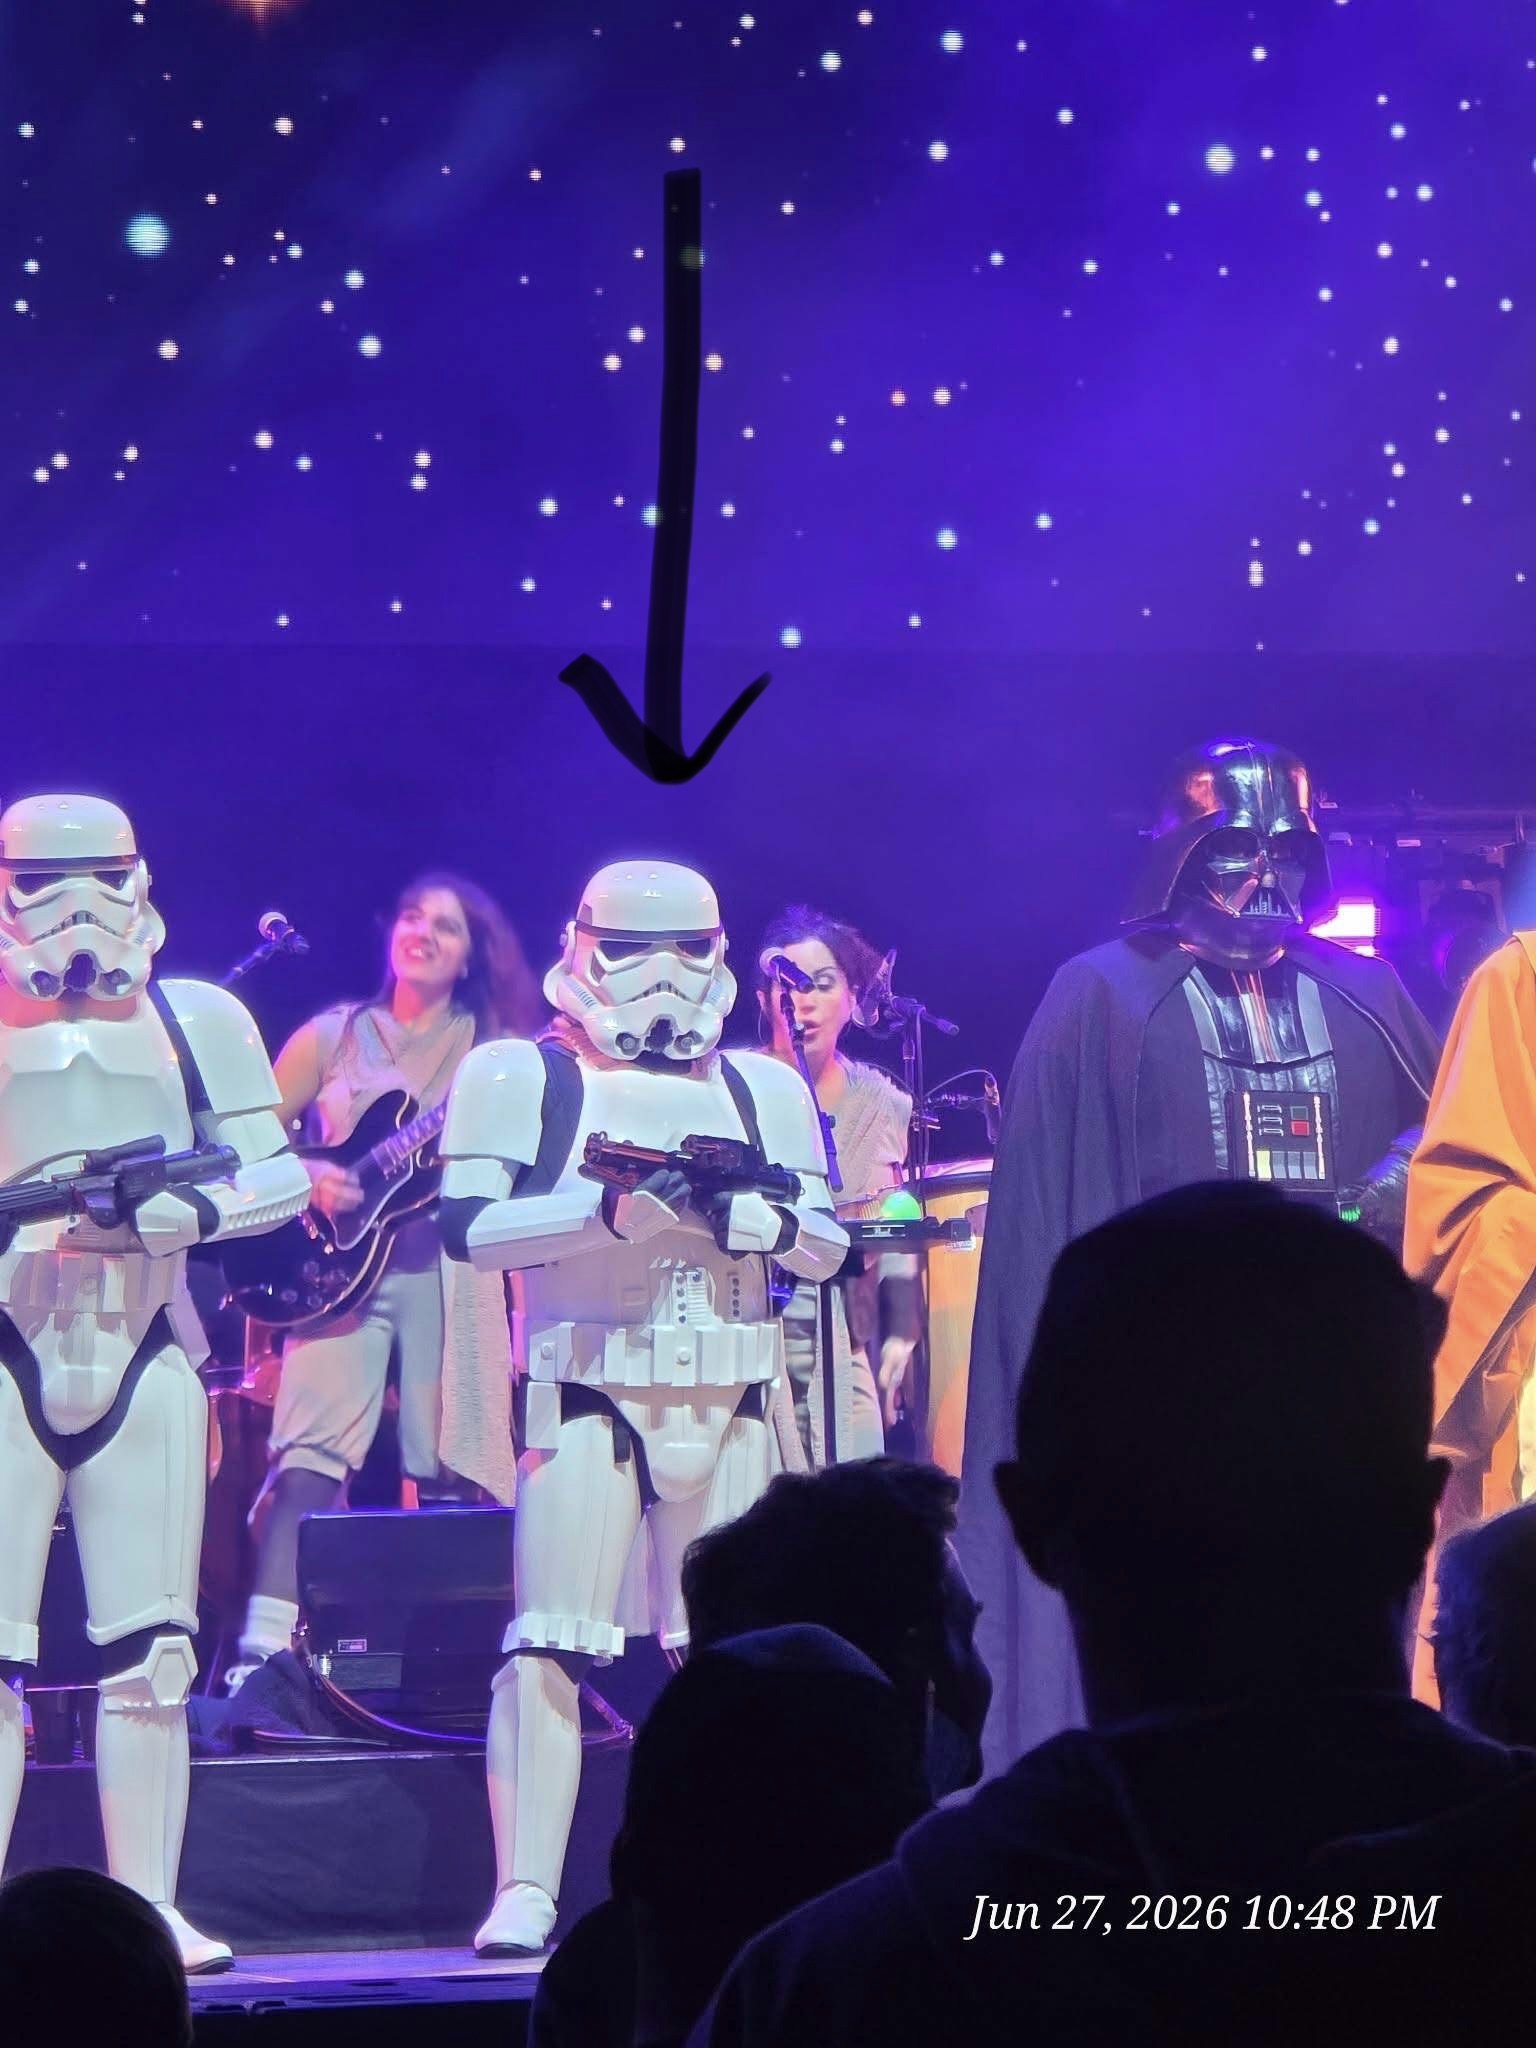
First troop was with Midwest Garrison 332 Blurrg Squad to visit OSF children’s hospital - the very opportunity I joined 501st to participate in! Second chance was on stage with Weird Al Jankovic at United Center in Chicago infront of an audience of 20,000 - quite the start to my 501st experience! I worked SWCC crew in 2019 and got to attend the 501st ball - from then on was my goal to join.
 6 points
 -
You hit the nail on the head about the supplemental pieces! For the interim, and to keep this build on schedule, I’m sticking with Paul's files for the arms, hands, and abdomen. They’re still the most accurate versions available for those sections. Down the road, I do plan to model these myself to improve their overall durability and refine the details specifically for a TK rather than a Shoretrooper. I’m also using Paul's shins (and his molded cover strips). While Akira's shins are workable, the shape is technically a bit off; they're a little too bulbous at the top, whereas the screen-accurate look requires a much more gradual profile from top to bottom. And, I've been a bit "obsessed" with resin printing this past week: There's also been this quick trial run with some free resin I received. Not the optimal layer height, or clear coat (didn't want to waste 2K)... but it proves the concept works.6 points
-
I’ve been… busy. Mostly printing. Mostly sanding. Mostly reprinting things I had already convinced myself were finished, and realizing in writing this post, that statement couldn't be farther from the truth. A few updates ago I proudly declared in true Michael Scott fashion, “I declare, the models are finished!” which turned out to be… wildly optimistic. Unfortunately for me—but hopefully beneficial for anyone building these down the road—I’ve continued refining nearly every piece. I have a bad habit of seeing something that’s 90% right and immediately convincing myself it needs to become 95%... or close to 99%. The biggest revision this time around was the back insert. Yep, same one I've been chasing since May. After digging through some additional reference photos, I realized the recess/cavity was a bit too deep. The “II” details should sit nearly flush with the surrounding lip, while the five horizontal ribs protrude just slightly beyond them. It isn’t a dramatic change, but it’s one of those little details that kept bothering me every time I looked at it. So naturally, with the back armor now nearly ready for its base coat (minus a few touch-ups here and there), it was time to move back to the absolute bane of my existence… The thighs. Surprisingly, the actual design wasn’t the problem this time, printing it was. My first test prints in PLA fit and functioned exactly how I’d hoped, which was an enormous relief after everything these parts have put me through. Then ABS decided to remind me that overhangs actually require proper supports. Who would’ve thought? Thankfully, after tweaking a few settings and giving the printer another shot, everything came together exactly as intended. (Ugh… vertical photos throwing off my groove.) One of my bigger regrets earlier in this build was spending the time to fabricate a belt out of HDPE. It worked, and truthfully, I'm still actually quite proud of it if I were going in a slightly different approach. But somewhere along the way, this project quietly evolved into asking myself a different question: “How much of this suit can I actually 3D print?” So… naturally… I modeled the belt too. And in typical fashion, I repeated this step exactly five times until I got the results I needed. Using the behind-the-scenes Andor photos from the FISD gallery as my primary reference, I tried to replicate the proportions as closely as possible while still making something practical to print and assemble. I didn’t quite get enough time over the weekend to remove all of the supports, or even attempt to sand it, but here’s a look at the Blender renders along with a few close-ups of the boxes that are currently being reprinted in resin. And for reference, here’s the enhanced gallery image I based everything from. Working from a single photograph at a less-than-ideal angle makes proportions more art than science, but I think it landed surprisingly close. The only real liberty I took was making the two center boxes separate pieces. It’s entirely possible the production belts molded these as one component—or simply glued them together afterward. Without seeing the backs of the pieces, or talking with team that originally built the armor, it’s hard to know for certain, and frankly… that’s one rabbit hole I’m trying not to disappear down. With all of that out of the way, I finally lined everything up last night just to see where I actually stood. For the first time since starting this project… it finally feels like I’m building a Stormtrooper instead of a collection of individual parts. There are still a few pieces missing from this photo (the newly printed belts being one of them), but they’re all sitting elsewhere in my "workshop" (really, a glorified garage with A/C) waiting their turn. By the end of this build I’ll probably do a dedicated “Hall of Shame” update showcasing all of the failed prints, duplicates, redesigns, and abandoned parts I’ve accumulated over the last six months. Trust me… there’s a lot I’m not showing here. So, what’s left? At this point, the roadmap is actually pretty straightforward: Final primer of most of the parts and some obvious touch-up work Internal strapping and snap installation Full test fit (I'm the most excited for this) Base coat Final assembly I’m planning to tackle the internal strapping before moving fully into paint so I can verify everything fits the way I intended. I’d much rather discover a problem now than after everything has already been painted... as I'm getting a bit tired of reprinting things that are too far along. There are still a handful of pieces I’m not completely satisfied with—mainly the cod and posterior, which are leftovers from my early Akira-printing days. Those will almost certainly get revisited before I submit for approval, but they’re no longer preventing me from moving forward even if I do end up sticking with them temporarily... As I mentioned a few updates ago, I’m still very much in “go mode.” Originally, my goal was simply to have everything ready for a Halloween costume party. Now… I honestly think I might beat that deadline. Six months ago, I thought the hard part was learning how to 3D print. Turns out it was randomly deciding to learn Blender. Now that the modeling is (mostly…) behind me, it’s finally time to build the Stormtrooper I’ve been imagining since December. My soft parts should be shipping any day now, the finish line is finally in sight, and if everything continues going according to plan… I might actually be submitting for Legion approval a little sooner than I originally expected. Fingers crossed.5 points
-
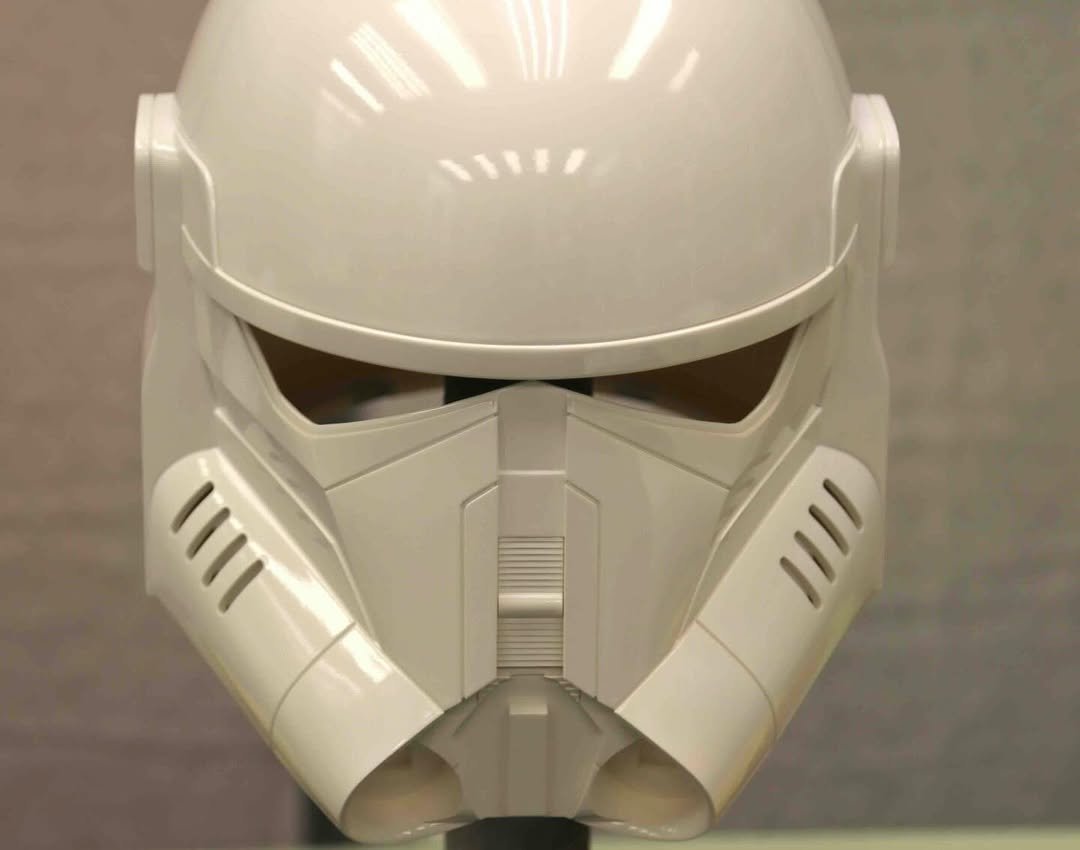
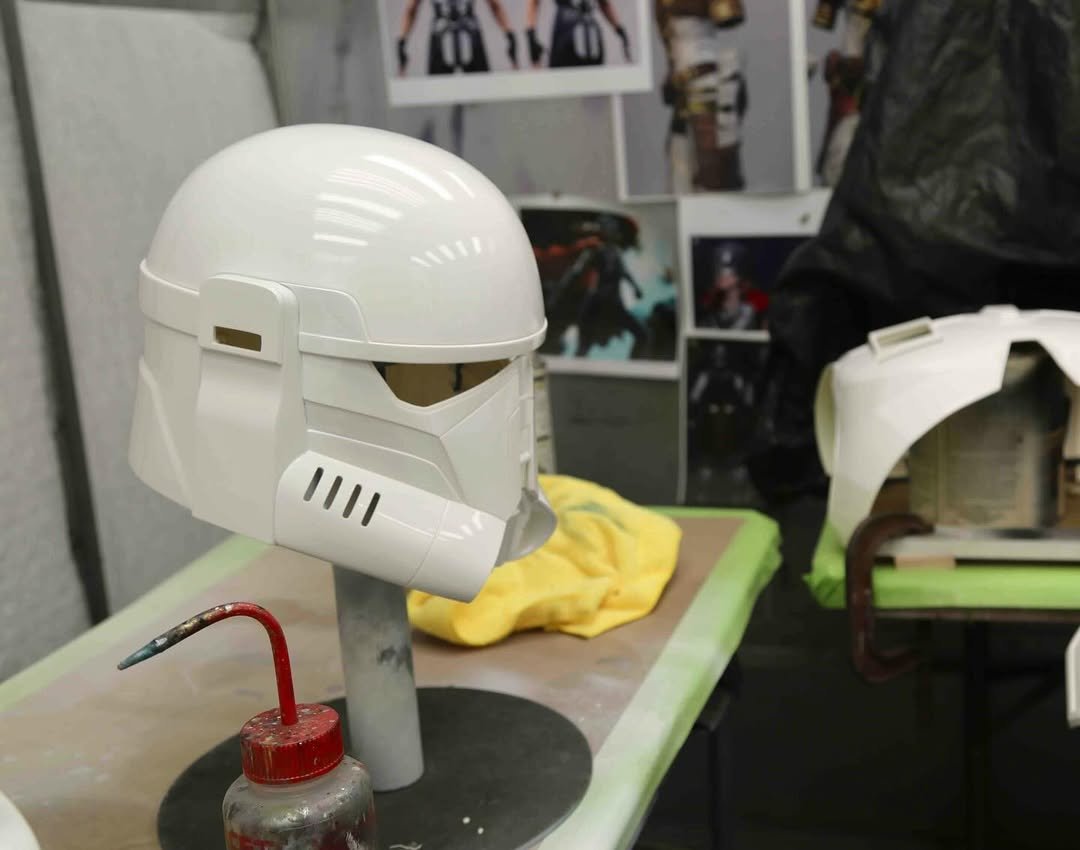
Just a quick update. It's been going well to paint over the ABS that has been sprayed with filler primer. No more scratch marks. I'm still not great with spraying gloss so some orange peel, eg on this knee armor. However, after wet sanding with 1500, 2000, then polishing with a plastic polish + microfiber sponge, I'm getting a nice smooth gloss that should be ready for clear: The forearm seam is much smoother after the milliput: One small setback is that many of the seams on my 3D printed parts have been splitting. I did not plastic weld all of them, and every one I didn't weld has split eventually. I actually think it may be because I'm using acetone-thinned Bondo spot putty to smooth the surface, and I think it's eating the CA glue. So I sanded the chest and back seams and welded them, then filled and sanded with milliput: I'll spray them with filler primer today to check out how the seams look. One other thing I can't remember if I'd mentioned before was that a while back when I was heat shaping one of the calf pieces, I put quite a large dent in it. I was able to push it back a little, but decided not to try to use heat to fix it given the high chance of making it worse. Instead I filled it with milliput and sanded it flat. I'm fairly certain it won't be noticeable once it's primed and painted: I've also started prepping the helmet for paint:5 points
-
There hasn’t been much physical progress on the armor itself, but I did hit a milestone I’ve been working toward for the last couple of months: phase 1 of the modeling is officially complete. That means every major component I personally set out to redesign now, well, exists. I've tweaked the chest plate, re-modeled the back insert (as I showed last week), and finally modeled the posterior armor as well as the belts and their ammo boxes. From here, the process formally shifts from modeling... to seeing if all of the parts actually work as intended. The next phase is going back through each piece, test printing everything at full scale, making adjustments for durability and printability where needed, and finalize some additional features to make assembly and strapping a bit easier. So… to keep this update relatively brief, here are a few renders to hold everyone over until the printers inevitably tell me what I did wrong. At this point, I still fully intend to revisit the remaining pieces—arms, shins, hand guards, and the abdomen are all on the list—but they aren’t an immediate priority anymore. Right now, it’s officially “go mode.” My focus is getting everything printed, finished, painted, and assembled so I can finally complete my armor and submit for approval (seeing as I've yet to do that). One other fun development this week: I managed to pick up a resin printer during Prime Day. Naturally, I immediately started reprinting some of the smaller, more detailed components. I have to admit… I get the hype now. (Printed in Elegoo ABS-Like 3.0+) Alright… I've put off sanding for long enough this time. Time to get back to making plastic dust.5 points
-
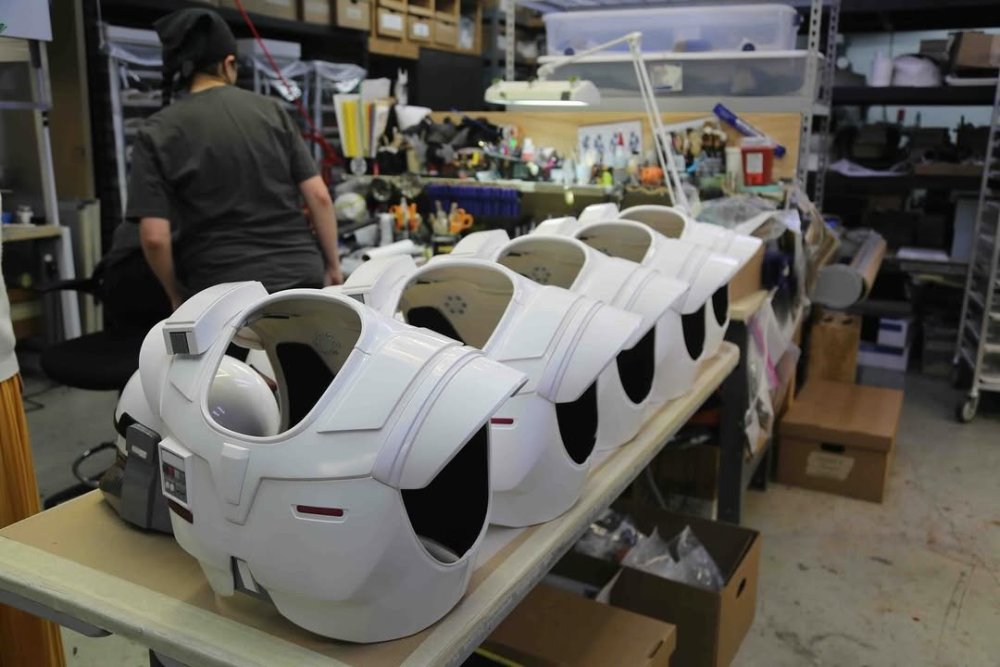
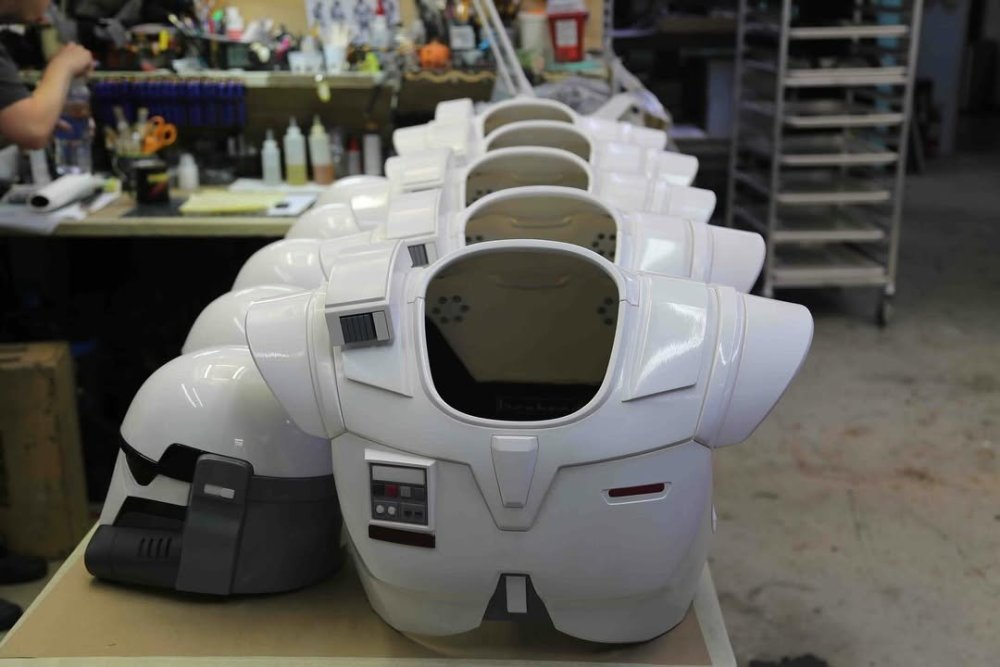
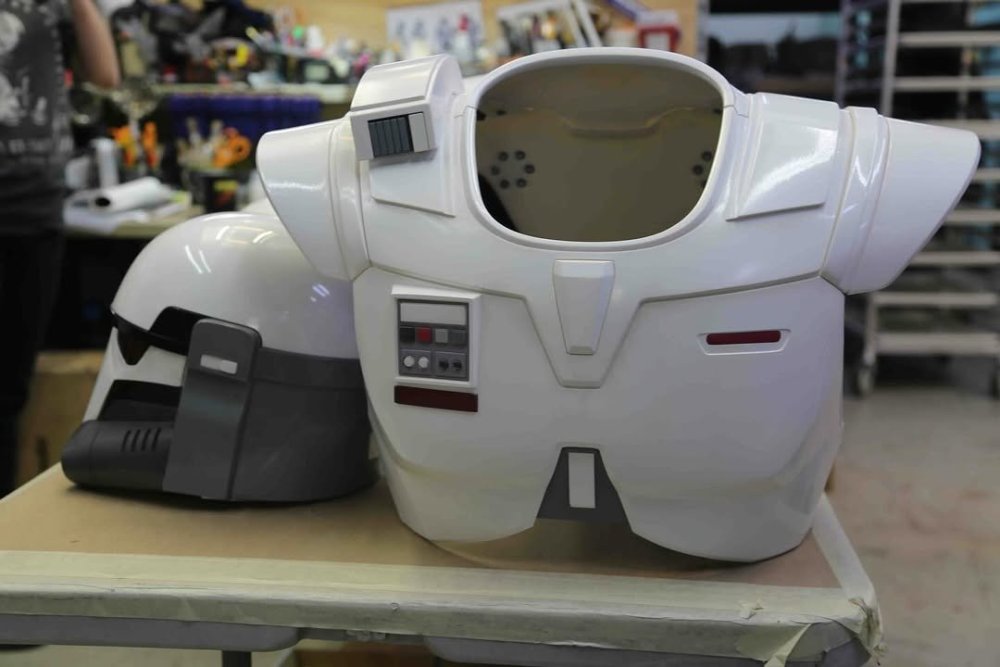
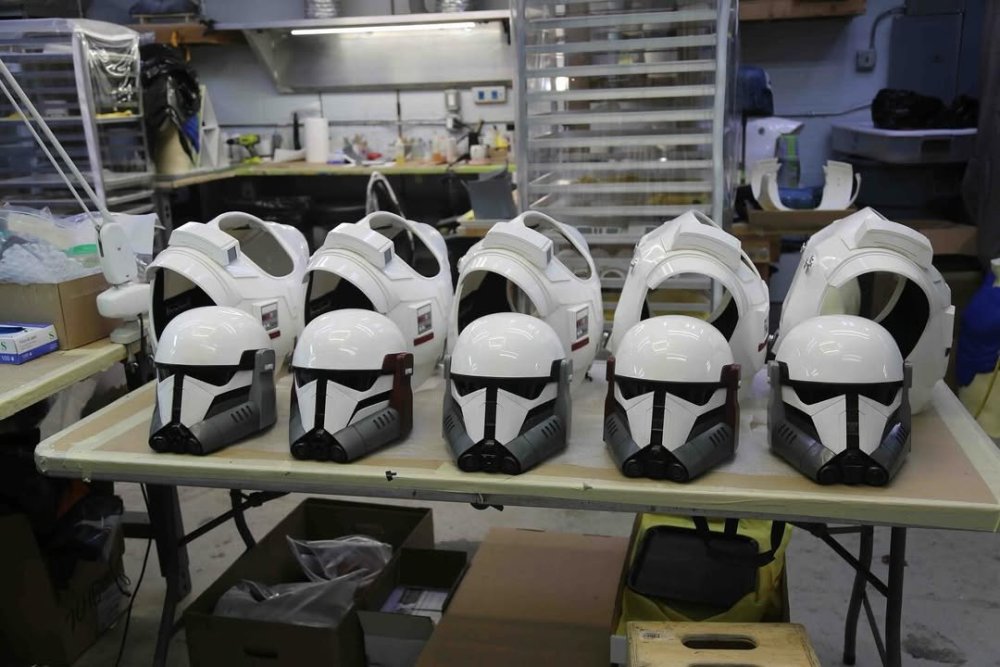
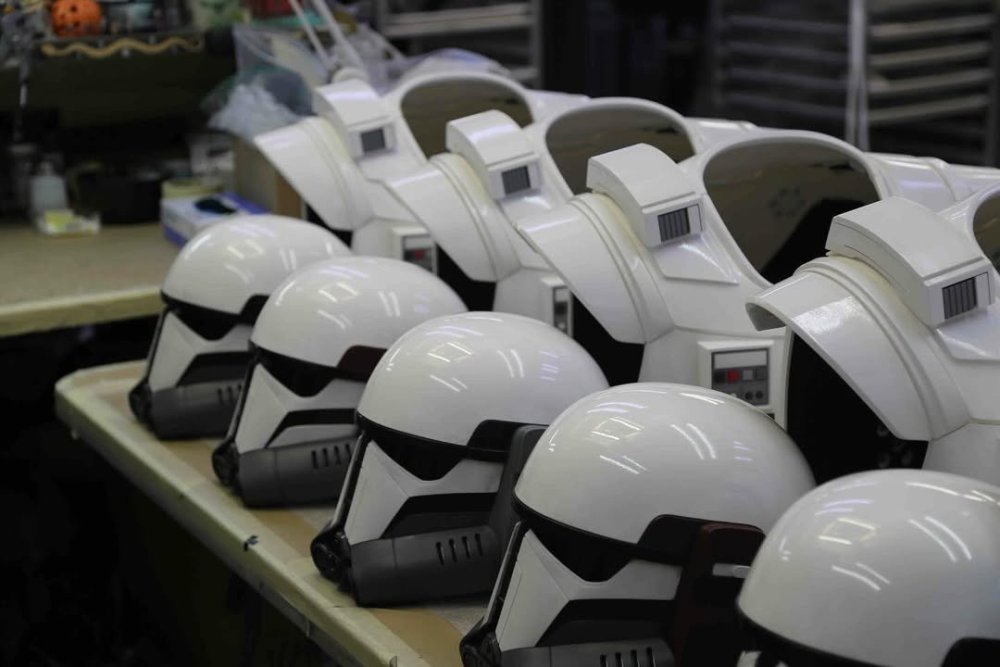
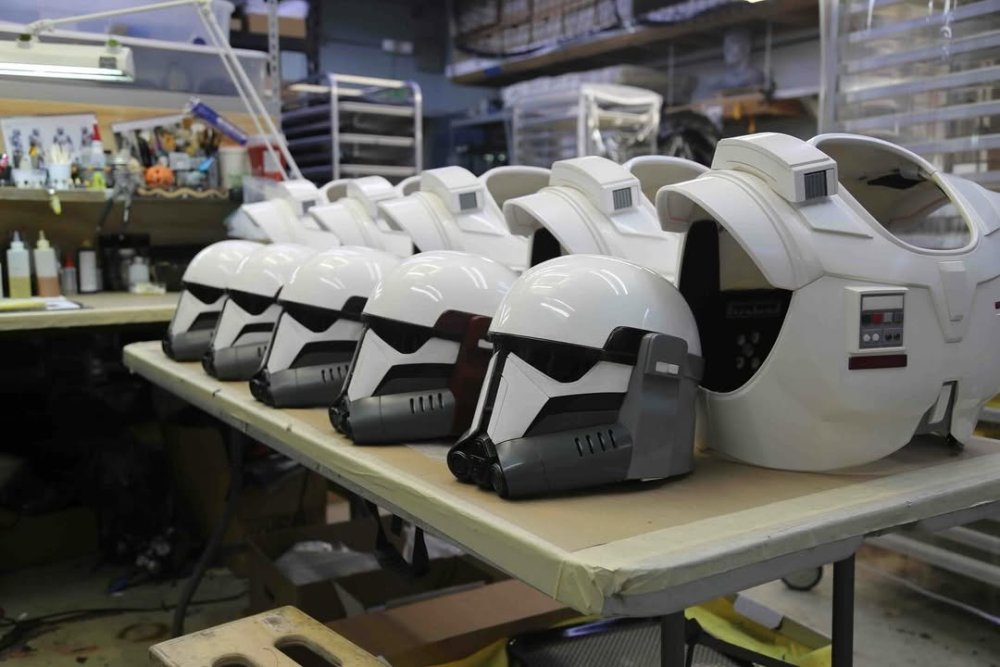
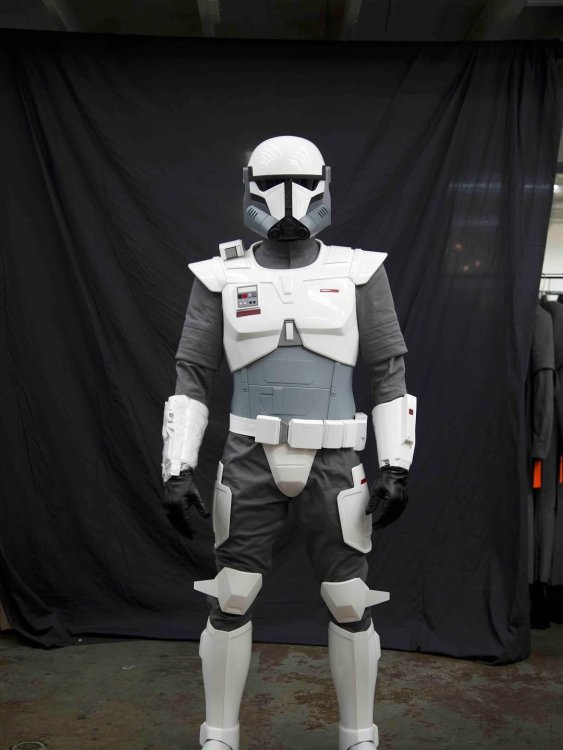
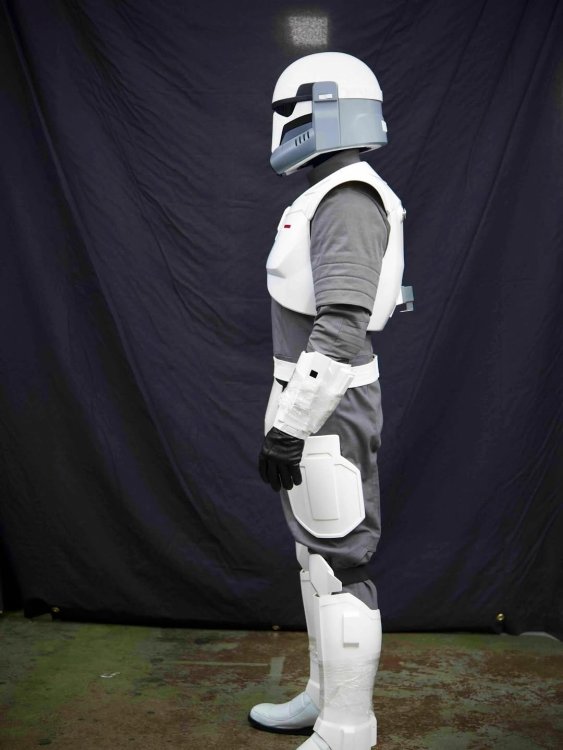
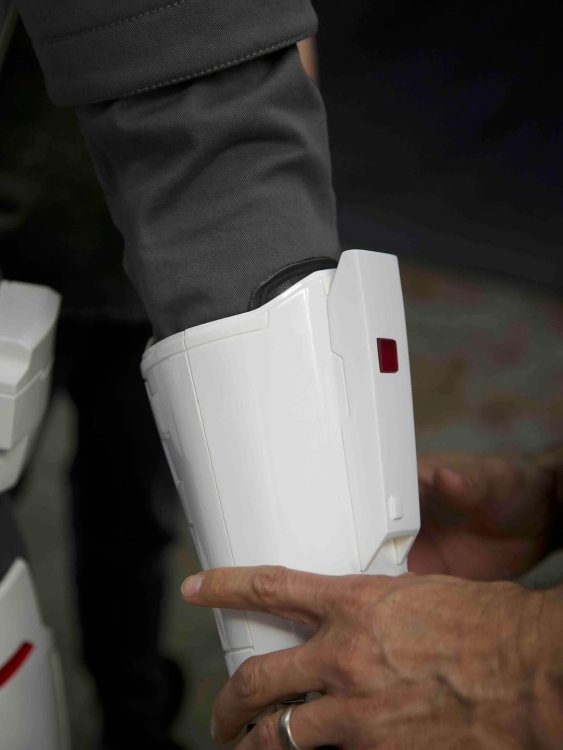
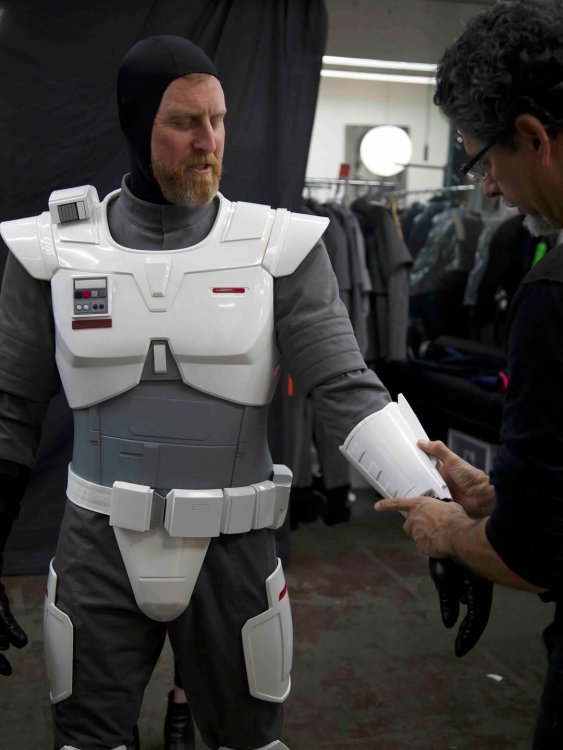
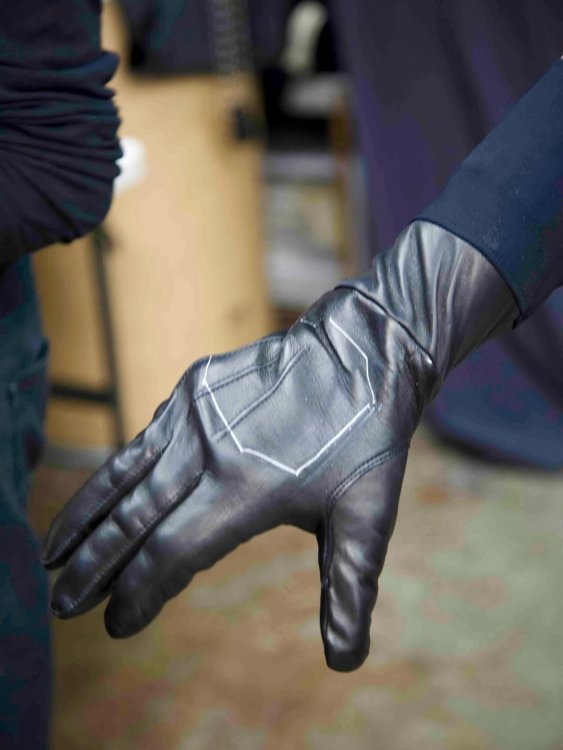
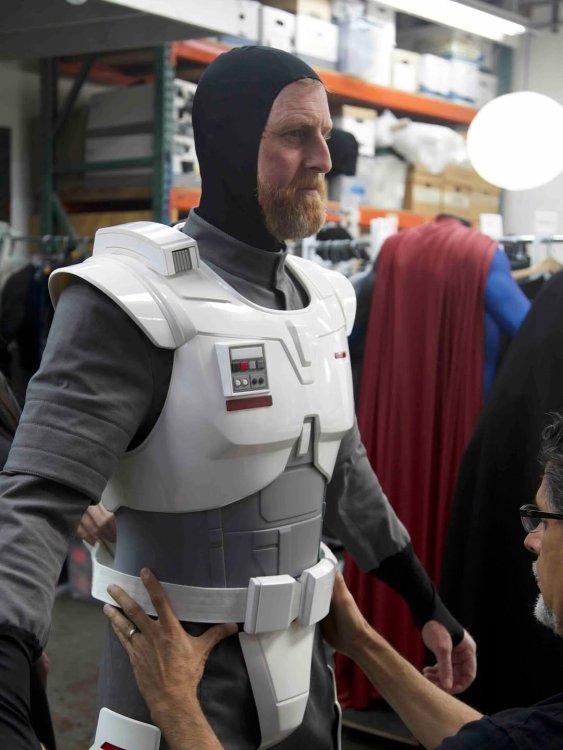
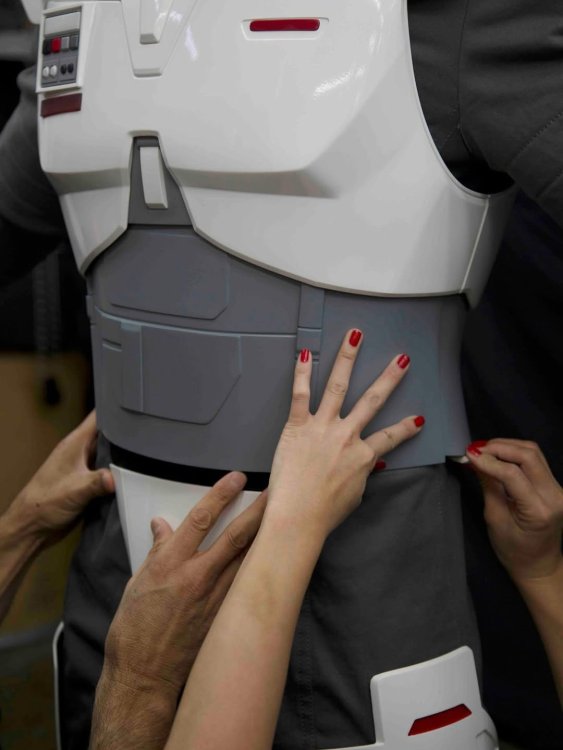
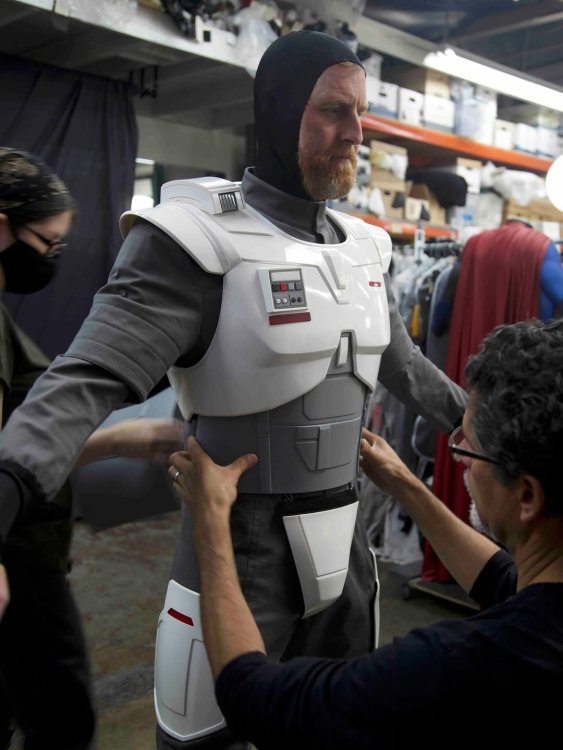
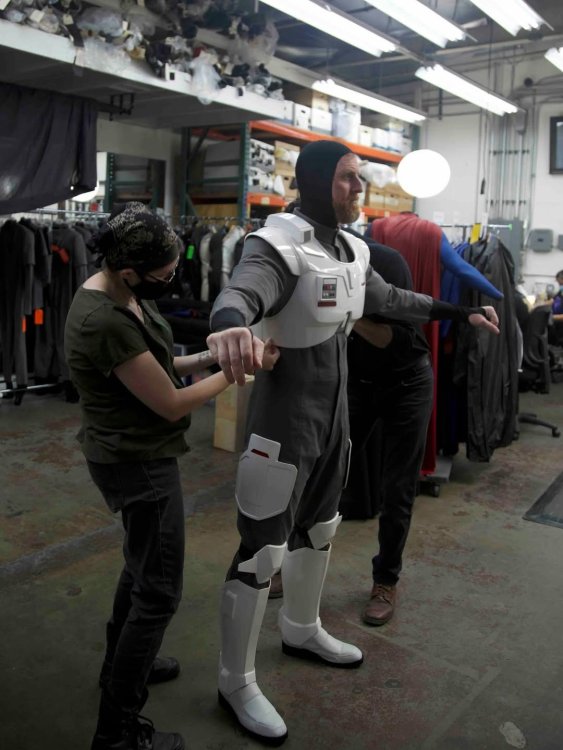
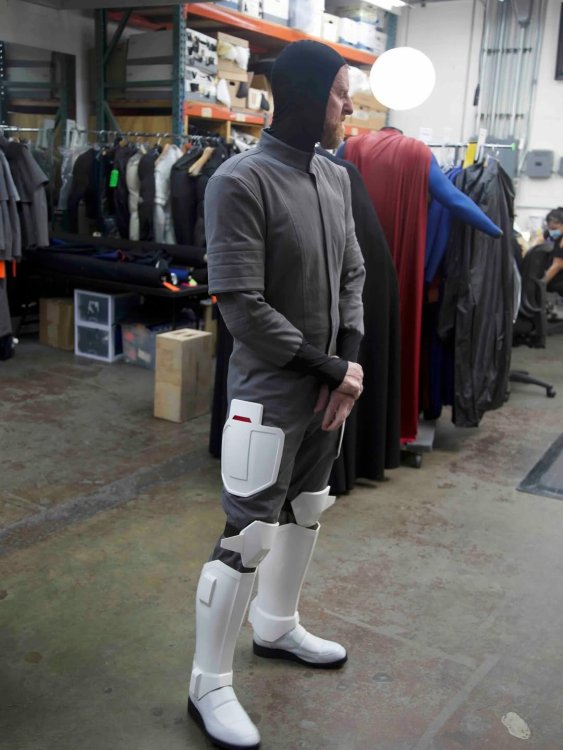
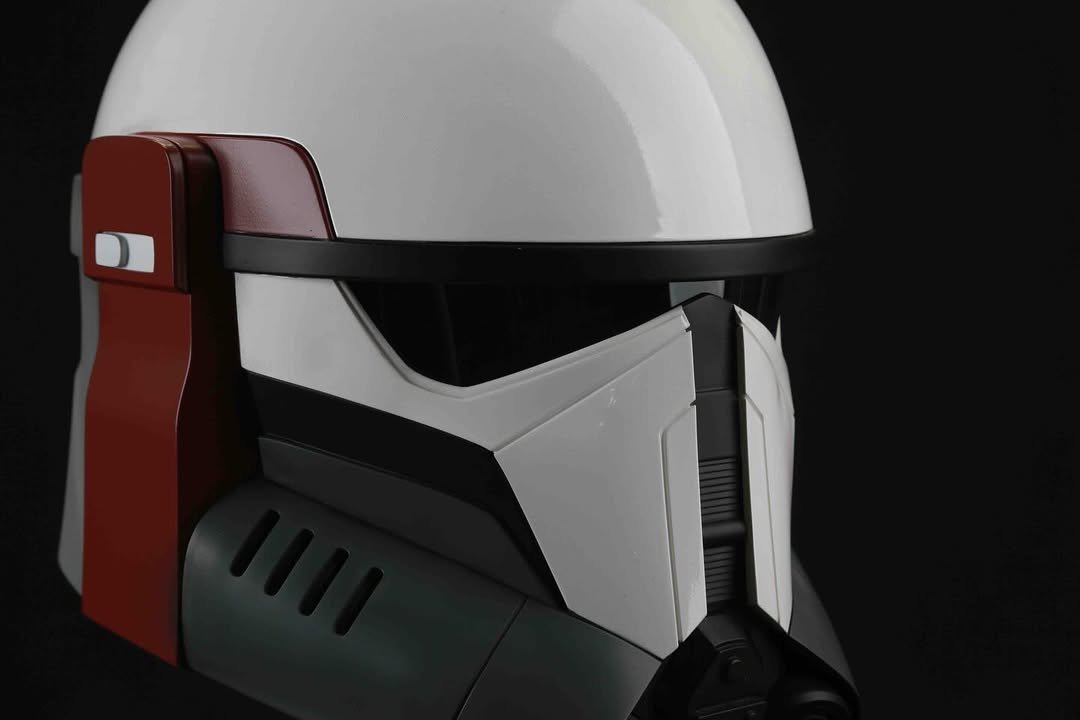
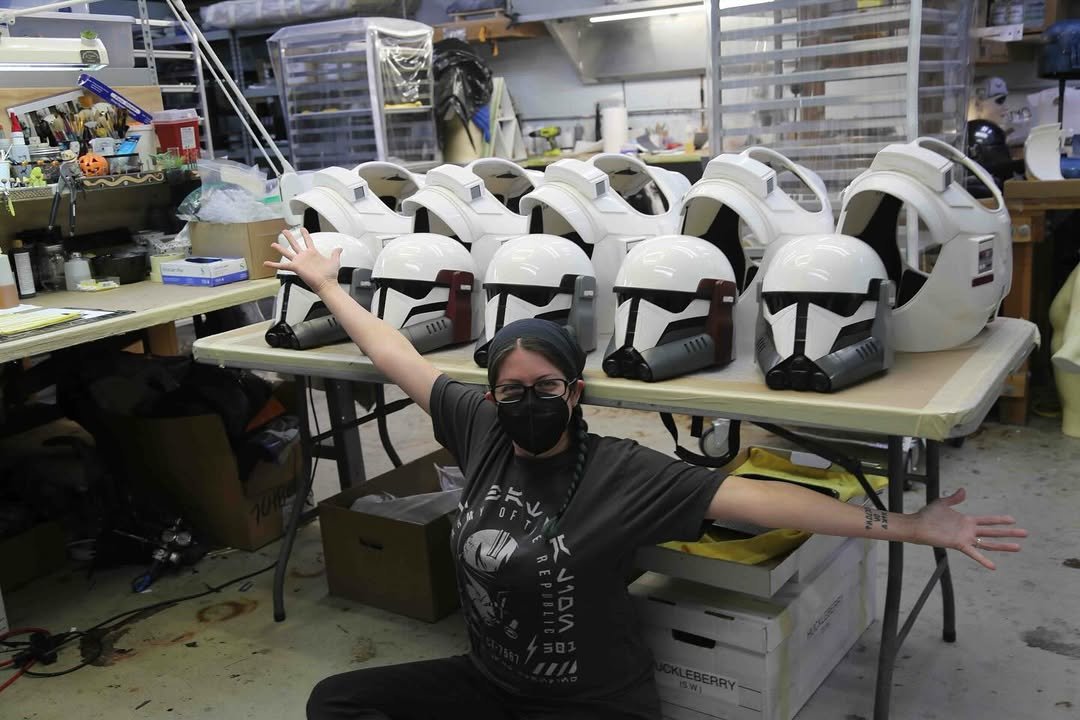
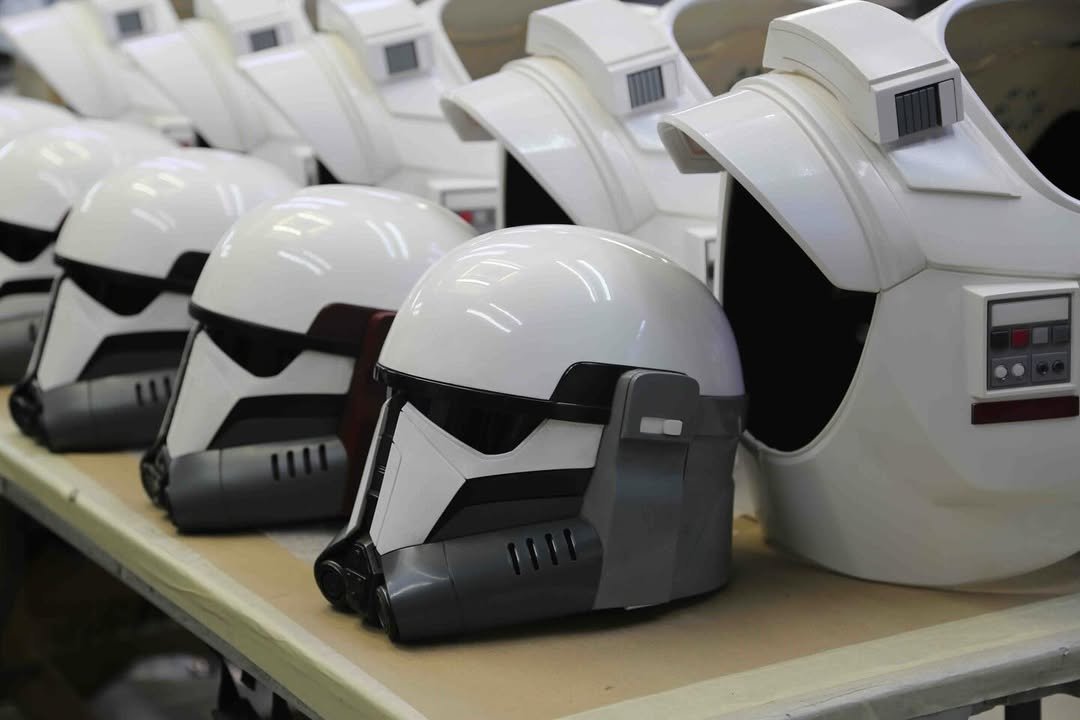
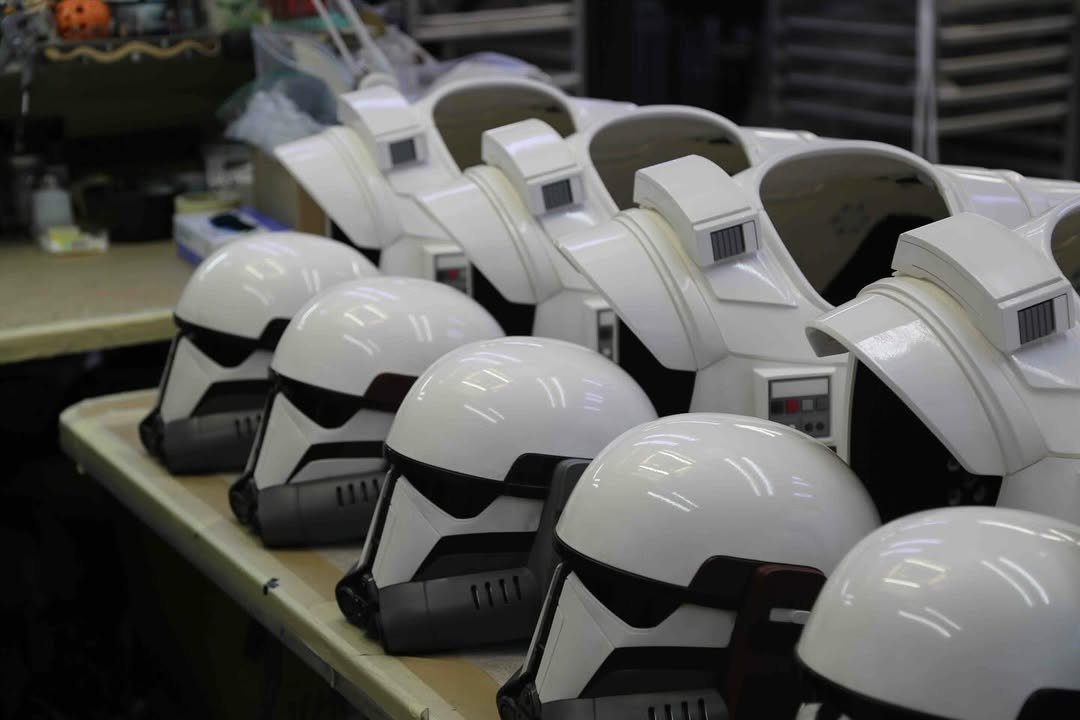
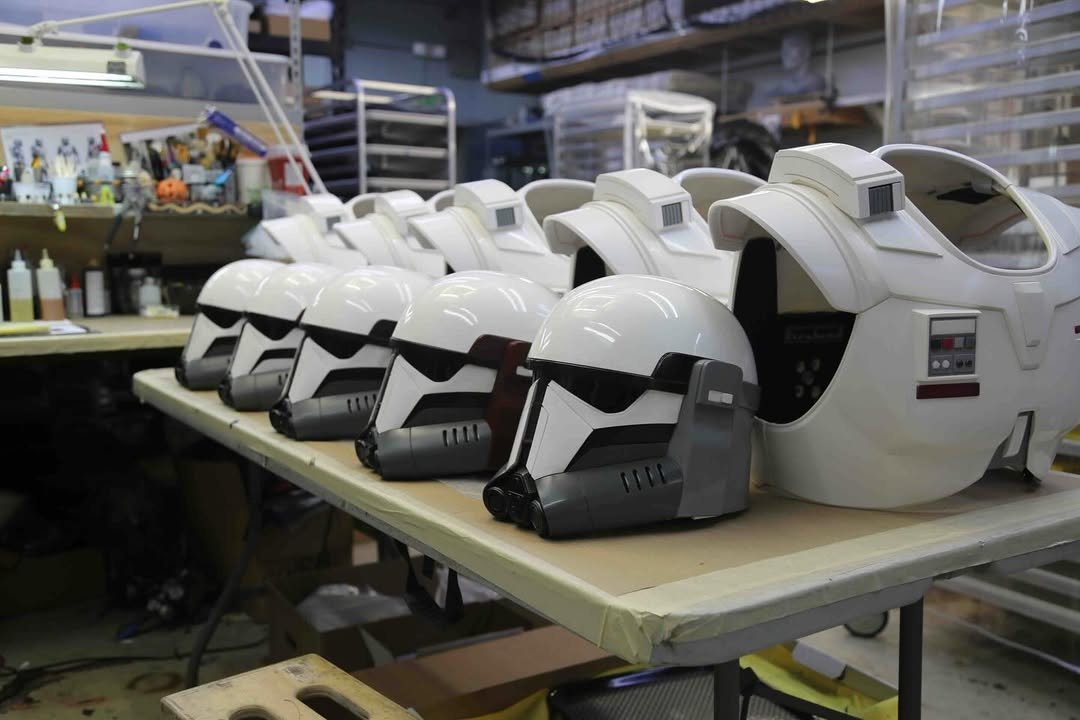
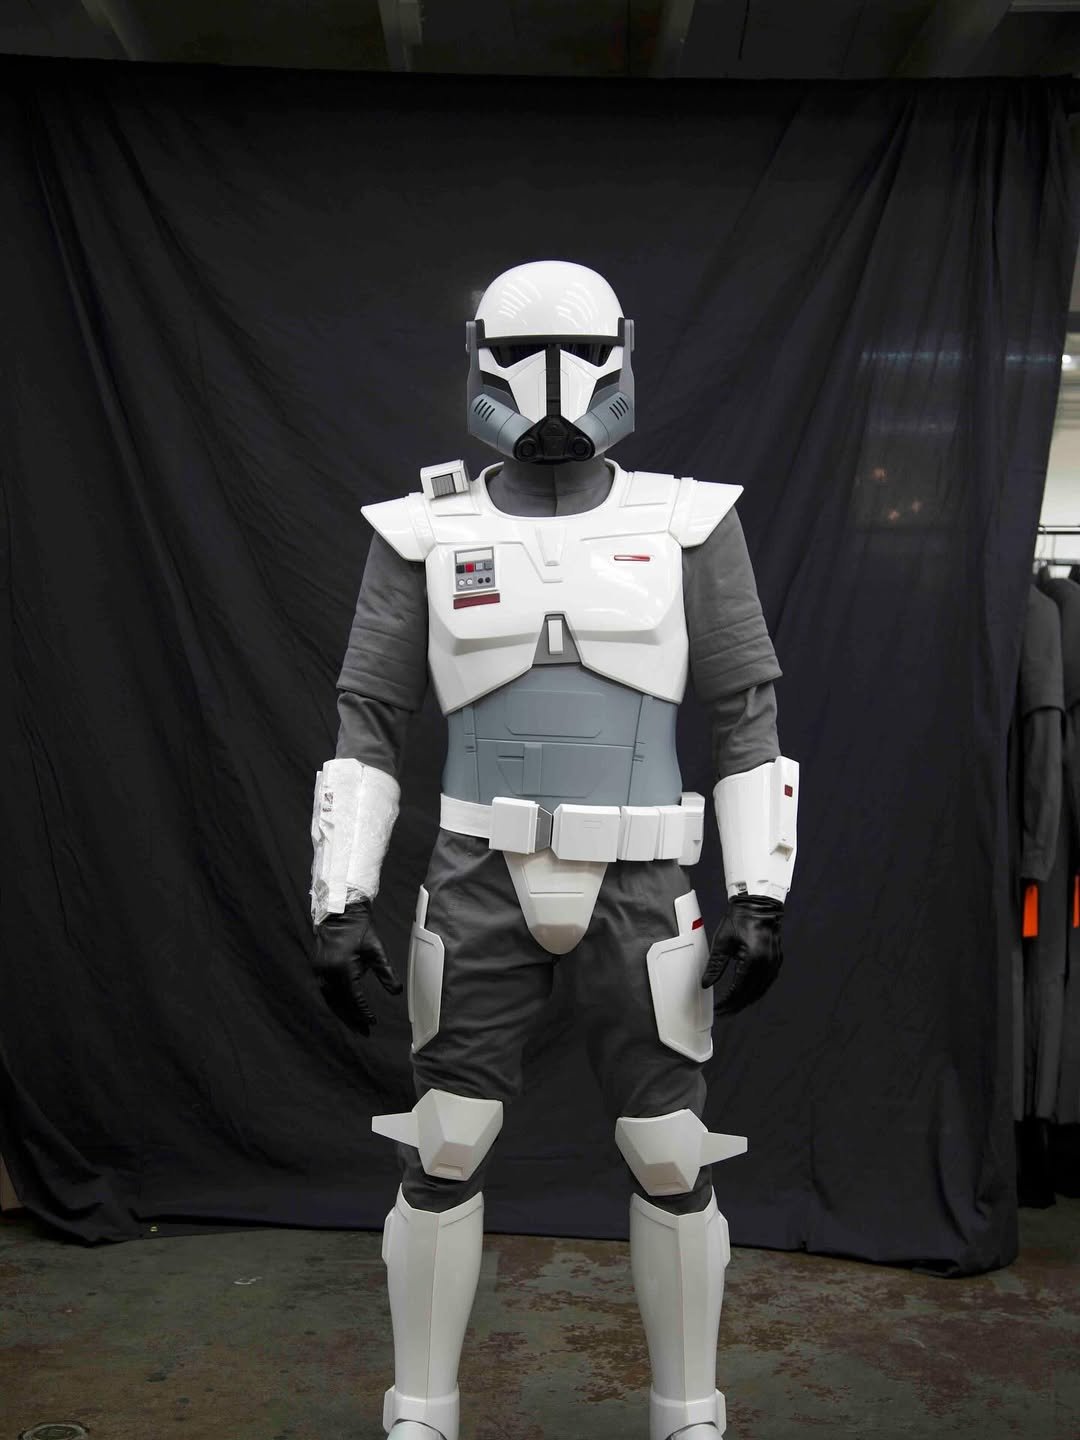
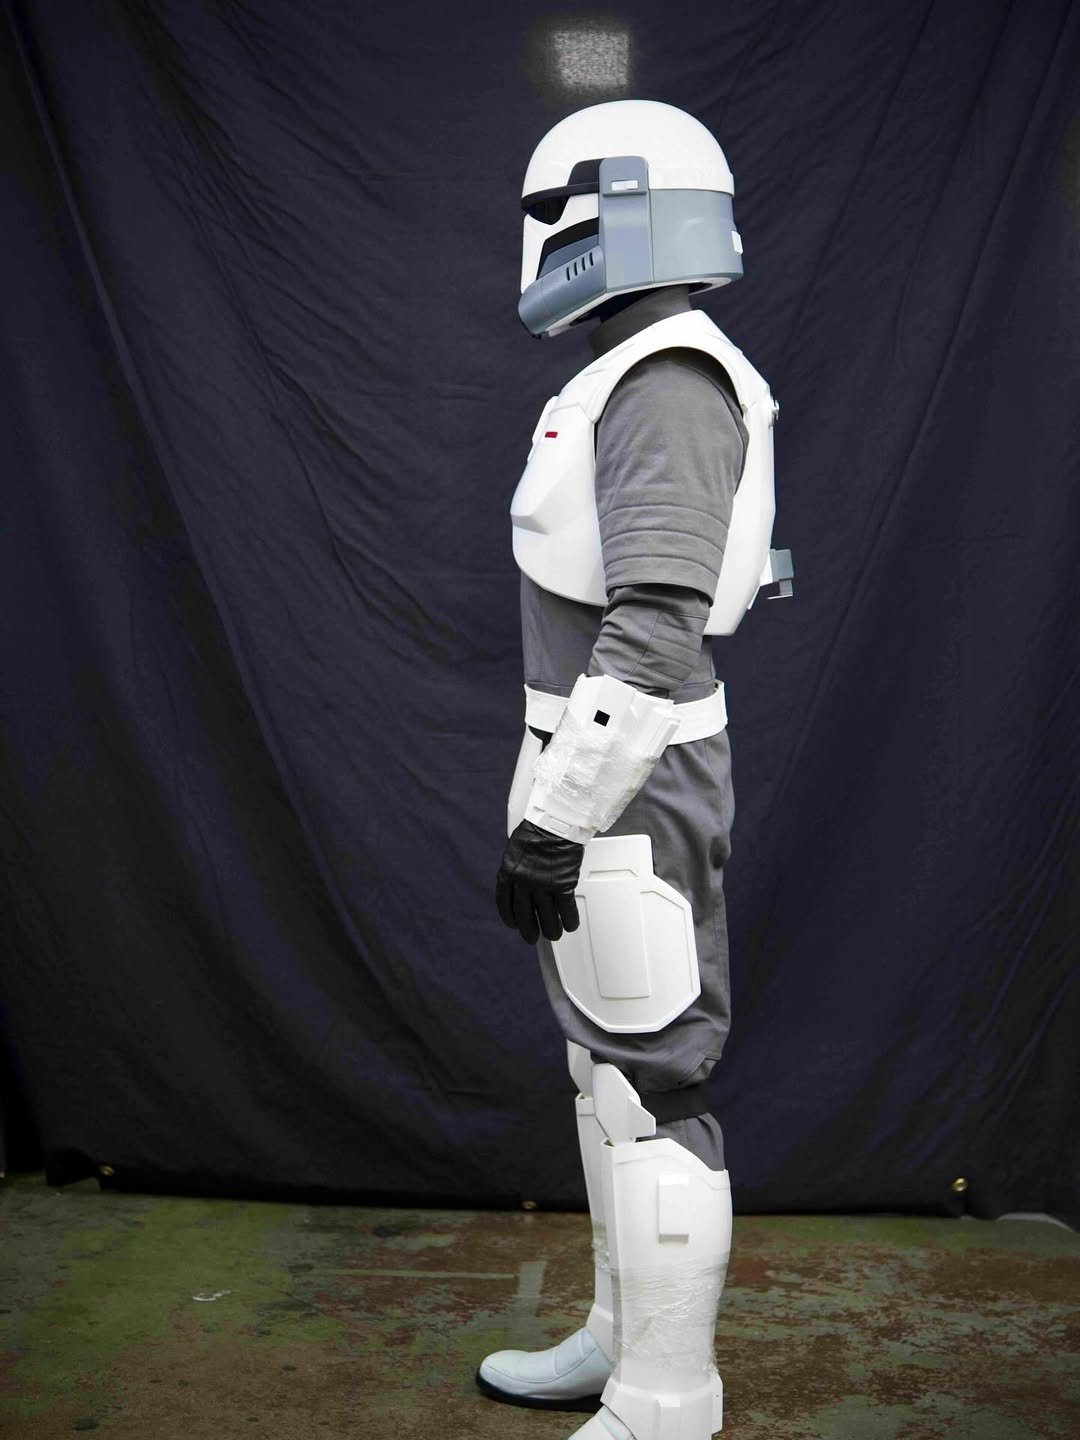
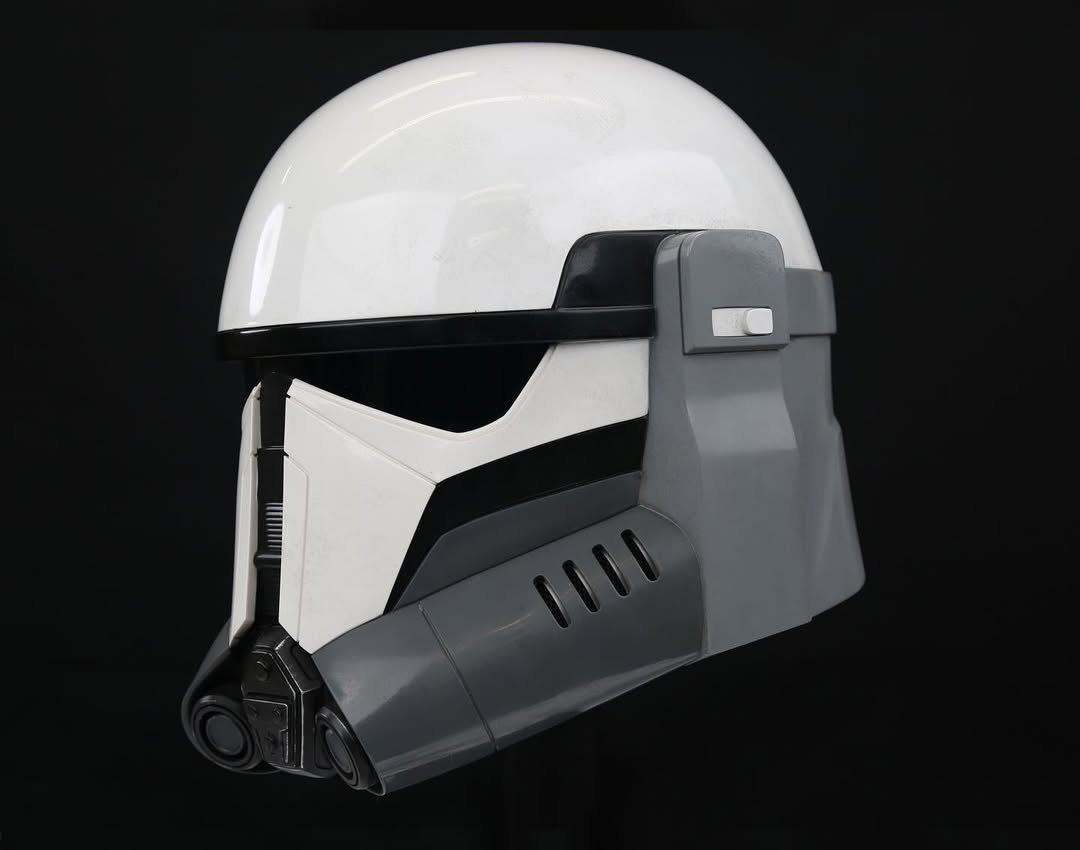
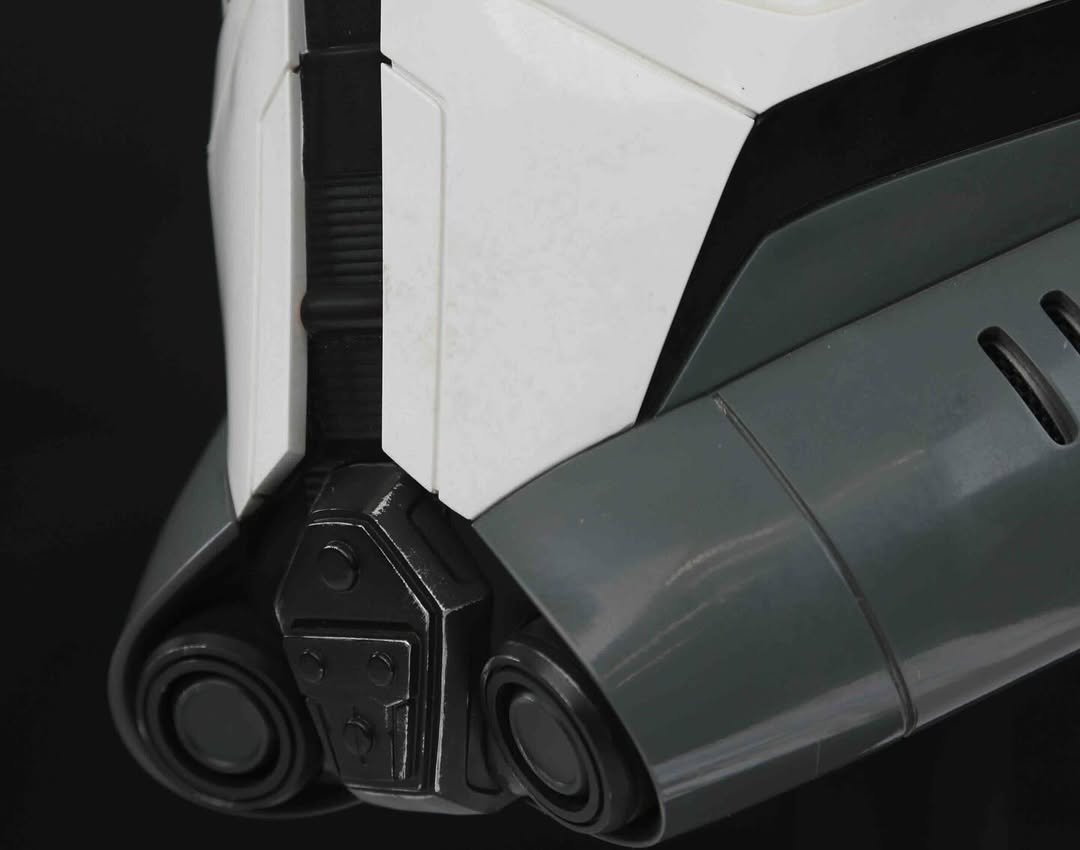
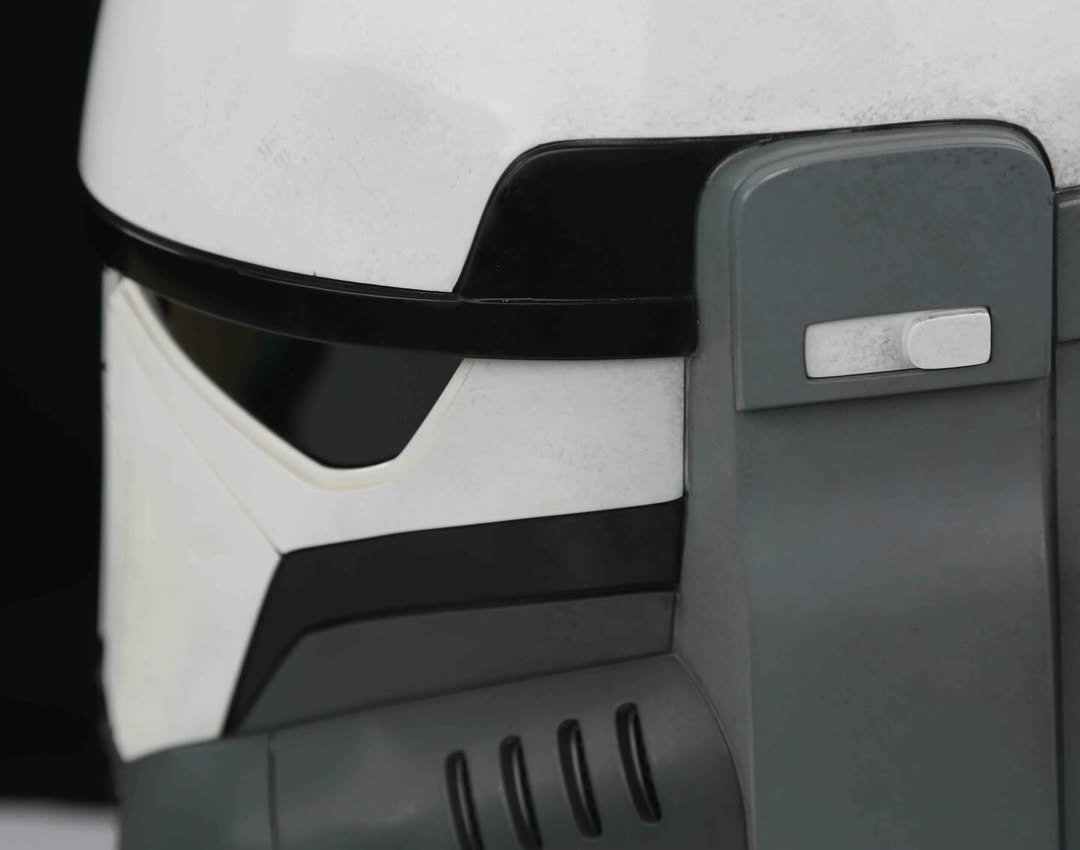
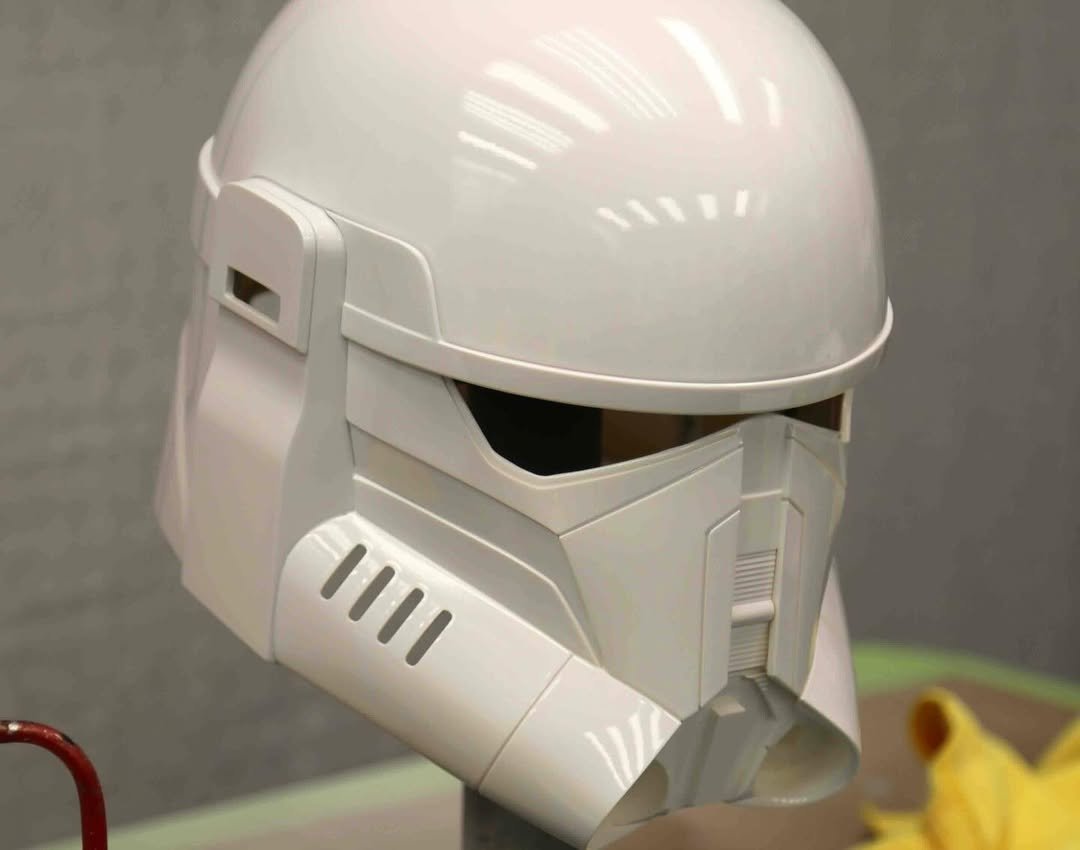
Imperial Armored Commando - Gallery - ironhead_studio
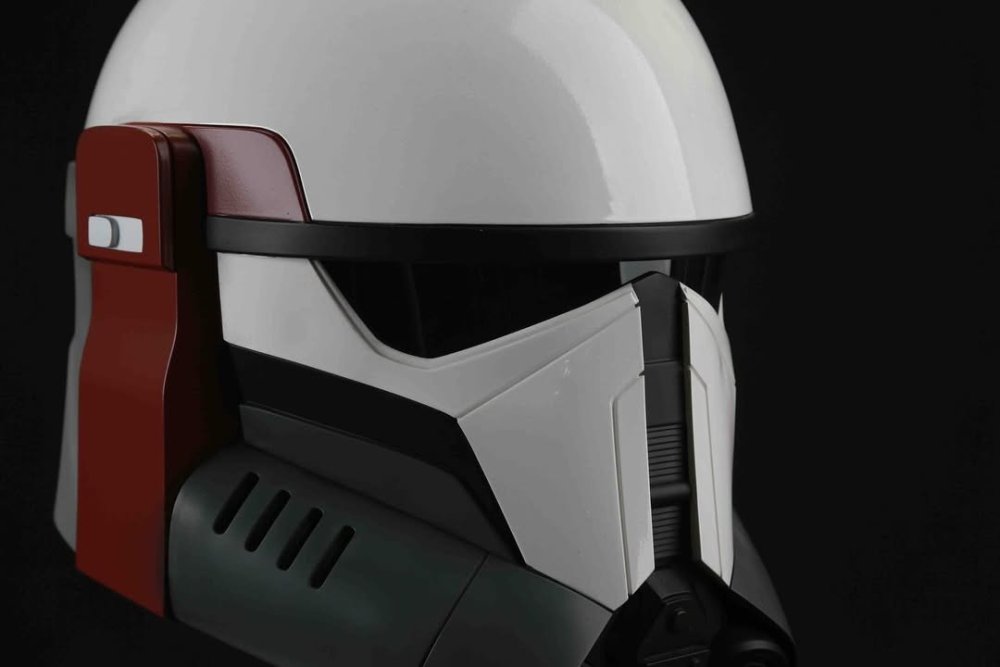
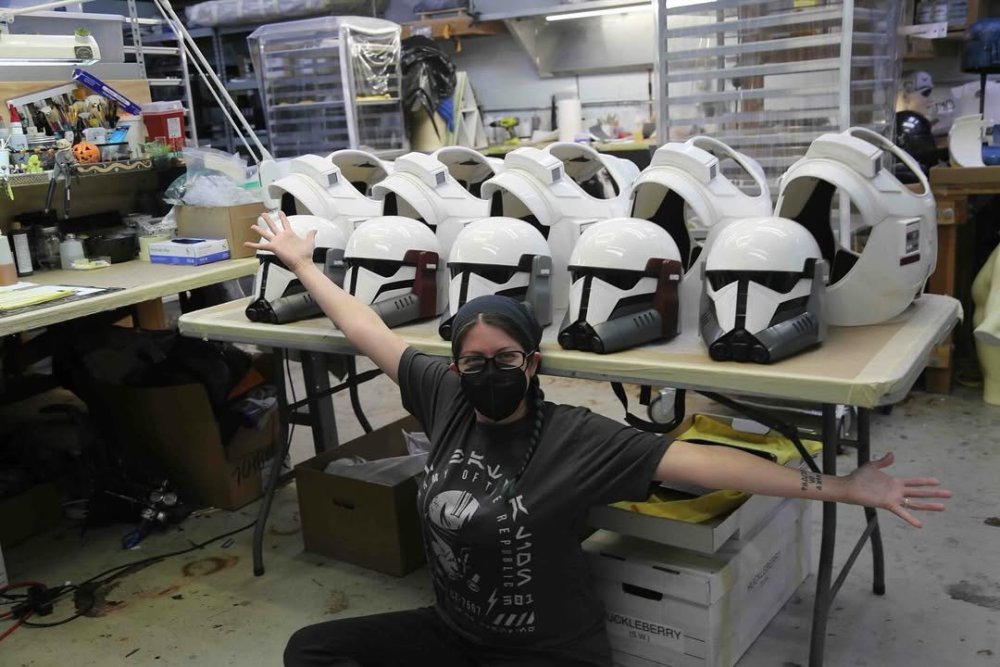
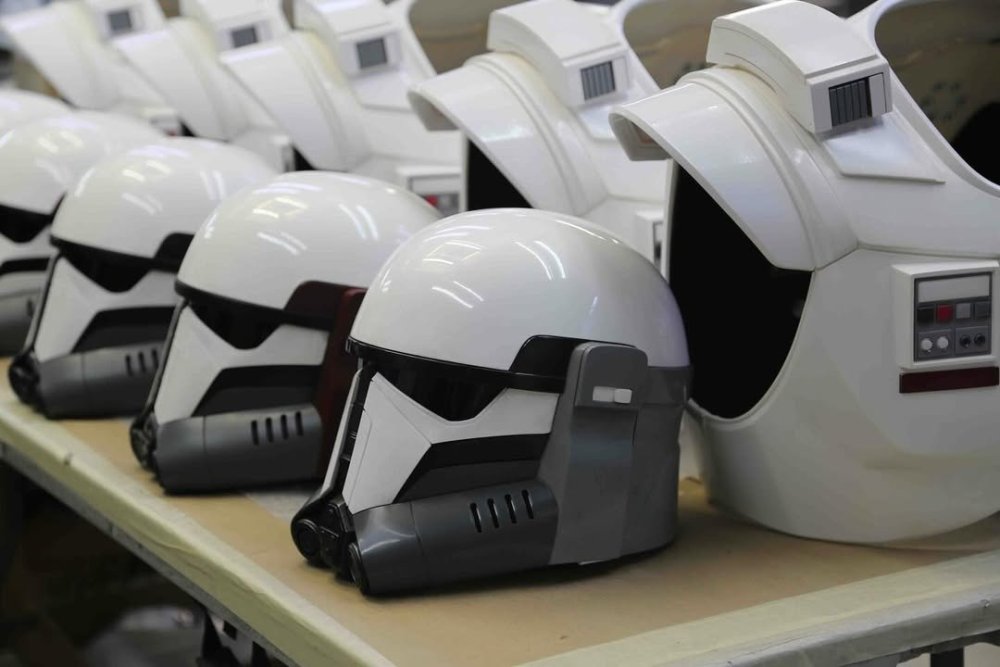
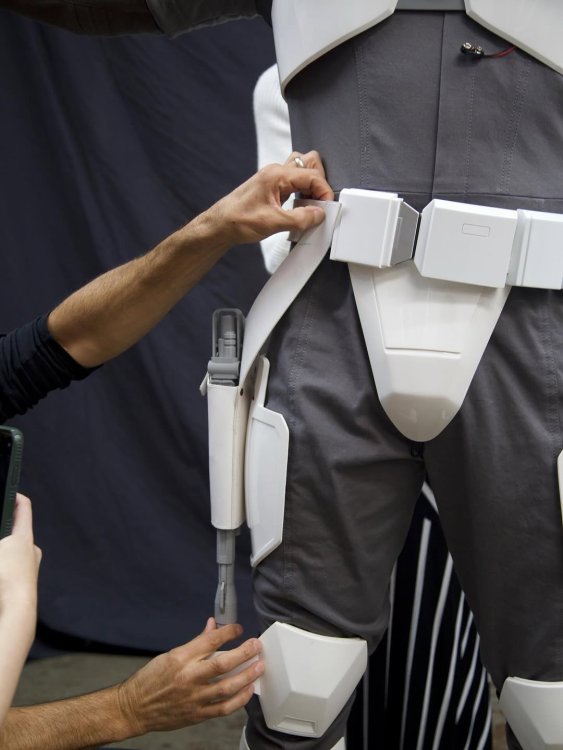
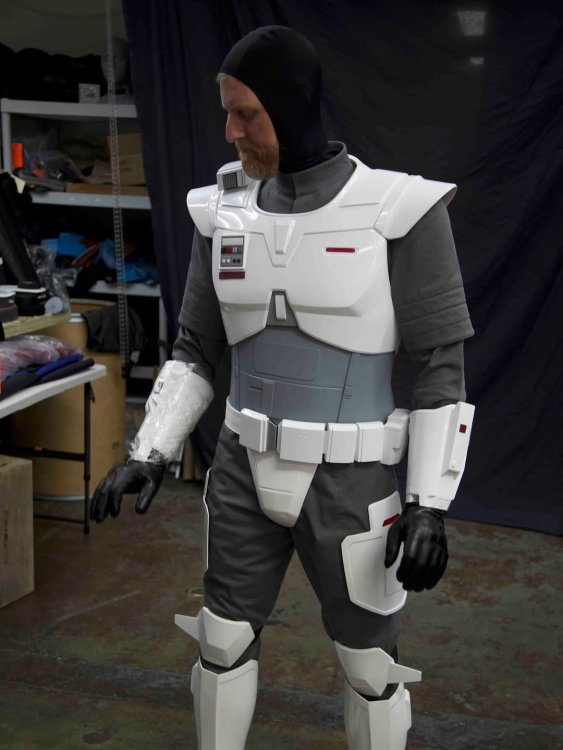
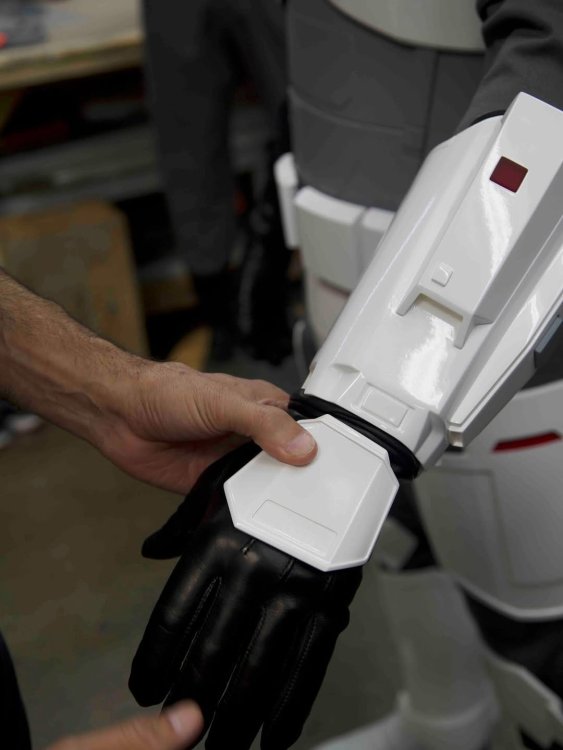
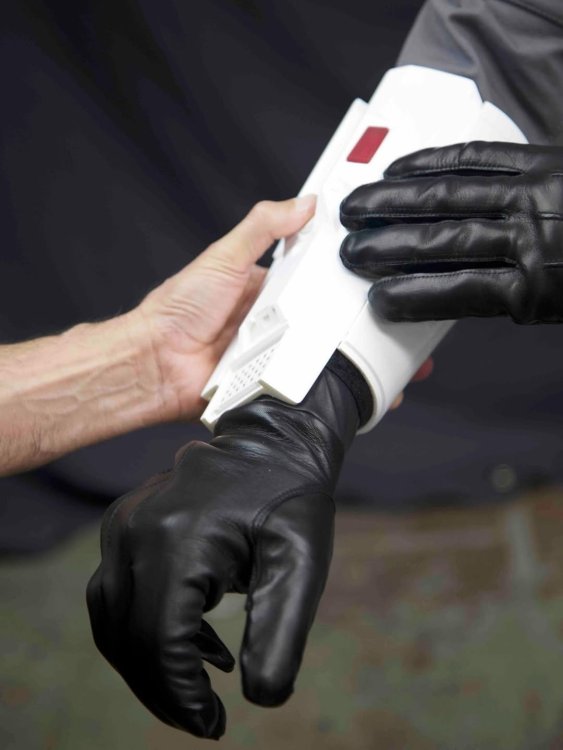
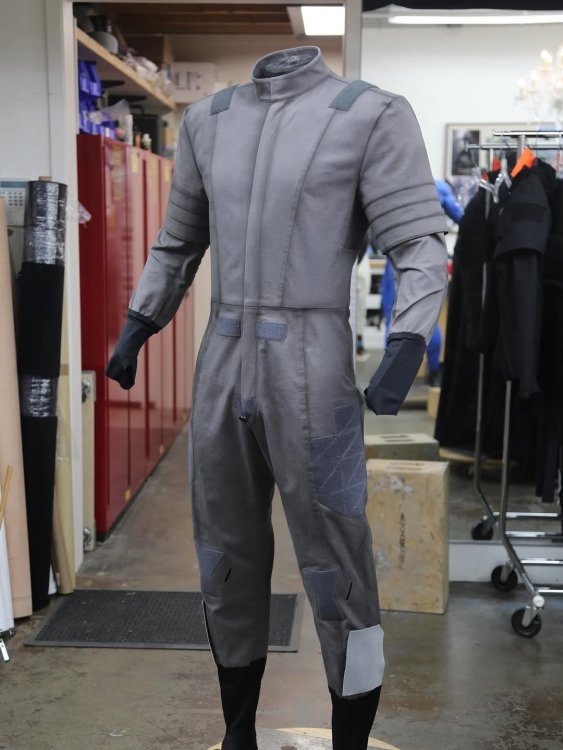
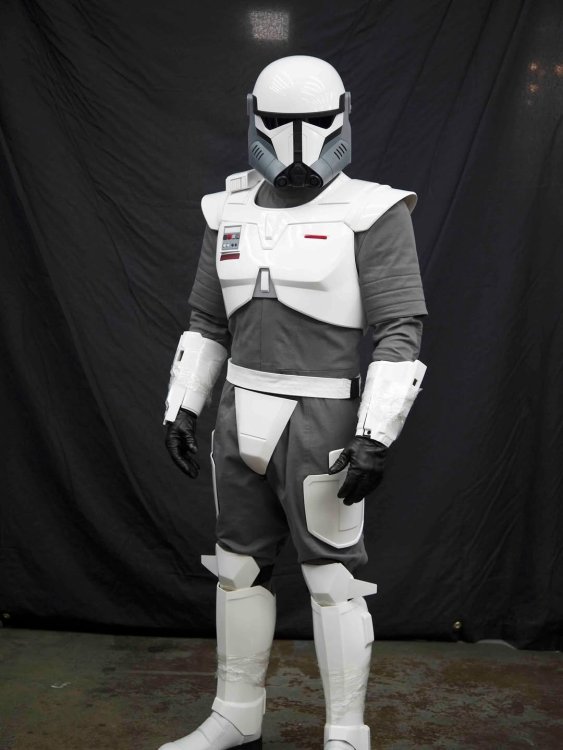
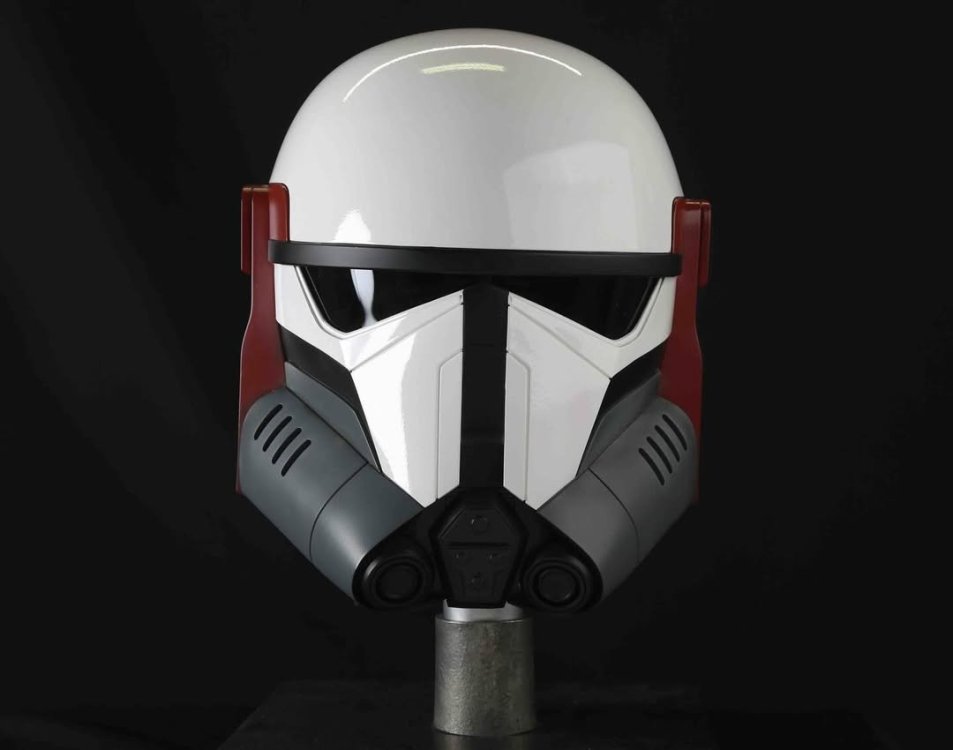
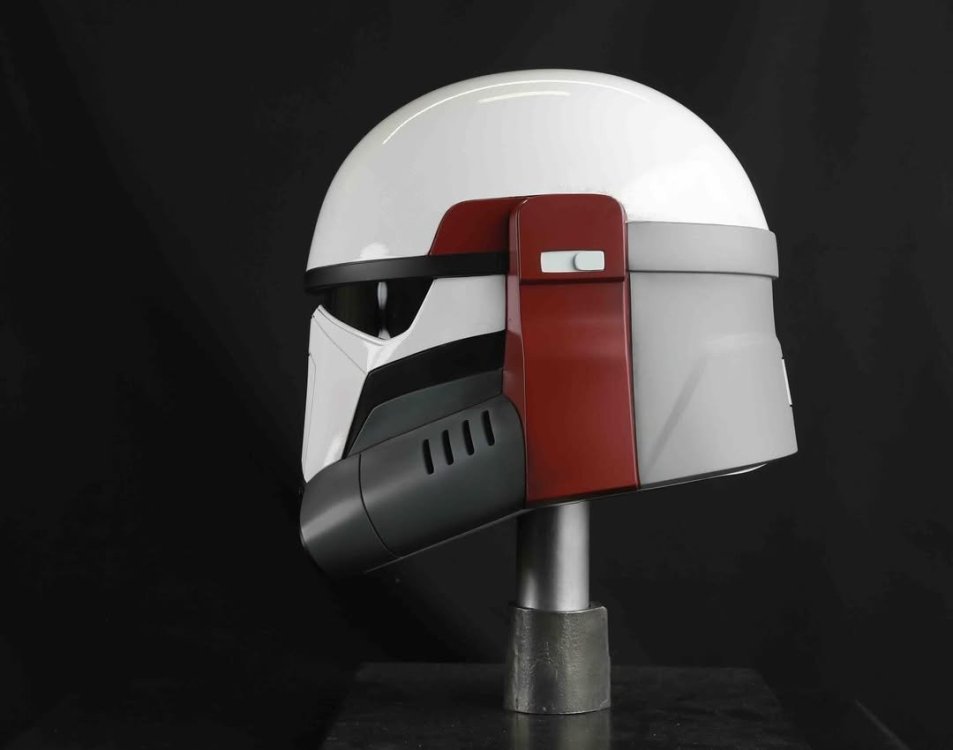
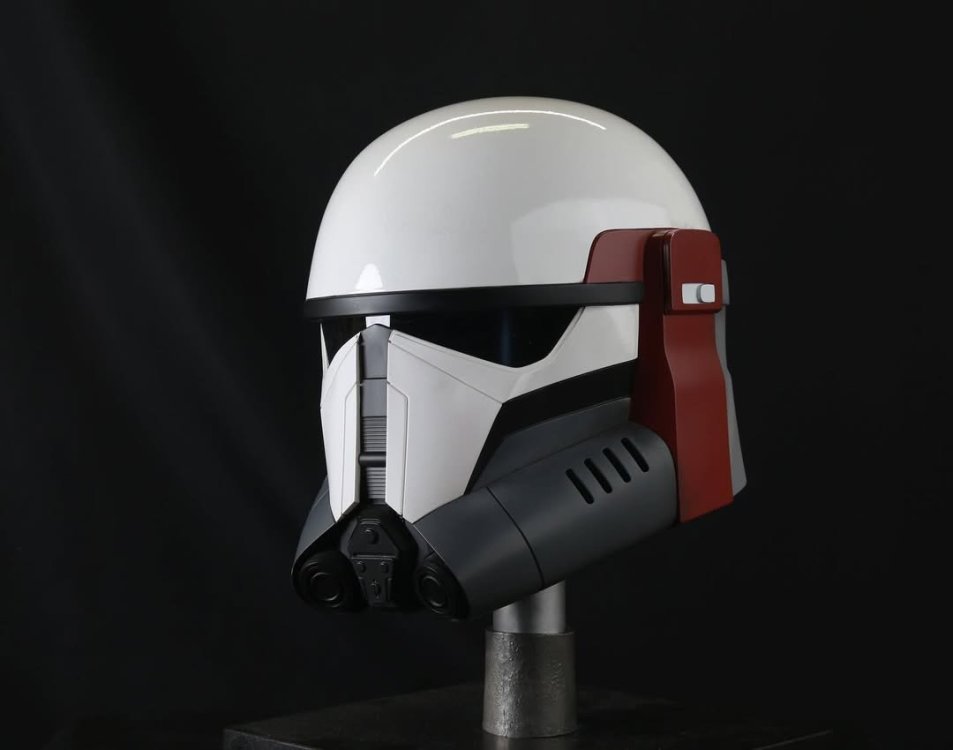
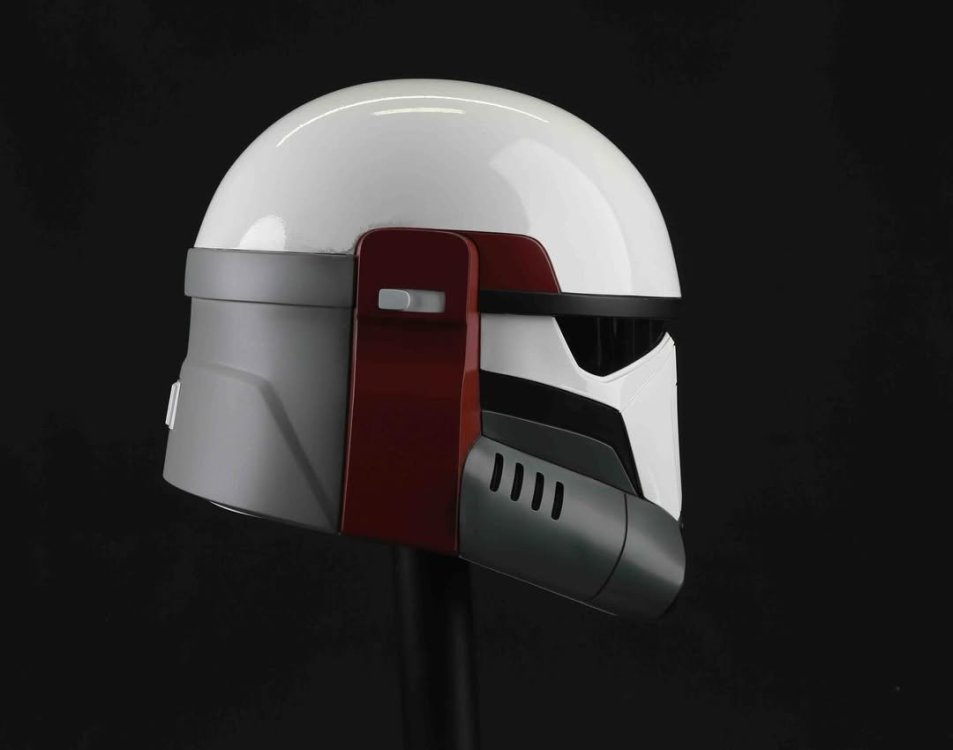
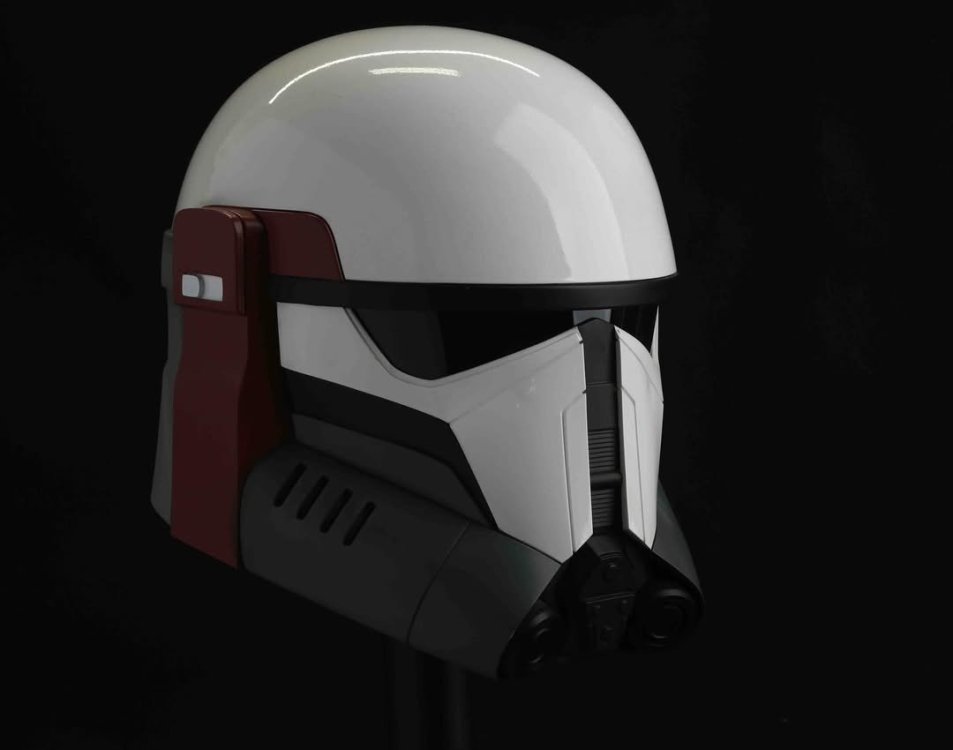
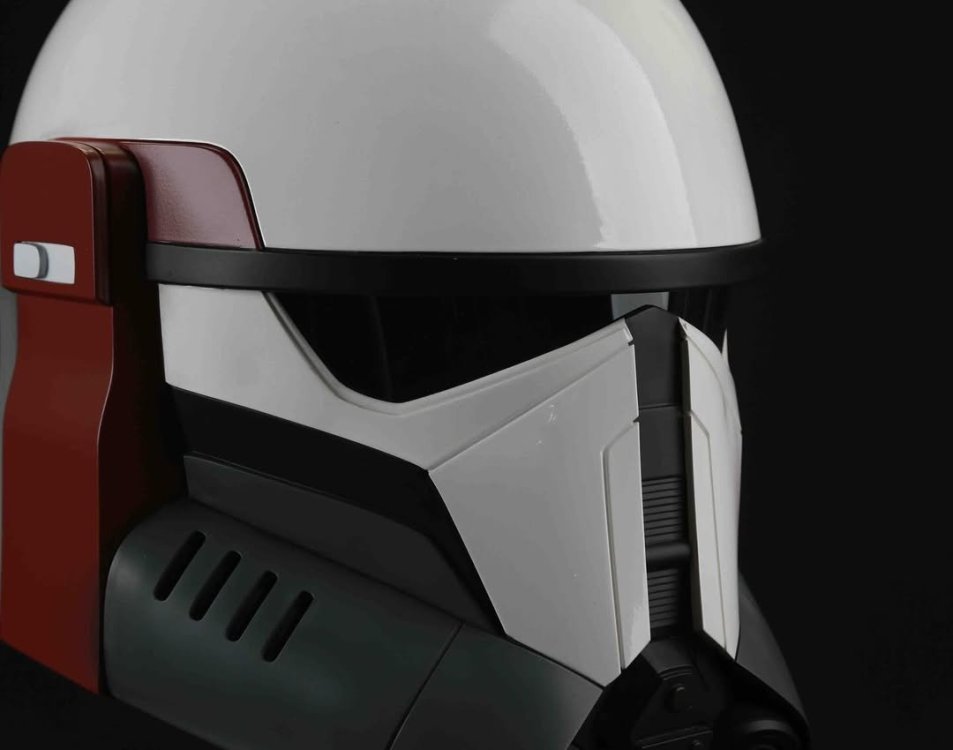
.thumb.jpg.0f973b5fbfc3690df849924dd0daf948.jpg)
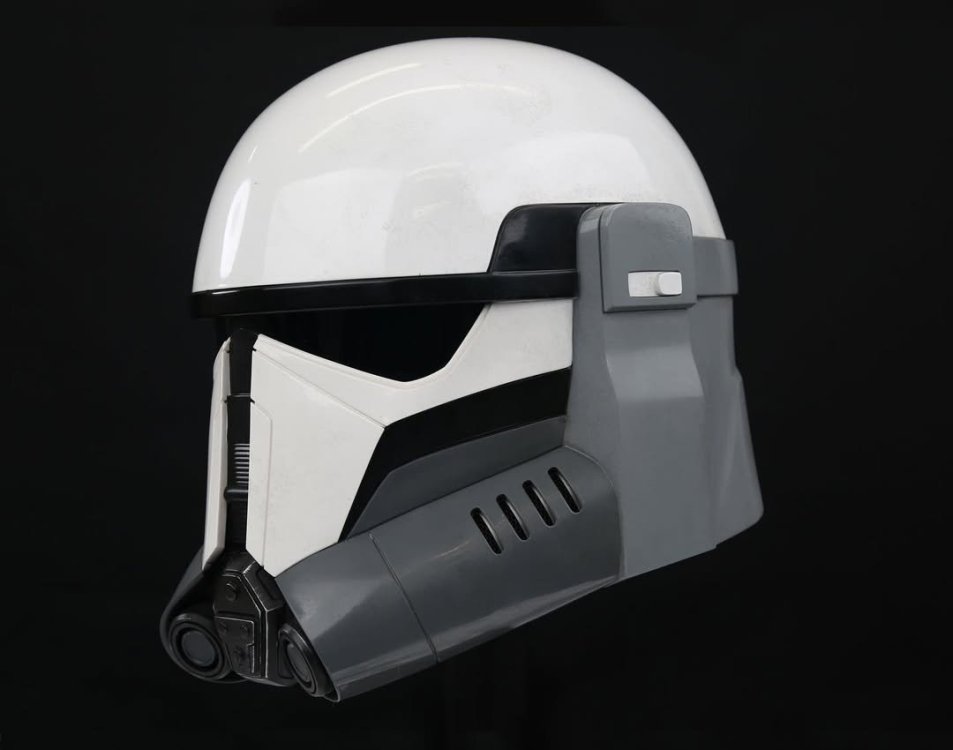
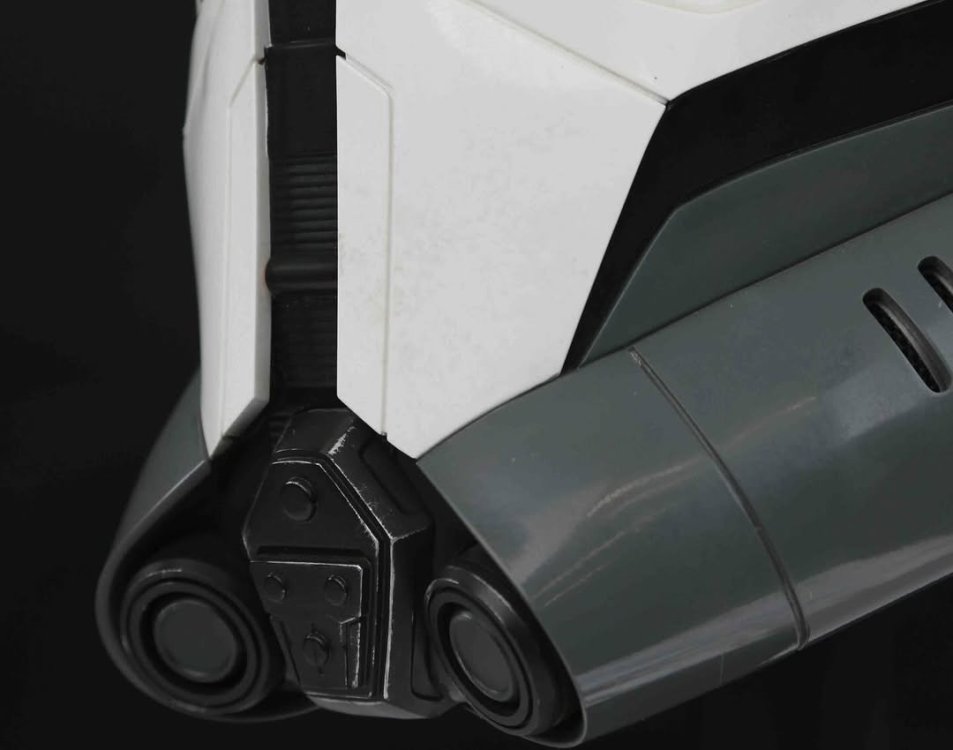
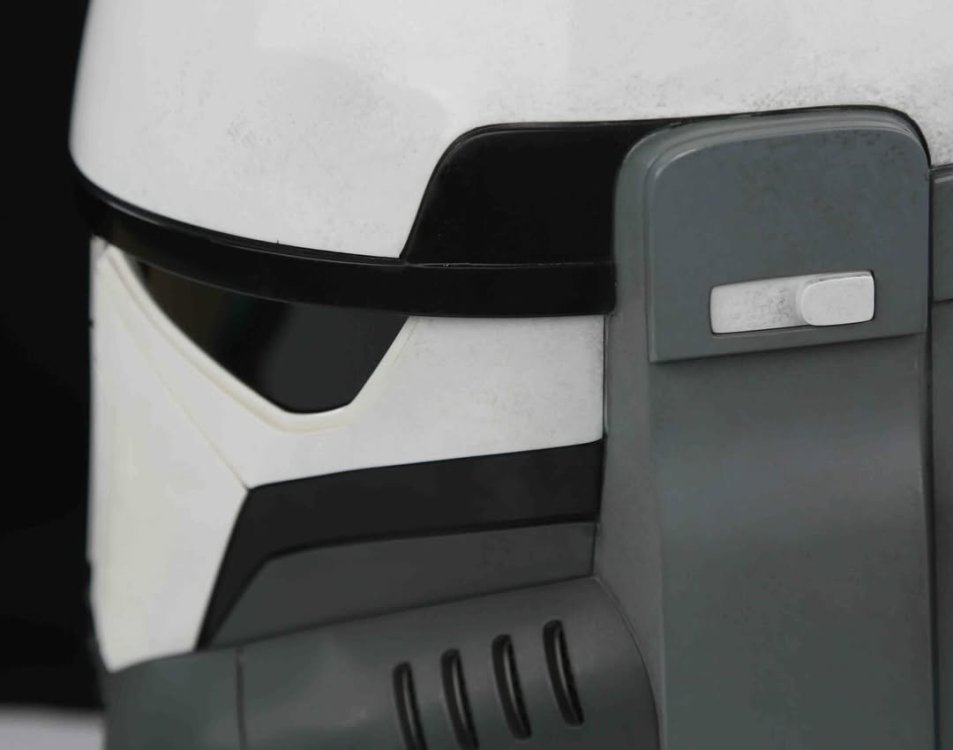
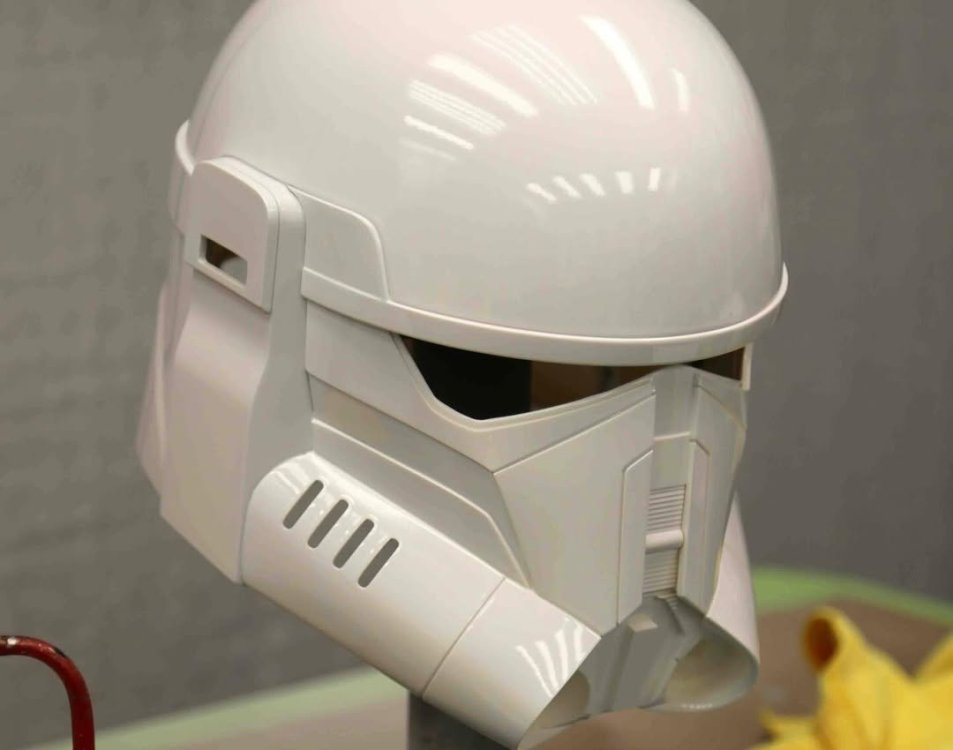
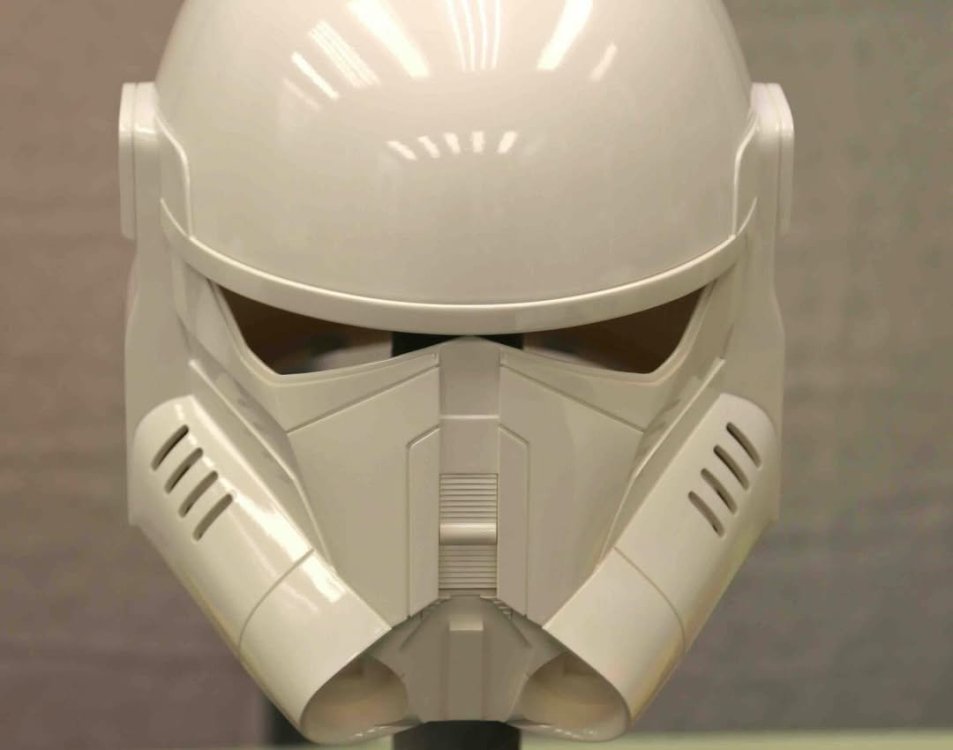
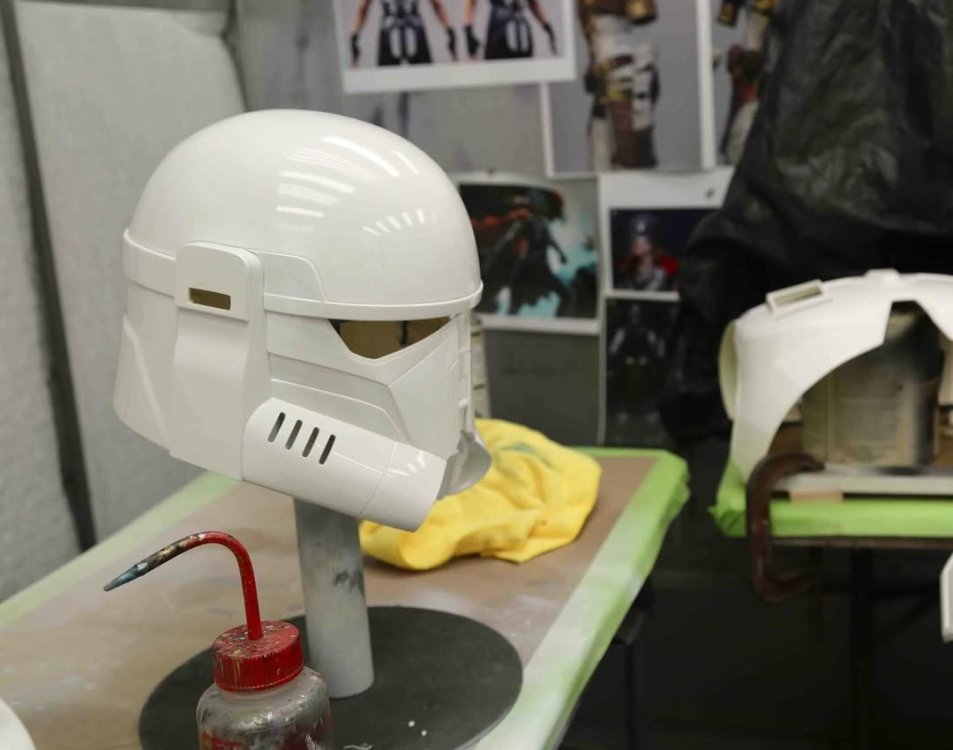 5 points
 -
Had some nice weather today (usually my city is really windy and therefore dusty) so I took the opportunity to spray some more pieces. I did some belt and ab boxes, the TD plate, the portion of the butt plate that I wiped with IPA, a part of the TD which I had to sand down to fix a seam, one shoulder bell (not pictured) and the forearms. I got some pretty bad runs on the forearms which I'll need to sand out (was trying to spray closer to avoid orange peel and probably got too close) but I'm really happy with how seamless they look. Doing the second pass with milliput/filler primer really paid off. If you're curious what kind of stand the forearms are on, someone on my local buy nothing group was giving away a double guitar stand which I realized I could use for painting. :) No photos, but I also sprayed the calves and one of the thighs with filler primer to prep them for paint. It's slow going and I'm honestly dreading painting the helmet and also spraying the 2k, but I am inching towards the finish line. It is also good to know that even with paint, almost no problem is un-fixable.4 points
-
I have updated all of the forum supporter badges to date. You should be able to see it on the left side of the forum under your name. Unfortunately this doesn't show on tapatalk, you need to use the website. It was great to see how many are first time supporters, as well as a lot of returning supporters. A couple of troopers have been very generous and I thank you for your very kind gestures. No matter the donation though, it's thank to you all we can keep the site alive.4 points
-
A few of us that were there are active in these forums. As noted above, LFL invited members from all 4 of the California garrisons to be background cast members in the season 1 finale of The Mandalorian. We were also invited for the Obi-Wan Kenobi show and wore our own (mostly) ANH-S style armor. This club has given its members some incredible, once-(or twice)-in-a-lifetime opportunities to be a part of the Star Wars universe.4 points
-
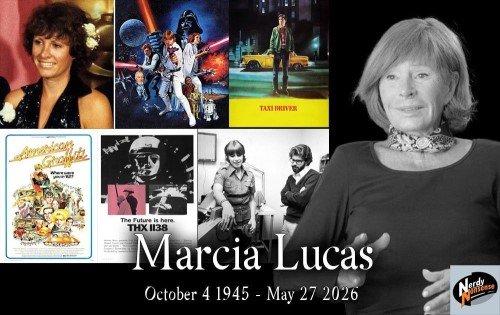
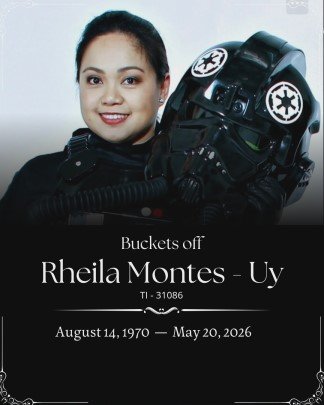
NEW In Memoriam Detachment Leader Merchandise Officer Hall of Fame FISD Meme's Around the Detachment Fundraising INFORMATION & AWARD PROGRAMS FISD Tri-Fold Brochure Common FISD Acronyms and TK Glossary Pre Approval Forum 3D Section Field Exercise Award Imperial Attaché Program Master Armorer Award Fire Teams EIB & Centurion: What do these terms mean? Need Help Ask the Deployment Officers Advance to 1500 Advanced Tactics Awards Newsletter Editor Staff List 2026 Follow FISD Marcia Lucas, the film editor who won an Oscar for editing “Star Wars,” directed by her former husband George Lucas, and shaped several influential films of the 1970s, died Wednesday in Rancho Mirage, California, she was 80. The family’s attorney confirmed she died of cancer. “Marcia will be remembered as a brilliant storyteller, a trailblazer for women in film, a loving mother and grandmother, a generous host, and a loyal friend whose humor and sparkle filled every room she entered. Her influence on film is indelible, but those who knew her best will remember the way she made life feel more vivid, more beautiful, more fun, and more full of love,” the family statement said. “Her work was known for its emotional intelligence, rhythm, and humanity — a rare ability to find the truth of a scene and bring heart, momentum, and clarity to the screen.” Condolences to her family and friends "Buckets Off" It is with a heavy heart and sadness that Star Garrison announces the loss of one of their own. Robert Nuelle Jr TI - 62126 There's so much that could be said about Bob. He was an entomologist and studied bugs since he was a kid. He knew a lot about wildlife and took his family out fishing and to collect bugs often. He and his son Robert had been on numerous trips in Arizona, New Mexico, Texas and parts of Mexico to collect moths. His children, Liz and Robert, and Bob’s grandchild loved fishing with him. Bob’s loves of his life were his family. He was married to his wife Rosemary for almost 41 years, and he dedicated himself to being a wonderful dad and grandfather. He was so very proud of the family he and Rosemary built. Bob was also an outspoken advocate for other families of crime victims. His advocacy for others was spurred by his desire to save other people from the pain his family experienced. He spent so much of his time not only being vocal about his hope for justice for his daughter Liz, but in trying to help others find justice, too. Bob joined the Legion in June of 2021. He was the father of Eternal Legionnaire Liz Barraza. After Liz’s tragedy Bob stated to me that it was the Legion that gave him hope and helped him get through that very difficult time. He enjoyed the charity aspect of the 501st. Bob has positively improved victim advocacy in Texas. He worked with Crime Stoppers and Parents of Murdered Children, as well as other groups. Most recently, he brought forward a project that dedicates benches to victims and their families. The project is sponsored by county commissioner Tom Ramsey. Bob pitched the idea and helped get the program running. It includes planting a tree and placing a bench nearby with the victims name on it to give families a place to remember their loved ones. Bob worked with the Mayhew Foundation establishing a charity in Liz’s memory. Bob was in a constant state of seeking justice for his daughter Liz. He is now united with her. We will miss you Bob and we can only hope to emulate your positive light. Condolences to his garrison, family and friends "Buckets Off" It is with heavy hearts that we remember and honor Rob Mires TR-12928 — a fellow trooper, friend, and member of the Star Wars community whose presence made our garrison and squads stronger. Rob was part of the North Texas Squad of Star Garrison. Rob embodied the spirit of the 501st through his dedication, camaraderie, and willingness to bring joy to others through every troop, event, and interaction. Behind the armor was someone who made people smile, welcomed others, and helped create memories that will never be forgotten. Rob’s dedication to his family was unmatched and he often brought his sons with him to events to share in his joy of trooping. The impact he had on those around him reached far beyond the costume. Our thoughts and deepest condolences go out to Rob’s family, friends, and fellow troopers during this difficult time. Rest easy, trooper. Your watch has ended, but your legacy will remain with us always. Condolences to his garrison, family and friends "Buckets Off" On 24 May 2026, we said goodbye to a dear friend, Lewyn TKID-4663 of the Singapore Garrison. Through a shared love of Star Wars, Lewyn became much more than a fellow trooper. He was a friend who brought warmth, laughter, and kindness wherever he went. Whether helping others, bringing happiness to children and families, sharing stories about his beloved collection, or simply enjoying time with friends, Lewyn left a lasting impression on everyone fortunate enough to know him. He will be deeply missed, but his stories, friendship, and spirit will continue to live on in our hearts. May the Force be with him, always. Condolences to his garrison, family and friends "Buckets Off" On 25 May 2026, our dear friend and trooper, Willis TKID-9746 of the Singapore Garrison, passed away. Willis brought joy, kindness, and friendship to everyone around him through his love for Star Wars and the countless smiles he helped create. His generosity, positive spirit, and willingness to lend a hand touched many lives, and he will be deeply missed by all who had the privilege of knowing him. Though he is no longer with us, his memory and the impact he made on those around him will remain with us always. Condolences to his garrison, family and friends "Buckets Off" Some people leave an irreplaceable mark on our hearts, and Rheila Montes-Uy TI31086, was truly one of them. Deeply cherished, someone we looked up to, and a beautiful soul who was always so incredibly generous of spirit, she passed . Her time with us, the 501st Legion Philippine Garrison, she shared her wonderful presence— organized meaningful outreach and charity. Through her gentle kindness and boundless generosity, we were able to reach out to many lives, bringing comfort and hope where it was needed. She was, and always will be, an inspiration to all of us. Though she has taken her final rest and has become one with the Force, the legacy the dream of hope, care and love that she weaved, will always be a part of the wonderful world we live and echo across the stars. Our armors feel heavier, and our broken hearts are hard to mend, the light and the beauty of her inspiring spirit lives on through us. Condolences to her garrison, family and friends "Buckets Off" Greetings troopers, Whilst we're over half way to our goal we still need your help in funding the forum for this year. If you have found the forum helpful to you we would really appreciate even a small donation to help us cover all our costs. If you are able to make a donation then details are available here: This month we were also able to award our 2nd Senior Amourer award to @TheRascalKing. Congratulations Justin on your award. If you regularly help new troopers with their builds pleas check out the Master Amrourer program, and maybe we could be awarding you too soon: https://www.whitearmor.net/forum/forum/182-fisd-master-armorer-program/ As the days get longer, for most of us, we're entering peak trooping season. It also means it's warming up. With this in mind make sure you look after your self, no need to be the hero. @kmwilson343 has written a great post on heat in armour and how it can affect you. Read it here: With Unquestioned Loyalty Chris Pearson TK-10991 "themaninthesuitcase" Detachment Leader Greeting Troopers! Thank you all for checking out the Merch section of the newsletter. If you haven't already, please consider donating to the FISD Forum fund. We are still roughly $400 short of our goal to fund the forum for the 2026-2027 term. You can find information about that here Old Business "FISD EIB Coins" I still have a few of the Stepping out Trooper EI coins for new EI members or members the have never bough ten an EI coin. The next EI coin will be a gold version of our 20th Anniversary coin, so if you are eligible to order an EI coin, and you'd prefer not to have an Anniversary edition, grab one of these before they aren't available any longer! In order to buy one, you must have an approved EI costume and you can not have ever bought an EIB coin from any pervious runs. EIB coins are a once and done coin. If you have this one and would prefer one of the older versions, I may have an option for you so please dm me. EIB v11 coin run is still open Pin Run The pin run for Expert Infantry, Centurion and Attaché will begin soon, we are still researching vendors, but we hope to have one selected and get the run open. If you have any questions you can ask @MaskedVengeance, or find more information here. 20th Anniversary Coin Run This run is complete. There are still a few members that haven't paid. Please check the post for updates. Updates can be found here. CURRENT BUSINESS FISD 20th Anniversary Standard Logo Patch run is still open. The patch run opened on May 4th, and was extended until 15 June. We are short on the minimum for the Oversized Patch (11") You can learn more about the patch run here. The LFL hold on merch is over, but we are still waiting for approval of our latest submissions. There is a 2nd 20th Anniversary Coin and Patch that will both be going up for sale after they are approved, so keep an eye on the forum for these items. The FISD War Banner from last year is the next run, I am working with the vendor to finalize pricing and ordering information, please keep a watch on the forum for that announcement. The 20th Anniversary Racing Shirt is still in design, but it will be opening once it is completed and approved. And as always, questions, comments, thoughts, suggestions, are welcome, and please feel free to reach out to either Adam or myself! With Unquestioned Loyalty James Silvius TK-12953 "jsilvius" Merchandise & Branding Officer With Unquestioned Loyalty Adam Wolf TK-89400 "Revlimiter" Merchandise & Branding Officer At his post, at the movie premiere! Please welcome TK-15021 to the Stormtrooper Hall of Fame, May 2026! @Thiboterham Troop log can be found here. Congrats Thibaut! This month was really difficult to choose, so many awesome pictures, but this one pretty much sums up what every trooper will remember from May 2026! With Unquestioned Loyalty Jonatan Östling TK-23592 "Nairy" Attaché Ambassador You can find the full meme thread here Tutorials, Tips and How To's A few new additions to the How To area Request Edited Signature Banners/Profile pics/Fire Team Logos Troopers! I want to help out the community and the people that doesn't have the time or have the necessary tools or skills to create a cool Signature banner or have the background of your Action Photo removed, or even if you have a request for a certain Profile picture! I don't know how popular this will be, or what requirements I will need, but we will learn as we go and if it turns out to be popular and it gets too much for me - I'm sure that we can find a few more that are willing to help out! Thread here With Unquestioned Loyalty Jonatan Östling TK-23592 "Nairy" Attaché Ambassador Trading Card Archives For those with FISD detachment trading cards please consider sending two to Paul @Daetrin keeper of our detachment archives. Address and more info here With Unquestioned Loyalty Paul Hoeffer TK-8020 "Daetrin" Detachment Founder Keeper of Archives Blast-A-Porg You can find the full story here With Unquestioned Loyalty Glen "Q" Rhodes TK-85421 "gmrhodes13" PRO, Newsletter Forum Fundraising It's that time of year where we need to pay our bills. As last year we moved away from the temporary legion hosting and on to our own systems we have an increase in costs to cover. As a stretch goal we have also included a proper backup solution into the costs. Currently this is managed manually and a proper solution would be a great addition. We would like cover the next 14 months of costs if possible. This means next years admin team are not thrown in with suddenly having to run a fundraiser. All members who donate will also have the 2026 supporter banner added to their profile, as with the earlier email costs fundraiser. If you would like to make a donation you can find the fundraiser thread here INFORMATION & AWARD PROGRAMS For a full list of FISD awards programs head here. *Now Available in Swedish* Want to spread the word about FISD?, you can with our FISD Tri-Fold Brochure. Originally these were done in a limited run by the member who created them, but nowadays, we have moved this to a print your own service making them accessible to all countries around the globe. Files are available to all full 501st members on request by contacting our DL Chris @themaninthesuitcase you can find more info here Currently Available languages: English - Spanish - German - Swedish Are you new to the FISD and wondering what the heck all those abbreviations and strange sounding terms mean? To help you @justjoseph63 has started a list of the most commonly used ones that will give you some insight. If you have ANY questions about a particular term that is not listed or suggestions for new ones please contact Joseph. You can find the list here. Pre Approval Forum allows future Troopers the opportunity to submit photos of their completed build to be reviewed by the Staff, Imperial Attaches and others in preparation for forwarding it to their GML for approval. Any and all advice/suggestions given will be specific, constructive, helpful and respectful. Please note that this program will NOT take the place of your local GML, as Detachments are not chartered for costume approval and can not override a GMLs decision, but is instead a peer review program designed to help you look your best and offer guidance and positive feedback. For more information on this program, please visit the link here. Don't forget to visit our 3D section when next surfing the FISD forums, there is plenty of useful information to potentially help you on your next TK adventure. You might be feeling may generous and share with our community a new TK related 3D file and maybe win yourself a 3D contributors award so check out the details below and be part of the in house 3D community. Here is a link to the FISD 3D Contributor program. Don't forget to create a troop log here on FISD and get awarded for your missions and deployment. The list of accomplished troopers keeps growing, so for the official 501st event where you wore your TK! Once you've hit a milestone count, go over to the "Trooper Missons and Deployment -- Post yourget on board and register your troops today Simply start (or update!) your troop log, keep the running total in the title, and post (at least!) a date and name milestones here" thread to request your profile be updated! Simple, right? Also if you would like your troop photos shared on our social media channels please add the following to the first post of your FISD troop log: I give permission for FISD to repost my photos on social media in an appropriate fashion. Award Recipients May - June TK-15310 "ronhoffman2" Ron - - - - - TK-16428 "zediyeti" Micah - - - - - - TK-47933 "Tilheyra" Brian - - - - - - TK-77751 "bpieroni" Bob - - - - - - TK-18188 "FUZZMA" Calvin - - - - - - You can now also request a letter of commendation, more information available here Are you an approved TK that spends more time on the boards than the average Trooper? Do you enjoy using your knowledge to help out future and existing Troopers? If so, we would like to invite you to join the Imperial Attaché program! Members of the I.A. team are chosen to help out not only those here on the boards, but on a local level as well. Our aim is to have at least one in each and every Garrison, Squad and Outpost in the entire legion to be the eyes and ears of the FISD on a local level. If you are a 501st approved Trooper who wishes to join the ranks of the Attachés, please get in touch with me and/or visit: http://www.whitearmor.net/forum/topic/15252-fisd-attaché-program/ For a complete list of Imperial Attaches, go here. Some of the benefits include: Access to exclusive Attaché merch, including patches. You may also be in the running for an Imperial Attaché Award. An award for those attaché's who have gone above and beyond [minimum 1 year of service]. You can find a list of prior recipients here. Imperial Attaché Outstanding Achievement Award Is the Attaché position vacant for your Squad/Garrison/Outpost? Interested in becoming an Attaché? Contact me by PM or apply in the thread below: With Unquestioned Loyalty Jonatan Östling TK-23592 "Nairy" Attaché Ambassador Master Armorer Program FISD has many wonderful programs to help members build and submit costumes for our detachment, whether it be a classic Stormtrooper, a First Order Stormtrooper, or even one of the new Imperial Armored Commandos. While our Expect Infantry and Centurion programs get most of the attention, FISD staff wants to relaunch the Armorer Program (Currently called the Master Armorer Program). What is the Armorer Program you ask? Well, it is a program designed to recognize those troopers that go above and beyond to assist themselves and others in getting costumes built, submitted, and approved. One of the goals of all the detachments in the 501st Legion is to help members build and submit costumes that meet and hopefully exceed the minimum requirements of the Legion’s CRLs. Currently the Master Armorer program has the requirement of helping a minimum of 5 members achieve Expert Infantry status. The member must have spent at least 30min physically helping another member with cutting, gluing, sizing, etc, just because they want to help (no money exchanged). There are 3 levels of the award, FISD Armorer, FISD Senior Armorer and FISD Master Armorer. The new program will add a 4th level at the beginning called the Apprentice Armorer. The point scale will be as follows. 5 points - Apprentice Armorer 10 points - Armorer 20 points - Senior Armorer 30 points - Master Armorer If you love building armorer and love helping fellow members get their costumes built, then this is the program you’ve been searching for. We look forward to awarding more members with this award as we know how much we all love Troopers helping Troopers. More information can be found here Armorer Rocker Patches Rocker patches are now available for the Armorer Program, there is currently just the one patch, and members are eligible to receive two of them once they reach Level 2, "Armorer". More information can be found here Want to setup a "Fire Team? the Fire Team program is completely optional, and is intended to help form a common identity and spirit of camaraderie among 501st Legion Stormtroopers in the same geographic area/garrison that troop together. Fire Teams are not officially recognized by the 501st Legion nor the FISD, although they will be able to access a Fire Team sub-forum on the detachment. For those interested here is the original discussion on the creation of Fire teams here With Unquestioned Loyalty Mark Ryner TK-4584 "captsafe66" Fire Team Relations So what exactly are and levels? These programs were designed for those who choose to take their armor above and beyond the minimum requirements for basic 501st Legion approval. It gives you the chance to show a level of dedication and pride that takes your armor closer to being as "screen accurate" as possible, without as much extra work as you may realize! You can find more information on the programs here. For those unaware it is possible to achieve extra awards at Expert Infantry for each additional version costume you have approved, additional awards are not issued with another Expert Infantry number (you are only issued 1 Expert Infantry number) but you will see a star above the award on your profile and the thread title will show [APPROVED] 2nd, [APPROVED] 3rd, [APPROVED] 4th and so on. Multiple EIB award recipients and info here NOTE If you are approved with a "2nd Version" of a particular costume that you are already approved with you do not receive an additional award, there is only 1 award issued for each costume version ie: only 1 x Hero, 1 x Stunt, 1 x HWT, 1 x ESB, 1 x TFA and so on. If you have a second/additional version costume approved you will see "2nd Version" and [APPROVED] added to the thread title, no additional profile stars (more info on profile awards here) For those of you who have a particular issue (or issues) before or after submitting for Expert Infantry / Centurion level approval, in order to get you an answer faster you can now privately contact the entire Deployment Officer team at one time! Questions about fitting, repairs, CRL standards/requirements or anything pertaining to reaching Levels 2 and 3 are not only welcomed, but encouraged. Keep in mind that no question is too small, and that your queries will only be seen by the D.O. Staff. We are here to help in any way we can, so please feel free to send us a message by clicking on this link: @Deployment Officer Team and we will get back to you A.S.A.P.! More info here This area lists all those who have gone above and beyond basic approval toward screen accuracy and obtained EIB or Centurion or both. FOR May - June Expert Infantry Badge Award: No recipients this month - - - - Request your free EIB certificate here. You can find a list of multiple award recipients here. Multiple EIB award info here Expert Infantry Honor Gallery here --------------------------------------------------------------- Centurion Badge Award: No recipients this month - - - - Request your free Centurion certificate here. You can find a list of multiple award recipients here. As always if you have interesting story or troop please share via DM and it may get added to the next months newsletter. With Unquestioned Loyalty Glen "Q" Rhodes TK-85421 "gmrhodes13" PRO, Newsletter Detachment Leader (DL) Chris Pearson (themaninthesuitcase) TK-10911 Detachment Executive Officer (DXO) Andrew Franke (Sly11) TK-11469 Chief Deployment Officer (DCA) Mario Reyes (TKSpartan) TK-48117 Deployment Officer (DCA) José Mª Sánchez (Chemi) TK-30173 Deployment Officer (DCA) Gerald J Gyorffy (Doggydoc) TK-96004 Provost Marshall (DCoG) Steven Sheades (starsaber25) TK-10466 Provost Marshall (DCoG) Caleb Mask (MaskedVengeance) TK-73692 Provost Marshall (DCoG) Arthur Wong (giskard8) TK-39093 FISD Diplomat (DPRO) Tony Jobe (ukswrath) TK-10116 FISD Diplomat (DPRO) Tim Waychoff (Dark PMF) TK-51878 FISD Diplomat (DPRO) Christoph (Danny) Lauber (Ripper_L) TK-55550 Fire Team Relations (DCoG ) Mark Ryner (captsafe66) TK-4584 Merchandise and Brand Officer (DMBO) James Silvius (jsilvius) TK-12953 Merchandise and Brand Officer (DMBO) Adam Wolf (Revlimiter) TK-89400 Trading Card Specialist (DPRO) Eric Ho (Hoda) TK-77520 Newsletter Publisher (DPRO) Glen Rhodes (gmrhodes13) TK-85421 Social Media Relations (DPRO) Luca Hahn (Morgi) TK-66744 Social Media Relations (DPRO) Torben Sobierey (Tall_Trooper) TK-19525 Content Editor Support (DPRO) Jeff Salt (Wingnut65) TK-50297 Attaché Ambassador (DPRO) Jonatan Östling (Nairy) TK-23592 Personnel Officer (DPER) AC (NoVATie) TK-5597 Systems Administrator (DWM) Mathias Rodstedt (Locitus) TK-2959 Systems Administrator (DWM) Eric Brager (Darth Aloha) TK-9674 Systems Administrator/Detachment Founder (DF) Paul Hoeffer (Daetrin) TK-8020 Imperial Propaganda Machine (IPM) Brian Long (Tilheyra) TK-47933 Imperial Propaganda Machine (IPM) Sally Smith (astrosally) TK-76924 Facebook: www.facebook.com/whitearmor - - - Facebook Group: 1st Imperial Stormtrooper Detachment (FISD) Official Twitter: www.twitter.com/FISD501st or @FISD501st - - - Instagram: www.instagram.com/fisd501st Discord: https://discord.gg/FmQZ2qW8gx - - - Bluesky: https://bsky.app/profile/fisd501st.bsky.social On behalf of the 1st Imperial Stormtrooper Detachment Command Staff and the Imperial Propaganda Department








 4 points
 -
I am slowly making progress on painting and priming. I might have to let go of perfection and decide what is 'good enough' or I may never finish the build. :) Besides the painting, though, I learned a new skill today - vacuum forming! I could definitely have just pasted a curved face shield piece inside of the helmet for lenses but I thought it'd be fun to try my hand at vacuum forming. I considered making my own, but I found this one from Etsy that was very inexpensive, even with shipping from Spain. https://www.etsy.com/listing/4452485131/vacuum-forming-machine-a4-vacuum-former The files I have come with a flat lens stencil as well as a 3D vacuum forming shape. However, it's not really designed for vacuumforming since it's the exact shape of the lens. So I first copied and pasted the lens shape a bunch of times in tinkercad and cut the bottom flat to fill out the inside of the lens, and printed it. I printed the lens itself upright for better quality: It still wasn't exactly what I wanted for vacuum forming, though, because there wasn't really going to be a way to attach the lens to the helmet itself since there's no flashing. So I used some EVA foam to build out the buck and made it slightly shorter than the lens so that when I pulled it, I'd have an edge that was inset that I could use to attach the lens to the helmet. I went to Goodwill this morning and found a cheap toaster oven which thankfully still worked, and coincidentally exactly fit the frame for the plastic that came with the vacuum former. The plastic itself I ordered from McMaster-Carr. Here is the video from my first ever pull, which worked surprisingly well: https://photos.app.goo.gl/BhXqtgQBVicZDv7eA However, the protective plastic melted against the EVA foam, so I pulled it again. The second time I removed the bottom plastic so it didn't stick to the buck, but the wrinkle pattern from the top layer of protected plastic caused defects on the lens, so I pulled it a third time, this time with both sides of the protective plastic removed. Third time's a charm! I am planning on dying the lens to darken it.3 points
-
Not sure if I am allowed to post this but excitement is taking over. After 16+ years of trading and over 25 years in the hobby I have finally set up my own website! It is a works in progress so it will evolve over time but I’ve made a good start. All my helmets have a lineage section of what it was cast from accompanied by photos and credits. Check it out! http://castfromoriginal.co.uk Sent from my iPhone using Tapatalk3 points
-
A Walt's Trooper Factory kit that I wore at Nickel City Comic Con today (after my 501st troop - official trooping comes first):3 points
-
can't wait for the molds to get done!3 points
-
The armour is also done now! This took me a year as of a few days ago so very happy to have pretty much wrapped it up. Just have to make the mould files. I will give it a final look over before confirming moulds just in case theres something off.3 points
-
They are a bit long, but chock full of interesting information so I thought I'd share. Here is part 1, but they did 3 parts. Pretty amazing that it's been 15 years.3 points
-
Kenobi also
 3 points
 -
Thanks @joebee Added to the process line!2 points
-
FISD Backgrounds/Screen Savers have arrived! They are available to everyone, currently in the 1920x1080 format for desktop and 1280x1920 for mobile. To download the image, simply right click it and choose the option "Save image as...". Desktop FISD Backgrounds/Screen Savers (1920x1080): 1. 2. 3. From left to right: @Doggydoc, @Swoby, @Sithping, @Alikh and @scottdm62 4. From left to right: TK-66979 (Alan), @lugalleg, @revlimiter and @elwessbrandon Mobile FISD Backgrounds/Screen Savers (1280x1920): 1. 2. With Unquestioned Loyalty Jonatan Östling TK-23592 "Nairy" Content Editor Support2 points
-
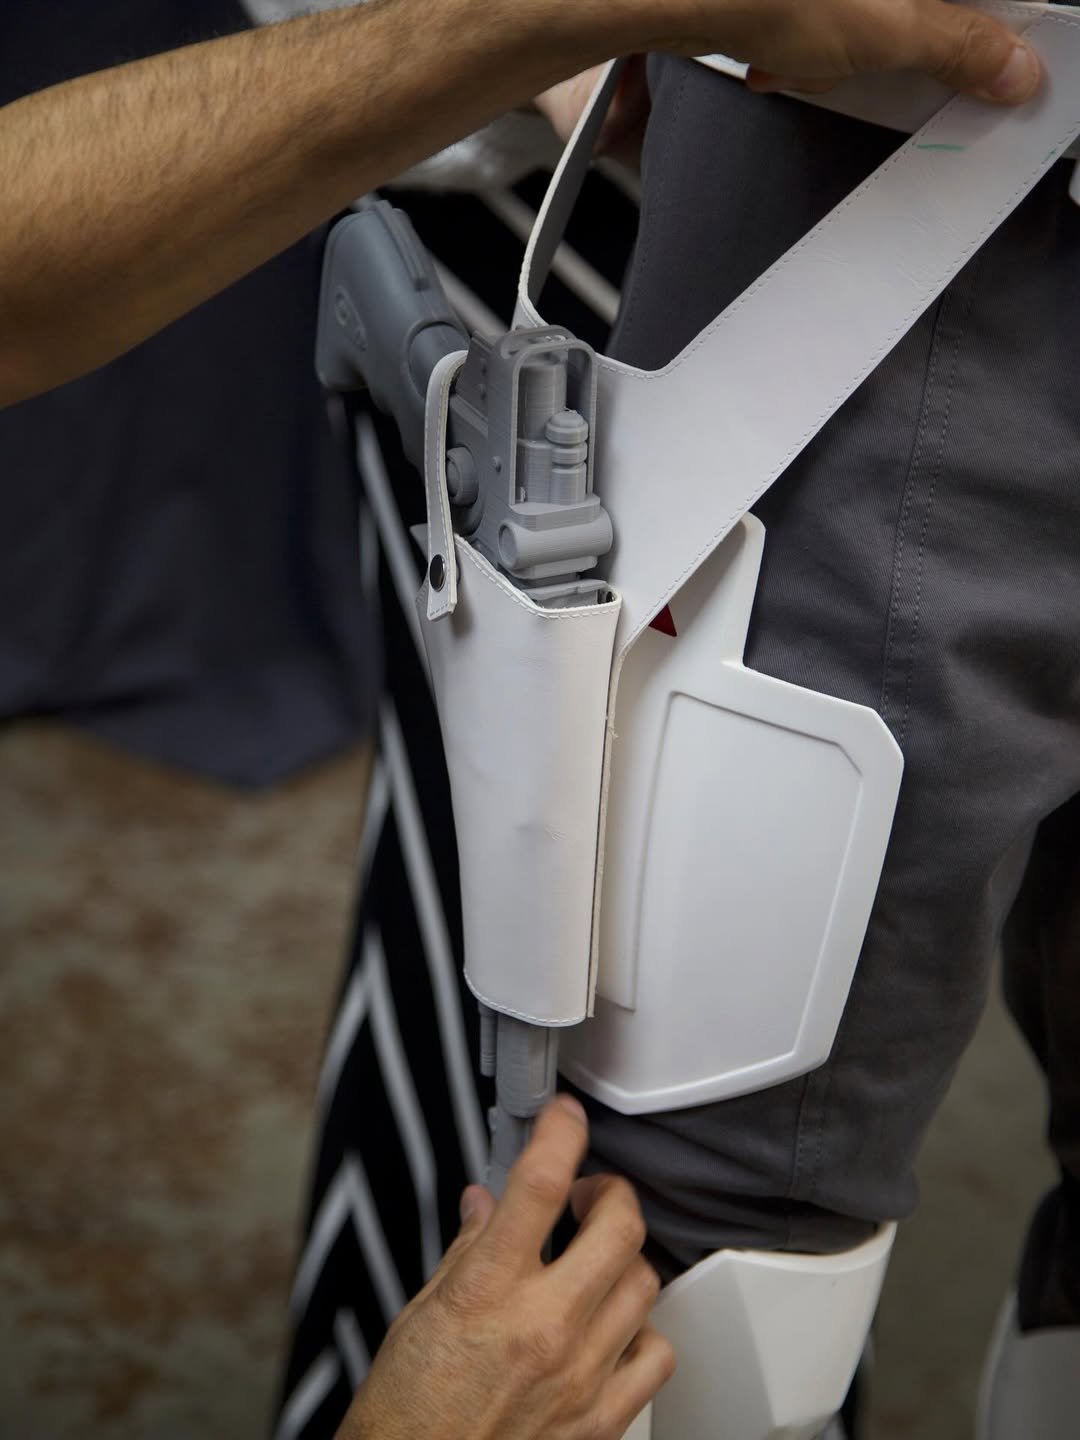
Hi Brent, Thanks for your patience while we looked at your blaster repairs. The blaster definitely looks better and will pass for level 2 (EIB) approval. There are still some print lines visible around the hengstler eagle emblem that we would want cleaned up for Centurion level approval however. We know that they are typically more visible in photos than with the naked eye, but at level 3, we want everything to look as good as possible. With this completed, the only remaining item to get your EIB approval is the positioning of the thermal detonator. We just need you to adjust the positioning of the control panel so it faces backwards. Your thermal detonator control panel is facing a bit too much upward instead of to the back. This can be corrected by carefully unrolling the lower portion of the clips to roll the thermal detonator down. CRL L1: The white control panel raised ribbed pad faces the rear, with the controls/round washer style detail closest to the right end cap. References2 points
-
Little more paint, and started work on the backplate. Sent from my SM-S938U using Tapatalk2 points
-
1) I give everything a wipe with Prepsol which is a wax and grease remover, not sure if there's an equivalent 2) leave unpainted2 points
-
Schweppes Mandalorian Pop Not often we get Star Wars branded products here but these were found at a local supermarket. I'm yet to give them a try Schweppes are releasing the new Limited-Edition Galactic Dark Lemonade Mystery Flavour – a mystery-themed lemonade in collaboration with ‘Star Wars the Mandalorian’ TV series... what’s the flavour?! Unleash a burst of galactic energy with Schweppes x Star Wars: The Mandalorian Zero Sugar Bounty Blast Raspberry & Blood Orange Flavour, limited edition creation from Schweppes' collaboration with Star Wars: The Mandalorian. This powerful flavour fuses raspberry flavour with the vibrant punch of blood orange flavour. With zero sugar and maximum cosmic refreshment, Bounty Blast is built for explorers who crave intensity in every sip. Whether you're navigating distant systems or just fuelling your day, this is the flavour that hits with out of this world impact. Catch it before it vanishes into the galaxy! Raspberry & Blood Orange Flavour

.jpg.9140be925592cb4c36ee2375fd50789d.jpg) 2 points
2 points -
Thanks, since the was a half-scale helmet the tube stripes didn't come out as good, but for the full scale helmet they came out much better to the point that I don't even think I'll need to add that much putty. I printed out a buck for the lenses, and I looked at the tutorial you mentioned in the thread, but at the moment I don't have that much space in my workstation so I think I'll stick with my makeshift mold for now. I'll work on the connector pins, or just take a couple off as I did with the face and back to make it easier and only keep the main ones. For the mesh, I think yours is very similar to the one I use, and it looks alright for half-scale, but much better when I tried it for a full aerator, same with the teeth. Speaking of the teeth, for this helmet I painted them the same satin grey, as they can be either dark grey or black, and I'm wondering which is more accurate. I have some charcoal grey, which is the grey that the clones use, as a darker option but if there isn't a more accurate choice I think I'll just stick with black for next time. I know I said I'm going to do a clone next, but at this point I really don't know. I need to first get past some health complications because they're making other people mad, but once or while I get through that, I'll work on whatever I feel like.2 points
-
Chiming in here, and I completely agree with @bTonyd! Greg's mods are fantastic, but they definitely keep you on your toes and require a few test fits to get everything sitting just right. You’ve already done an amazing job addressing most of it, but I wanted to share a few friendly tips from my own experience that might help: Lenses If you haven't tried it yet, E6000 is an absolute lifesaver for this instead of hot glue! It’s super budget-friendly (around $6–$7 a tube) and you can easily grab it at Walmart, Home Depot, or Michaels. It's officially my go-to strategy for my builds now. Just a quick heads-up: it does have a pretty strong scent that likes to hang around for a bit, so definitely vent the room, and your helmet! The Tube Stripes These little guys are notoriously tricky on any FDM-printed helmet, so don't sweat it—we all struggle with them! My favorite trick is to generously backfill the cavities with spot putty. It’s always easier to sand away excess putty now than it is to try and add more after your base coat is down. Also, if you can get your hands on some small hand files, they work wonders for dialing in those crisp, sharp edges much better than wadded-up sandpaper. I've been using these: https://a.co/d/0bRt1Qrc The Gaps The best advice here is just to take your time and test fit often. Materials like PETG can warp just a tiny bit, and it’s surprisingly easy to accidentally over-sand a spot. For the trim: Try filling the area with some filler and gently scraping it back until it sits perfectly flush. It worked beautifully on my dome-to-back lip, which seems to be your same issue! For the ears: You absolutely hit the nail on the head here. Those alignment studs Greg designed are brilliant, but they don't quite leave room for layers of paint. Taping them off to keep the plastic bare is the right move for a perfect fit and a strong glue bond. (Or, you can just lightly scuff the paint off the studs with high-grit sandpaper afterward). Honestly, your build is coming along beautifully! For what it's worth, I used this mesh (https://a.co/d/04NzSWRj) for my own teeth and mic tips. While the scale is a tiny bit closer to the teeth than the mics, it is such a minor detail that I’m sure you’ll sail right through basic approval (and probably even higher tiers) without a hitch. I'm actually chatting with someone now about a tighter weave for the mics, but we haven't found anything definitive yet. You are making massive strides with this project. Like Tony said, keep your head up—you've got this!2 points
-
First, to answer Tony's question, the way I did my abdomen the first time was by using an acrylic paint (which wasn't even close to the right color looking back at it now), and for Akira's armor the abdomen details that hold the circles are separated from the main body. If I were to design the abdomen, I would do what he did by separating the abdomen details, but I would have the circle details separated and be able to be painted and glued behind the circle openings, similar to how the tube stripes for the helmet work for the updated helmet, which I will circle back to later in this post. I finished a prototype of the helmet, and I say prototype because the helmet sadly doesn't fit, but it also isn't as good as I want it to be, and I'll give it about a 7/10 for what I could have done with my skills and materials. I'm decently happy with the helmet, but there are three main issues that I'm going to point out on this post that I want to improve for my next helmet attempt. #1: The lenses I used the flat lenses from my second lens option I mentioned earlier, but the main issue I encountered with these is that I could not get them to stick to the inside of the helmet at all. I printed a visor buck and am going to try to see if a visor conformed to the helmet will work better, and if not that I might be having some more issues to worry about in the future. Since there was almost nothing for the visor to hold to, I tried super glue originally but then decided that hot glue might be the way to go, but I made one noticeable mistake. As you can see in the photo, some of the hot glue seeped underneath the visor and is visible on the outside of the helmet at most angles, and while it isn't that bad as long as you don't look at it, but it still bothers me to look at. #2: The tube stripes The way I printed the helmet resulted in some jagged edges on the tube stripes that gave me some difficulty sanding down, so while they do look fine from about 5 feet away, if you look at them up close or from the side, they become very noticeable and it's something I want to work on for my next helmet, which did come out with better lines this time. The blue backer underneath the cutouts came out completely fine and I'm pretty happy with the color choice as it's not too light. #3: The gaps The gaps between the dome and the base, along with some slight gaps between the ears and the sides (which I don't know the right distance) are a detail that I noticed after assembling my helmet. I painted all the parts individually and put them all together afterwards, but some gaps were just too big and I want to be able to align these better, especially the ears. Since I paint over the connection pieces on the ears, I think it makes some not fully push in which causes that gap because it didn't have the problem when test-fitting after I printed them, but at least I know now how to solve this. I added some more things that were required, such as a grey mesh backing behind the teeth, mesh in the aerators which was difficult and I don't think it's the right mesh, and in certain lights the helmet really does have an orange peel texture as didn't wet sand the clear coat as to not risk accidentally sanding the white paint as I'm not weathering this and want as little marks as I could. Here's another photo of the helmet with scale to my hand (maybe it'll fit without my glasses?). I'm going to take a small break from the stormtrooper project in order to practice on a different helmet, but hopefully I should be done with it rather quickly and I can get to working on the main helmet, as I'm starting to create a checklist of what I need to get done and how hard it should be, which really helped manage my time during my last build.2 points
-
Just getting going in researching all the parts and pieces but wanted to start a build thread now to document every step. Sorry for the current lack of info just yet. Stay tuned on my journey and looking forward to all the help I can get ! John2 points
-
Thanks for that, I might try resin printing the lenses, but the link you sent for the welding visor is actually the second option I was talking about. I use that to form easy OT lenses every now and again for casual cosplayers. I want to set a small challenge for myself to aim for a level 3 helmet (I know I’m getting ahead of myself a bit) because it’s what people are going to be looking at the most. For the spray paints, I’m using Rust-Oleum gloss white, and Brilliant Blue and Satin Granite for the other colors.2 points
-
https://sites.google.com/site/3dsfinfo/part-ii-the-sets/part-iic-the-docking-bay-sets Updated link for this site2 points
-
TM? The original TK armor was sculpted for a person about 5'10" and 150-160lbs or so. I'm 6'0" / 180lbs / 33" waist (pending lunch) and had to get special shins made for my RS kit to look right.2 points
-
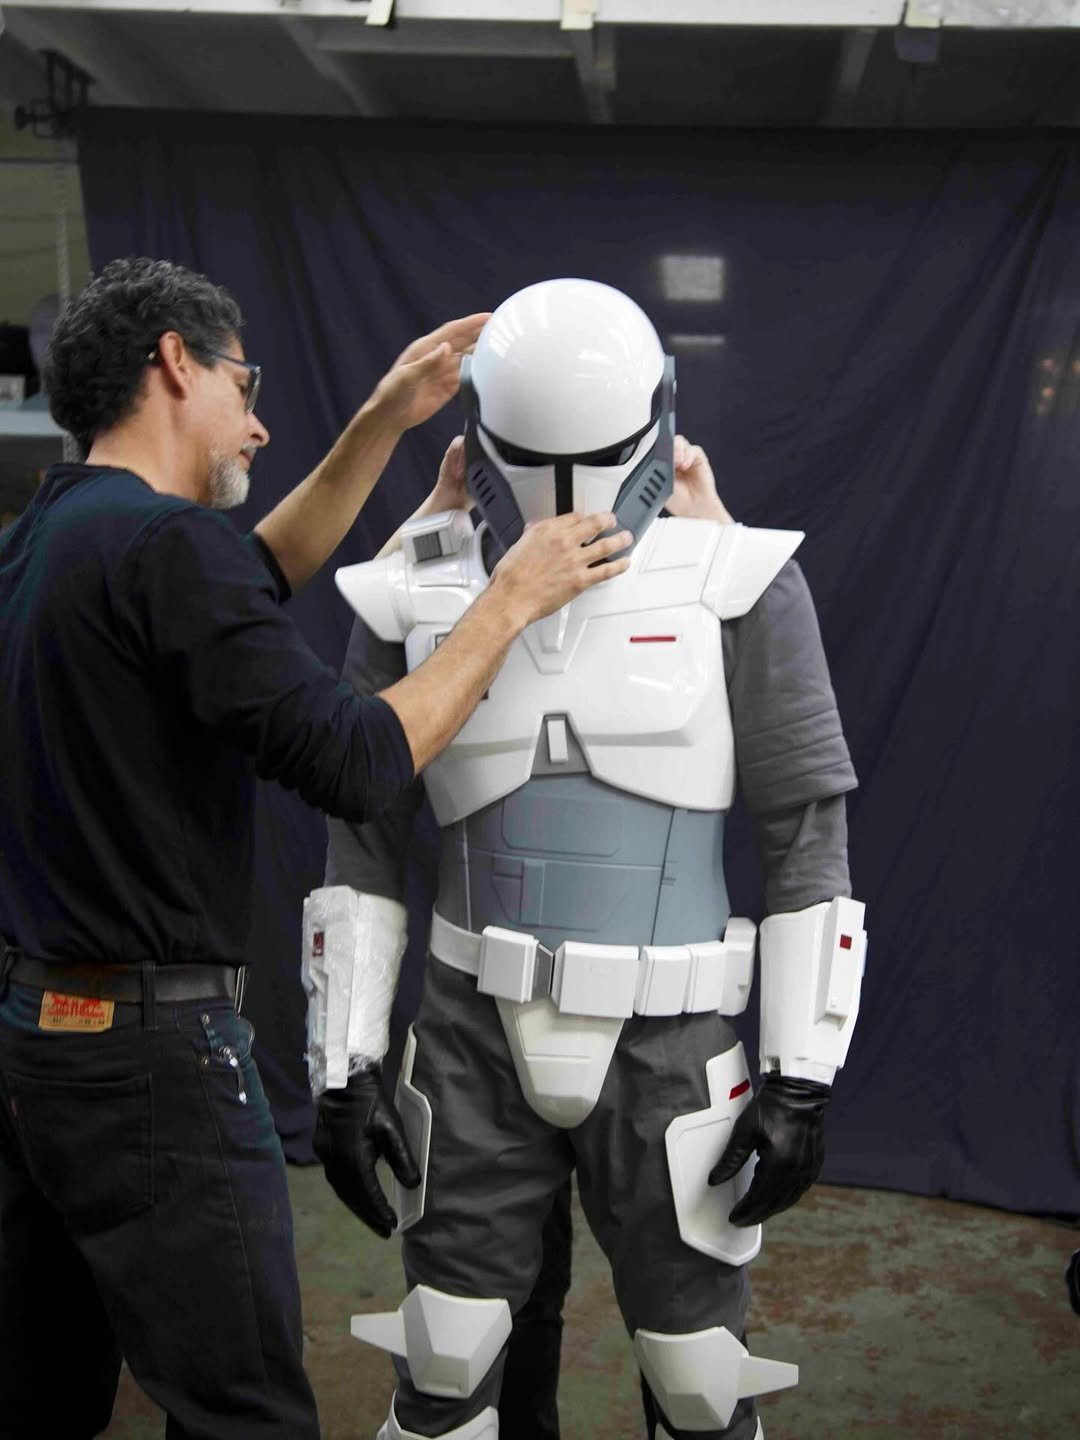
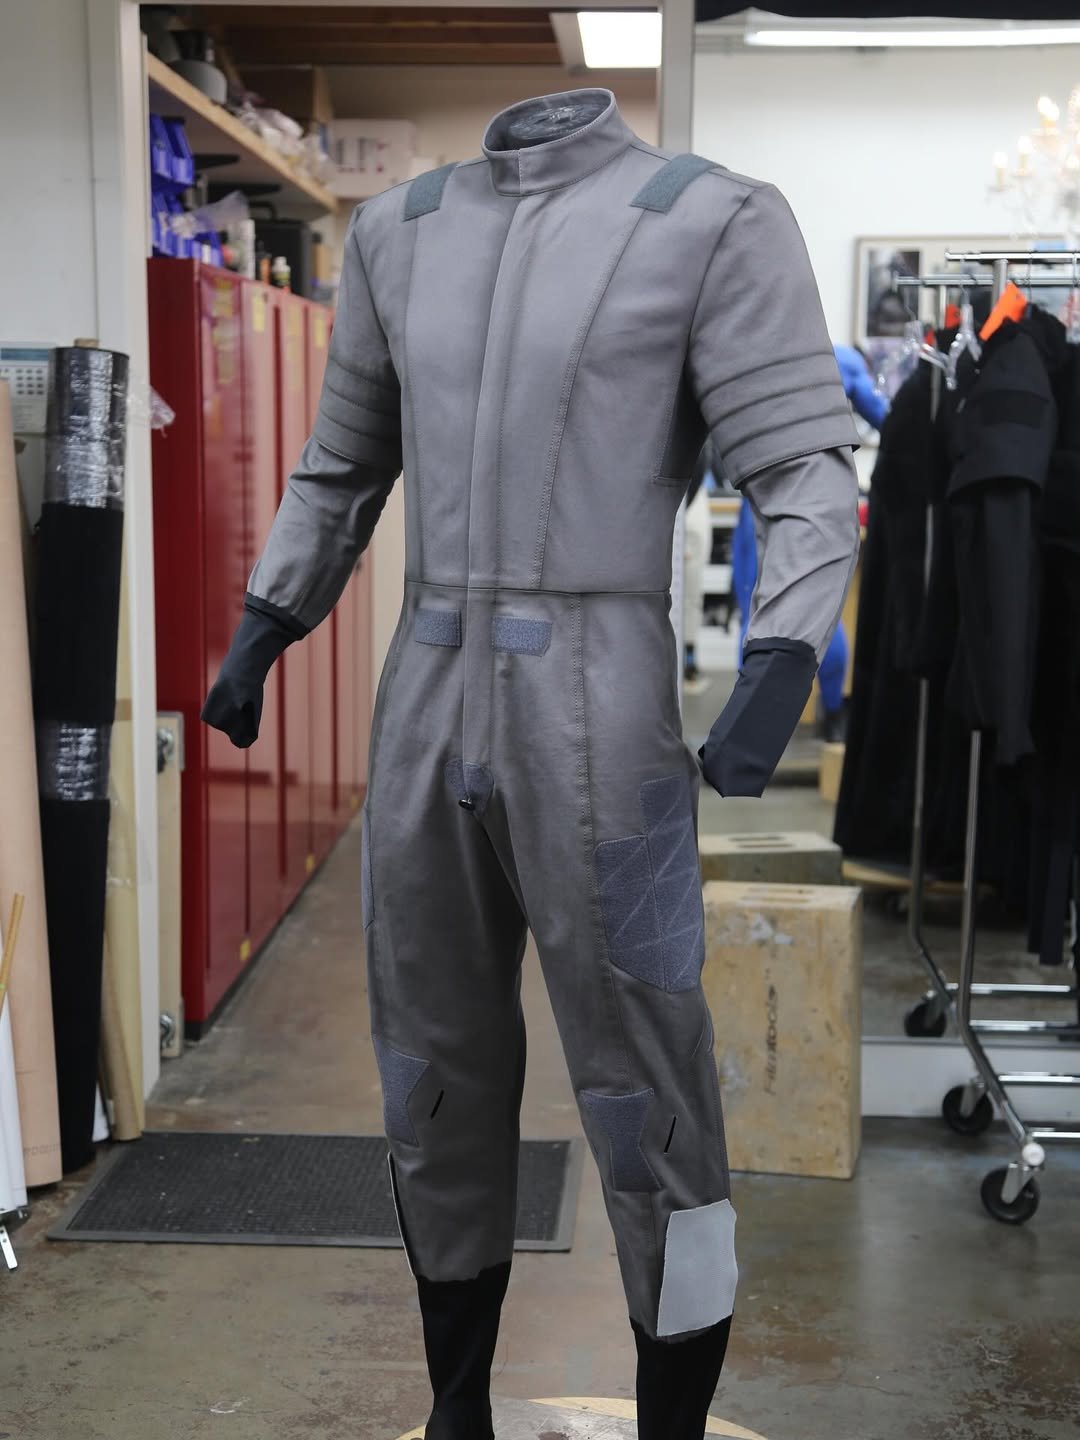
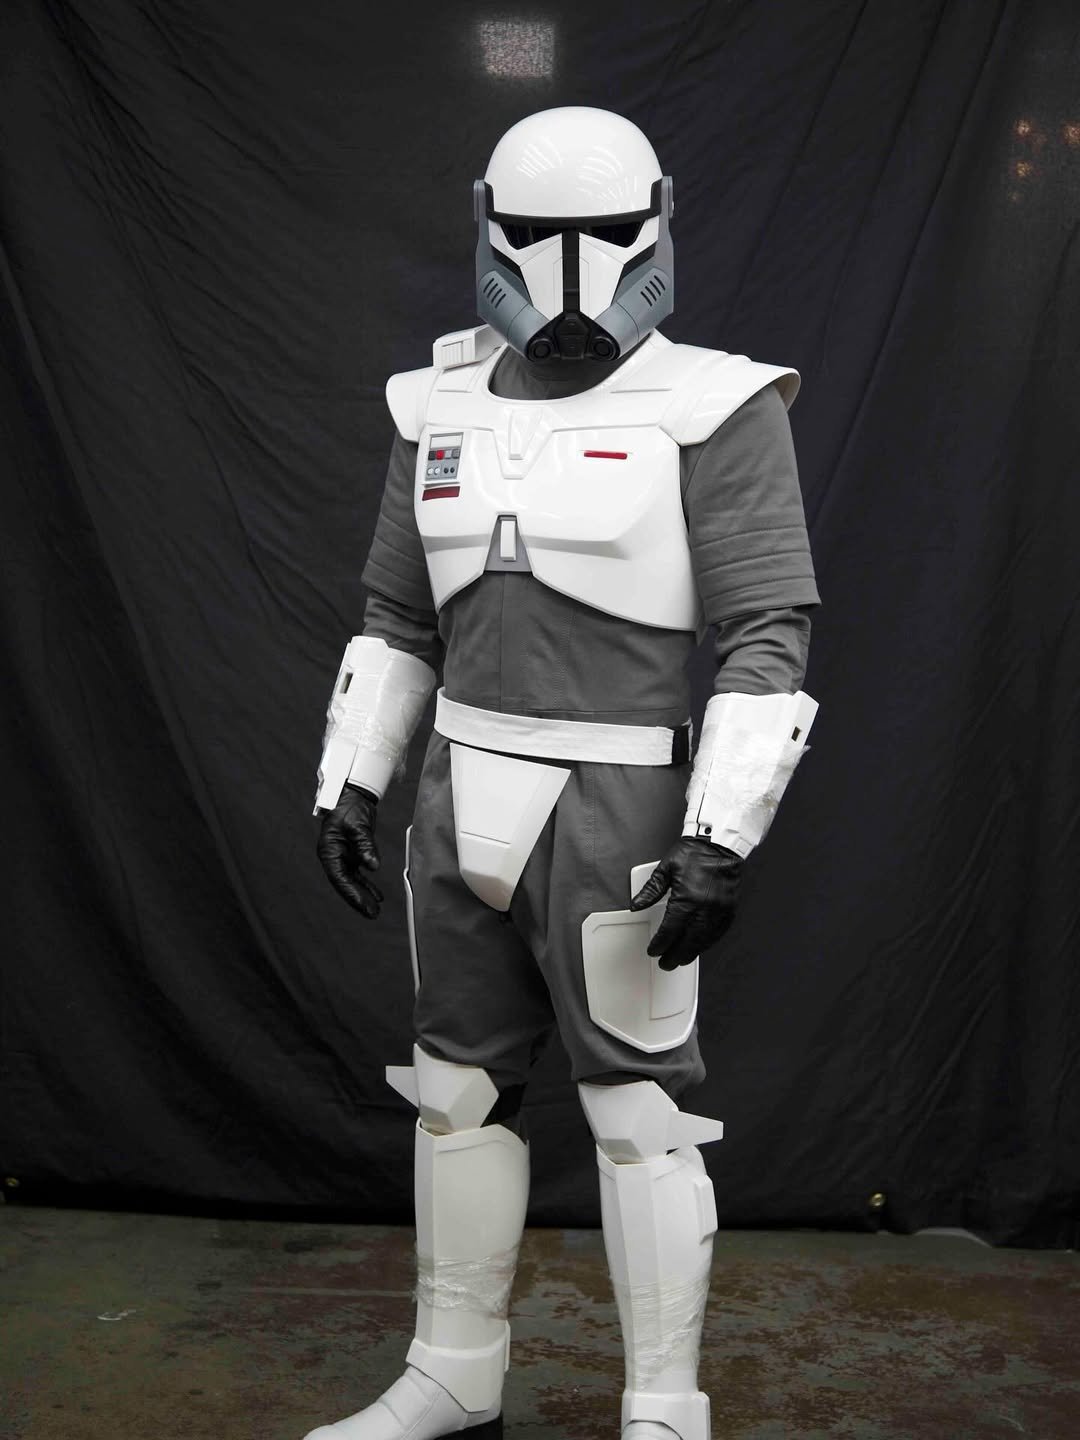
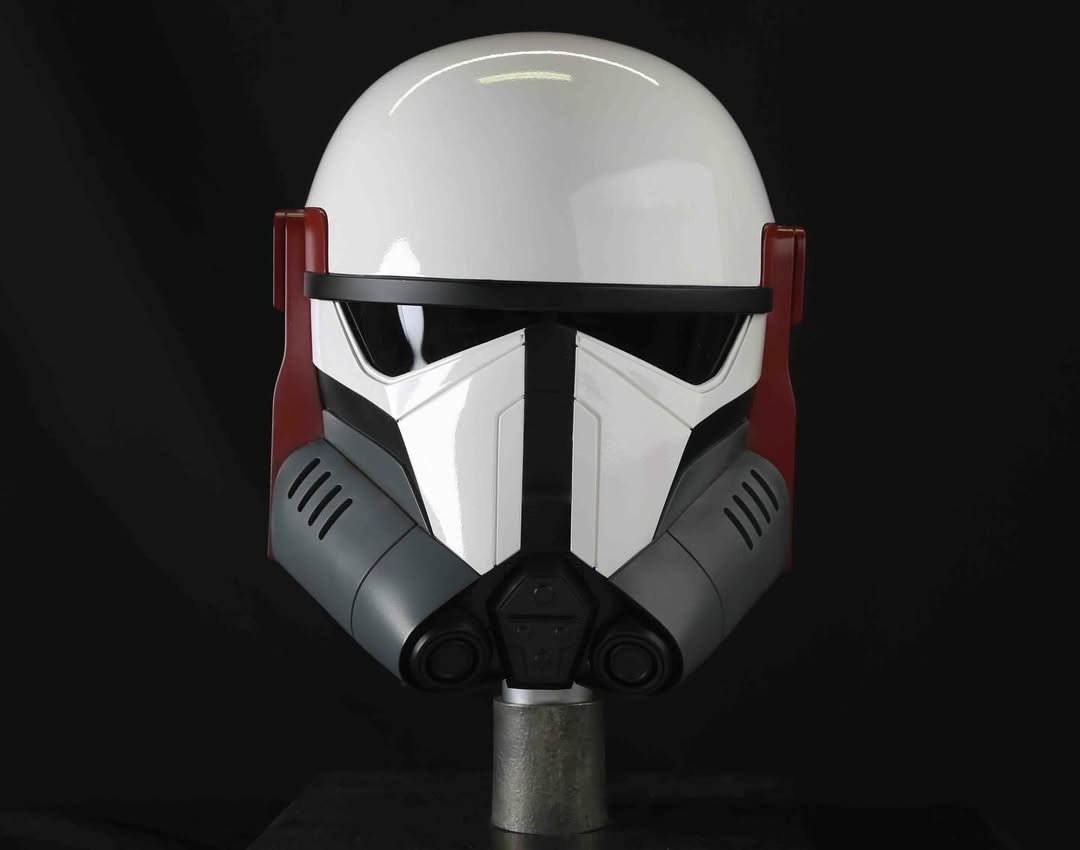
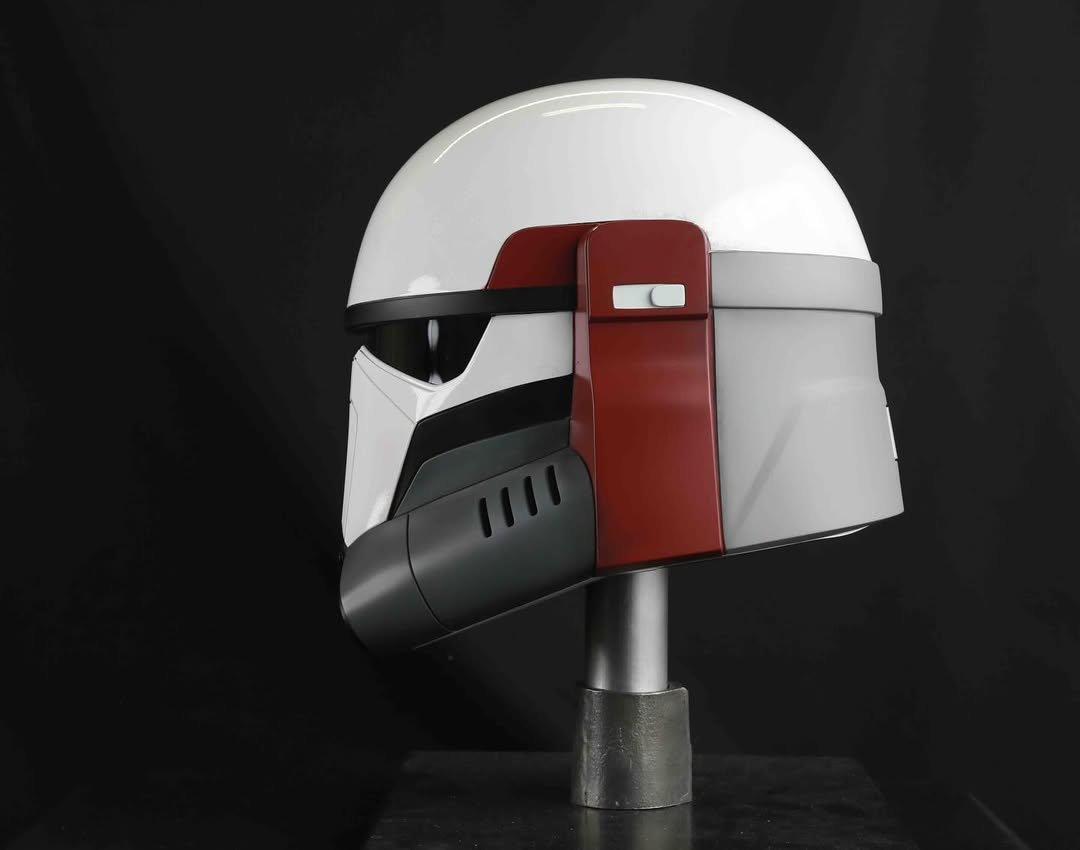
So been a fan of star wars since I was 8. Me And my fiancé who is a huge star wars fan her self we went to the mandalorian and grogu movie where we mett 501st members and nerded out and as a medical worker I love the idea of just making someone's day by dressing up and being there for the community. So with my fiancé support I am putting my foot forward and trying to become a full member. So decided to do a imperial Armored Commando2 points
-
How about some more? PP:09K406644371961282 points
-
File Name: Arges Frog - Mandalorian Designer: Galactic Prints Last Update: 24/06/2026 File: https://makerworld.com/en/models/2972549-arges-frog?from=search#profileId-3333873 Description: Meet the Arges Frog, a unique, single-eyed alien amphibian perfect for fans of sci-fi and Starwars. Designed with clean geometry and rich textures, this little creature looks incredible right off the build plate and makes an excellent display piece or desk companion. This model has been fully optimized for clean printing with minimal fuss. Images:2 points
-
My Captain Enoch was APPROVED by the 501st Legion! It was approved in late May. I had trading cards made and they look badass! All pictures are too big for this site, tho.2 points
-
There are extremely few approved New Gen kit owners in the Legion and only 2-3 in SoCal - there were none in personal New Gen suits. All 501st wore ANH-S or ESB. Hope that helps clarify!2 points
-
California labor laws still apply - we would do it for free but couldn't if we wanted to. Hence it not being a troop - same as any time we do work for the Mouse. We were cast as background actors/character performers and not everyone who applied was selected.2 points
-
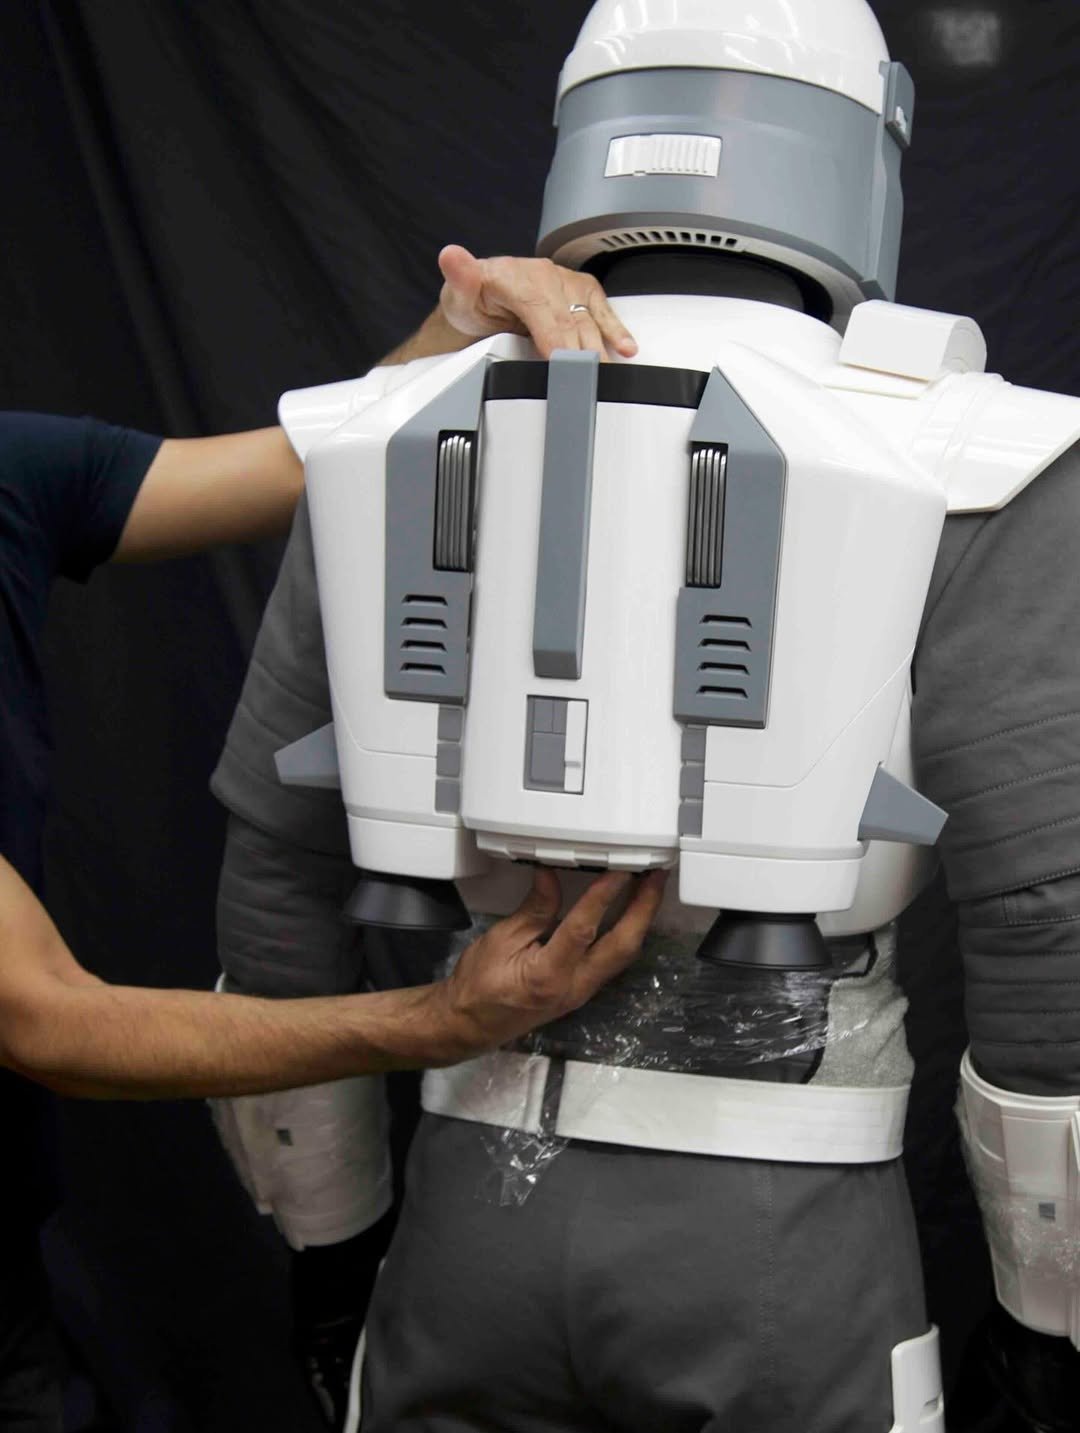
It’s been an interesting week, to say the least. Unfortunately, most of it was spent battling printer issues—many of which were entirely self-inflicted. While waiting on replacement parts and trying not to throw tools across the garage, I decided to make the most of the downtime and focus on modeling. The good news? I’m now down to the final handful of pieces needed to complete the armor. The posterior plate is really the last major component left on my list, which I’m hoping to wrap up modeling later this week. After that, it’ll mostly be refinements, test printing, and inevitably finding things I forgot. Here’s a quick peek at a couple of the latest parts: I’m still dialing in some of the finer details, particularly the internal attachment points and ensuring everything interfaces properly with the surrounding armor, but I finally feel like I’m entering the home stretch. A big thank you to Justin as well for helping answer some of the lingering questions I had regarding a few construction details. It’s amazing how one quick conversation can suddenly make something finally click! At this point, I’ve accepted that I’ll probably continue modeling the remaining pieces while taking mental breaks from sanding and painting. There are only so many hours you can spend staring at filler primer before your brain starts looking for literally anything else to do. Speaking of which… Expect the next update or two to be far less modeling-heavy and more focused on paint, and maybe assembly? The goal is to start turning this collection of individual parts into something that actually resembles a Stormtrooper. A fully white suit of armor suddenly doesn’t feel quite so far, far away. One of the smaller projects I tackled this week (during my unplanned downtime) was revisiting the back armor insert. I originally thought I had a pretty solid version finished, but after printing it I found a few issues that bothered me. So naturally, instead of accepting it and moving on like a reasonable person, I remodeled it for the 8th time. I’m glad I did. Using some additional references, I refined both the insert itself and several of the surrounding greeble details, and this may genuinely be one of my favorite pieces I’ve modeled so far (I tend to say this about every piece). The print quality itself is… let’s call it “a work in progress.” Thankfully, sanding and ABS slurry exists. Now that both printers are finally back online, the plan is to get these last few parts over the next week or two and continue marching toward the Halloween deadline—which seems to have become the unofficial target date for several of us New-Era/ROTK builders. Progress may have slowed temporarily, but we’re still moving forward. Alright, break time’s over. Back to sanding.2 points
-
Hey Tony, thanks for the warning, I know scratching is probably going to be inevitable and 2K is just too expensive for me right now when it comes to paint, so I think I'll be sticking with just gloss white and gloss clear coat right now, paired with a whole lot of foam on the inside. I really like TPU (It's so satisfying) and I took some shoulder straps from here on the forums, modified it a bit, and I print at a very low layer height so I'm really hoping that I can slide by with minimal sanding and painting. I'm going to see how others attached their chest and back together, and I know some have some strapping connecting the chest and back underneath the shoulder straps so that the weight isn't entirely on them, but I'll figure that out later. In this photo, you can see how I eyeballed the thigh measurements, or the chest in this example, where I imported a photo of myself, scaled it, and tried to get the proportions right. I then went and measured my thighs again in order to make sure nothing would be too tight or too loose. I am willing to accept some reprints but I hope I won't have to. You know what they say, print twice, measure once. I haven't even gotten to the calves yet when it comes to printing, and I noticed some issues right off the bat. First off, the two calves are different, with one being two parts and another being three with that front bevel being detached like you said. I plan on installing some Velcro or elastic to the inside of the calves, with the elastic being tighter in the front than the back. Also, the sniper knee plate just doesn't have a great connection point so it's just going to be slapped on there with some glue. I'm interested in seeing if and how Sayless will tackle this if he's going to add a notch or connection too.1 point
-
@Platinum Lexi may have lost track of this thread but i will do my best to give you 2 small tips: 1) 2k clear is the best in slot here but i've heard that it's highly toxic so beware, wear the best mask and spray outside. I will personally use 1k (the weaker option). 2) TPU shoulder strap was my go to as well but i gave up because of...well, layer lines. And you can't get rid of them on TPU. I will stick to PETG shoulder straps and white velcro or something similar though the mobility will be an issue. Hopefully it will be ok. As a side note i am really, really struggling with thigh armor and especially calves. Any tips or pics are very, very appreciated. How can i scale perfectly the thighs? Right calf is a mess on Akira files since the front "band" is somehow detached from it and the internal closure of the calves are hard to strap and to fit (i still feel like Akira messed up my zip files since the cod plate and kidney plate were not present and i had to ask for them). Keep pushing and don't give up.1 point
-
Awesome, thanks so much. Everyone is so helpful.1 point
-
Thank you for the photos, I did notice the trimmed belts on some stormtroopers while watching Rogue One earlier today, but I'm just sticking with Akira's non-trimmed files for now. Something very important that I wanted to ask which connects to the reason why I don't want super restricting armor is on how to prevent the armor from scratching. On my last build, I put some velvet-like padding or some soft material to my armor so that it wouldn't scrape on some parts, but I just don't know what else I can do to protect the paint or make it more durable. I'm not very experienced with clear coat, but would more layers help protect the armor? I'm still thinking and looking at other armors, but if anyone could help me with this ongoing issue I would appreciate it.1 point
-
I am one of the lucky ones who received their product (an FOTK undersuit), and while I will say the quality of the craftsmanship is very good... if he spent as much time working on product people have actually ordered as he does posting on socials, he'd be in a lot better position in the community. I can't currently recommend either.1 point
-
Yeah avoid Sheev's. Paid for a Captain Enoch undersuit last April and nothing1 point
-
Hey John! I'm Justin/Rascal and am your Imperial Attaché for the Orange County Squad, along with fellow Armorer @Oztrooperin Garden Grove. I'm based in Placentia, run @Rascal.Works out of my garage, have mentored a good number of the TKs in our Garrison, and would be happy to assist. What armor to buy is a complex question that is pricey enough to require a good deal of thought to ensure you're happy with your final purchase. It's like somebody asking - what kind of car should I buy? Well the guys who can afford Ferraris are going to say that's best, and they're not wrong persay, but that would probably be insane for a daily driver suggestion. Some guys prefer domestic brands over imports. And in the same analogy - there are a lot of guys out there have only ever driven one type of car or haven't driven in years - so be careful whose recommendations and advice you take on the internet. There will be positives and negatives about every maker, so just find one that fits for what you prioritize (accuracy/lineage, comfort, size, price, etc.). That said, there are a lot of us locally that wear Denuo Novo armor (or the older Anovos variant). They're a licensed maker in the US and their armor usually ships quick when it is in stock, and it's a great kit - they retained all the accurate dimensions and asymmetry of the original suits but are made without the lumps/bumps of the inferior vac-forming work done at the time. However, their helmets have been out of stock for a hot minute with no end in sight, and they do not offer replacement parts or extra ABS, so if the kit does not fit your frame, it will be harder to modify. There are also lots of great makers abroad as well, but with tariffs lately, who even knows the cost/shipping you'll deal with, so that's a consideration. Point being - there is no one right answer, but that's not a bad place to start, in addition to this subforum for getting started. Budget about $1500 on average for it, and most builds take about 6 months, but it all depends on you. If you're not already in the SCG Imperial Recruits Facebook group, I'd definitely recommend it. You just missed an Armor Party (where we get together to work on our kits) this past weekend in Anaheim, but there will be more throughout the year. Let us know if you have any questions and we're here to help!1 point
-
Updated. Have added a warning under Sheev's and stated gloves no longer available for Endors.1 point
-
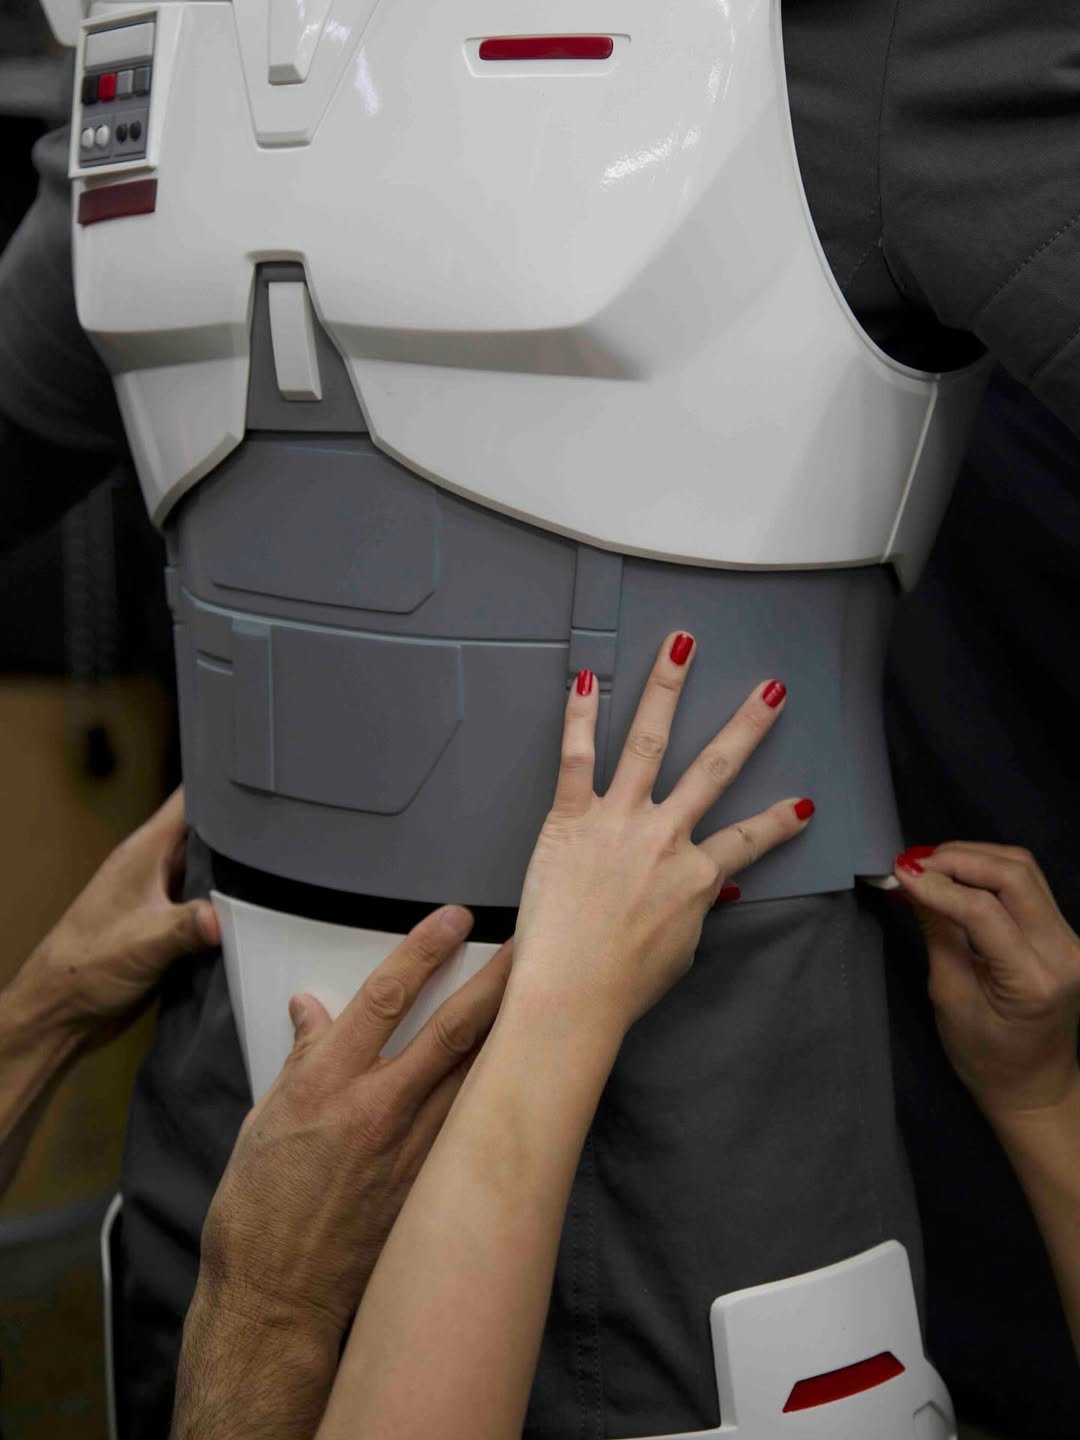
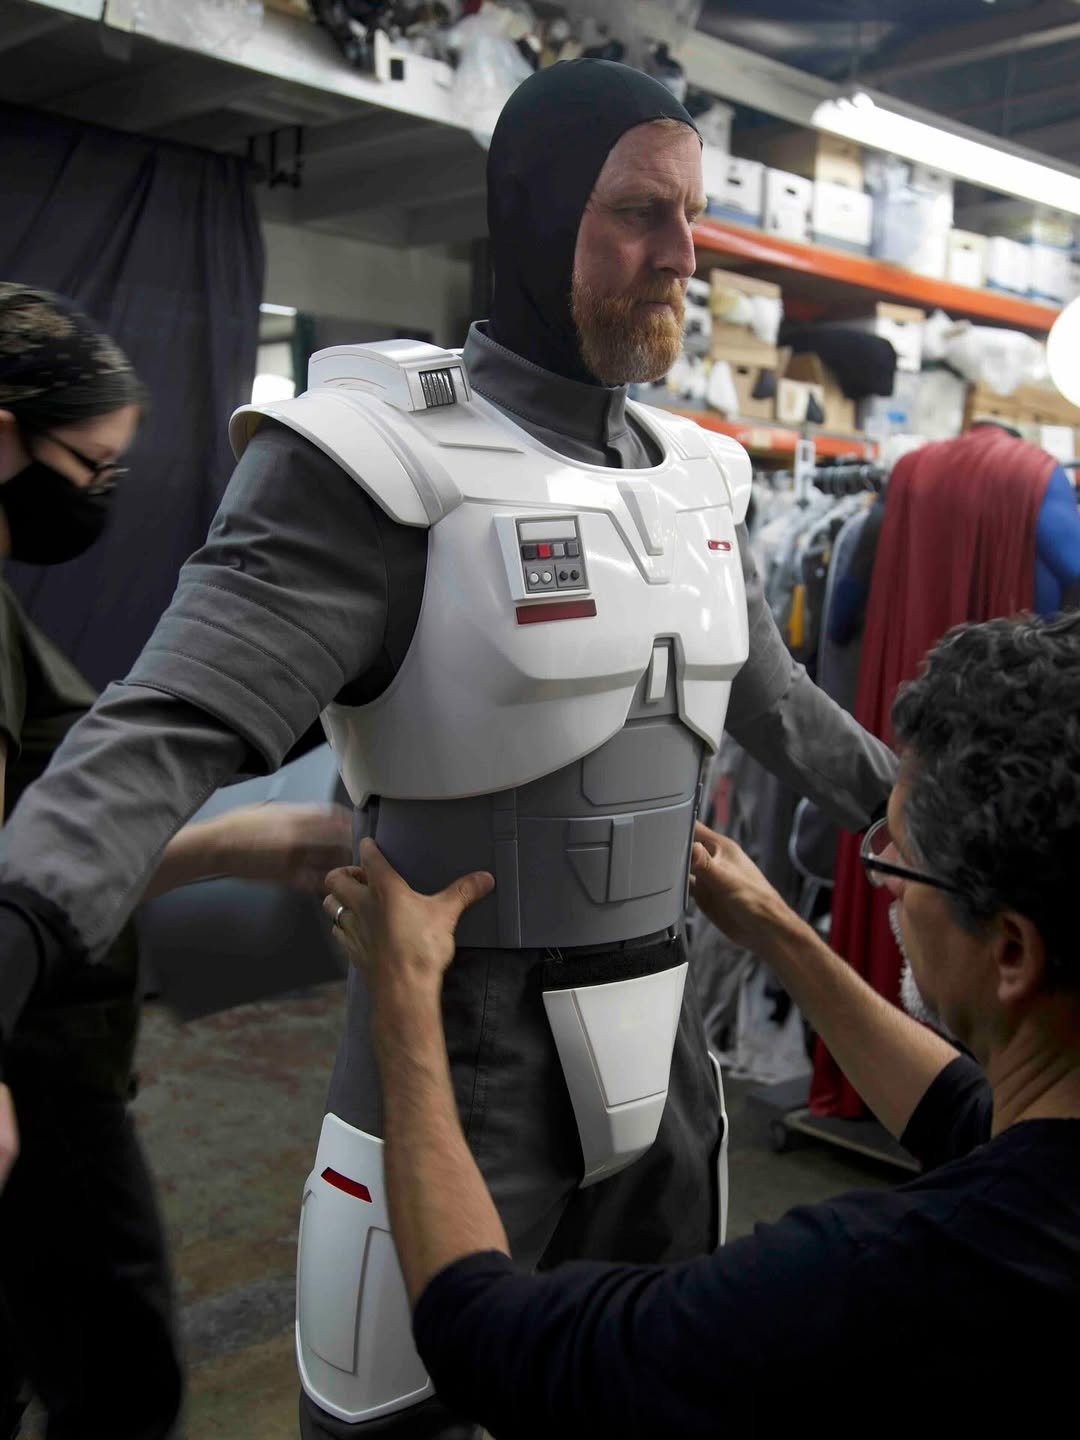
One other misc quality of life change. This whole time I've kept the ab piece whole because I can actually slip in and out of it. However, for ease of putting it on and off, I did finally decide to split it, and just add some elastic across the split. This way it should hold together, but as I'm taking it on and off, it will give me a little bit of extra room. Tonight I also starting painted the chest piece with acetone-thinned Bondo spot filler in preparation of final surface prep: I am using the method shown in this excellent video from my garrison mate, Colin:1 point

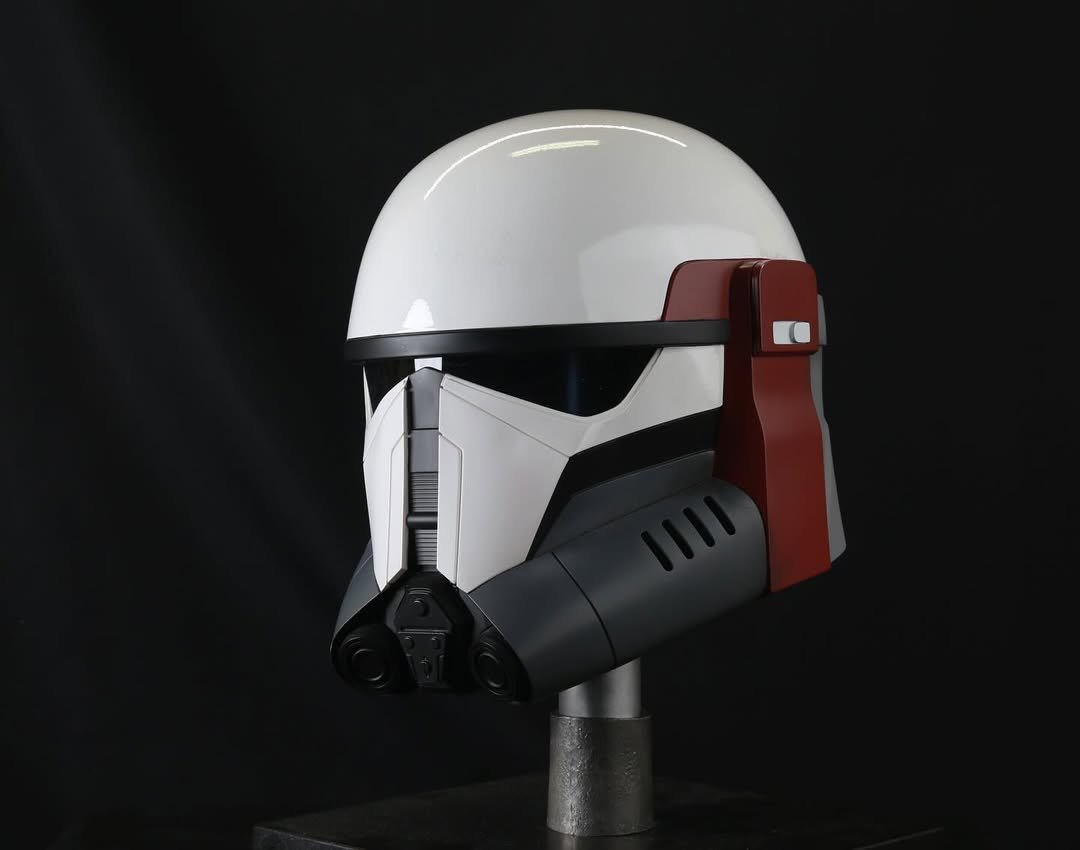
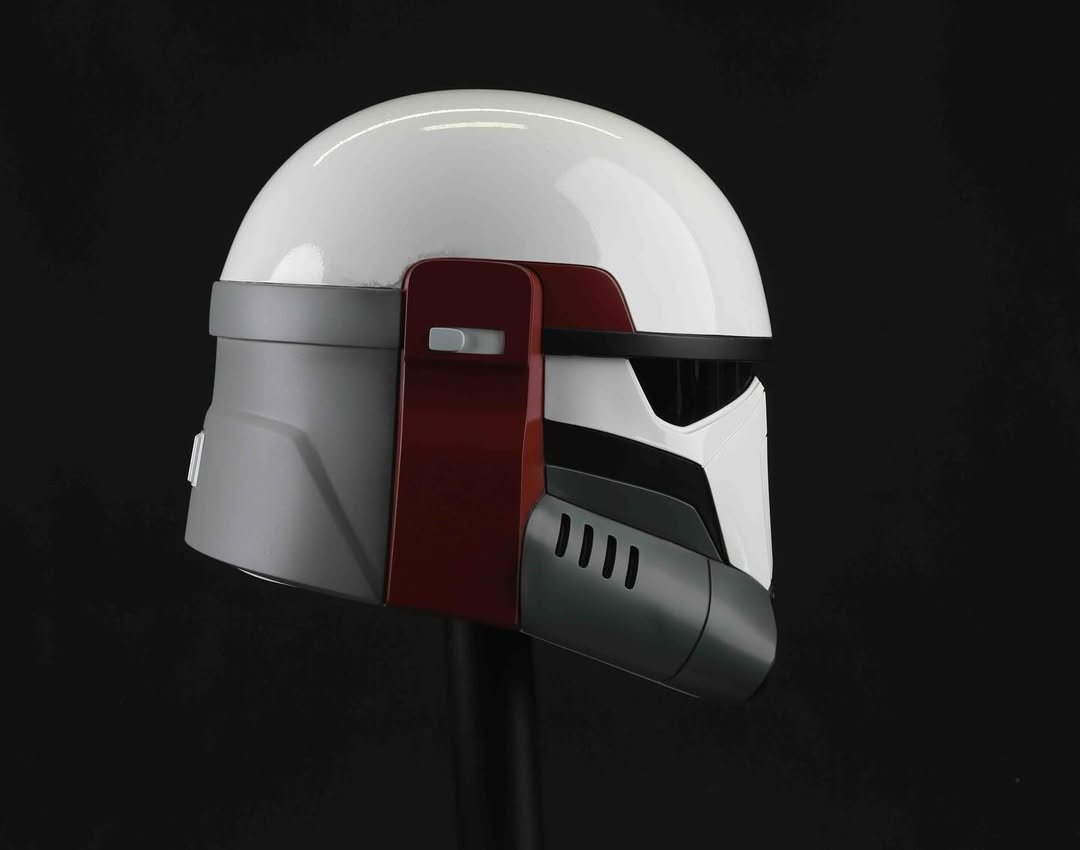
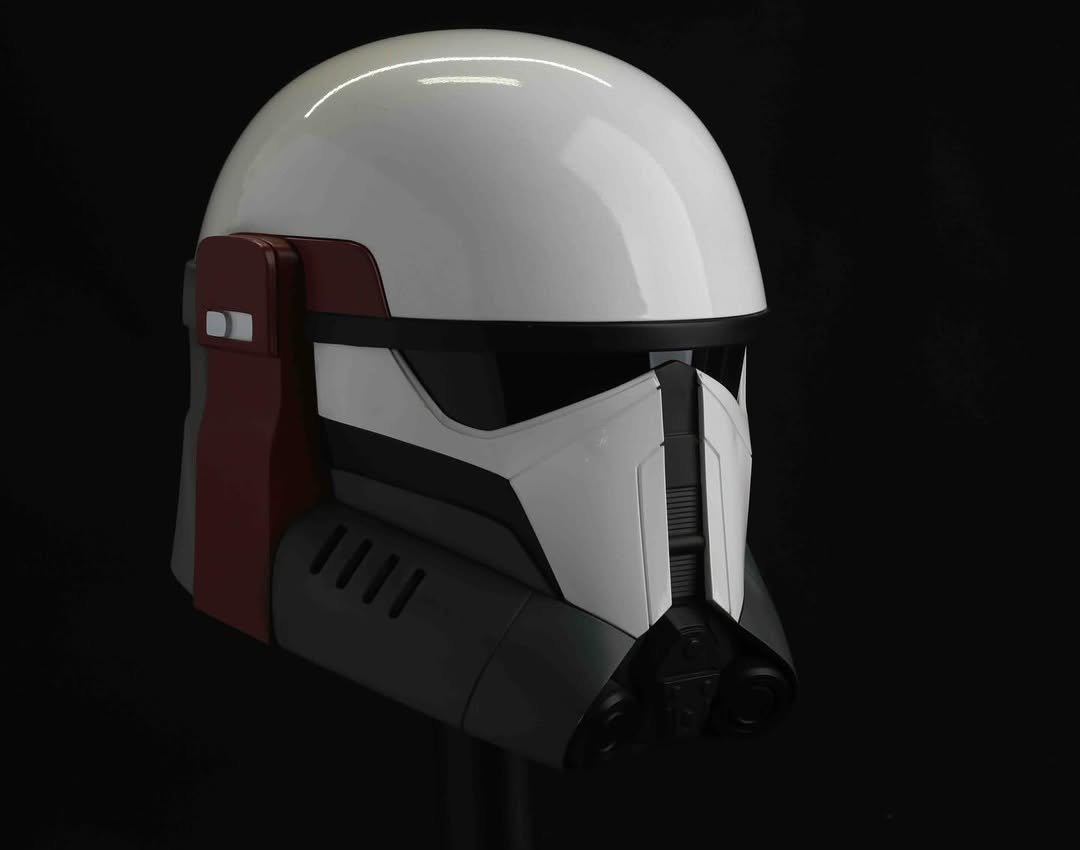
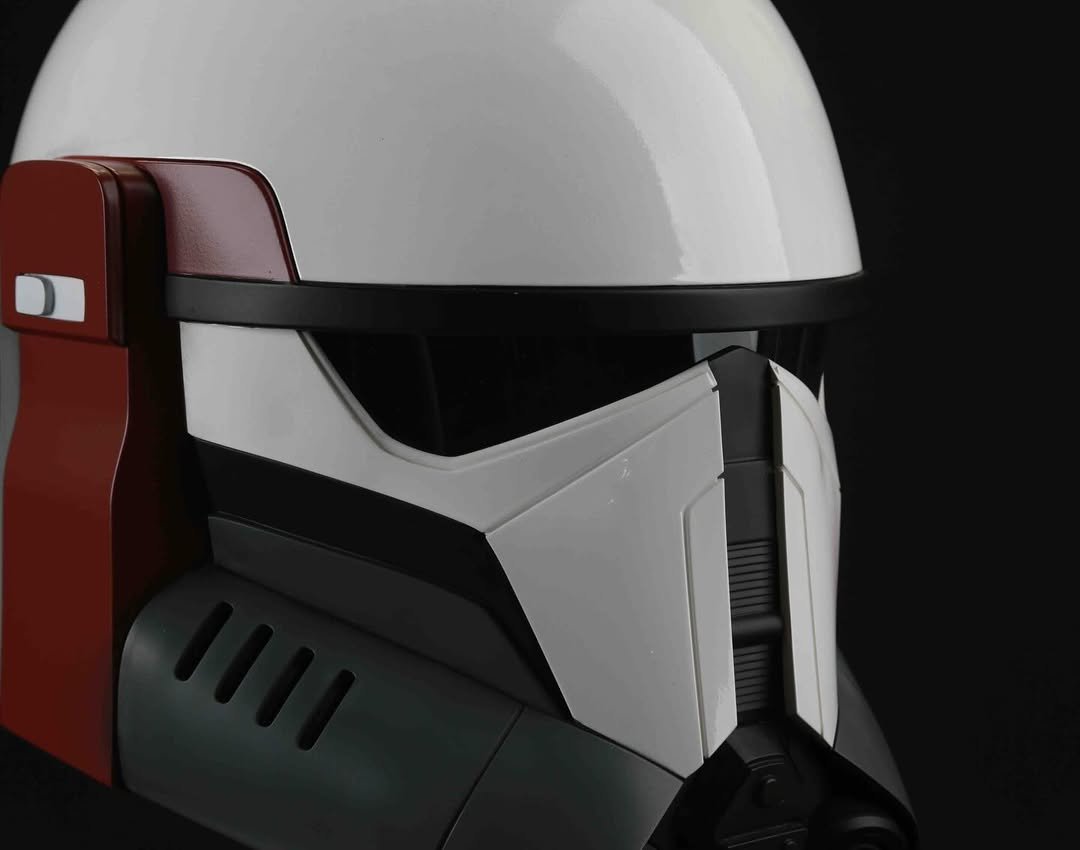
.jpg.01d98078024a23d9a03d76131710dffb.jpg)
.thumb.png.69856e02550a2e6d07e44a2b1bda020c.png)

.thumb.JPEG.090a51d263498dd94183c8dca58c9ff4.JPEG)