Leaderboard


Popular Content
Showing content with the highest reputation on 06/02/2022 in all areas
-
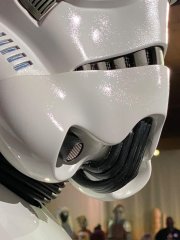
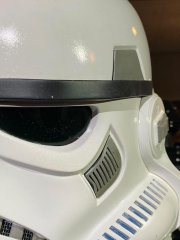
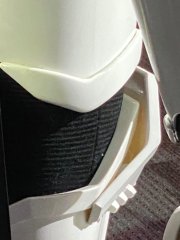
For the gaps, The front one is not too bad, but the one in the rear will definitely need to be filled for Centurion, Nick, and it's actually pretty easy to do! It should take you all of 15-20 minutes, and will make a world of difference in the look. I see you already added the ABS shim in the back of the front gap, so you are almost halfway there! By the way, the front one would pass at Level 3, but since you will already have the product on hand for the rear I would go ahead and fill that small gap. Luca provided a link to my tutorial here, and even though Sugru is owned by a German company (Tesa) I'm not sure if it's available there. A good alternative is Kintsuglue (available on Amazon Germany here).3 points
-
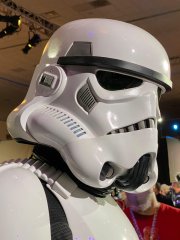
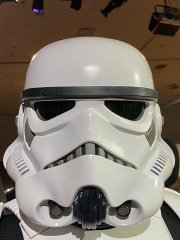
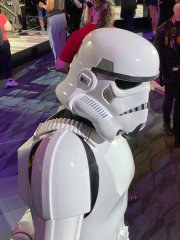
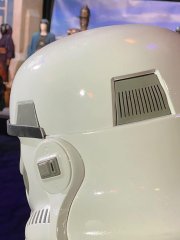
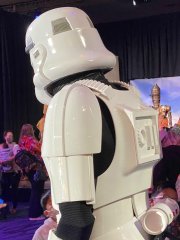
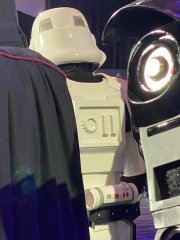
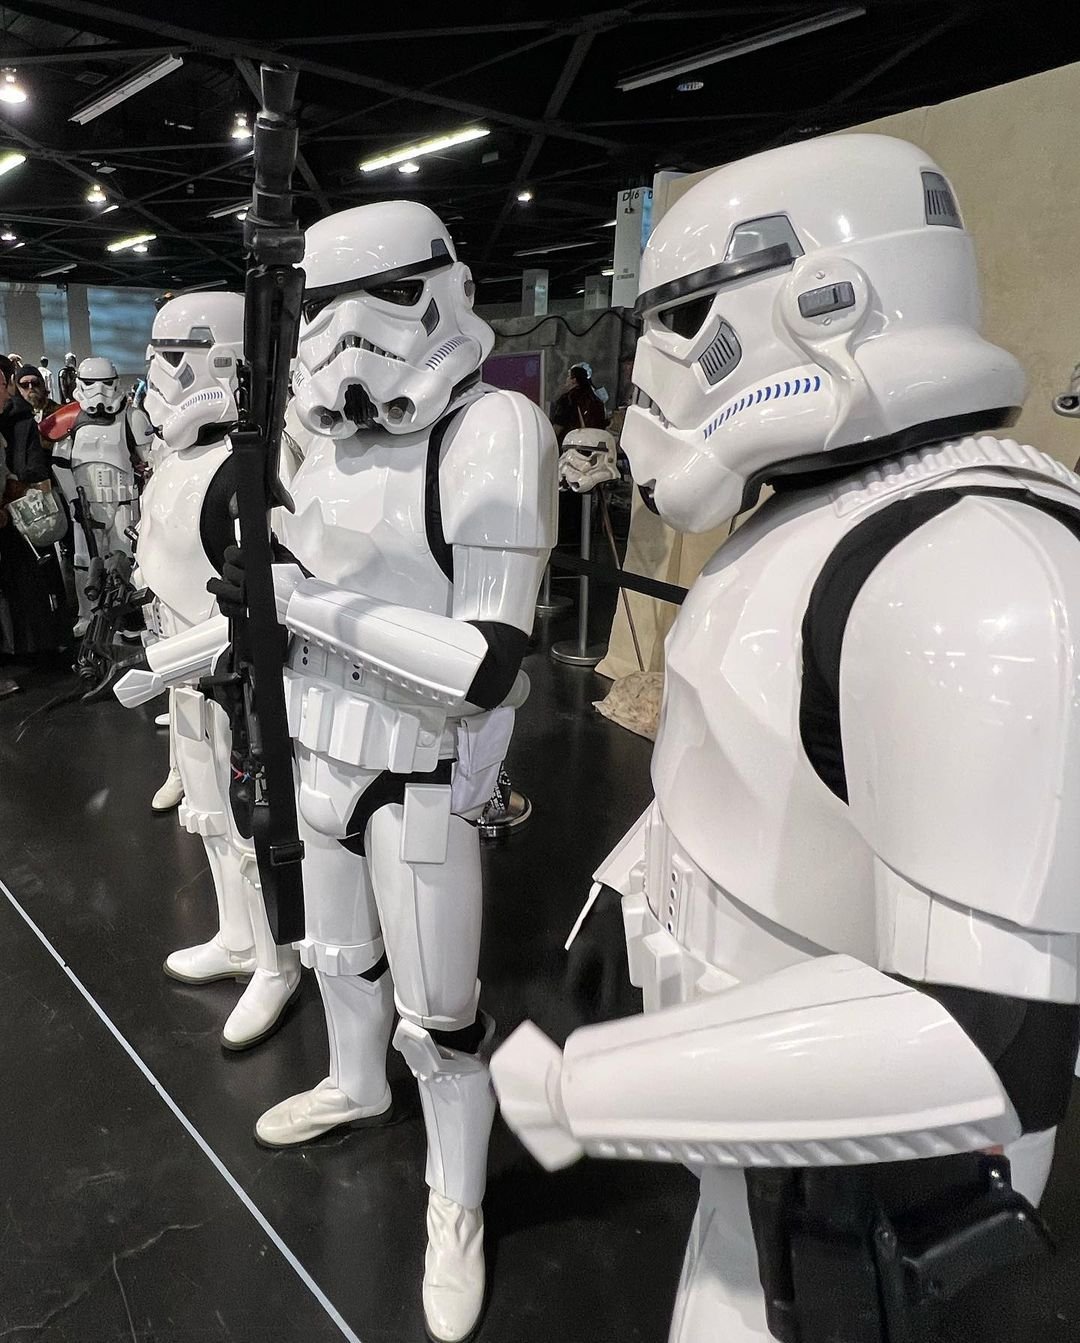
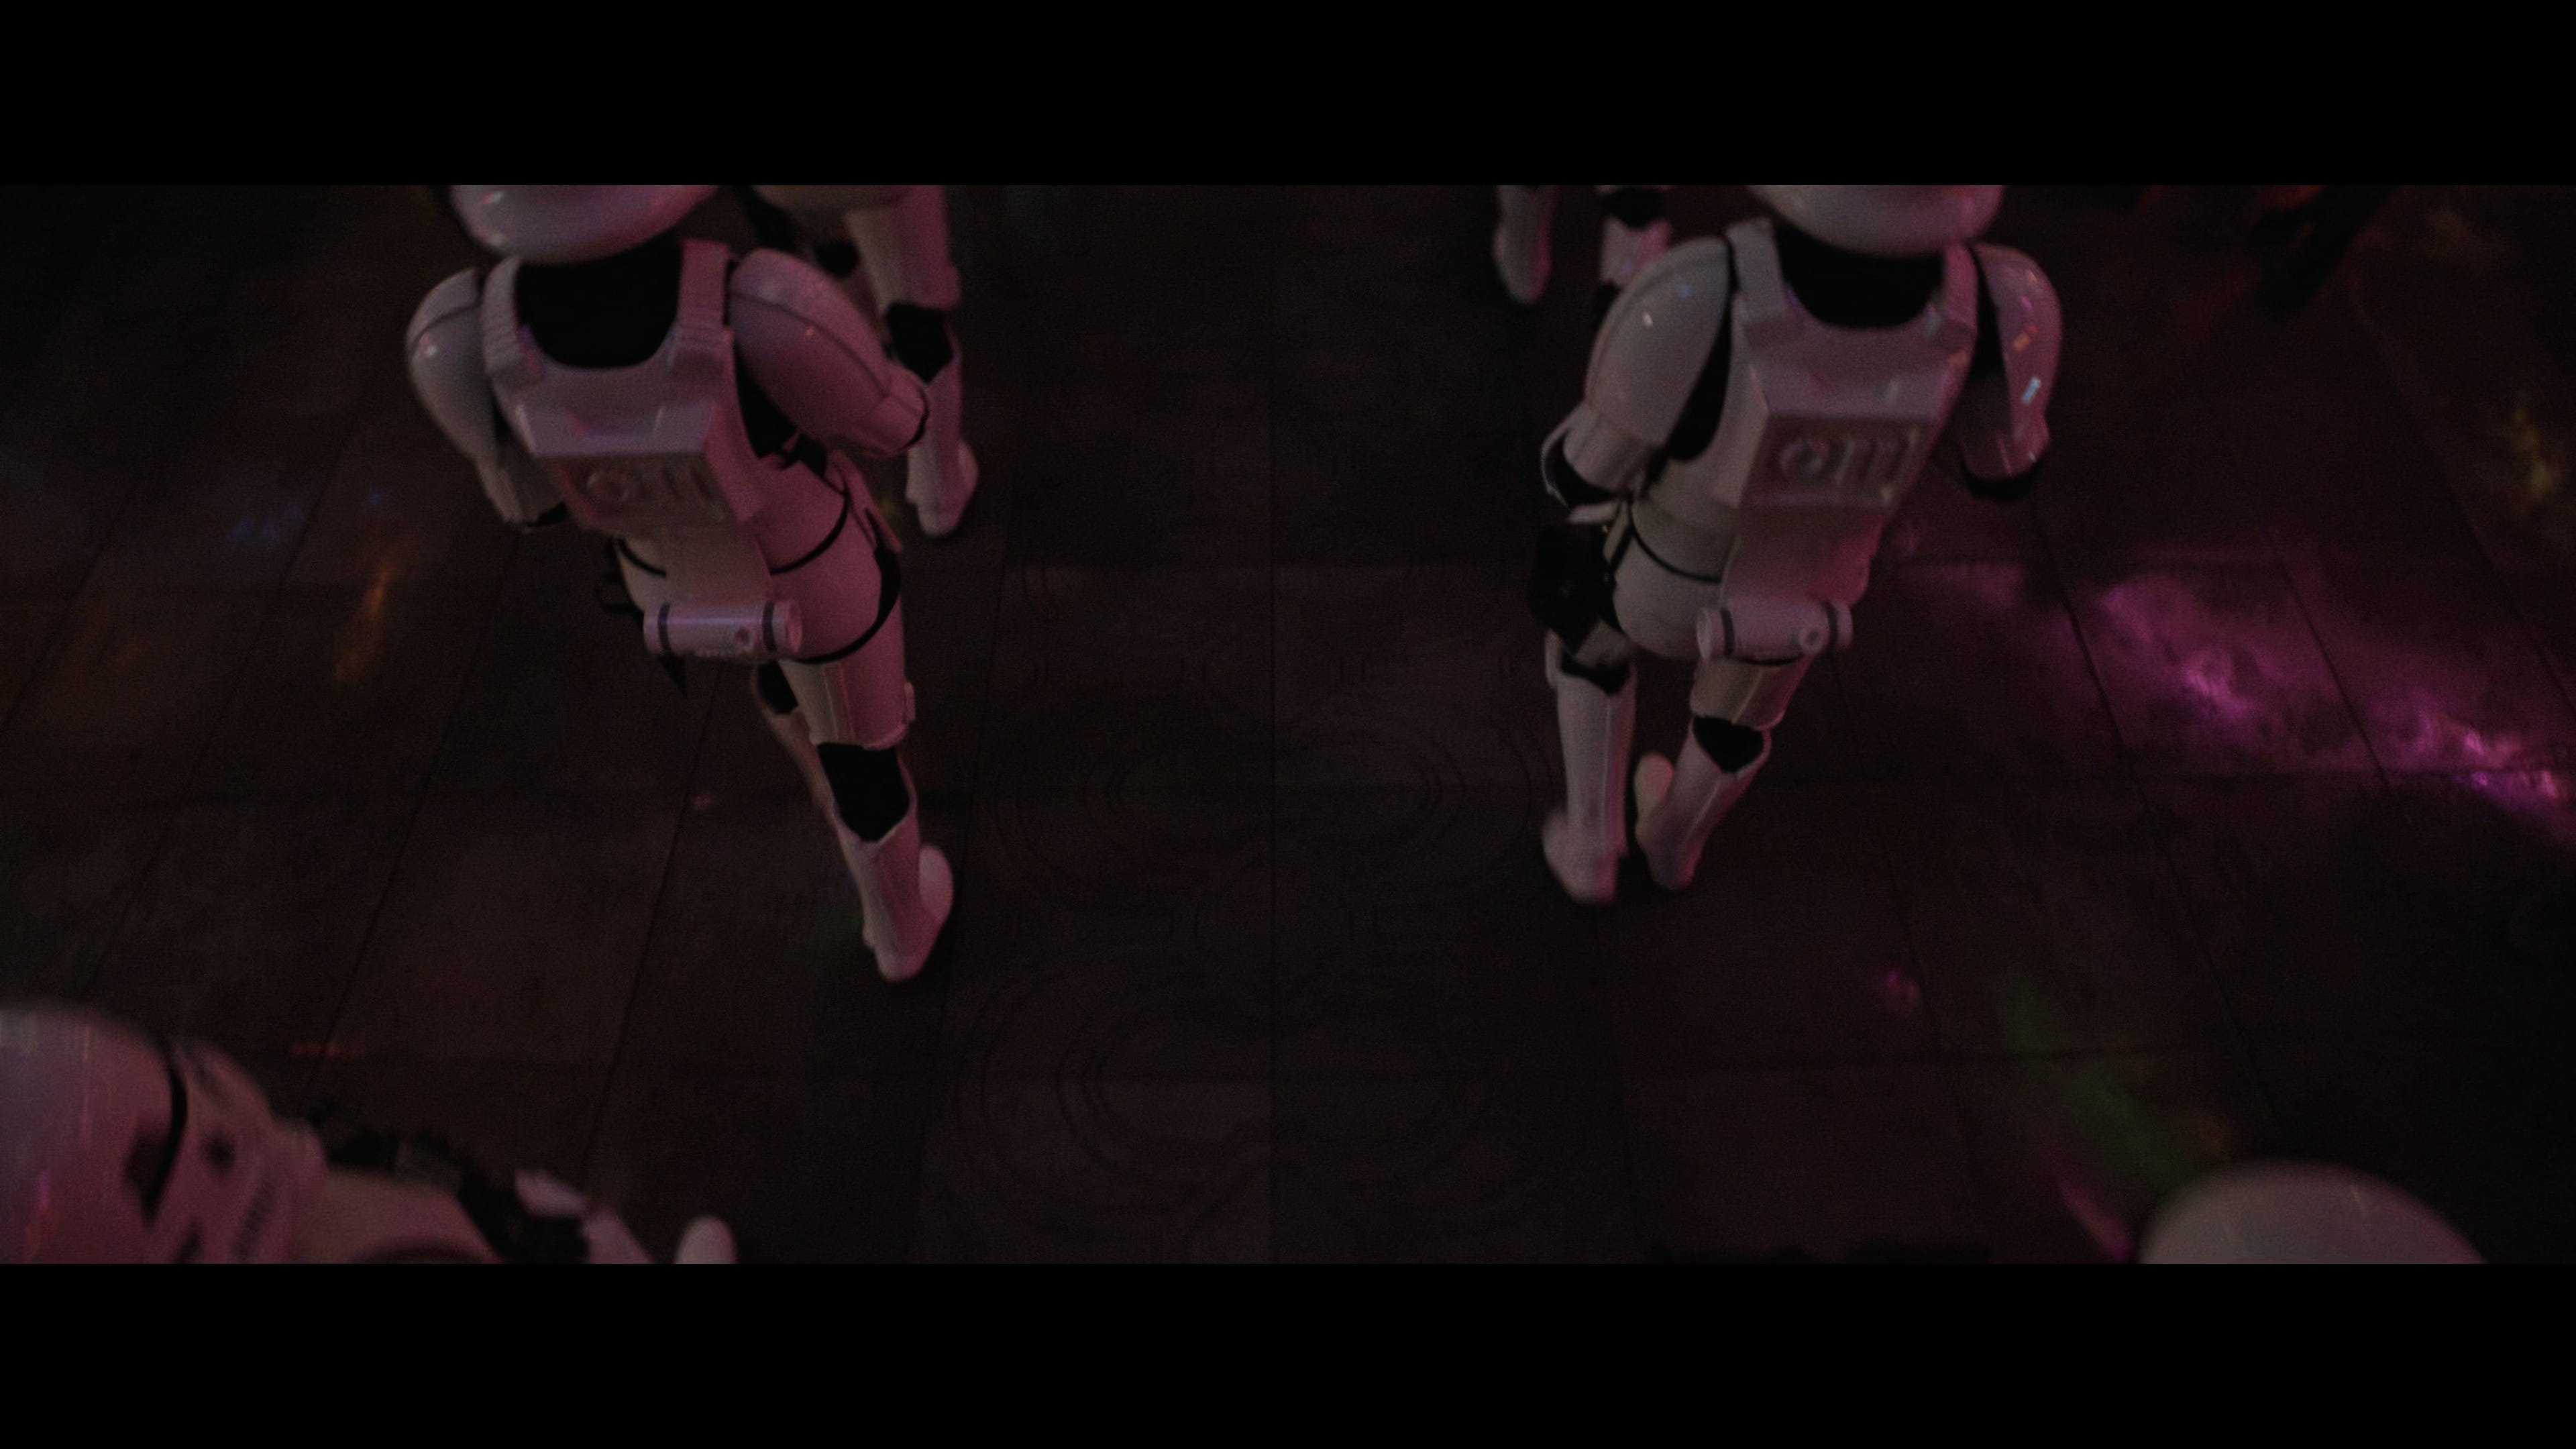
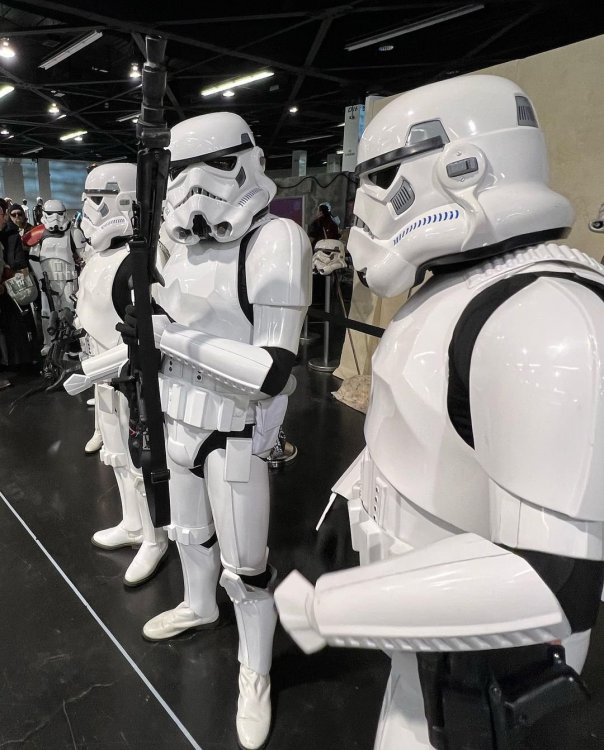
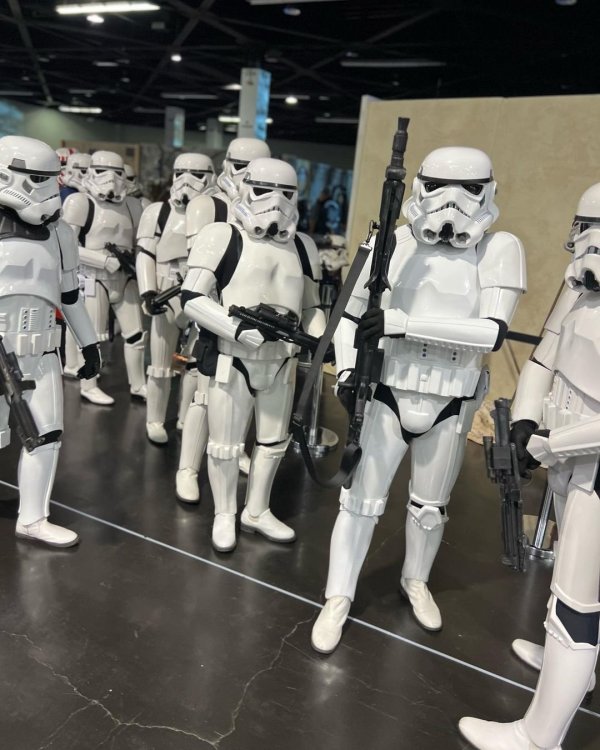
Stormtooper display from Star Was Celebration 20222 points
-
-
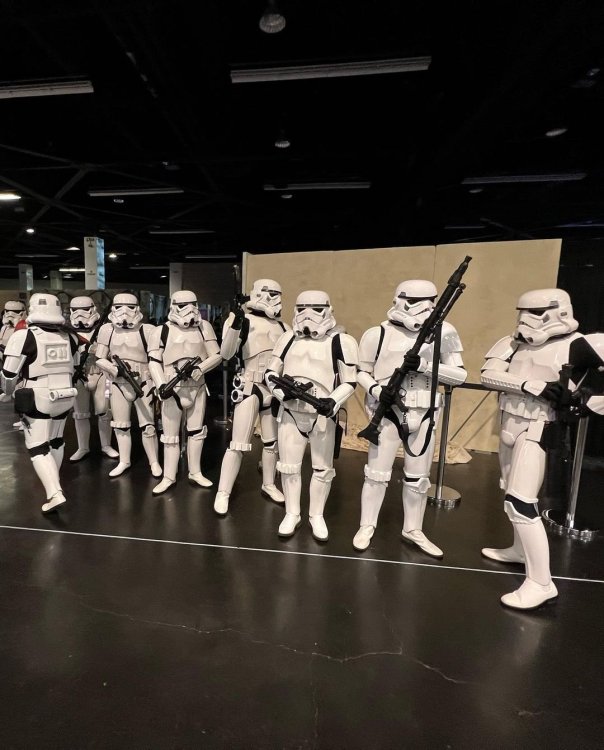
Celebration 2022 Photos / Video Post them if you have them Legion group
 2 points
 -
Thanks for all the links, it's appreciated! I will ask WTF on Facebook on getting something made perhaps2 points
-
Thanks for your vote of confidence! I'm going to have husband touch up some of the chroming that was dinged and get those sweet close-ups I might need for basic approval!2 points
-
Congrats!!! I was wondering if you'd finished in time. No doubt that beautiful armor will sail through basic approval.2 points
-
Some additional reference coming in for you! Man, seeing that scene from Mando season 1 being shot was so cool. Quick story - Jon Favreau could see that we were stoked on the new Incinerator and were geeking out over it, so he actually called us forward and showed us where the edge of the shot was so that we could stand as close as possible without being a bother. Nice guy, and a true fan. Was even cooler to see it after they added the flames in post!1 point
-
It certainly does sound a bit counter-intuitive, and the way I would implement the curve would be to not actually trim off extra material at the top and bottom of the bells, but instead trim less in the middle portion (depending on how obvious the trim lines are). Different sized troopers will definitely have differing results based on their shoulder size. The other aspect of trimming a curve to cover more under-suit is that, when pulling the top of your bell as close as possible to the shoulder bridges, the curve conforms better to the curve of the chest piece than a straight line would.1 point
-
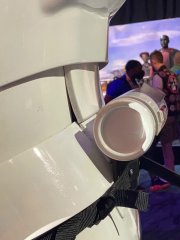
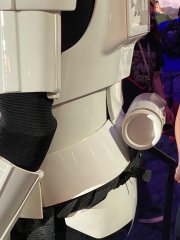
Holster shots (all photos below from Jim Hall). As a side note, I'm liking the weathering direction they're going with these. Blaster without flashlight. Looking at the rail it reminds me of the Hyperfirm blasters. Side note: Weathering variances above and below. Notice below the black weather scuffs all over the raised sections of the chest and shoulder bell.1 point
-
1 point
-
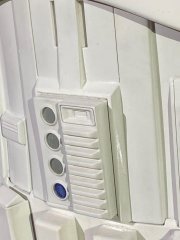
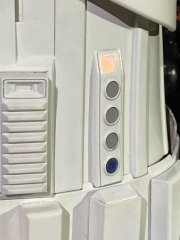
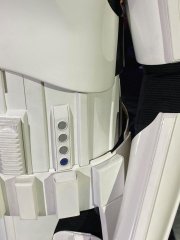
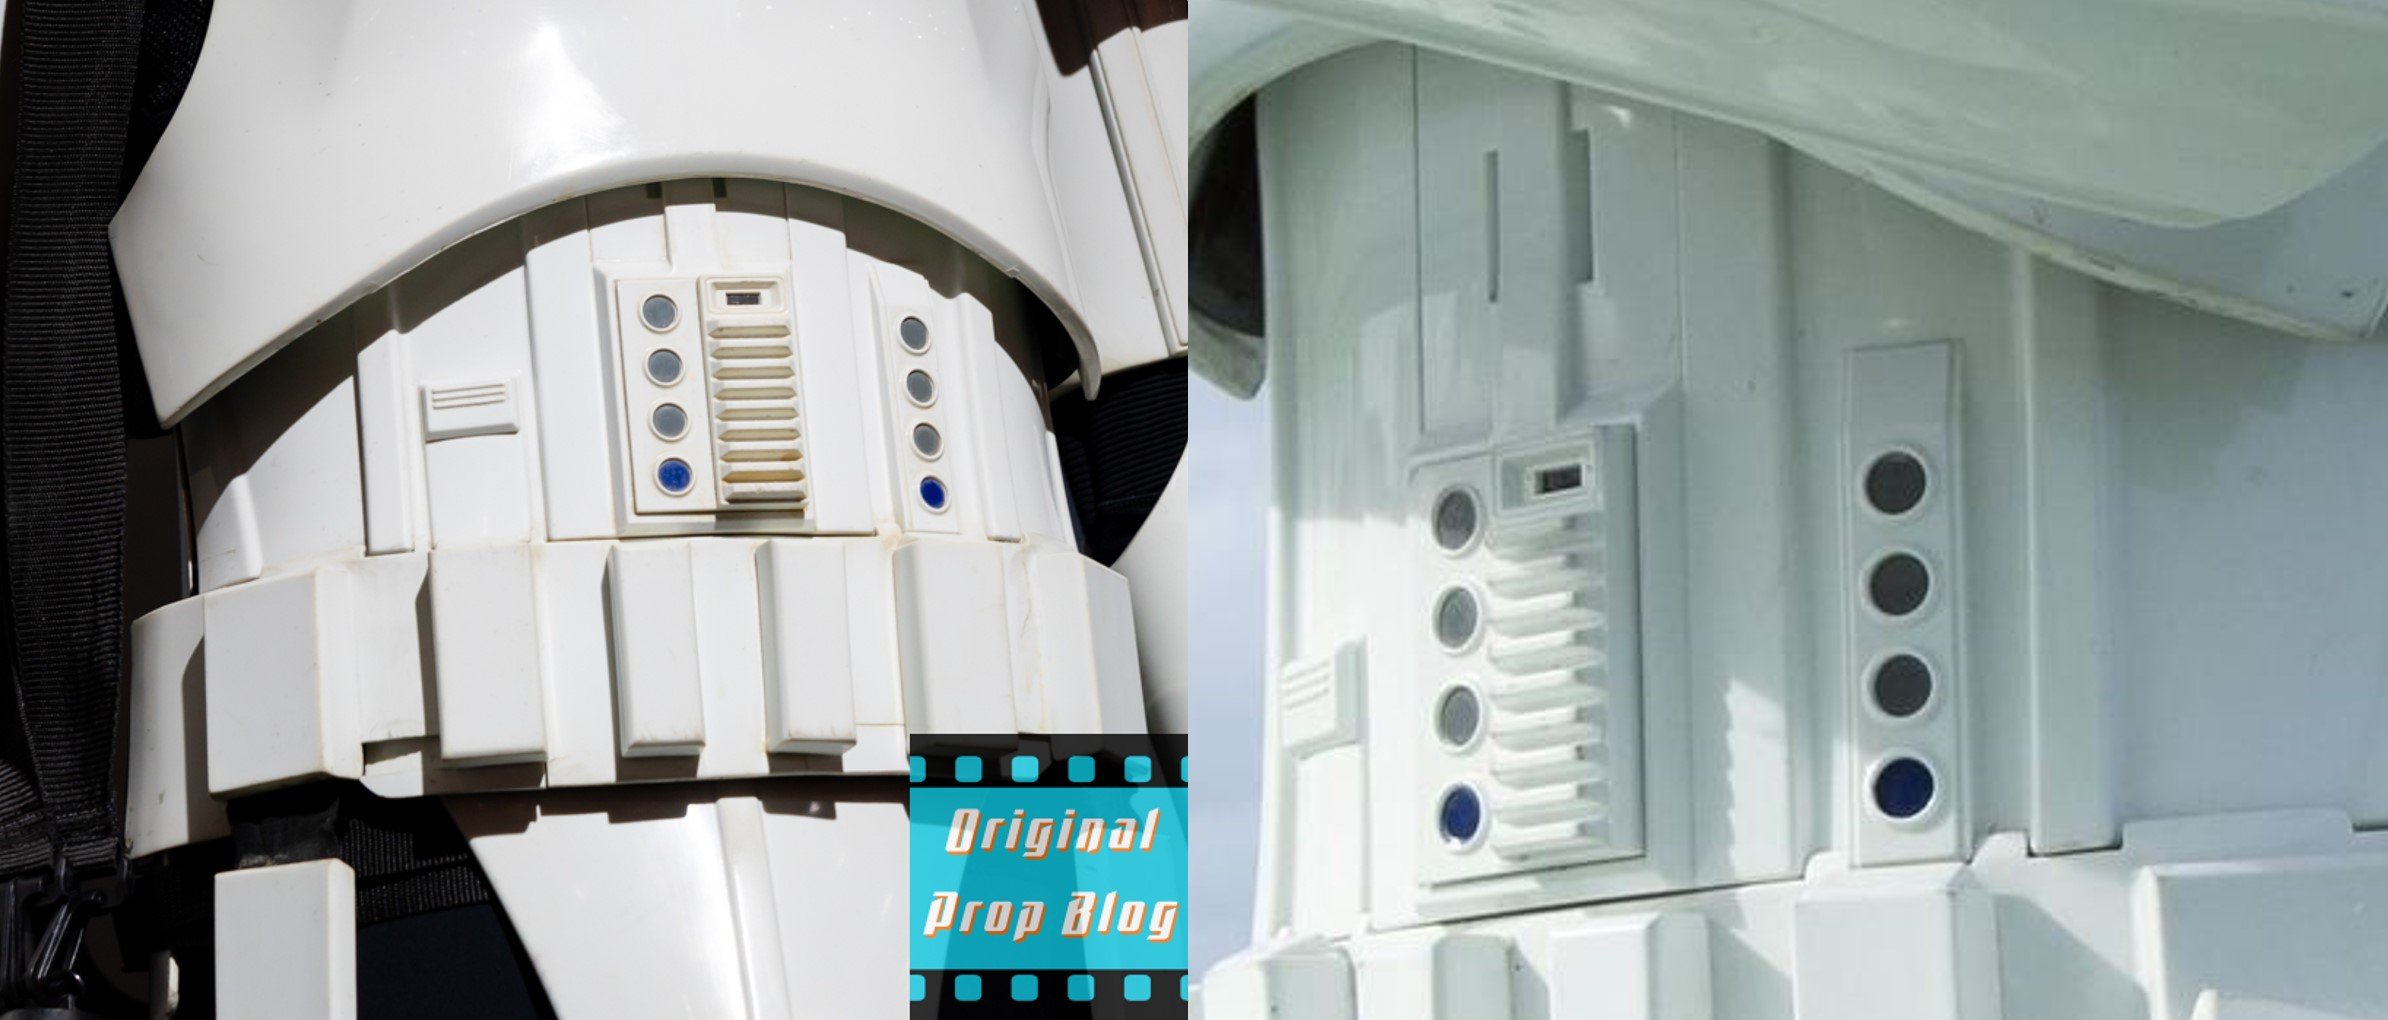
There was a conversation quite some time ago about the top rectangle window and the blue in the CRL was wrong, it was decided it was grey but I don't know how much further the discussion went or if the CRL was updated
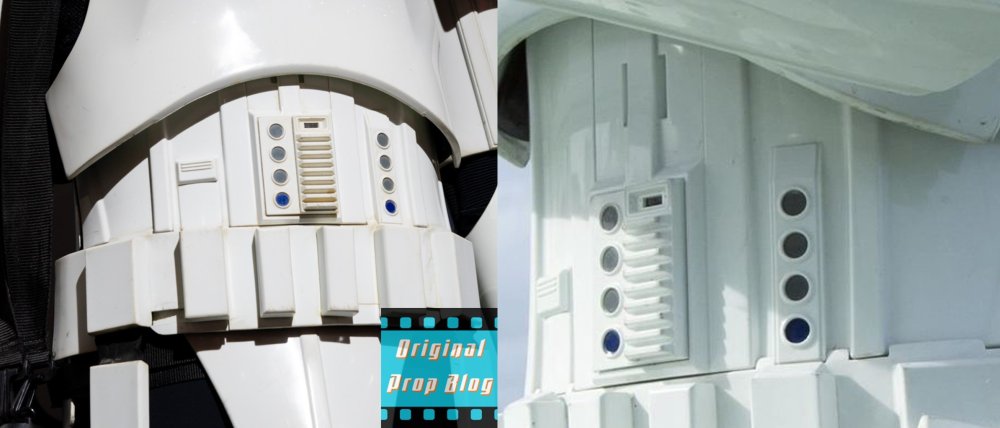 1 point
 -
And it's small details like these (if common to other TK's in the series) that will single out this version of new era TK compare to others like R11 point
-
Could just be the display suit, can't see any red in these images

 1 point
 -
A huge should-out and Thank you to all you amazing FISD folks, whom I couldn't have possibly have finished this without help and support. Speaking of, I was surprised (and honored) to be invited to join in the group photo, unfortunately i'm not a fully-fledged member yet but here is a pic my amazing husband/handler took for me Helmets off! here's the last few pictures I took of the con If you can't tell, I was a bit exhausted Speaking of handler, here's a few shots with me and the. husband! And with a droid friend!1 point
-
Awesome!1 point
-
Pretty easy fix. Just filed and sanded a bit deeper into the corners.1 point
-
Congratulations getting to the finish line1 point
-
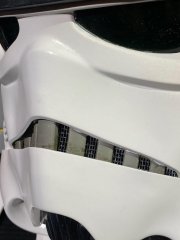
You went a little close to the corners of you knee ammo strip, it may be mentioned at higher levels. Also note the curved section is not completely rounded on screen armor although that's not usually mentioned Reference1 point
-
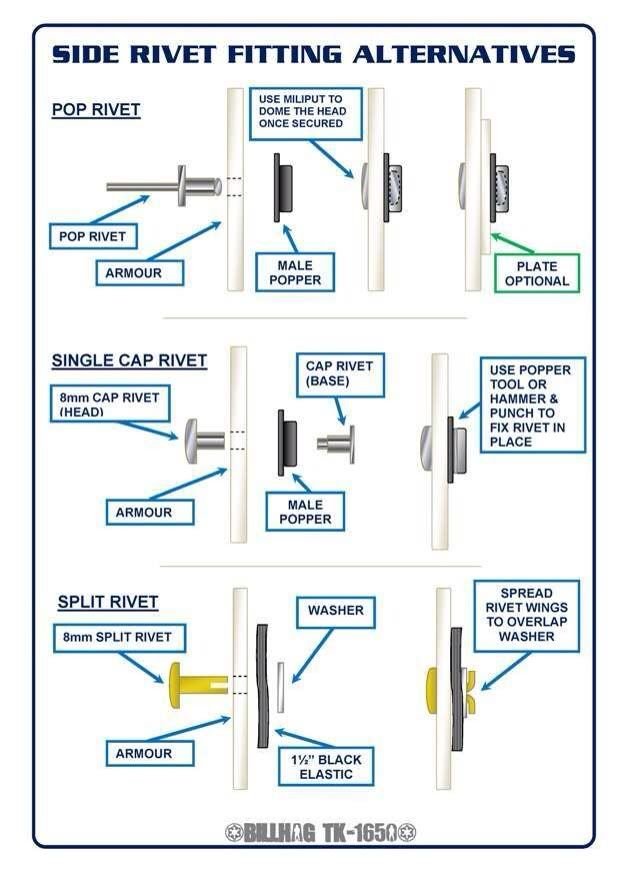
I find it makes storage a lot easier as it will lay flat. Here's a couple of options. Some also use chicago screws
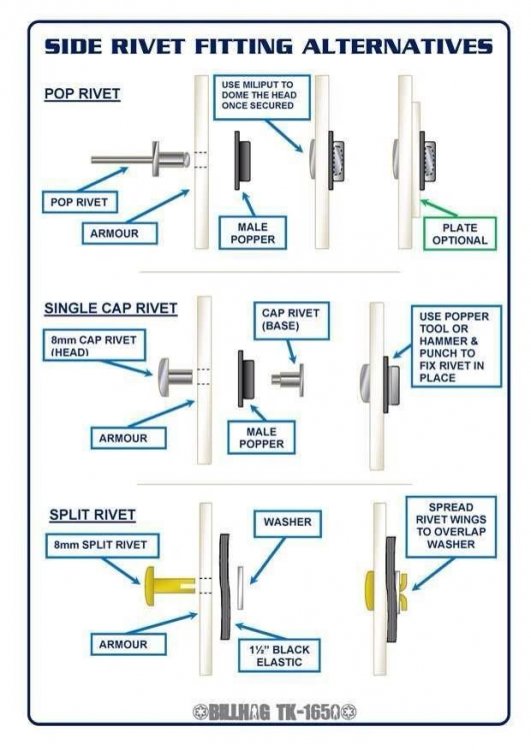 1 point
 -
The longer the elastic (shorter glued area) should allow some more give, it will be a case of trial and error though as you want them to still fully close. If you watch closely in ANH in the TantiveV hallway you will notice a few open rear shins1 point
-
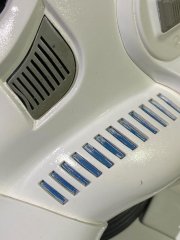
Looking Good Chris. If you haven't glued the covers yet, I would suggest to trim the edges a little to flat them more. Reference Images1 point
-
Congratulations!! Well done!1 point
-
Welcome to FISD Johnny, the guys have set you on the right path. Ask plenty of questions and the help will flow.1 point
-
First glue the strips on the outer bicep parts let dry 24 hours then glue in the inner bicep part one side at a time, the shape is normal the original were like that, once you glue strips they will be fine. sending yu photos via email of the one I assembled1 point
-
Hey troopers, As we all know, an Imperial Stormtrooper (or a rebel in disguise) needs a good blaster at their side. Well, this certainly falls into that category!! I am honoured to have been sent a “JMC E-11” blaster for review from Marc at TroopaCoola, all built and ready to troop or display. This excellent blaster is a combination of metal and resin parts, with a whole host of working (moving) parts, as well as being incredibly well detailed. Moving parts include; • Inner bolt • Magazine and magazine release button • Trigger • Selector switch • Folding stock • End cap • Hengstler counter rest button Check out the video for a much more in-depth review, but also feel free to enjoy the images below. The below video covers an unboxing, followed by a detailed look at the functioning parts and detailed features: These are also available as a kit, if you want to have a go at building one yourself. Thanks for stopping by. Contact TroopaCoola for more details. https://m.facebook.com/Troopercoola/ Best wishes CableGuy Dan [emoji3526]1 point