Leaderboard


Popular Content
Showing content with the highest reputation on 08/12/2021 in all areas
-
Mario thank you very much brother. Appreciate it. The other two will follow right after.2 points
-
Whelp! I made it! I just got approved for my ANH stunt TK! Thank you everyone for the input and feedback!2 points
-
A small update here: First I thought I can simply make the boot plates by myself, but I know myself, being lazy here and there, got the Imperial Boots FO TK boots 3d scanned and got the plates modeled nicely to fit the boots perfectly. Was the expense worth it? Depends. Now I dont get headaches of how I get the plates perfectly symmetrical etc. While Im writing this, the plates get 3d printed Also, the blaster is currently at a paintshop for thr gloss black coat. Before, @Shimo did some heavy mods to the blaster to fit the TRamp BlastFX board with electronics perfectly. Last step is getting the cfo Detonator.. then paint and gold chrome2 points
-
POST 46 1. 2. 3. 4. 5. 6. 7. 8.2 points
-
Yeah I know the design has changed. Annoyingly the designer changed the files a while after I printed/painted mine Currently the TFA shape is allowable under the CRL but it will be something I upgrade in the future. I’ve been following the CRL discussion thread for TLJ/RoS and noted a lot of the changes2 points
-
Back to the lid. Walt’s is a little smaller than my ABS TFA Anovos but, other than my giraffe neck, looks ok proportion wise (chest isn’t finished or attached) Lid on the left is the 3D printed version2 points
-
Blaster wise I’m using the files from 5th Horseman Already a Heavy F-11, so am doing both the normal sized F-11 and the pistol Again all printed onto CR-10 with a few resin parts done by a buddy 2k white again 2k matt black which is coming up with a bit of a satin finish2 points
-
Paint wise I’m lucky to have access to a spray booth so have been using 2k automotive paint. White primer Traffic white RAL 9016 Clear coat Flattened and the machine polished This should provide a hard wearing surface as well as ability to polish up2 points
-
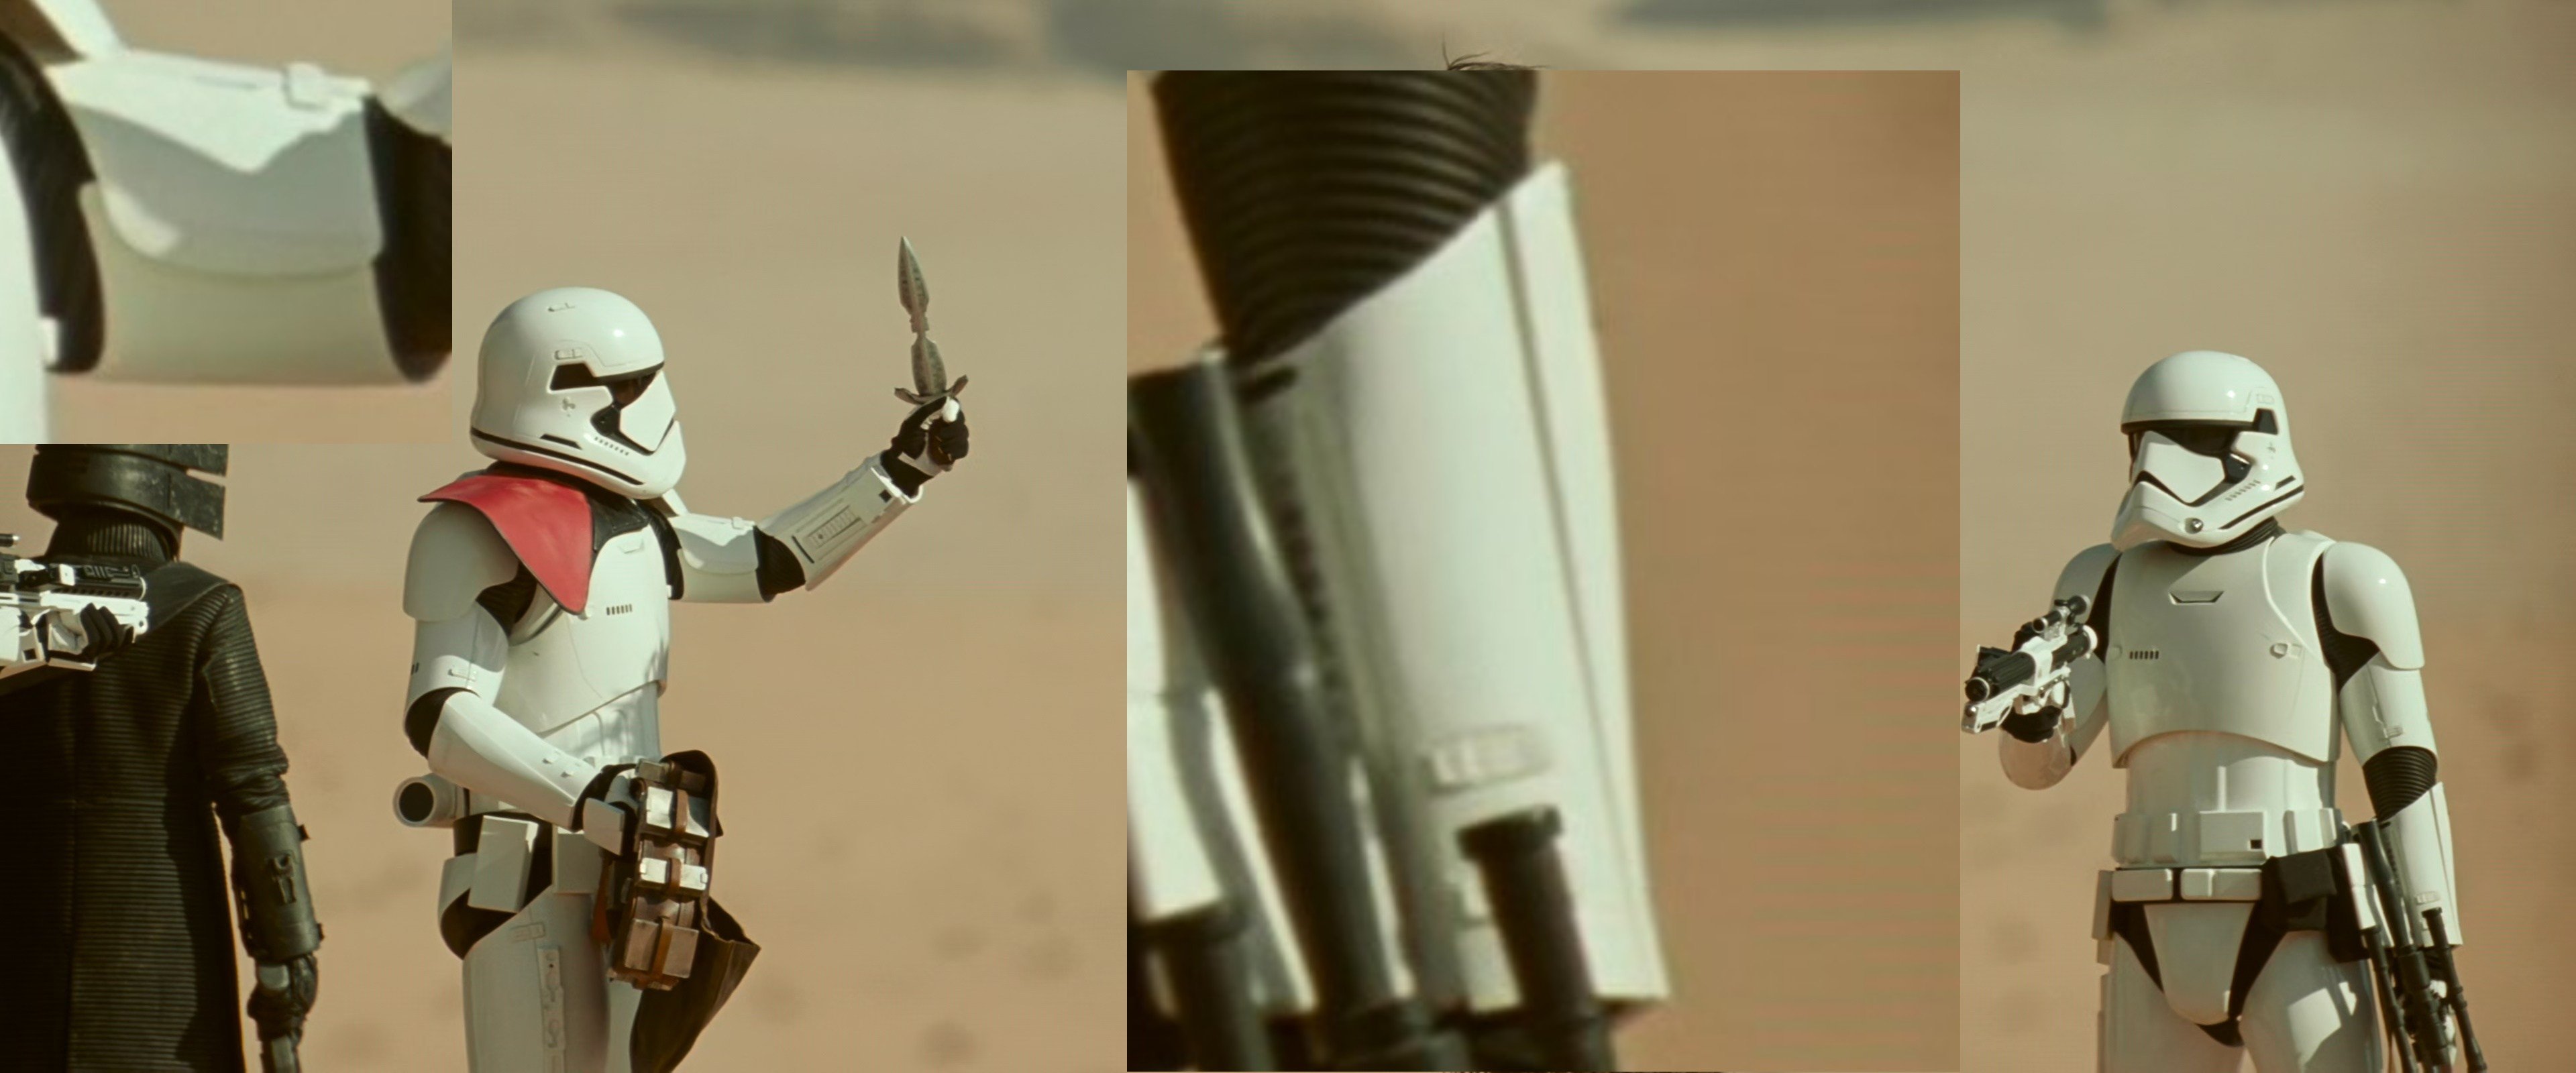
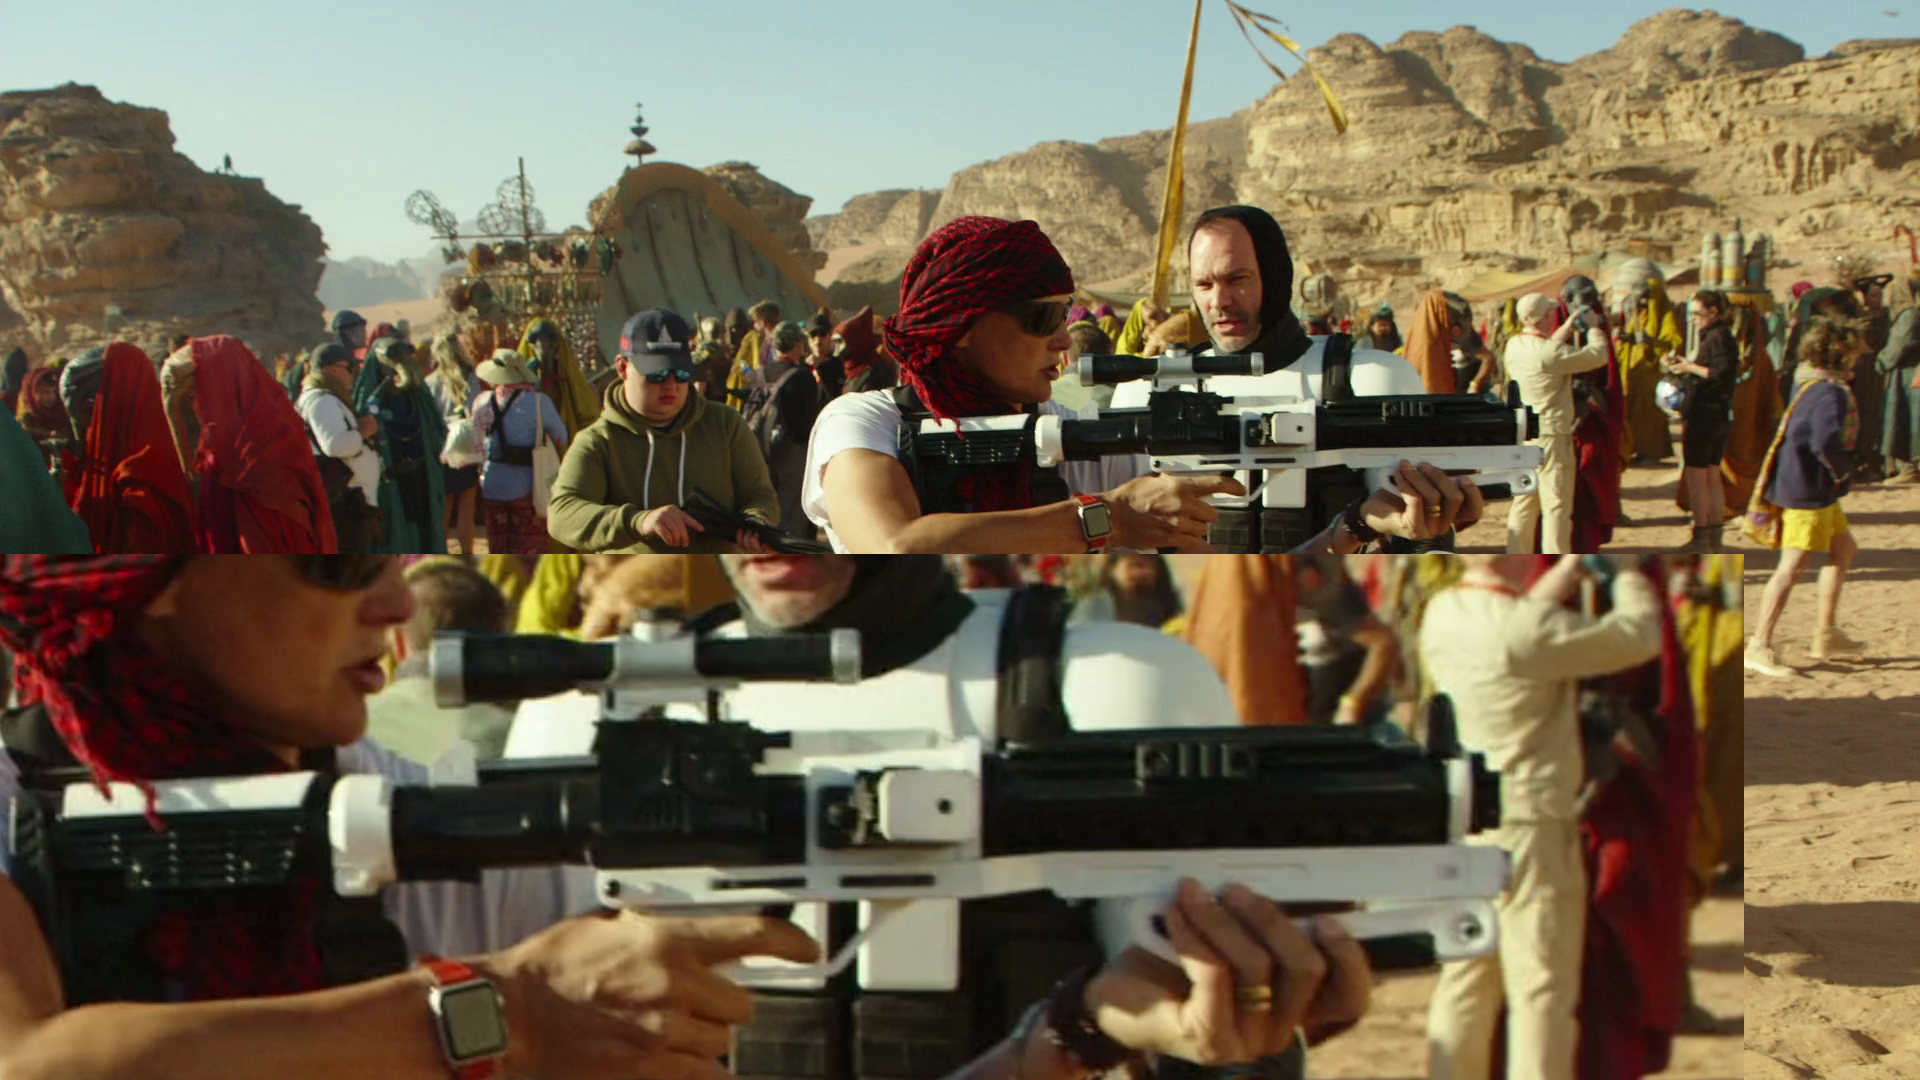
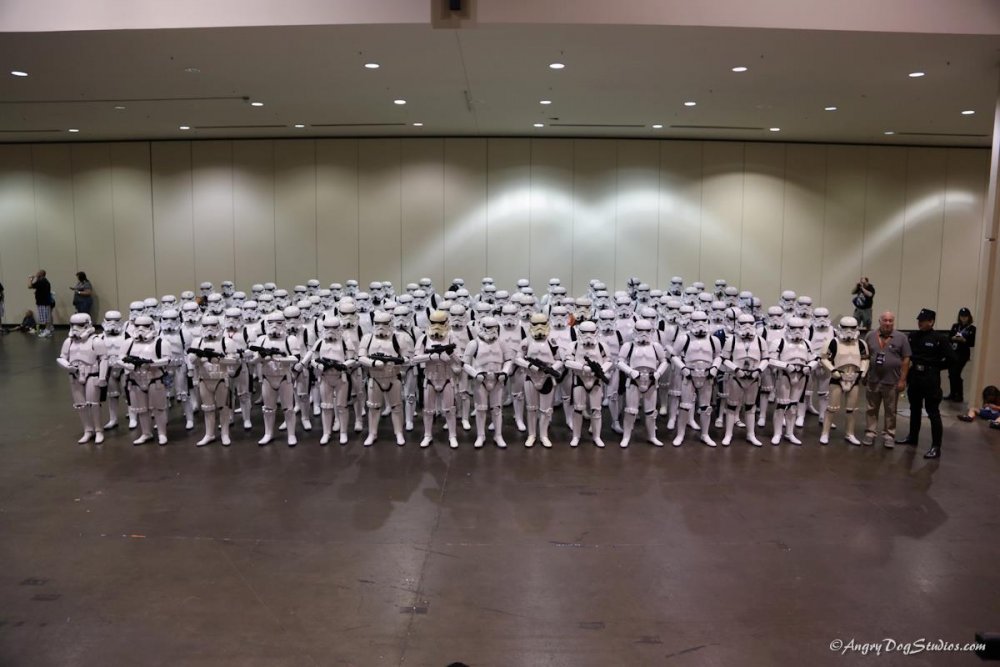
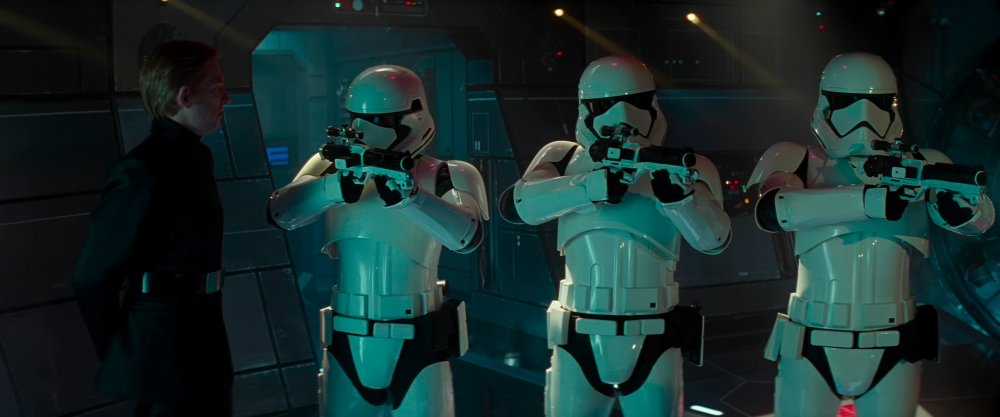
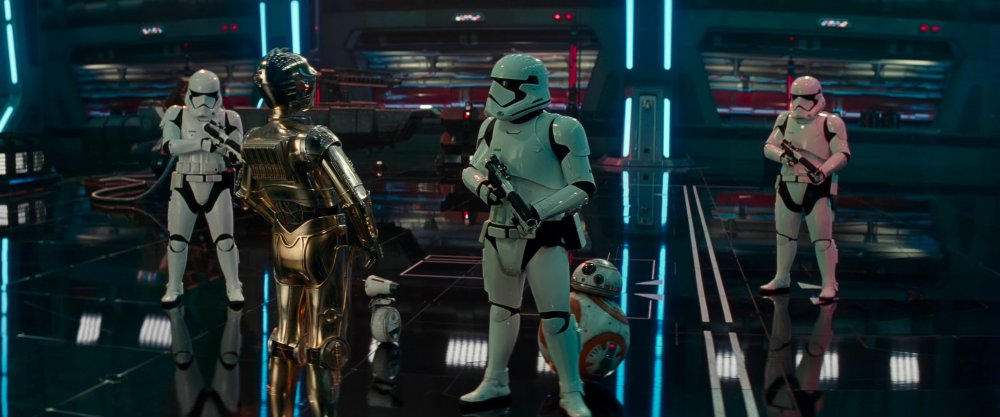
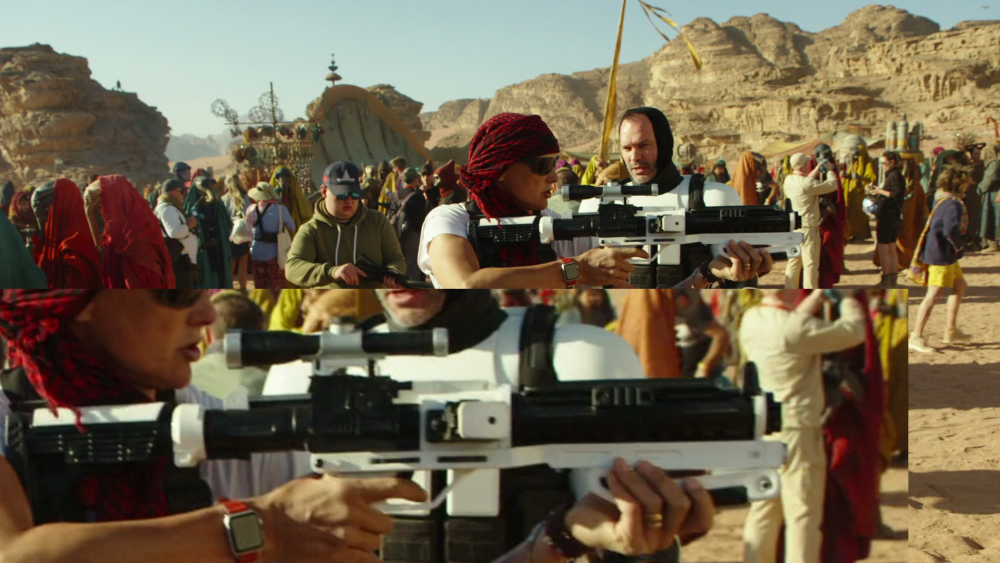
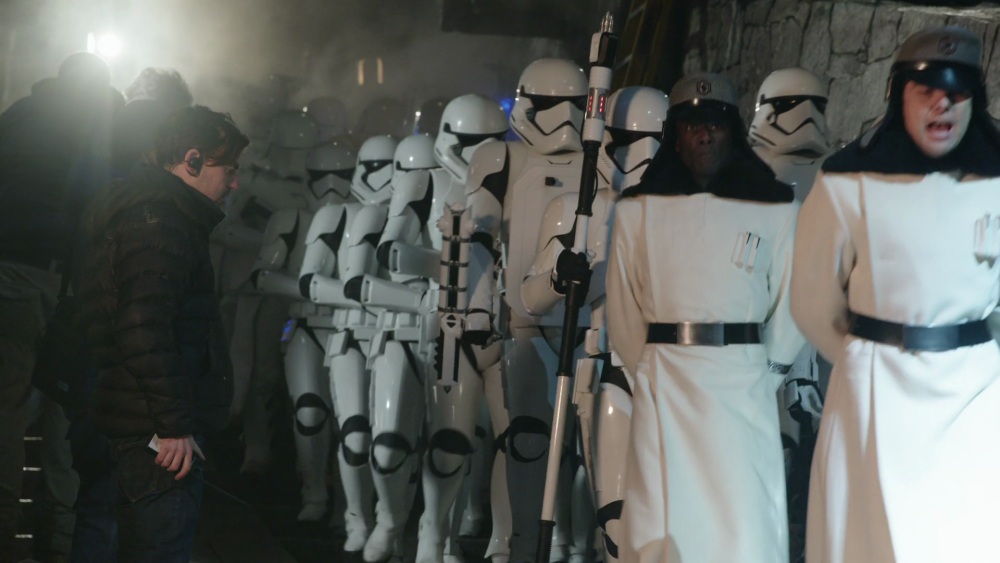
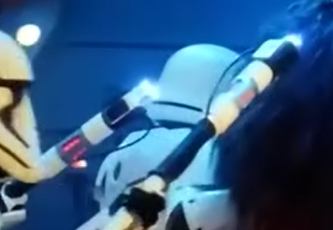
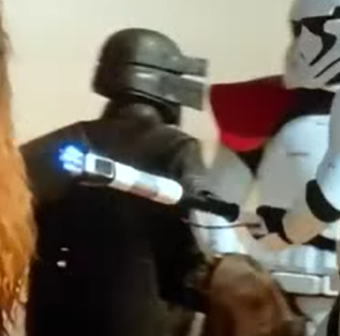
POST 45 Event: Amman Jordan Visit Location: Wadi Rum, Jordan (site of TRoS filming location) Date: 12/19/19 Photo by: Muhnnad Abo Zir Members of Empire City Garrison/FireTeam Liberty & Florida Garrison/Everglades Squad/FireTeam Alpha 1.2 points
-
I think you are the first WTF FOTK build so it will definitely be interesting to see how everything goes together2 points
-
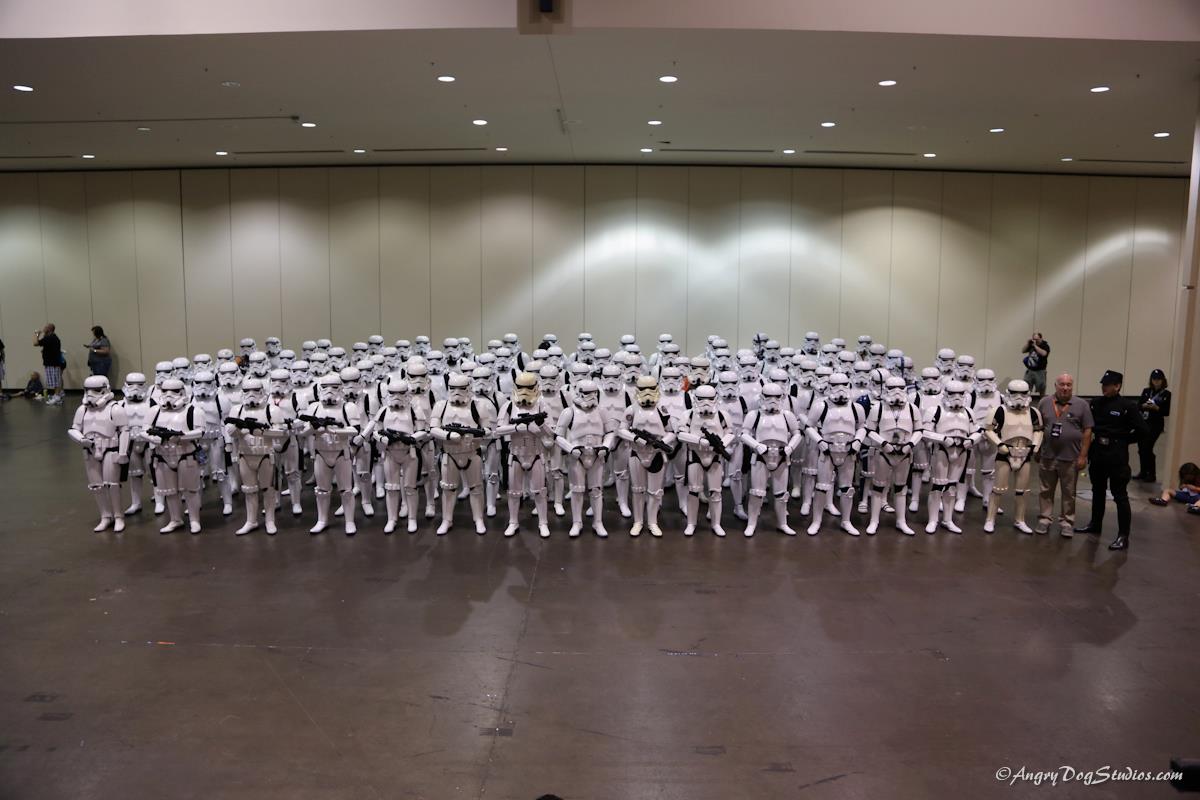
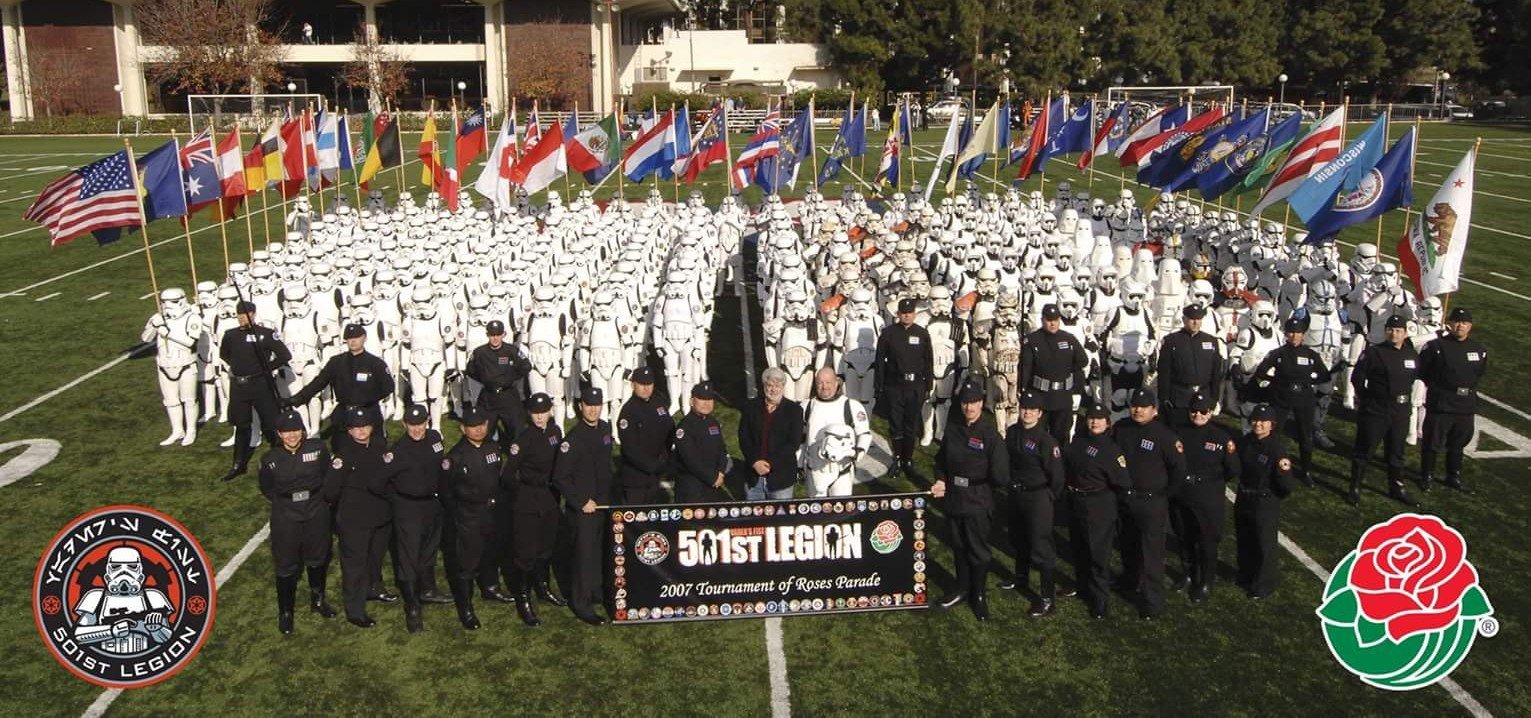
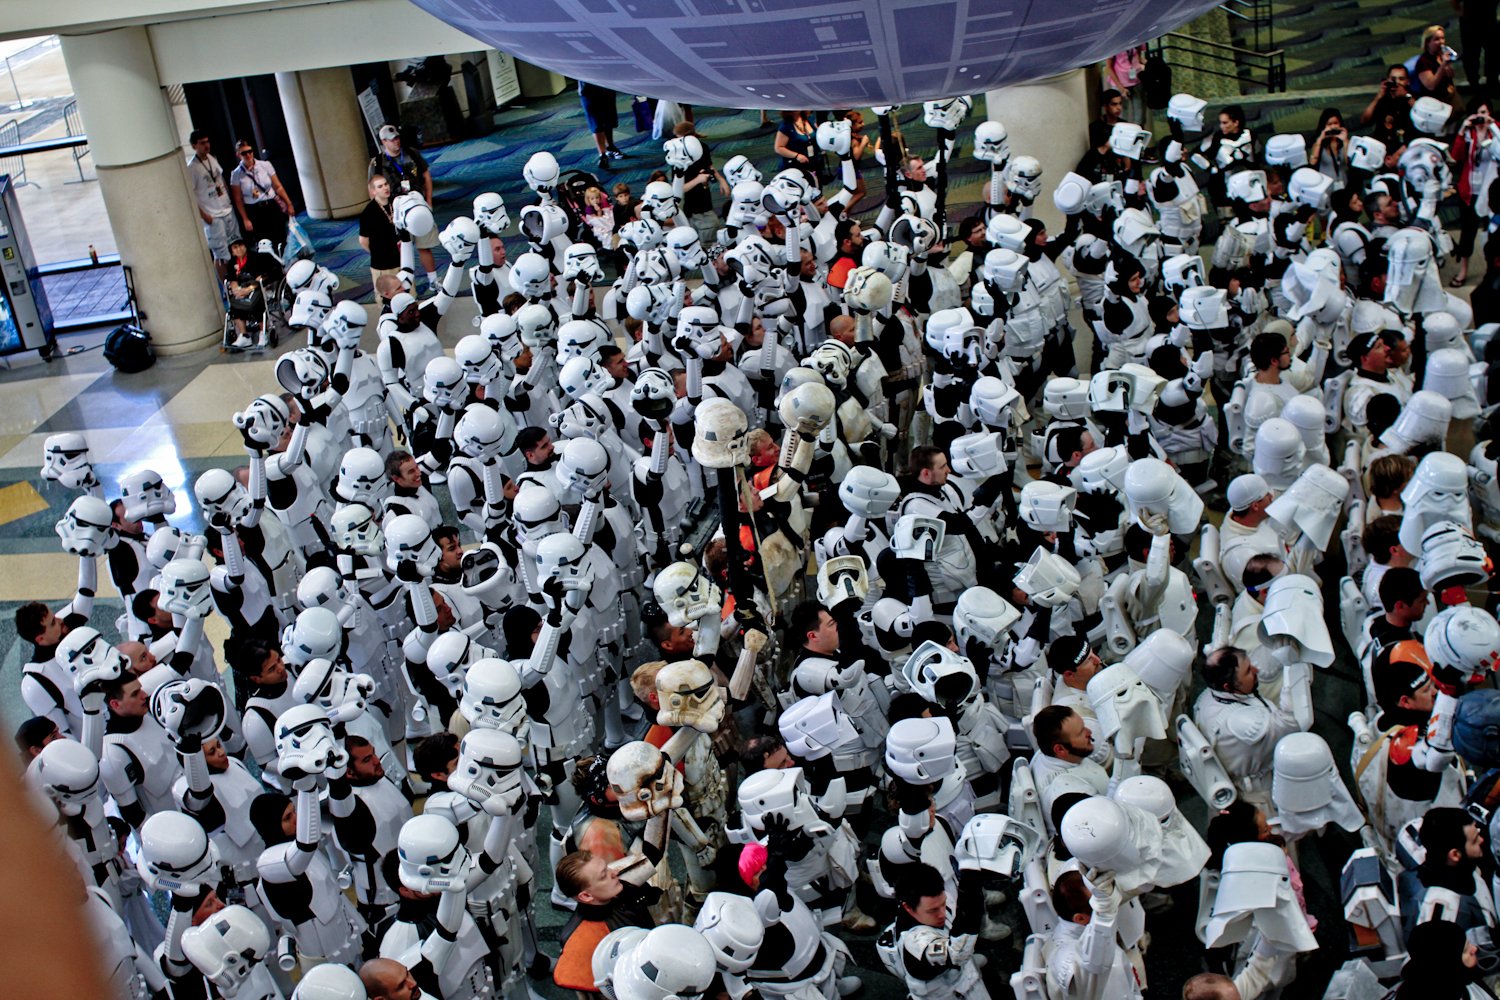
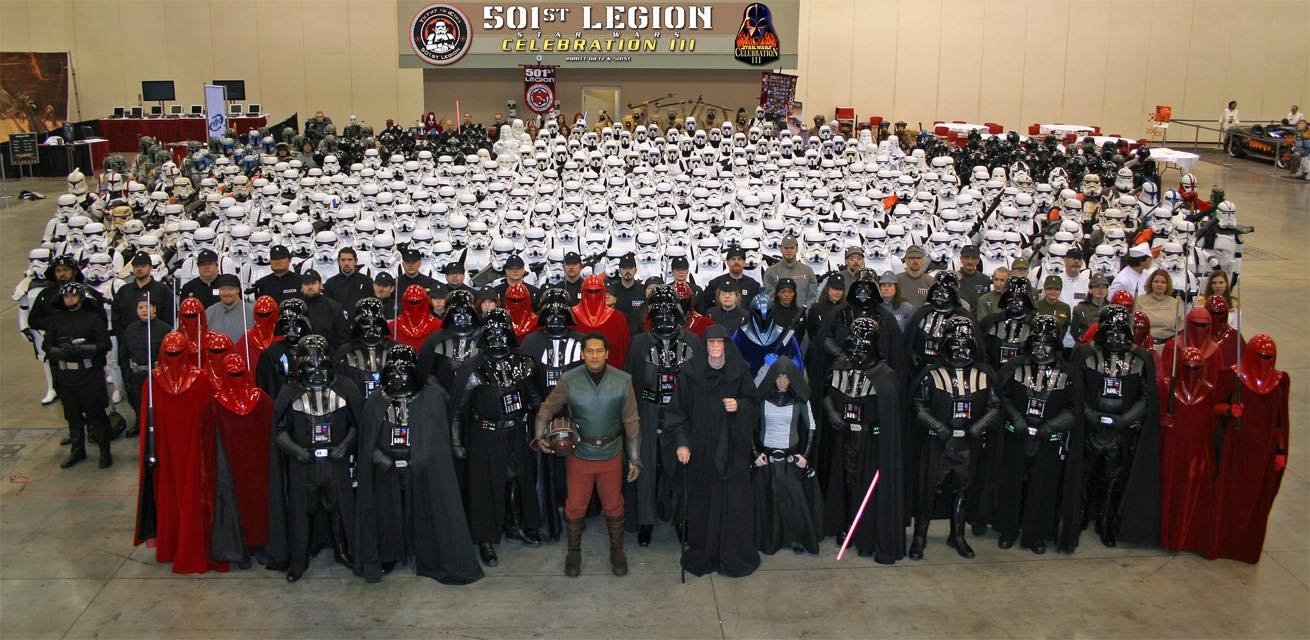
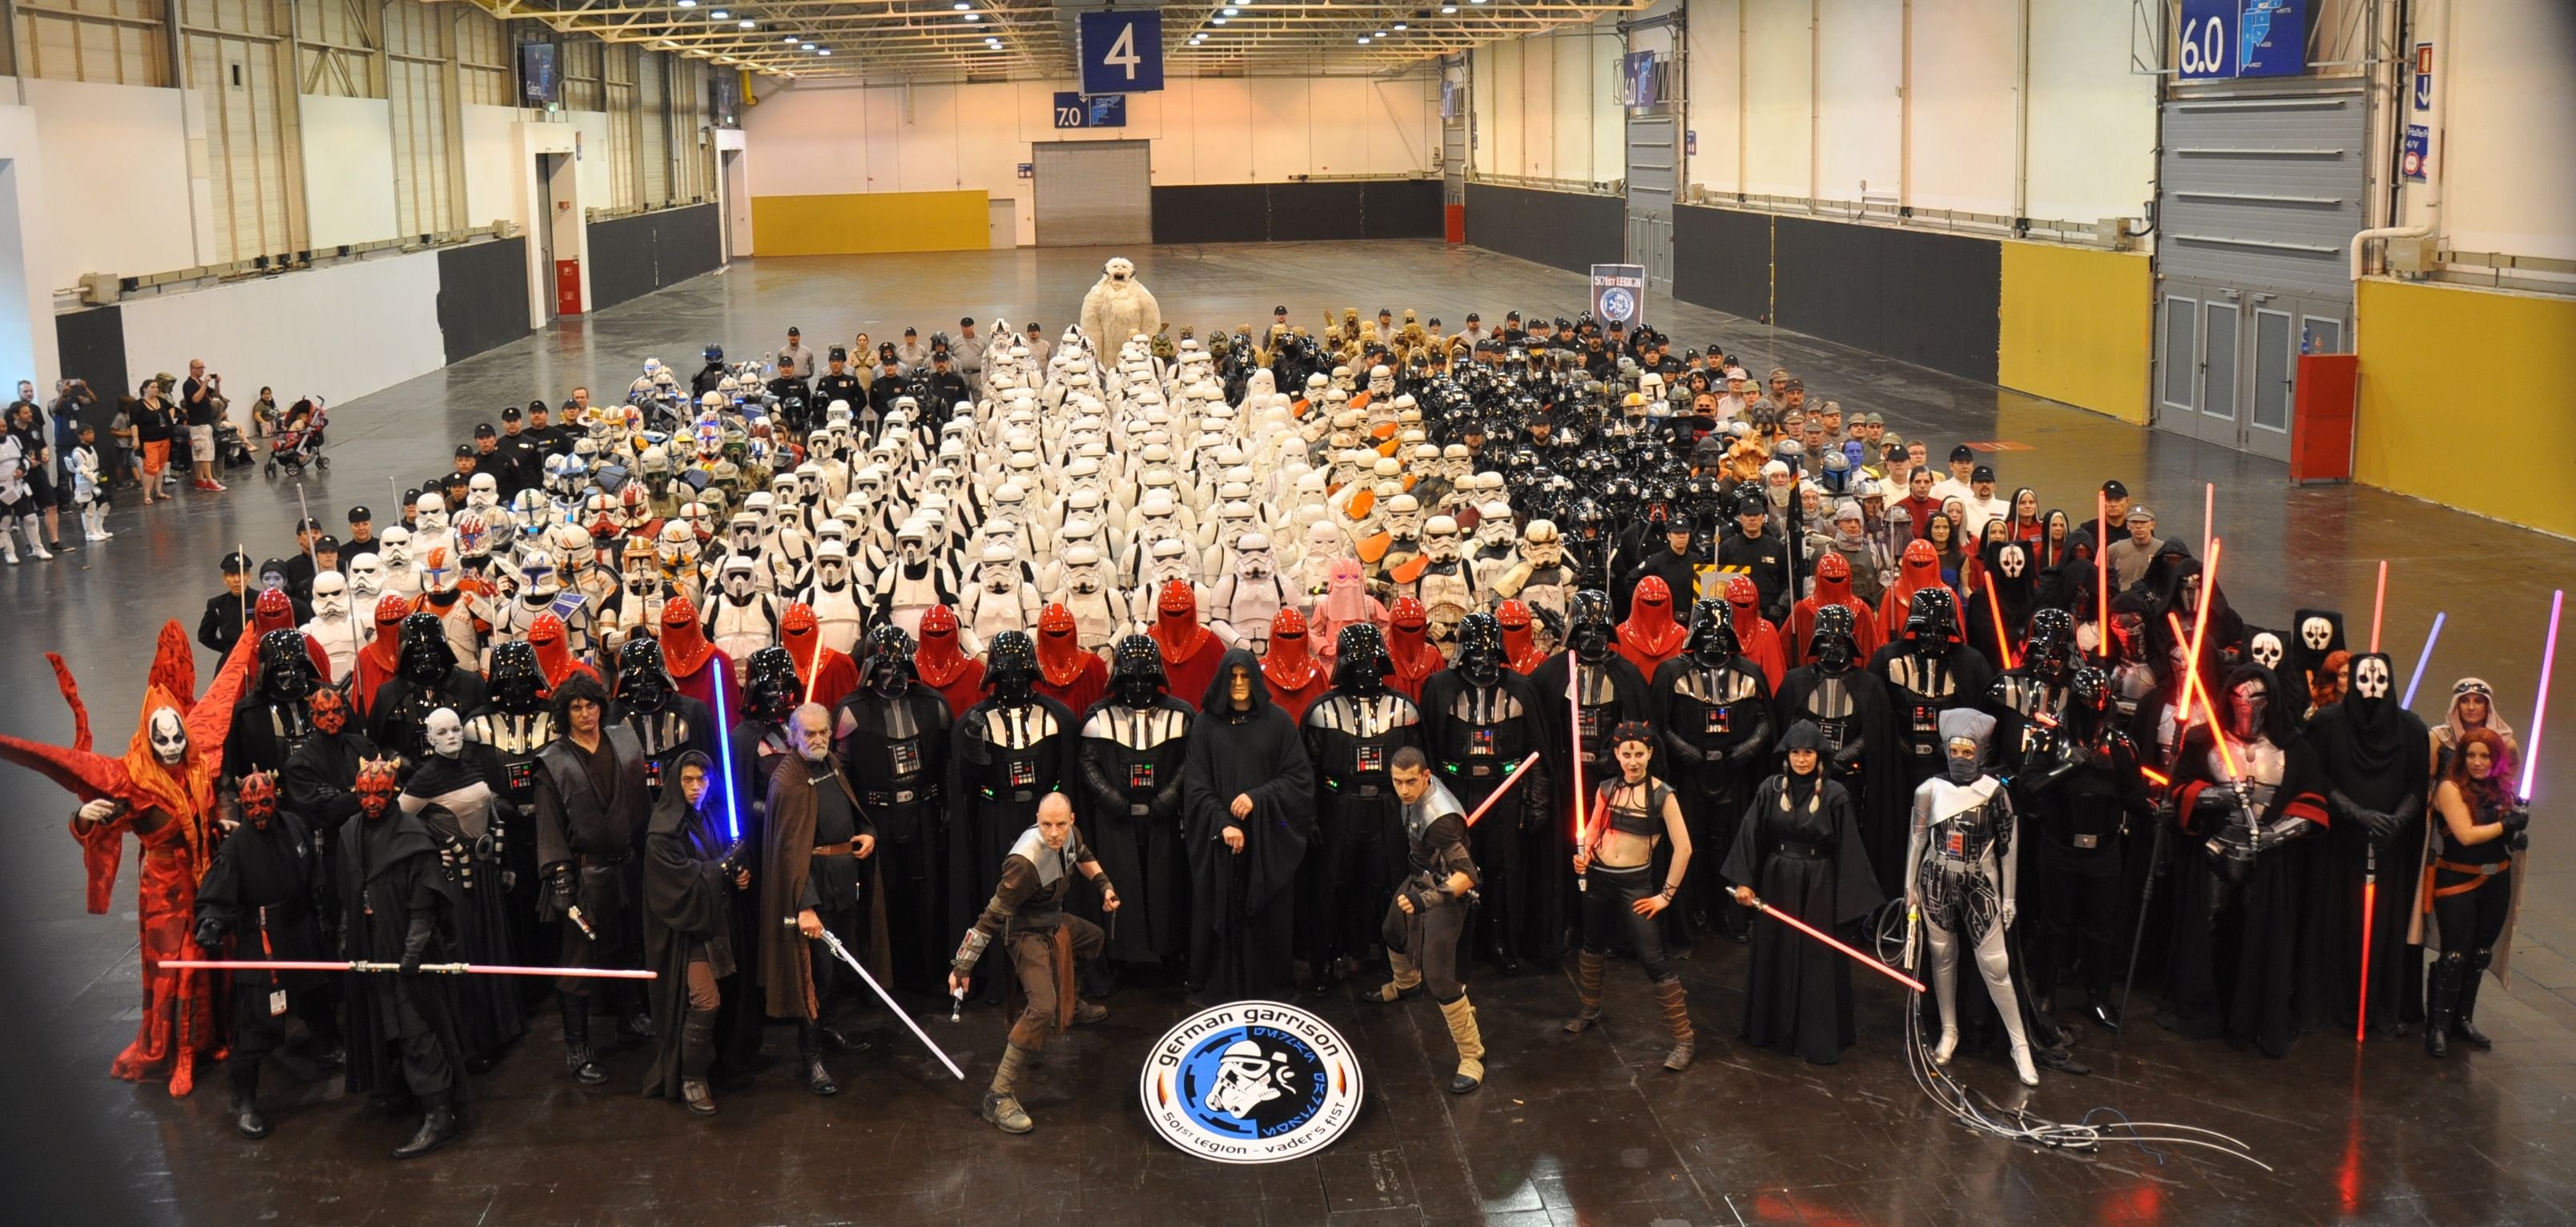
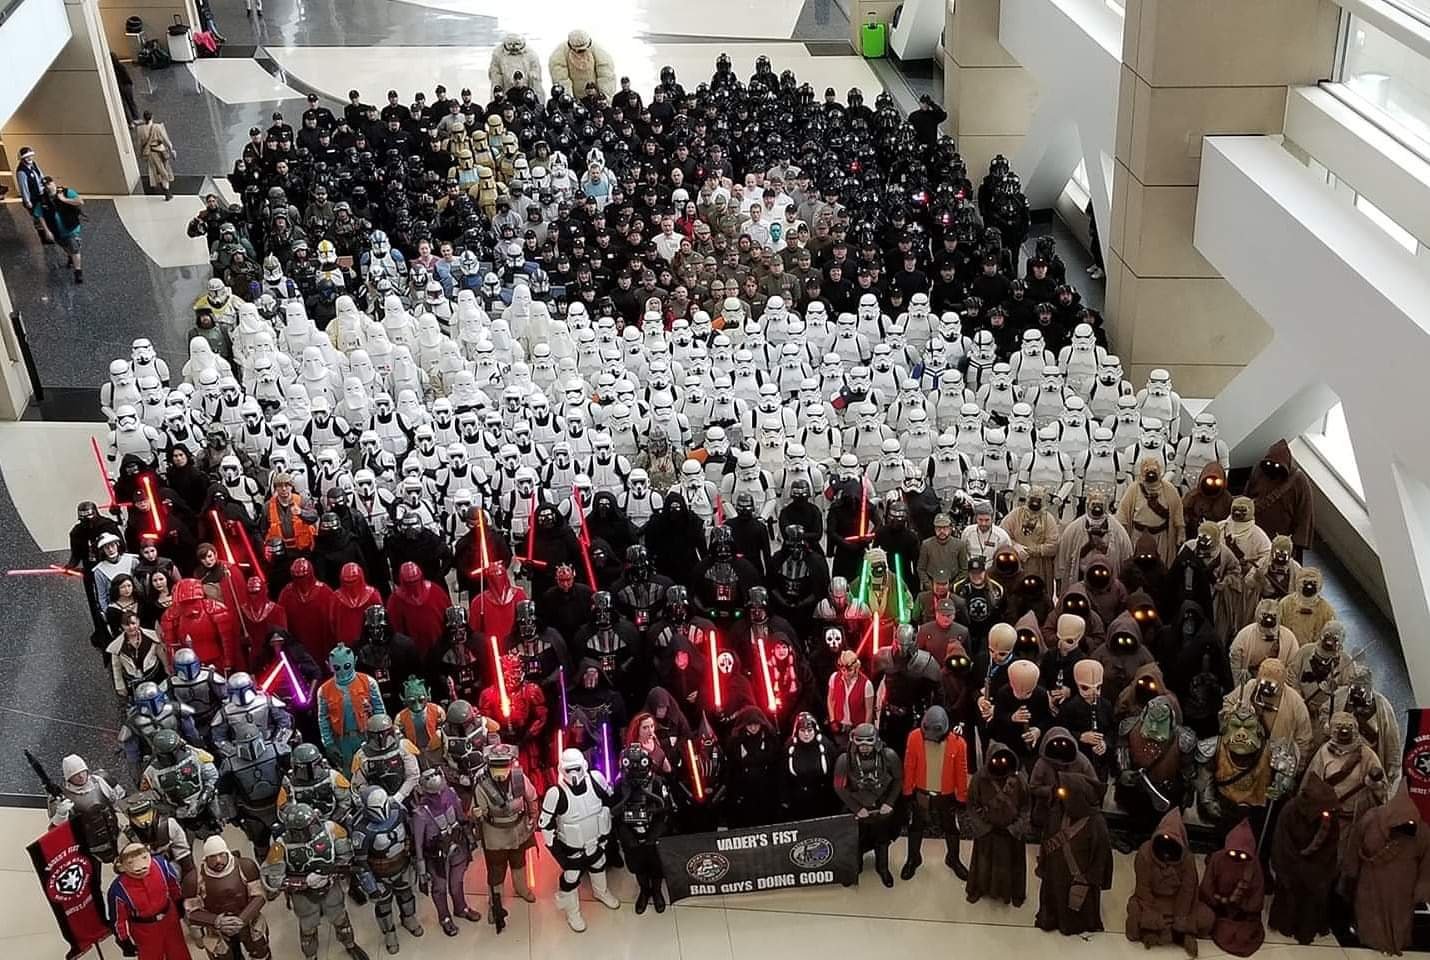
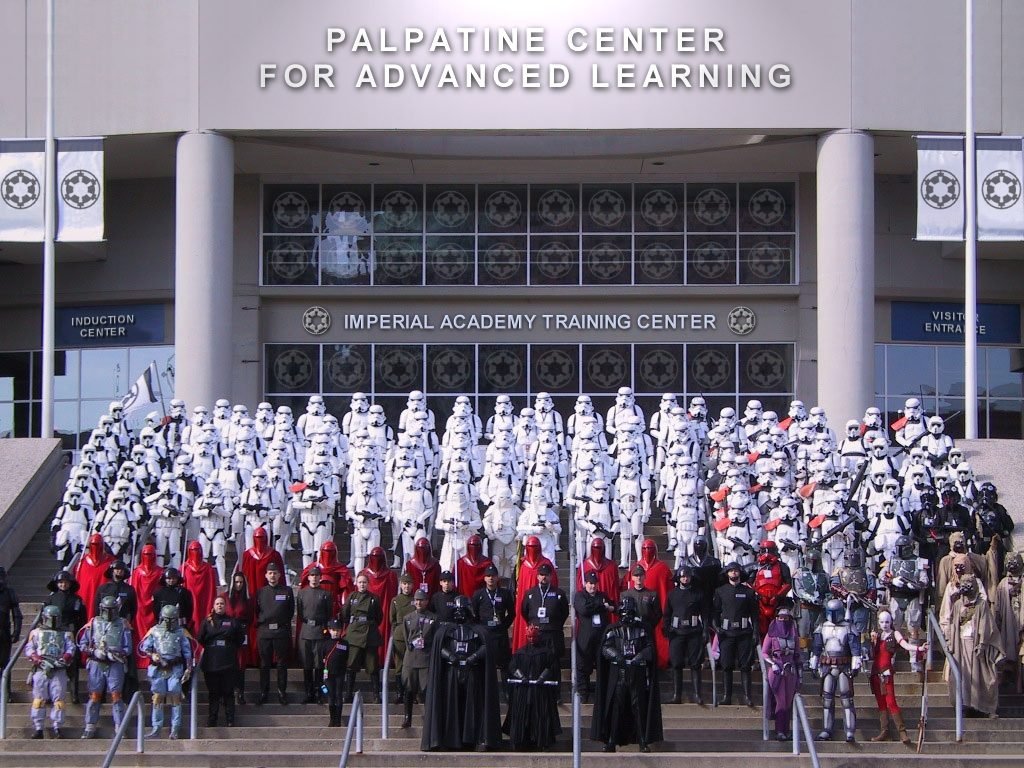
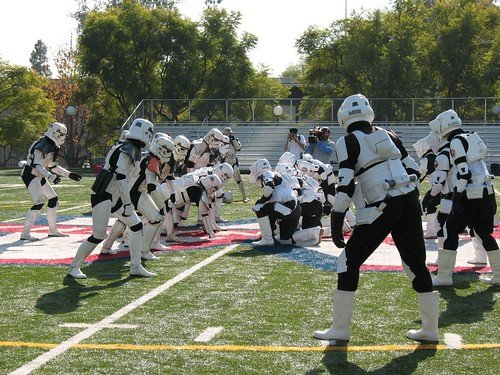
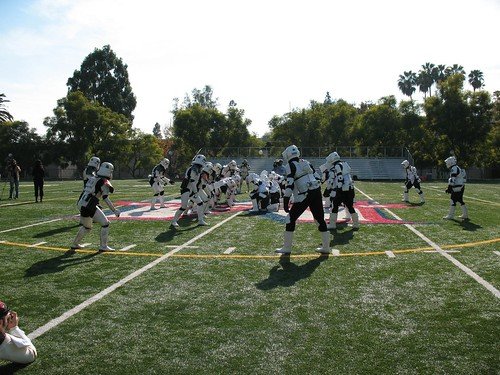
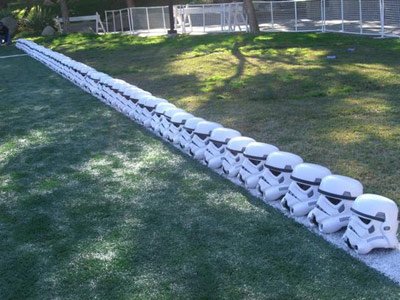
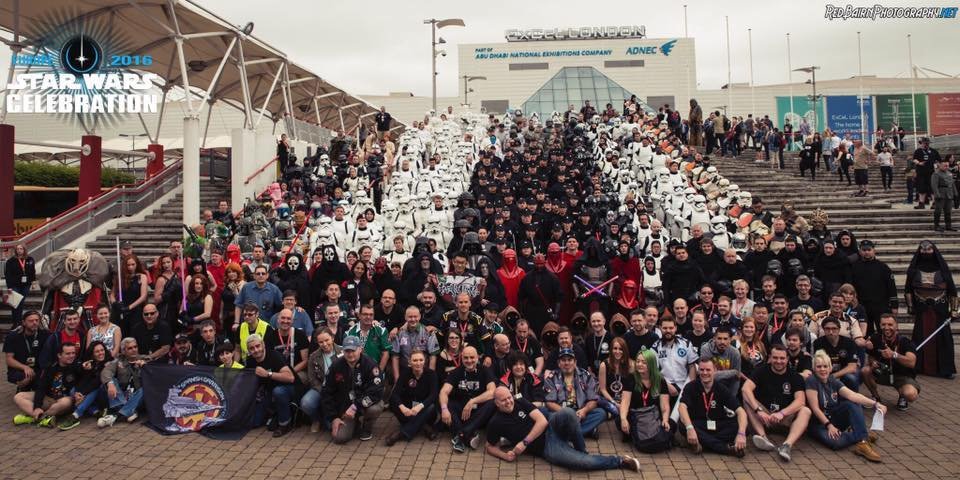
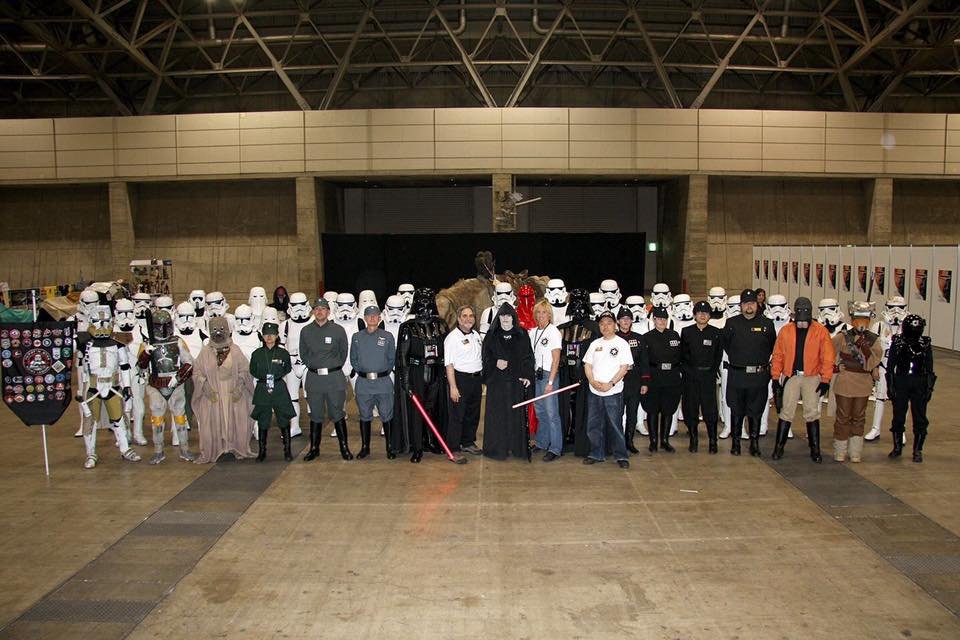
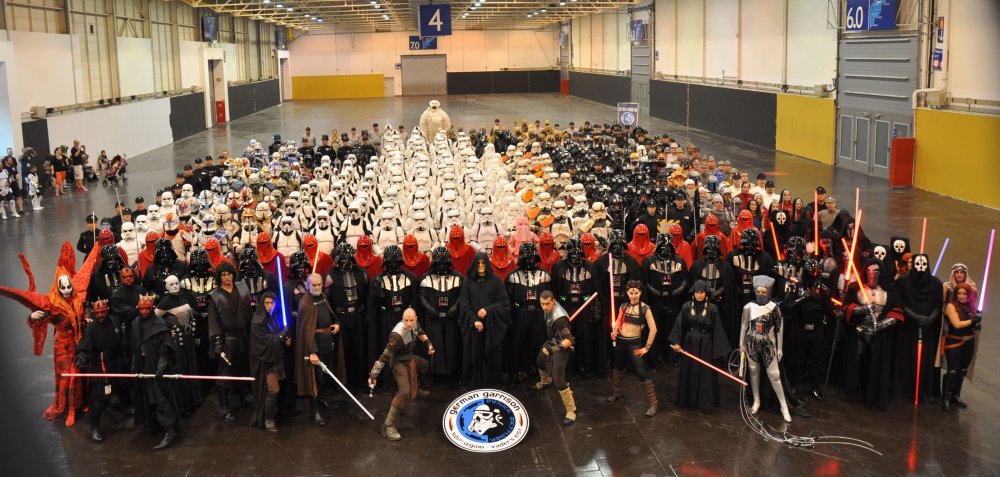
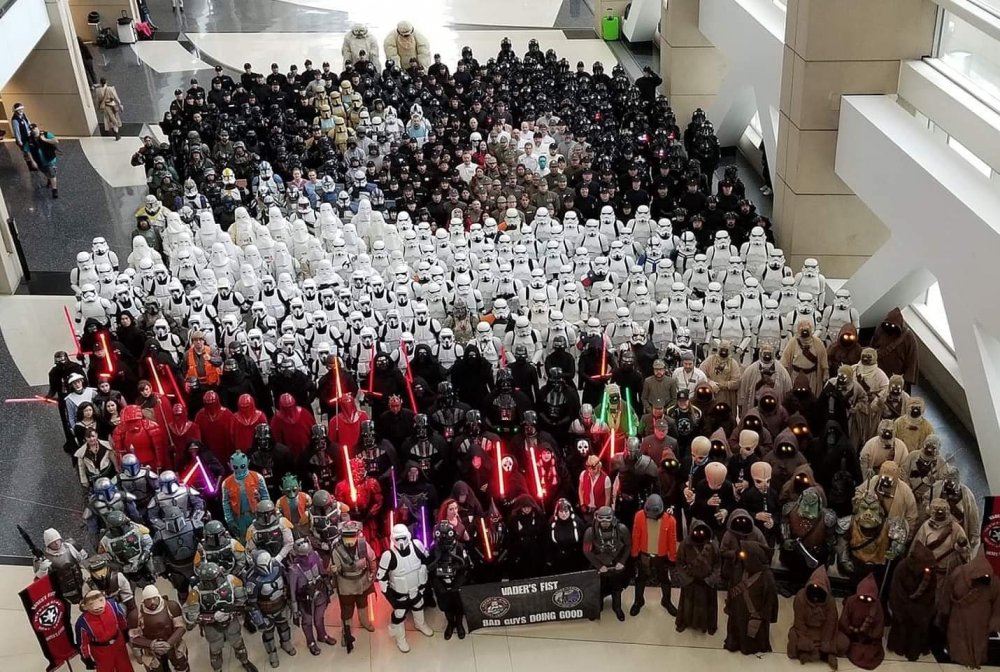
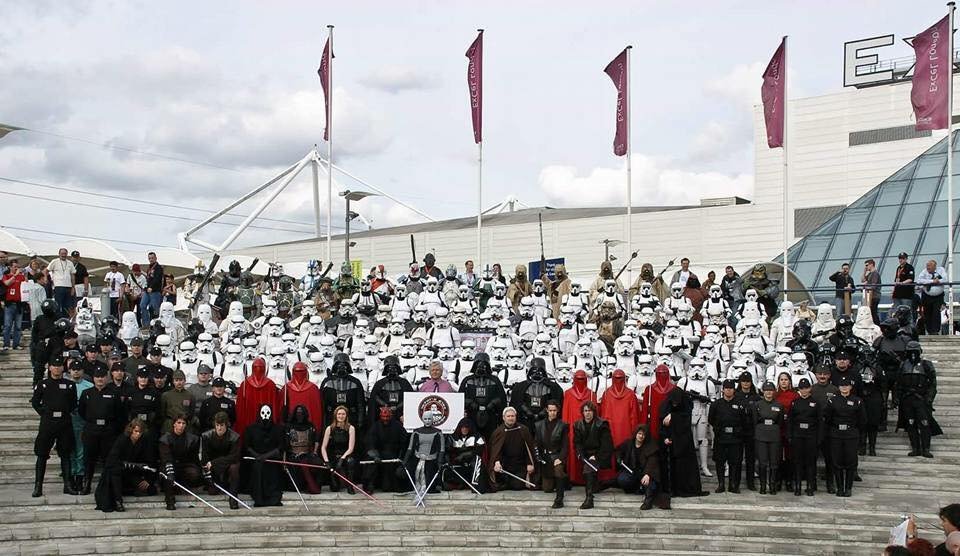
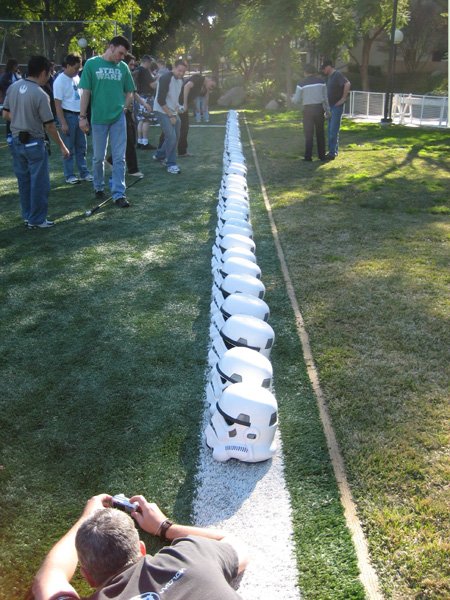
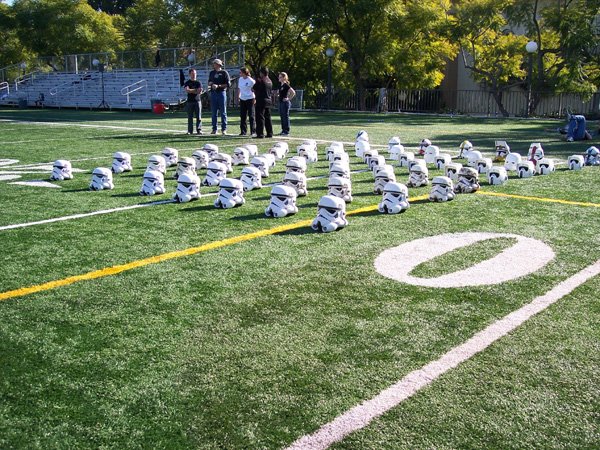
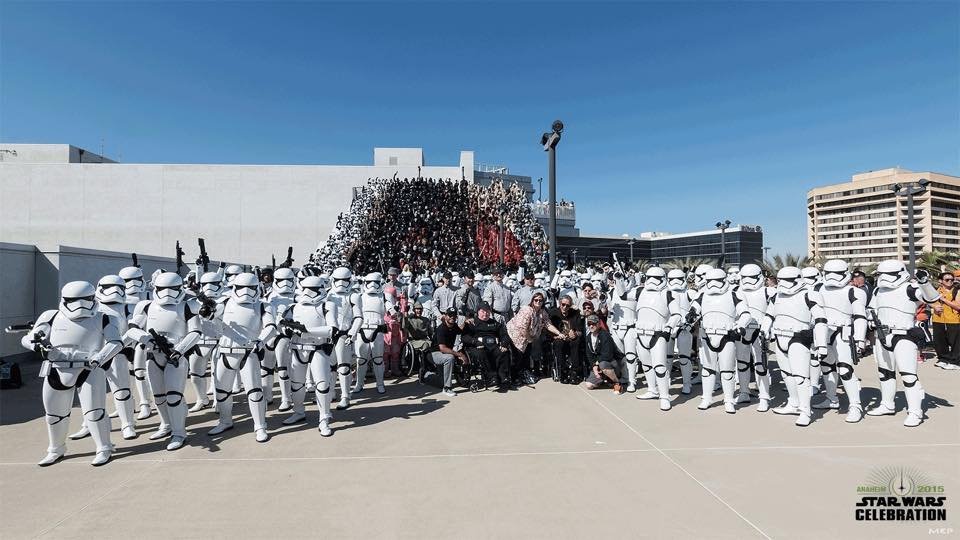
POST 44 Images from around the detachment. If anyone has higher resolution images of these please post or pm me. Rose Parade Practice 2007 1. 2. 3. 4. TK's V TB's Footbball 5. 6. 7. Rose Parade The Big Day 2007 8. 9. 10. 11. 12. 13. 14. CELEBRATIONS Celebration II 2002 15. Celebration III Indianapolis 2005 16. Celebration IV 2007 17. Celebration Europe 2007 18. Celebration Japan 2008 19. Celebration V 2010 20. 21. Celebration VI Orlando 2012 22. 23. Celebration Europe II 2013 24. Celebration Anaheim 2015 25. 26. Celebration Europe III 2016 27. 28. 29. Celebration Orlando 2017 30. 31. Rogue One / Scarif beach shoot at Cocoa Beach on Sunday 32. 33. Celebration Chicago 2019 34. 35.
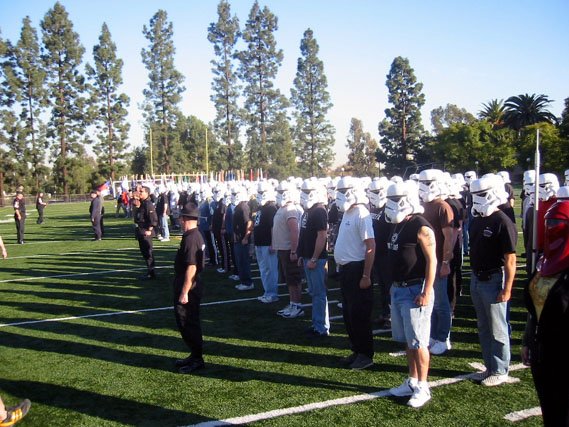
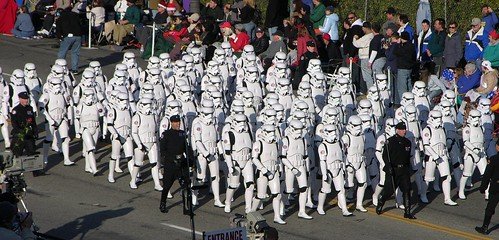

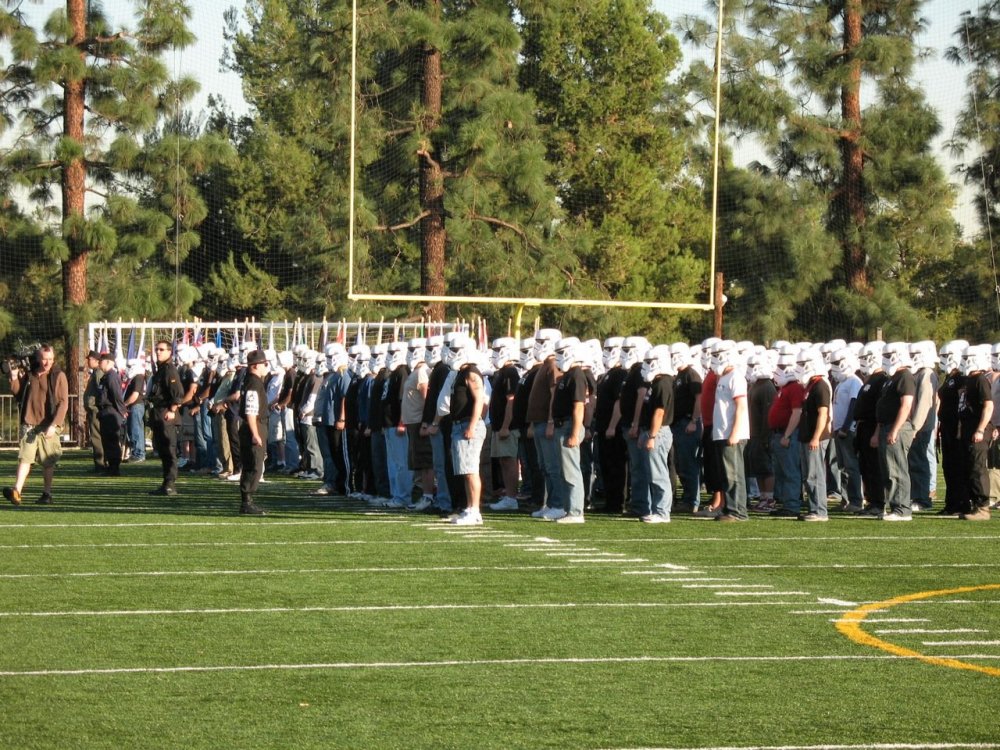
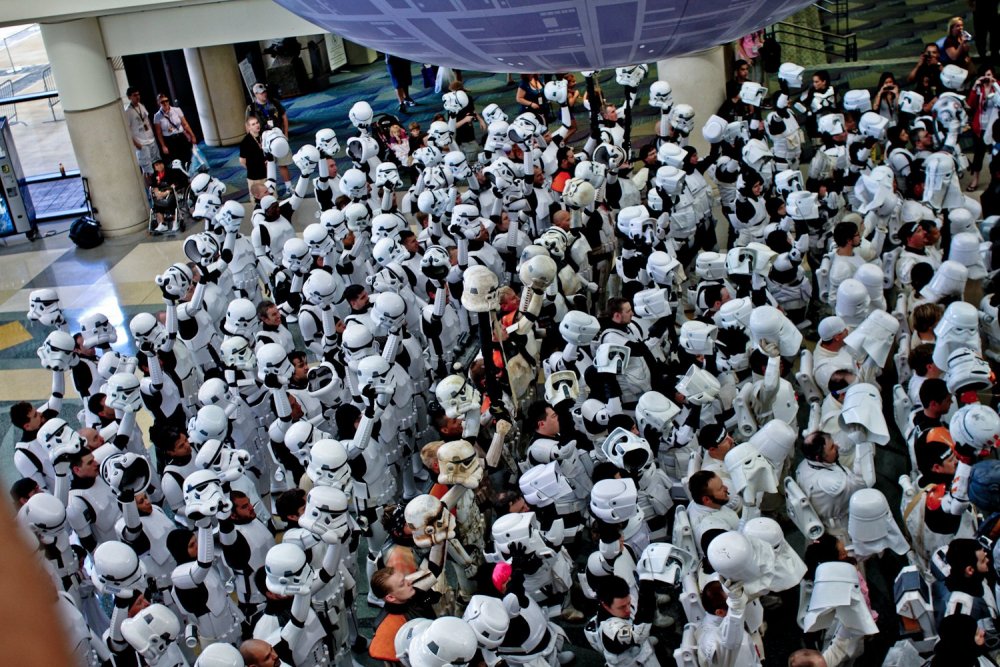


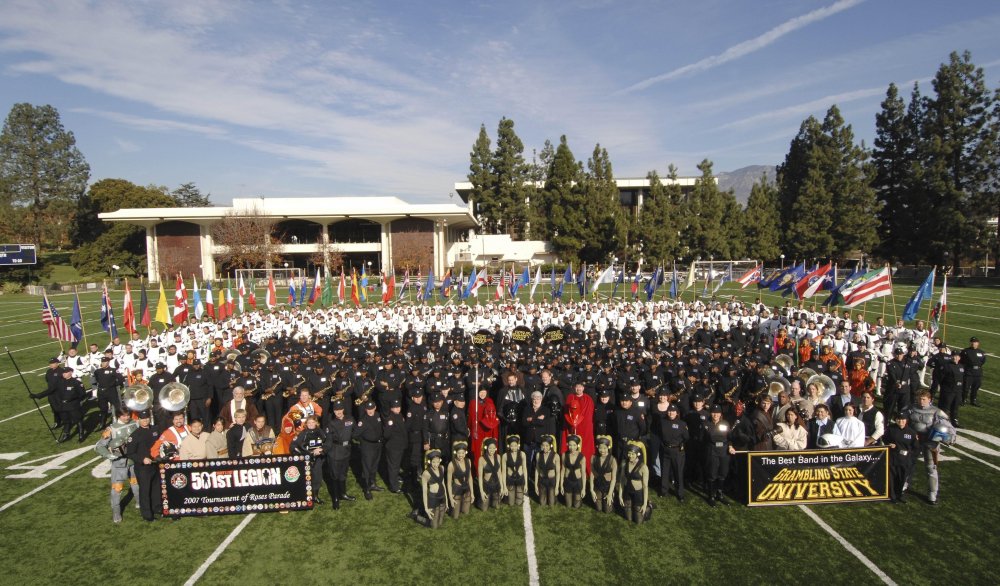 2 points
 -
This is going to be a slow build, so strap in and hang on. First is the BBB day (minus the BBB). its a lot of parts Planning on L3, so rubber gaskets are in hand Lots of sourced bits/bobs, this one is for the back of the armor (goes underneath the thermal det),1 point
-
Reposting this in the right section now. Back in 2019 I was building a FOTS and was waiting for a backpack model. I noticed the same designer had a TLJ set of files so decided to build two costumes at once. Fast forward to today and I’m on the final stages of flatting and polishing the armour. The pictures below will be slightly out of sequence but I’ll try and comment on certain parts Armour - Akira-Yuming on CG Trader Printed on my CR-10S Lid - Tried building the 3D files but it’s proving very tricky. Bought a WTF which is going together better but not perfectly Gaskets - Geeky Pink but I do have a set of Anovos rubber as well Pouches / Pauldron - Trooper Bay Gloves / Boots - IB Belt - Belts of the First Order1 point
-
Hello everyone. Been a little MIA due to work. Here is my TLJ Executioner submission. This is the same suit that is EIB approved already. That TFA is being submitted for Centurion. Name: Ardeshir Radpour Username: equuspolo TK-42128 Southern California Garrison Los Angeles Squadron Height = 5'10 Weight = 165 Armor Maker = KB Armor - Trimmed to fit like Anovos Helmet Maker = Anovos Plastic Helmet Boot Maker = Imperial Boots Gloves = Endor Finders Belt = Trooperbay Belt Pouches = Trooperbay Pauldron = Trooperbay Neck Seal = Imperial Seamstress Holster Maker = Dan Sczudlik Gaskets = production made silicon rubber gaskets F-11 = Branfuhr Studios Resin Kit- Custom built by me with custom light system. SE-44C = 3DPrintMerchant Electronics = Wireless Microphone with Acker Amp Custom Parts = Chest yoke and Backplate welded together with ABS Slurry. Chest Pills and Chest cut out backed with Textured Fabric, TD slurry welded. Entire armor painted with Rustoleum 2x Glossy White. Belt, Cod, Butt Plate attached to armer with Anovos leather waist tassets EIB Approval for SAME TFA Suit EIB Approval UPDATED TLJ COD PIECE Updated Gray Painted Rail Button1 point
-
Hello everyone. Been a little MIA due to work. Here is my TLJ submission. This is the same suit that is EIB approved already. That TFA is being submitted for Centurion, then this one and the Executioner as well. I am submitting with two of my helmets, Noseplate and clips have been converted on helmet. One Fiberglass helmet and One Plastic Helmet. Name: Ardeshir Radpour Username: equuspolo TK-42128 Southern California Garrison Los Angeles Squadron Height = 5'10 Weight = 165 Armor Maker = KB Armor - Trimmed to fit like Anovos Helmet Maker = Anovos Premium Fiberglass and Anovos Plastic Helmet Boot Maker = Imperial Boots Gloves = Endor Finders Belt = Trooperbay Belt Pouches = Trooperbay Pauldron = Trooperbay Neck Seal = Imperial Seamstress Holster Maker = Dan Sczudlik Gaskets = production made silicon rubber gaskets F-11 = Branfuhr Studios Resin Kit- Custom built by me with custom light system. SE-44C = 3DPrintMerchant Electronics = Wireless Microphone with Acker Amp Custom Parts = Chest yoke and Backplate welded together with ABS Slurry. Chest Pills and Chest cut out backed with Textured Fabric, TD slurry welded. Entire armor painted with Rustoleum 2x Glossy White. Belt, Cod, Butt Plate attached to armer with Anovos leather waist tassets EIB Approval for SAME TFA Suit TLJ Plastic Helmet TLJ Premium Fiberglass Helmet UPDATED TLJ COD PIECE Updated Gray Painted Rail Button1 point
-
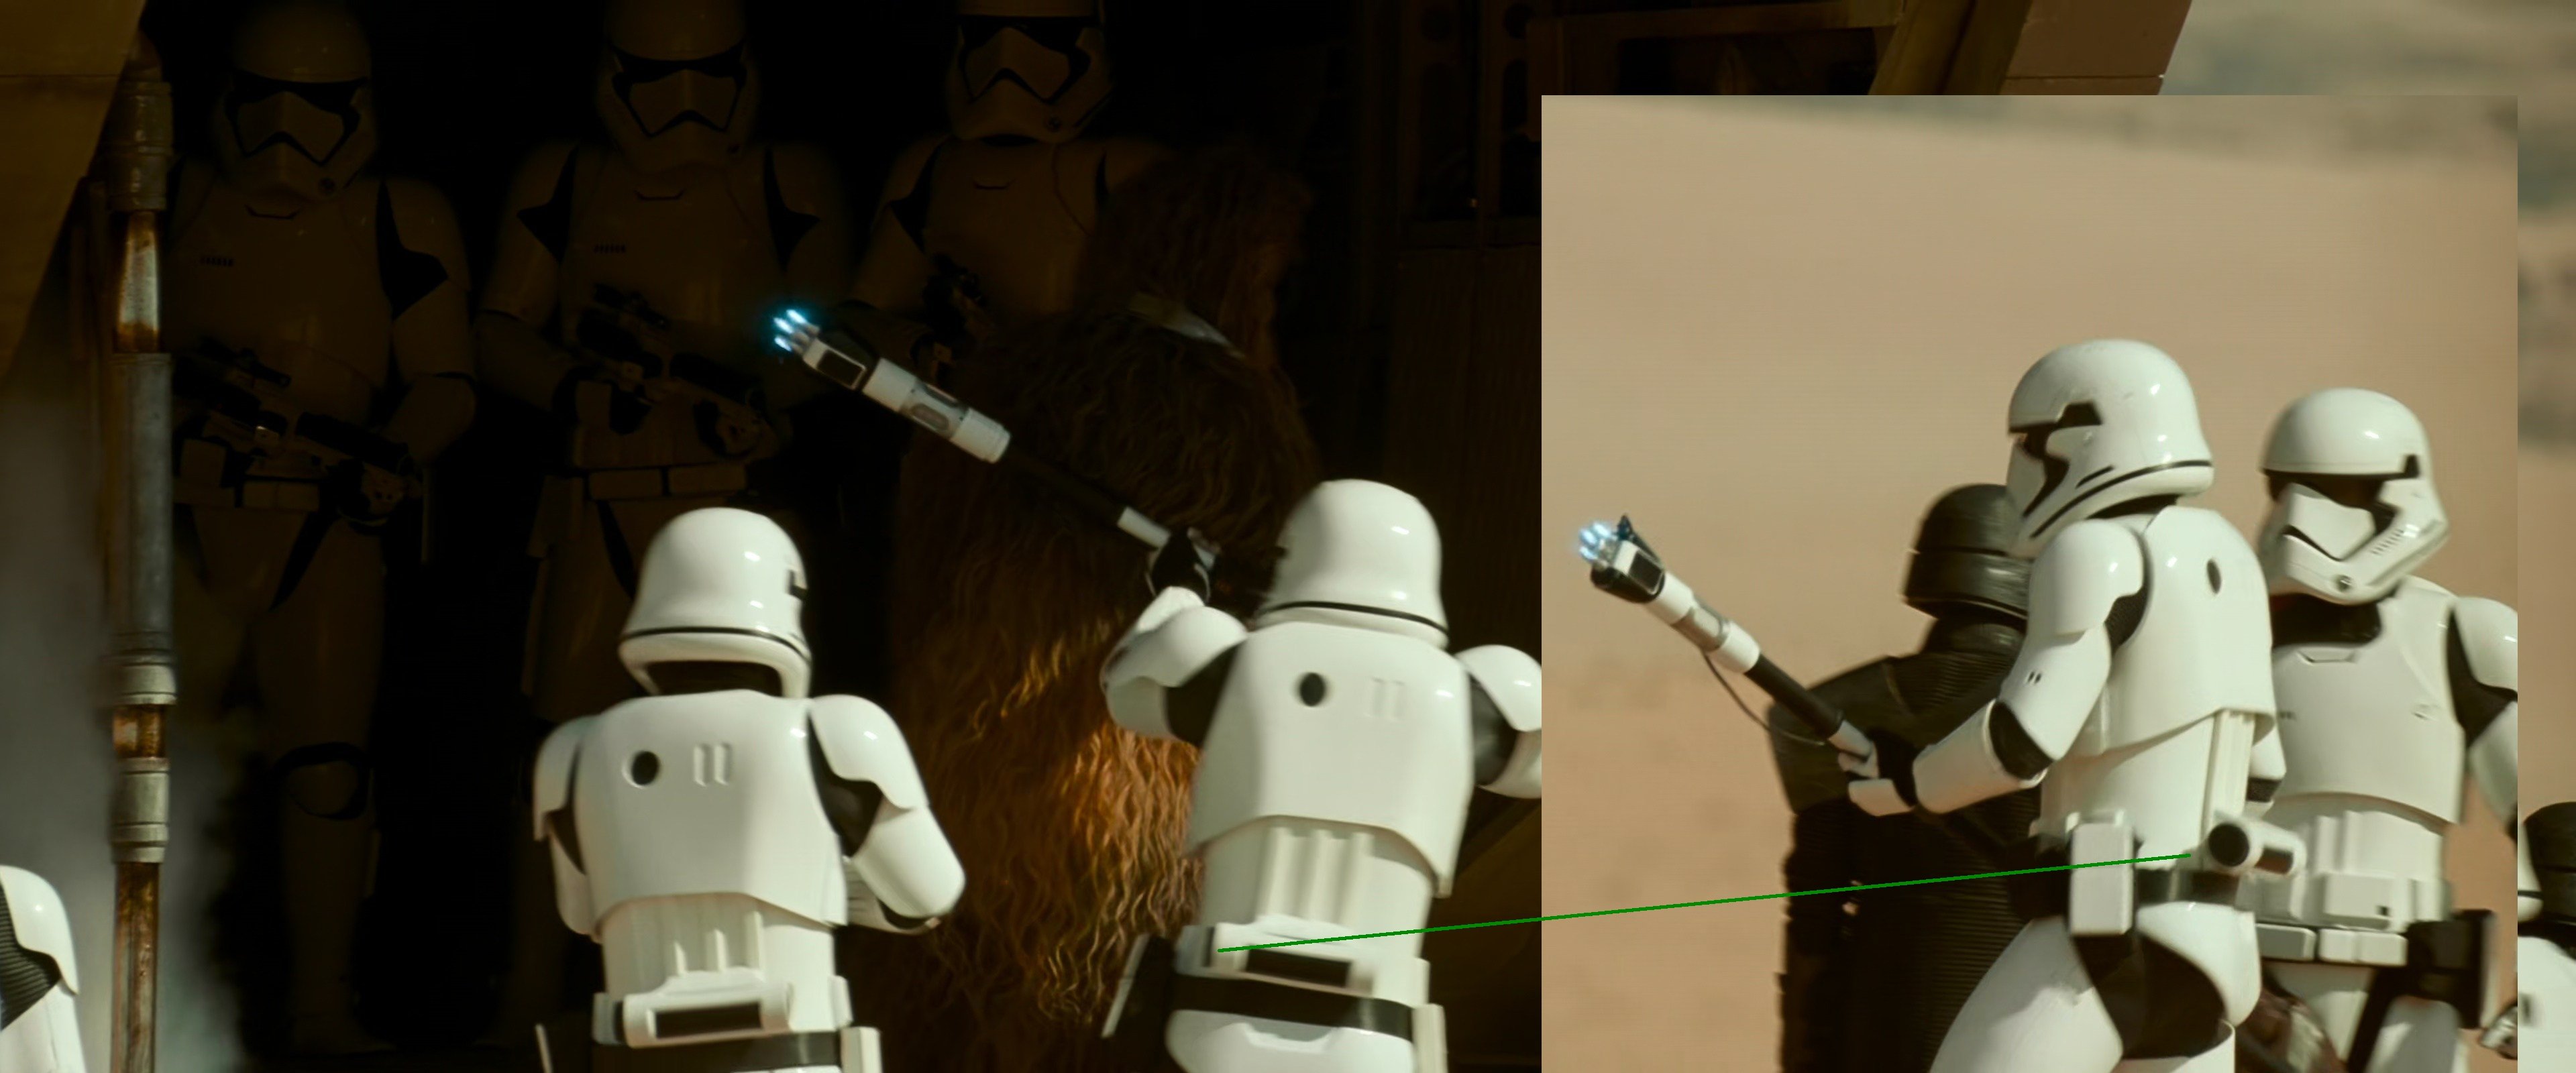
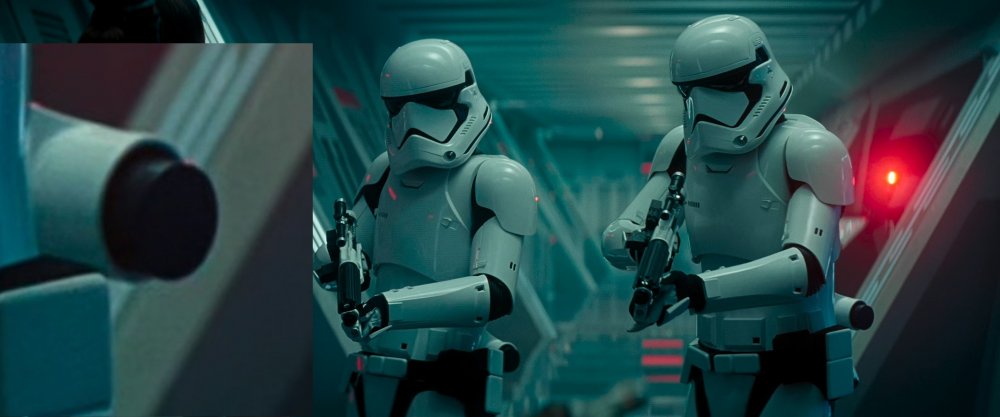
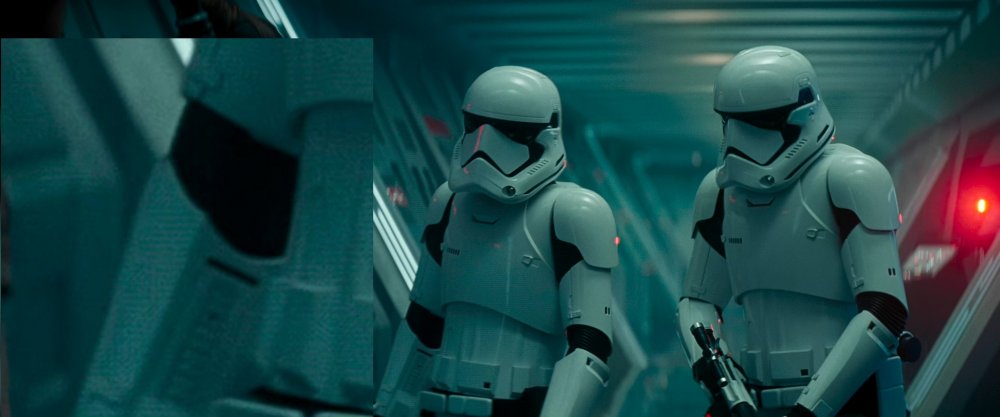
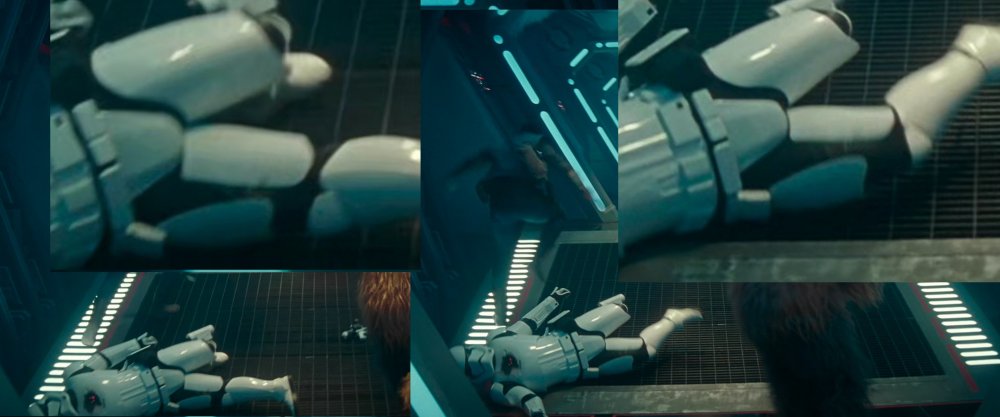
TROS Another reference of zip to the front TD cap/inner tube separate from housing Bicep overlap. Rear forearm angle cut Forearm rear angle Forearm rear angle and front facing zip Thigh overlap All TD caps the same Different length endcap Couple more short TD caps Forearm front box attached to picatinny rail Same cod shape as TLJ (different to TFA) White D ring and black rear sight White D ring and black sight, also close up of front light mount / picatinny rail Heavy version White rear sight also has light mount / picatinny rail Riot baton add for TROS Electroprod to add for TROS version (no blasters). Red lights in top of shaft silver section Blue lights in tip And of course no blasters if using electroprod TBC
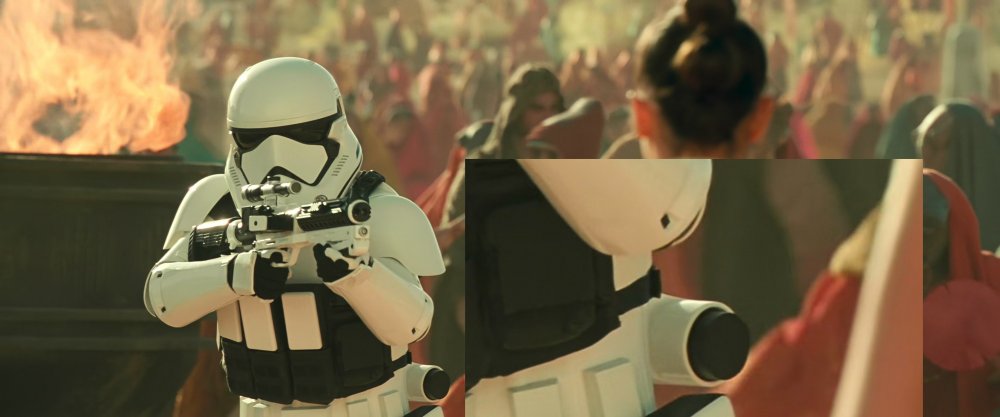

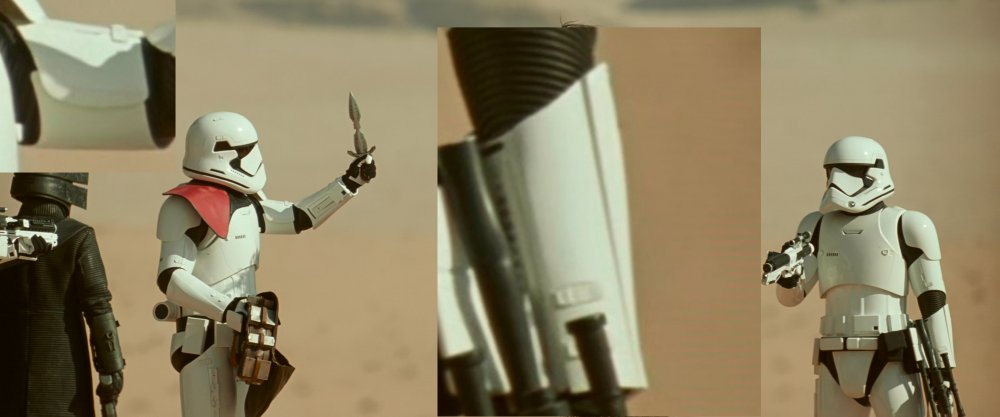
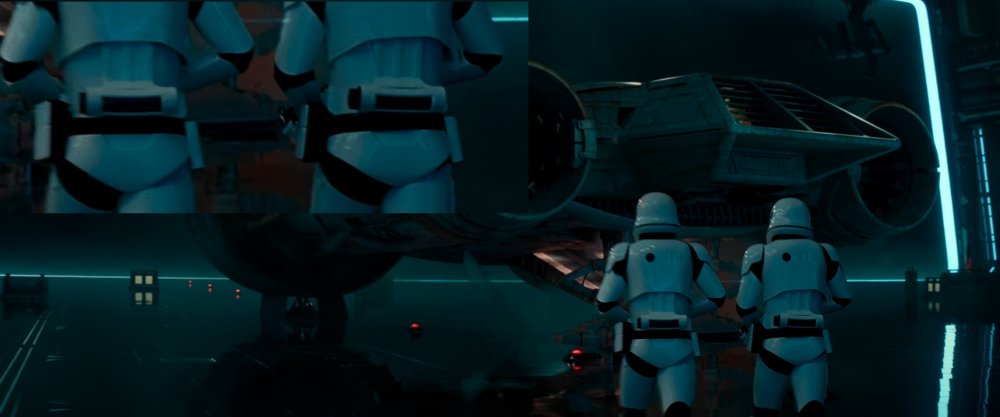


 1 point
 -
Thank you again Richard. Appreciate it brother.1 point
-
Best of luck Ardeshir Great level of armour!1 point
-
Hi Ardeshir. Glad to see your Centurion submission mate!! I will be with you shortly. Added to the processing line1 point
-
Another!! Wow! Best of luck sir1 point
-
Ardeshir !! the one man army!! You are giving us a great working time sir. One of us will be with you shortly Added to the processing line.1 point
-
Awesome, thank you for sharing this!1 point
-
Unless I've miscounted, won't this be your 6th EIB award?1 point
-
Good luck going for that gold EIB1 point
-
It’s just PLA+ However, I do A LOT of post processing. Sanding, 2K filler primer, sanding, filler primer, sanding….1 point
-
Welcome Trooper!1 point
-
1 point
-
Onto the WTF lid Lots of excess be cut / sanded before you even get started. Then some parts needed work to be able to fit as there was over lap. Even after that I’m struggling to get the face/tears/lip to all line up Have messaged Walt who suggested more sanding of the inside However, when the tears are in the right place, the lip of the face wants to go under the brow. Line up the brow and the rest leaves gaps.1 point
-
Very quick gasket check1 point
-
This was the last suit up (with wrong cod) before the final painting started1 point
-
I think I went through about 7-8 rolls of filament, so about £1501 point
-
TD needed work to get it to TLJ Cut off the end, designed a small cylinder in Tinkercad Printed and added to the end1 point
-
Just received my heavy vest, this well made and Carlos is a great guy throughout the purchase process. Xolo props on facebook1 point
-
I wrote something. Of course it is very basic and I have no experience writing CRL, English is not my native language, so it might be disastrous. , but I did it with the intention of helping in some way. https://drive.google.com/drive/folders/1pRqNhCQ5ZYg099BH0WsInf1UCeIhspw-?usp=sharing I would be happy if at some point it is possible to have a CRL of this costume, not to stay with one more cosplay. Of course any modification improvements that the armor requires, I do.1 point
-
1 point
-
Thank you for the feedback! I put a strap between my legs for the cod. I was concerned about the butt rubbing against the thighs so I have a strip of foam there creating a barrier. Ill make sure to pull up the butt so its straight with the belt as well, possibly velcro to help the alignment ?1 point
-
You finally got it Lou!!! I'm pretty darn excited about this as it is indeed our first WTF FO TK build. I spoke with Walt about this kit and several of the aspects he has included, including the interesting multi piece shoulder back and front under section of the chest plate, and the 3 piece chest plate. May I ask that you post up a good image of the resin parts he also includes as this will be excellent for all our members to see what comes with the kit. I'll probably be talking with you again soon about some of the other pieces Good luck with this build sir, I look very much forward to seeing your progress.1 point
-
Walt's Trooper Factory (WTF)1 point
-
If the character is named as a special operations unit member then I would lose the fight to gain this costume as a standard TK unfortunately. I would definitely reach out to them and ask if any progress will happen in the short term. Alternatively you can certainly try your hand at writing the CRL and presenting it to them. This may get a reaction and have them jump back into it and possibly use your work.1 point
-
Anything from professional photographers will require their permission for use, please remember when submitting If you have Pro shots, that you may be required to seek that permission if your image or images are chosen.1 point
-
Just keep nagging, they do tend to go quiet at times and need a friendly shove1 point
-
I sewed my elastic to the shoulder elastic so it doesn't move, adding glue will work just the same You quickly find once you finish one build you want to start another, getting bitten by the building bug. Once you get some photos taken you are welcome to post in our Pre Approval Forum, this is a way of getting any feedback for basic approval before you approach your GML (garrison membership liaison) also a great way to get feedback on any L2 or L3 issues, thread is here https://www.whitearmor.net/forum/forum/193-request-tk-pre-approval/1 point
-
Soft pouches from Trooperbay Anovos Helmet Pistol1 point
-
Undersuit Pauldron from KB Speaker from Tramp Harness from Tony Gloves and balaclava1 point
-
Bolts/nuts to attach the boxes to the ab plate Fabric gaskets from Theresa Resin boxes for belt Boots1 point
-
Thanks for the suggestion, Rich, this was exactly what I did. Now that there's not much to do until I get the clearance pictures done (unless anybody had any suggestions? ), I decided to spare myself the horrors of trying to put the elastic on and getting it to stay where its supposed to stay by gluing it into the armor. I do have to admit that I'm missing the daily armor build routine. What I might still work on: If I'm not missing anything, there are still a few things that I can do that aren't necessary for basic approval but would improve the overall appearance and set me on Centurion course, such as making sure that the ab plate button paint actually meets Centurion requirements (because that paint was my very first attempt at painting and therefore got way beyond where it should've stayed), finally deciding on a solution regarding my crotch snap/elastic (which I might want to glue so the elastic part is shorter, which would mean that I probably need to lift the back) and sanding down the ABS paste (for which I would need to find a way to set up a good work station for the sanding). Otherwise there are probably some tiny things that I can change to improve the overall look, such as making sure that the S-trim neatly covers the ear and perhaps a few things that I missed but that Tino (T-Jay) might be able to point out when we take the pictures. Oh, and I'll need a blaster if I want to achieve the higher levels. But blaster or no blaster, higher levels or not, there's nothing that should stop me from trying to achieve the best look for my armor, even if it might not be possible to officially get it to Centurion until I get that blaster.1 point
-
Hi Ryan and welcome to FISD. Your helmet looks fantastic, nice work. Definitely can recommend untrimmed armour as the extra material gives you something to practice on before making final cuts near mold lines. As Glen mentioned its also handy to have off cuts as surplus to make additional internal reinforcements like cover strips etc. Also if you ever have to make ABS paste, you have the same colour plastic so it can be very handy indeed. Good luck on your journey to joining the 501st!1 point
-
Hey Brandon, Welcome to FISD! Best advice I can think of... - Don't be afraid to ask lots of questions. even ones you think are silly (maybe especially ones you think are silly!). - post lots of pictures, they speak a thousand words. - have a good look around the forum and do lots of research (have a good look at the advanced tactics section too; it's never too early to be aware of that) - measure twice (or more) before cutting, and take your time. Rushing can easily lead to mistakes. We'll all be looking forward to seeing your build progress and the pics from your first troop. Rich1 point
-
Hello and welcome! As I'm still a new forum member without basic approval, I just wanted to tell you that these guys are amazing and everybody here will help you to the best of their ability. They take "troopers helping troopers" and then take it above and beyond, so someone will always be able to help you. Before starting my armor build I personally had a total of zero experience regarding plastics or power tools and now I've not only got a wonderful set of armor, but also a ton of new skills. Once you get started it's fairly easy to get the hang out of things and I'm sure you'll do fine, especially if you ask around on the forum for tips and tricks! Hope you have a wonderful time on here!1 point
-
Hello and welcome aboard, nice finish on the helmet, I think you are correct it wouldn't pass for basic approval as is. Personally I like to purchase armor uncut, sometimes the extra material is needed for sizing and also scraps are good to use for ABS paste. You don't need a lot of tools, many use snips/scissors to trim and sandpaper to finish, I use a few dremel's (rotary tools) with different tips, I hate changing during trimming. You will need sandpaper, bondo (filler), spray putty, primer and paint as some pieces on a R1 need to be filled and painted. Take a look through the R1 build threads to get an idea of sizing and construction. https://www.whitearmor.net/forum/forum/196-rogue-one-build-threads/ Good luck hope to see a build thread form you soon1 point