Leaderboard


Popular Content
Showing content with the highest reputation on 08/05/2021 in Posts
-
AB BELT , BOXES AND POUCHES ASSEMBLY 3 Layers : Ribbed Rubber ,Closed Cell Sponge and Polyester Webbing Leave aprox 2 inches free of the Ribbed Rubber layer to attach the buckle and glued the 2 layers (I used the Sponge adhesive and add a bit of AC Gel Glue. Found a round container form the laundry room to keep the belt in the correct shape . Be sure to measure the circumference of your AB armor section not your body. Used some magnets, (you never have enough of them) to help the 2 layers to keep in place while gluing them. Buckle Install adding the 3rd Layer. Used magnets again to keep the pieces steady to make the holes for the screws. Used Chicago Screws to affix the layers. BOXES AND POUCHES INSTALL I Started with the center Boxes. I gave a Black paint cape to the inner halves Added the Snap to the webbing layer that will attach the belt to the armor. The two horizontal boxes go aligned with the center of the armor , not the center of the belt. Again, used the chicago screws method to attach the inner boxes. And E6000 to glue the Covers For the two vertical boxes I used black elastic to attach them in a flexible connection. NOTE the vertical boxes go aligned a little lower in the belt than the horizontal ones. Reference Image FINISHED. Return to Index3 points
-
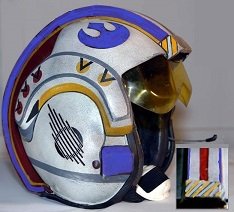
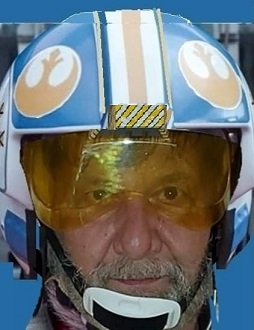
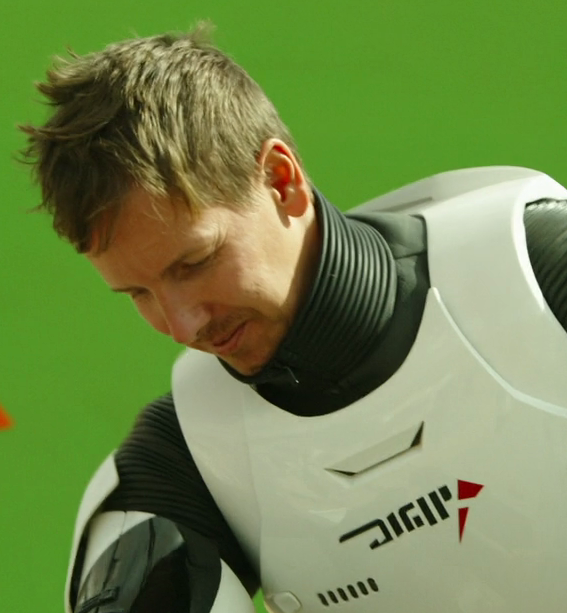
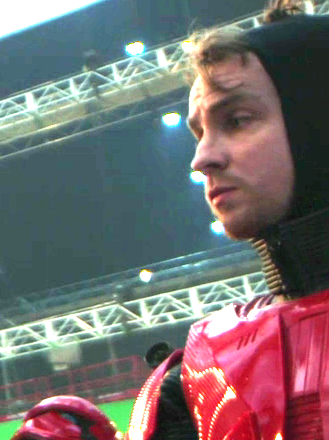
LOL Thanks for the greeting. I appreciaate that.. and what happened to me in other 'centuries' also. It's another couple of 18th c folks who is getting us into this. I"m STILL waiting on my Shadowtrooper, and my xwing helmet and chestbox from the same maker....patience isn't my forte. So my mocup for the xwing helmets and my Boyfriend is getting enthused about this more as well. He has decided to create his own Xwing as a counterpart to his Crimson Trooper. Here is Dan's I patterns for helmet graphics a morphed photo of what I do have so far. Seems like the Rebel Scumm are going to be ready before the Troopers
 2 points
 -
No problem Glen, you probably deserve a break from the tedium of that job for sure. A group of us will get this nutted out and we shall take feedback from any that wish to input along the way. Team work!2 points
-
a. WAYNE HIGGINSb. TK81319 c. W99YNO d. UK GARRISON2 points
-
Just a tip I normally start with a coarse grade wet and dry sandpaper @240, then switch out to finer wet and dry sandpapers ending up with a 1500 or 2000 grit, the finer the sandpaper the easier it is to polish. Also sand with water, add a drop or two of dish washing liquid to it, will help the sandpaper glide and doesn't clog as quickly2 points
-
I've taken several pictures of my progress, I hope this might be helpful! First I gathered my materials - several sizes of wooden sticks, the ABS paste and (of course) the thighs, where I had a piece of ABS with some tape to hold it in place: I actually needed two pieces of ABS due to the shape of the ridge -- one inside the ridge and one on top of that to cover the gap between the ridge and the cover strip. Because I was reminded of this several times, I only put on small layers one at a time. I've found that if the ABS just covers the tip of a toothpick, it was easy to get in the gap without smearing it all over or getting too much on there. After ~2-3 layers After a layer I would press down with a clean toothpick to make sure it lays flat and that there would be no bubbles or gaps. I also used this time to push in any of the paste outside of the gap. Because of the fast drying consistency of the paste, it felt like moving around chewing gum that has been chewed on for a few hours already. I repeated this process several times until the paste matched up with the armor. The closer I got to the edge of the armor, the smaller the drop of paste got. I had to clean my toothpick every now and then to make sure that I could still work cleanly. I also had to add a drop or two of acetone every now and then to my paste in the jar and stir it in with a toothpick, to make sure the consistency stayed roughly the same and that it didn't harden in a layer at the top. Once I got to a point where I was happy with this gap, I closed the other gaps as well in the same way. Afterwards I went back to this one and closed up a few spots that weren't as clean as they could be and still had some gaps. Once it dried, I took some scissors and cut away the visible part of the tape that wasn't covered with the paste. Next I'll have to wait until its dry and then sand the paste smooth and maybe cut the return edge so it looks smoother. Once I've got it sanded down, I'll see if there are any gaps that I've missed that need another bit of ABS paste, fill them up, sand it down and so on until I'm happy. Because I won't manage that until Friday, I will leave that to future me and leave those gaps as they are for now. Justjoseph63 (and anybody else who might be reading this), I hope this was at least a bit useful in showing my progress and how I applied the ABS paste.2 points
-
1 point
-
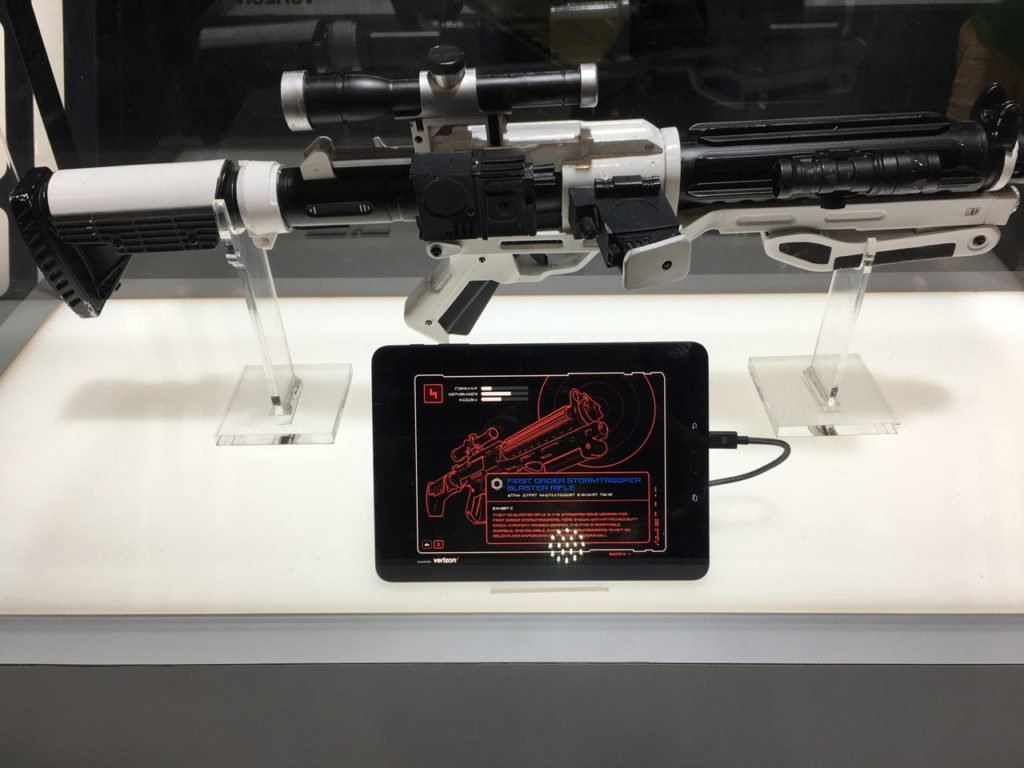
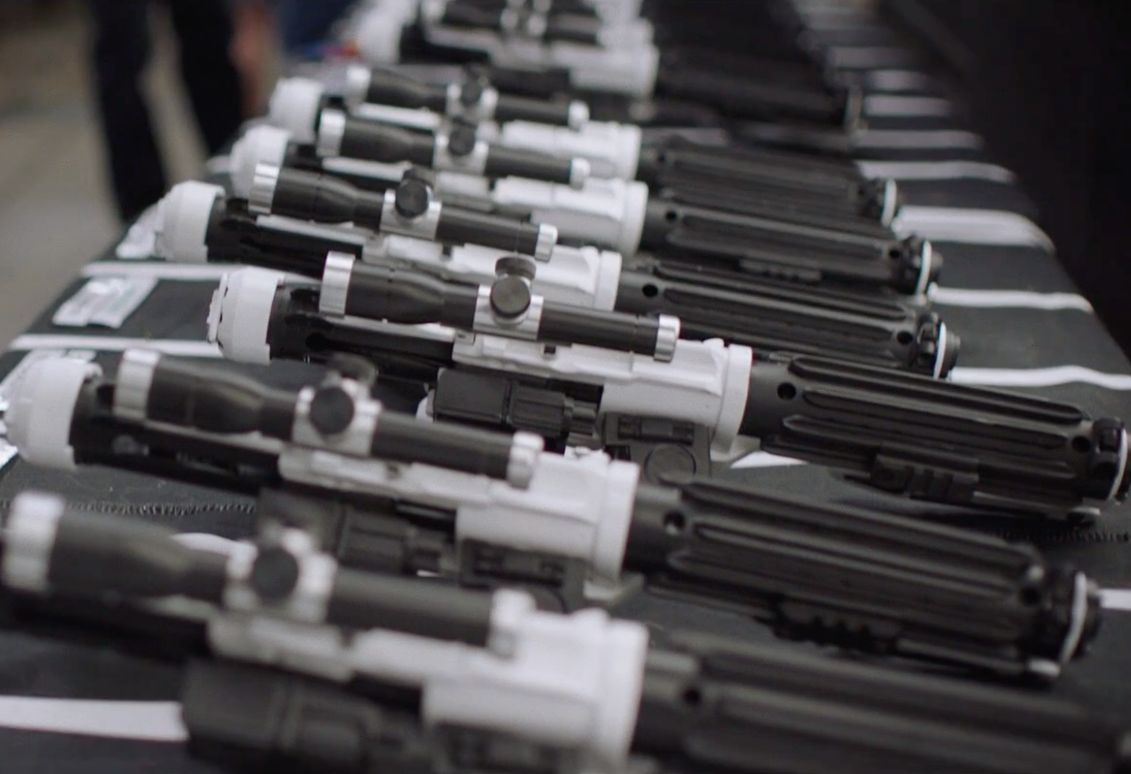
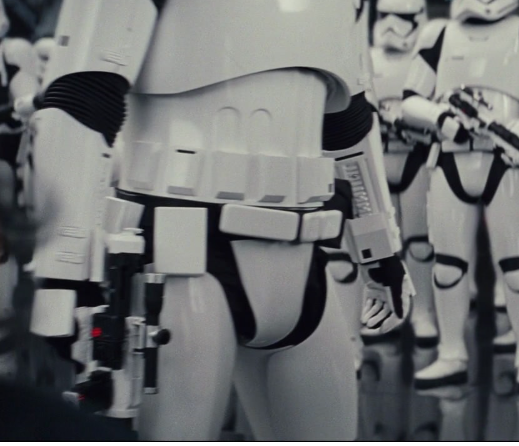
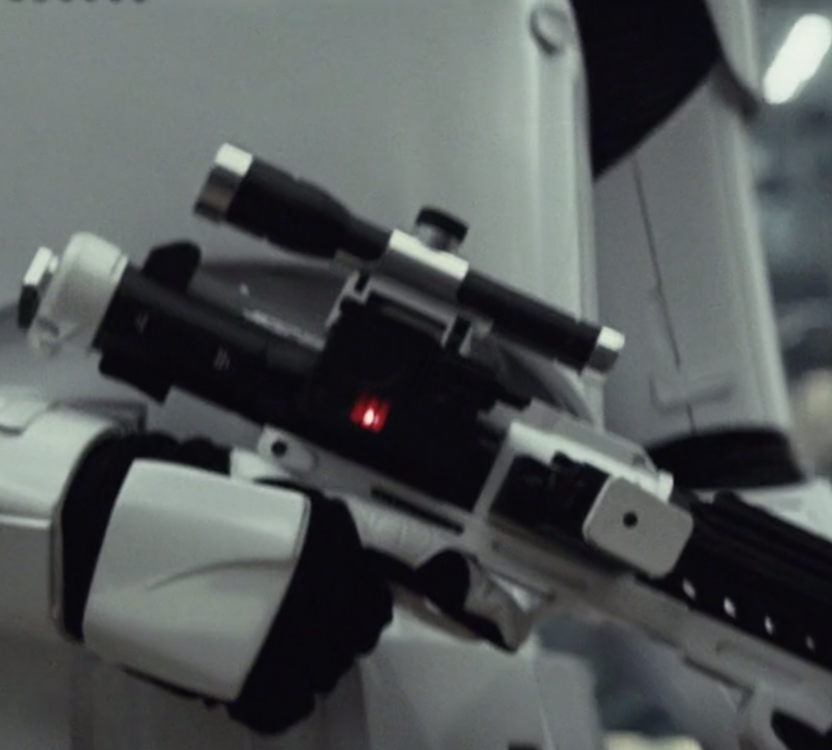
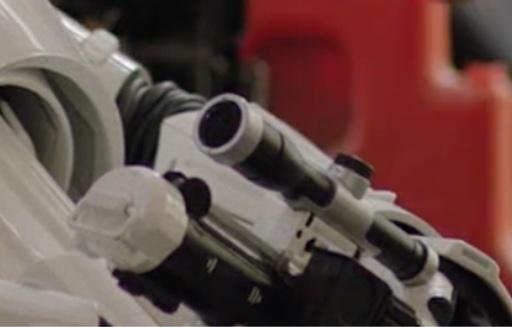
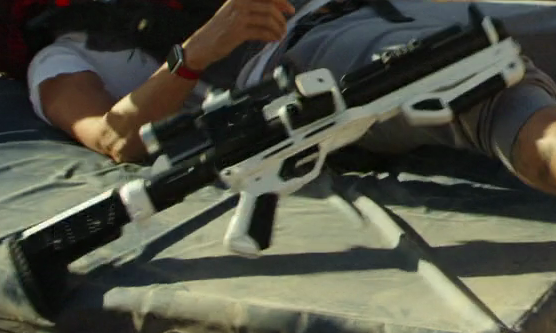
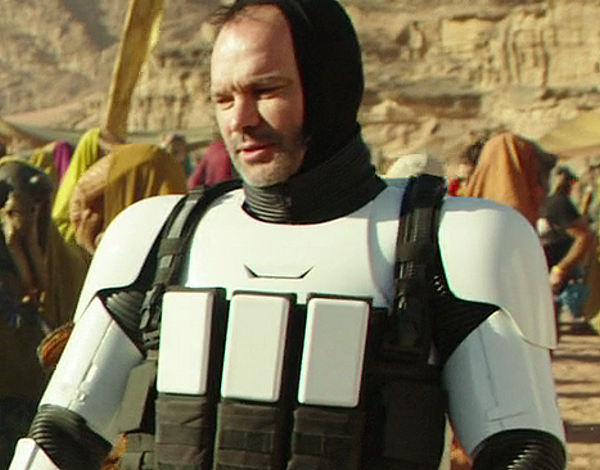
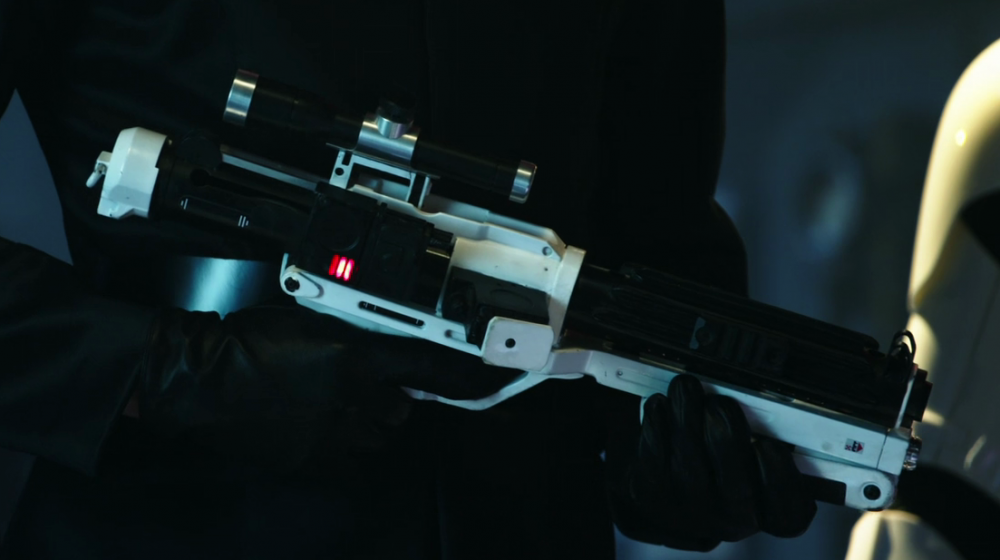
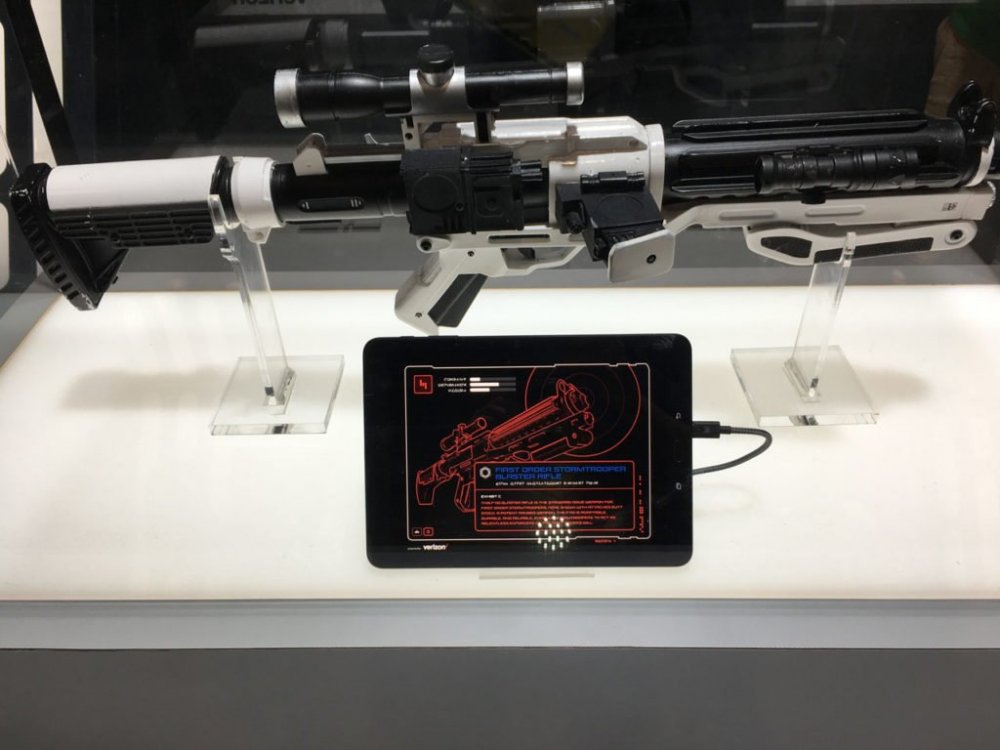
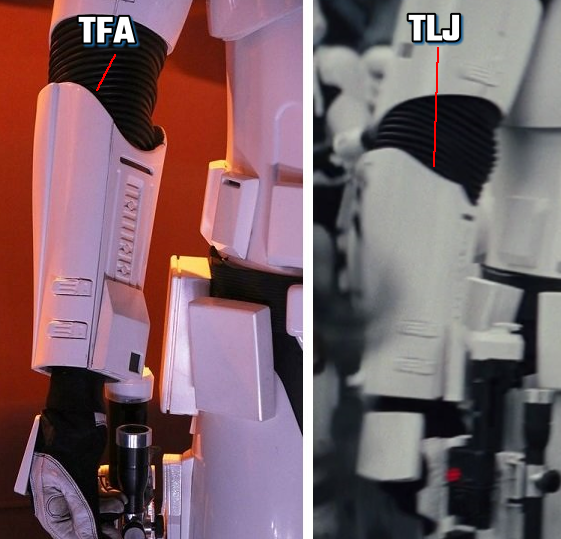
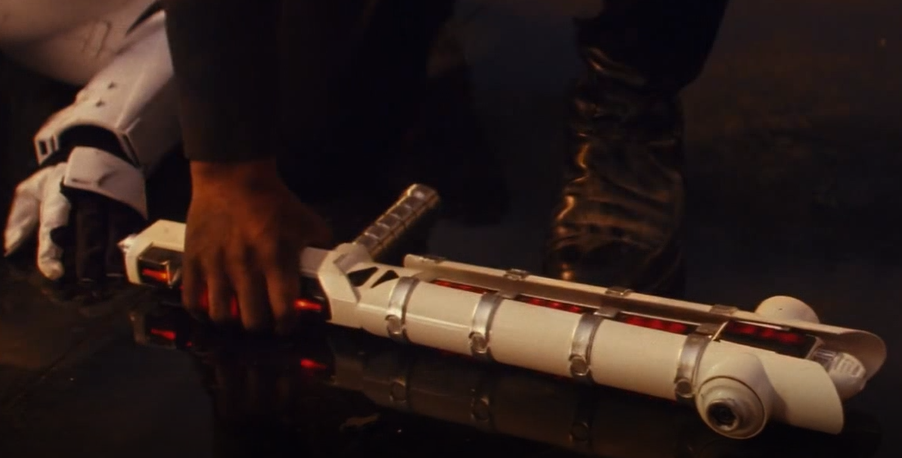
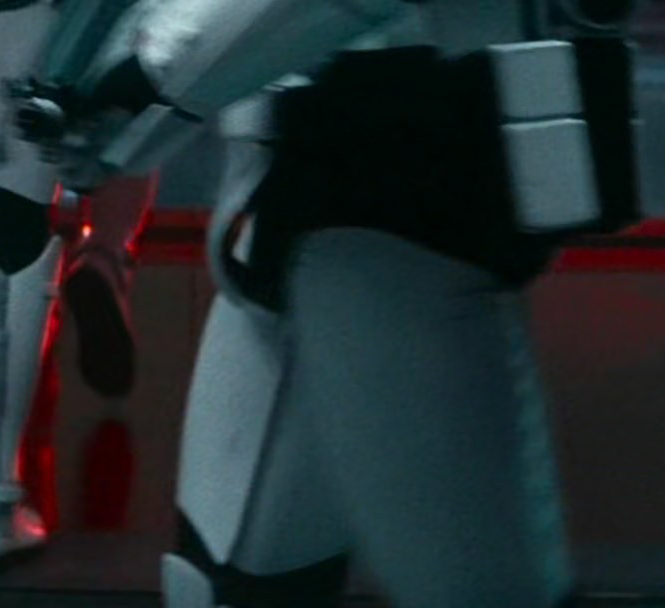
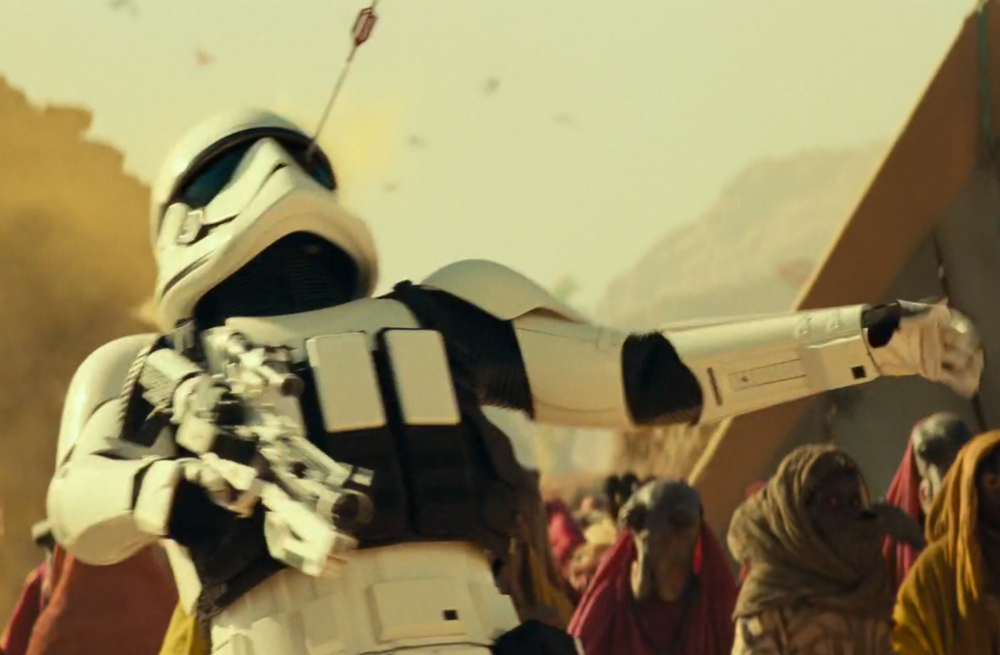
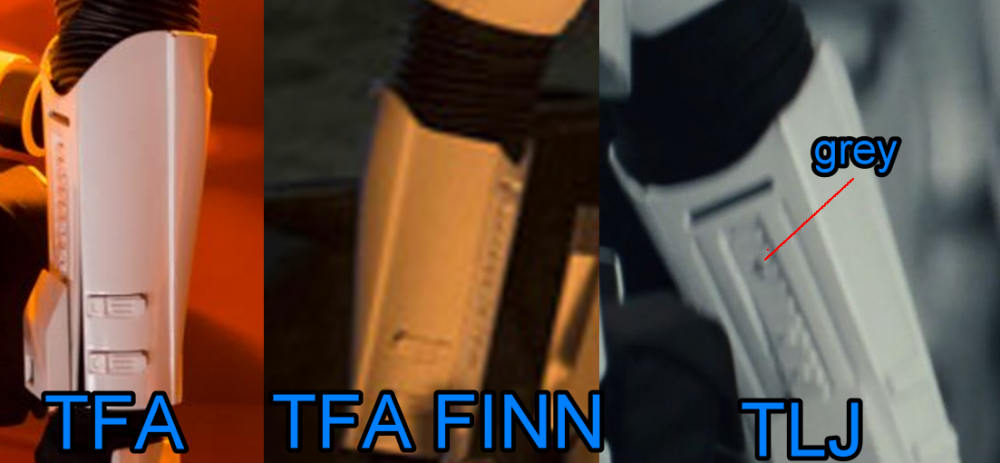
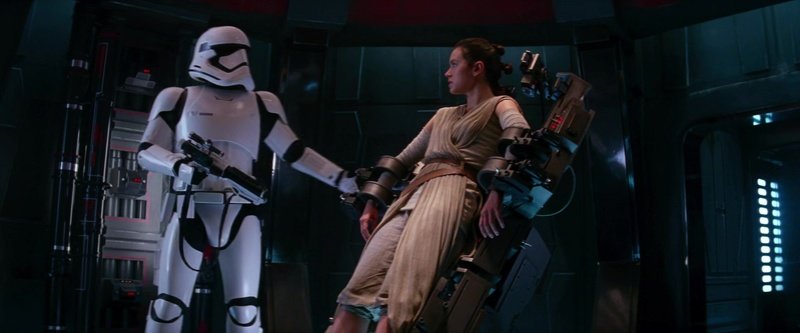
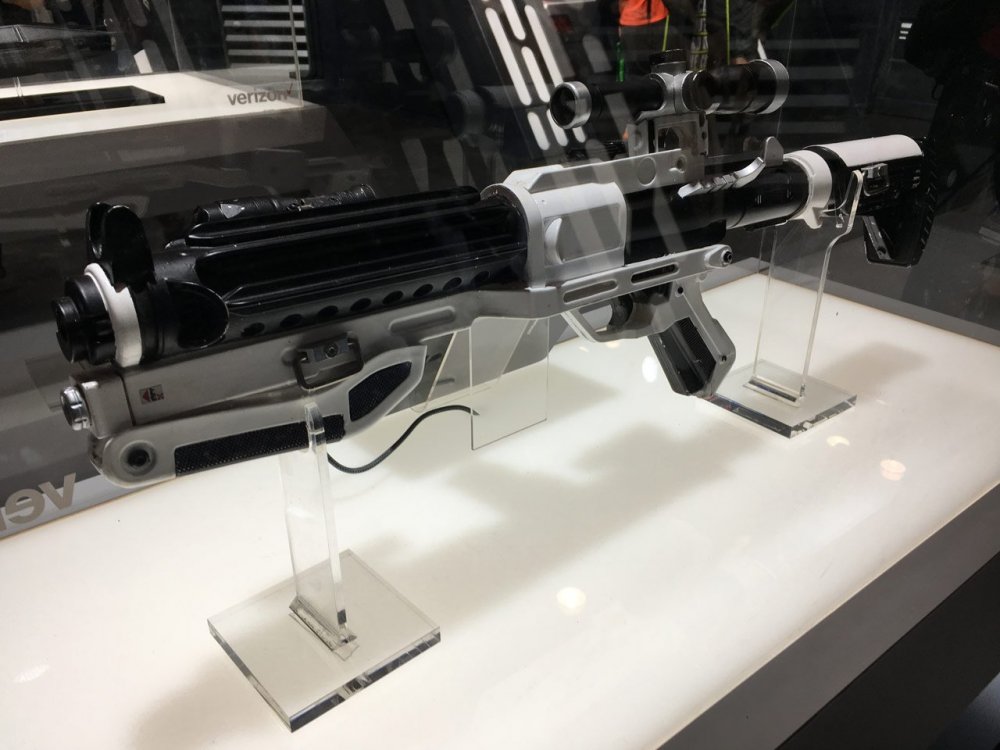
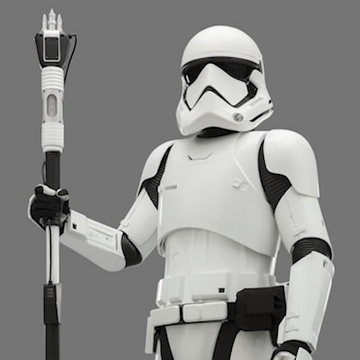
TLJ, TROS forearms End cap D ring Rear sight Black standard trooper White heavy weapons trooper A few more front facing zip Another reference front facing zip TROS Also referencing all other costumes from TLJ forwards having front facing zip on treadspeeder driver, sithtrooper and jet trooper Also light mount / picatinny rail option for both std and heavy F-11D's (again showing different rear sight colors and D ring) not seen on all blasters No mount A light was only seen on LFL display F11-D, not on screen Baton lights in rear section (Finn's hand) perhaps L3 Armor overlaps (note front facing neck seal zip)


 1 point
 -
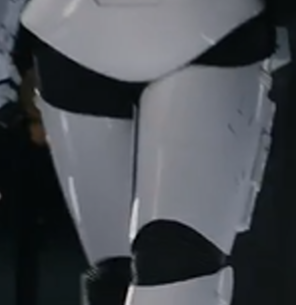
Looking good, if you haven't already try some foam behind your sniper knee plate, to help push it forwards away from your thigh, were it is you will hit from time to time. Shoulder straps are much better, you could tweak them a little as there is still a slight gap. Also the butt plate appears to be pushing backwards, you can see on the side image it doesn't meet the ends of the kidney, perhaps tighter strapping. These are just very slight so should be ok for basic approval Good luck with your approval1 point
-
Hi Garrett, It will be all systems go at the end of the month, starting with the helmet. My current armour, which was an RS commission, I ordered the helmet first, then decided to get the full suit so this arrived a month or 2 later. There is no difference in the colour to be honest, so I think I should be ok. There won’t be a long period between the helmet and the armour either (finances allowing).1 point
-
Looking great Brett. You have made an outstanding job with the fixes and ready for a fast approval. If I can make a note, something simple but that can help to keep the great accuracy of your armor is the TD control panel location. It looks like the round washer style detail is facing upwards more than the seen in screen. This can be fixed just opening the clips a little (if they allow it) and rotating the TD backwards, plan B would be to trim the control panel lower section a little to relocate it in the correct facing position. Reference Images Keep up the great work !1 point
-
Hi Colin ! Great to see your EIB application so soon. One of us will be with you shortly. Added to the processing line.1 point
-
Sent from my iPhone using Tapatalk1 point
-
Looking really sharp Colin. Good luck with your application1 point
-
Really great 'how to' for the abs paste. Don't be surprised if people are referred back here to see how it's done1 point
-
WOW, and THANKS!1 point
-
I will have to put forum cleanup on hold for the time being if I'm to spend time on this. A few things while my brain is functioning Need to add the scope mount / picatinny rail as optional Add sling and mounts as option Electroprod add for TROS version Reference of front facing zip. Zip can just be made out in this image Will check for other images. Was also mentioned by one of the costume department in Facebook groups in regards to them being worn on the front from TLJ onwards. Also same with Sithtroopers as well. Forearm difference at inner elbow TBC

 1 point
 -
Archive it so people won’t find it then in a few years we can replay the joke on a whole new group of TKs Sent from my iPhone using Tapatalk1 point
-
I now believe this is 100% correct. With the snap just below the left side of the \_/ undercut. I poured through starwarsscreencaps for an hour and found a couple of definitive captures. First this strap is snapped up in this pic. Same location as the TM template. Second, same location in this running through Endor scene. In conclusion, I think the TM template is either correct, or VERY nearly correct for ROTJ. I’ll be taking the other snap off for re-submittal. Thanks for the help!!1 point
-
Really depends if your GML will notice the extra holes, but it would be best to remove the wrong placed snaps as it looks odd. I have fixed a hole in leather before by adding some tape behind the filling the hole with black silicon, although it does fill the hole you can still see the edge. Again it really depends if your GML will allow this, perhaps as him/her the question. ROTJ holster is basically the same design holster as ANH an ESB except for the belt loops, here is a template which shows the approximate hole position1 point
-
Congratulations trooper and welcome to the ranks1 point
-
Congratulations Trooper welcome to the ranks !!1 point
-
Great news, congratulations and welcome to the ranks trooper1 point
-
Congratulations Luke!!!...Your armor looks great!!! Great news, Luke!!!! .1 point
-
Hey Tim, good luck on the build dude! I look forward to following!! Yes, RS used to use a whiter plastic - their current stock doesn’t match my armor from 2017. I’ve yet to find an exact match for it, but older Anovos armor seems to be pretty close if you can get your hands on some. I’m not really sure if/how having a few slightly yellower bits will effect approval though (it bothers my inner perfectionist ). @justjoseph63 can advise I’m sure!1 point
-
I am also happy to say that with the adjustments suggested by the folks above and my GML, I have been approved! *TK 71128* Thank you all for your help and support! I couldn't have done it without you! SoCal Garrison and LA squad, happy to join you! I look forward to applying for EIB and Centurion in the future as well!1 point
-
You're helmet build looks great, but I can see some of the causes of your issues. I'll DM you. Sent from my Imperial Comlink1 point
-
Added ukswrath to a fav in etsy for the future thanks!1 point
-
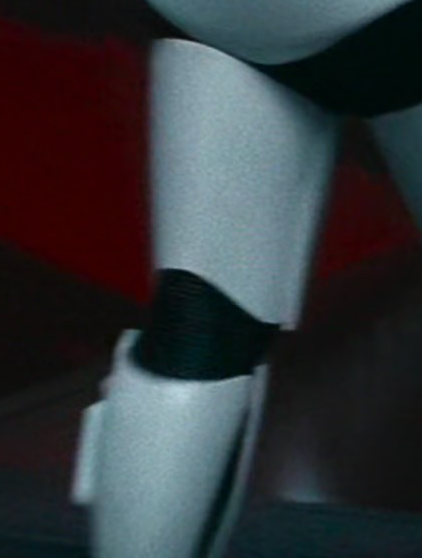
Looks like one side is much better, perhaps try bringing the strap even further forward, obviously the left is more difficult as you are holding the blaster and moving the arm a lot more. Some foam behind the knee can help push forward the sniper plate so it sits in front of the thigh. Looks like your left shin is rotating too, you can add some velcro behind which attaches to the boot, or even some elastic and snaps.1 point
-
You are moving along at a fantastic pace James, and are doing all the right things! As I say to all who start a build- Take....your...time, ask lots of questions and post up lots of photos before cutting, gluing or adding hardware. When in doubt, ask. Mario hit the nail on the head about the TD plate placement, so you will be good to go there if you follow his advice. Keep on doing what you are doing and know that we are here for ya'. P.S. AWESOME tip about using nail polish remover to get rid of the text on the gloves. I am SO stealing that idea and adding it to my sales thread. THANKS!1 point
-
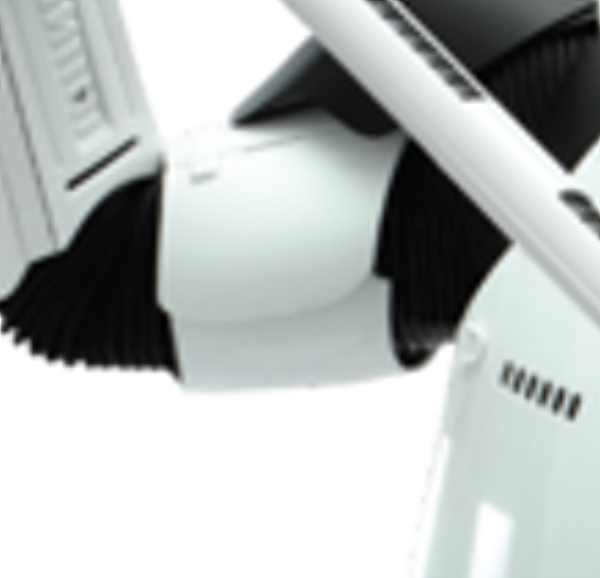
Hi Rob, those handguards looks great !! About the TD, if I can make a suggestion. consider the allocation of the TD panel in such way that the rounded washer detail looks more to the front than upwards . I suggest to trim a bit the bottom section to allow the panel rotation to the front. Reference Images We are here to help.1 point
-
Rebel scum, I mean, that sounds great a rebel costume You do find was you enter this costuming lark you can get bitten by the bug, looking forward to seeing the progress, good luck1 point
-
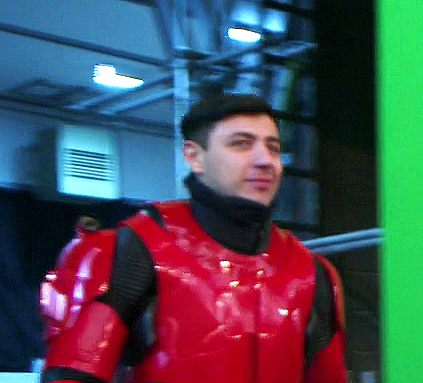
Welcome aboard brother. Shadows are Spec Ops, but same build. Hope to see you in white armor1 point
-
cleaned up the Print. these will work. (the grey one is my printed version)1 point