Leaderboard


Popular Content
Showing content with the highest reputation on 02/26/2020 in all areas
-
Time for the CableGuy montage. ;-) CableGuy Builds: Troopermaster completed montage5 points
-
Ambos son "Canon" , ahora, si te refieres a cual de los dos es mas Screen Accurate, eso va a depender de cómo la construyas, para eso son los niveles L2 y L3 del CRL. Personalmente me gusta más el ANH pero es cuestión de gustos. Both of them are "Canon" but if you're talking about screen accuracy, It depends of how you build your armor. The Higher levels of the Crl let you make an armor more screen Accurate. Personally I Prefer ANH Stunt but is up to every person. Cheers.2 points
-
Let the game begin. Today was BBB day. Another lucky costumer. Thanks to 850AW. Great job and very fast shipping.1 point
-
Hello troopers! My name is Jeremy, but everyone calls me by my last name “Biddle”. I have recently started work on my first kit ever and I am loving every second of It so far. I have a jsin/kb props jet trooper kit(yeah, we fly now!) that I am planning to goto the 501st with. So far I have the helmet near complete and the armor should be coming in sometime within the next couple months. I know the jet trooper is really new and no CRL is in place for it yet, but I was referred here from a Carolina Garrison member to hopefully help with that! I really look forward to getting to know some if you and to learn as much as I can along the way! Cheers and MTFBWY! EDIT: Photos added!
 1 point
 -
Very much yes. The shape is different as well as the center ridge. They are also symmetrical (no swoop). The biceps are also different - they were not entirely closed and again are effectively symmetrical (meaning the general shape, as well as no thumbprint) though the way that they open/overlap does imply a left and right.1 point
-
Hey Matt, welcome! The more "Chrome-Dome"s we have, the better!1 point
-
Hi, the following reference photos may help you. the thigs should sit just above the knee allowing a better movement. Cheers1 point
-
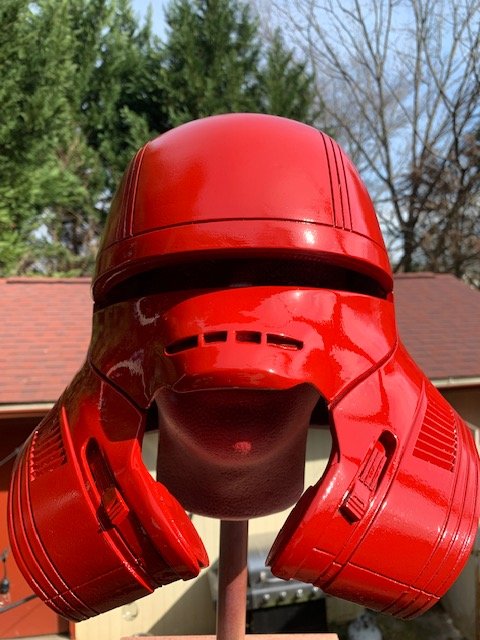
Just Awesome! This lid looks as if it really could protect a troopers head from the rebel scum! [emoji1591][emoji41][emoji1591] Sent from my SM-G920F using Tapatalk1 point
-
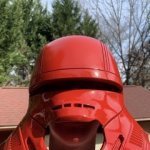
I would like to show some progress on the neck seal, as I am quite proud of it myself. I followed @BrinkHouse 's tutorial on a neck seal. As I mentioned before we do not want to spend *heaps* if I don't have to. Link here to his guide: Instead of spending $90+ on a genuine neck seal, I thought Brinks cheaper option to be more favourable, I can always upgrade to the real deal. So I started off by getting foam door trim, thin craft foam, black spray paint and a black t-shirt. The door trim had a gap in between each rib so I cut them each down. In Brink's version, he had black trim, so he didn't need to paint it and it looks like he stuck in directly to the tshirt seen below (On the far left), which I thought would be difficult to do. So instead I stuck in onto craft foam, to which I will stick that to the shirt arm. I used little dabs of E6000 to hold them in place. (they did have adhesive but it wasn't enough) More of the ribs added: So once I stuck all of the ribs on, it was time to paint! So I hit it with a few coats of black spray paint and let it dry in the hot aussie sun. I then glued a tab/lip on for the velcro to sit on: And pretty much done! All I need to do now is stick the shirt on underneath to give the 'frill' that sits under the undersuit! I left a cm gap at the top since it gave it a good look. Cost me around $13 to make. Will be making one for my dad too! Thank you @BrinkHouse for your guide! Helped out alot!1 point
-
Not at all, more the case I'm excited about your passion and eagerness to share, we are all about troopers helping troopers brother.1 point
-
Absolutely agreed and understood. I hope I didn't sound too critical of anyone or anything and I would be very happy to help in whatever capacity I can to perfect the CRL when the time and reference material is right!1 point
-
References is what it takes, ANH 1977 and the CRL still gets updates1 point
-
Oh don't worry, I'll have a suggestion or two based on the Anthology kits we saw in The Mandalorian once the rest of the world is able to have seen the show legally in March. I was told no changes would be made without specific canon reference material, but that it was too early to share caps from the show. Plus with that one, I know what they're TRYING to make clear (that R1 is different from ANH and not interchangeable), but there are some carryovers from the other TK CRLs that are either straight up wrong or misleading. Hopefully an overhaul can be done to include Solo and The Mandalorian suits under one "Anthology Stormtrooper" CRL.1 point
-
For reference numbers of 501st approved TK versions.1 point
-
Check out this data sheet https://drive.google.com/file/d/10tEVteIreh6AHMogW010cuH_Bf8TBfU6/view1 point
-
Lots of differences: - hand painted vs decals for helmet details - black vs. gray teeth - different hand plate armor - holster is on different side, loop vs. rivet attachment - blaster differences - less greeblies Sure I'm missing more off the top of my head. Your best bet is to read the CRLs as they will spell out exactly what you need for each version: https://databank.501st.com/databank/Costuming:FISD_CRL1 point
-
Before using the ABS paste I would go ahead and add your mobility cuts. The reason being is that if you patch the seams first, the pressure from making the cuts afterward may crack the pasted areas (blue arrows).1 point
-
Me: "Nice! These panels look really smooth!" My inner OCD: "PRIME AND SAND THEM ANYWAYS." Panels after block sanding to 600: ... Me: Also this. Was rewatching episode eight of a spiffy tv show and noticed this notch cut in the side of the barrel of a screen used Anthology suit. Going to try to emulate this cut with mine. Sorry for the bad quality, but you get the idea.1 point
-
It doesn't seem like it's nearly as common as even the Low-Profile (which isn't common haha). I found it on https://www.fastenation.com/ if that helps anyone. The armor party yesterday went great and @Oztrooper and I were able to help get several new recruits up and running, plus it seemed like everyone had a great time! I'm unsure whose shoulder bell upset me so much... hahaha More sanding this week but I'll report back soon!1 point
-
Nice work, looks like you could take off a little more of the return edge though form the bell1 point
-
Hey everyone! I apologize for the lack of updates, I injured my arm and it had to be splinted for the past few days, so I didn't get much work done, but here are the updates from before. Back/Yoke Here's the back/yoke, glued at the top. TIP: make sure to put lots of glue here, as this place WILL take a lot of stress. Also be sure to clamp it all down as well. Question: should the sides be glued or are they okay as it is? Shoulder Bells Glued in the connector pieces, looks pretty accurate in my opinion. I just eyeballed it, you can measure if you like as well. Gaskets I did pick up some gasket material, no templates yet, but I'm hoping to start working on them soon. And that is pretty much it. Until next time1 point
-
Grand slam build. Looks fantastic and as Andrew mentioned thanks for the tutorials.1 point
-
Just remember using "deleted scenes" would not allow the use in the CRL so you would need actual movie references for it to be added1 point
-
Sling it is! Thanks again.1 point