.jpeg.ff3078cf696d324fa576c149490ede78.jpeg)

themaninthesuitcase
-
Posts
5,295 -
Joined
-
Last visited
-
Days Won
95
Content Type
Profiles
Forums
Gallery
Articles
Everything posted by themaninthesuitcase
-
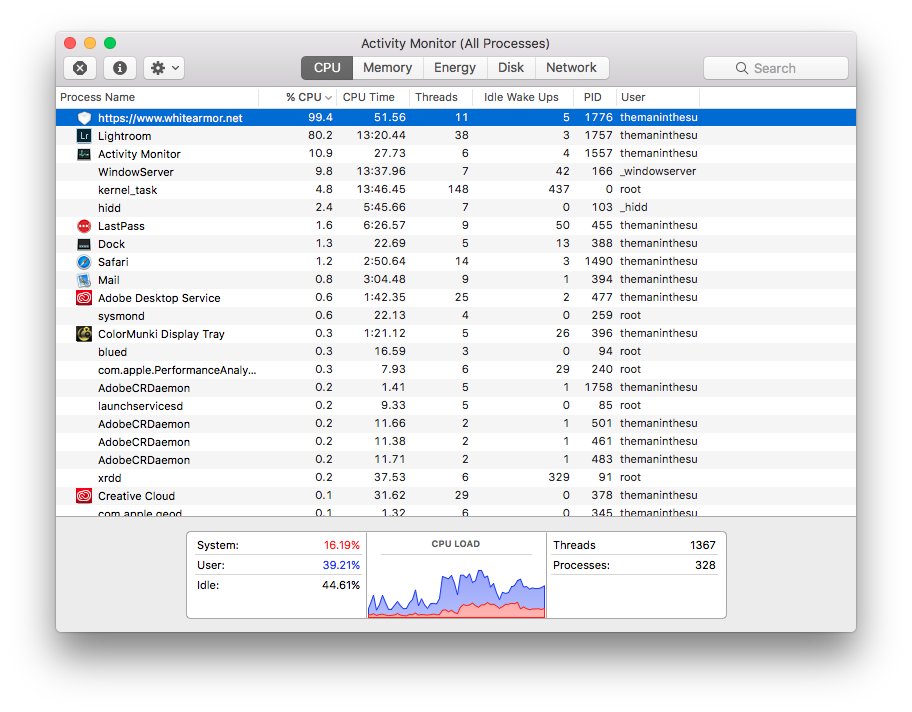
Im not sure what's causing it but this evening FISD has been murdering my CPU (and so battery). As soon as I close all FISD tabs the usage drops off completely. Open one up, any page even the main index, and it's back to 98%+ CPU, I saw 104% once. Doesn't happen in chrome I just tested it, and it wasn't happening last night as I sat reading build threads all evening. I did try clearing my caches but that didn't seem to do much, I could go nuclear and clear all browser history and cookies etc but I'd rather not have to re-login to everything. Any ideas what might be causing it and I can dig in further if needed. I am a software dev so I can poke around a bit in the developer modes if you need me to.
-

Themaninthesuitcase SE-44C build
themaninthesuitcase replied to themaninthesuitcase's topic in Weapons of the First Order
A little more progress to report: I glued the halves together using Gorilla Superglue Tough formula. This is nice and thick and has proven great for PLA parts. I did this on a flat surface with a sheet of greaseproof to try get as perfect a result as possible. There was a tiny step but nothing at all to worry about. I filled the seams and also fixed some other problem areas which will be sanded once the putty has had time to go off properly. I also added some filler to a few of the other parts that need more than a light sanding. Start of filling Issues I also drilled the top part of the sight for the pins and the front bit that drops down. To do this I used a small 1.8mm drill bit in the wheel pin holes to locate the top to the riser. With the parts eyeballed as straight as I could I ran a 3mm drill bit down the riser pin well and turned it enough to mark the top. I then used digital callipers to measure the width and then halved this and used the callipers to score a centre line on the part. This showed my eyeballing was pretty good and I was actually less than 0.5mm from ideal. To drill the hole I used 2 sizes of drill bits in a pin vice, starting with a 1.3mm fish one to create a pilot. That done I used the riser, pined in place again, to act as a drill guide to create the 3mm hole. I didn't do the other end as I don't think there's enough meat on the part to create a worth while pin seat. I'll just glue this end. Hopefully this shows what I mean a bit better than my words explain it. How I lined it all up to drill accurately The front hole for the part "Visor 4" was done similarly but instead I used the same centre line and used the callipers to place the hole centre to match the reference. This appears to be the tip is approximately flush or a tiny bit proud. Again 3 stages of drilling with the pin vice to create the actual hole to ensure it stayed on centre. This evening I ran over the white cases with some 180, 100 or 120 would probably be faster but 180 is what I have. This removed the worst of the print lines and once I've finished the fill and sand cycle on a few bits the rest will be fixable with filler primer. The seams are looking really good now, but there's a few holes still where the support was on the bottom edge. Hoping to get the sanding work all done soon in prep for filler primer. Just not sure when I'll be able to spray as it's not really rattle can weather right now! -
Fit on the rest is looking much better now too with the back gap closed up. How long is the white strap between the snaps? if you keep that a bit shorter it will give it less room to pull out for the shoulder bells. If you're really stuck some hot water baths might allow you to flare them out a little to make more room. Don't use a heat gun, it's too harsh and will destroy the armour if you're not very very careful.
-
adjustable strapping?
themaninthesuitcase replied to imperialbrewer's topic in Assembly, Mods, and Painting
When you lose weight you can just make new straps. I’ve had to recently as I’ve lost a lot of weight this year. The beauty of the snaps system is that you can either replace or shorten strapping easily. Edit: I like my straps tight but not under load. This gives me maximum flex and should mean they don’t pop off under use. -
I had tapatalk 4 post on me yesterday. I suspect it’s a server side issue as I had the site 500 on me earlier. General users can’t delete posts but you should be able to edit them. On tapatalk I think it’s a long press on the post to get the menu with the edit option.
-
ImperialBrewer’s first TK ANH stunt build WIP
themaninthesuitcase replied to imperialbrewer's topic in ANH Build Threads
Slight aside but are you aware that Ross was one of the 6 UKG troopers who were a first order TK in The Force Awakens? http://www.ukgarrison.co.uk/news/item/79-the-force-awakens-the-ukg-6-from-episode-vii.html -
I remember that thread, there were some strong options there. There’s a fine line to thread. You’re essentially creating a CRL for the blasters, and so similar care and attention must be taken. I suggest that before people get carried away with logos and program names that at least a starting point of structure and so on is established. No point in having a fancy logo if there’s no proper documentation and no one willing to adjudicate for example. Edit: For what it’s worth go for it but make it achievable. Don’t mandate above what’s reasonable and ensure what is mandated is what was seen on screen. A fieldmarshall build, whilst fantastic, is also above and beyond. As are movable parts, you never see a stock in use for example. Also you’re committing to a rule set for EACH blaster. ANH, ESB and ROTJ are all different.
-
For reasons I'm not 100 sure of, maybe some futile hope this will end up in a TFA kit, I've started a SE-44C build based on the files Germain so kindly provides. Printing the outer shell I'm printing it on my standard Prusa Mk2, no mods or updates outside firmware. I'm using the new linear advance feature that allows me to print faster with better quality than before. Filament is Filamentive rPLA for the black and Rigid Ink for the white. The RI is good but expensive, the filamentive is not quite as good but close and a fair bit cheaper. I didn't make notes of the print time but it was around 24 hours as I had to do the sight twice. Outer Shell I've had some issues with sag on some parts where they needed support but nothing outrageous that a bit of filler can't fix. I'm hoping I'll be able to glue the white parts before assembly as the originals look to be 1 part and there's some minor warping I'd prefer to address with glue and not just rely on the screws. Starting to test parts I've made a cursory start at post processing using some files to smooth and round some edges and fix some minor flaws from support or lack of in a few places. I still have to print the mounting bracket but there's no urgency as that shouldn't take long I just need to do it. SE-44C Parts Screws will be ordered once I've finished my Christmas shopping. I'll probably just order 1 set of M4 and 1 set of M3 and cut them down as needed. As they are only available with the driver bit they are significantly more expensive than normal hex heads. In all very happy with my starting point and I am looking forward to making, slow, progress on the build.
-
I've got most of the images from this thread backed up to the links below. Im missing the ones in the last few posts by dashrazor, I'll try and get those next week when I'm back at work with a working photobucket fix. I'll keep them on my flickr but can't guarantee they will be on my dropbox forever. https://www.dropbox.com/sh/7ds5s7e2aw1014t/AADz0T3zvMPfdJXSdi1ueJmsa?dl=0 https://flic.kr/s/aHsksJm33Q
-
I've got all 31 (as I said there's duplicates) here : https://www.dropbox.com/sh/l4n66xkrw4m2ezr/AADUJqmu-DubUNWePGVq3Arna?dl=0 or https://flic.kr/s/aHsm7oJEaA I've run out of quota on my account I won't be able to re-load them directly to the forum. I've left the filenames as per the original post. I'll keep them on my flickr until they go the way of the dodo but I can't guarantee they will be on my drop box forever.
-
Re-uploading images lost in the Photobucket apocalypse.
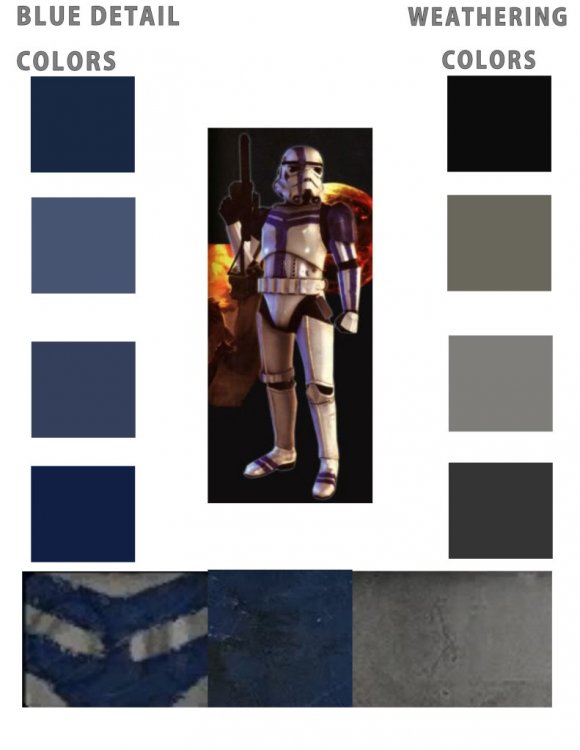
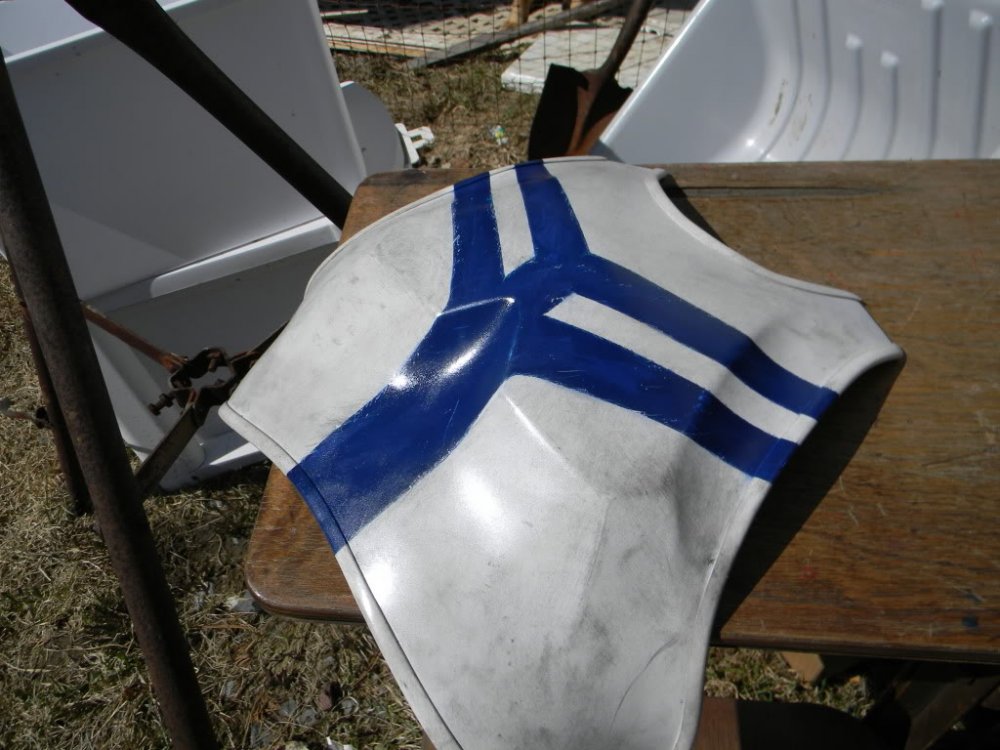
-
Re-uploading images lost in the Photobucket apocalypse.
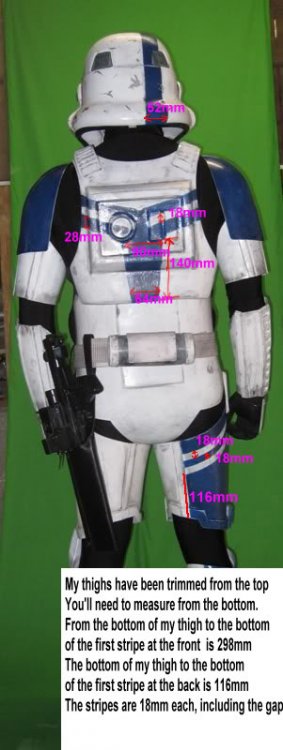
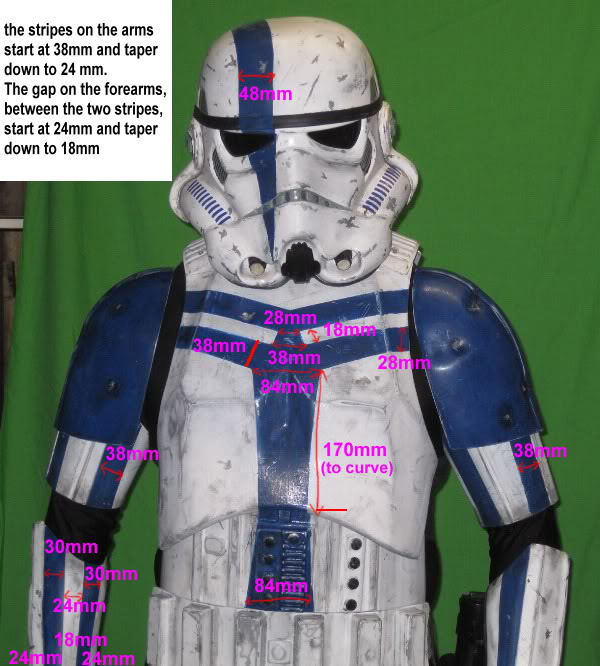
-
I really need to do this. I finally found somewhere that sells some nice paper that's now super expensive for 99 more than I need.
-
Is there a list somewhere? Or at least has one been started? I can see these ones thanks to a plugin so I can rescue them, then it's just a case of is there a specific place we want them or shall I just throw them into my flickr? edit: I just saved off all the images. There's actually only 31 as there's a couple duplicates.
-
For me roughly its this: Kids get high fives and fist bumps, adults get the full Imperial treatment. There's exceptions but that's the gist of it. I've also acted as an interface to Lord Vader a few times with shy kids. They won't go near him, but a TK can bridge that gap and help reduce the fear of standing next to him for a photo, just make sure you know when to stop pushing, upsetting children is not what this is about.
-
Well done Dan, welcome to the EIB ranks!
-
They also do a special clear that minimises the dulling you’d get from a normal clear.
-
I'm sure there will be a chance before that it's just a case of where and if you can/want to do it. That said outside of the cinema troops Dec-Feb will be very quiet.
-
Either is fine as I read them the same in the given context, so go with what ever if felt reads the clearest. It was more the by enforcing paint you rule out something that is actually closer to the film for something that's not even visible in general use.
-
Accurate 3d printed First Order Stormtrooper
themaninthesuitcase replied to Johnny Karate's topic in TFA Stormtrooper
Sean modeled and released a full Shoretrooper for 3D printing and used it to be cleared into the 501st. He made the files available for free to those who wanted them. -
That's why I said "Should be black" not how they are black. Saying "painted black" mandates paint even if you have a screw that is black via some other process such as Japanning.
-
"should be black" rather than painted black. I am lead to believe the originals where japanned rather than painted, this shouldn't be prohibited by the wording. "Ear screws shall be slotted, flat topped, counter sync and painted white."
-
Dust pan, and if its really bad? a wet wipe. That's all I used and I built mine in the lounge! On a big drop sheet admittedly and I did need to dust the next day. In a garage you'll be fine. But you definitely want a proper respirator, that resin dust is nasty. Screwfix: I like the JPS Force 8 with the Press to Check P3 filters* but I used to use a 3M 4251. Both are great but the JSP one allows for replacement filters and is only £1 more. * I have a big head so need a Large JSP mask, the screwfix one is medium which fits most people. I used the standard 3M one.
-
Accurate 3d printed First Order Stormtrooper
themaninthesuitcase replied to Johnny Karate's topic in TFA Stormtrooper
You will need to use an external hosting service such as imgur or flickr. Then just post the image links they provide in here -
Just to be sure, as it’s not clear, have you done both the UKG form and the 501st form? They both need to be done to be issued your TKID.