


gmrhodes13
-
Posts
31,219 -
Joined
-
Last visited
-
Days Won
1,070
Content Type
Profiles
Forums
Gallery
Articles
Everything posted by gmrhodes13
-
Just check your end cap widths and also the gaps between them and control panel

-

Dead Post Links & Broken Photos, How You Can Help
gmrhodes13 replied to Sly11's topic in Forum Help & Support
Armory Assembly, Mods, and Painting Page 89 Completed - gmrhodes13 Page 88 Completed - gmrhodes13 Page 87 Completed - gmrhodes13 -
You can also trim the center raised section too Blue line I think that should be sufficient weight
-
I haven't seen this happen with hand guards before, normally when a rubber/silicon bends it's pretty much stuck in that position, only thing I could think off would be add some stiff cardboard inside and perhaps have them in the sun on a hot day, then once hot add some weight on top of them, may be enough to help straighten but not guaranteed.
-
Hello and welcome back, looking forward to seeing your build, good luck
-
Any paint on the gums should be removed Comparison Brow height is ok, normally a little higher for "Stunt" version but should be fine. comparisons: ANH Stunt ANH Hero
-
Your chest is sitting quite high over your ab, modifying your strapping should help, some have removed the elastic from the brackets and added elastic and snap plates with adjusters. comparison:
-
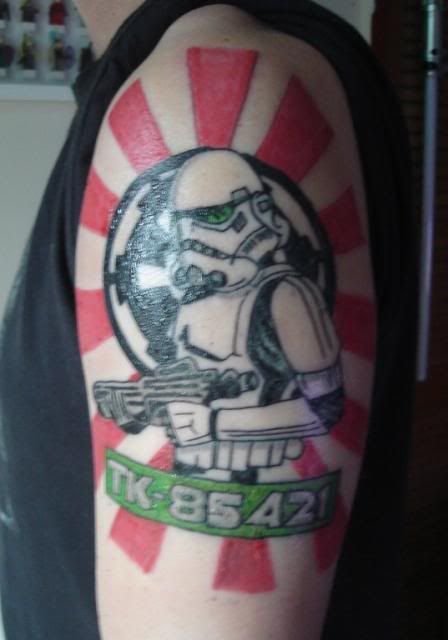
I used a dash on mine TK-85421 Oh and happy 50th
-
Not an actual costume, more of a prop, came up with this for our Christmas Pageant which was held last night, with a lot of our members not trooping this year our attendance was going to be down and as this is our biggest event we attend during the year (over 300,000 in attendance) we needed something to fill our depleted lines. As I had a couple of baby Jawas I made years ago the idea for a sandcrawler came up and as I've been unwell of late if I found I couldn't complete the pageant (and as I was wearing my Mando) I thought I could just lay across the sandcrawler and rest as that would have been screen accurate Luckily I made it to the end as I don't think the Jawa would have like pushing the extra weight. Checked out a few trolley's but ended up choosing a twin baby pram as it could lock the steering and had a brake. Added some removable structure to the front Some measurements taken to make sure it will fit into the Imperial Transport (the Jeep) then on to transferring the design via projector onto some sheets of MDF, template used MDF panels cut Test fitting panels Making sure the Jawa's were happy with the construction Had to be quick to assemble and dissemble so velcro seemed the best solution, pays to have some extra jars and tins in the pantry Nose cone was the worst with so many angles, ended up with applying some fiberglass to the inside for strength as well as a metal support beam across the top Checking everything will fit and working out some present boxes, this took a while, to save space every box fitted inside the next, magnets also added to the top boxes so they wouldn't move Presents wrapped and adding some lights Unfortunately no photos of the painting or addition of the lines, 6 permanent markers died in this process. Still have to remove some marks from the tiles, shhhh the landlord hasn't noticed them as yet. Also added some driving lights, there's some pretty dark spots during the pageant so these would come in handy Our Jawa waiting at the start of the pageant all lit up And away we go Some of the suggestions for improvements mentioned for next year by members while waiting for the pageant to start: Cut out the sandcrawlers windows, insert tinted acrylic, lights and a couple of Jawa figures. Motorized so a member could drive Fully stocked bar Helmet and Saber hooks so we don't have to hold on to them while waiting for the pageant to start Rotisserie Keg on tap Fold out chairs on sides Up sizing 20% each year so we end up with a full scale model, we can then just sit inside and wave and not have to walk, not sure how we would transport that Having other vehicles made in similar way X wings, Tie fighters, Tauntaun's pulling sled
-
Hello and welcome to the forum, good luck with the build
-
DJMatrix's ANH TK Stunt Build for my FiL
gmrhodes13 replied to djmatrix09's topic in ANH Build Threads
Great progress, keep it up -
Suspender attachment to TK armor advice needed
gmrhodes13 replied to baldormoline's topic in Assembly, Mods, and Painting
Most don't even use suspenders, a normal belt with elastic (or nylon) wrapped around then snaps which clip to the inside of the thighs is enough. Nothing else is really needed to attach as the armor is self supporting. If you want to help keep the thighs more central these work I did over engineered a set though, but really don't need all the extra strapping Original strapping, glued directly to the thigh and a belt would run through the loops. -
You already have 501st access which was granted from your previous requestAugust 2nd
-
FYI you already have Stormtrooper access from your previous request on the 15th November
-
Dead Post Links & Broken Photos, How You Can Help
gmrhodes13 replied to Sly11's topic in Forum Help & Support
Armory Assembly, Mods, and Painting Page 91 Completed - gmrhodes13 Page 90 Completed - gmrhodes13 -
I would think you would be OK for basic approval but that's entirely up to your GML. Armor workshops are great for situations like this were you don't have all the tools required, but covid put a stop to a lot of those. You could always reach out to your Garrison and see if anyone local could lend a hand.
-
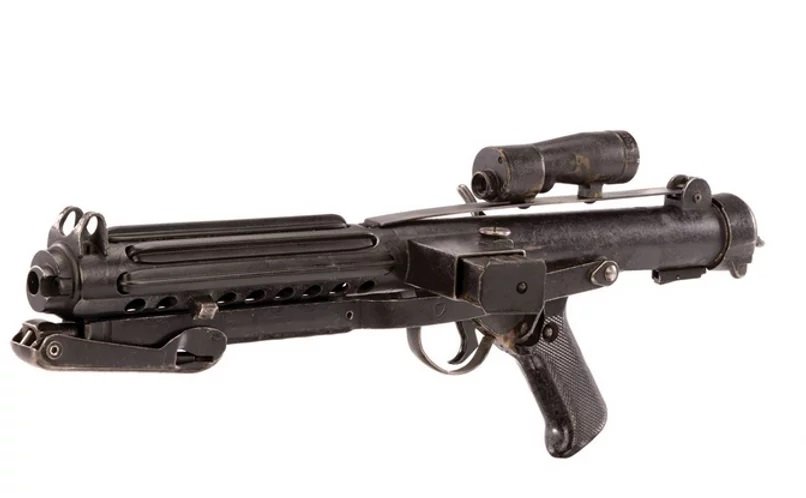
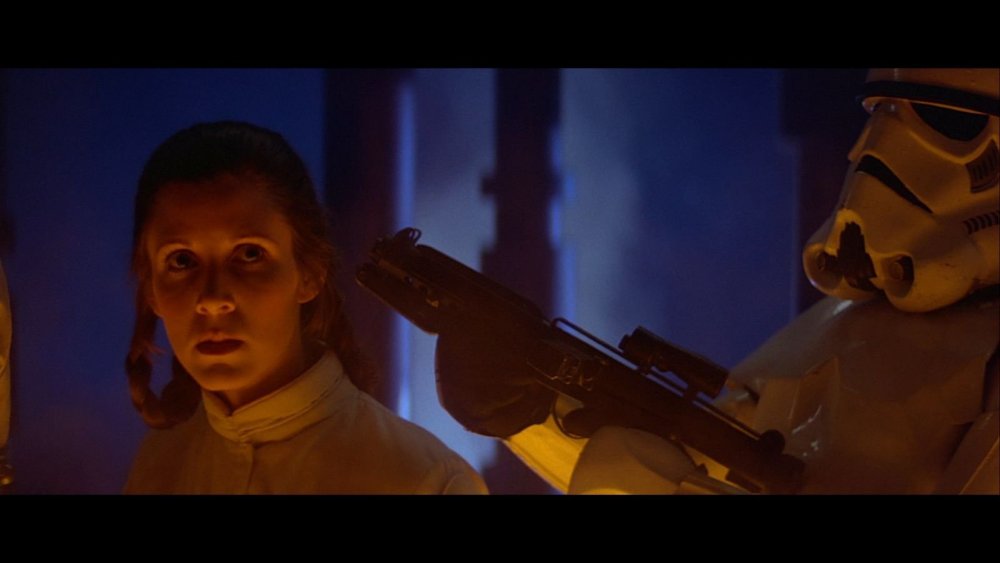
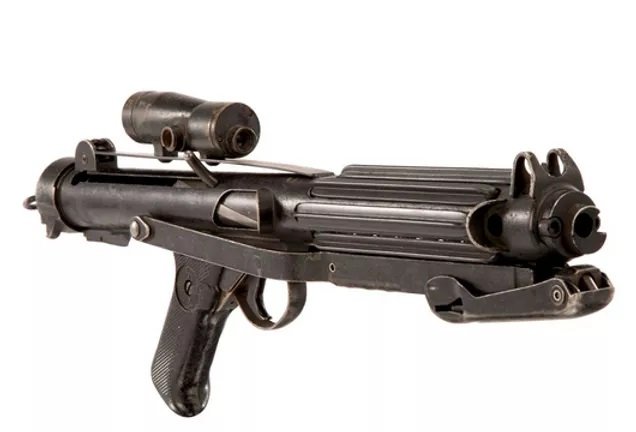
Yes you need the correct blaster for each particular costume. There is an ESB blaster which is the same as ANH minus the power cylinders and Hengslter also swap out the sight, some 3D files are available for the scope, so there's that option The ESB promo shot shows a blaster without a D ring, whether the DO's will accept that only they can answer @Deployment Officer Team
-
fishgoh0nk's TLJ Build Thread (KB Props)
gmrhodes13 replied to fishgoh0nk's topic in TLJ Build Threads
A couple of great threads is you do decide to got the Black Series route -
Great to see you are back on track and updates are finished, looking forward to seeing the progress
-
Dead Post Links & Broken Photos, How You Can Help
gmrhodes13 replied to Sly11's topic in Forum Help & Support
Armory Assembly, Mods, and Painting Page 95 Completed - gmrhodes13 Page 94 Completed - gmrhodes13 Page 93 Completed - gmrhodes13 Page 92 Completed - gmrhodes13 Page 91 Completed - gmrhodes13 -
Action Photo Background
gmrhodes13 replied to gmrhodes13's topic in FISD Expert Infantry Badge (EIB) Requirements
A bump for those that miss this thread -
Congratulations and welcome to the EIB ranks trooper Also if you apply for Centurion please use a blank background, very hard to edit out a Death Star full of Lego
-
Elastic does stretch over time, I use an industrial elastic which is a bit thicker than regular elastic and doesn't stretch as much. Also notice on your image that you could bring the elastic which goes around the shoulder strap further back wards so it wraps around the back plate, will help stop any bunching.
-
DJMatrix's ANH TK Stunt Build for my FiL
gmrhodes13 replied to djmatrix09's topic in ANH Build Threads
Looks like the gap between your endcap and control panel is a little too wide It's not a build if you haven't bled on it
-
Shortening the brackets will allow the plate to come around This info is from @justjoseph63in an EIB application: As seen in the reference images below, the plate on your TD needs to come down in the back. The ribbed area should face toward the rear, with the O ring on or near the top. Reference images Doing this is actually easier than you think, should take all of 10-15 minutes, and this is what I would suggest: 1. Remove the clips and trim off the ends (as shown) with a hacksaw. 2. Rotate the plate to where the ends meet the bottom of the plate (like you have it now). 3. Drill new holes as shown. You will have to drill new holes for the other screws as well. 4. Re-attach the screws. DONE!

