gmrhodes13
-
Posts
31,206 -
Joined
-
Last visited
-
Days Won
1,069
Content Type
Profiles
Forums
Gallery
Articles
Everything posted by gmrhodes13
-

Tim’s first time build (RS Prop Masters ESB TK)
gmrhodes13 replied to TrickyT81's topic in ESB Build Threads
Ab rivets look pretty good DO's references For Level 3, three domed head bifurcated (split) rivets approximately 5/16" (8mm) in diameter are present on the left side of the abdomen and kidney and are equally spaced along the depth of the armor and are painted white. Note that the measurements are from the center of the rivet. Rivets on both kidney and ab should line up horizontally. Diagram by Billhag Interior pic showing split (bifurcated) rivets You Han snap looks like it could be a little closer to the edge, looks more than 10mm Sometimes referred to as the "Han" snap, for Level 3 a single male snap on the top right corner of the ab plate is present. Note in the photos that it is the bottom of the snap that faces outward and is not painted. This is also sometimes referred to as the "Han" snap. Sniper plate should be like this NOTE: For a more screen accurate look, it is suggested that the top of the rear ridge of the sniper plate be aligned with the top ridge of the calf. Also note that the sides are angled rather than curved.
-
@ukswrath came up with some supports to help take any strain
-
Tim’s first time build (RS Prop Masters ESB TK)
gmrhodes13 replied to TrickyT81's topic in ESB Build Threads
The screws/brackets are not required at any level Info here if you still wish to add them The bracket screws are 5 mm flat head machine screws Gallery Bracket wire gauge is 1.25mm The bolts that hold the brackets have 5mm wide heads - they are 7mm long and the nut on the other side measures 5.13mm across the flats.The spacing between the holes where the metal brackets are placed was 38mm for the centres of each hole. A great how to thread from @ukswrath on making bracket supports -
Note the world "Ideally" it is not a deal breaker if you can't obtain this angle it's only a suggestion CRL for L3: Ideally, the placement of ears (and screws) should closely follow the rear angle of the trap above them. A few comparisons This is an approved EIB #1056 And an approved Centurion #477
-
You could try adding some scrap to behind the hole then apply ABS paste to fill, sand and polish Hero definitely have only 2 screws Ears shall have two screws per side, one above the ear bar and one at the base of the helmet. Comparision of different versions https://drive.google.com/file/d/10tEVteIreh6AHMogW010cuH_Bf8TBfU6/view
-
Personally I think it's a little too thick, some great ear trimming tutorials
-
Personally I prefer not using the bracket system, you can get cracks between the bolt holes as well as the adjustment is limited. I have seen some just add brackets without elastic so it appears original. That said there are no requirements all the way up to L3 to use brackets so many don't even bother and go for a general strapping
-
SublimeBW's Armor Master's (AM) ANH Stunt Kit - Build Thread
gmrhodes13 replied to SublimeBW's topic in ANH Build Threads
1: There are no requirements as to internal strapping rigging, I like using double snaps in case one lets go, did happen at a troop once, on a shoulder Average layout 2: References side rivet placement 3: I removed all the return edge around the cod, you don't want it to pinch. I left @ 5mm return edge on other pieces, gives a little strength and I prefer the appearance -
Nice work, ABS paste is a long process and it's coming along nicely. You will also need to fill the gaps in the lower ridge, even if you are adding mobility cuts: Any mobility cuts on back of piece do not go past raised ridges.
-
You can find garrisons/squads close to you here https://www.501st.com/maps/imagemap-northamerica.php I believe the Ohio Garrison covers Cincinnati https://www.facebook.com/OhioGarrison/
-
I would trim a little more from the bottom sides of the back plate Comparision
-
Normally once work on a CRL begins the color of pieces would be discussed by those building/researching the costume as well as staff, there has yet to be a discussion here on the forum that I'm aware of. For base approval a general approximate color is usually what most use. Currently there are 3 other CLR's FISD are working on. A CRL will not be completed until someone has a completed a costume, supplies all images required as well as help with CRL text creation. Some info on CRL creation and New to the legion costumes https://databank.501st.com/databank/Costuming:CRLGuide
-
Super commando build 850 armor works
gmrhodes13 replied to mglover54's topic in Imperial Commando Build Threads
Nice work, thanks for the update -
Thanks for the share Matt. Images added below


-
Many use a free online image host then post links to the images into their thread. I am currently using Imgur but there are others out there. Staff add any images of interest to the gallery areas.
-
Nice work
-
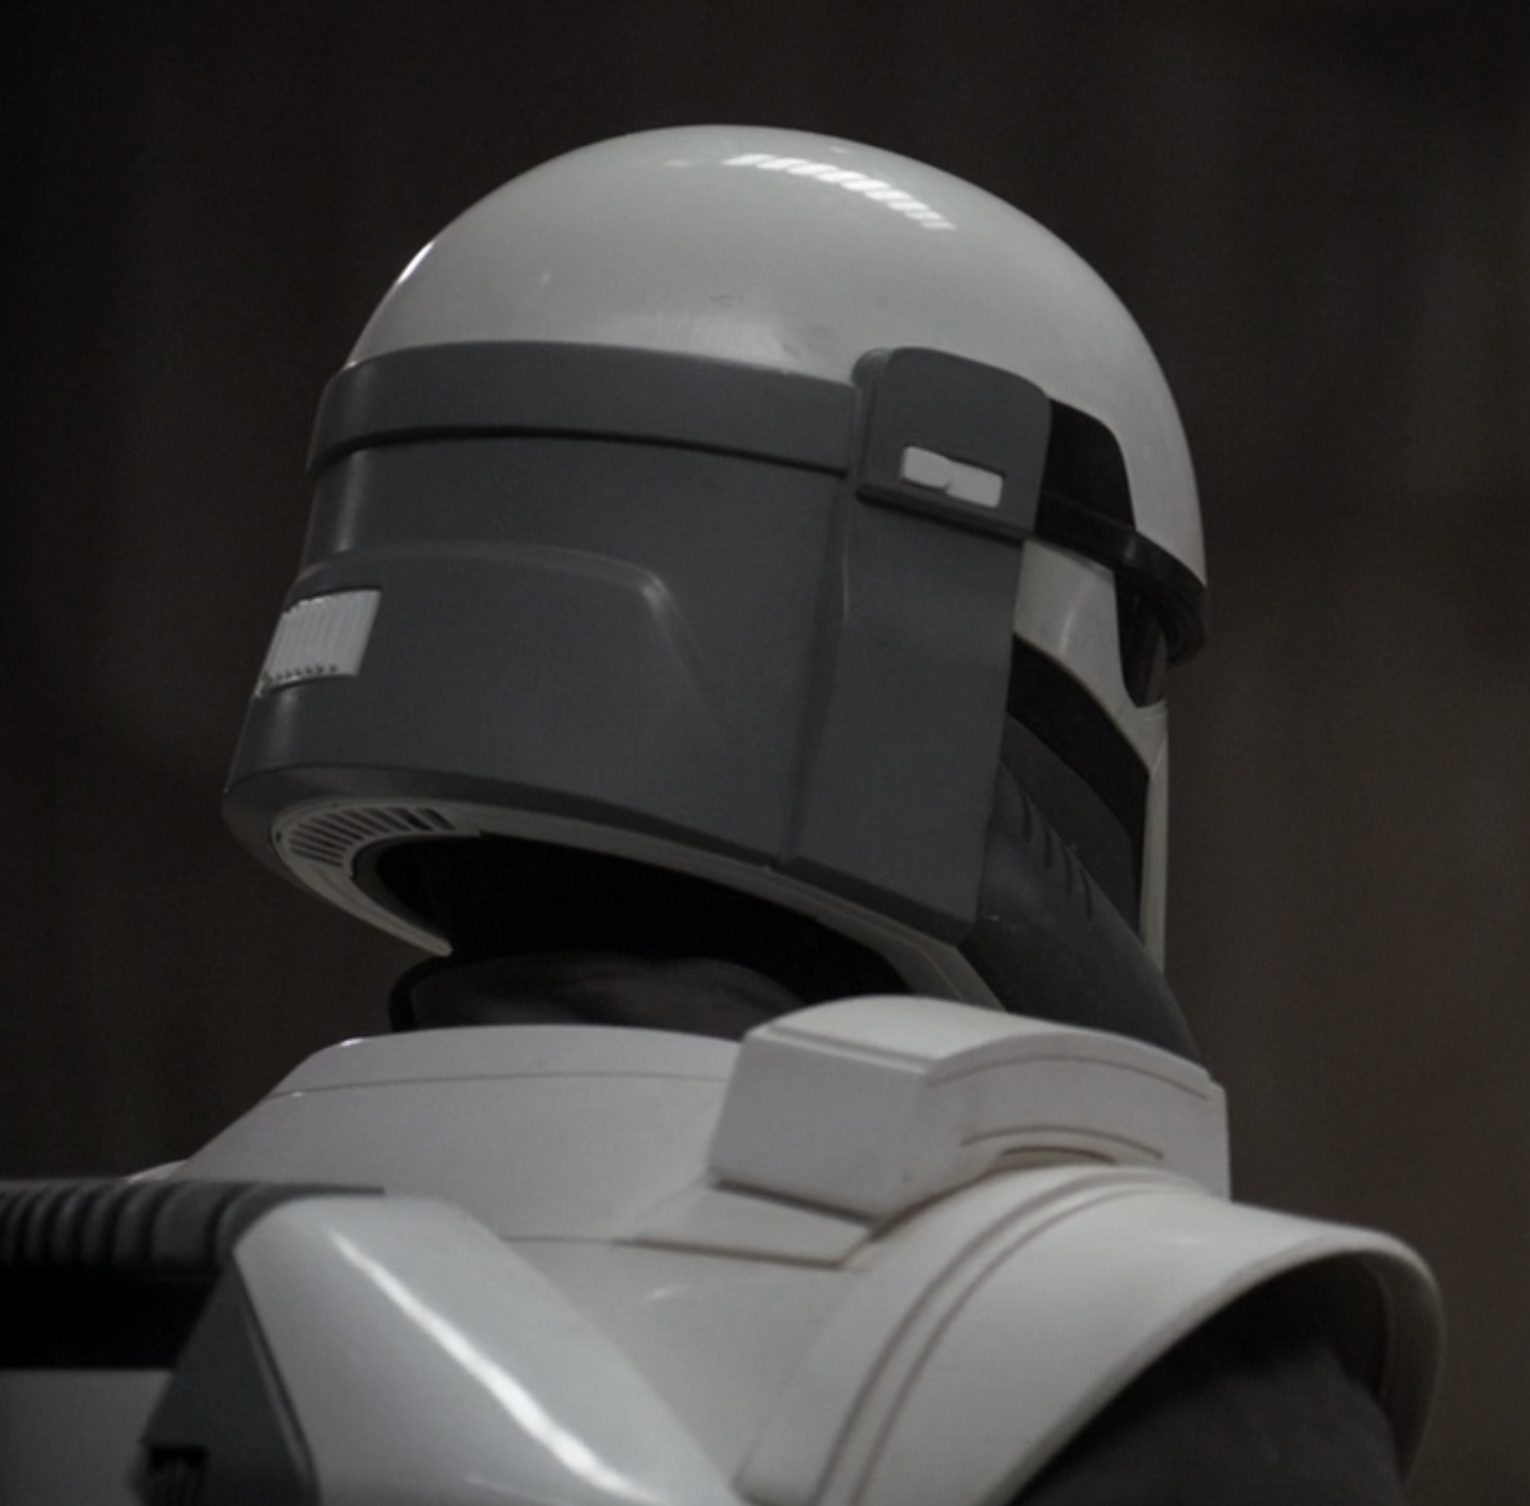
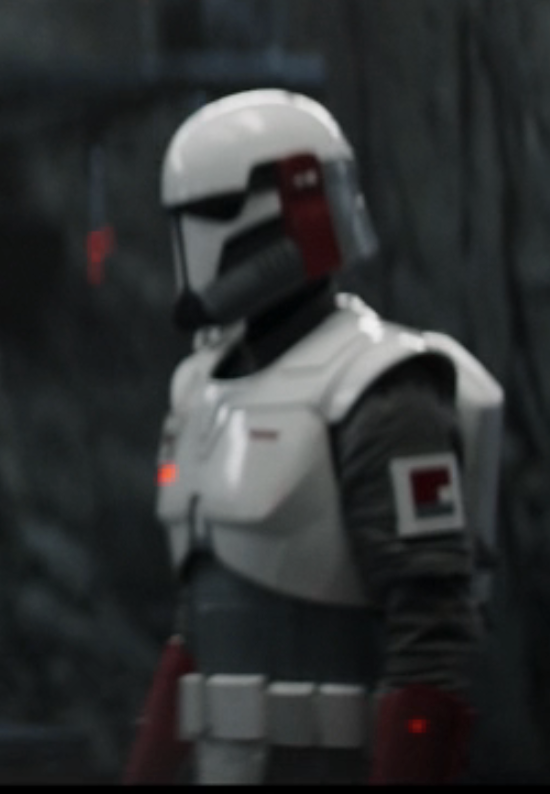
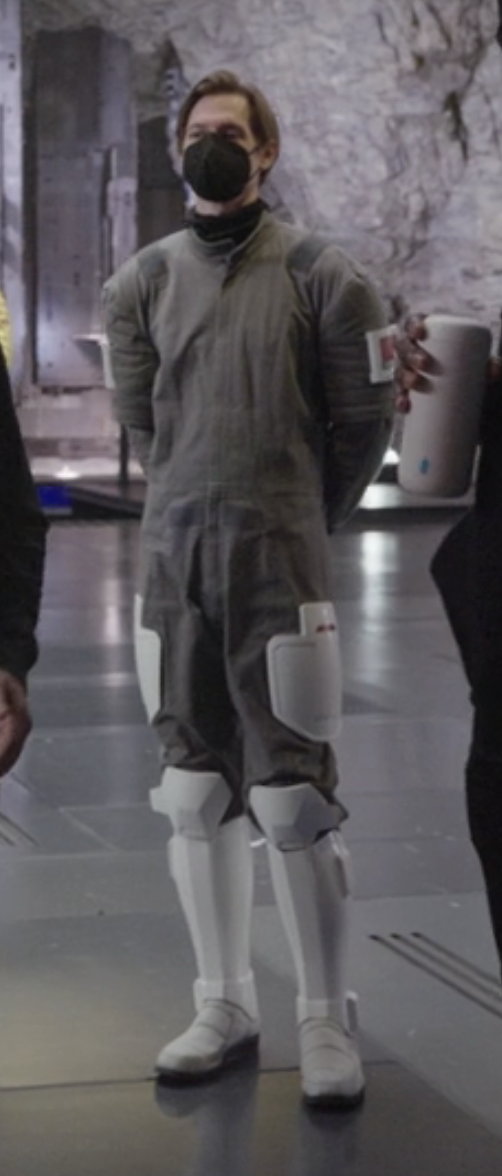
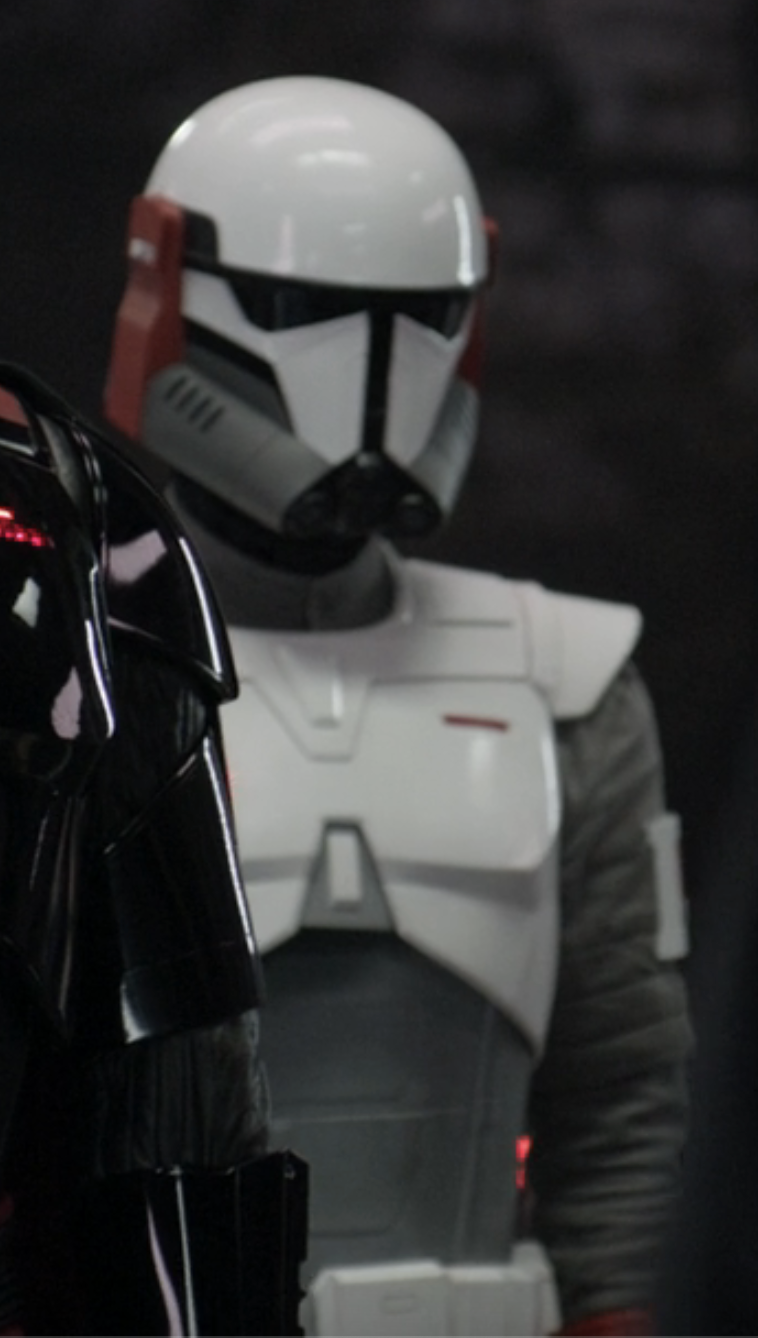
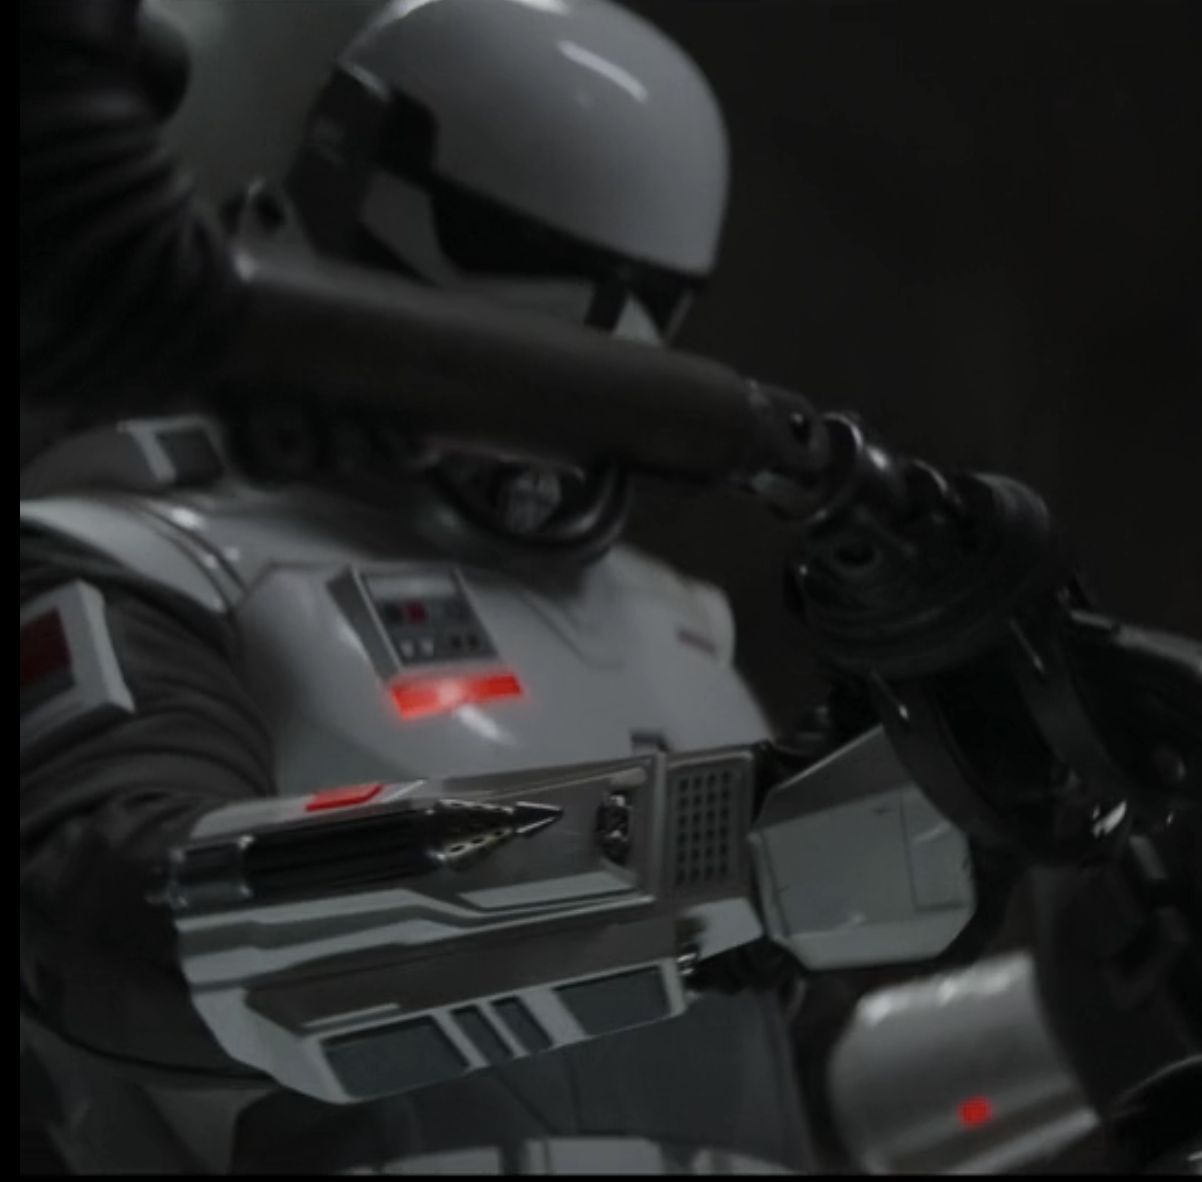
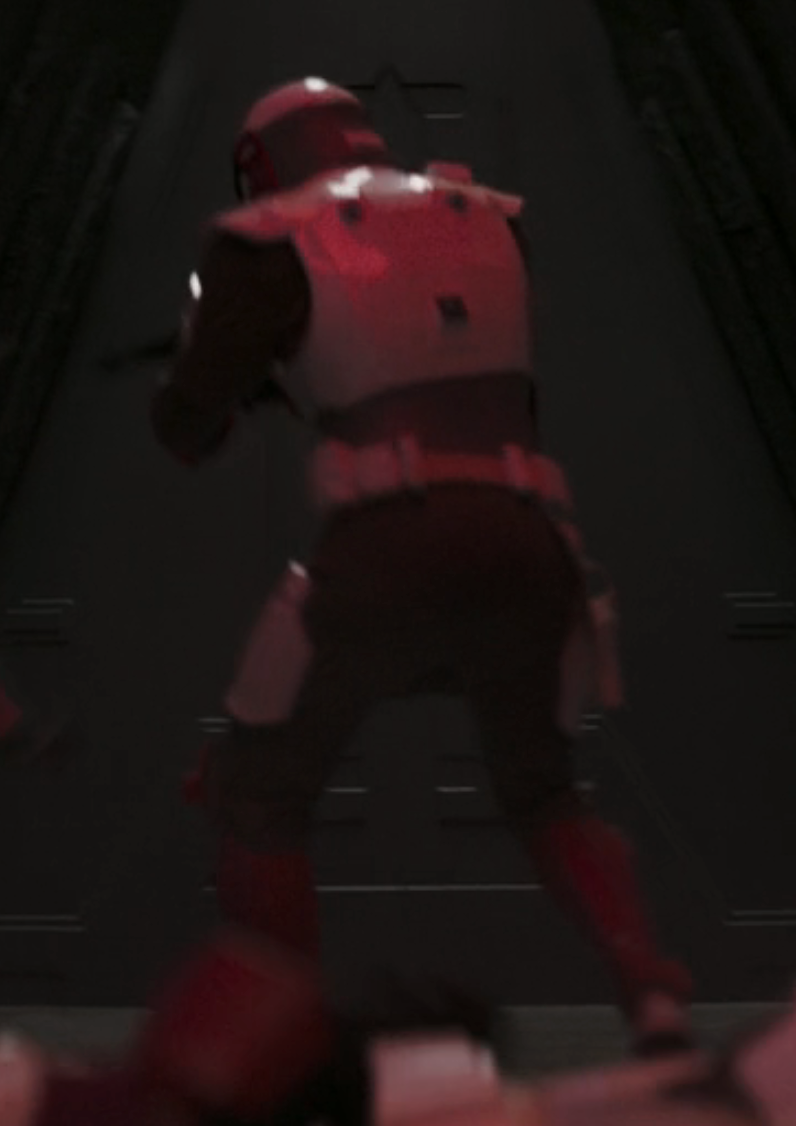
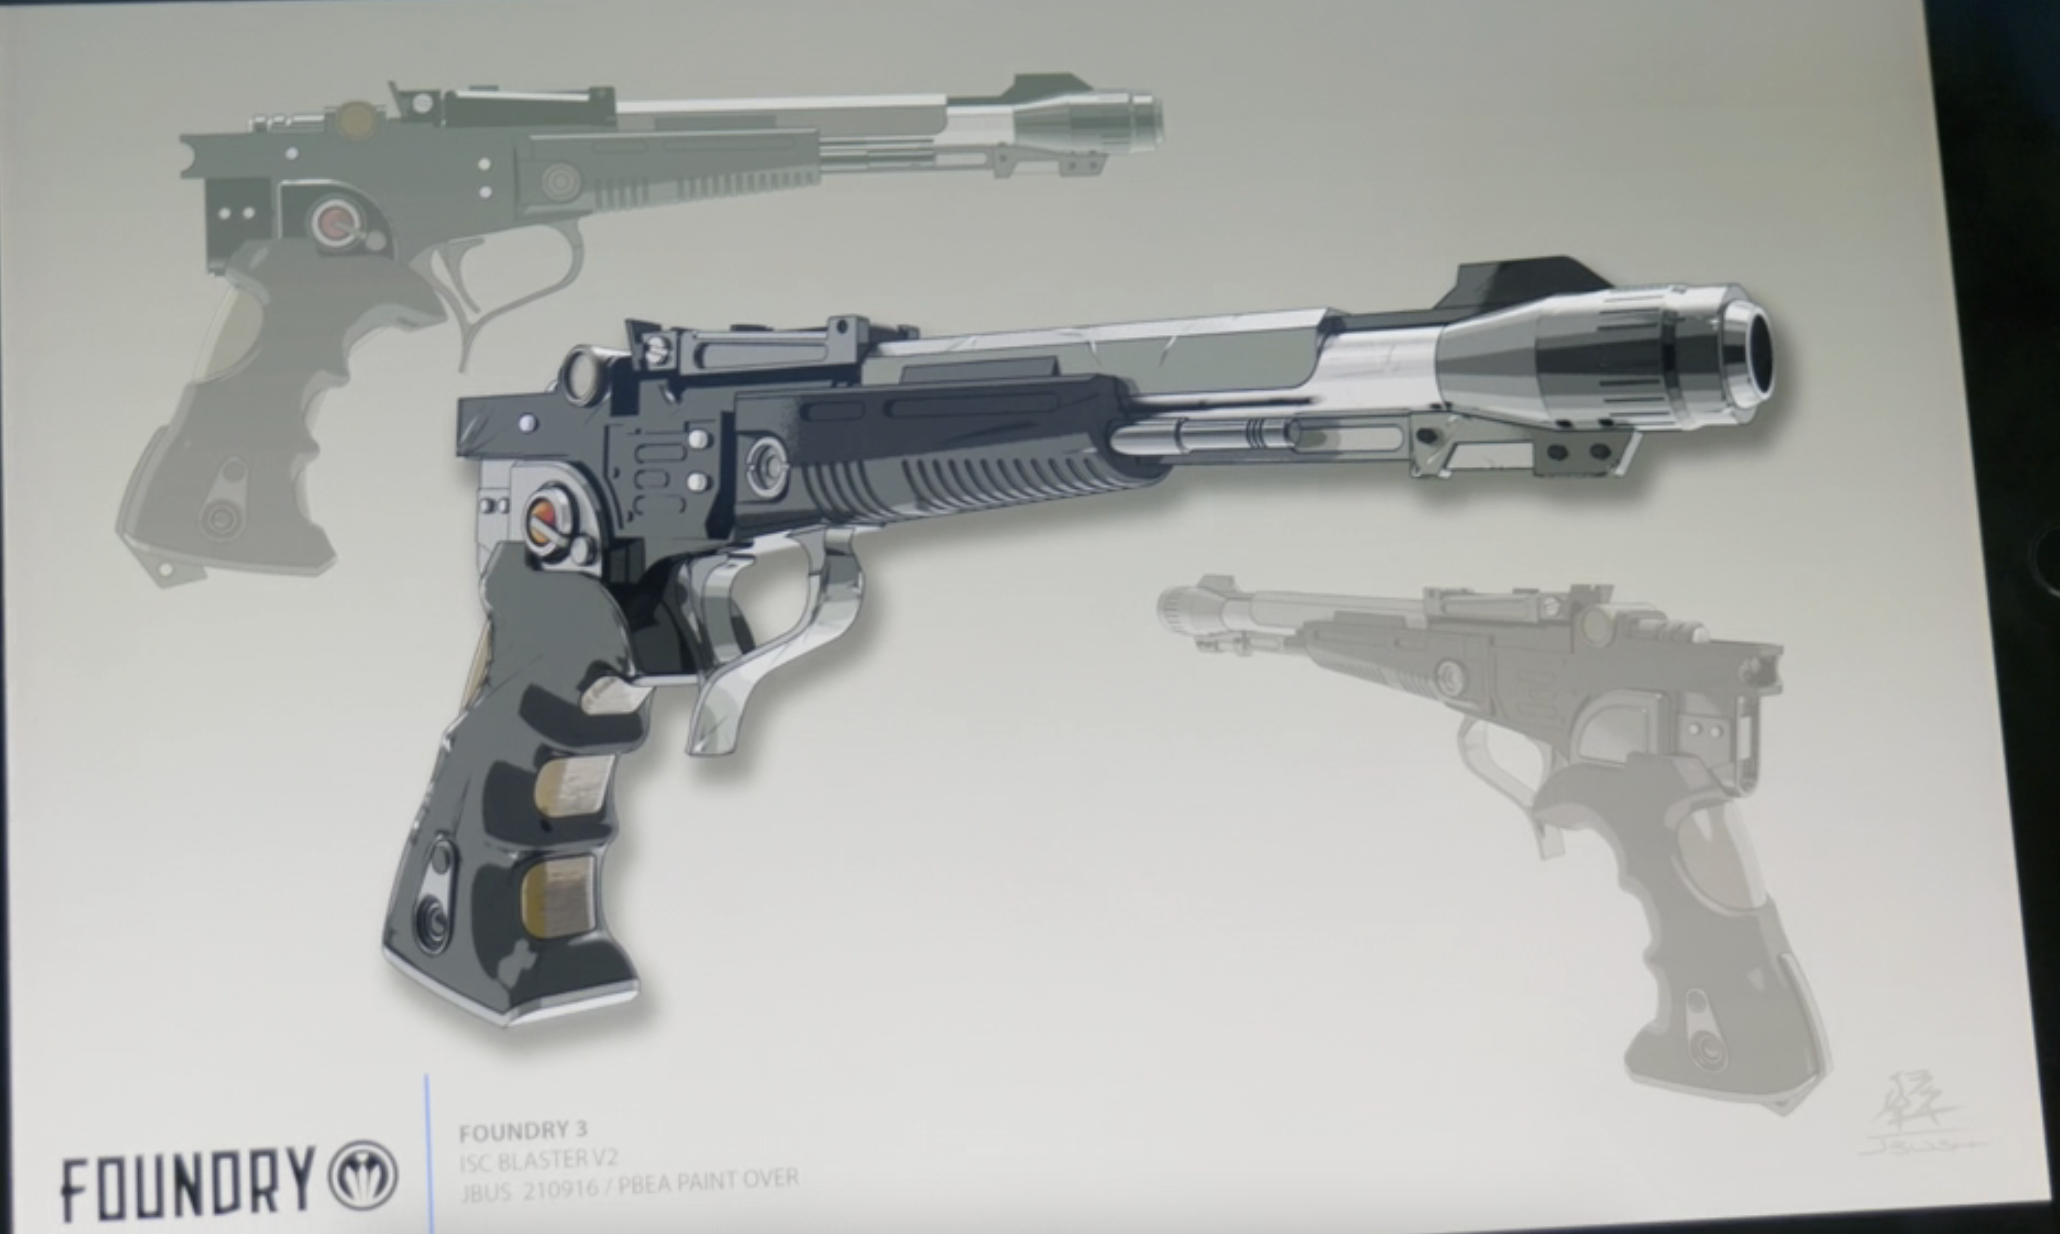
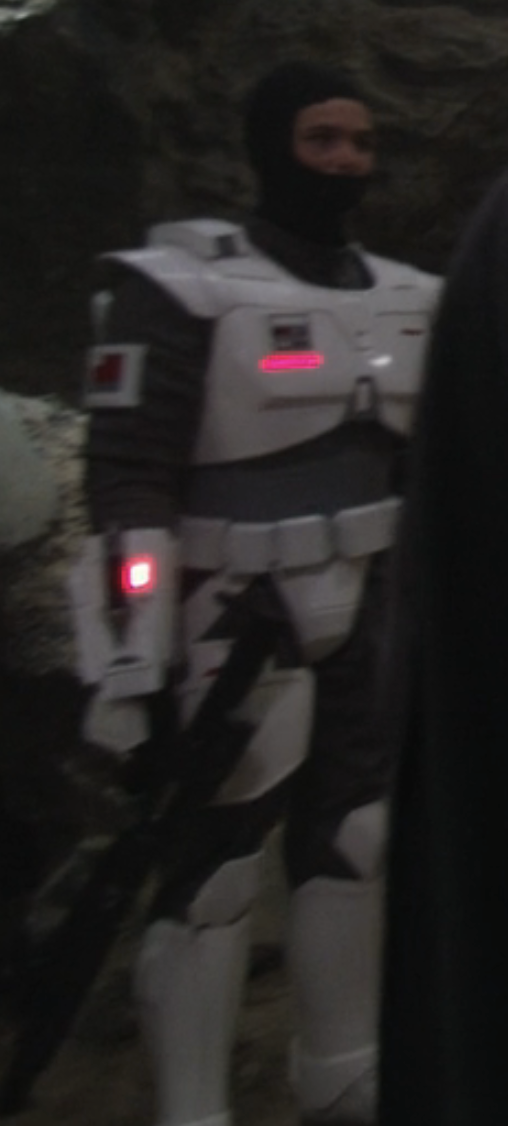
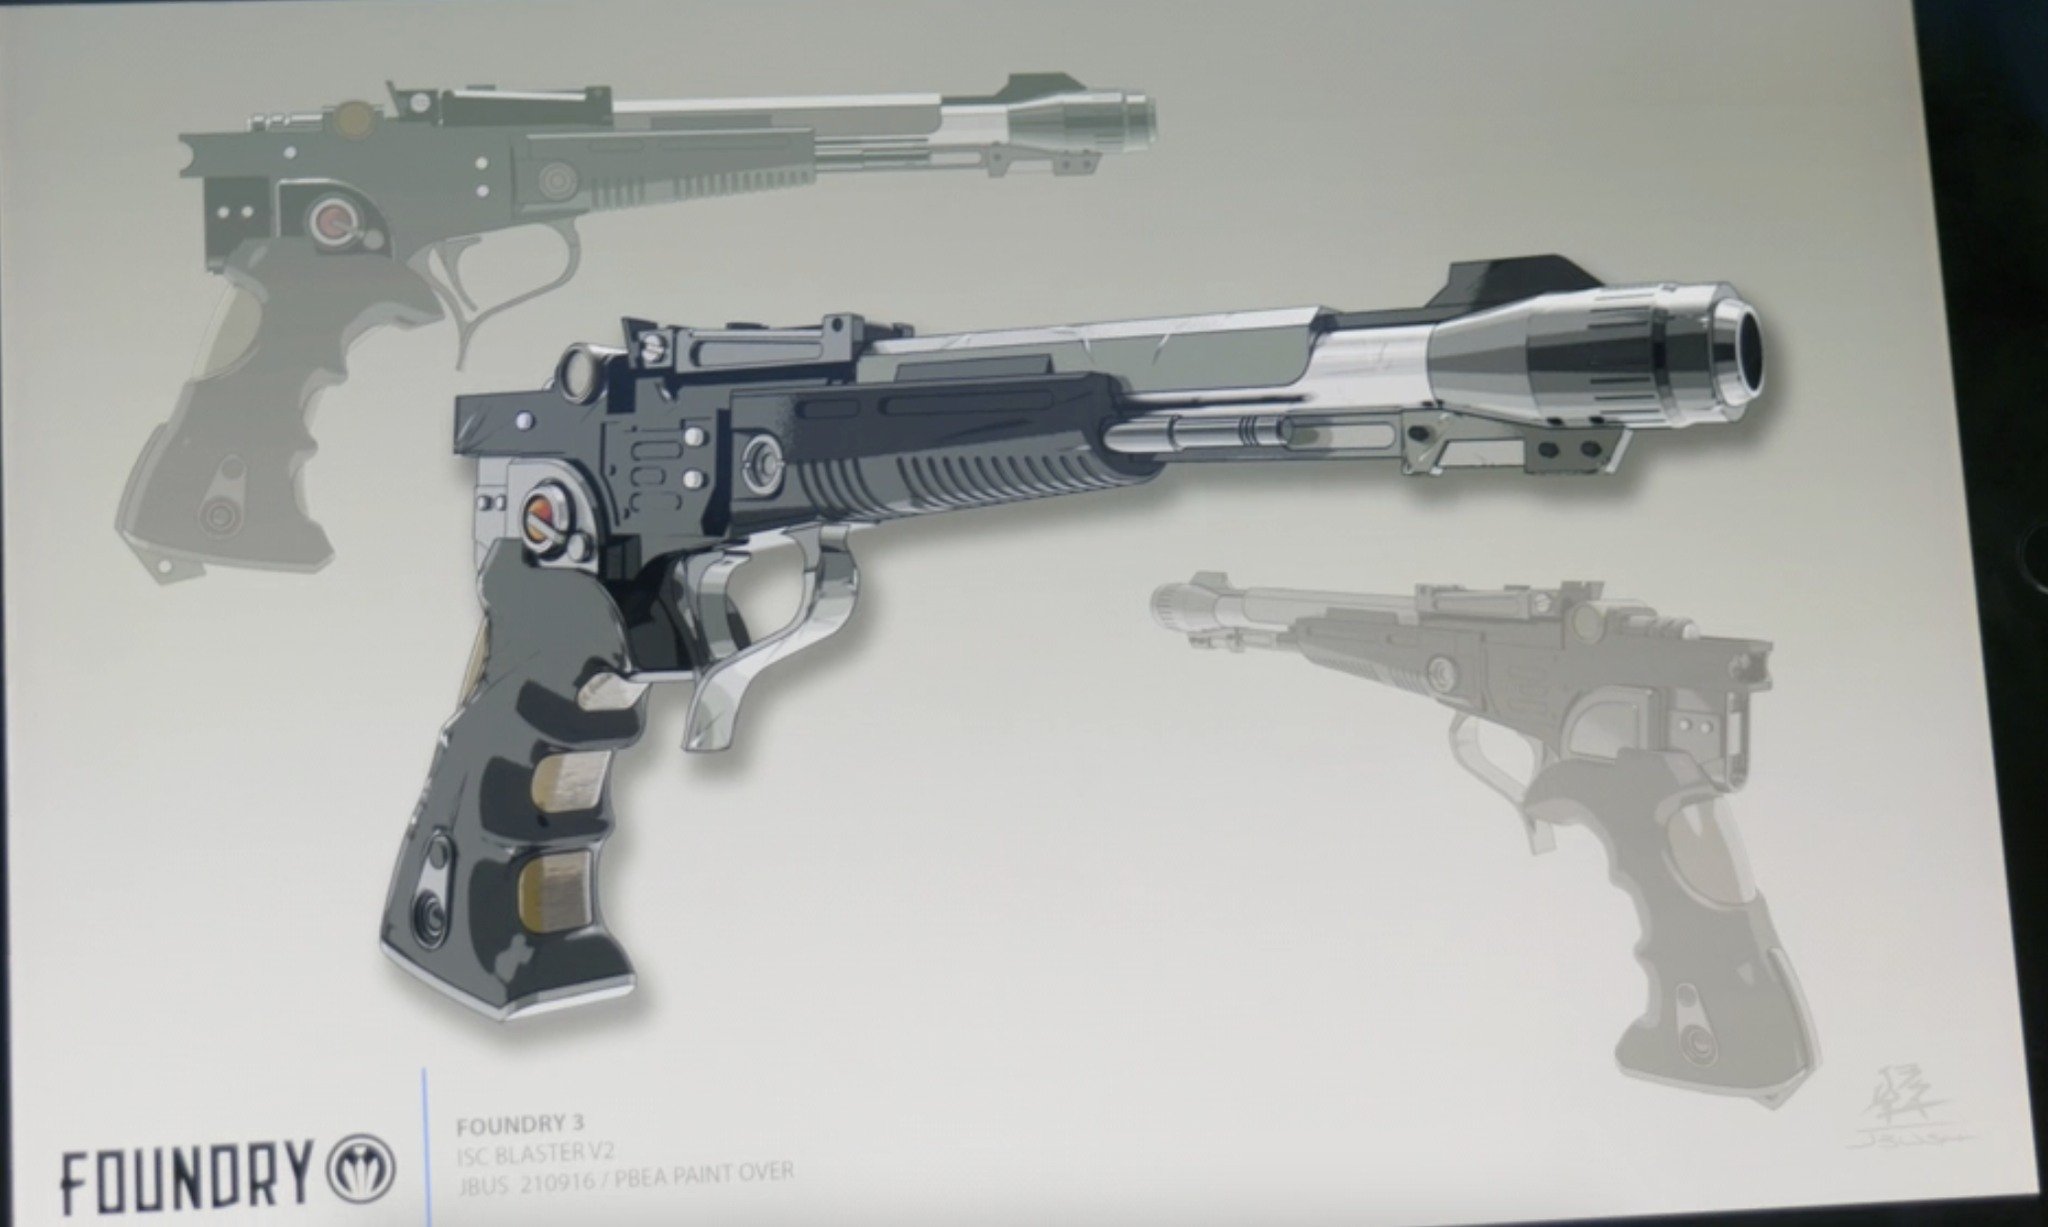
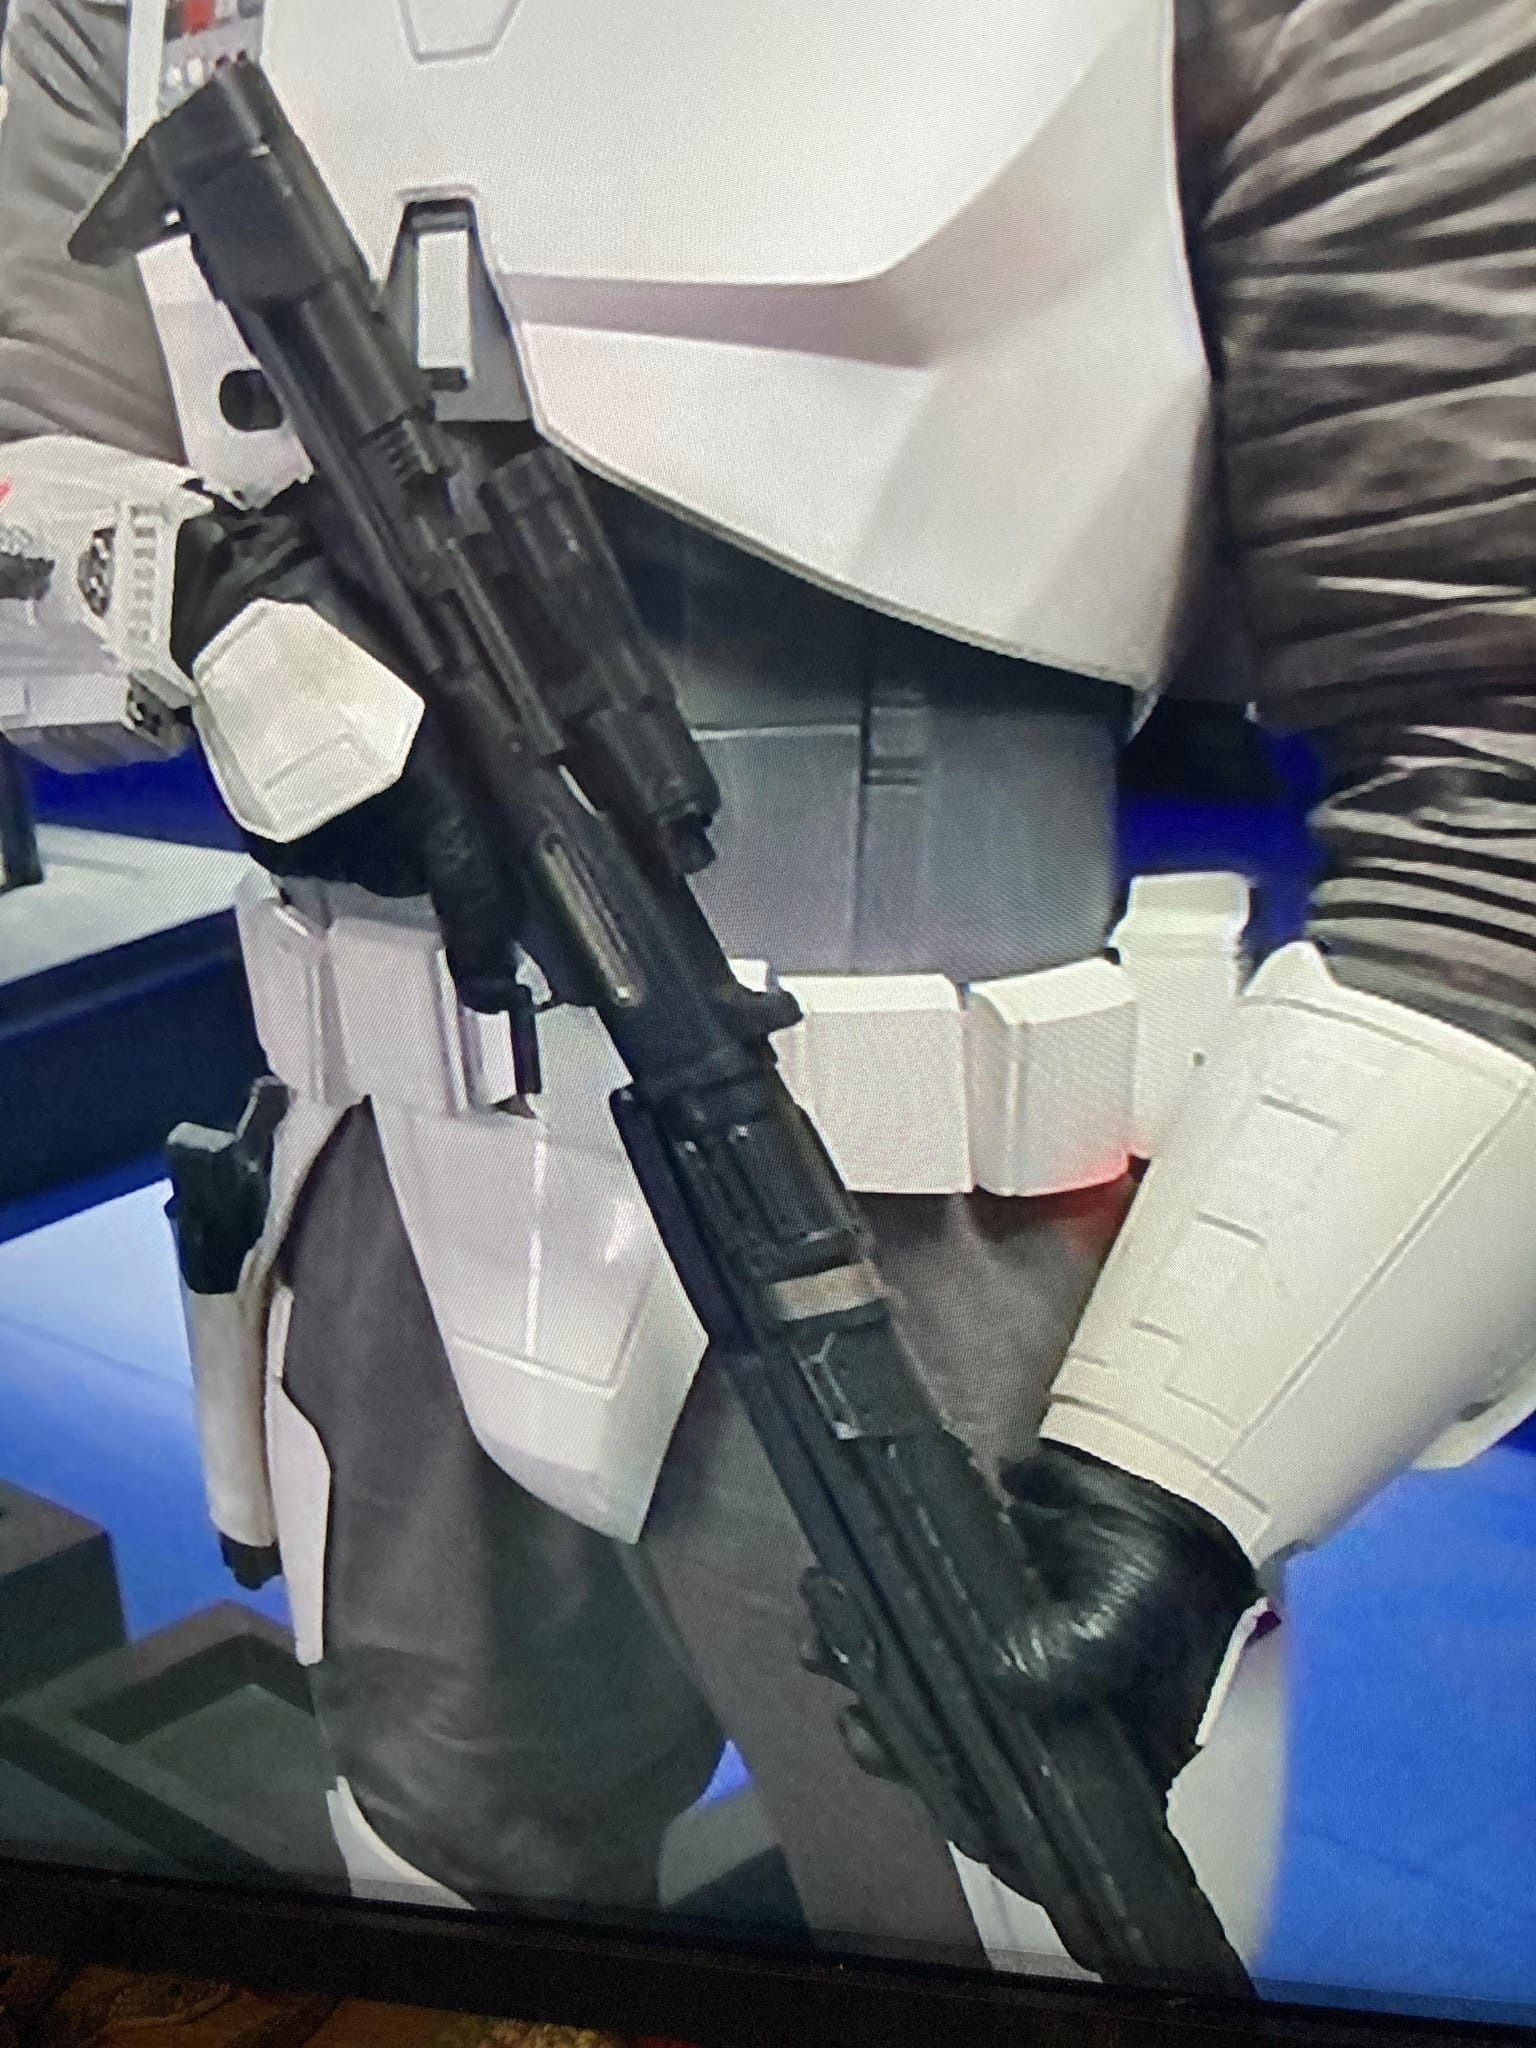
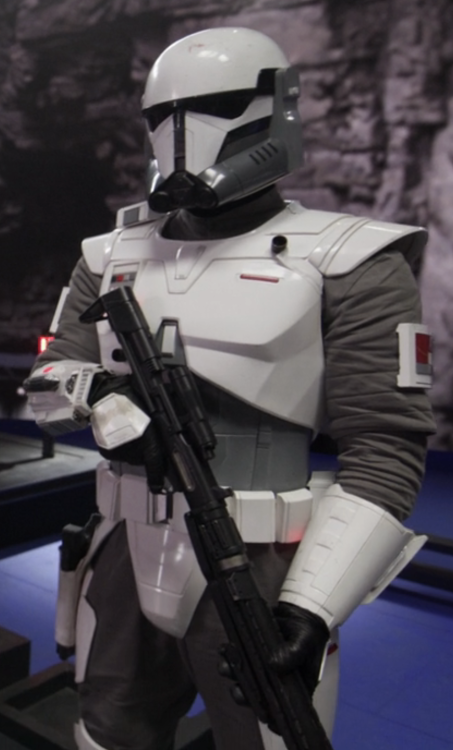
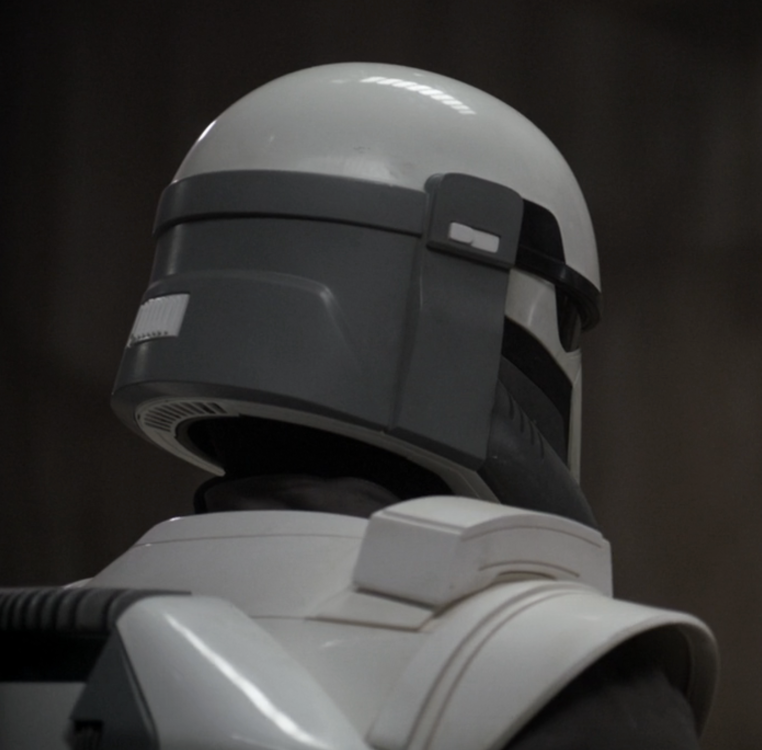
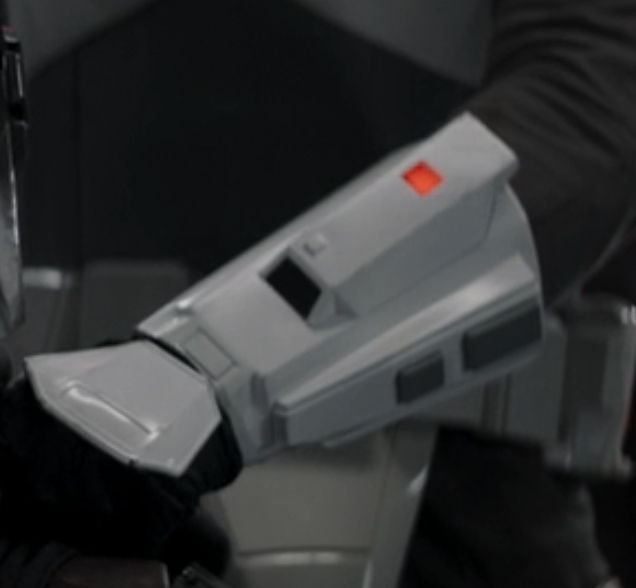
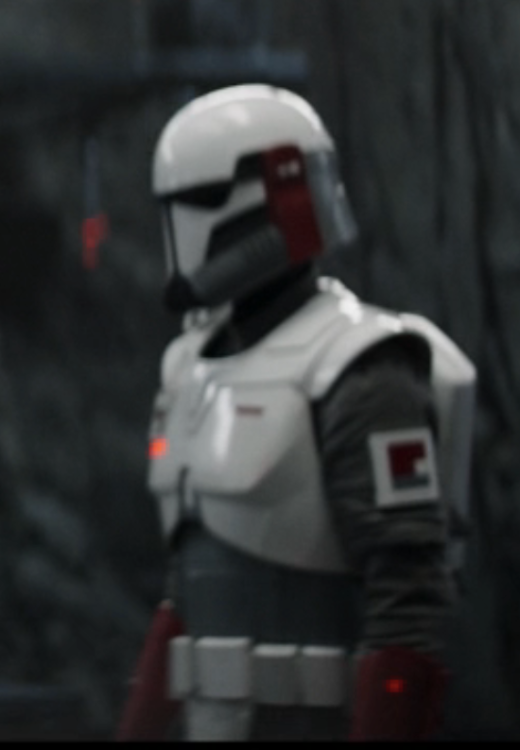
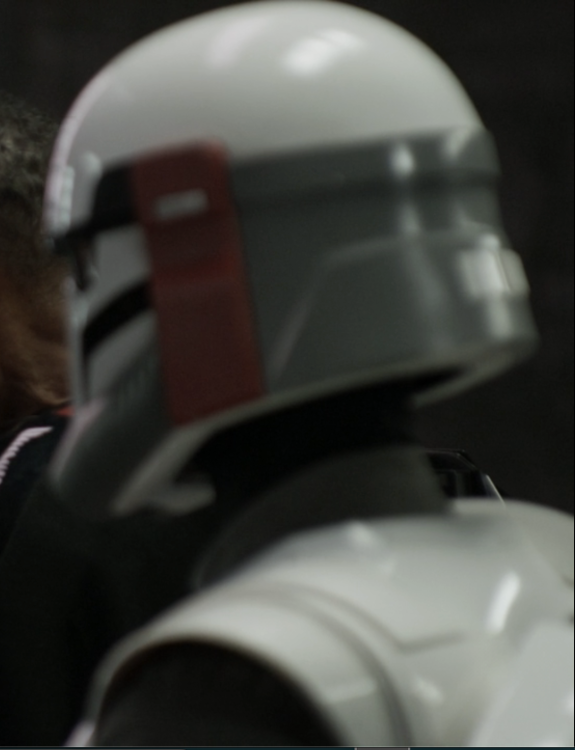
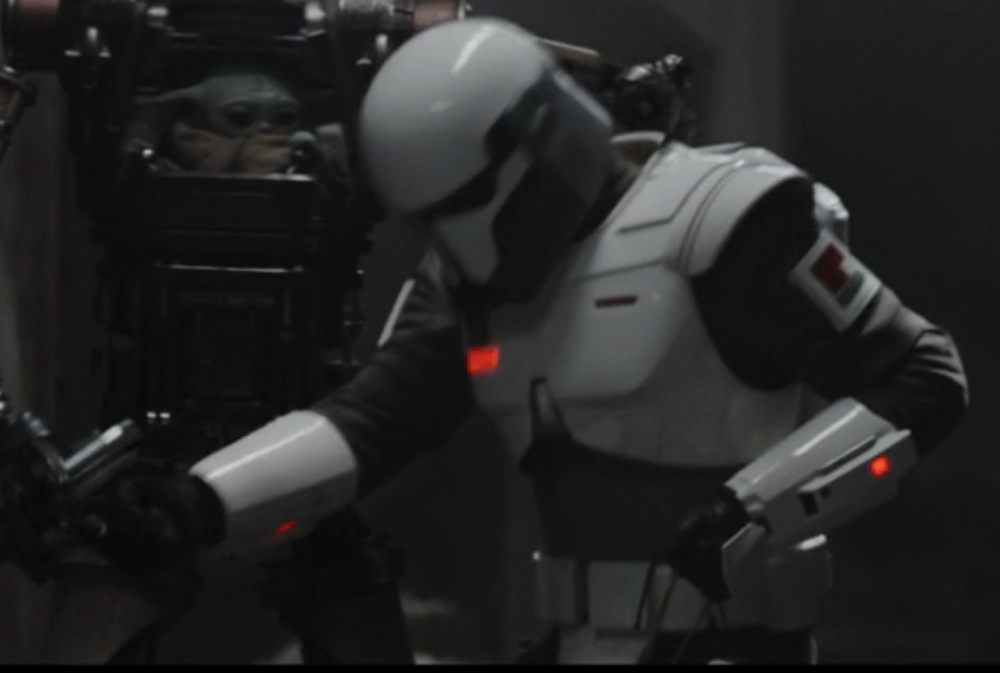
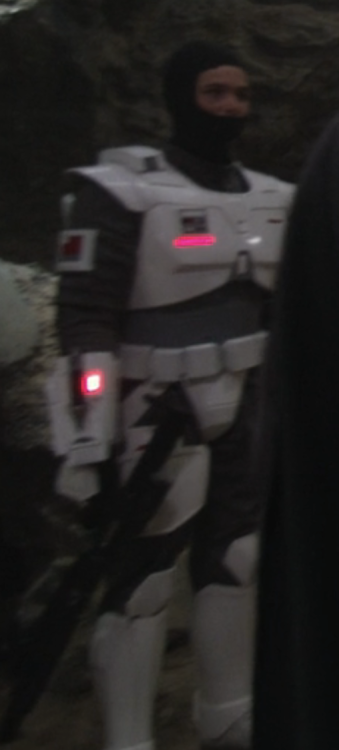
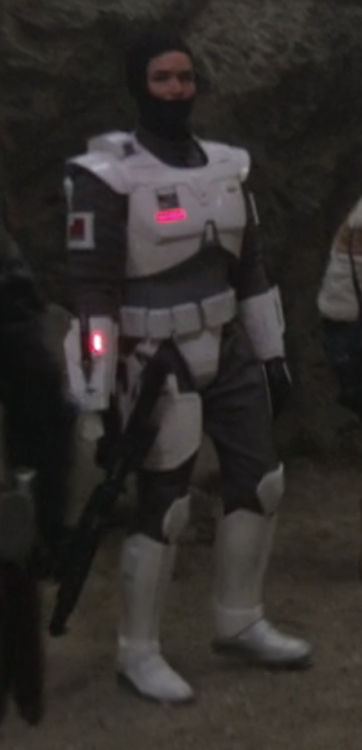
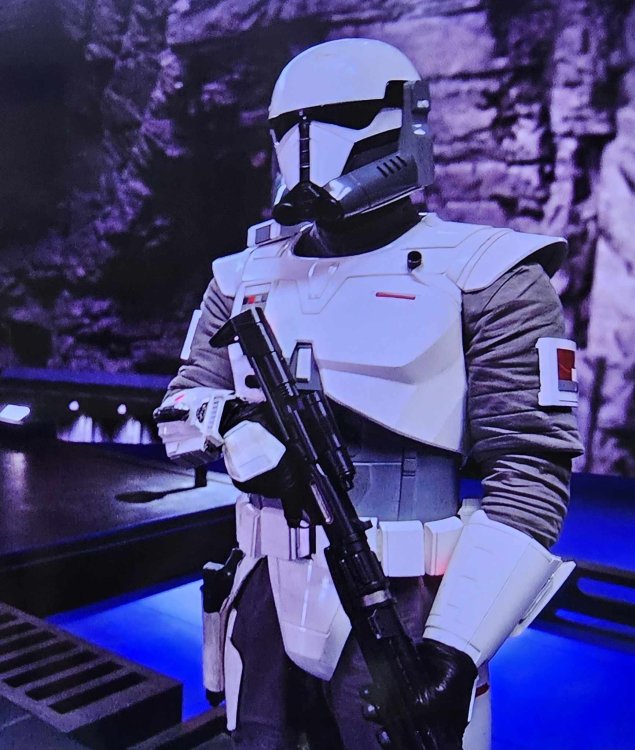
Baton, Shield, Blasters, Jetpack References
gmrhodes13 replied to gmrhodes13's topic in Weapons Imperial Commando


-
Great to see you are back at this, looking good
-
A Trooper needs help - my calves :(
gmrhodes13 replied to patty1985eu's topic in Hard Armor (General Discussion)
Some garrisons will allow you to add larger rear covers strips so you should check with your GML. Armor for the larger trooper is AM which you may be better off looking into -
Bob's ROTK 850 Armor Works Build Thread
gmrhodes13 replied to Teach-'s topic in Rogue One Build Threads
Nothing worse waking up to a print gone wrong -
FYI you don't even have to use rivets if you don't want too, I use small bolts and nuts in case you want to do any fine tuning You will find the ears will cover most openings so don't panic too soon
-
Nice work, some references for painting teeth for when you are ready with a brush Note the paint doesn't go all the way to the gums, just stops short
-
I used to add the inner strips but over time found I only really needed them for your shins as you are constantly opening and closing them, it's a personal choice, it won't affect approval so up to you if you want to add them
-
SublimeBW's Armor Master's (AM) ANH Stunt Kit - Build Thread
gmrhodes13 replied to SublimeBW's topic in ANH Build Threads
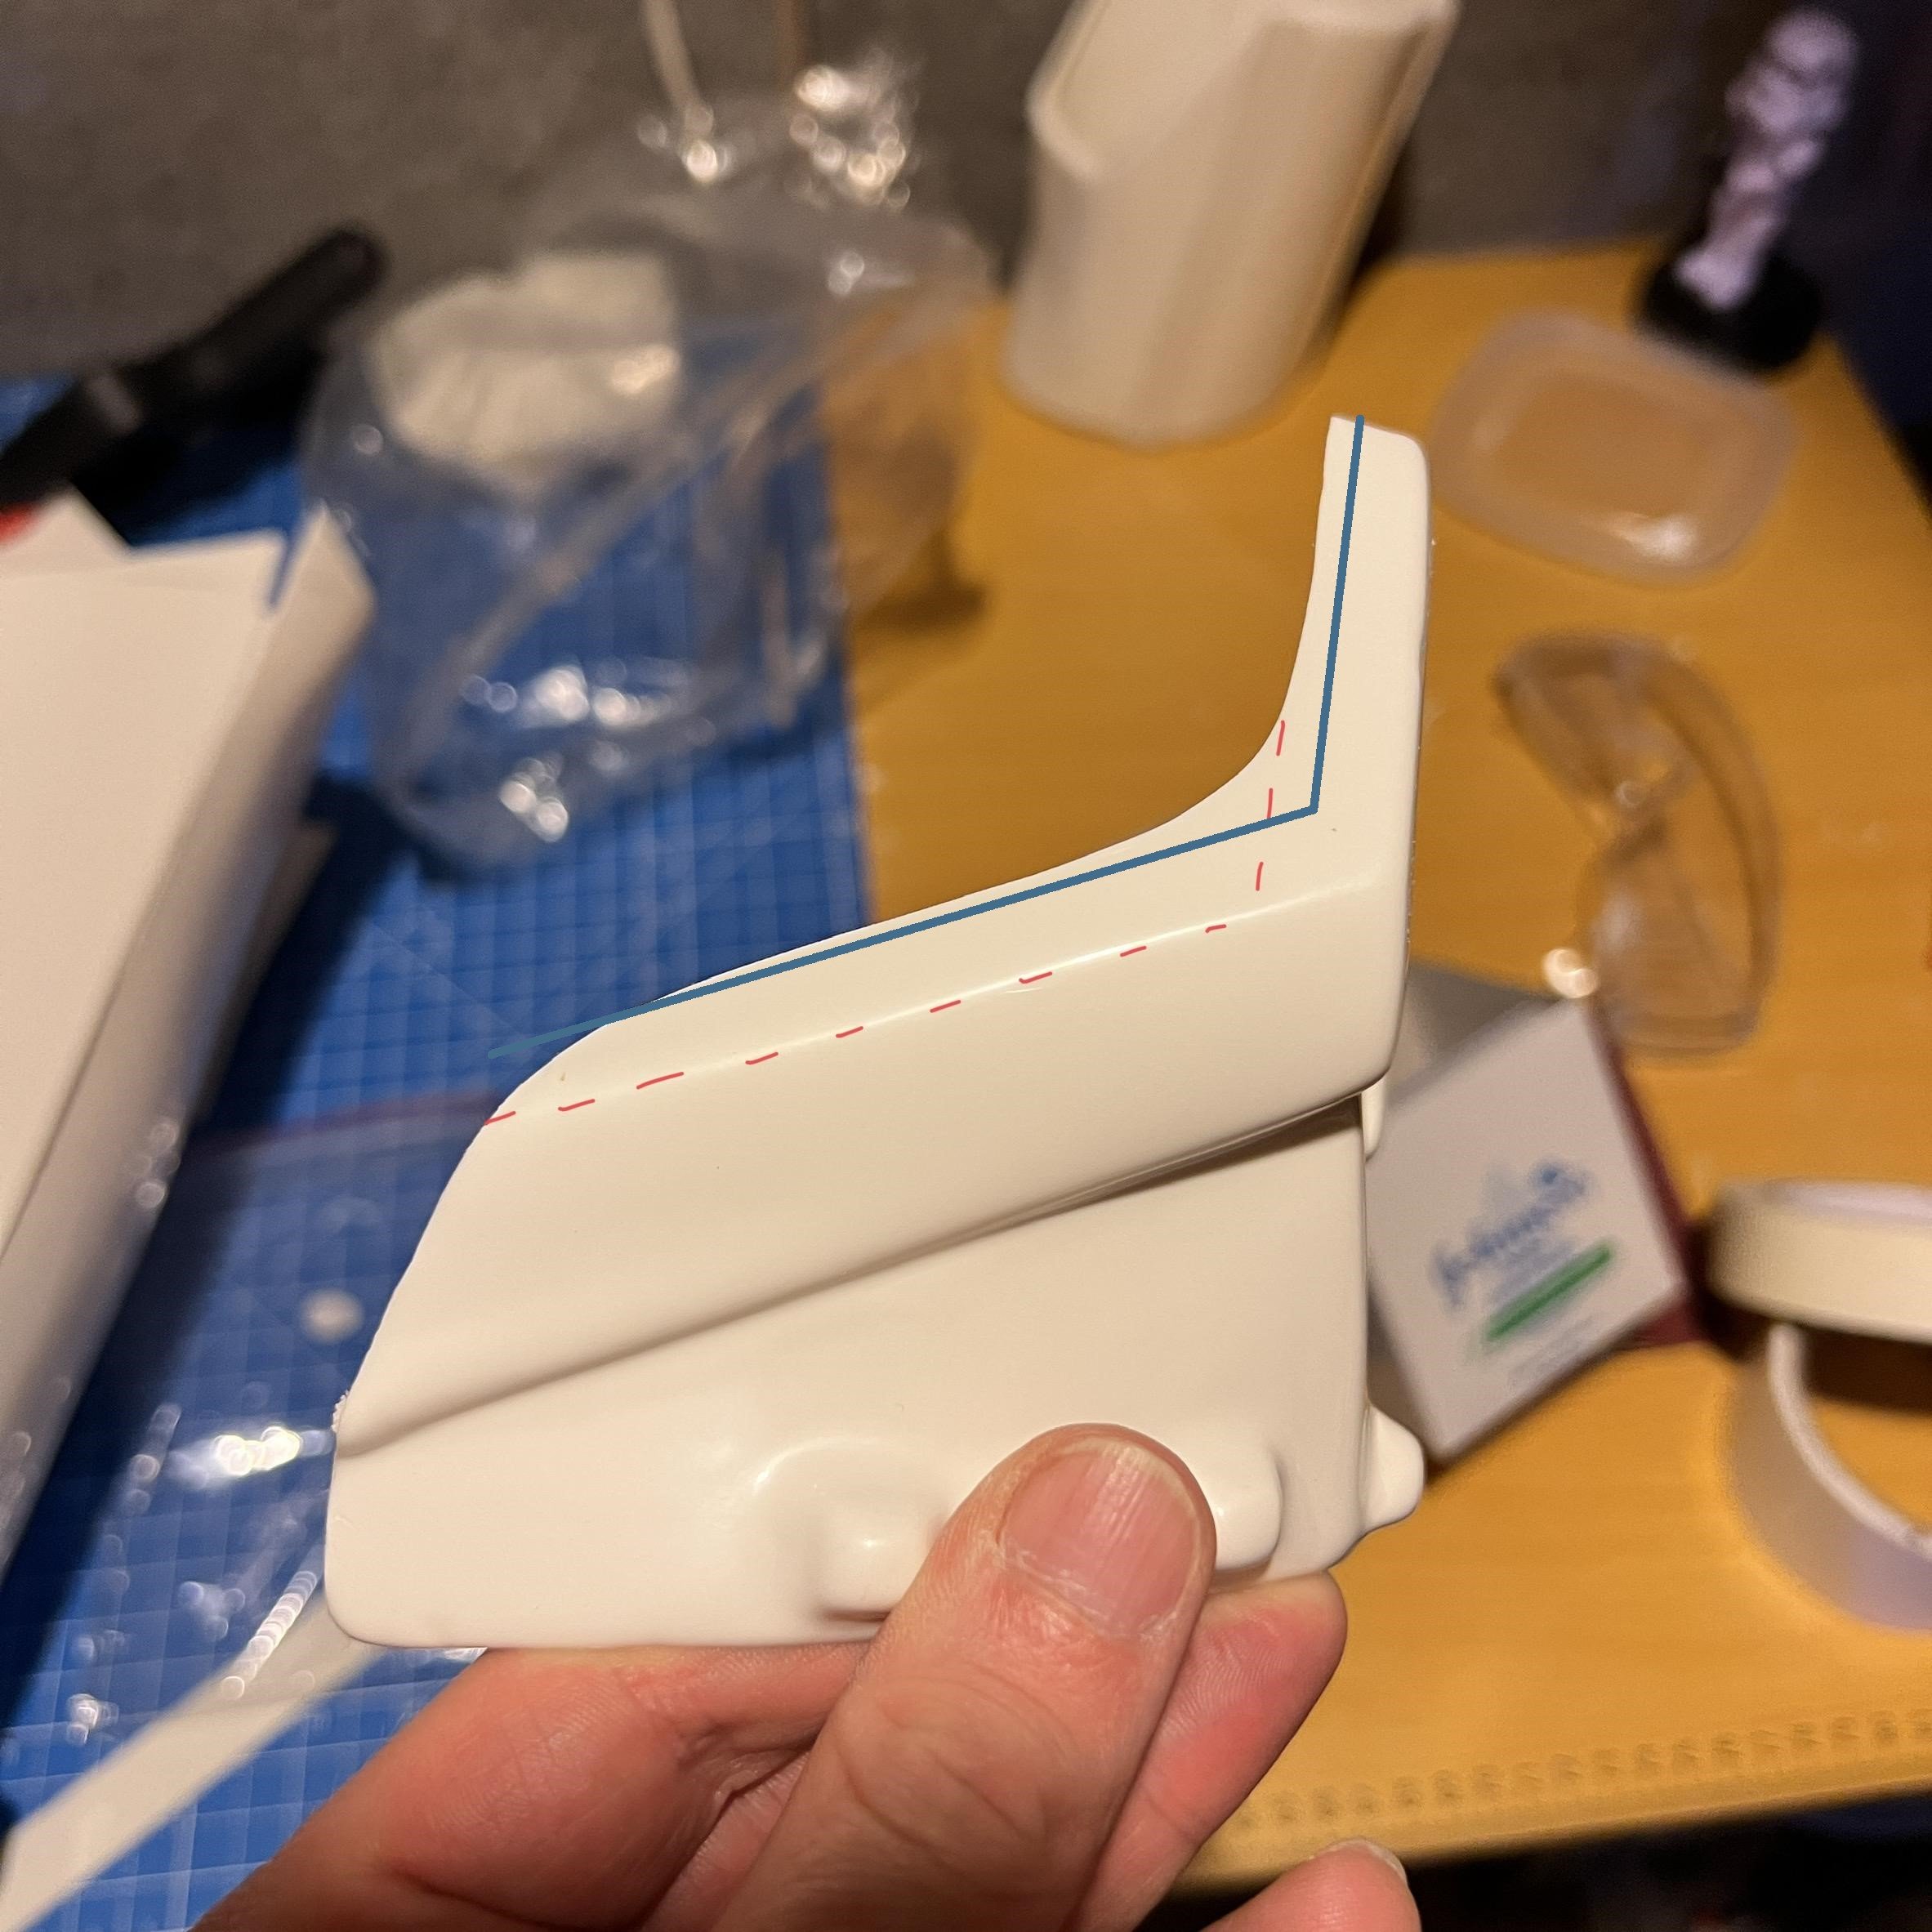
When in doubt: https://www.whitearmor.net/forum/topic/48166-return-edges-101-ottk/ Now, the BOTTOM of the posterior plate is where we often find splitting issues. Should you leave some return edge? Sure! BUT(T), when trimming the corners, (see below) be SURE not to give it a sharp angle... this is where the trouble usually starts. Instead, give it a slightly rounded angle (as shown in green). -
Vendors list for Imperial Commando costume parts & accesories
gmrhodes13 replied to Sly11's topic in Quick find resources