Leaderboard


Popular Content
Showing content with the highest reputation on 06/17/2022 in all areas
-
We are in the era of 3D printing and a welcome addition to our CRL's. What does it really mean, well a little more prep work to eliminate print lines, it's not unachievable it's just a little more time and care in preparation. Long gone for me at least are the days of sitting in my hovel making blasters and weapon from wood, pvc, and anything else I could requisition and repurpose from my mates 45 year old mechanical workshop, apart from the prep work and occasion snap of a thin piece 3D printing has allowed my love of prop making to explode, if only there was a 500x500 resin printer at a reasonable price, oh the joy of that. Who knows it's taken nearly 10 years for me to get to this stage of prop making, I wonder what we will all be using in another 10 years.5 points
-
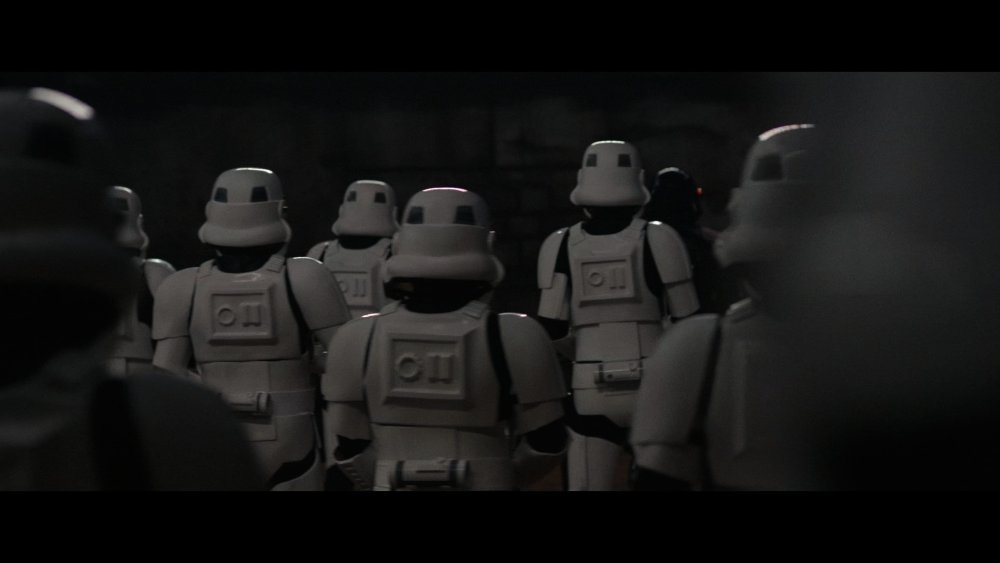
Hello everyone A mass update is underway that covers all our CRL's. We are introducing some text that covers 3D printed Blasters, weapons and accessories. This has been added to the template at the opening section of all our CRL's as of today, but I will also be adding it specifically to the EIB section of each CRL. The detachment staff all agree this is a common sense addition for anyone considering not only using a 3D printed weapon or approvable accessory based on the costume, but also that at our higher levels the expectation is that is should resemble one of the several high quality resin or metal versions available. This does not affect basic level as blasters and weapons are not required. The following text is now viewable at the top section of all our CRL For higher levels of approval EIB and Centurion: For costumes with only blasters. 3D printed blasters can not contain visible print lines and must be sanded smooth for a more realistic appearance. For costumes with both blasters and accessories. 3D printed blasters and any approvable accessories can not contain visible print lines and must be sanded smooth for a more realistic appearance. The ANH Stunt already has similar wording in the Level 2 section which will be duplicated across all in the coming week. UPDATE: CRL's have now been updated . I believe most will agree that maintaining our standard is important and that acknowledging 3D printed items are a viable source of additions to your costume that the standard of finish should be as good as, if not better than other available products. There is also a new post in the Expert infantry section with some example of correctly finished 3D printed blaster and images of incomplete prints and the work needed to bring them in line. With unquestioned loyalty Sly11 TK114693 points
-
Hello all, following a lot of research into what role I’d like to take on in the 501st I have decided to be a TK. I met my first Stormtrooper at an event at a local grocery store when I was roughly nine years old. From that time I’ve been fascinated by these troopers and their incredible look. While the Stormtrooper has evolved over the years and their are different versions and designations, I am looking forward to submitting my request to suit up as a Centurion A New Hope Hero Stormtrooper using a commissioned build through RS Props.2 points
-
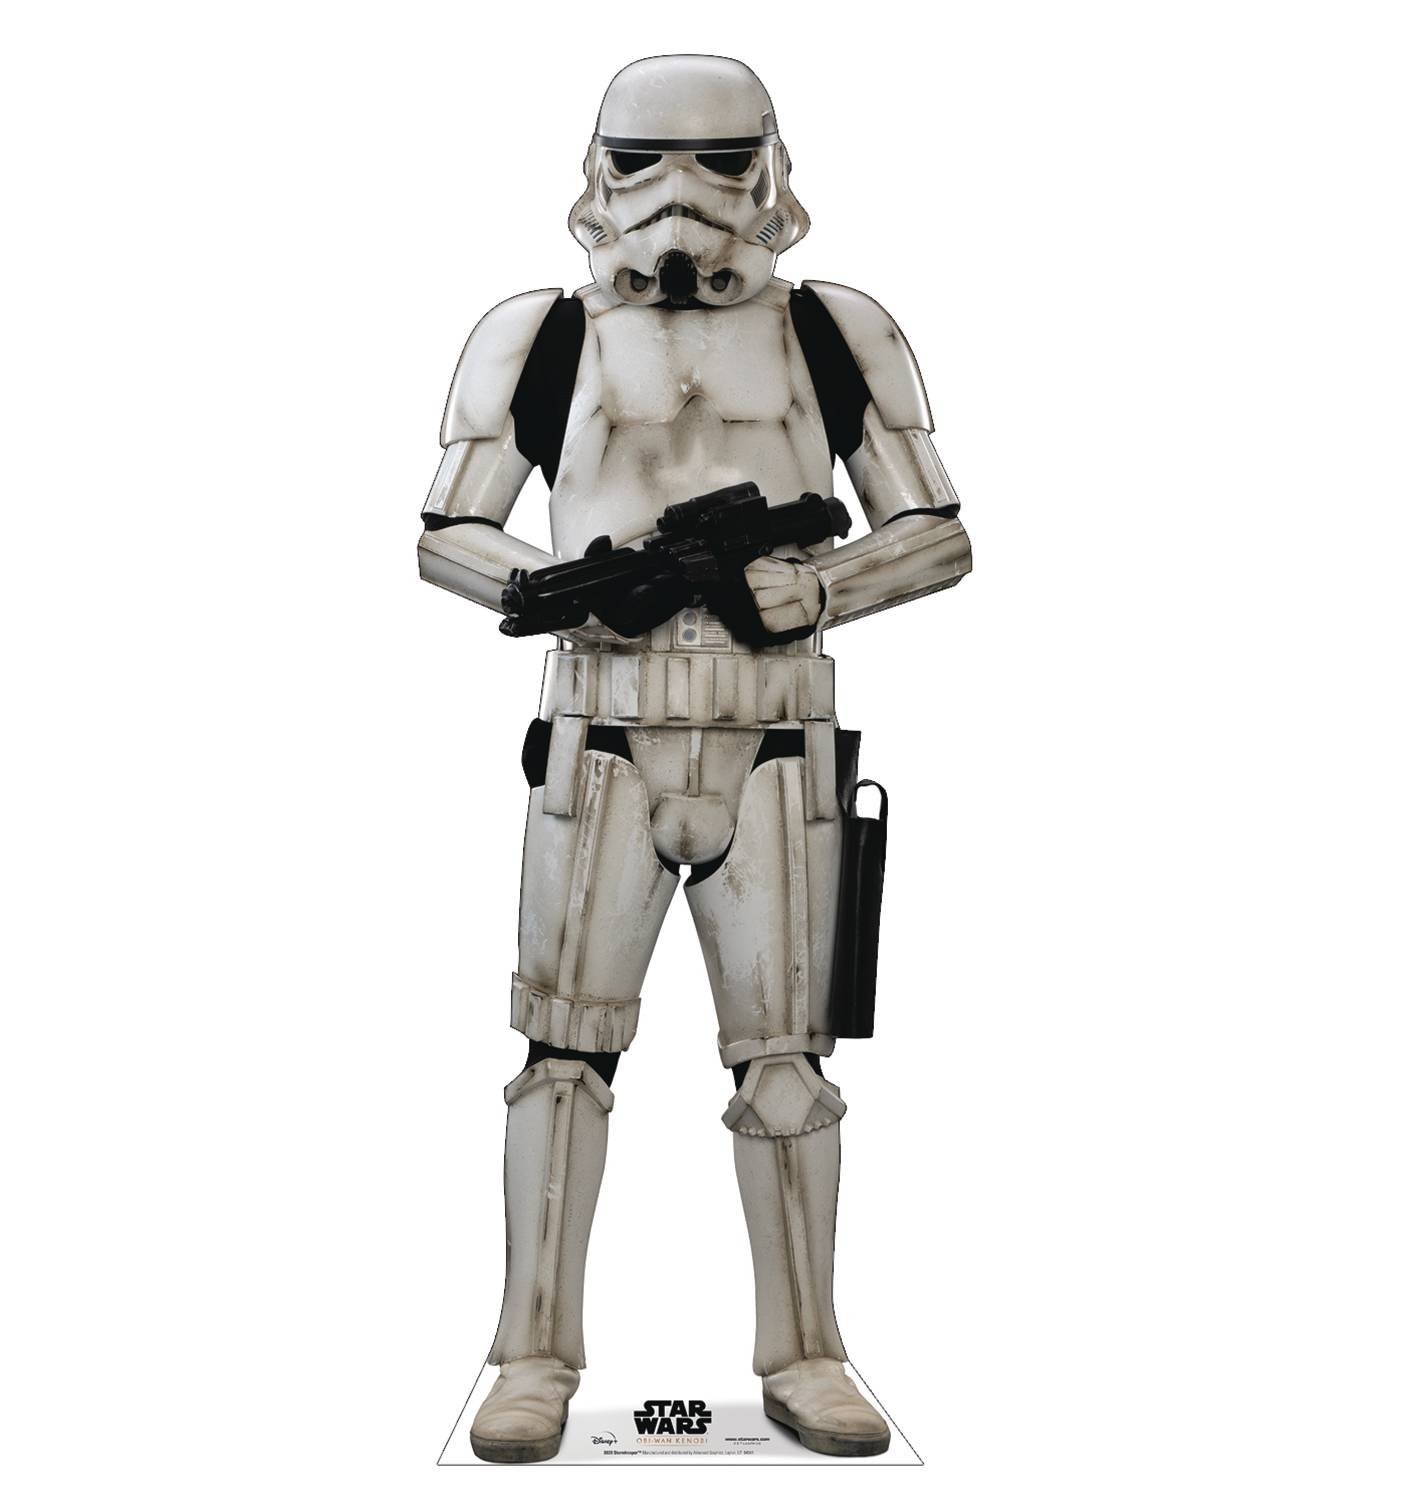
Obi-Wan Stormtrooper standee
 2 points
 -
You can pretty much do what ever you want on the inside. I have two fans on separate switches, thin foam on the inside top and 2" blocks either side which sit just in front of the ears, keeps the helmet from wobbling around. Here's just a few threads When in doubt you can also use the references in the Gallery Sections https://www.whitearmor.net/forum/gallery/category/24-anh-tk-reference/ Some great outside references from starwarshelmets.com http://www.starwarshelmets.com/original-ANH-Stunt-Stormtrooper-armor-helmets.htm2 points
-
Thanks for the help, I have a new set coming!!! Sent from my iPhone using Tapatalk2 points
-
It is great fun following this build and I really like how deep you dive into each detail. There is just one thing that stands out to me and I hope you don't get it wrong if I mention. The scope rail: if you shorten the vertical part on the front and give the full length a 'banana bend' it would better match the screen used rail. Again, I hope you get this as positive criticism. For the amazing level of accuracy you put into this blaster, I found it wrong to not mention this.2 points
-
yeah, concept art version, game version and rots live action style version. 3 cool looks. EDIT: so who is gonna make a new CRL? I am sure someone here wants to be first2 points
-
So three versions, Game, Concept, and Ubertastic flawless lore accurate mega ultra fan version. I am feeling like this is a really good balance. Thanks for your models and insight. Looks so much better now.2 points
-
obviously just as with the belt the concept art of the knee is not the same as the game model. Game accurate knee is unique, concept art knee is clone style. concept art belt has 3 front boxes, game accurate has 5. I think we can separate the designs as you are to concept art version and game version, 2 different but valid versions of the trooper. When I get to making figures I may do both a game accurate one and concept art version. would need to somehow widen the helmet for concept art version of course. Maybe have concept art version all white while game accurate in 501st colours Edit again: I just noticed Degial backpack side pipe is too long and has a white piece the game version backpack doesn't. That makes Skylu's the better interpretation. he also made the ammo pouches really small.2 points
-
Decided to use that belt but edited to match the concept art. It's more like a CT ever so subtly this way but it's also clearly leaning TK as well. Starting off more fresh, Once I get the White textures done I can easily add any wearing or legion markings. Better to add than subtract.2 points
-
I actually only ever played the first level on the Wii. lol. I usually watched video games in my household. Based on the concept art I think that's a Clone knee and more or less in the same position but it's now connected to the leg armor at the bottom instead of being it's own thing. So I can probably raise that knee a bit up on my model. If you haven't noticed, the concept art belt and in game belt has the boxes moved. Concept shows 3 mini squares and the in game shows 5. Meaning I'm right if I go with the concept art interpretation with where to put the big boxes at, it would be like a Clone belt in that regard. However it's clear to me that the belt really is that simplistic.2 points
-
Images curtesy of Steve Stamatiadis (director of the game). great reference material. The game model especially while the concept art should help show intention for any unclear areas too low poly to make out. FRjjJIaaIAAT7fg by kraggy2011, on Flickr svgstv1r.jpg by kraggy2011, on Flickr _QCxqPk4.jpg by kraggy2011, on Flickr nGFbqdkt.jpg by kraggy2011, on Flickr FRjjLOlakAEsIUo by kraggy2011, on Flickr FRjjKmjakAE-KMP by kraggy2011, on Flickr Also, the game was re-released for Switch, I think great opportunity for replay and of course reference screenshots! How many of you all got it? last time I played it was on Wii so I think it high time I played it again on my Switch.2 points
-
I wore my chin strap for the fist 5 minutes of my first troop and never again, was the most uncomfortable thing I've worn2 points
-
A couple more threads on the subject1 point
-
I’ll give those a look! Thank you, and photos tomorrow as it’s my daughters Star Wars birthday party1 point
-
Thank you Sent from my iPhone using Tapatalk1 point
-
Making the stock deployed canon was discussed with the prop master. So, it happened.1 point
-
Below are two which have been glued to a piece of ABS and the seam filled with ABS paste, the second with blade putty, I presume painted afterwards.
 1 point
 -
It seem like you have trimmed to much I’m afraid, here’s how it should be. If you have some plastic you can remake it with a bit of work.1 point
-
Okay. Here's my first attempt at figuring out what's going on with these scraggly wires. I don't think I quite have it right, but think I'm on the right track. I tried a few things to get it even this far. I first thought it may be a braided wire. A roll of 1/8" braided wire was something like $30, so I braided up some of my own by hand and was instantly happy I didn't spend that money. The braiding was far too wide and large. The original blaster behind Leah definitely just had some fraying on the end, making it poof out. The original blaster also has a wire helping secure the power cylinders around the clip receiver. I don't have that on mine and don't intend to replicate that detail, but it's pretty interesting and only something I noticed when mine was in hand and I noticed that a "step" was missing behind that receiver. Same thin wire they used to hold the counter in place. Also also, the gun behind Leah is missing the right hand far bottom T-track. That's the only way that light would show through the bottom row from this angle - if that T-track wasn't there. But I digress. Back to the wires. Mine isn't quite right compared to the screen one. It's too long, making the wire go down and across in a rather square shape instead of down at a diagonal angle. But I think this is what was going on - black tape or something similar holding the wire in place on the counter. My theory is that the wires got PAINTED black just like the rest of the blaster. I don't think it was insulated wire due to the fraying you can see in the screen capture. The foreground wire takes an immediate U turn coming out of the counter and the goes toward the power cylinder. The wires seem to go straight underneath the power cylinder and connect near the resistors. Connecting wires to the backs of the power cylinder centers gave a different look than what was present in that original screen capture. Mine are just floating in place so I can move them all about and reposition as I notice new things. The original was apparently a functional gun shooting blanks, so the clip release button would have needed to function. And in order to get to that clip release, the wires need to move out of the way. In the act of pressing that clip release, moving the wires out of the way exactly as seen in the screen capture is the most natural way to do it. The one nearest the barrel gets a bit closer to the barrel and tends to go straight down. The other wire in the foreground gets shoved and does this U turn thing to give thumb room for the prop person to change the clip. And here it is from behind. Not such a strange routing due to the need to press that release button downward. I need to fiddle with this more and think about it more, but I feel like I'm nearly there.1 point
-
Congratulations!1 point
-
It may not sound like it, but removing the padding from the very top of your bucket and beefing up the padding on the sides makes for the maximum amount of comfort and sight ability. I think I could do a handstand and not have my bucket fall off or move with how I have the padding around the base of my neck and ears. No chin strap required. I also don't have the dexterity to mess with a chin strap once my arms and gloves are on.1 point
-
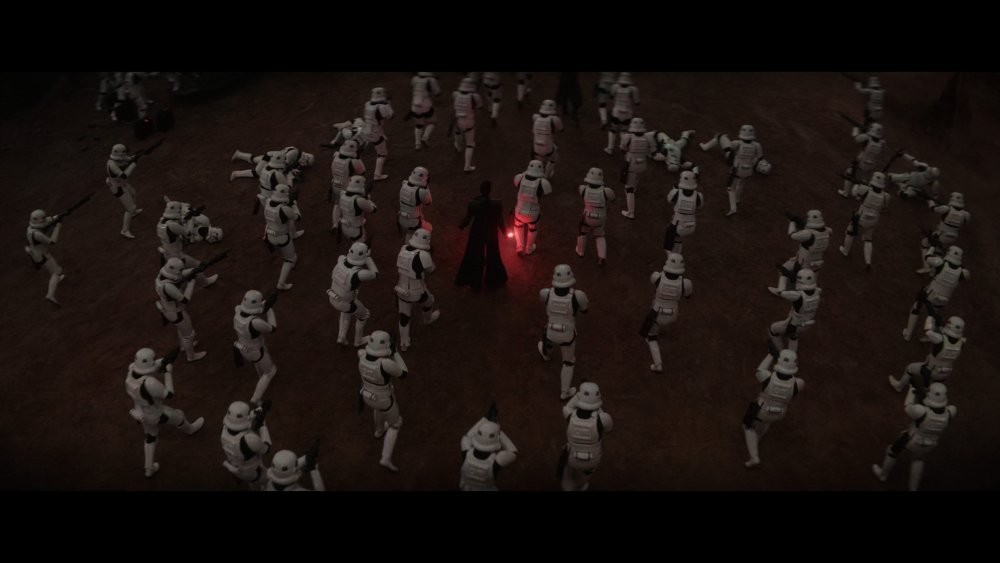
Yep, I’d agree. Personally, I think it’s a dangerous avenue to pursue. With the greatest will in the world, not all 501st costumes are accurate compared with what they are intended to replicate. And, the 501st members featured in the Mandalorian and Obi-Wan are essentially fan interpretations of OT Stormtroopers. Personally, I’d rather aim to replicate the actually original trilogy stormtroopers (because you cannot get better than the actual source material) than another members’ interpretation. Of course, it makes sense to have CRLs for the studio produced costumes because they are studio made and appear to be very, very consistent in terms of build and finish (weathering). They are not copies of OT TKs.1 point
-
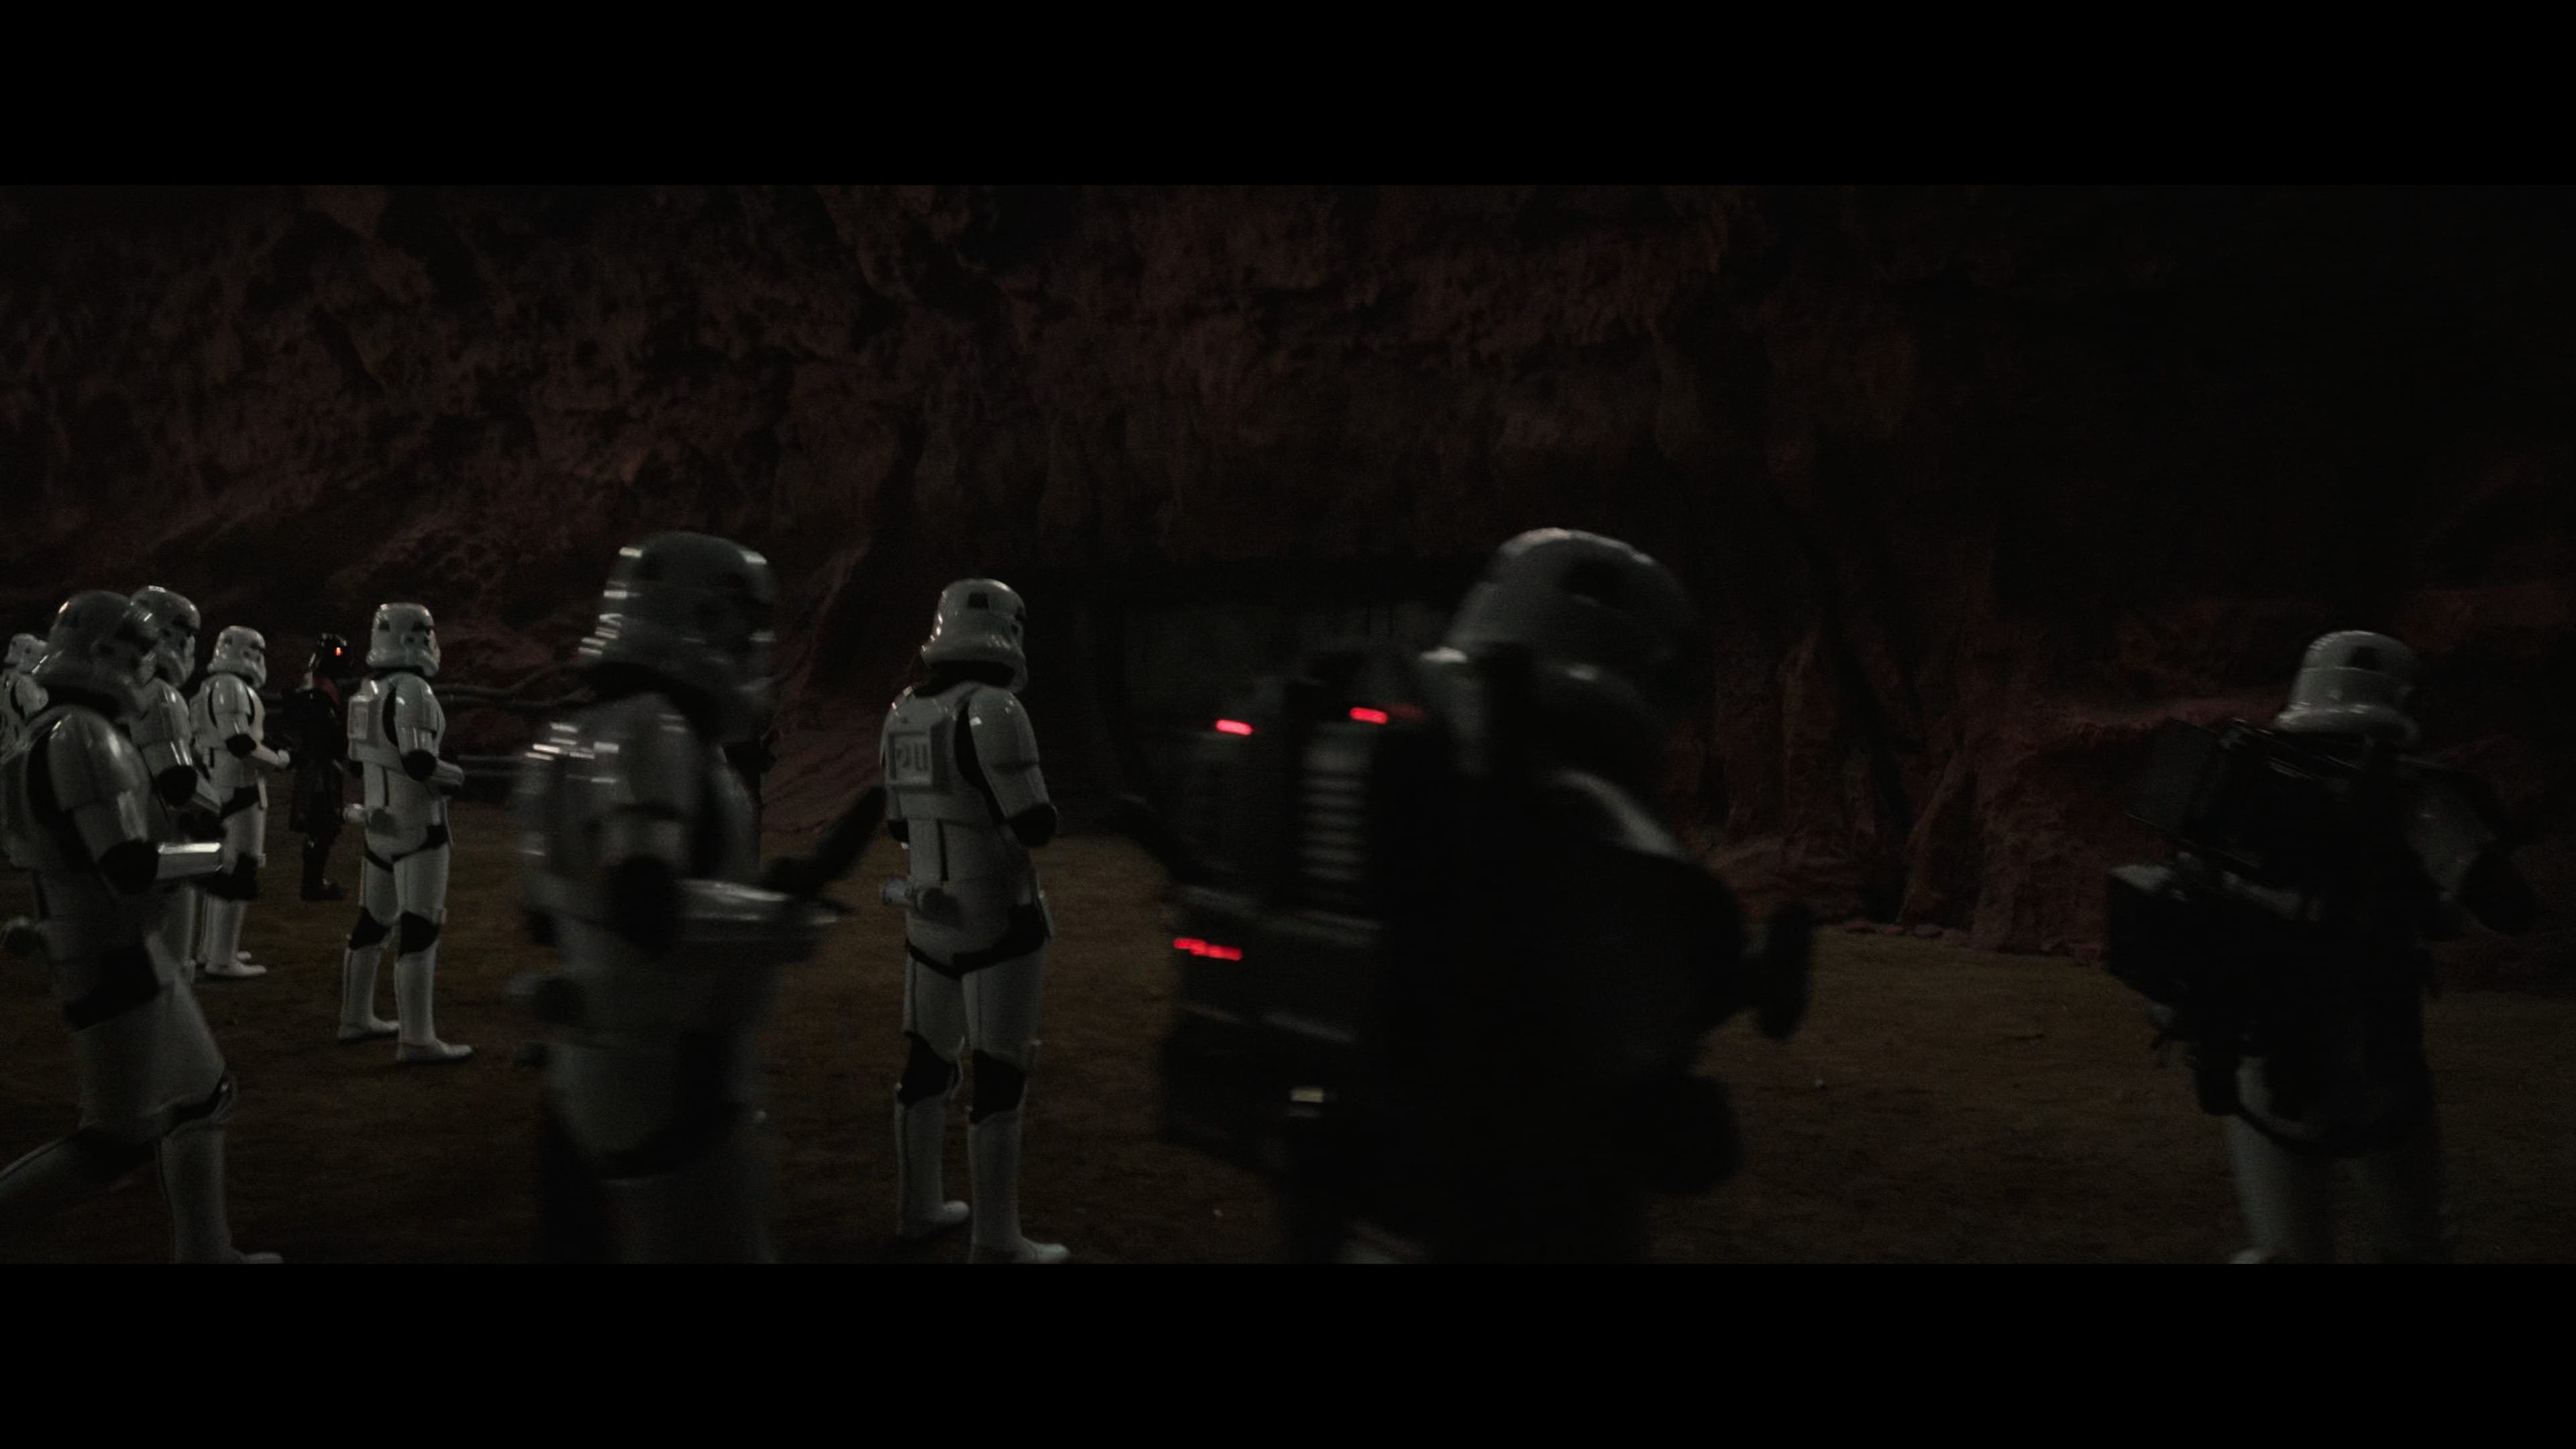
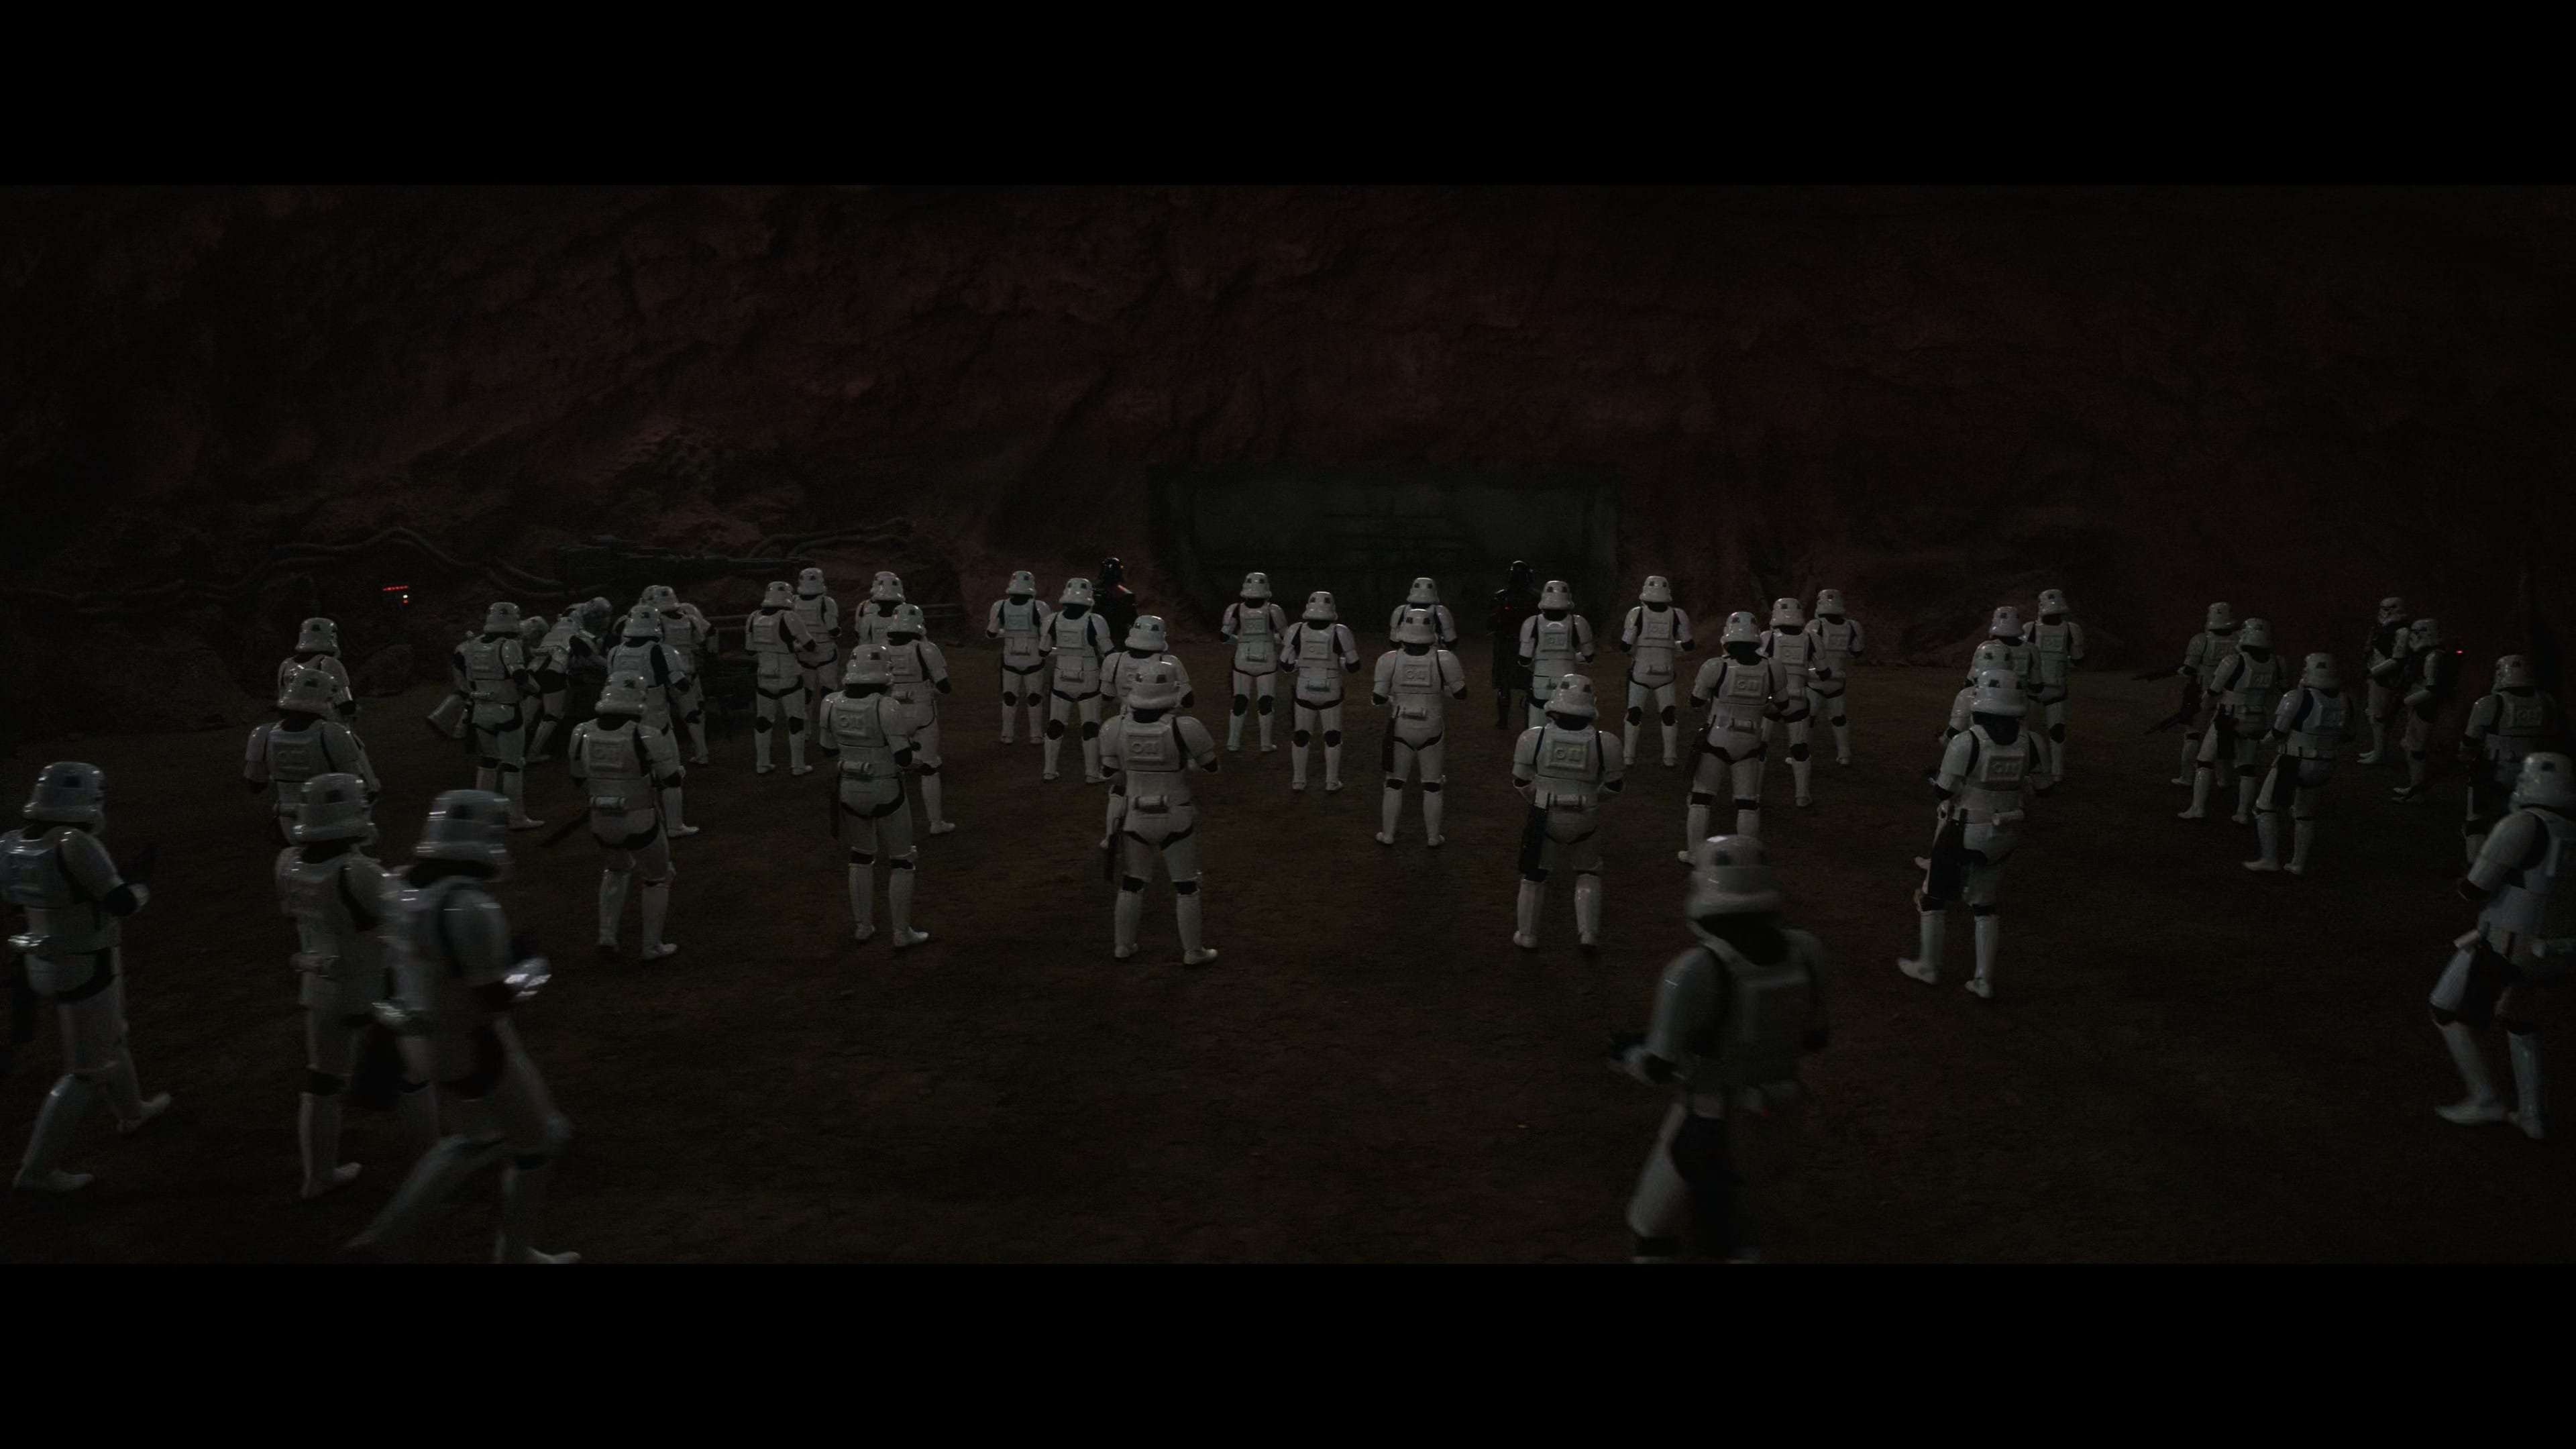
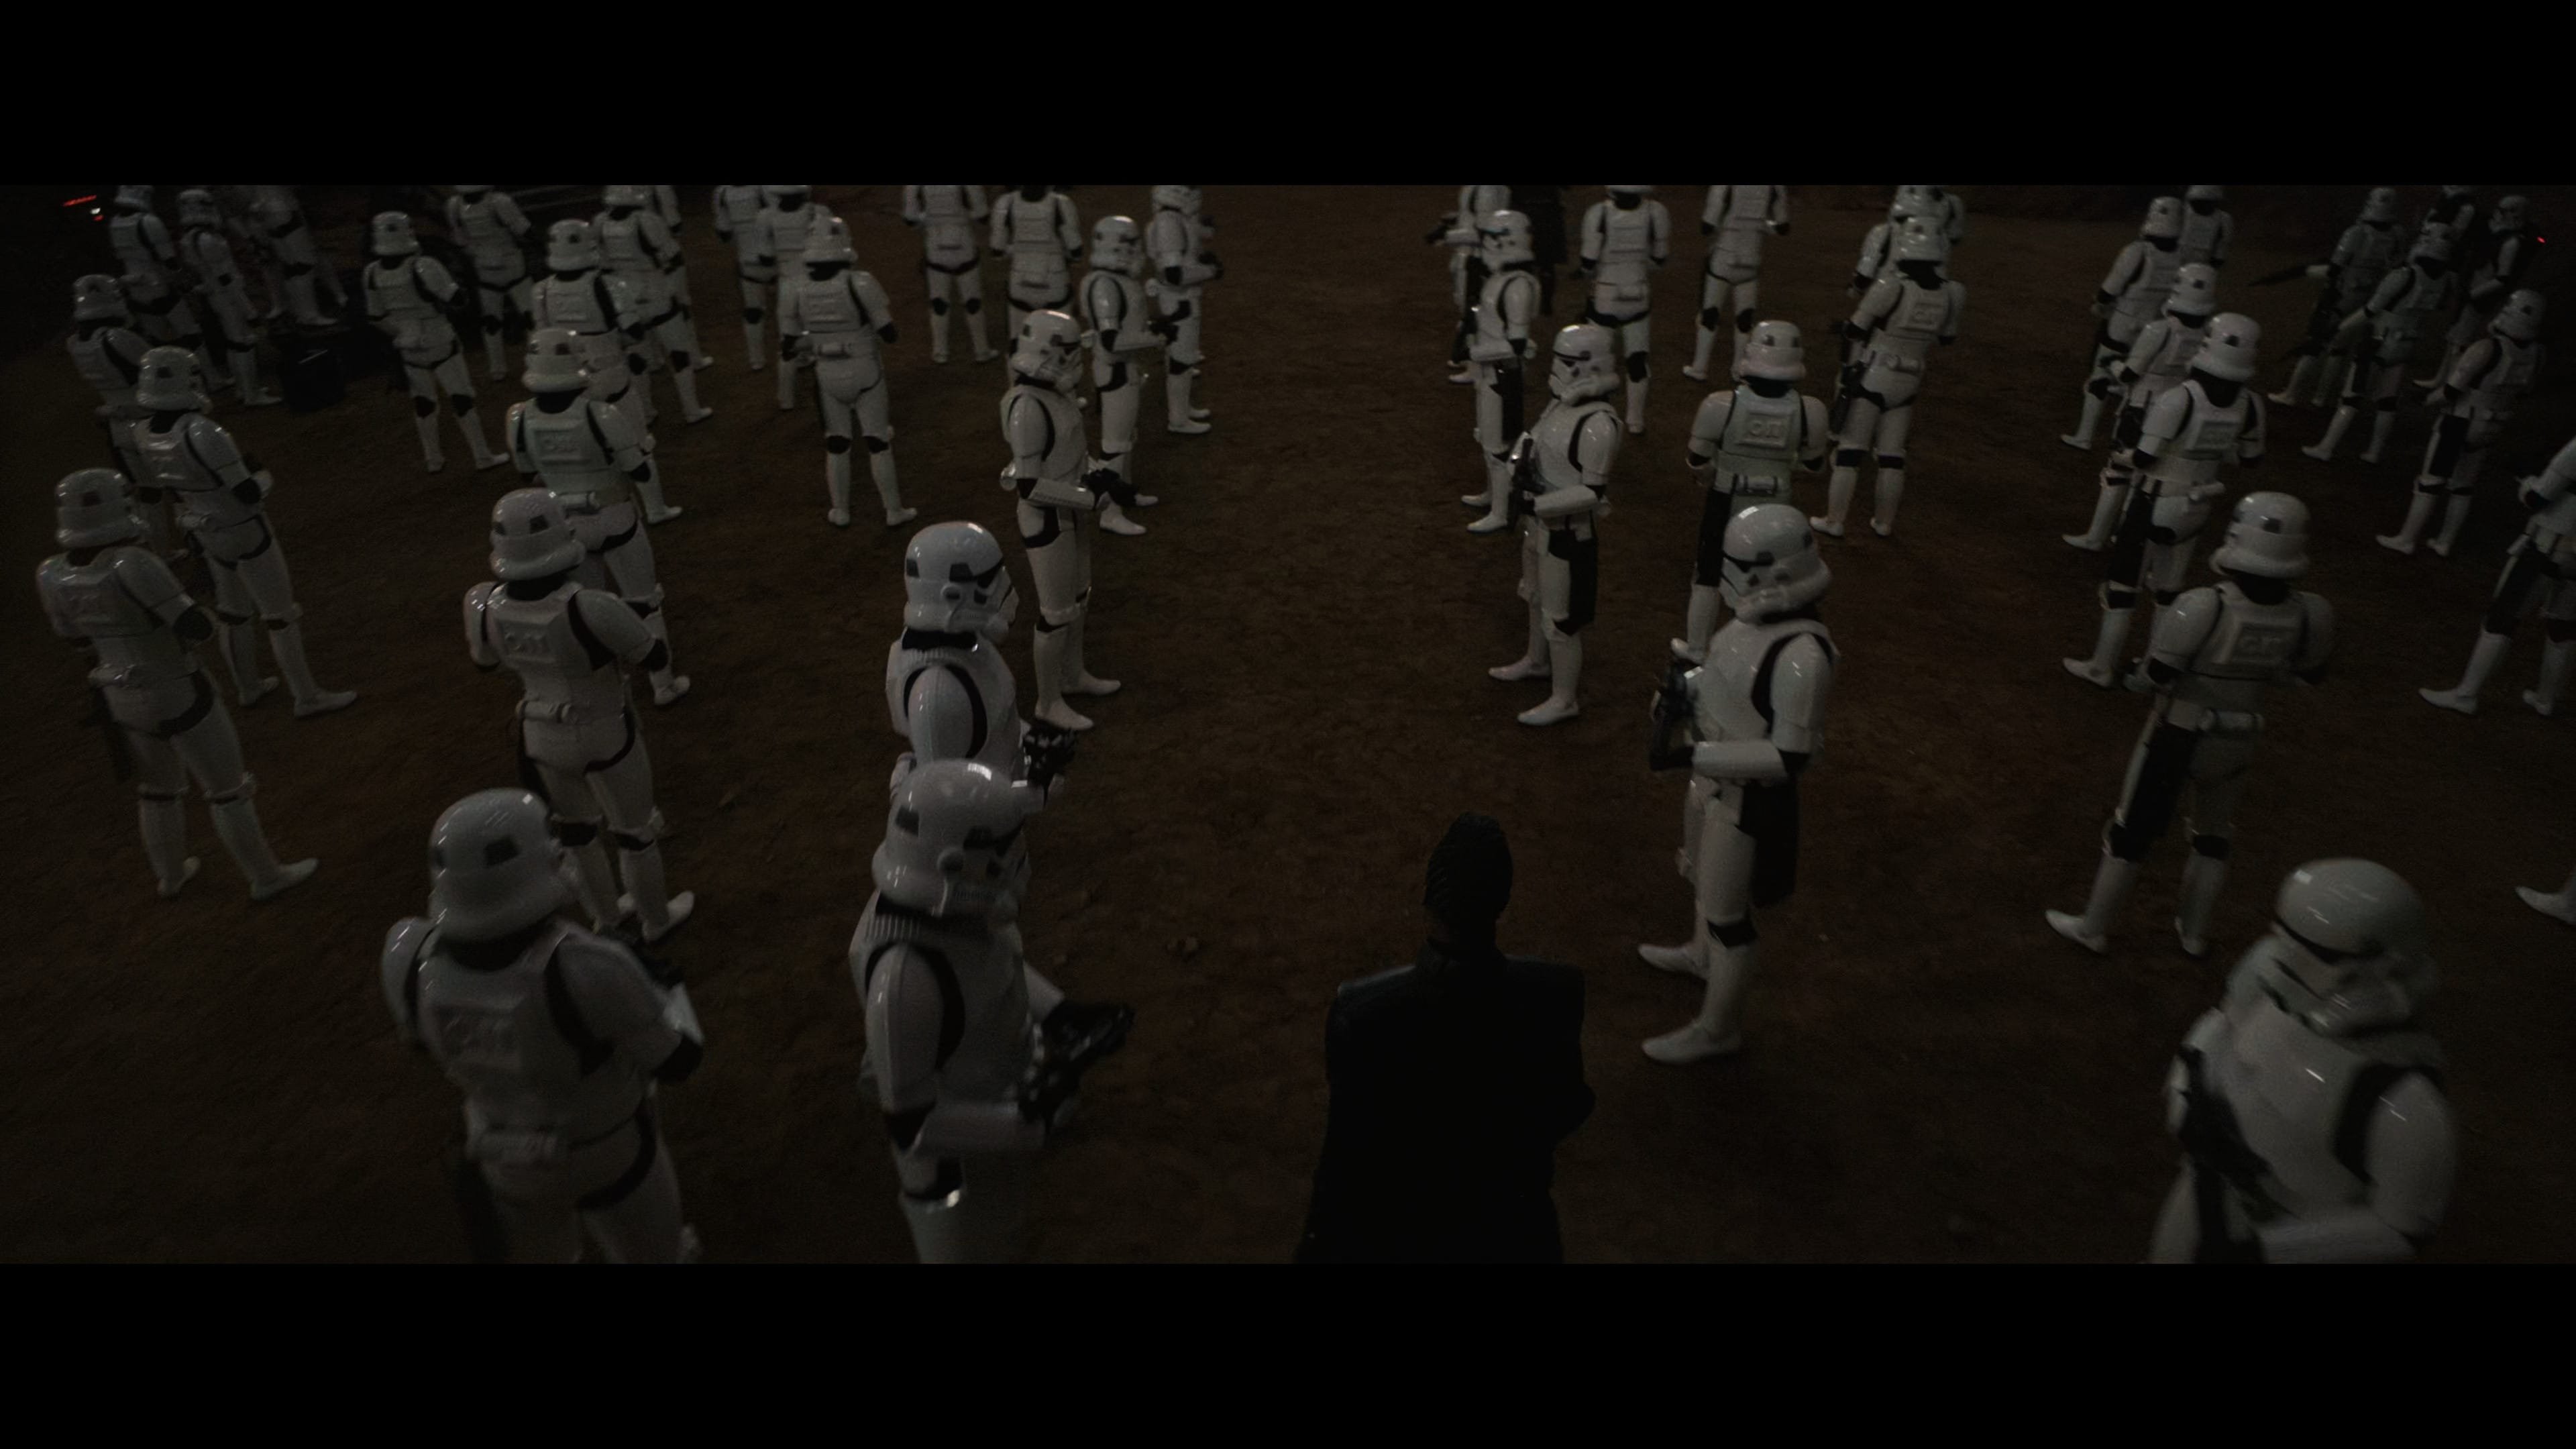
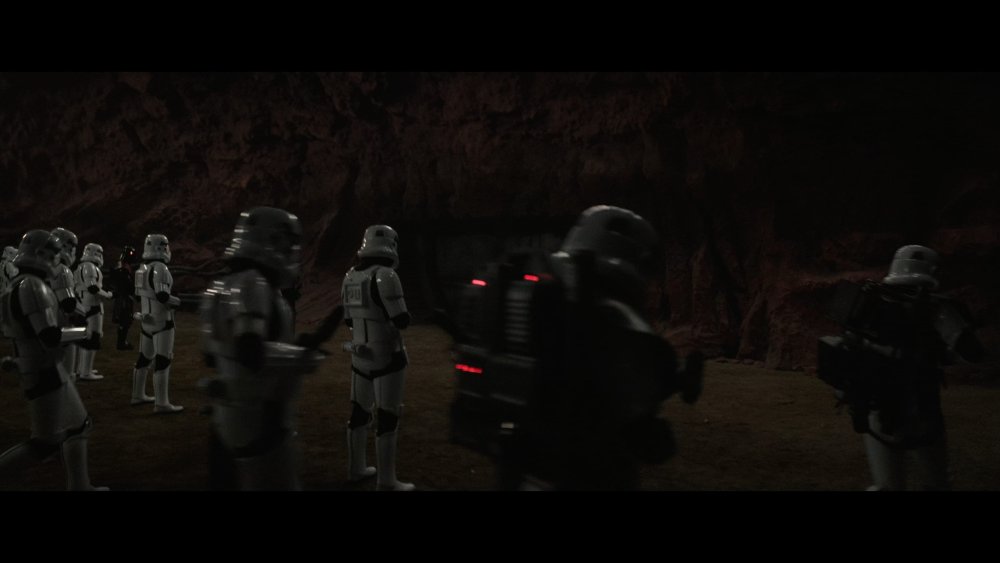
This is were a bigger conversation will have to be had, we saw all different 501st approved armor in the first Mandalorian series, FX/GF, AM, ATA, AP the list goes on, to date none have been included into a separate CRL, we know they are 501st members and although on screen these were considered "extras" if you look through many of the scenes in Mando and Obi it is rare you see "main character" placement, these are more in the background. Like I say this will no doubt lead to a discussion at some stage so we'll see what our DL @Sly11 thinks. Just to add we have seen many of the TK versions in these shows appear later down the track as a 6" or 3.75" figure, don't think they will make a black series figure for "extra" TK's, but then I could be wrong1 point
-
Awesome!!! Congratulations!!!1 point
-
I'm actually glad to see this addition. Nice work!1 point
-
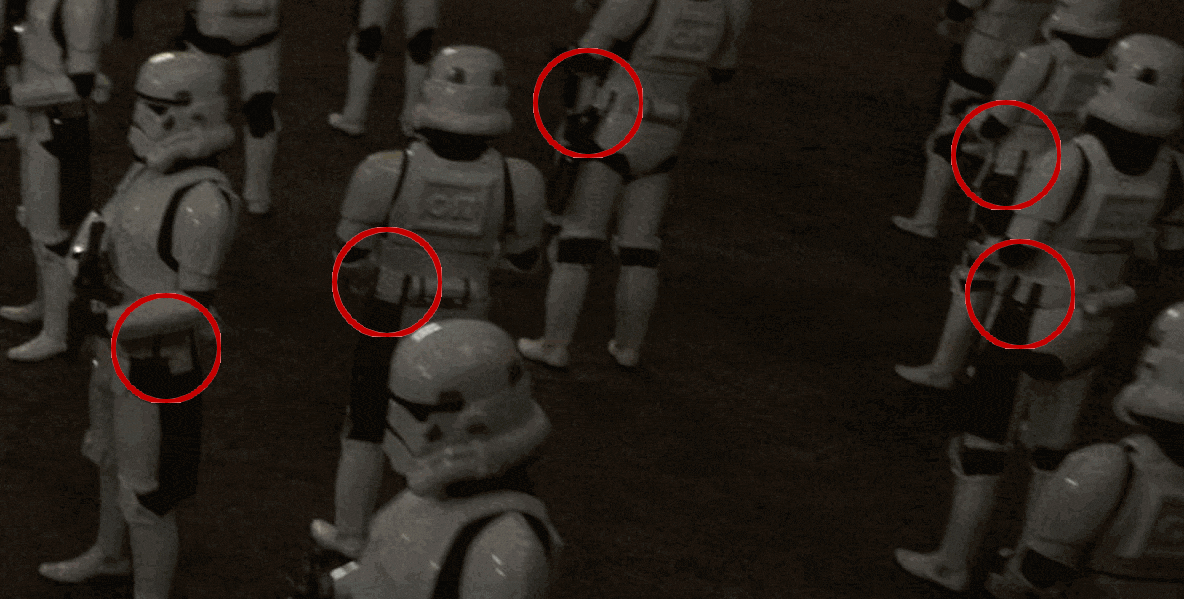
Note all the original TK's holsters are long black strap to emulate the mando TK's Packs, one with lights more HWT one in front more Sandtrooper appearance

 1 point
 -
Here's a few

 1 point
 -
I would also love to have the one taken by the photographer if anyone can find it. That being said I had a friend take one from my phone. See below M1 point