Leaderboard


Popular Content
Showing content with the highest reputation on 11/01/2021 in all areas
-
In hindsight, I probably should have created a new build thread for the RS Propmaster commissioned set. Being fully commissioned I thought it would only take some very minor adjustments and I was wrong. If anyone does see this and wondering what changes I have made..... Snaps replaced on shoulder straps. (came with sew in snaps which quickly came off) Straps connecting shoulder to chest replaced with shorter straps. Then shortened again. Both straps connecting bicep to shoulder bell shortened, one by 3 inches. Thigh straps shortened by 2 inches. Stirrups added to shins to hold them down better. Lots of fabric glue on canvas belt and some elastic to stop fraying. Helmet padding replaced. Ear screws cut short inside helmet and covered with putty to smooth them. Velcro added to front of belt to hold it up to the lower button on chest plate better. Added fans and iComm unit to helmet. And on the to-do list. Both helmet traps need repainting. One doesn't go to the edges, the other is completely missing the black outline. One screw on an ear is in the wrong place and needs moving. Hoping RS sends me a new ear so I can replace instead of repair it. Going to replace the lens material. It is a very flimsy sheet and I don't expect it to hold up. I have better material from my ATA helmet build. Snaps on kidney/abs plates need repainting already. Not sure if it rubbed off with such limited wear or if they weren't properly painted. Straps connecting forearm to bicep need replacing. The length is good but they aren't connected in the correct spot and cause the forearms to twist by around 2 inches. Return edges on shoulder bells need further reduction to try and get a closer fit. Shoulder to chest straps will be shortened for a 3rd time. Straps connecting abs to kidney plate need shortening. V tabs need adding to kidney/butt plate. Thighs likely need some trimming to improve comfort/mobility Consider this fair warning to anyone who thinks a fully commissioned build will be plug and play, even from someone as reputable as RS Propmasters.3 points
-
To say this has been helpful is an understatement. It is incredible how much I missed with the excitement of having the commissioned build delivered. For the first time I've really looked at my armor with a critical eye. I've found numerous other improvements I will make in addition to these that were pointed out. But, most importantly, I was informed this weekend I was approved for membership so I should have a TK number soon!3 points
-
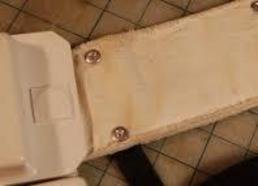
Hi, What I have doing with my shins is just overlap, trim to adjust and apply velcro. I has worked for me to fit better . References Hope this can give some light.2 points
-
The event of first tagging is given a lot of importance, and we have to be wearing the tag in order to troop, but we can remove for approval of new costumes. Its more that it's a pain to remove as you can't reapply the same sticker (it's ruined as it's in several parts). Only certain UKG members carry replacements, so you may miss out on a few troops waiting for an event with the right person present.2 points
-
Thank you so much for the feedback, I will start working on those straight away , already got the left shoulder bell attachment shortened and they line up perfectly now. Interesting on the V , will look at that for sure , anything that can help with that damn saggy butt of my mine :-).. Was not wearing my neck piece, totally forgot that piece, doh. Will work on the shoulders , I used a heat gun to try and round them a bit and I think they warped a bit, will give this another try and get them more in line with the phots you presented.2 points
-
Best way to do it, I gather your first tagging is something taken very seriously in the UKG and nobody really wants to remove and reapply them2 points
-
Hey everyone - if you or someone you know has a paid order outstanding with Daniel Hellhounds for a blaster or armor parts, please reach out to me. I'm putting something together and would like to hear from as many people as possible - hopefully it will help. Thank you!1 point
-
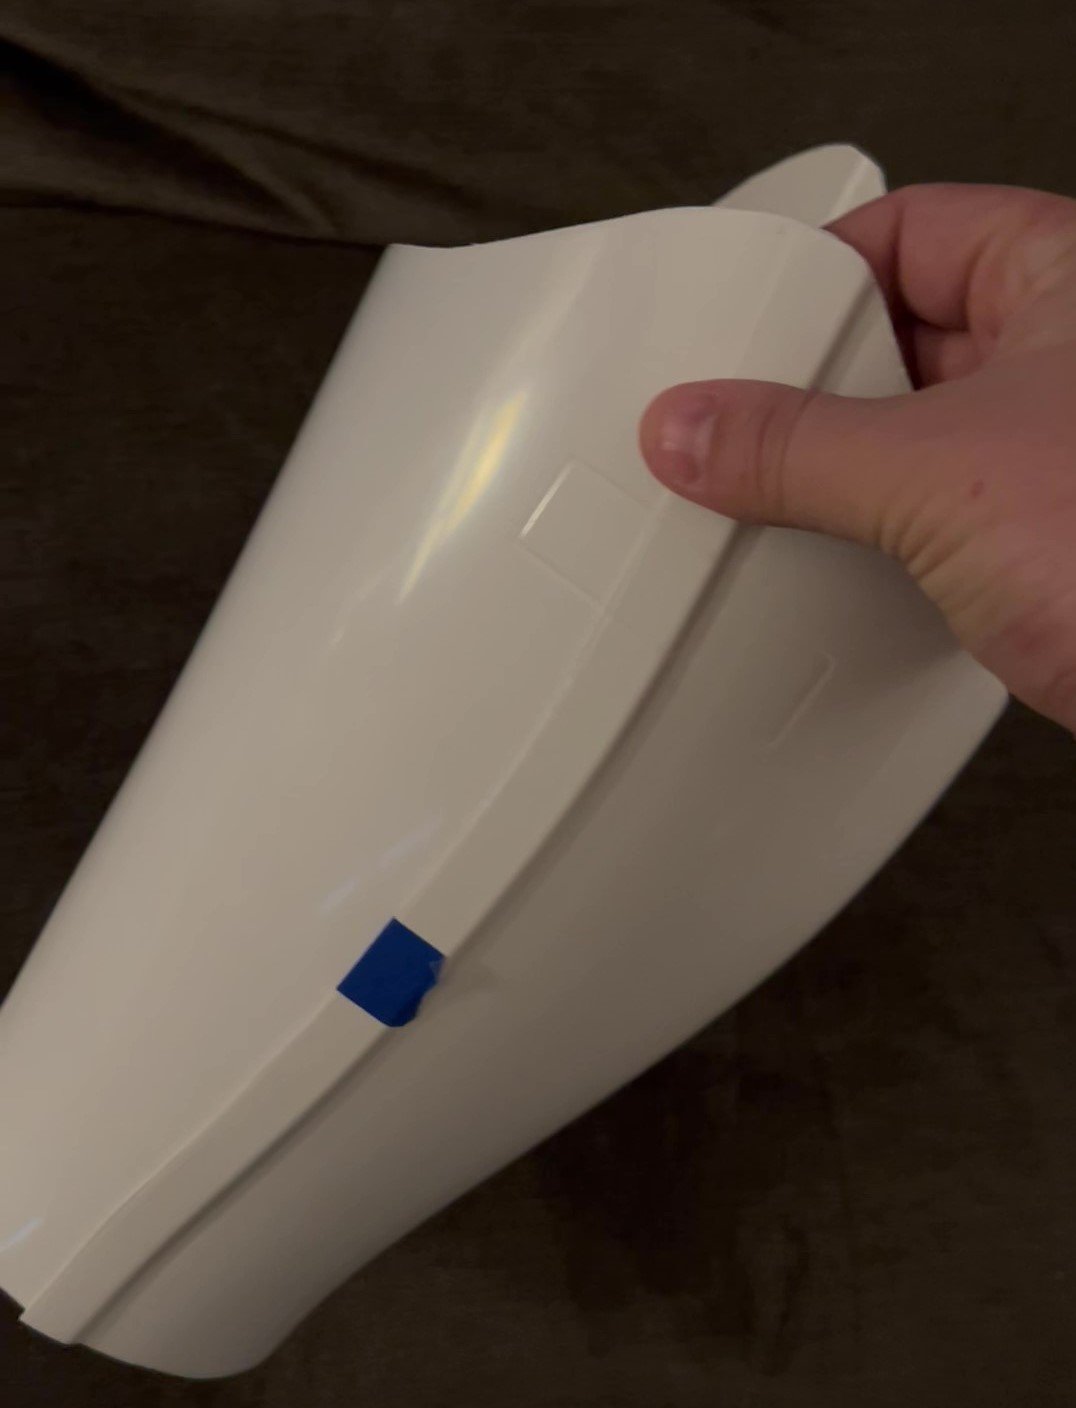
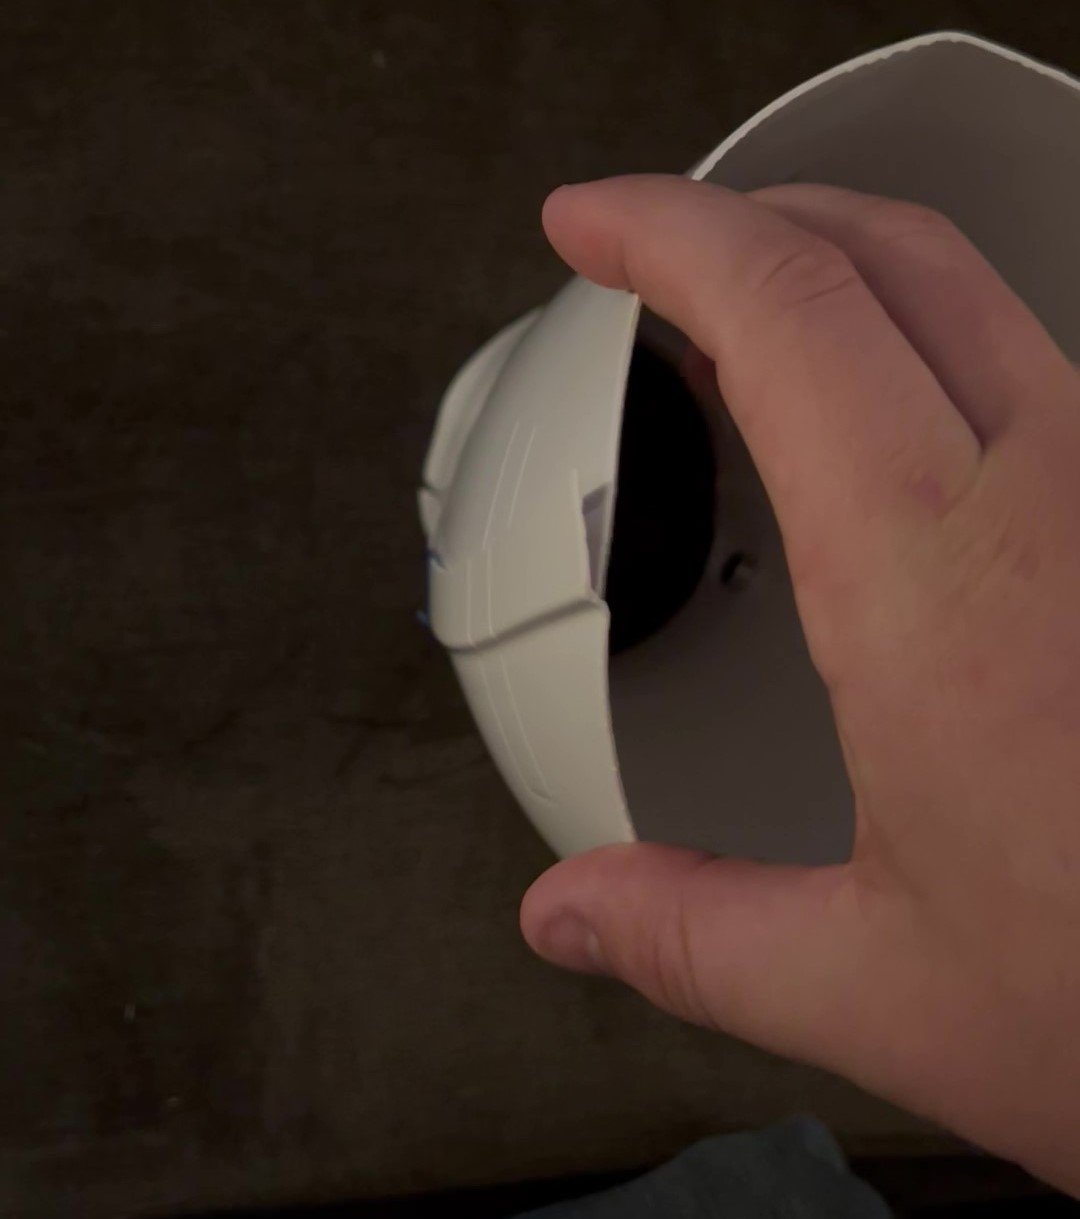
I've recently acquired a pair of used sandie style macrobinoculars. They needed a small repair on arrival, and now that they're open I'm very tempted to put some electronics in there. Does anyone know where to source working versions of the 3 square buttons under the eyepieces?1 point
-
Amazing what can be made with foam, hope you had a great time1 point
-
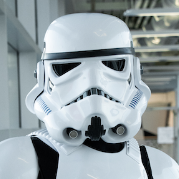
Nice work on the painted mic tips, you may want to trim the bolts down a little, can interfere with microphone when putting helmet on and off. Your bottom screws may need to be changed for smaller ones or put in a different spot, depending were your ears will cover, there's not much extra room under that area.1 point
-
Mic tips painted, mesh added and installed. sanded the edge of the white screws installed on the bottom1 point
-
Lots of great build threads to follow and there's plenty of people.on the forum ready to chime in with info or references. Not a great deal of difference between a ESB and ANH, many purchase a few extra items and are able to swap between the two. Looking forward to seeing those BBB photos soon1 point
-
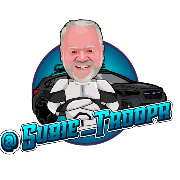
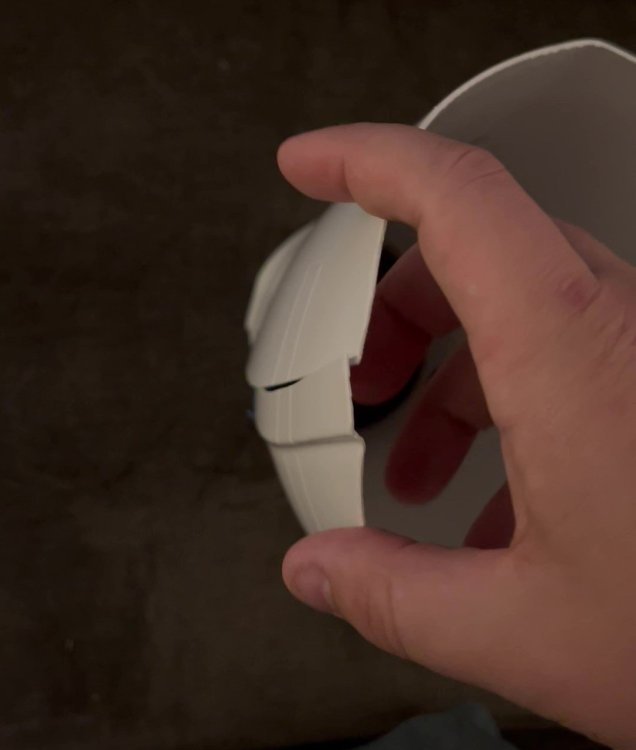
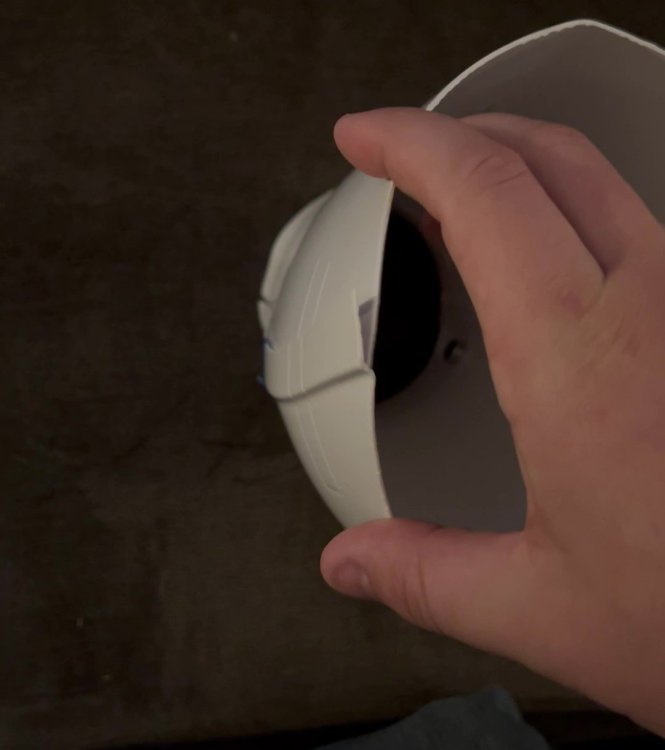
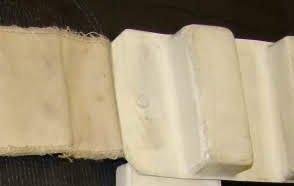
Personally would trim that piece off and glue behind then they would butt together. If the step was inside it would have worked better.
 1 point
 -
Paul, yes, he is absolutely a genius. I've already come up with an idea that should be fun. I wanted to install small screens behind the eye pieces showing videos of the macrobinocular footage on hoth and tattoine, but then realised so many issues with that, so will be fitting small plastic lenses and electro luminescent plate (with maybe a print of the hoth scene on acetate). And then I've bought a sound board which will drive a speaker hidden behind the front lens cavity. Also need to do a lot of strengthening, as the 3d printed body already has several cracks. I'll make the front part of the body removable (using magnets maybe), for charging / replacing batteries.1 point
-
Have you thought about approaching The guy at Tramp? He may have a solution. Guys an electronics affects genius. Sent from my iPhone using Tapatalk1 point
-
Thanks Glen. M1 point
-
OK. Next weird detail on this BSP kit - shin closures. After discussions with @DocDan yesterday I realize that this "back over front" closure may be a problem. Does it matter provided I get a good seal and we don't see the velcro peaking out?
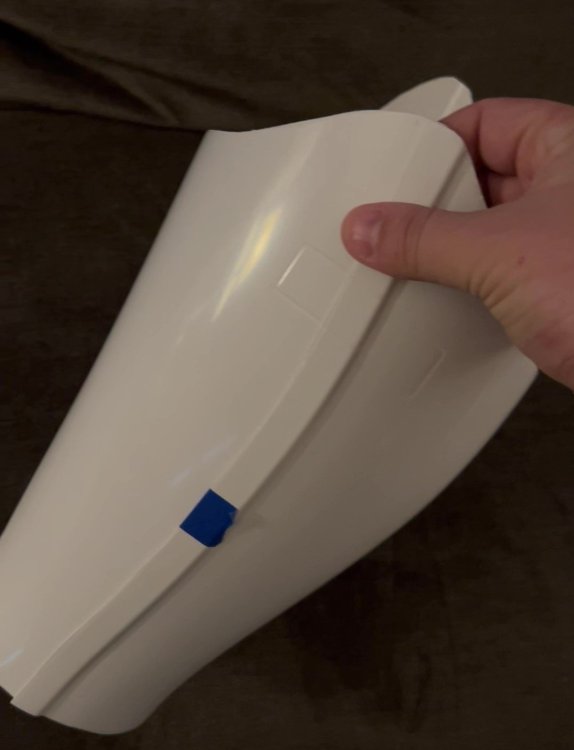
 1 point
 -
That's cool man, and thanks. Yeah I had seen the difference in the photos and was wondering about the file. The angle of the belt also had me thinking. Cool you reached out to him. I always talk to him through Instagram DM. So I'll send him that pic of the sides. Yet if there's other information and he doesn't get back to you let me know. I had sent him the pic of my test fit and he's offered to make any adjustments to his file since he's wanting to make his pretty spot on.1 point
-
Yep, they pop up on eBay here and there, but ensure it's actually Anovos not recast - new in original box is usually safe from a reputable seller. Or, honestly, I wouldn't be surprised to see Denuo Novo start offering them next year... Alsoalso, ensure it will fit you. Anovos is not easy to shim or fit for larger folks and there really aren't replacement panels available anymore.1 point
-
That may be a tall order, Richard. What you will be looking for is a latching (not momentary) push button switch, square, with a total width of 12 cm (each) and a height of 6 mm. You will need 2 gray and one red.1 point
-
Those look like they are made from silicone to me, Alikh... but I may be mistaken. If they are, no type of normal adhesive will stick to them. You may want to contact AP to be sure, and hopefully they have a suggestion. Regular clear silicone sealant (like you would use for a tub or shower) will adhere to the guards, but not to the rubber gloves. The ones that I sell have heavy duty "duck cloth" attached to the backs to give E-6000 something to firmly adhere to. BUT, the product I use to attach the cloth backing isn't cheap. I pay about $36.00 for a 3 oz. tube, which does about 4 pairs of guards. If you try to use clear silicone to attach a cloth backing, it will soak through the cloth and the E-6000 will not bond. Trust me, I've tried. They offer a .05 oz. tube for around $12.50, but that's not really enough to work for 2 guards. Here is a link for some more info. Your armor is looking great so far... and AWESOME to see that you removed so many of the return edges on the arm pieces! As Glen said, it's always best to be wearing your boots before trimming/fitting the calves, even if you have to wait until you get them this will ensure a correct fit. I know you haven't got to that point yet, but when attaching the shoulder bells try to make sure that the tops/bottoms sit evenly (and a bit lower). This will also allow the black elastic 1" strap to have a better position to hold the bells tighter to the bicep. Keep up the fantastic work, and keep those questions and photos coming!1 point
-
Thanks! I wish I had known about Bondo paste, XTC epoxy and PETG printing before I did my DLT-19 a few years ago. It would have taken 5-6 hours instead of 40!1 point
-
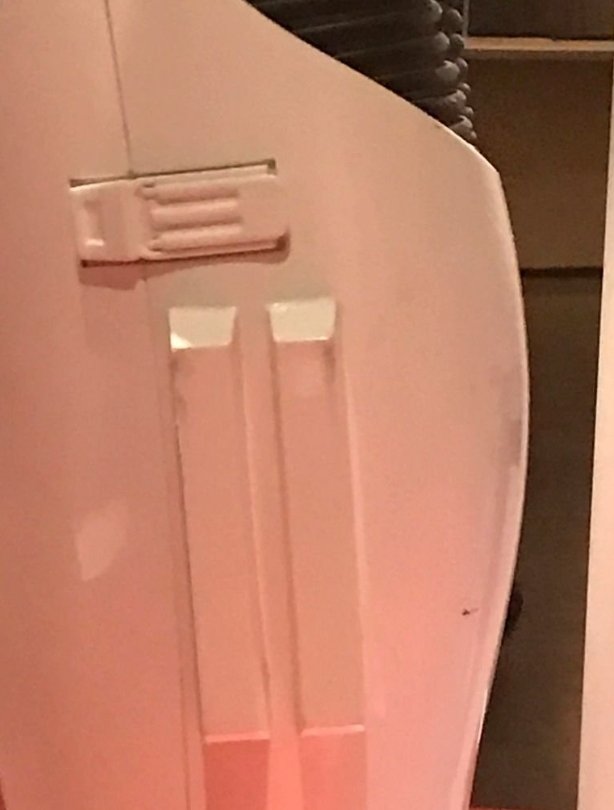
Left pointed References
 1 point
 -
That is quite the setup. Glad it worked. May have to consider something like this too. I saw one post of someone gluing the inner strip first on one half only. Then proceeding from there. Might try that too. This will take a few extra days, but I'm curious if I will have any luck. Cheers1 point
-
I've been a bit quiet of late (sorry). Life stuff. Did a bit of last minute adjustment to make the drop boxes removable, and did an unofficial kit up (in my street) for Samhain, sorry, I mean Halloween. Everything together now except weathering (still very nervous about this) and the helmet is still ESB. Have contacted RWA about ordering an ANH stunt lid, but they're having issues getting white abs at the mo. Pack fits fine. Feels physically odd holding such a short blaster. Pretty sure the shoulder pouch is sitting wrong. Other than all the above I think it's all there. Will try and get some pics taken this week for review here and on my local garrison WIP.1 point
-
No definitive measurement most just go off screen and display references1 point
-
I'd have to agree 100%. I am very fortunate to have received my order but, I hate to say it, it's probably time we regard him as a high risk vendor. It's really unfortunate how many others have ordered and not received anything, including communication on their orders. A sad time for us when there aren't many rubber blaster makers left. On my list of reliable vendors is PremiereProps and Quest Designs, both on Etsy, both 3d printed, and both for half the price with extreme quality and communication.1 point
-
You are on a very good start, just get those fixed and you will be good to go. It will be a waste if you don't apply for higher level clearance after basic approval. Good luck!1 point
-
Bobby, if you're at all handy with a solder gun you can build a lot of those things for yourself. I have fans in my helmet and live in Arizona. The moment I put my bucket on my head the lenses will fog up without the fans. Problem with my fans are they are so loud I can't hardy hear anything else. So I also wear noise cancelling earbuds that are plugged into a hearing assist system I built for myself from a Vellman kit you can find online usually for less than $20. For a speaker and chatter I built a TK Talkie which has many options such as a voice changer, background loops, and the ability to play sounds that are cued from buttons. There are very good instructions and support to help you along no matter which options you decide to go with.1 point