Leaderboard


Popular Content
Showing content with the highest reputation on 03/15/2021 in all areas
-
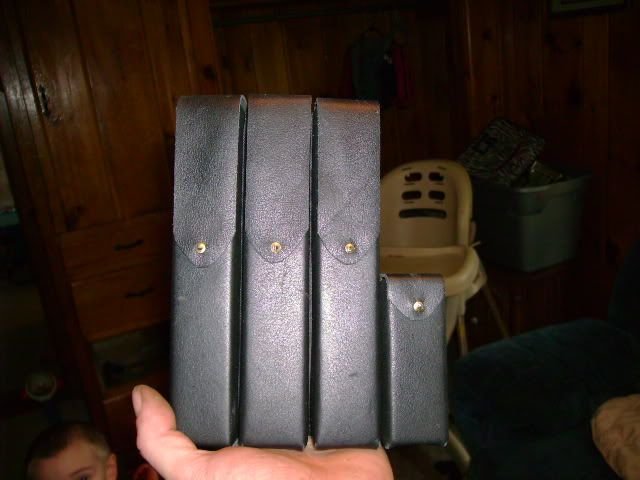
Looks great, Cory! Can you post up a shot of the front, with the back of the clip held vertically (as if it were attached to your belt)?2 points
-
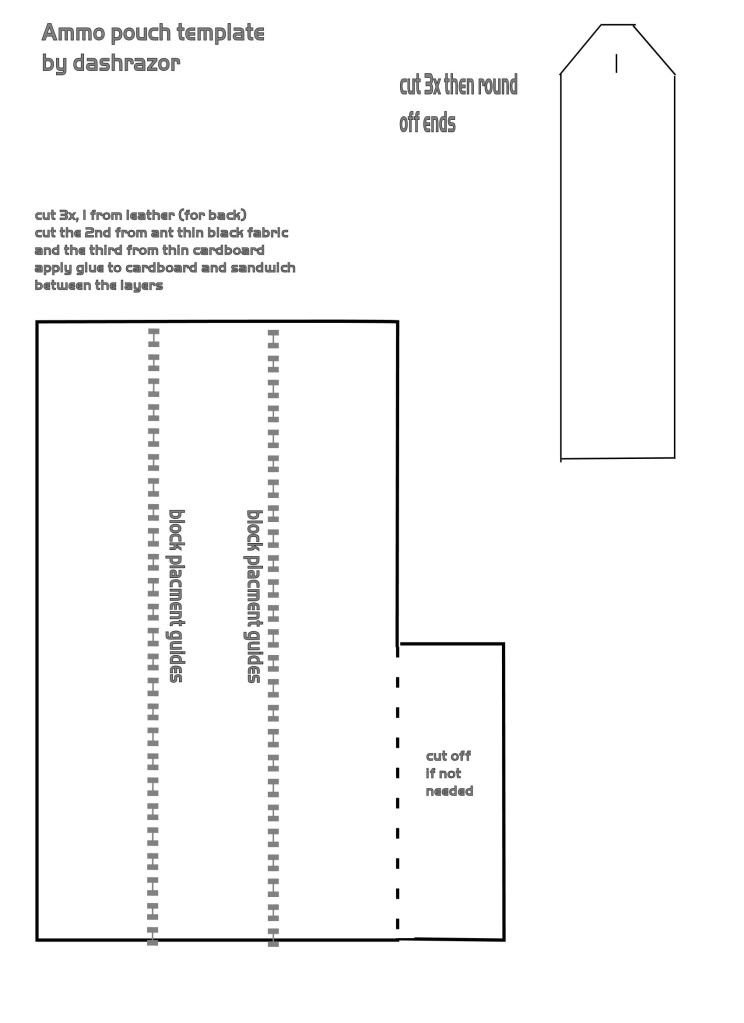
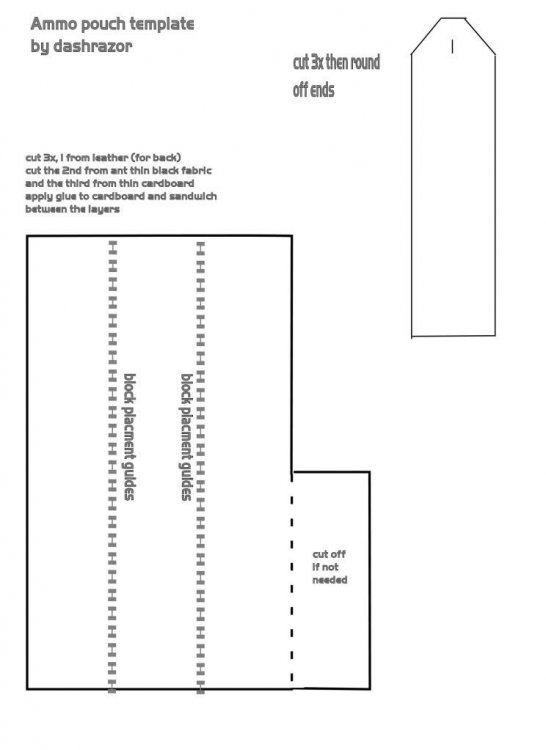
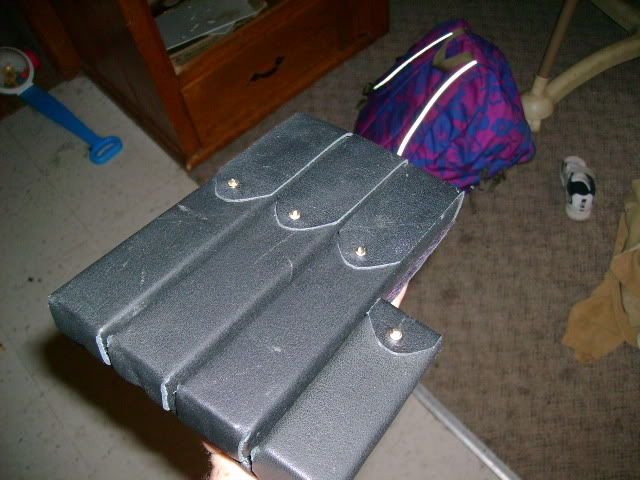
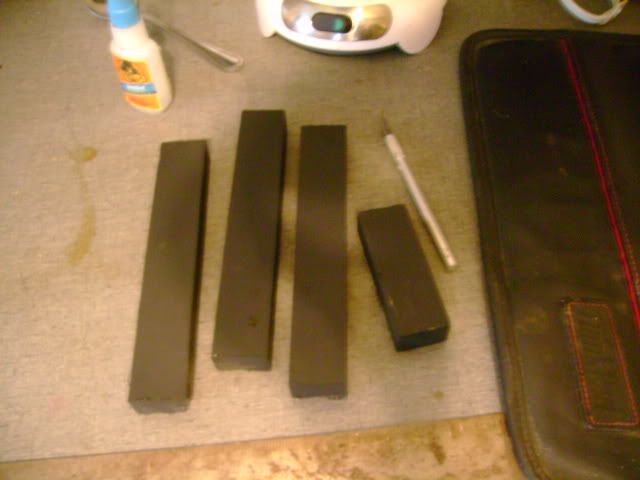
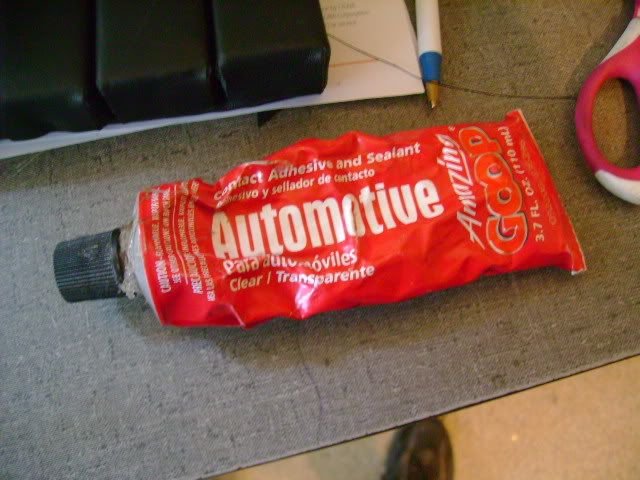
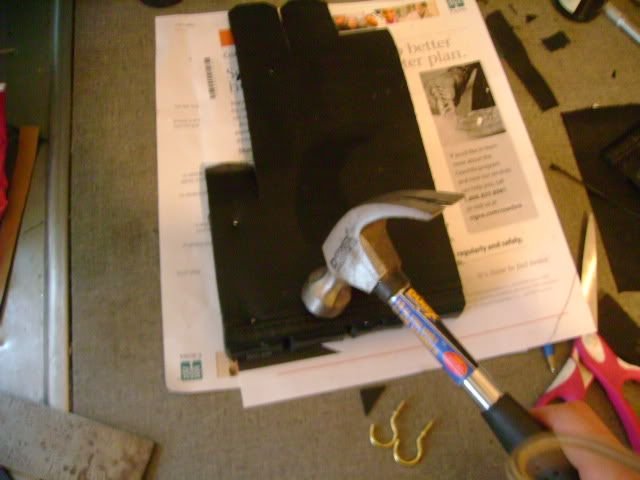
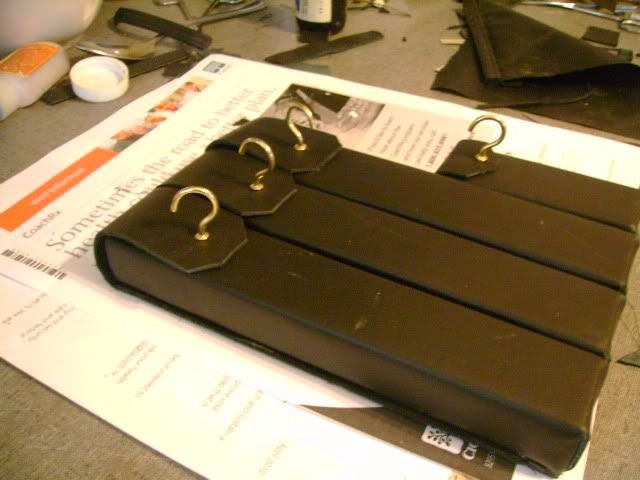
this is my new ammo pouch for my incinerator trooper (sorry about the blurry photos my camera is on the fritz) here is a rough template (by request) first i cut some 1/2" thick scrap wood into the approximate shape and size of a mp40 magazine (7" for the long 3 1/4 for the short one) then i cut all the leather off this old laptop case then i placed the blocks next to each other with about 1/8" gap between them, i used a framing square and exacto knife to cut out the shape of the backing then i reinforced the backing with some cardboard to make it more ridged, i glued it with some vinyl tile adhesive i had left over from tiling my floor, but any permanent glue should work like E6000. the backing is 2 layers, one of the leather one of thin black fabric. trace around the backing smear cardboard with glue and sandwich between the 2 backing layers i then cut strips of leather that almost wrap around the dummy clips, be sure to make the strips a few inches longer so you can close the bottom end.. then i nailed the strips to the wooden dummy clips with small nails i then glued the leather covered clips to the backing with automotive goop (great for vinyl or leather) i then nailed trough the backing after gluing (its never coming off) then i used utility hooks for snaps then cut off the hooks final result although you cant put anything in the pouches it does the job, and doesn't require any sewing:D i used this photo to help with sizing the blocks


 1 point
 -
looks good, i think you can leave a bit more plastic in the cod . here some references: Also you can check this thread about Return Edges when trimming. and into the Gallery section you can see several reference images that can be so useful.1 point
-
Here is the trooping set.1 point
-
Congratulations [emoji323]. Almost there. Sent from my INE-LX2 using Tapatalk1 point
-
@Bulldog44 @TKSpartan @Motogpnut Thank you very much guys. Already working on the next update...1 point
-
Great news, looking forward to seeing the build progress, good luck1 point
-
Rotating the clips to the right will allow more of the O to be seen from the back as you can see in the image Joseph posted1 point
-
Yes you can use a commission set of armor, first you have to apply for Expert Infantry, once approved you can then apply for Centurion1 point
-
Yesterday was the first of 2 BBB days. The armor came and everything looks great. The box with the helmet materials should be here Monday. Looks like it is about time to start on the biceps!1 point
-
So happy to have made it into the first five hundred centurions of the five hundred-first I'll do some more tweaking on those drop-boxes :-)1 point
-
Attention Troopers!! please welcome to the ranks Centurion # 497 - Jakob (Yacorp) of the German Garrison. Congratulations sir! Well, Now we are in the final stretch of making this happen only 3 spots to go !!1 point
-
Yeah, you truly do want to be one of the first 500.
 1 point
 -
Congratulations guys and welcome to Centurion! Nearly 500 strong! Finish line in sight!1 point
-
yup. still screwed. looks like they are only pushing star trek shucks too.....1 point
-
Over 9 years later, but still wanted to give this thread some love. Just built three of these for my HWT (simply left off the last half-size pouch). Simple, effective, and brilliant tutorial!1 point