Leaderboard


Popular Content
Showing content with the highest reputation on 11/11/2020 in Posts
-
its not digging into my shoulder and neck anymore3 points
-
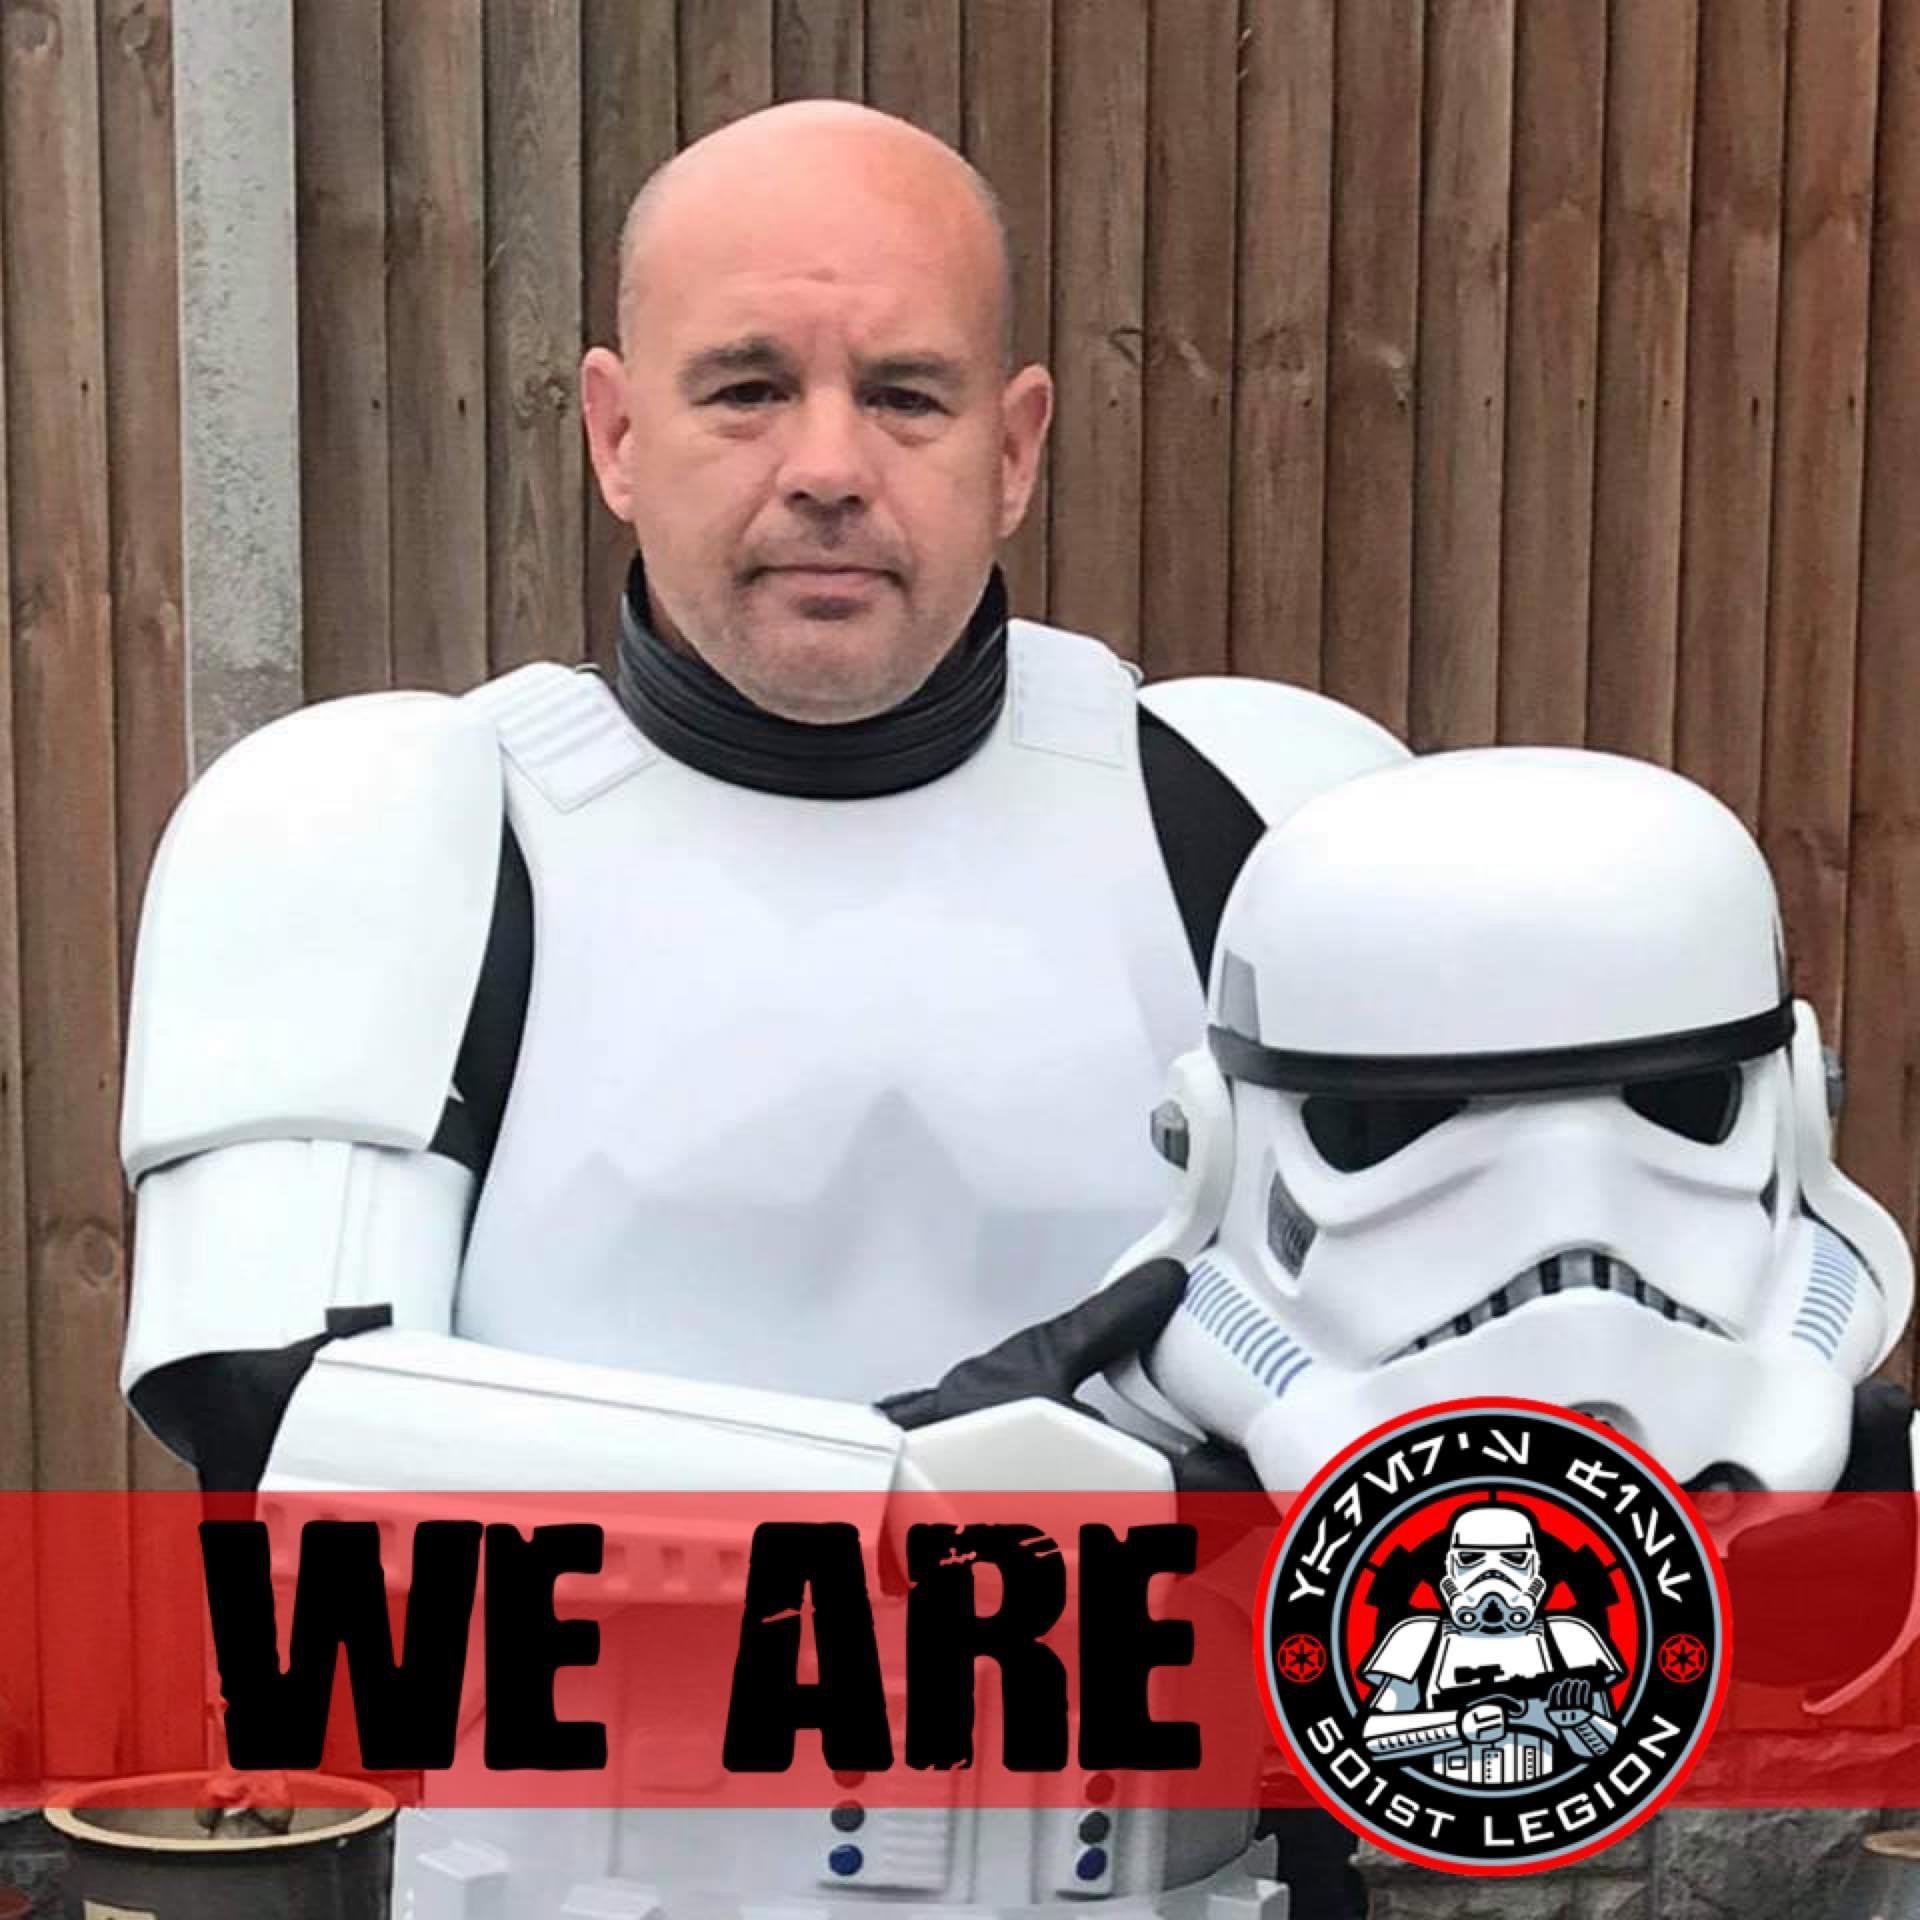
TK 10738 reporting for duty
 2 points
 -
i swear i was just searching how to find this information haha.call you goldeneye.2 points
-
Some references2 points
-
Andrew, You got it. I'm digging them up now. Gives me an excuse to re-watch the Mandalorian. I'm waiting for them to make an appearance in season 2 as well.2 points
-
I normally have some grey primer around which is extremely close to the humbrol grey, so I sand the TD tube, apply a couple of coats of the grey primer, once dry I add a coat of gloss clear, done2 points
-
Am I the only person on here who wants a behind-the-scenes look at Glen's room of requirement (for you HP folks out there)?2 points
-
What an honor and thank you brothers for all of your support and honored by all of your encouragement.2 points
-
24 to go, congratulations Shawn "Firedog" TK12399 Centurion 4762 points
-
Hi i posted this on the UKG over the weekend and thought i would share with everyone here too. Here?s a quick guide to making a canvas belt for your storm trooper armour as an upgrade to something more movie accurate. This took me about two hours this morning to make this including stopping to take pictures, so it is not a long job. Ingredients; Tee Kay armour belt Heavy duty canvas 60 inch wide is best for this 3 meters of 3 inch wide elastic 2 inch wide velcro Camping snaps or rivets A piece of plastic 2/12 x 8 inch Scissors and a sewing machine and white cotton Method; Ok first thing to do is measure around your waist to see how long the belt is going to be. I made mine 1 ? meters in length and cut off the extra at the ends when I was finishing the belt. This gave me an overlap of about 12 inches which is plenty. Cut 2 strips of the 3 inch wide elastic to the required length and sew the two pieces together down the sides using the big zig-zag stitch leaving the ends open for now. I only sewed the sides once as you will go over these edges several times by the time you sew the rest of the belt together. Then put the armour belt in the middle of the elastic belt and measure and mark the outside with a pencil. Sew down the belt along these lines using a straight stich, this is for the plastic insert added later on to support the holster. On mine this was about 20 inches in from the end of the elastic. Then cut two strips of the canvas the same length but slightly wider than the elastic, you will cut this extra off after stitching the two parts together. Using the zig-zag stitch again sew the canvas to the elastic down the sides, I?ve sewn each side twice to give it extra support. Then cut off the excess canvas nice and close to the elastic and sew this side as well. Remember to leave the ends open as you sew the canvas to the elastic. Repeat this again on the other side of the belt. You should now have something that looks like this. Next using the piece of plastic were going to make an insert to support the weight of the holster to stop the canvas being pulled down or collapsing. Measure the distance between the two loops that usually go over the belt, im guessing all holsters will be different in size. My piece is 8 inches long and to fit inside the elastic 2 ? inch wide. Round off the edges so it doesn?t snag the belt and simply slide inside the middle of the two elastic pieces and push all the way in until it stops. Remember you sewed the straight lines in earlier to keep it in place. Now its time to trim the belt to size. I cut just a couple of inches off each side so that there is about eight inches of overlap that will secure the belt at the back. Sew up the ends and now its time to ad the Velcro.1 point
-
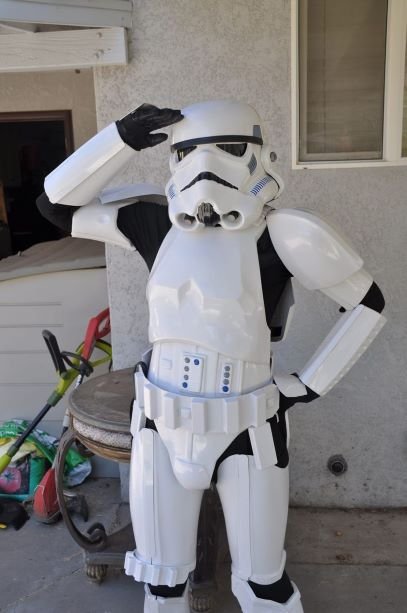
Name: KC Grim Username: KC Grim TK-57899 Southern California Garrison Los Angeles Squad Armor maker: Anovos - Fully Custom built by Ardashir Radpour and me Helmet Maker: Anovos - Fully Custom built by Ardashir Radpour and me Blaster Type" E-11 made by Pretorian - Fully customized Hight: 5'10" Weight: 160lbs Boot Maker: Imperial Boots Canvas Belt: Custom Made Hand Plates: Trooper Bay Rubber Latex Plates Electronics: Xiaokoa Wireless Mic, Wireless connect to Aker Amp, Aker Speaker, Self made custom fans and battery system Neck Seal: Stormtrooper Undersuit. molded piping Holster: Anovos Undersuit: Lycra Motorcycle race undersuit.1 point
-
Won't be an issue for centurion, many have used them, even myself1 point
-
Looking good1 point
-
It is also thought that the ESB version did not even have straps from the shoulders to biceps, as you can see in these references many are low or have rotated, but they definitely help while trooping -----------1 point
-
Nice work trooper, a couple of suggestions before the DO's get here: Your belt is a tad high, should sit just under the last button. You may want to bring your biceps down a little to reduce the gaps at the elbows. Your gloves should be over your shirt sleeves as they are sticking out of the forearms. TD could come down on the belt, it is sitting high. Shins are at different heights. Drop boxes are not quite at the ends of the belt. You may want to add some foam behind the sniper plate so it doesn't hit the thigh. There is some paint on the gums, should be removed from the CRL Frown is painted gray and does not leave the teeth area Blaster T-tracks and grip where black plastic so would not have any weathering, appears you may have some weathering on the top T-track. Also counter is a little too far back. Once again these are suggestions Good luck with approval.
.jpg.bea6e3f4c78c915c726cc2abb4b5cdc3.jpg) 1 point
1 point -
thanks alot for advice on the chest and back.i trimmed mine down more and big difference.feels way better.1 point
-
Some GML's (garrison membership liaison's) will allow for basic but many won't, would pay to check with your local GML. Making a belt from white canvas (or similar fabric) is pretty easy, just a case of folding a few times and sewing.1 point
-
Hi Rob, most cases three or four ridges are ok. and the rear tab is usually removed, but I would recommend to wait till the end to do so just in case you need it. Also you can take a look to the Gallery Section for ANH Stunt HERE Reference images1 point
-
I am working towards basic approval and have done some work on the belt that came with my Anovos kit. I added some plastic to the backs of the sides on each side of the center section and removed the two top Chicago screws, patching the holes with some material from the back. Will this work for basic approval until I take he plunge and step up to a Kittle belt conversion? Sent from my iPhone using Tapatalk1 point
-
There are a few other things for a Hero, less teeth (although I converted a stunt to hero) and ears have only 3 bumps not 4. Here is a pdf showing differences between the versions https://drive.google.com/file/d/10tEVteIreh6AHMogW010cuH_Bf8TBfU6/view You could still trim off a bit more, notice in the reference below it is at the top of the peak of the ridge Plastic section of the belt can be separated1 point
-
Yeah it would take a lot of work to convert a Stunt helmet to Hero, especially an ANOVOS. The green bubble lenses and vocoder paint would be easy, but reforming the teeth would be a pain and you'd need to get new ears with three bumps, which would likely need to come from a different armor maker. As for patching the two belt holes, this first link below shows an example (though not much description of the process), and the second link is a long discussion on the topic. https://www.whitearmor.net/forum/topic/33916-anovos-anh-belt-problem/ EDIT: Here's a third link for good measure. Includes a bit more of a practical discussion1 point
-
I am officially approved EIB now, so on to some adjustments for Centurion! Also, I took one of my EIB submission photos and illustrated a vector version of it, so I could make a shirt for trooping (just using one of the custom digital print places, so anyone can order it now, PM if you are curious, but not here to sell shirts). I will probably make stickers with the design but with my TKID, to give to kids, like I have with some of my other costumes.1 point
-
Yes, you should bring that front thigh cover strip up just a little more, to the top of the ridge that runs around the bottom. As for the belt, the four holster holes are for mounting a Hero-style holster, but since you’re doing a Stunt, it should only have the two holes closest to the bottom of the belt. For basic approval you might be able to fill the top holes to conceal them. And depending on how the previous owner built it, you should be able to remove the ABS belt from the fabric one; the three mounting points are hidden under the three belt buttons, which you’ll need to pry off. Finally, for utmost screen accuracy, be sure your drop boxes line up with the outside ends of the ABS portion of the belt, as shown in this photo. Hope this helps! Sent via Imperial Tapatalk Comms1 point
-
Beautiful job on your build Colin. Welcome to Expert Infantry1 point
-
Fantastic job on your build Shawn. Welcome to Centurion brother1 point
-
If you PM me some detailed photos of how you have it mounted I can give you some pointers on how best to tackle this.1 point
-
You need to use to use a photo share service that allows you to use links. This will allow you to add as many photos as you wish. many use Imgur which is easy once you know how.1 point
-
Ugh. So Hasbro just released these pics. Unfortunately I missed the opportunity to pre-order, but again here's specific reference to the Remnant Stormtrooper. I know we don't go by toys alone, but I'd really like to follow suit with what the Pathfinders did. I've started a folder on my desktop called "Remnant" which is going to get filled with reference pics.1 point
-
After a few magnets being re-glued for better alignment, I glued the button covers on and the shins are drying. There is a small area on the left shin that I probably need to hit with a heat gun to bend closer but I will see how they fit first.1 point
-
I taped off the areas of the TD that will be glued and brush painted with Humbrol #5 Dark Admiralty Grey (same as the teeth and traps on the helmet). It took two coats and should be ready for final assembly tomorrow. Also I drilled some paint sticks with a 9/64” drill bit to hold the 6-32 x 1/2” pan head screws and paint them black. I tested both Humbrol #21 gloss black and #85 satin black and they look very close. I will probably go with the satin since it isn’t quite as shiny. I had to buy a bag of 100 so if anyone needs TD screws let me know.1 point
-
Logo is now back at top of Forum header1 point
-
Thanks everyone! I had kept refreshing this for a bit, but started a new job yesterday, and so completely missed the comments yesterday! Many of the suggested fixes are very doable. The thermal detonator is trickier, the caps are glued on, but I may be able to slowly, slowly cut the caps shorter with an exacto blade and then move the clips over and replace the screws. The Hengstler counter is also a tricky fix, as the mounts are fairly fixed in their location, but I can look at them and see what can be done. The rest all feels attainable. Thanks again!1 point
-
Very nice, I love seeing helmet internal set ups.1 point
-
Looking good1 point
-
If you do need to adjust the angle of the hovi, it is easy to cut a piece of rubber tube on an angle so you get a thin wedge, place the rubber wedge behind the mic tip, you can then rotate this wedge and it will adjust the angle of the mic tip. Si usted necesita ajustar es fácil cortar un pedazo de tubo de goma en un ángulo para obtener una cuña delgada, colocar la cuña de goma detrás de la punta del micrófono, a continuación, puede girar esta cuña y se ajustará el ángulo de la punta del micrófono.
 1 point
 -
Another rubber E-11 option you might consider is the Hellhounds one. It is comparable to Praetorians, but actually features a metal scope rail and independent (though non-functioning) folding stock arm. When Trooperbay has E-11s in stock they are Hellhounds, at least in the past year. You can contact Daniel directly at the fb page linked below, and I've also included a link to my in-depth photo review of the Hellhounds vs. Praetorian vs. Hyperfirm. He has always been very responsive to me, and he also has a presence on IG. https://www.facebook.com/hellhounds.props Finally, remember that though rubber blasters are more expensive, they are also quite durable and might be safer for those moments when you turn your body and inadvertently bump a short child with your blaster. Cuz, you know, I can't see a thing in this helmet.1 point
-
I am finished and approved as of 11pm Cali time now to take pictures for lvl 2 and then lvl 3 and hopefully be apart of the 500 since i missed the 1000!!!
 1 point
 -
Congratulations Shawn ! Welcome to Centurion !!1 point
-
Happy Birthday trooper1 point
-
Such an AWESOME surprise on my birthday!!!! I’m giddy!1 point
-
I’M SO EXCITED!!!! Thank you so much and thanks to everyone who gave advice on my build as well as those who provided such great build threads to reference!1 point
-
Hi Josh and welcome to FISD. looking at Praetorian FB page, it seems that they are having some issues due to Huracan's flood . You can check again for status update. A 3d printed E11 I have seen is this one https://www.etsy.com/listing/192791479/star-wars-stormtrooper-e-11-blaster-prop?ref=user_profile1 point
-
Hi Colin, and thank you for your application for Expert Infantry!! CRL and EIB Application Requirements All required photos are now in and, after review, we are pleased to welcome you to EI! On behalf of the entire DO staff, congratulations!! Other-Armor Fit/Assembly In this area we review observations made by your fellow troopers and the DO team. Some observations may lead to suggestions to improve the overall look of your armor. Note that we consider both text (CRL) and pictures (screen caps/reference images) when reviewing submissions. Overall a spectacular build you have here brother! Just a few items in this area, so let's get to it! It's obvious you have some mad painting skills, but we are asking for a few quick touch-ups to make it look even better! Although you got the tops nailed perfectly, the front of the right one, the rear of the left one and both bottoms could definitely be thinned out with some gray paint to make them more uniform all the way around. Reference images While you have your paints out, we are requesting that you define the tops of the ridges on your vocoder a bit more. Reference images Depending on how screen accurate you want to be, we suggest trimming down the top and bottom of the ABS belt. It doesn't need to go all the way down to the edges of the raised boxes... as a matter of fact I would leave a small amount to inhibit cracking at the edges, but it could definitely be reduced. This means that the drop boxed would need to be raised a bit. Reference images As mentioned in the comments, your TD caps are pretty wide in comparison with what was seen onscreen. Hopefully you put these on using just pressure and not glue. This is not a deal breaker, but if you DO decide (hint hint) to reduce the width, the clips will have to be moved over/out as well. You should have plenty of room so that the clips will cover the old screw holes. Reference images Centurion Requirements In this section we prepare you for Centurion. More photos may be requested in the future that allow us to make better decisions on possible adjustments. If there are any areas of concern they will be discussed here. Because Centurion photos show much more detail than EIB, items to pertaining to Centurion might be seen there and not here. We try to point out all that we can from what is seen, but the final accuracy is the responsibility of the trooper. Not too many issues here, but as you know we get a lot more into the small details that lead to better screen accuracy for Centurion. In looking at your build thread, I get the feeling you not only can you address these issues, but that you will have awesome results! The back view looks perfect, but from the front you will see gaps between the tops of the shoulder bells and the shoulder bridges. Shortening the elastic will eliminate this. Reference images Another issue that can be taken care of with a few strapping adjustments is your back/kidney overlap. Raising the back half an inch would get you where you need to be. Reference images In looking at the reference images below, we are asking that you raise it a little to at least cover more of the bottom of the ab-button plate(s). Ideally it should touch (or even overlap a bit) the bottom button(s). Reference images This is a common issue and an easy one to fix... Your right one is spot-on, but the outside edge of your left drop-box needs to align with the outside edge of the ABS belt. Moving it outward and then applying a dab of E-6000 on the rear of the strap will take care of this and keep it from wandering. Reference images As seen in the reference images, the clips on the TD do not extend beyond the bottom of the canvas belt. Some tin snips (or a hacksaw) and some low-grit sandpaper to smooth out the rough edges and you are good to go! Reference images Last up, I gotta' say that is one impressive blaster... you did a magnificent job getting rid of the 3D print lines! Also, GREAT job on the weathering... not too much, not too little. However, we are requesting that you move the Hengstler counter forward. The rear of the counter should line up with the rear bolt of the folding stock. Reference images And that's it, sir! Nothing listed above that you can't handle with those awesome build skills you have, so once you get those taken care of we fully expect to see that Centurion submission right after... and become a part of the "Original 500". Great job!1 point
-
I have submitted for EIB, and while taking those photos, I set up some lights and got an action shot with a red rim light. This is what the armor looks like edited into an appropriate setting:1 point
-
Awesome photo KC, you all look great!1 point
-
Nice work troopers1 point
-
Sweet photo, and way to keep the traitors at bay! Sent via Imperial Tapatalk Comms1 point
-
looking good there, I was looking at doing this just to get basic approval and then moving over to the Kittle Belt.1 point
-
ANOVOS should know better. They should've made it with 2 rivets and sent another two with the kit so it can be modified for hero advising the customer of the possibility of ruining the belt with repeated holstering. This is just an asinine issue that should've been caught on the manufacturing level. But that's just my opinion. Sent from my iPhone using Tapatalk1 point
-
Yeah, only crazy people make Hero kits and walk around with DLT-19s.1 point