Leaderboard


Popular Content
Showing content with the highest reputation on 05/15/2020 in all areas
-
Hi Charlie, you can definitely do much better than an SDS helmet. Some of the armour makers who do helmet kits are. CFO (cast from original) AP ATA TM RS prop. All of these can be found in our vetted armorers list in the getting started section of our forums.4 points
-
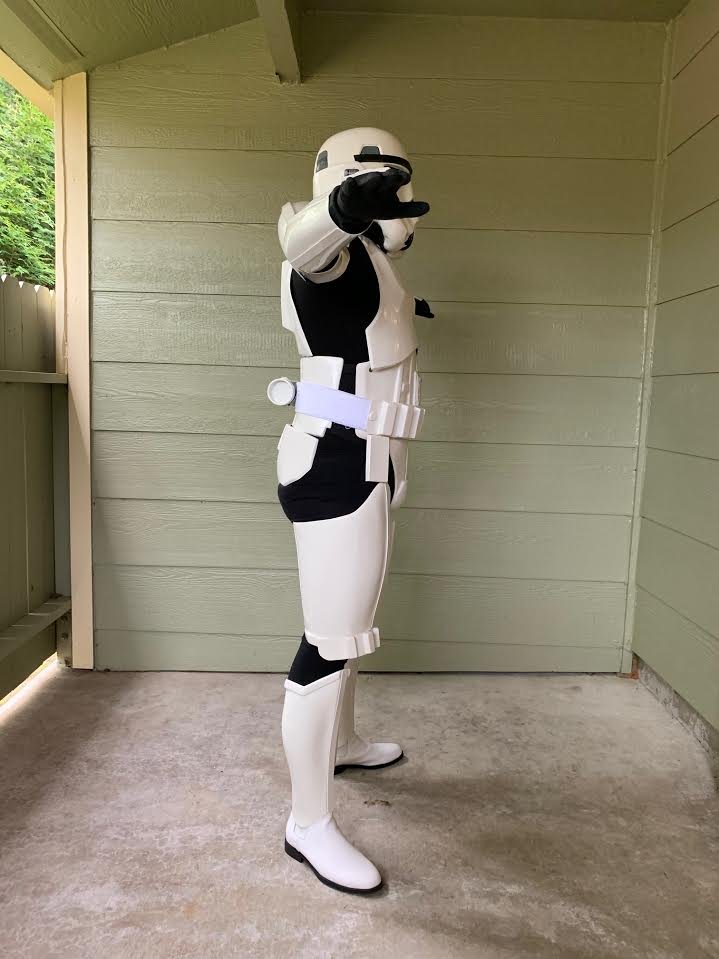
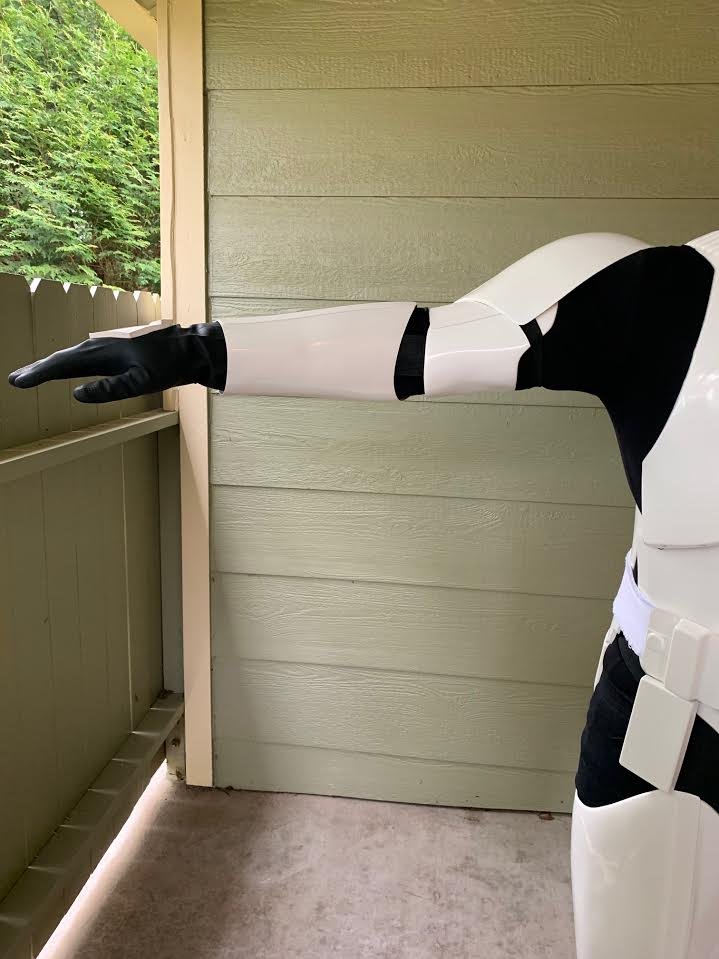
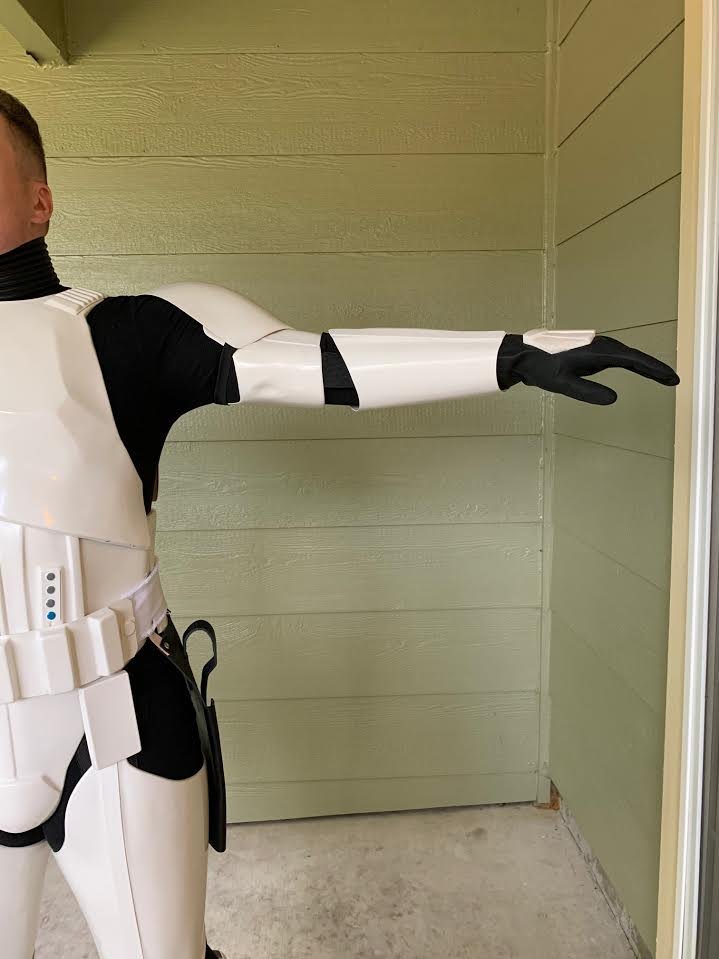
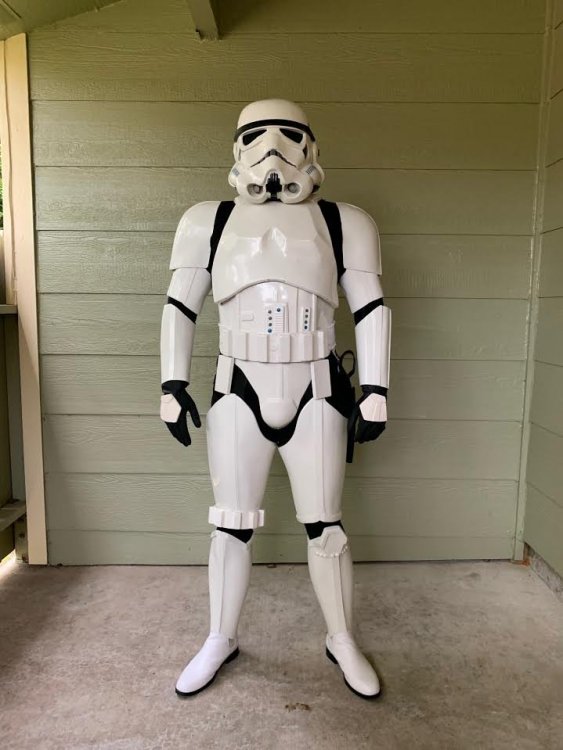
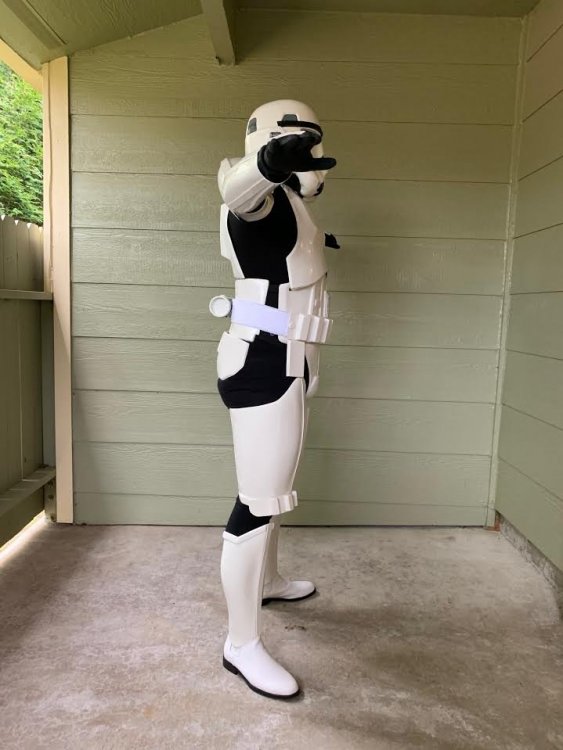
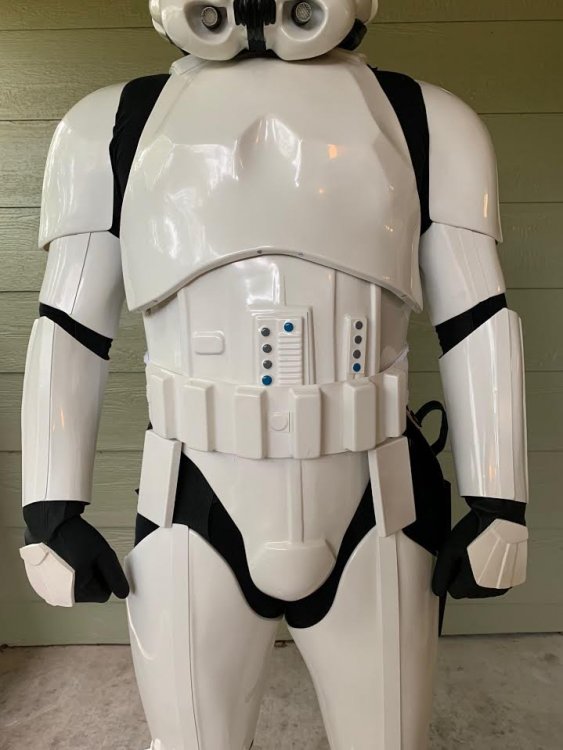
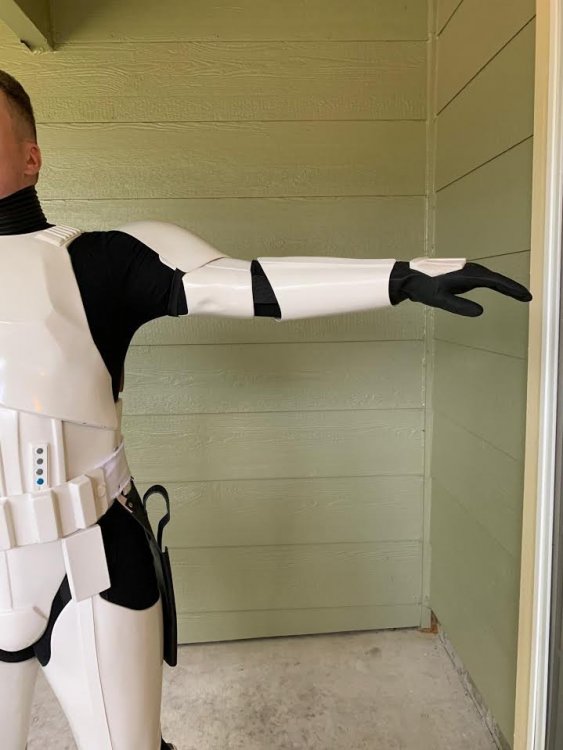
Did some some approval esc photos today in my armour I think I’m very close to doing my next approval photos and getting approved. Sent from my iPhone using Tapatalk3 points
-
Hi Danny and welcome aboard, it can be daunting at first, have a look through some of the build threads is a great way to pick up some tips and trips, everyone goes through the panic of the first cut. Looking forward to the progress, good luck. If you post separate images to your thread you will get more feedback, use the "direct link" and copy directly into your thread. Also use the "Gallery Sections" lots of screen references there A few threads for ears:3 points
-
Currently under construction are Expert Infantry and Centurion visual guides for all our First order Troopers. Stay tuned folks.2 points
-
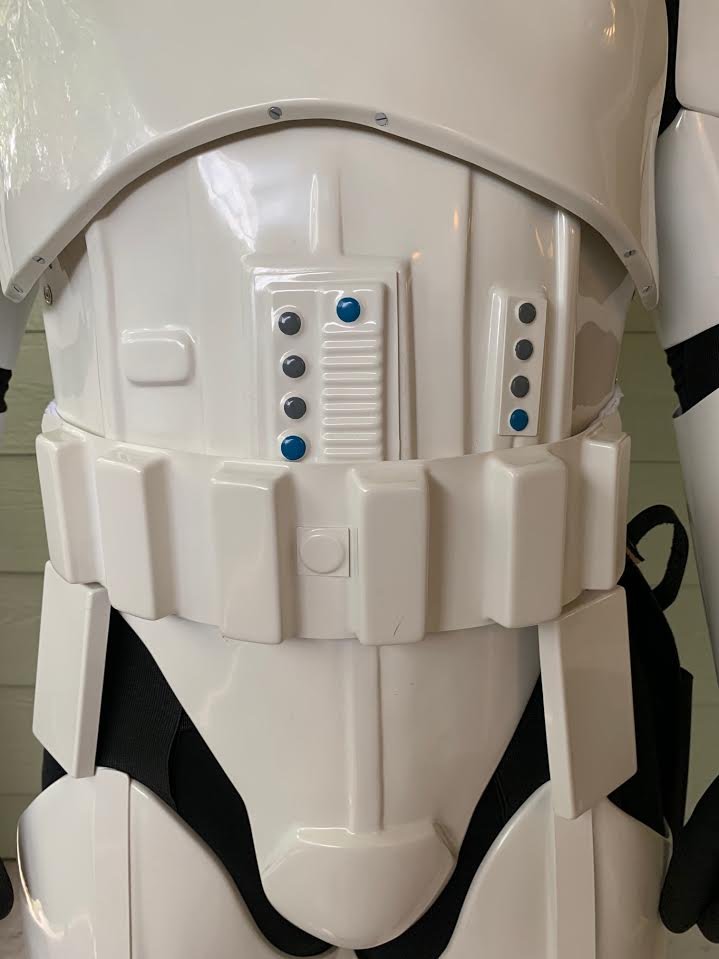
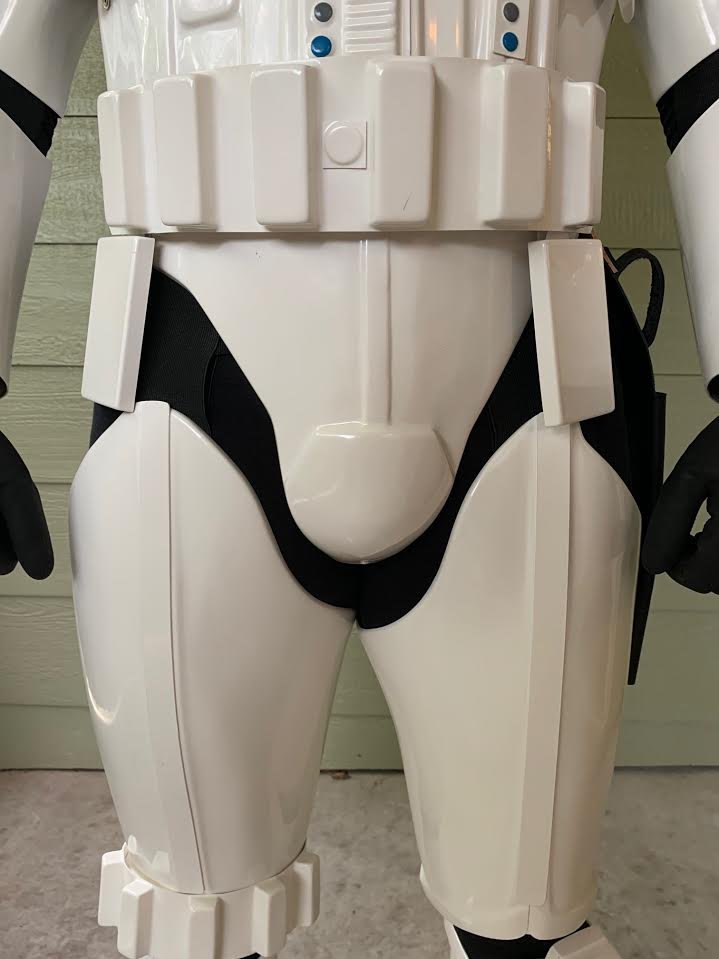
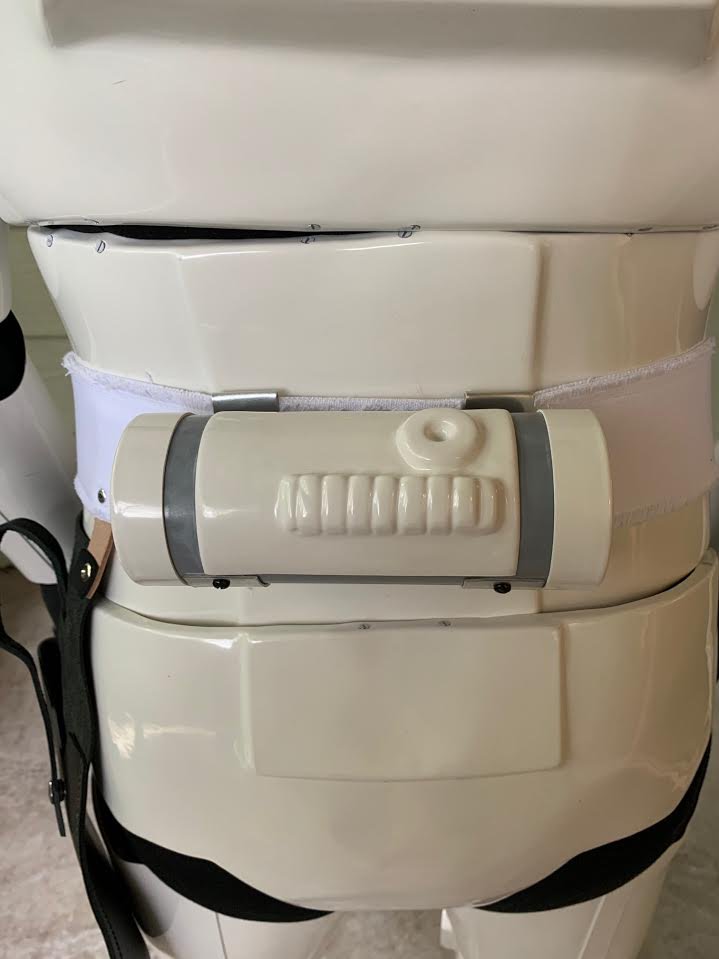
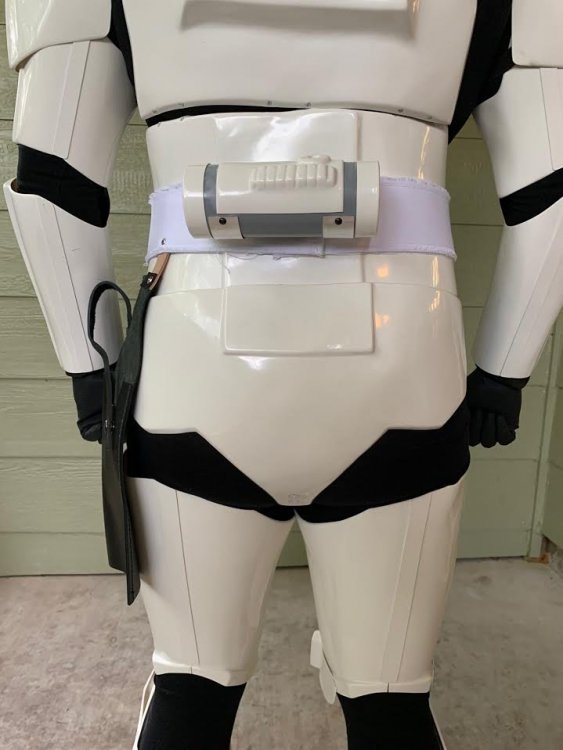
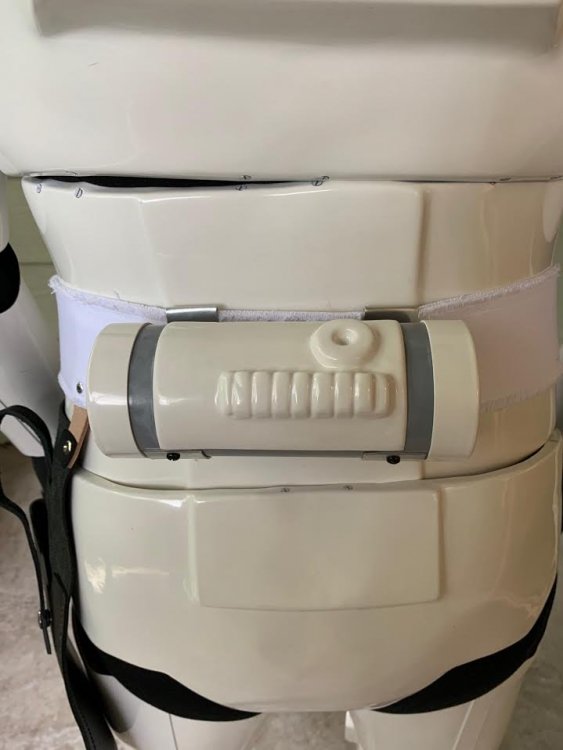
Since you aiming for Level 3, (), one thing you will need to do is trim back the end of the ABS belt a tad. As per the CRL for Centurion, the "corners of the plastic ammo belt shall be trimmed at a 45 degree angle (you nailed that part) that meets the outer edges of the cloth belt". Super easy fix! Reference images The position of the ABS belt is acceptable, but if you could bring it up just a teeeeny bit more that would be terrific! The angle of the cloth belt is a bit askew, and ideally the entire belt should sit more more horizontally. I say ideally because the majority of the ones seen onscreen were either horizontal or close to it. We realize of course that troopers come in all shapes and sizes, but with your build you should be able to pull this off. I know it seems we are throwing a lot of curve-balls at ya', but you seem to be a perfectionist and have come through with flying colors with all the suggestions we have made. As a D.O. this means a lot, and I am looking forward to the day that you become the newest Centurion of the Knightfall Garrison!2 points
-
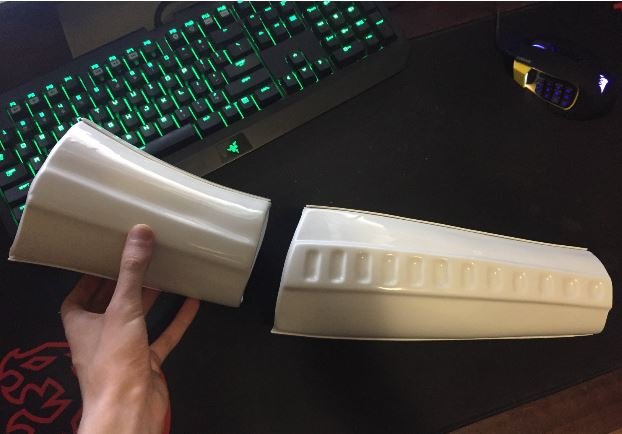
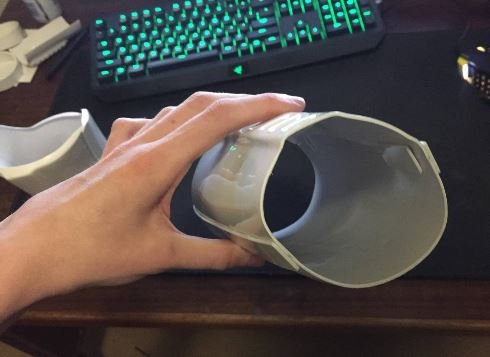
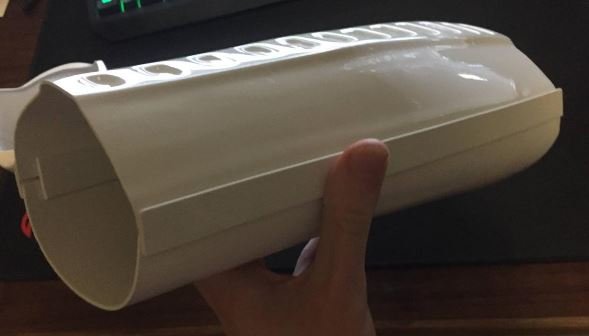
Just some photos of the new claves before we stick them, they seem to fit a bit better, the sizes are pretty much the same too2 points
-
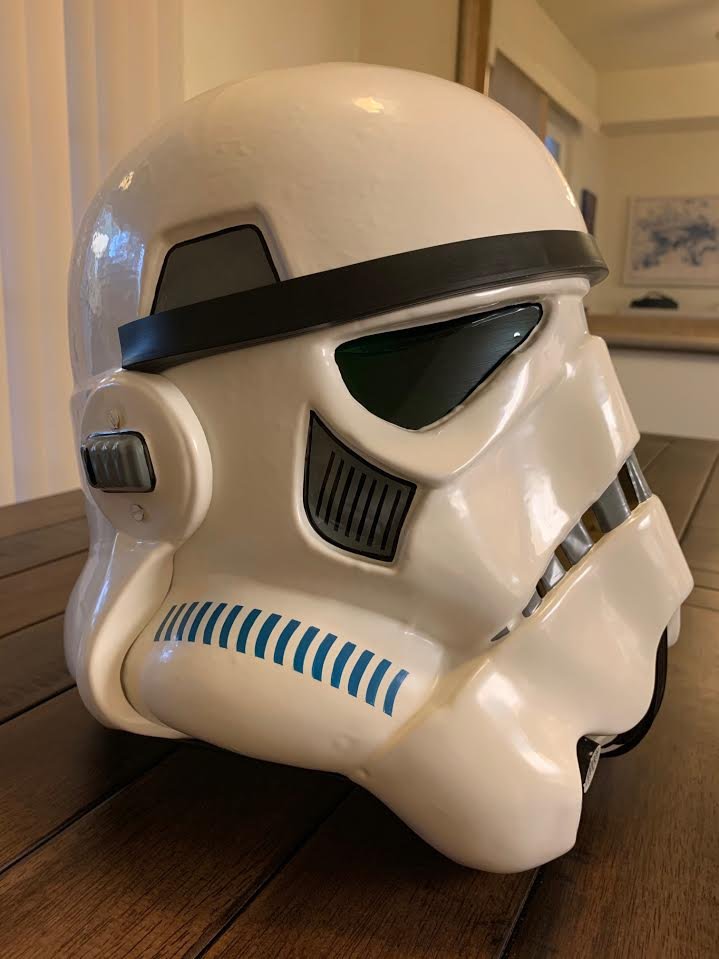
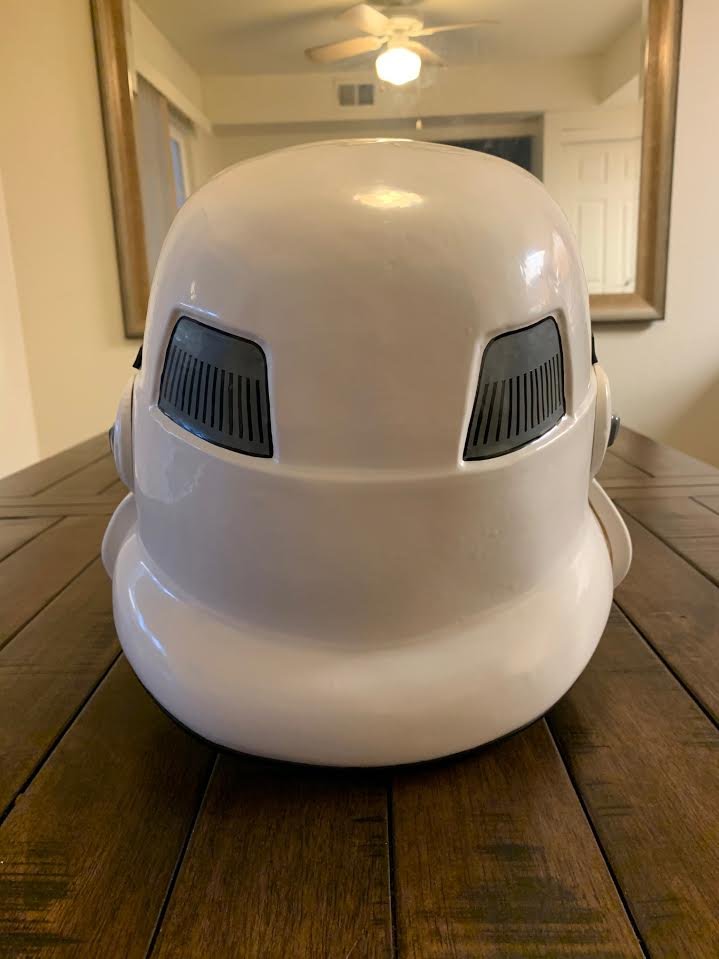
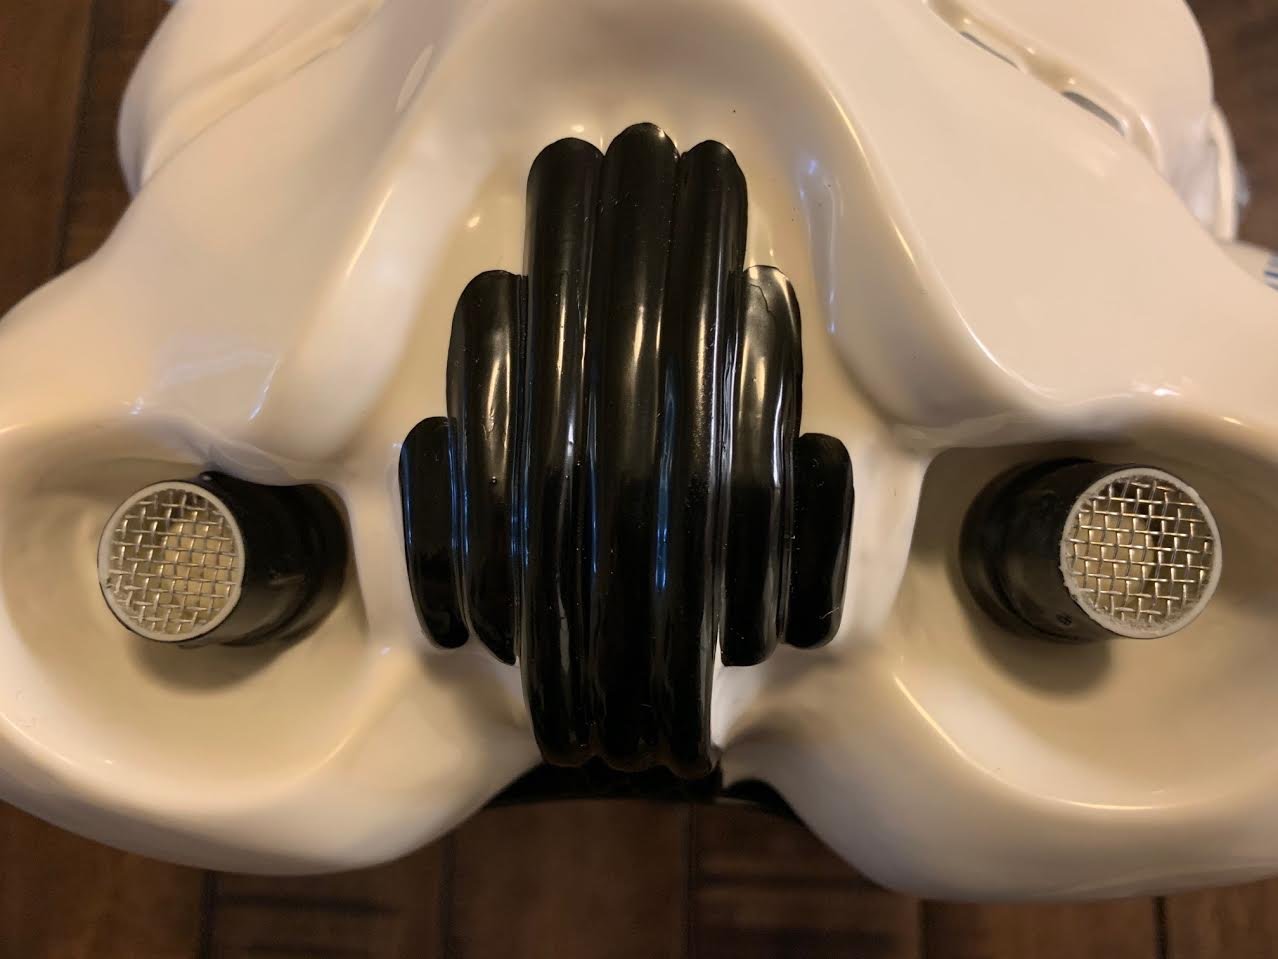
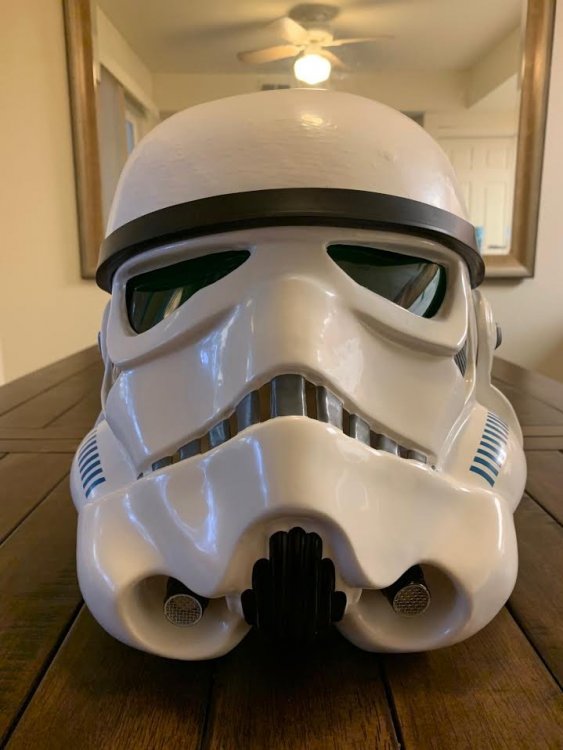
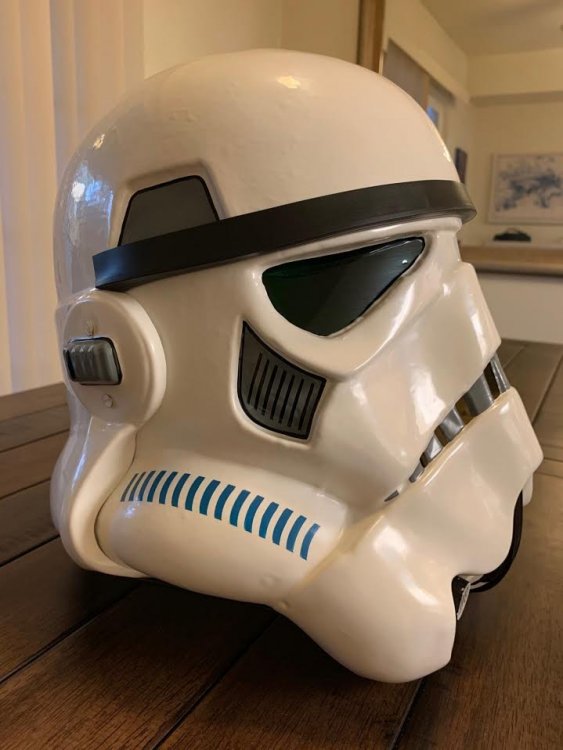
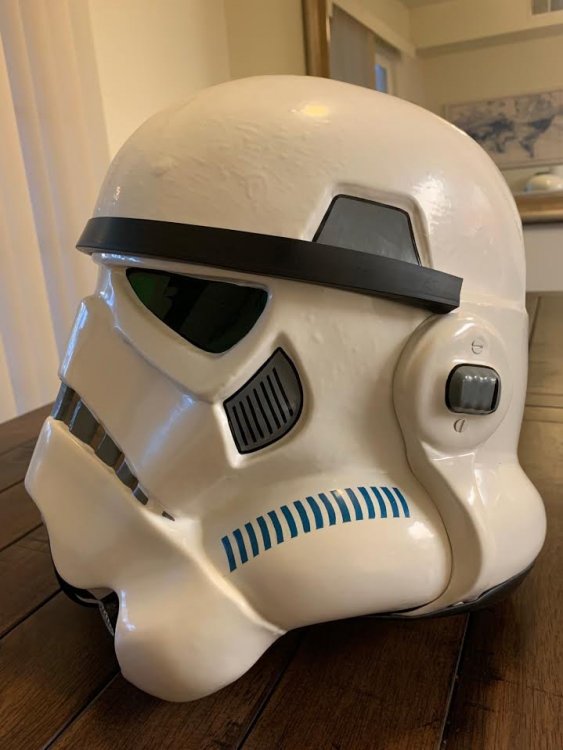
Helmet is fully finished! I'm very happy with it. I'm pretty sure it is cert 3 ready too. Any ways we can push it even further with accuracy? Not that we need to, but if additions can be made perhaps we can add them!2 points
-
Hey everyone! Back with some more progress! So, I heard from KB, and he's planning to ship out my TFA helmet and the rest of the other parts(TD, chest clips), so with that I decided to work on... TD For the TD(the plastic part anyways) I trimmed it down. Does this look right? Top Side Bottom Resin parts I cut out all the little clips with Lexan scissors. A small tip would be to cut them out very slowly, as when they're sent out they're all attached. So be careful, or you might crack them. I accidentally cracked one, but was easily repaired with some E6000. And that's pretty much it for now. I'd also like to say a big thank you to everyone who worked on this new First Order Battle Group, it looks awesome and has been great help already. Until next time2 points
-
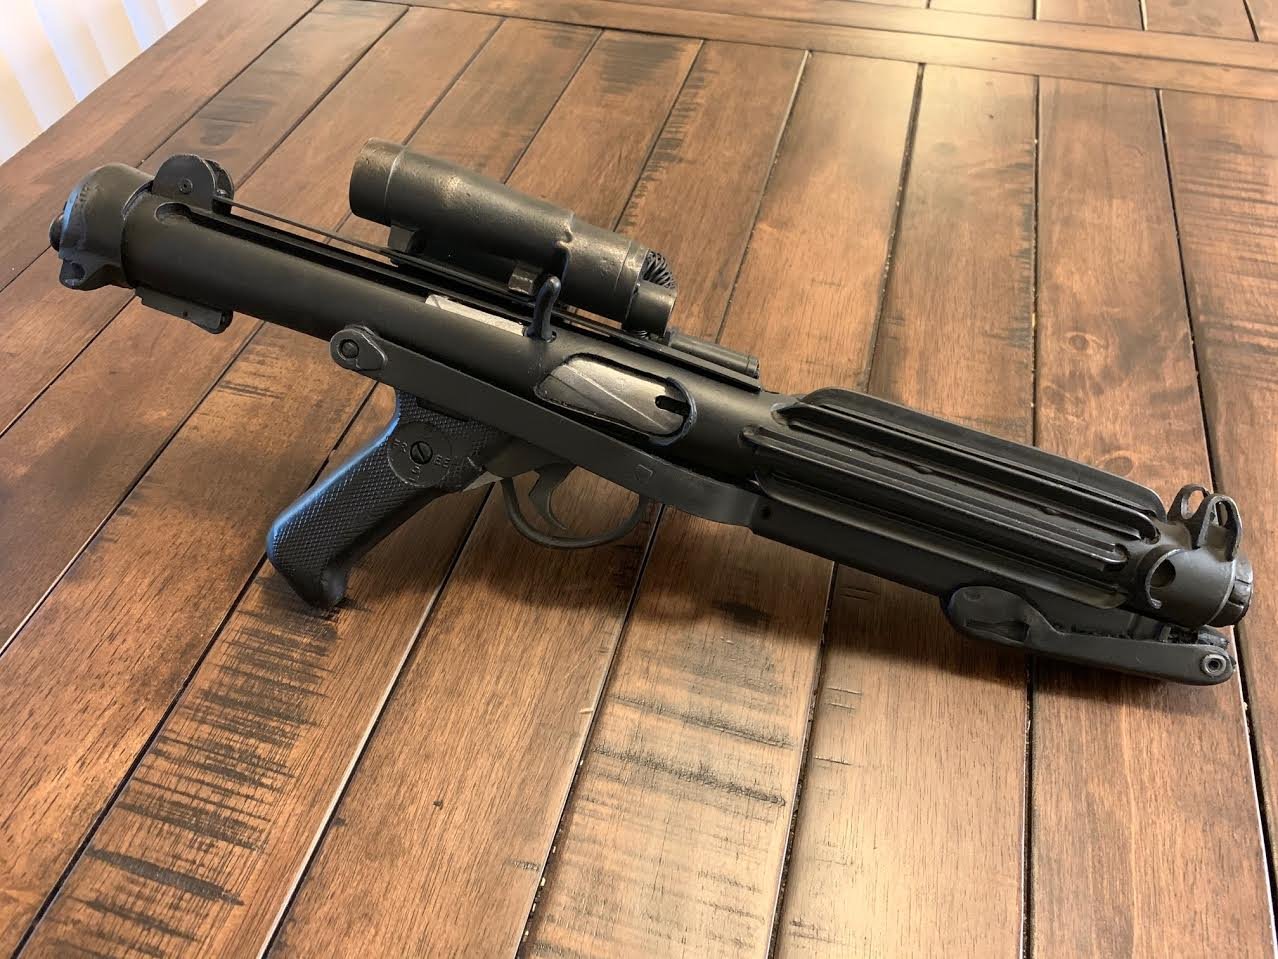
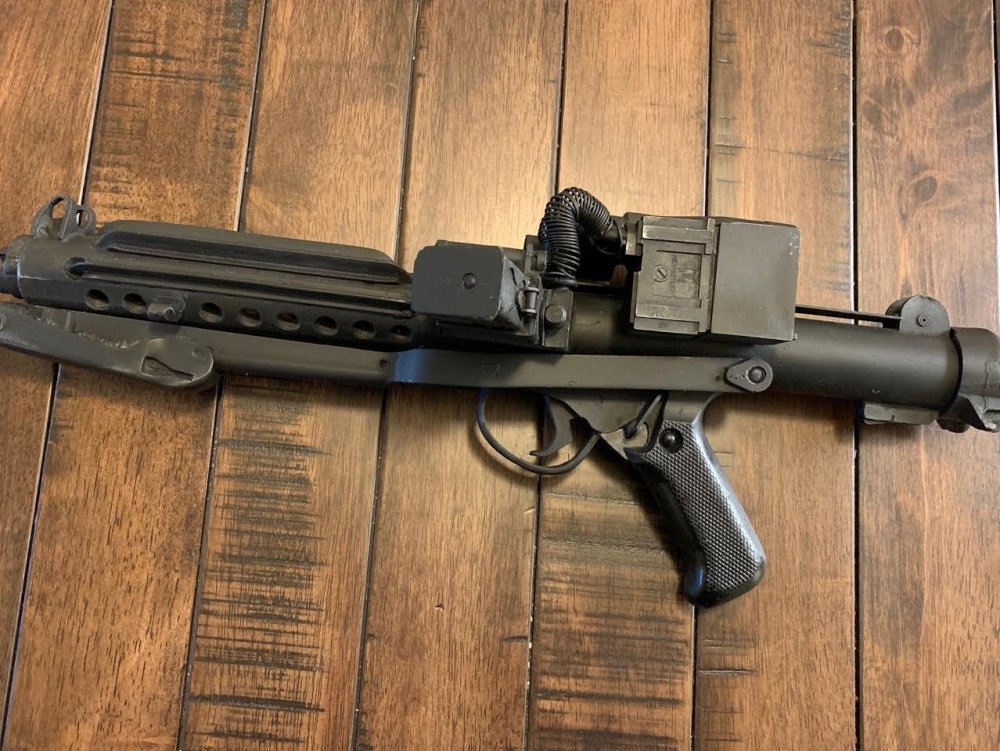
A long time ago in a galaxy far, far away ... ... a small group of dedicated Star Wars fans and FISD members felt the time had finally come to create a one stop E-11 Blaster Build Reference. Working together from across the globe, the team collaborated online and worked hard to establish this collection of outstanding modifications to assist future E-11 builders. Designed for the popular and commonly used resin build kits, it includes modifications for the ANH version of the BlasTech E-11, however many of the modifications are usable in building both the ESB and ROTJ variants. All the content below will help you in selecting modifications for use in your own build, depending on your kit, skill level and personal preferences. Be aware to not use this document as a build guide! You always have to be sure about your next step. And we recommend to read the complete sub-section of a part before starting your work. To provide an overview, labelled blueprints are included, followed by an interactive table of contents to bring you straight to the relevant modification. Additional blueprints with even more detail are included in a separate chapter at the end. These really help to understand how a real Sterling works. Many thanks to the following FISD members for their work in compiling this reference: Bulldog44 (Brian) Dark CMF (Tim) Sith Lord (Ian) T-Jay (Tino) Usaeatt2 (Aaron) Full content as downloadable PDF document in DIN-A4 size Full content as downloadable PDF document in US letter size Sterling parts in downloadable PDF document Photo Compendium The PDFs are direct copies of this thread content, with only minimum changes to optimize some page breaks here and there. If you find any other substantive differences, please send a PM. Think before printing - please consider your responsibility to the environment before printing a PDF. Thank you.1 point
-
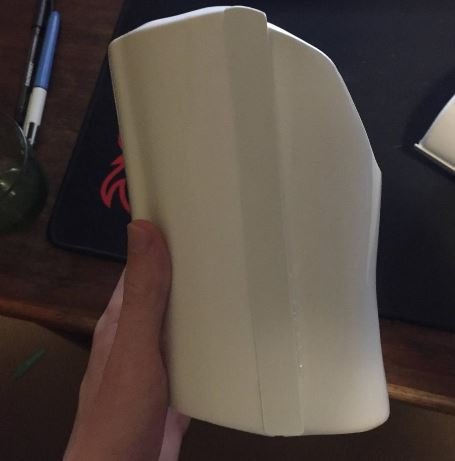
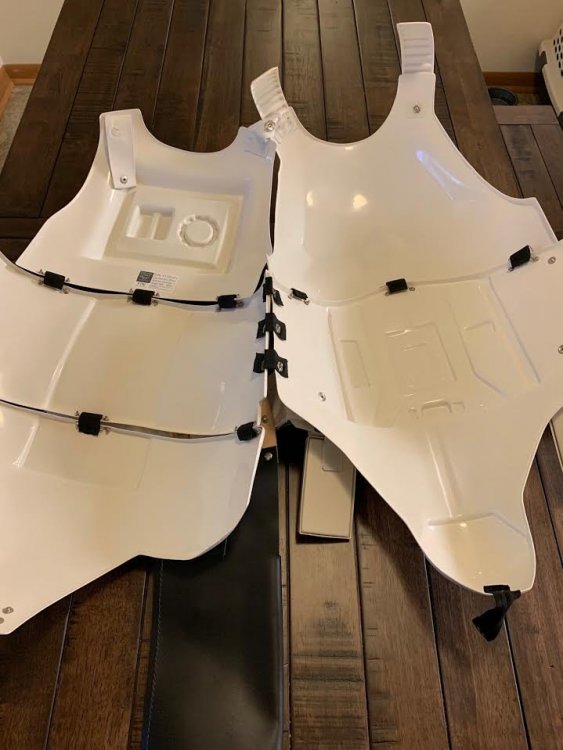
Hello from Australia! Me and my father are building our first armour together (to fit on me) ! I've been asking around on the community for help, which lead to someone suggest we make build thread like everyone else. My dad is very excited to help me build this armour, we are spending more time togethr on it which has been good. Me and my dad used to build heaps of plane/tank models together when I was younger, so it feels just like that again. Everyone has been super helpful and nice on here it's great. (Now I'm starting to think he wants his own armour which I'm thinking he should!) So we've finished (so far) the two forearms and the two biceps before I made this thread, the right arm pieces can be seen below. We are going to start the torso portion tomorrow to fit to my body which will be fun, then eventually moving onto the legs. Help and advice will be much appriciated!
 1 point
 -
Name: Cameron Porter Blair TKID: TK-22020 FISD Forum Name: Order and Justice Garrison: Garrison Titan
.jpg.bfe68721ba8b02192321b40c24445a98.jpg)


 1 point
 -
Great job Daniel, congratulations and welcome to EI1 point
-
Awesome another HWT. Looking good Carsten, good luck with your application1 point
-
Looking good Cameron, good luck with your application1 point
-
Same as the left just reversed1 point
-
Check out this build thread, there are a few references to using a hot water bath through out. https://r.tapatalk.com/shareLink/topic?url=https://www.whitearmor.net/forum/topic/43820-joby619-anovos-tk-build-2018/&share_tid=43820&share_fid=44557&share_type=t&link_source=app And good luck. Sent from my SM-G960F using Tapatalk1 point
-
Thanks guys. I'm building Rogue One armor so no rivets. I get to glue mine and am looking for a way to relax the abs so it will curve around the bottom of the thigh easier. Cheers1 point
-
FANTASTIC work on those shoulder bell curves, Caleb! WOW, what a difference! As for the shoulder snaps, you are correct. The center should sit direct in the middle of the top of your shoulders. I would wait until you have the ends connected to the chest and back tabs to make sure the fit is right before repositioning them.1 point
-
Hi Derek! Although we can't help you with the Vader info, that is available on the Sith Lord detachment here, but be aware that building a 501st approvable Vader costume can easily run into several thousand dollars or more. We have a new section here called the First Order Battle Group, which is a fantastic place to start your research, and you can go directly to that area by clicking here. Always feel free to ask any specific questions you may have... we are here to help!1 point
-
Exactly as Troy said... just bend them around the thigh and the rivets** do the rest. Remember that the back ends of the ammo pack should be an equal distance from the rear corners (see blue lines below) of the thigh ridges on each side. **The ones used in the films were "single cap" rivets, but split rivets are 100% acceptable at every level. This thread may help. The top of the front should ideally be high enough to cover the lower ridge of the thigh as seen in the first pic below and the one on the left in the second photo, but there were others seen the films that had them lower. Some E-6000 will hold them to the ridge and keep them from sliding down.1 point
-
I have decided to go with Dave's Darkside Depot armor and placed my deposit on getting a fully assembled kit. I decided to have Dave assemble it because I want my first armor to be assembled the right way. My next armor, I'm sure I will attempt to build myself! Thanks for all the support!1 point
-
So I thought I wouldn't have to do any reshaping but I realized even though the torso is smaller than the RS suit it looked like I needed a bit more curvature to make it fit me better. Reshaped the kidney, the ends ended up curving a bit too much but some of the ends will be trimmed away for resizing: I realized that my deep fry turkey pot is a similar circumference to my torso......so I just dipped my whole ab plate in it (wish I did this with my kidney): Strapped the torso again. It fits a lot better now. Still have to make the kidney edges neater to align with the sides of the ab plate: I am not sure if the space I have in my torso is too big or if I should aim to make the torso a little smaller (besides shaving the kidney ends to make the ab and kidney meet neater) And looks like I am going to try and flatten the sides of the kidney so they meet at a nice flat surface: So that's my plan for this weekend: Flatten the sides of the kidney, verify sizing is still good and making the ends are able to butt together nicely:1 point
-
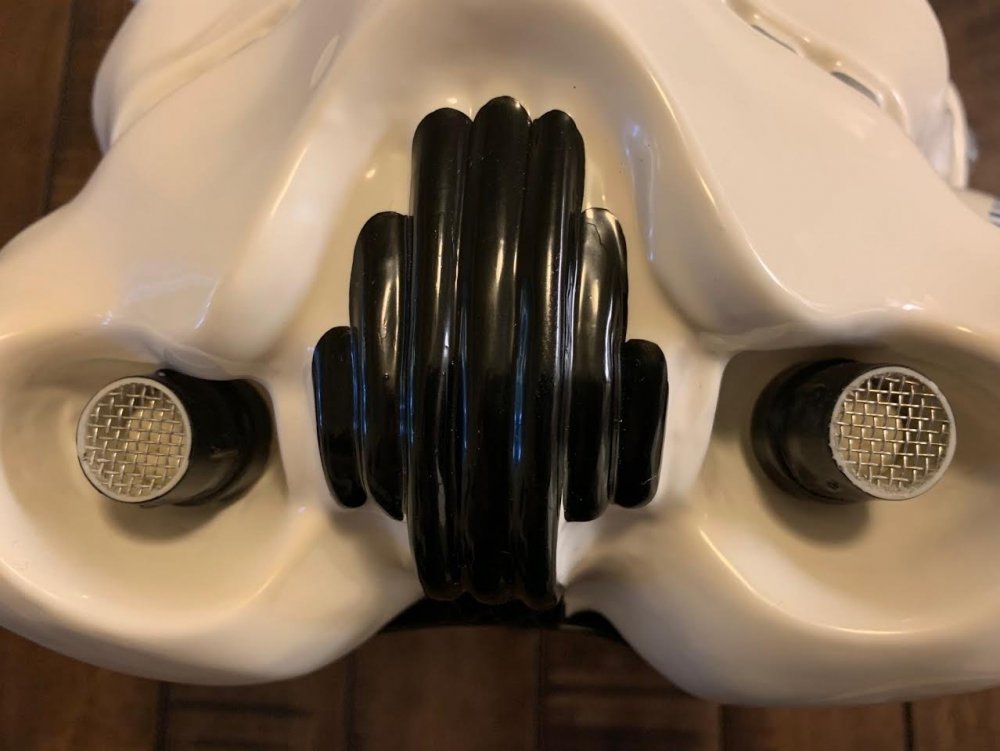
Hi Charlie, welcome to FISD. Both helmets are ok for basic approval and with minor adjustment in the Anovos one. For levels 2 (EIB) and 3 (Centurion) The crl states specifically for the Vocoder: The vocoder must be integrated into the helmet, and not a separate piece As I know, the Shepperton Battle Spec has the vocoder as a separate piece. (Can you confirm this with the vendor?) The Anovos Helmet will need a few adjustments for L2 and L3 too but they're easy fixes like change ear screws , modify the hovi tips mesh and some paint details. In my personal opinion, the Anovos one is easier to upgrade for high levels. Cheers.1 point
-
I think I have the positioning set right for the helmet. Posting before I drill the holes for the rivets.1 point
-
Well, I think I can finally finish this armor. I tried to work with the MIMIC armor for the upper body but it is too rigid. I have already cracked the abs just by putting it on a couple of times. As a result, I have ordered the remainder from KB Props, so my entire set (minus the helmet) will be KB. Once this comes in, I can finish. I did just notice that all of my URL links have expired so my new pictures will need to come from Imgur.1 point
-
Down to 35 now! Congrats to Dan Newman, (TK 62910) on his approval as EI # 965!1 point
-
Well done troopers !!!1 point
-
Ordered my KB kit 2 weeks ago, can't wait to get started1 point
-
And finally picture of the accessories and stickers. I realized they aren't in this picture but I do have the two trapezoid shaped greeblies for the left shin. Right now I'm looking at getting the clips from R2Dan. And some of the stickers look useful but I haven't decided if I will be using them for some of the pill shaped slots. If anyone has any suggestions on what could be done instead of stickers please let me know! I know it was a lot of pictures to upload but I figured these could be helpful for future kit builders. It also gives all of you a chance to assist me before I make a wrong cut! Next step is trimming!1 point
-
I will add, and also have this added to Joseph original post, but there will be a very special piece of merch available for when we hit the 1000. Something to celebrate this auspicious occasion. It is already in the design phase, and will honor the old and the new. It will be a one off run as we only get to celebrate this milestone once, and I know you wont want to miss out.1 point