Leaderboard


Popular Content
Showing content with the highest reputation on 05/07/2018 in all areas
-
To be fair I had the same problem, but my decision came during my build. I realised how long it takes to apply some of the mods, so i just decided on a couple that I thought would be absolutely necessary to make my E11 feel like a weapon worth of a Stormtrooper So just pick a couple and make a to do list, I just find it really satisfying to tick what I got done every day - plus it shows you how close you are to the finish line3 points
-
OK, before I start this build thread officially, as I'm await my Big Brown Box Day, I thought I'd lead in with a prologue of sorts. I'll list out the tools, accessories and supplies I chose as they trickle in. That way I can get feedback on those choices as well and hopefully, others can gain from my stumbling about *ahem learning*. Couldn't resist starting with my first shiny new accessory (after all, gotta test my imgur right?). The last of the 12C's available at TK (Totally Killer) Boots: BTW: Please let me know if you can't see the image. I have the album setup in Imgur as Hidden (versus public) since it indicated this is still accessible via URL.1 point
-
Hello all, First of all, thanks for having me! I've been lurking around the forum and seen some amazing builds. I grew up watching Star Wars with my Dad and made my first Vader suit when I was 12... from papermaché and cardboard. I couldn't find the picture of it but let me say... I needed some more practice I've been doing props for 4 years now and a while back I decided to go for a 3d printer... find out to model my own stuff. Over a year ago I wanted to make a File for the new Storm Trooper Armor for myself that would be approvable for the 501st. Reference was scarce (for polygonal modeling) and I just made the Helmet back then. It was pretty decent but some details were off and the shape of the dome wasn't 100%. A buddy of mine sent me a low poly game model to look at and it came with textures. That was awesome because that gave me something to start with. A lot of details on the textures were just right and the overall proportions looked correct. I used it as a base reference to make my own model. I have sinced tracked down the origin of the model and I believe that it was JakeGreen163 on DeviantArt who made it available. I've since had help from some dedicated Star Wars Costume Pros who pointed out various mistakes and things to improve at. A lot of hours and dedication have gone into making this a very high quality model, as close to the real thing as possible. 501st, here I come :D Some details on the model: - The hexagonal structure on the Helmet would have been really hard to model and post process, so I came up with two 3d printer-friendly solution. First: A glue-on solution: The hexagonal structure is printed flat and then glued in place. Second: The hexagonal structure can be inserted into a small undercut and is held in place by the "Nose"-section. If you don't understand what I mean, look at the pictures. - Visor-Stencil: I have a vacformer but I figured, since it is not a requirement for the 501st approval to have a bubble lens. I could just as well make a cutout for the visor since that is easier to apply a black tint to. So I made a stencil that would fit just right. I already printed the helmet. I'm prepping the rest of the suit next. Progress on this will not be super fast because I print a lot for customers as well. TFA Helmet: TLJ Helmet: Hexagonal inserts: Rest of the suit: Helmet with undercut that even Anovos was missing until now:1 point
-
You may have heard the term "Armor Party" mentioned here, and wondered exactly what that means. While these are not "official" 501st or FISD events, below is some basic information which may be helpful for those who would like to either attend or host one. How do I find one in my area? These are normally posted on your local Garrison or Squad websites, usually in the "New recruits" or Events area. If you have any questions, you can ask the board admins for your local unit. A list of all Garrison/Squad/Outposts can be found here: http://www.501st.com/members/displayUnits.php You may also have a local Imperial Attache that you are welcome to PM. A complete list can be found here: https://www.whitearmor.net/forum/topic/38483-fisd-imperial-attache-list/ Goals These events are aimed for those who are beginning or are in the process of building a set of TK armor. There will be approved Troopers there who have been there-done that and will help you with any questions or problems you may encounter and offer advice. However... if you have not received or even ordered your kit you are more than welcome (and encouraged) to attend. These are "judgement free" zones, so no matter how strange or inane you think your questions may be (or how many you have) we have heard them all, and are here to assist you. You will also get to meet the future friends you will be eventually trooping with. Supplies "I have my kit, so what else should I bring"? 1. I would start with a spiral notebook and a pen. This way you can write down any questions you may have before you get there, as well as take notes and contact information. Bring these items even if you don't have your armor yet. 2. Many hosts may have some supplies on hand, but what stage of your build you are in will determine what you will need. I suggest bringing a Dremel tool (with accessories), clamps, magnets, E-6000, sandpaper, a pencil, etc. When in doubt, bring everything you have. A complete list can be found here: https://www.whitearmor.net/forum/topic/31404-supply-list-for-your-tk-build/ 3. If you have them, bring your undersuit and boots. These will come in handy for fitting your armor if you are at that stage. 4. If you have a laptop, bring it for FISD references. Food/Drinks While some hosts will supply snacks and water, some make a whole day event (or a barbeque) out of it. Ask your host in advance, and be prepared to bring your own water/soda/juice, snacks etc. Some hosts allow alcohol (usually BYO), some do not, so please respect their wishes. Again, check with the host before bringing it. Not to be a buzzkill, but I personally don't recommend drinking while using a razor knife or electric tools. Conduct 1. If you smoke or vape, please check with your host to see if there is an area where you can do this and not offend others who don't. 2. If you drink (alcohol), please be responsible. 3. If you need to use someone else's tools or supplies, ask beforehand. 4. Please try to avoid bringing small children without checking with your host first. Sharp objects, flying ABS pieces and kids may not mix. Plus, they can get really bored. 5. The same goes for pets. 6. If you sign up to attend, please do so. You may also want to enquire about where to park. 7. Please do not expect others to build your armor for you at an AP. They are here to help, not do it for you. I have heard of some who actually dropped their armor off and said "I'll be back later to get it". Needless to say it was left in the box untouched. When it's over.. Remember to thank your host, as well as those who helped you, and PLEASE offer to assist in the clean-up afterward. It's the right thing to do. HOSTING AN AP If you wish to host an Armor Party, I highly recommend it. A Saturday or Sunday afternoon of camaraderie with fellow (and future) TKs can make for a great time, and is REALLY appreciated by those who need help with their build or have questions. So how do I do it? 1. Determine what type of space you have and how many people you can accommodate. Some use a garage, basement or patio, as long as there is shade (summer) or heat (winter). You will also need multiple electric outlets for tools, as well as sufficient tables, chairs and hopefully a workbench of some sort. 2. Ask the senior TKs, EIs and Centurions in your Squad/Garrison if they can commit to attend and help out with build questions. You really can't have too much white-armor knowledge at these events. Having one or more experienced FO TKs will definitely help. 3. Check with your neighbors. These events very rarely get loud, but parking may be a concern. 4. After you have determined that you are good to go, post up the information on your local 501st site (and FB if you have that). Be sure to give all the details you can in the post, including day, date, begin/end time, food/drink/alcohol/kid/pet/parking policy and if there is a limit on how many people you can accommodate. Don't forget the address/directions to your house! You may also want to provide an alternate date in case in inclement weather. 5. Have a laptop or computer online and at the ready with the FISD site available. This will help with any technical info. 6. Be prepared to answer the same questions over and over. These folks are depending on and will appreciate your knowledge. 7. If you get the chance, take lots of photos and post them up here! If you have any suggestions/additions for this, please feel free to post up below, or if you have any questions about hosting or attending please feel free to PM me.1 point
-
Hey Ignacio, thanks for you patience and your EIB application. Let's take a look. CRL and EIB Application Requirements: It appears all the required submission photos have been posted. Your armor displays and the required components for L2. Andrew and myself would like to welcome you to the rank of Expert Infantry . Other-Armor Fit/Assembly: In this section we review observations made by your fellow troopers and ourselves. Some observations may lead to suggestions to improve the overall look of your armor. If any suggestion affects any application, it will be listed separately in the above or below sections. We have a few areas to go over here so let's get to it. Taking a look at your helmet first, the tube stripes are to be roughly a #2 pencil width or 1/4" from the face. We're suggesting you reposition them to the correct location. Also, the ears appear to be thick. They should resemble the ears seen in the following reference photo. We're requesting you thin these out a bit if possible also. Reference photo Next up shoulder bells. There should be minimal gap between the shoulder Bells and Chest & Back plates. We're requesting you tighten the upper and lower connecting straps and possibly remove the lower bell return edge to draw them in closer to the chest and back plates. Reference photos. Continuing downward it looks like the shoulder plates were applied too far down the chest plate or the chest plate connections themselves are too long. This isn't a major issue but if you look at some reference photos you'll understand what were talking about. Reference photos The gap between your right forearm and bicep is considerably different than that of the left. We're recommending you correct this to look like the left side. Reference photo Moving down to the Ab section. The vertical Ab button plate we feel has too much material. It's extending out side the raised area beneath it when it should be inside it. Reference photo And Lastly your posterior plate needs to reside under the kidney plate and also be tucked in under your butt so the rivets are not as visible. Reference photo Centurion Suggestions: In this section we prepare you for Centurion. If there were any areas of concern they would be discussed here. We have a couple areas that will need to be resolved before applying for Centurion if you choose to do so. First is the waist belt drop box alignment. The drop boxes are to be aligned with the outer most edge of the ammo belt. It's recommended you glue or permanently fix the drop box connecting strap to the cloth belt to prevent them from moving around. CRL states: Level three certification (if applicable): Drop boxes are vertically aligned with the end of the ammo belt with minimal gap between belt and box. Reference photos The Thermal Detonator mounting screws should be pan head, your's appear to be domed. Re requesting you replace these with the correct screws. Level two certification (if applicable): Clips shall be attached with slotted, pan head style screws, and be black. Reference photo And lastly, the Cod rivet is incorrect and will need to be replaced. The CRL states: Level three certification (if applicable): A single split rivet or brad is present on the lower tab of the abdomen armor. It appears you used a pop rivet or similar which is not accepted at L3. We know this isn't a great reference photo and we do apologize. That's it, a little bit of work to do but it shouldn't take you too long. Congratulations again on your EI approval. Great job and hope to see you at Centurion. If you have any questions feel free to ask us or anyone here.1 point
-
Should be easy pass for basic approval! Agreed with the other comments. Also looks like there is still some return edge at the wrist which you could remove not just for comfort, but for accuracy! Not a requirement though.1 point
-
Star Wars day..1 point
-
Yeah, dealt with them once before and the whole process went really smoothly. This time, ordered a pair of Hoth boots, which looked really great, so would be a downer if I don’t get them (not concerned about the PayPal situation- guaranteed to get the money back, but it’s the boots I wanted). Their radio silence doesn’t make sense.1 point
-
The BSP kits are in the pre-order stage. They haven't shipped any out yet. If it helps I bought a FO backpack from them and it is excellent.1 point
-
Impressive, most impressive be with you as soon as possible Dan.1 point
-
Just hoping for some kind of refund and try another vendor - The FOTK is going to happen1 point
-
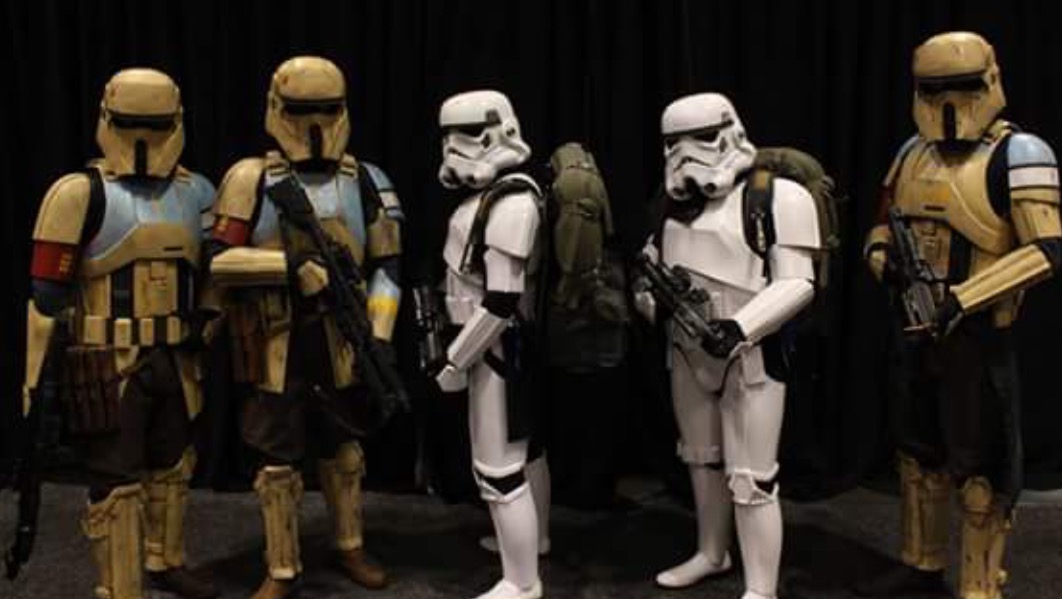
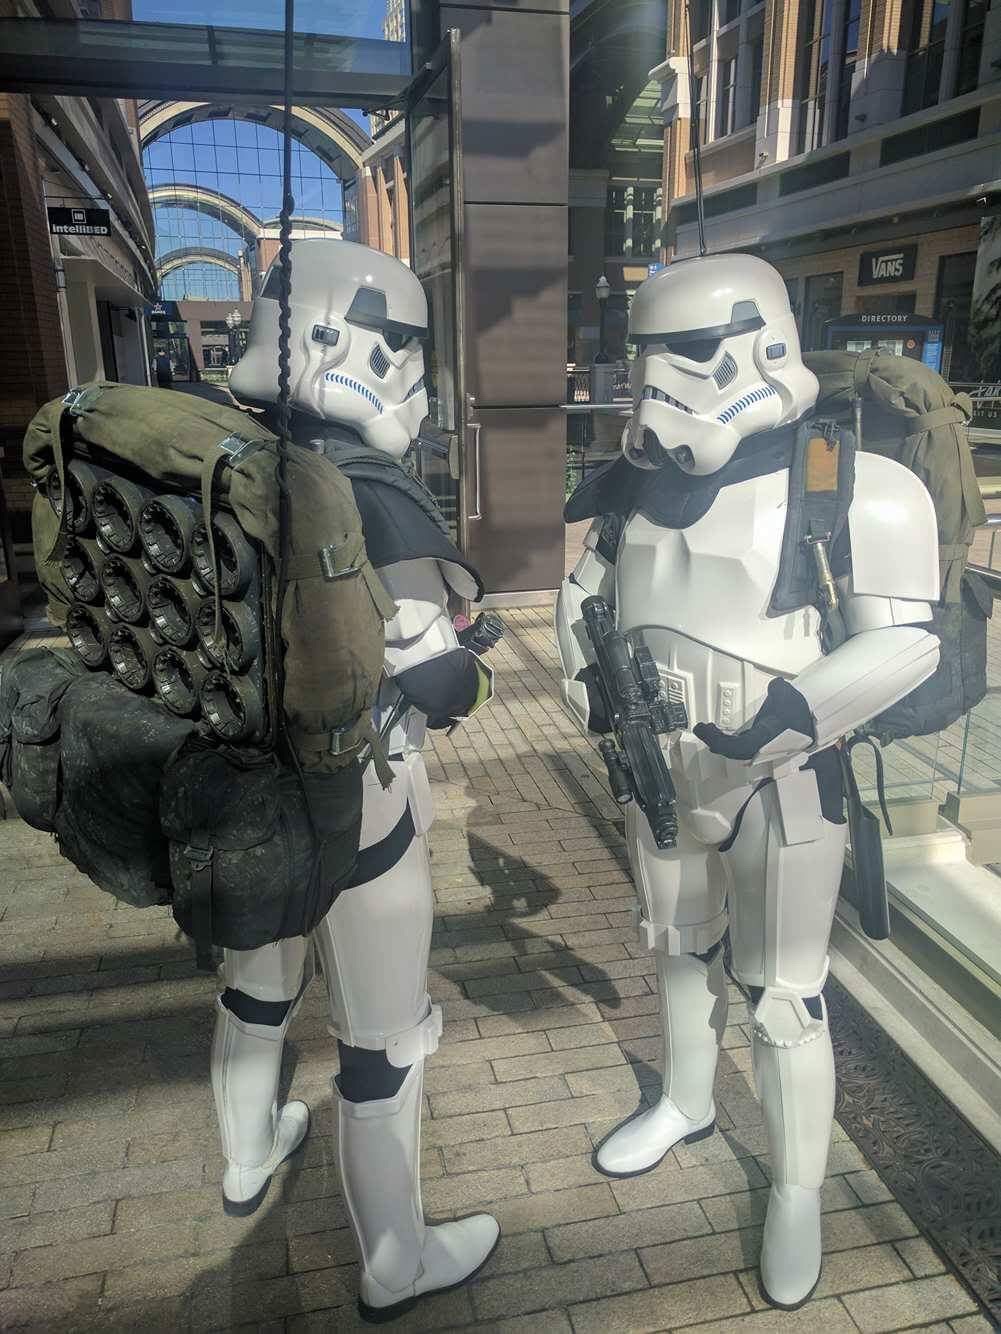
My brother and I did the packs. We’re working on doing R1 armor, but would love to be the CRL model.

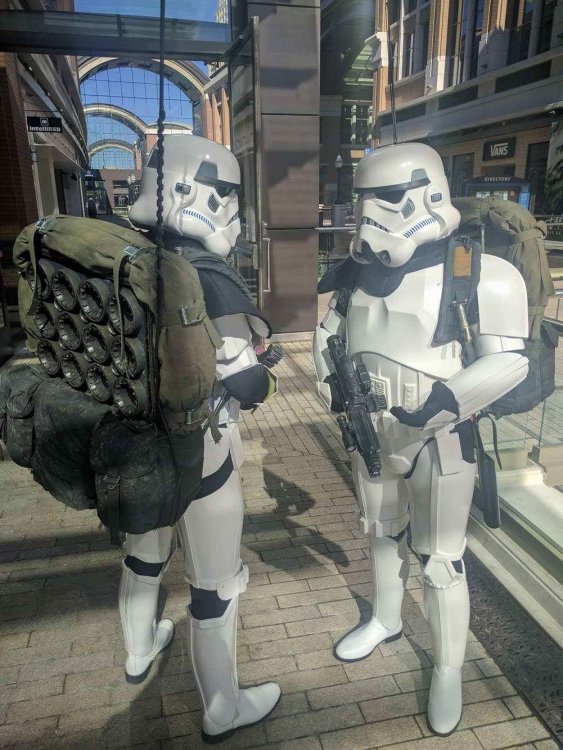 1 point
 -
Sorry didn’t reply to your clarification earlier, I have been absent for a while. Yes that little dimple that Dracotrooper highlighted was what I tried to describe. Looking at your progress I really need to get my but in gear and get some work done on mine my trouble is I don’t know how far I want to MOD mine. Keep up the good work it looks great.1 point
-
New update Got a lot of stuff done again today as my armor should be here soon as well! First thing was the correction of the mag, thanks again to @kwakermad and @Dracotrooper! This is what it looks like now: Now that I worked on the mag, I decided I might as well get the whole thing done. So I screwed and glued the mag well onto the blaster: And afterwards added the mag top as well: Afterwards I prepared the scope rail which now looks like this: Today was a pretty successful day which brings me closer to finishing the blaster This is what my to do list looks like after today: That's it for today, tune in in a couple of days for the last steps of my E11 build!1 point
-
Here we go, can see the green better here. Sorry they're not the right way up lol Sent from my SM-G925F using Tapatalk1 point
-
Parts that I will use are laid out. Very nice casting! Can anyone tell me what the two bottom left picture parts are (maybe sandtrooper?)1 point
-
You can safely remove all of the flashing Please excuse the shaky drawing1 point
-
--------I grabbed a HFX Productions E-11 and also a holster from Darmans props, really loving the blaster already and the holster is a solid fit. I’ve been spending a lot of time getting my droid up and running for some Tripp’s this week so Armor building has stalled but I want to push on next week and make as much progress as quickly as I can. Sent from my iPhone using Tapatalk1 point
-
ITS HERE!!!!!!!!!! its here, its here, its here!!!!!!!!!!!!! photos to come tonight. Im super excited and want to leave work now!!!!1 point
-
Submitted for approval last night. The GML is on vacation for two weeks, though. It's going to be a long two weeks! Here's some of the pics I sent.1 point
-
On a sidenote: my team won 2-0 woop woop Anyways.....finished the shins and here is were I deviate from RS as I´m not a fan of the two "outer" pairs (2 outer right and 2 outer left) one gets with the kit, so I bought some TM Shins. Sniperplate is RS though so one can safely say the plastics match1 point
-
Made a start on the bigger kidney from rwa. Also some new screws for my TD Go for eib and possibly centurion ? Should fill those side gaps nicely Sent from my GT-I9505 using Tapatalk1 point
-
And after long pause here, I have good news! Here is my first troop! (but still without laser ax)1 point
-
And Now the finished product. No lines in the tears or traps though. I will probably finish them up during my armor build. I will post a build on that in four months when it arrives. ATA all the way for this first build project. And if anyone knows if there is a right and wrong amount of stripes in the tears and rear traps, that would be super helpful or where I can get some templates. Suggestions welcome as always.1 point
-
I went with helmet #2. It took awhile but I think the stripes are good to go.1 point
-
Just a small update while I wait for the strap buckles to arrive. The gloves are done, made a few snap plates for the modified chest/ab connection and waiting for the paint to dry on the TD.1 point
-
Hyperfirm DLT-191 point
-
Really good post! One thing I always do at armor parties if there are first-timers there is to start with an overview of the armor and do a full kit up and kit down. Many times this is the first exposure for someone seeing the armor in real life and how it all goes together. I've found this to be a very helpful part of armor parties. I've also started including mini workshops at every armor party with a "guest speaker" from our Garrison. Topics have included costume weathering, sewing, and prop painting/weathering. This has encouraged participation from those not just working on armor, and has led to more information and skill sharing in our Garrison.1 point


.thumb.jpg.94b4530d0ee2f5b042747b027d82c5c9.jpg)