Leaderboard


Popular Content
Showing content with the highest reputation on 08/22/2017 in Posts
-
Wow. With a post like Sha Sha’s I do not want the prize but in the spirit of the FISD I would still like to post my 50 words, if anything just to formally give some thanks to all those out there who help others so generously around the FISD community: This is the most positive community I know. I receive nothing but selfless help from members worldwide including USA, Japan, Europe, even a soldier who PM’d me between duty. My goal is to honor those who help others, by making centurion armor they can be proud to have helped build.1 point
-
Thanks! This was my first ever costume too and I had no experience in prop making, so I can't compare it to anything. Personal rating from 1-10 would be maybe 5 or 6. It just takes a lot of research and time (also a bit of money..). Jim's kit is really easy to work with as you don't have to glue and trim 500000000000 parts like on the ABS kits. I had to do quite a bit of trimming because I wanted the armor to fit me well, and i'm kinda skinny. Jim's armor is a bit more "heavy friendly". Don't get me wrong, it is challenging, but there are so many great resources and build threads here so if you are a bit handy it should be no problem. As it wasn't for me!1 point
-
And i'm approved!!! Wooo! Big dream come true, just waiting for my TKID now! Had to fix poking yoke and askew cod, no biggie!1 point
-
Haha, that stormtrooper on screen might very well have the exact same height as you indeed. Congrats on your UKG clearance! It's well deserved.1 point
-
Great recovery1 point
-
Cheers for the feedback. Yes forgot to snap the belt to the abdomen a rookie mistake. To stop that happening again going to leave the belt attached to the abdomen, guessing that's what most people do. Got a photo shot with a professional photographer next week with my two full size astromech that I build a year or so ago so pretty excited about that. ANH Storm Trooper, R2D2 and R5D4. Re-living 19771 point
-
What I can say about the 3 fan made helmets, without being biased (since mine is one of them). The BSP looks very soft all over. The Phoenix props is only a render so hard to say The Jimmi helmet seems wide at the bottom, and has no mesh on the cheeks. It's really hard to say at this moment since we have a very limited number of angles of all of the helmets and the TLJ references to know which of the ones has the right lines in the right places. I'm glad to be a part of the various 501st groups and having had a long history with them. It helps me to provide the best product I can to the community from within the community.1 point
-
Hello. Newbie builder here...I'm more comfortable behind the sewing machine instead of the plastic...but here goes. I'll post (to the best of my ability) my TK Stunt build here for anyone interested. Kit by: Walt's Trooper Factory / Stunt TK I'm on the short side for a trooper (yes I've heard the joke)...5'4" So I plan on making a lot of trimming mods. Here goes!
 1 point
 -
Looks good! I know it was probably heartbreaking at first but much like the first scratch on a new car, the later ones will be less traumatic. The Novus polish set works wonders. My face plate got partially crushed in the overhead on the way back from SWC. I got it mostly fixed save for a few wrinkle lines. Now it has character.1 point
-
WOW! BIG difference, Sean! Thanks for posting the photos, sir.1 point
-
Thank you, I will continue working on the armor to reach centurion level. I will take into account all your observations Best regards1 point
-
Great job!!!1 point
-
Congratulations Antonio! #750 is a easy one to remember! We're 3/4 of the way to 1000 with your approval! Well done!1 point
-
Hi Antonio, thank you for your EIB application. Let's take a look. CRL and EIB Application Requirements: All the required submission photos have been posted. You armor displays and the required components for L2. Andrew and myself would like to welcome you to the rank of Expert Infantry . Excellent job Other-Armor Fit/Assembly: In this section we review observations made by your fellow troopers and ourselves. Some observations may lead to suggestions to improve the overall look of your armor. If any suggestion affects any application, it will be listed separately in the above or below sections. We have a few areas to go over here so let's get to it. Starting at the top, it looks as if you cut the shoulder covers too short on the back side. There should be a tapering off of the cover where your's appears to be missing. It's recommended you repair or replace these. Take a look at the reference photos below. Reference photos. There should be minimal gap between the shoulder bells, chest and back plates. We're recommending you tighten the connecting straps and possibly remove more lower return edge allowing the bells to move closer to the chest and back plates. Reference photo Chest plate should lay flat against the ab plate. Not a big deal but the chest plate should be positioned closer to the ab. Tightening the straps between the two should remedy this. Reference photos Calf closure cover strip placement. As illustrated in the reference photo below the armor halves do not overlap and half the cover strip should be connected to the armor while the other half floats, essentially covering the opposite half of the shin armor. The arrow represents the edge of the armor in relation to the cover strip. It is recommended the cover strip be moved over. We'll talk about the over lapping armor in the Centurion section. Reference photo Centurion Suggestions: In this section we prepare you for Centurion. If there were any areas of concern they would be discussed here. One area of concern is the helmet decals. The CRL states for level three certification (if applicable): "Tears/traps shall be hand painted or use decals that emulate hand painted (with correct ANH TK details)." Yours will need to be replaced before applying for Centurion. Reference photo/s Drop boxes not alignment with the ammo belt. The CRL states: "For level three certification (if applicable): Drop boxes are vertically aligned with the end of the ammo belt with minimal gap between belt and box." Simply gluing the drop box strap to the cloth belt usually remedy's this issue. Reference photo As mentioned in the EIB suggested section the CRL states: "For level three certification (if applicable): Lower legs must be constructed using the butt joint and cover strip method. Overlap construction is not allowed." This applies to the rear also. The calf halves should butt up against one another with the cover strip over the joint. Reference photo That's it Antonio. great job on your armor. Hope to see you at Centurion.1 point
-
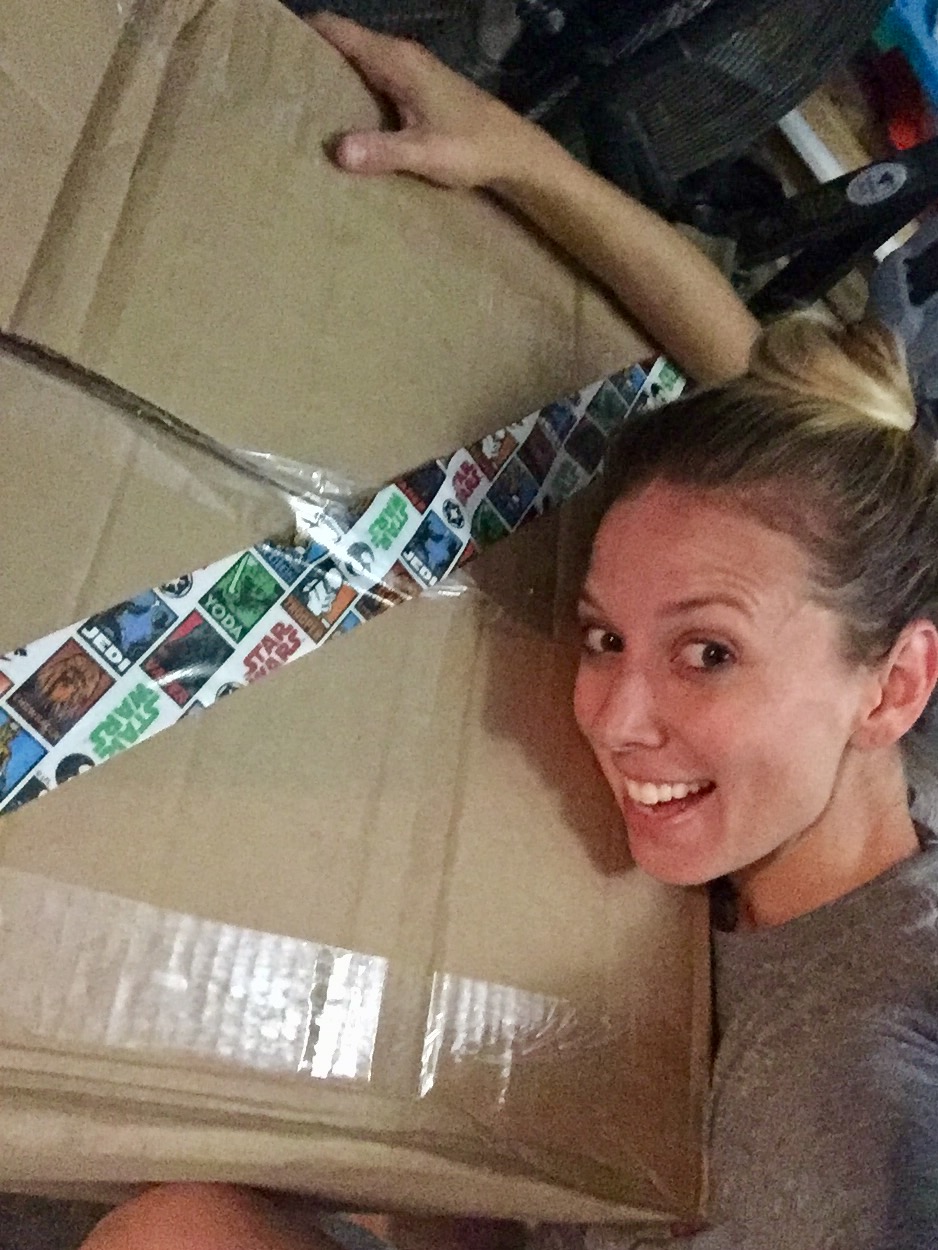
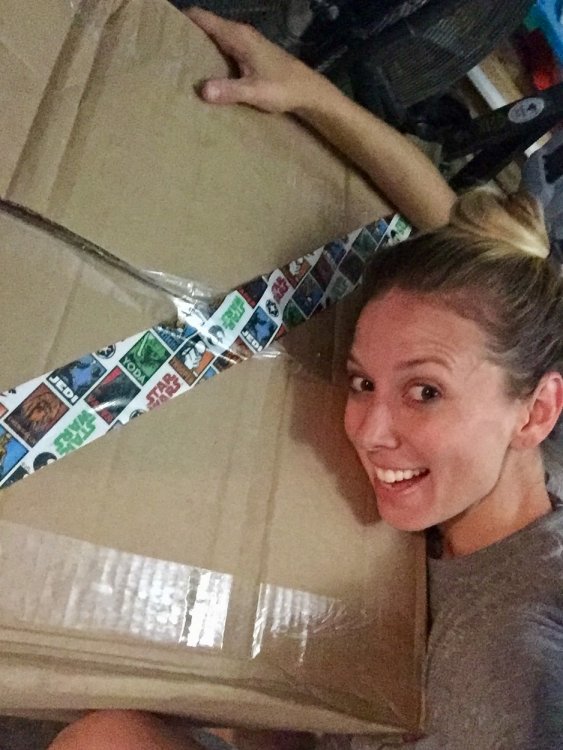
To be a part of something so amazing, so passionate, with unparalleled (and unquestioned) loyalty to the 501st, the Legion’s causes, and to each other. (Let's be honest- that picture says it all, but I felt like I needed to write something anyway!)1 point
-
Nice job, photos look great! Sent from my iPhone using Tapatalk1 point
-
I've been a Star Wars fan essentially since birth and had thought about joining the 501st on and off over the years, but what tipped me over the edge was having my own son in the ICU for about 6 months of his first year due to a congenital brain cyst and the ensuing complications after 17 surgeries. I even met a member of the GGG at the same hospital who also had a son in the ICU and I never got his name, so I hope to reconnect after I get approved. The idea that I can bring some smiles to kids like our sons is all the motivation I need. (My son is 3 and is doing great now.) Edit: Just saw the bit about including a photo. I've been working on my kit for about 3 months and just did my first full suit up (minus the helmet which you can see on the ground behind me) a couple nights ago and I was honestly giddy to see the photos. I decided to try to build to Centurion from the beginning and I hope I've done a good job.1 point
-
Looks great!! Very clean, and lovely photos. [emoji1] Sent from my iPhone using Tapatalk1 point
-
You might want to take some photos of each step, Sean. This way you could post them in a thread along with an explanation of how you are doing it. This would be really helpful to those in the same boat.1 point
-
After the recent upgrade the ability to like a post was available under each theme skin. But I can't see the like a post button anymore under the the darker gray theme. Under the default theme it only offers a trophy and some emoji faces. Has the like option been removed for good? Is this just a device problem? I am viewing this site on the latest version iPad Pro and iOS. If if there is some flexibility in adding and customizing the likes section, can there be some survey to explore this? Maybe having a small range of reactions to a post , for example, like, super! , great progress. Just to name a few.1 point
-
Like button was there last week for me but I can no longer see, will just wait to see if it shows up again, no rush here1 point
-
Hi Stephen, Looks like you are moving along well, I am up to the thighs now after completing the shins. The sniper knee was a problem but I was lucky that I am using E6000 so it pulled off easy. Before gluing it this time I held it place with magnets and clamps before heating it with a heat gun. This allowed me to reshape the bottom of the knee to close the gap up a little bit giving the glue more area to hold, but I did cut another piece of ABS strip to place under the knee plate and glued on top of the cover strip. This also pushes the top of the knee plate out so that it does get caught under the thigh or rub on your knee when walking. The down side when I was trying on the left shin I got too close to the bar heater and slightly damaged the rear of the shin oops, point to note stay away from all heat sources! More exciting news I managed to get a 3D printed E11 which I am currently building, it is very easy to build but the bolts were hard to come by. speak soon matt1 point
-
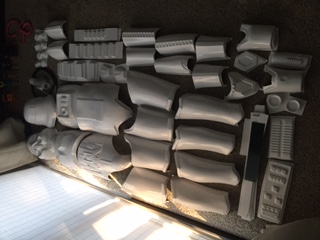
The areas I reinforced were the ones around the neck on the back plate, and the ones highlighted in the photo below. You will have tons of scrap ABS after trimming out the pieces, which is what I used to accomplish this. I cut the reinforcing strips to shape and about 5/16th wide, then used E-6000 and rare earth magnets to attach them to the inside, (but not visible from the outside). A few tips, though.. Anovos does not come with interior cover strips as most other kits do. There is enough material to make your own, and I highly suggest doing that, especially on the inside front of the calves as these get a lot of wear and tear from constant opening and closing. They don't have to be pretty, just functional, and will add a lot of strength to the joins. Also, before gluing on any cover strips, be SURE to peel off the protective clear film and sand down the surface to be glued. This may seem like a no brainer, but I know of many people who forgot to peel it off and the join failed to adhere correctly. -----------1 point
-
I really like my Anovos kit. I got in on the initial offering and waited about a year for the kit. The version 1 and 2 of the instructions are misleading at best, but with help from folks here, I built a kit that eventually was approved Centurion and I had never built a kit before. The armor is fairly sturdy and from what I can tell by inspecting other armors, is just as well made. The strapping and soft parts are mostly junk aside from gloves. I replaced ALL snaps and velcro with well made stuff and I assure you it is necessary. I blew it off as nit-picking at first and after several failures, replaced it ALL. Tandy snaps, industrial Velcro, well made elastics. The undersuit (if still included) will turn your armor purple even if you wash it first. After a few troops, I learned what areas of the armor take stress and I reinforced them. The fabric part of the belt is junk, but will suffice depending on your expectations. I expect this armor to last me a good while and I troop a lot.1 point
-
You definitely want to try and reinforce certain pieces on the Anovos armor. Having done several troops in Anovos Armor. The parts that seem to need reinforcement in my opinion are the Shoulder Straps. Even though they are not supposed to bear a load . They are supposed to free float without actually attaching to the back armor. These are still too thin and rigid, they really need to be reinforced. Very easy to crack. Other areas, Butt, Shoulders, and Front of Chest and Top Back piece. All very small stress cracks, but definitely worth looking at. I had a feeling the shoulder straps would crack easily. I preemptively reinforced the straps with extra abs. Here is a picture. The other small cracks I have just put a dab of SuperGlue behind them and it has seemed to fix the problem. The Butt plate is the part that I'm having the most problem with. It has cracked in several places. I will be reinforcing mine very soon with some sort of epoxy and fabric tape combination. Lastly the Helmet does have some really thin areas. I went ahead and reinforced parts with extra ABS. I'll try to post some pics. Shoulder Straps - Reinforced To make this - Cut paper to fit inside the straps. Use the paper as templates for the ABS pieces to fit inside the straps. Then heat up the ABS reinforcement strip in boiling water and bend to the same shape as the shoulder straps. Once you are happy with the shape and fit. Glue with E6000 into the shoulder strap.1 point
-
Agreed. N42 or greater strength. I'd go with 50 of them since the more you have, the faster you can build, and you will need spares since they have a tendency to fly together and shatter.1 point
-
Interested to see what changes they made.1 point