


Sly11
-
Posts
13,368 -
Joined
-
Last visited
-
Days Won
278
Content Type
Profiles
Forums
Gallery
Articles
Everything posted by Sly11
-
Welcome aboard Brianna, Aussie,Aussie, Aussie! Check out the Build threads here on FISD we are the premier location for all things Stormtrooper. Plenty of very knowledgeable members are here to answer your every question. Good luck on your journey, and there is no rush to get your dream costume built. Take your time and enjoy every step.
-

TK-12953 Reporting for Duty
Sly11 replied to jsilvius's topic in Newly Approved Members - Sound Off!
Welcome aboard sir -
Amended
-
Episode 9 Stormtrooper research (Caution Spoilers Ahead)
Sly11 replied to Alay's topic in TROS Stormtrooper
Bending "gods" lol -
Go for it David, good to see some are still finding value in this old thread. You have the support of the detachment right behind you. Keep us updated on your progress.
-
Awesome Cricket! Sent from my iPhone using Tapatalk
-
Thanks everyone for getting this together on time.
-
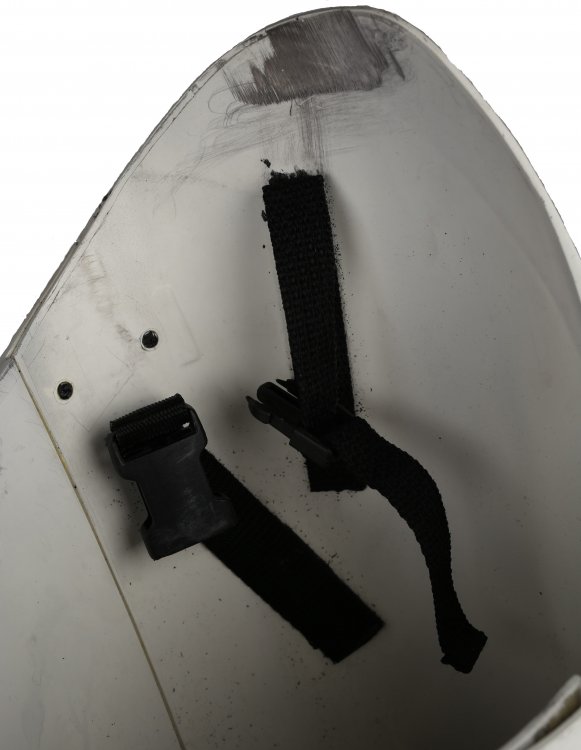
Inside shot of screen used asset, FO TK Thigh showing front and side connections. This is a TFA thigh but same principal as TLJ.
-
Nice to see a progress post, cool patch too.
-
Exciting times ahead, we had some sensational entries last year, certainly hope we get some crackers again this time.
-
Are there unofficial ones? Sent from my iPhone using Tapatalk
-
Lovely mate, nice clean job of those forearms.
-
iEmpire916 Requesting Pre Approval Review (AP)
Sly11 replied to iEmpire916's topic in Request TK Pre-Approval
Great work on the changes William, you look much better now. -
Welcome aboard Kane, looks like you got everything under control.
-
It's scary just thinking about the money spent sitting there across those six Droids!
- 1 reply
-
- 1
-

-
Very cool Fabien. Will you make these available for purchase to members?
-
I have notice that it reads attachment size over limit so you just cant add anymore off staff, it doesn't seem to remove them.
-
See how there is a little swoop of the center ridge at the bottom of the bells, that needs to face forward.
-
Dan, you should have unlimited storage space for attachments as you are on staff now. I've checked your settings and it does say "Unlimited". As to your old attachments, I can see the dates for them and can delete from the back end. There are 8 total, all from 2017. I cant see what they are from there but they do say they were removed by the poster. They will be gone momentarily.
-
I did Tae kwon Do for 9 years and the belt structure was similar. I achieved second Dan black belt. When I did Kung Fu, it was a very different structure, you start with nothing and must earn a belt or sash to be specific, then start ascending the levels.
-
Great to see you are still training Paul, thanks for your inspiring story.
-
StarTrooper's TFA/TROS FOTK Build Thread (KB Props)
Sly11 replied to StarTrooper's topic in TFA Build Threads
Looking good Jayke, like Glen mentioned, once you have gaskets on the alignment will be quite different and make a huge difference to appearance and where parts will tend to fall naturally. Also adding the shoulder bars to hold the bells up and in line with the shoulder section is going to make a big difference. -
Going back to docks
Sly11 replied to Lionel Noronha Gallardo's topic in Hard Armor (General Discussion)
Excellent, please keep us updated. -
Cutting the THIGH parts from the BOTTOM instead of the TOP?
Sly11 replied to Cgarduc's topic in ANH (Stunt and Hero)
I added two images to my original post. This is how I have trimmed several kits to emulate the same lines as original shape and it has worked well. If there is a better way than that is fantastic and I eager to learn more. Sent from my iPhone using Tapatalk -
Cutting the THIGH parts from the BOTTOM instead of the TOP?
Sly11 replied to Cgarduc's topic in ANH (Stunt and Hero)
Even how you say it can still be confusing Paul. Maybe 90 degree angle to the surface you are scribing on is easier. It will make sense once I have the chance to add the image I believe.
