gmrhodes13
-
Posts
31,219 -
Joined
-
Last visited
-
Days Won
1,070
Content Type
Profiles
Forums
Gallery
Articles
Everything posted by gmrhodes13
-
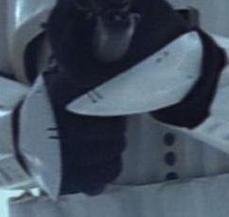
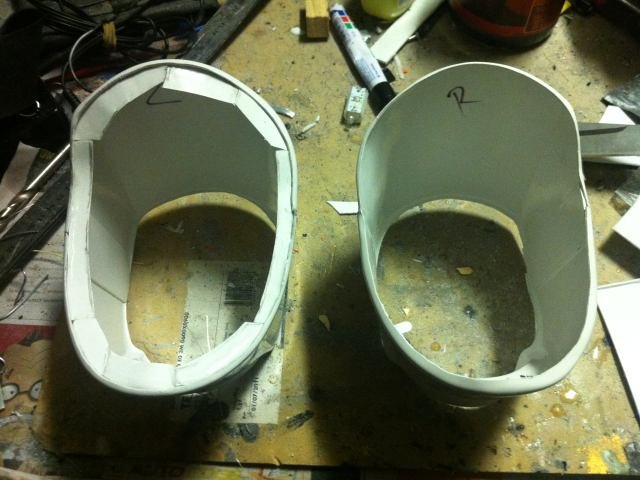
From the album: Hand Plates
-
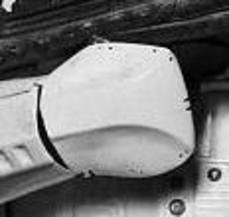
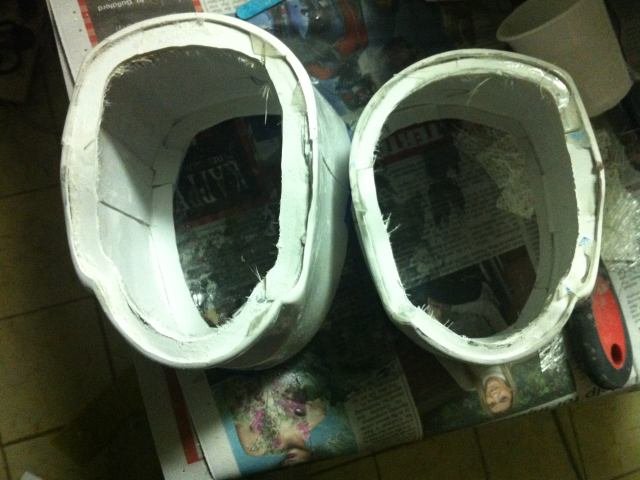
From the album: Hand Plates
-

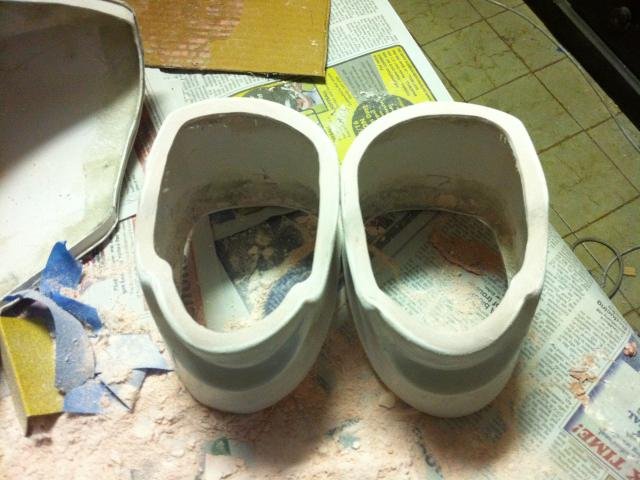
From the album: Hand Plates
-

Dead Post Links & Broken Photos, How You Can Help
gmrhodes13 replied to Sly11's topic in Forum Help & Support
Enlisted barracks Off Topic Page 54 Complete gmrhodes13 Page 53 Complete gmrhodes13 Page 52 Complete gmrhodes13 Page 51 Complete gmrhodes13 Page 50 Complete gmrhodes13 -
Esb handgaurds. Thread / cotton size.
gmrhodes13 replied to Cleantrooper's topic in Hard Armor (General Discussion)
Here's an none stitched version for those who like elastic hoop around the palm, badly trimmed too
-
Esb handgaurds. Thread / cotton size.
gmrhodes13 replied to Cleantrooper's topic in Hard Armor (General Discussion)
You can see from the angles of the stitches that they don't appear wide enough to go around the fingers, having them stitched would have been one less thing to put. -
Esb handgaurds. Thread / cotton size.
gmrhodes13 replied to Cleantrooper's topic in Hard Armor (General Discussion)
I stitch mine at all the holes, I would say someone in the wardrobe department found a few holes sufficient. RS also stitch all of theirs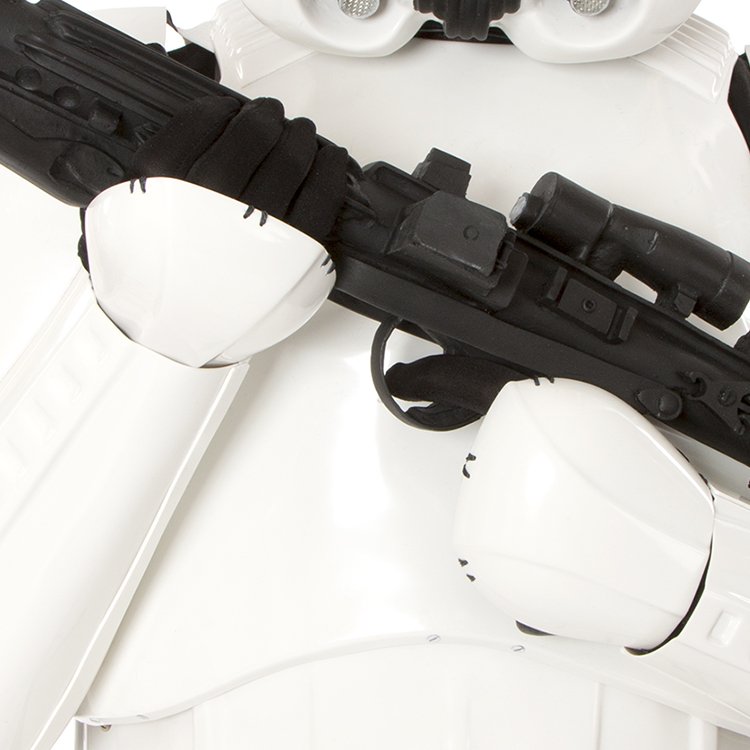
-
Last post on Facebook was Dec 2020 I see what you mean about the return edge on the yoke I had an over trimmed clone kit many years ago which had all the returns removed. What I did was cut pieces of ABS plastic to fit the curved areas then glued in place with a 2 pack 5 minute glue, once dry I added some fiberglass and resin behind for some extra strength, then it was just a case of filling up the seam/join with bondo (automotive filler), then sand, prime and paint, it's not too difficult to do so you may be able to save your yoke, could be worth a try.


-
Esb handgaurds. Thread / cotton size.
gmrhodes13 replied to Cleantrooper's topic in Hard Armor (General Discussion)
Drilled holes and stitched is my preferred way, more accurate too
-
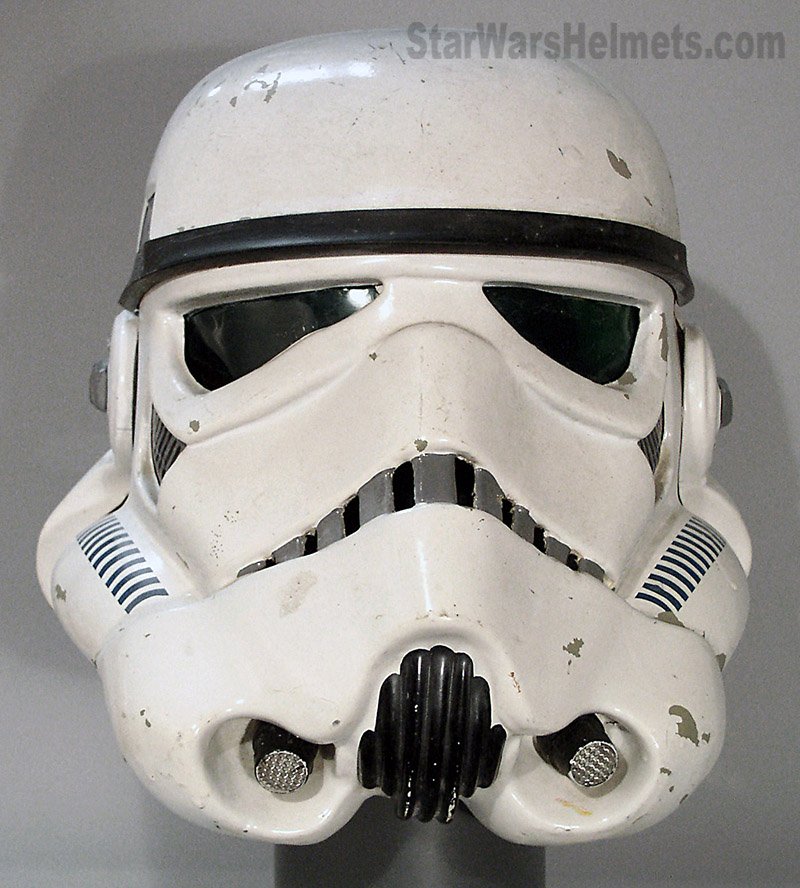
Appears some of the grey traps are not recessed, the line around is but the center areas are high, reference below of how they should be. Ears don't appear seperate. Cheeks traps are quite high on the center grey. Also appears a big gap under the bottom mount of the vocoder When in doubt it's always a good idea to check against the reference galleries https://www.whitearmor.net/forum/gallery/category/21-starwars-story-reference/
-
Dead Post Links & Broken Photos, How You Can Help
gmrhodes13 replied to Sly11's topic in Forum Help & Support
Enlisted barracks Off Topic Page 59 Complete gmrhodes13 Page 58 Complete gmrhodes13 Page 57 Complete gmrhodes13 Page 56 Complete gmrhodes13 Page 55 Complete gmrhodes13 -
Hello and welcome aboard, lots of info for our FOTK's in the First Order Battle Group Also don't forget to check out our gallery sections for references. Good luck and looking forward to seeing a build thread from you soon.
-
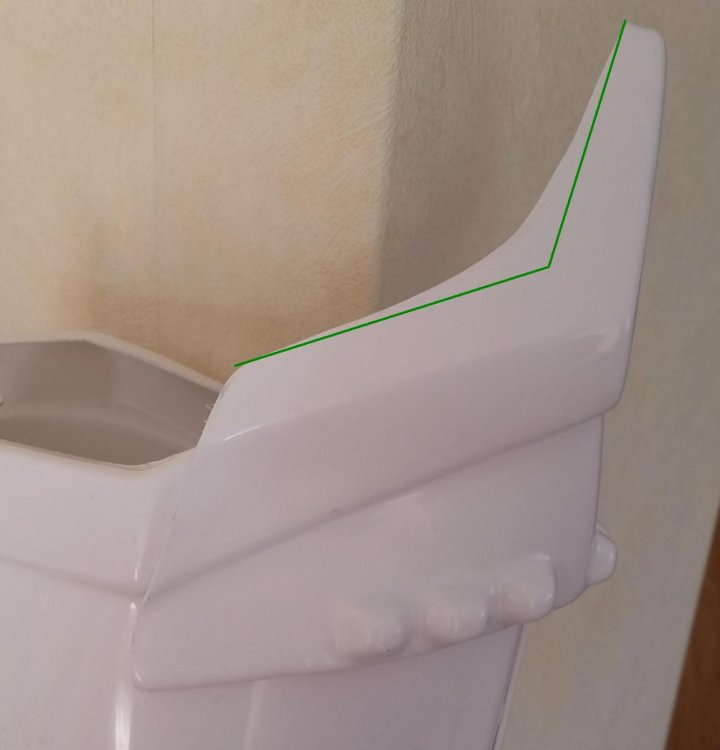
Nice work, you could remove some material from the inside curve of the sniper plate: "For a more screen accurate look, it is suggested that the top of the rear ridge of the sniper plate be aligned with the top ridge of the calf. Also note that the sides are angled rather than curved."
-
Possible Solution to Yellowing Armor
gmrhodes13 replied to stoner529's topic in Getting Started - Read this First!
I've never heard of this before, although I would suspect it would be a costly and less accurate way to coat the plastic. Here are a few other threads on armor yellowing: http://www.vintagecomputing.com/index.php/archives/189 -
Tat2trooper TX Anovos build thread
gmrhodes13 replied to tat2trooper's topic in Other 501st Costumes
Looks like you may have done this before -
A CertainTK ATA ANH Stunt Build (first build)
gmrhodes13 replied to Matt Certain's topic in ANH Build Threads
Congratulations and welcome to the ranks trooper. You can request higher access here -
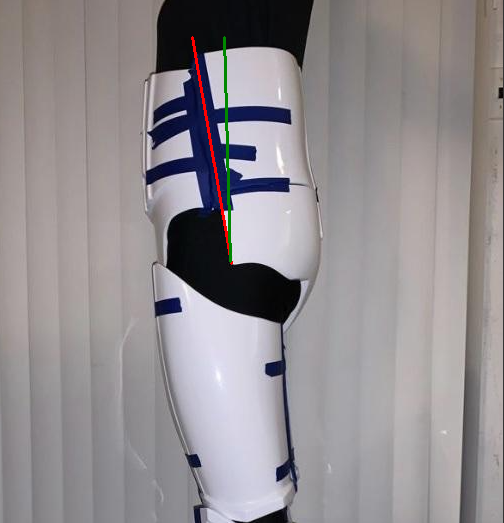
Firstly you want to make sure the armor isn't angled when trying on, notice in this image the backplate and buttplate are angled compared to the ab. You may find this leaves a gap in the armor to your body which you could add some foam behind, I would try to correct this angle before looking at any trimming. Once you have adjusted the angle a little you will be able to work out what can be trimmed
-
You can extend pieces with shims, here are a few threads.
-
Dead Post Links & Broken Photos, How You Can Help
gmrhodes13 replied to Sly11's topic in Forum Help & Support
Enlisted barracks Off Topic Page 64 Complete gmrhodes13 Page 63 Complete gmrhodes13 Page 62 Complete gmrhodes13 Page 61 Complete gmrhodes13 Page 60 Complete gmrhodes13 -
TK SPartan TFA FOTK Build Thread (KB Props)
gmrhodes13 replied to TKSpartan's topic in TFA Build Threads
Those gauges work well, I have a couple, nice sanding -
Suitable transport case for TK armor?
gmrhodes13 replied to Entchen's topic in Assembly, Mods, and Painting
I can concur, I found I had my aker headset resting on my boots and black bled into the leather boots, was only a small amount so luckily I could hide with a white out pen -
Suitable transport case for TK armor?
gmrhodes13 replied to Entchen's topic in Assembly, Mods, and Painting
Looks a little low, the one I purchases is about twice the height BUT I only use it for air transport these days, found it too cumbersome to take for smaller events, especially those were you have to take the box up stairs. Hard suitcase does me well know, I have a wall of them, lots more room in the vehicle and a little easier for mobility. I also use a helmet bag and I have a couple and not forgotten to take a helmet as yet I find the soft padded motorcycle bag or aviation helmet bags work well. -
Nice work, looking good. You may want to angle your hovi's down a little, for this I use an angled/wedged piece of rubber pipe, just slice the rubber on an angle, put it between the hovi and helmet and where ever the wedge is the angle will push the hovi in that direction. References:
-
Almost there. You may want to look at the butt plate, it is overlapping your kidney, using V tabs helps keep them spaced and in alignment, may be an option: With a heat gun (hot water bath, oven) you bend strips of ABS plastic into the shape of a V, only glue one side and the other remains free to allow movement when you bend. Just helps stop the butt plate from pushing back from the back plate.