gmrhodes13
-
Posts
31,219 -
Joined
-
Last visited
-
Days Won
1,070
Content Type
Profiles
Forums
Gallery
Articles
Everything posted by gmrhodes13
-

TLJ / TROS CRL Update Work Flow
gmrhodes13 replied to ukswrath's topic in Hard Armor (General Discussion)
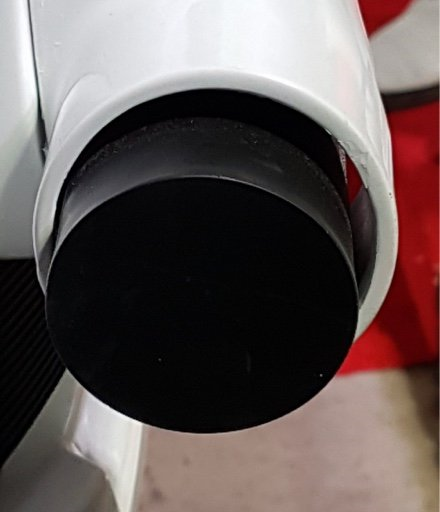
Wording is not my strong suit and may need to be changed as I'm not a wordsmith. Correct images will also need to be added Neckseal Black with horizontal ribs, fitted to the wearer, and extending from the base of the neck to conceal the entire neck. No hair or skin should be visible around the neck area. OPTIONAL Level two certification (if applicable): Neckseal is worn with zip facing forwards OPTIONAL Level three certification (if applicable): Ideally, the neckseal shall have 11 ribs. The neckseal has a glossy finish. Thermal Detonator The thermal detonator mounting plate sits under the back plate and rests above the belt. The small slot along the top of the detonator is black The control panel is black. The righthand recessed end cape is black. The left hand end cap extends from the detonator assembly and is black all around the cylinder as well as the end surface. The left-hand end cap extends from the detonator assembly and is all black. There should be no visible seams. OPTIONAL Level two certification (if applicable): Small section of black around the base of the left extended end cap shall be present. The thermal detonator is not molded to the mounting plate, showing a clear separation OPTIONAL Level three certification (if applicable): The end cap is part of a tube which extends into the length of the detonator The small recess along the top of the detonator is cut out showing the black tube inside The control panel along the back of the detonator is cut out showing the black tube inside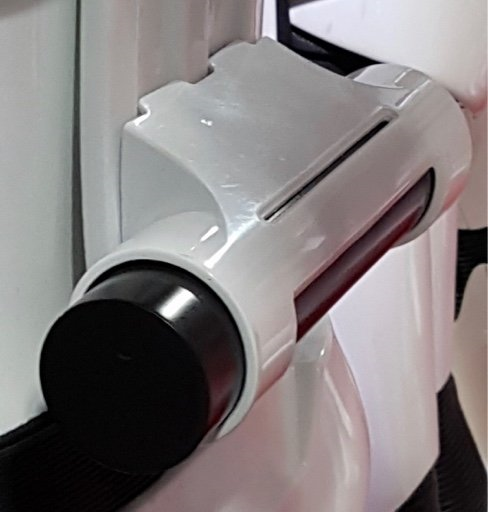
-
Warm water bath or heat gun, with the later you need some practice, a fine line between warmed enough to molten mess. I would advise using something the same shape as the helmet inside so when heated you can push the dent outwards and it shouldn't deform.
-
Cleantrooper kindly requesting pre approval. TM ESB tk
gmrhodes13 replied to Cleantrooper's topic in Request TK Pre-Approval
I would think the DO's would pretty much pick this up at L2, they all have eagle eyes and the CRL specifically states the two options -
In the back photo it's a bit hard to see the top but from that angle it does look a little high, you may be able to adjust the strapping and bring it down a bit.
-
Hello and welcome aboard, good luck with the build. A couple of tips, if you don't know something ask, or check the gallery sections , measure twice and cut once This is a great resource thread if you haven't come across it before
-
Cleantrooper kindly requesting pre approval. TM ESB tk
gmrhodes13 replied to Cleantrooper's topic in Request TK Pre-Approval
Always good to hilight higher level issues, just add should be OK for basic -
Cleantrooper kindly requesting pre approval. TM ESB tk
gmrhodes13 replied to Cleantrooper's topic in Request TK Pre-Approval
Hand plate stitching should be fine for basic approval, only a L2 requirement OPTIONAL Level two certification (if applicable): If silk or satin gloves are worn, the hand plates have the correct visible stitching pattern using black cotton, with a five point/star pattern, equally spread out with 2 on each side and 1 in the middle front, and needs to be double stitched at each point -
TLJ / TROS CRL Update Work Flow
gmrhodes13 replied to ukswrath's topic in Hard Armor (General Discussion)
Not as yet, they are on the printing to do list, someone may have printed one from The5thHorseman's files At this stage I'm am looking for information/references and will try to fill CRL requirements later. -
TLJ / TROS CRL Update Work Flow
gmrhodes13 replied to ukswrath's topic in Hard Armor (General Discussion)
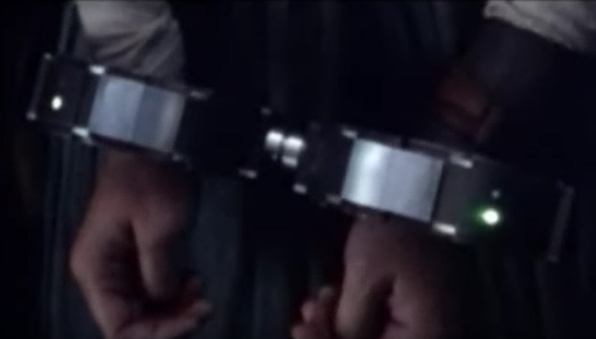
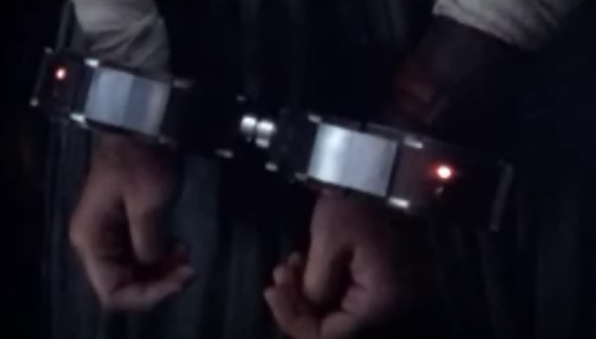
Add binders / handcuffs as an option Working lights for L3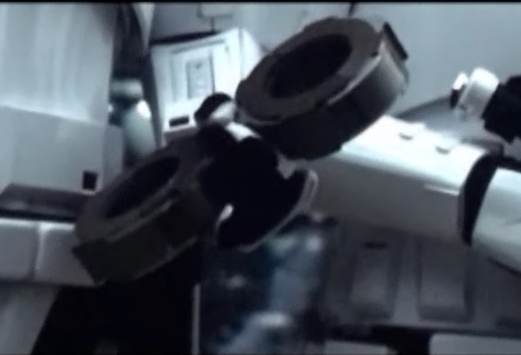
-
TLJ / TROS CRL Update Work Flow
gmrhodes13 replied to ukswrath's topic in Hard Armor (General Discussion)
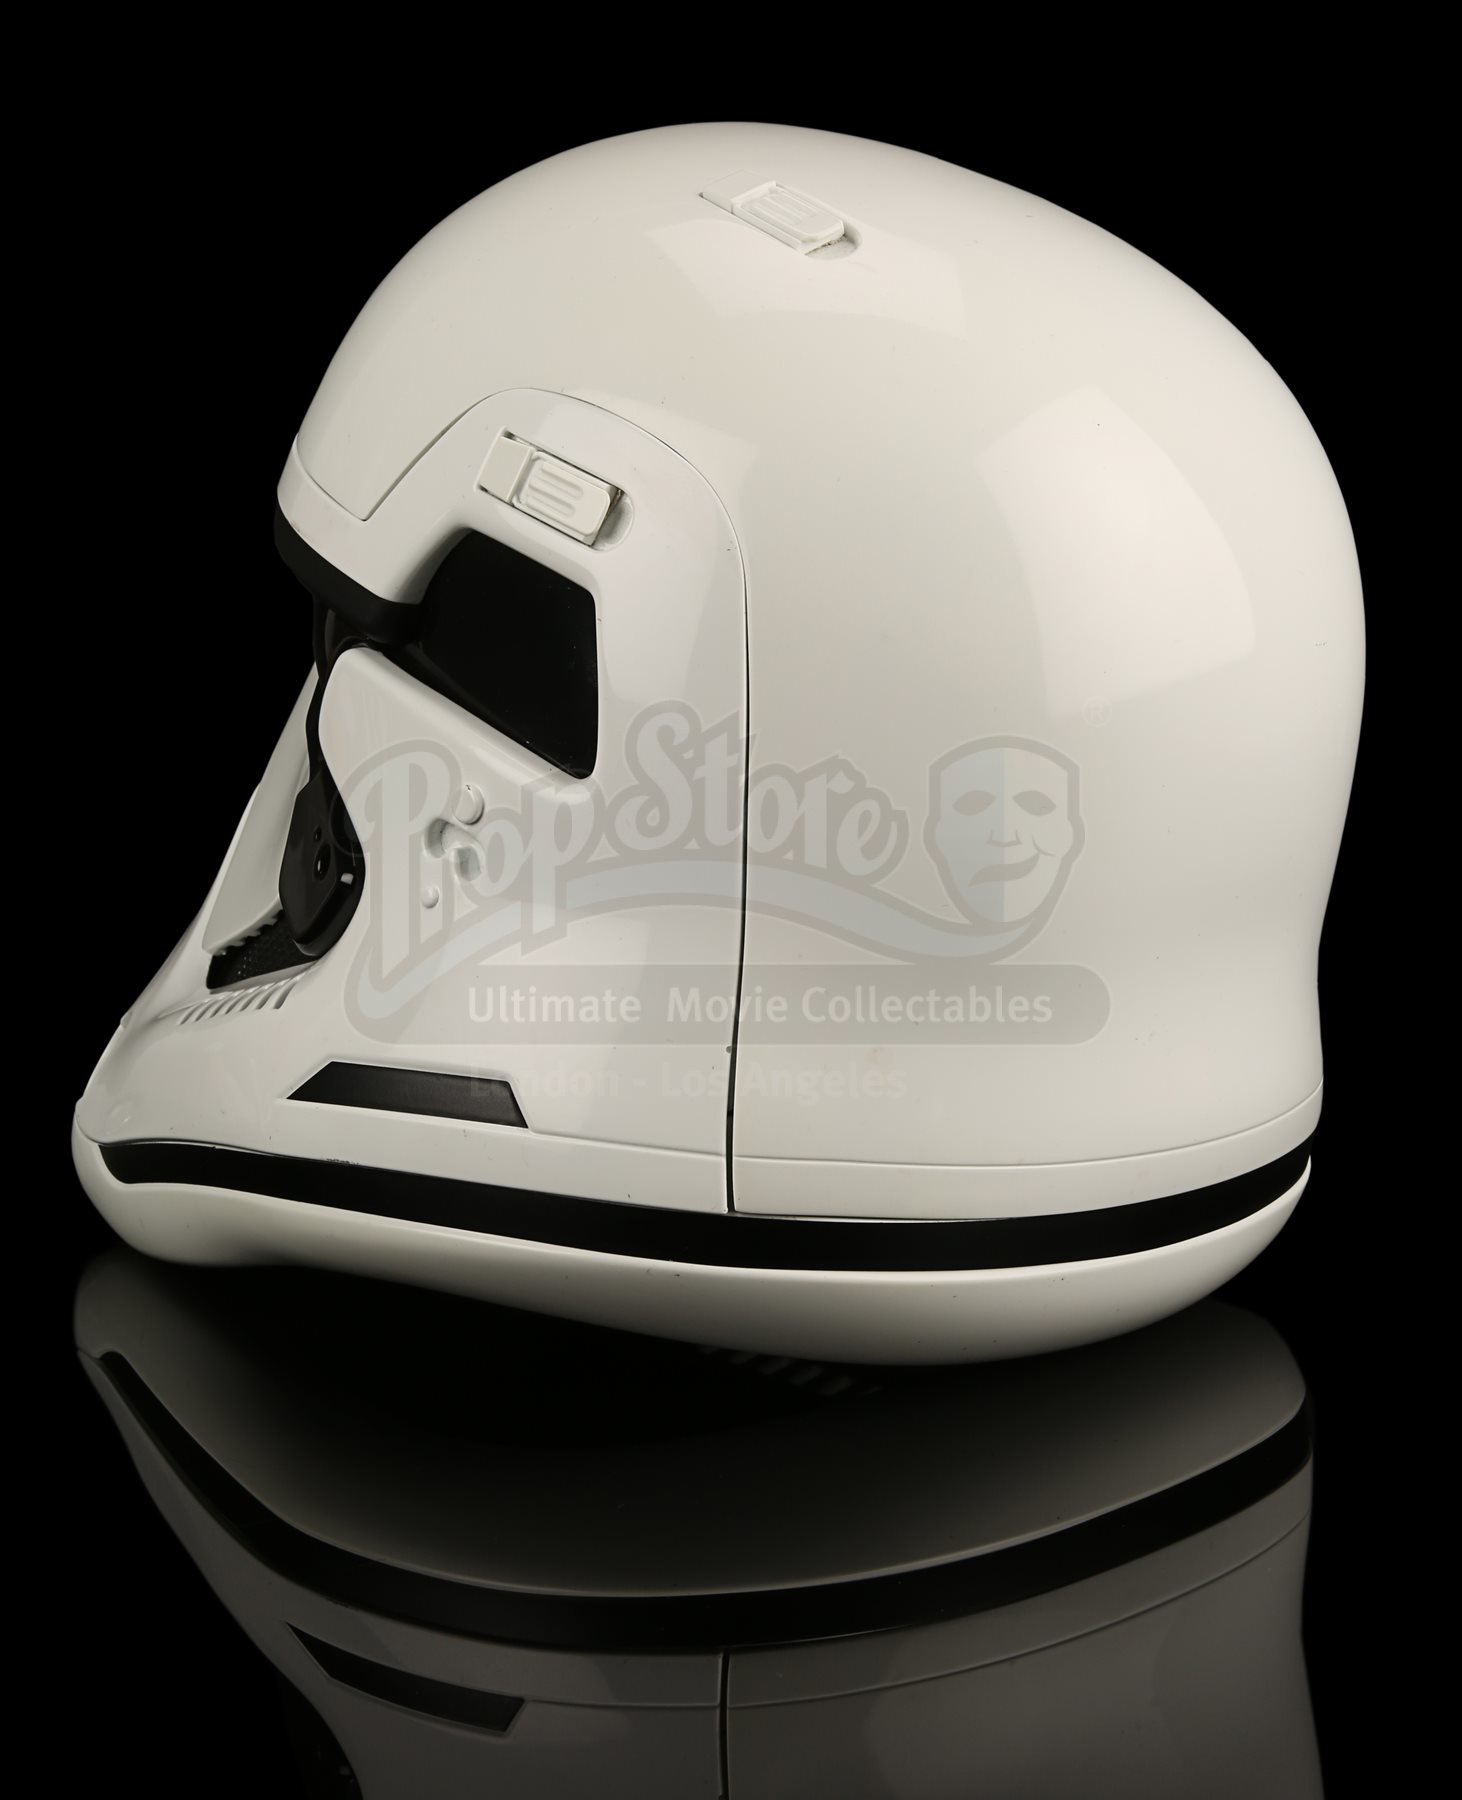
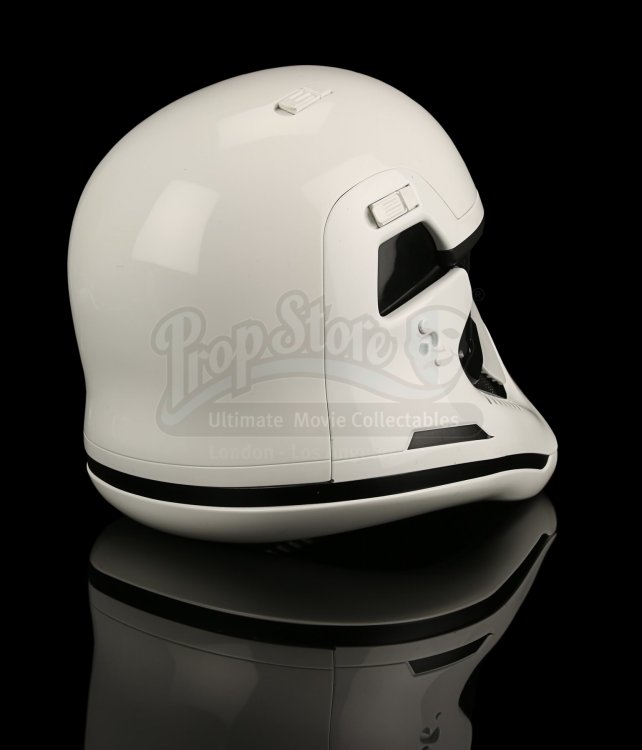
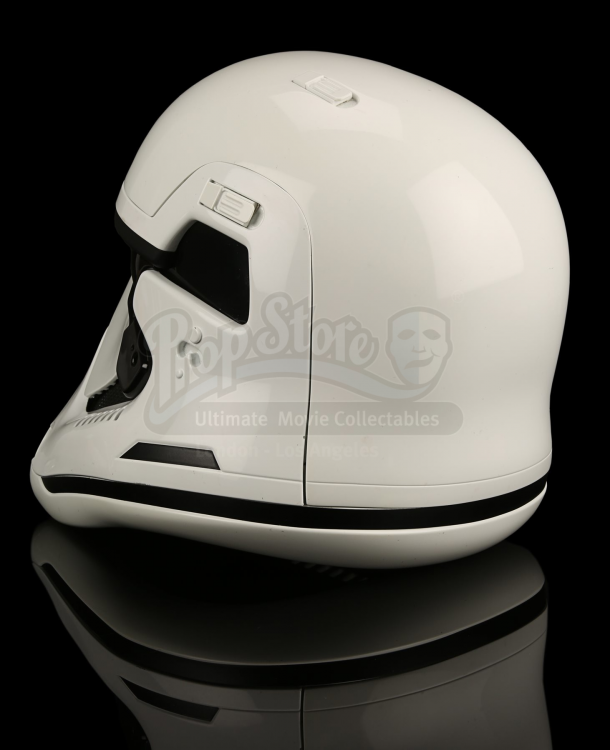
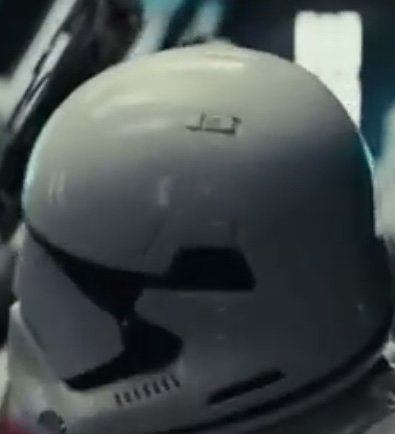
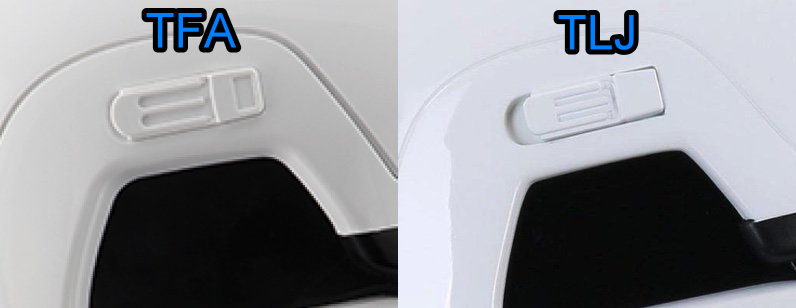
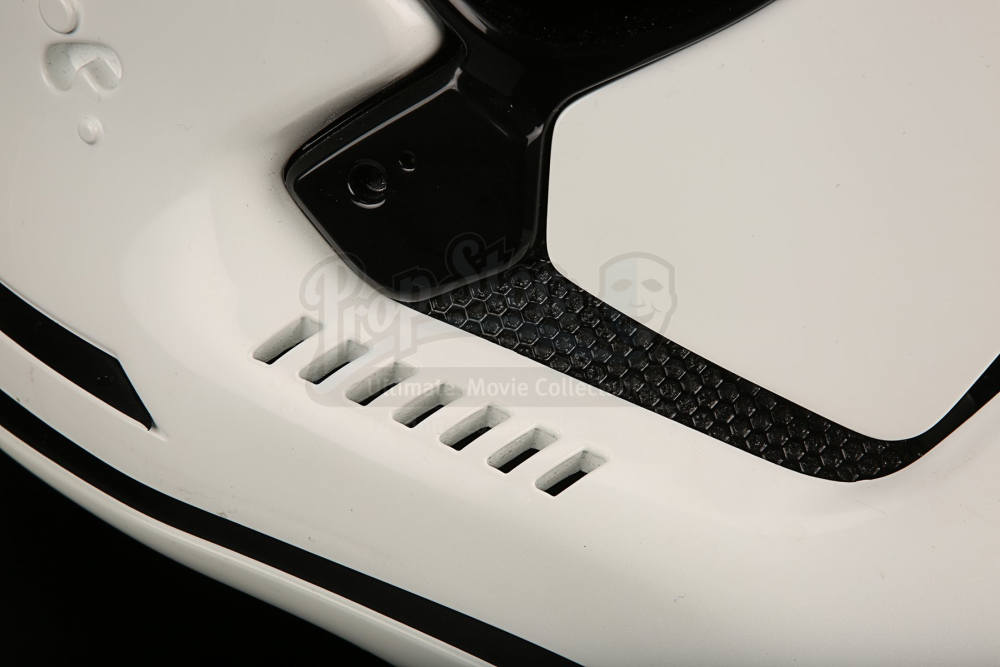
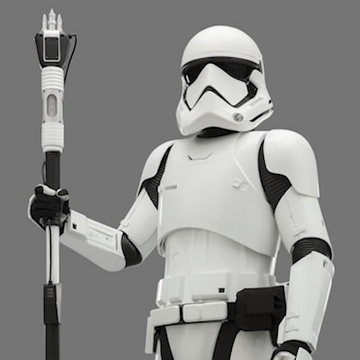
Two clip greeblies are present over the traps on the side. Two clip greebles are present on the top of the helmet, parallel to the trap greeblies. ADD Greeblies are different to TFA, they have grooves but are almost flat, also no small rectangle recess and they sit in a larger recess area Seven cut out tube stripe slots are on each side of the helmet. ADD OPTIONAL Level three certification (if applicable): The seven recessed tube stripe slots on each side of the helmet are fully cut out.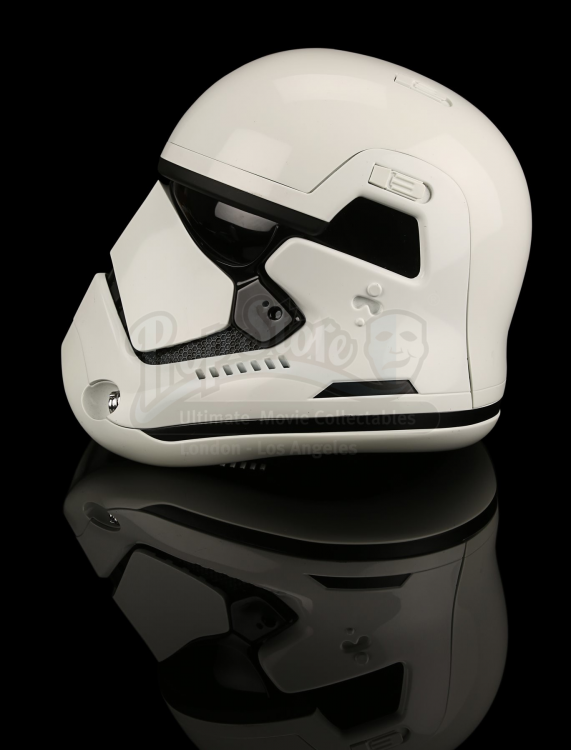
-
TLJ / TROS CRL Update Work Flow
gmrhodes13 replied to ukswrath's topic in Hard Armor (General Discussion)
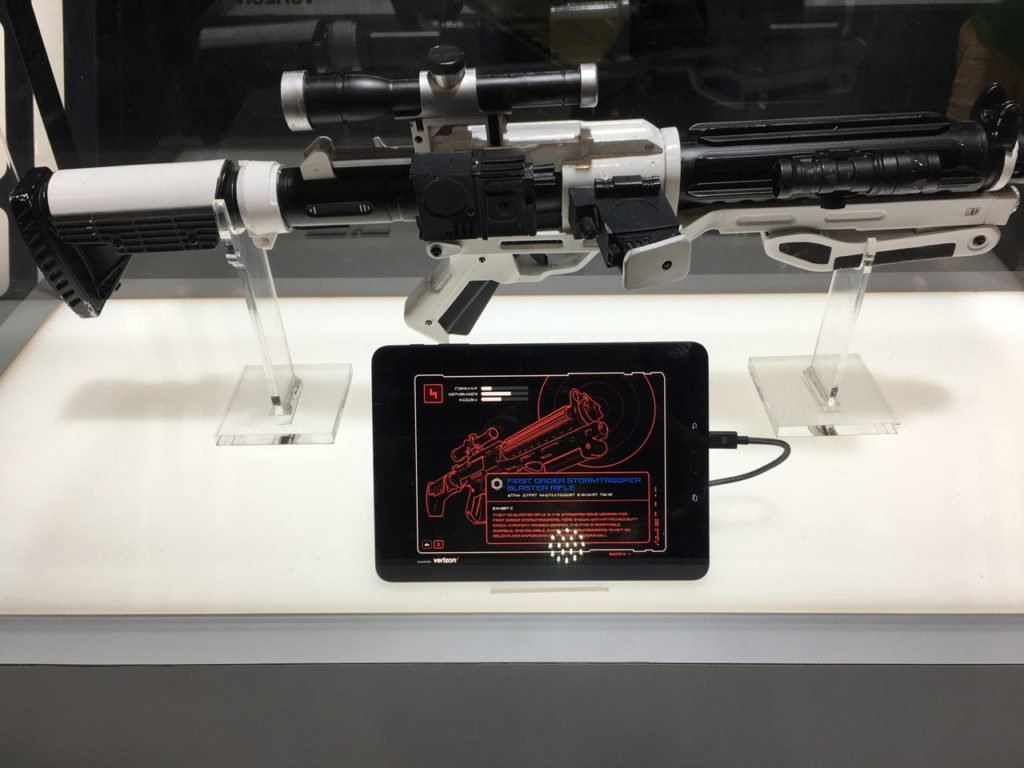
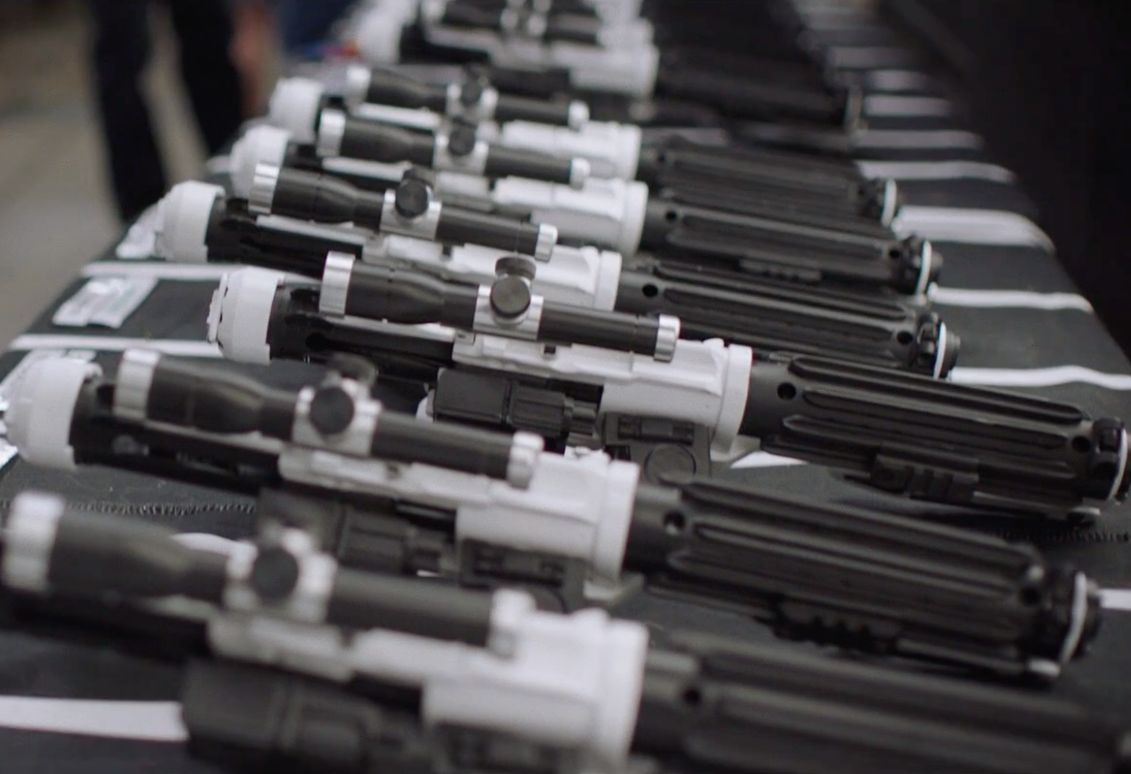
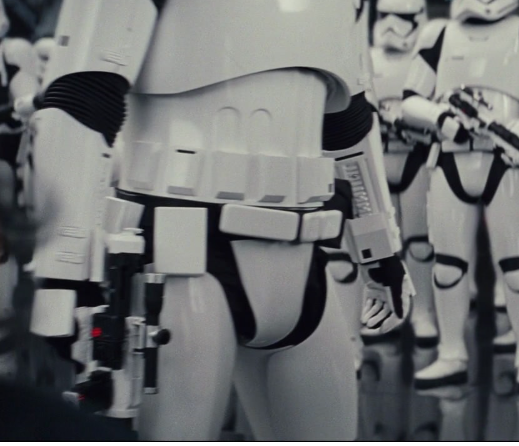
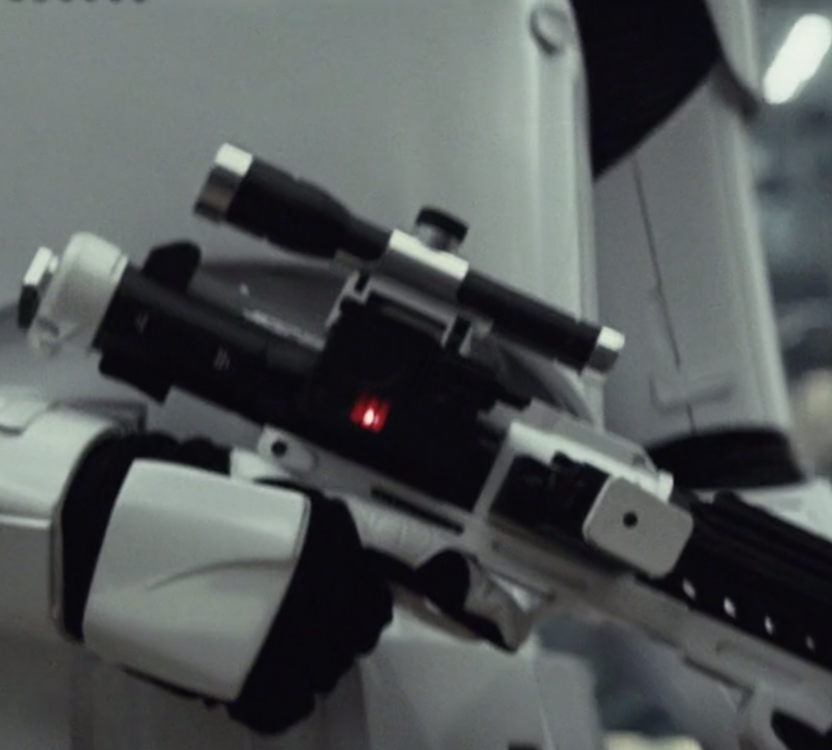
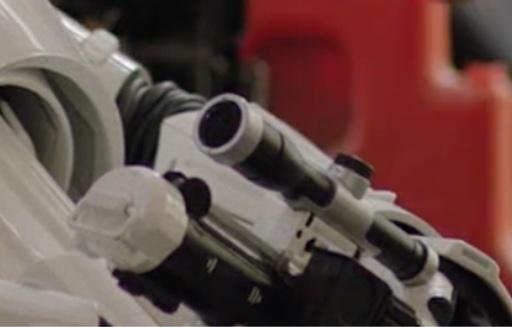
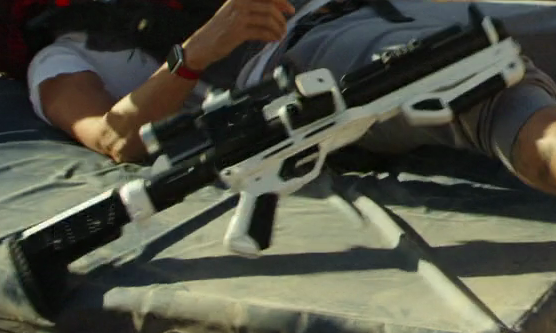
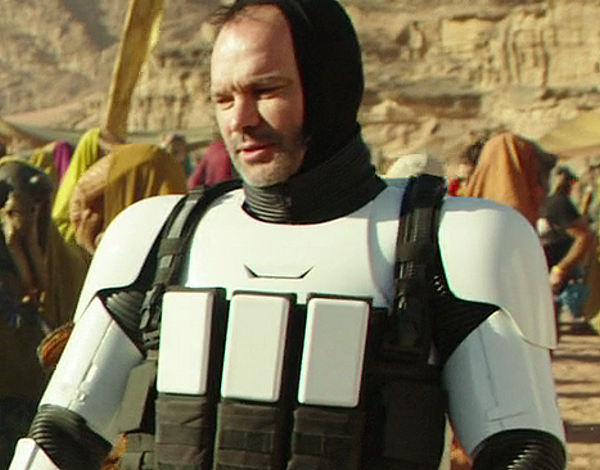
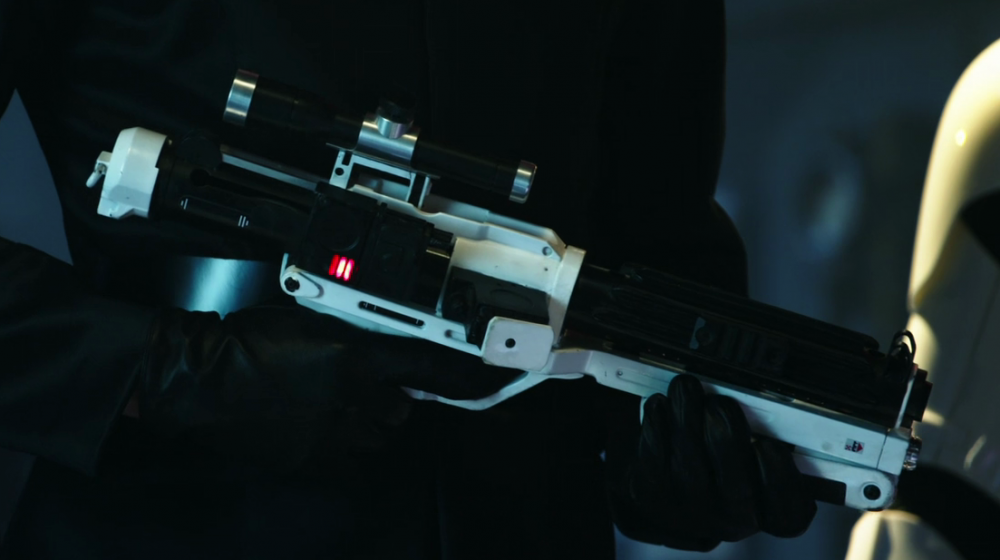
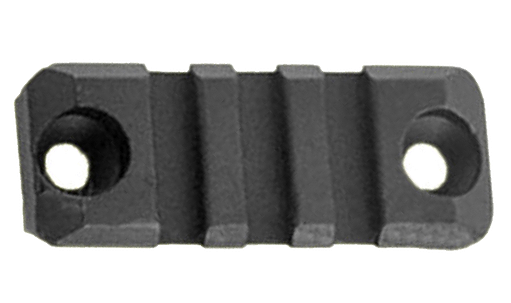
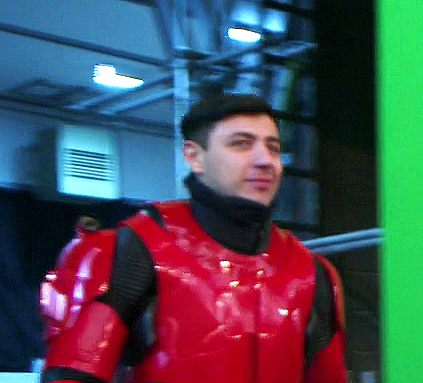
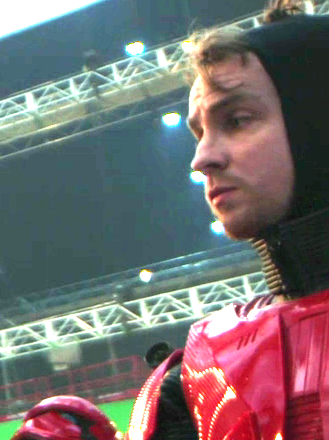
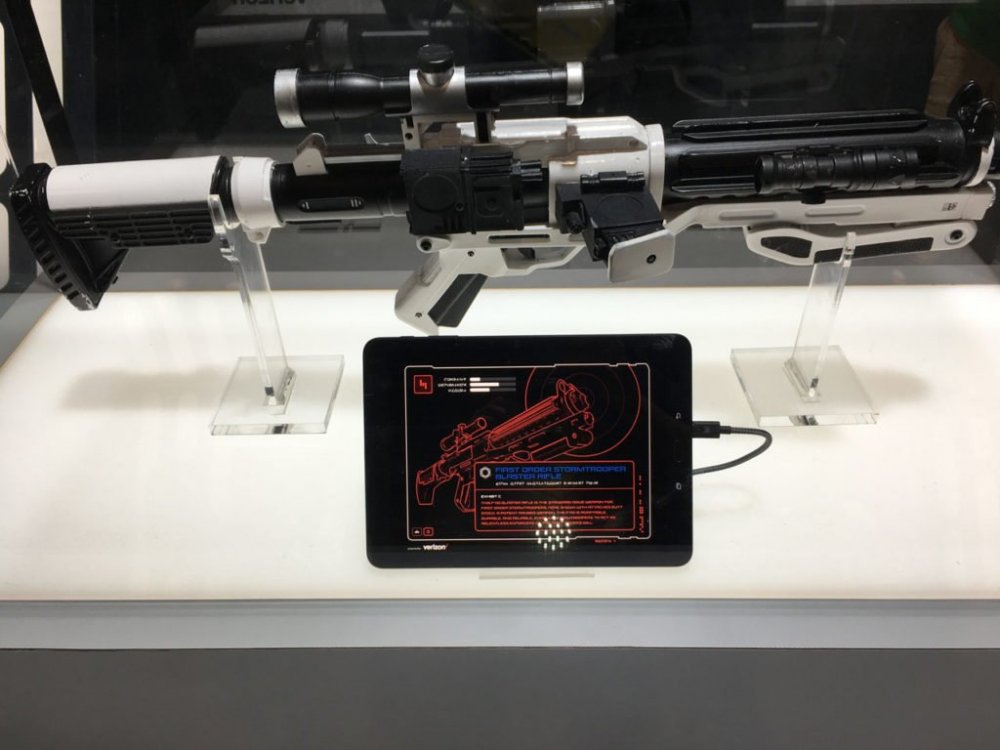
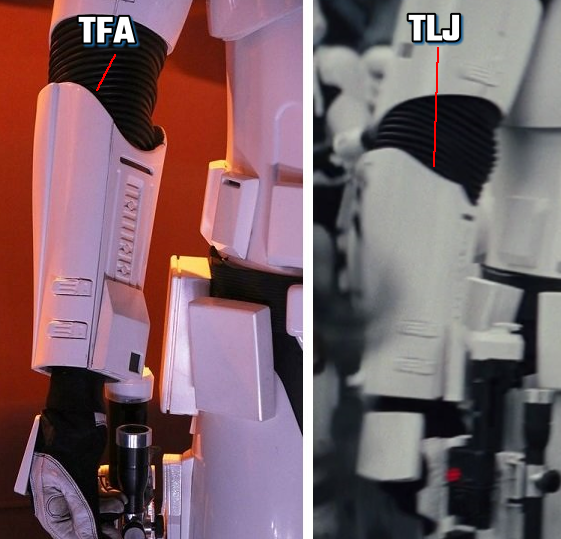
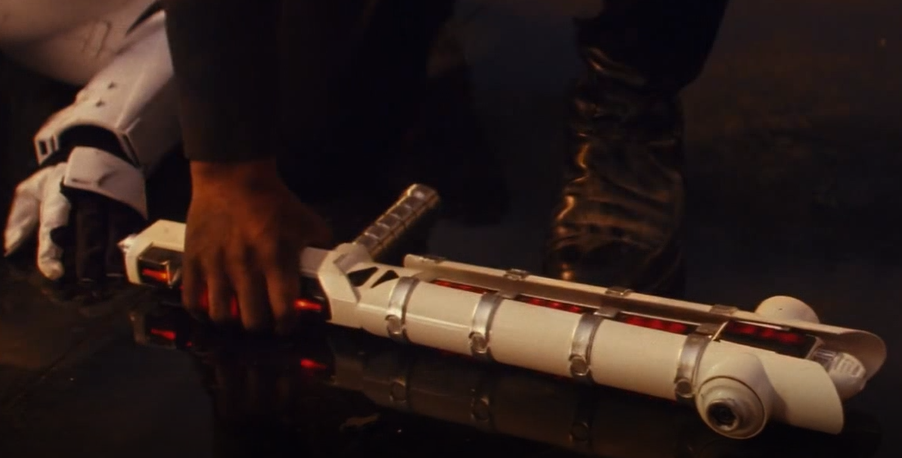
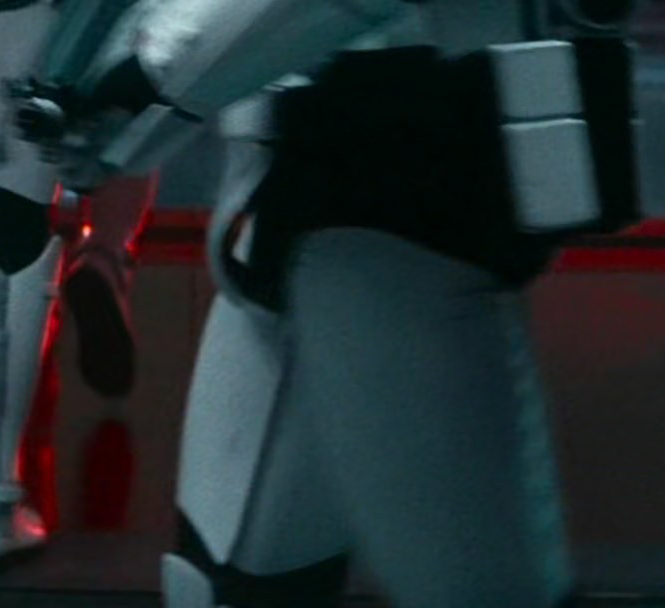
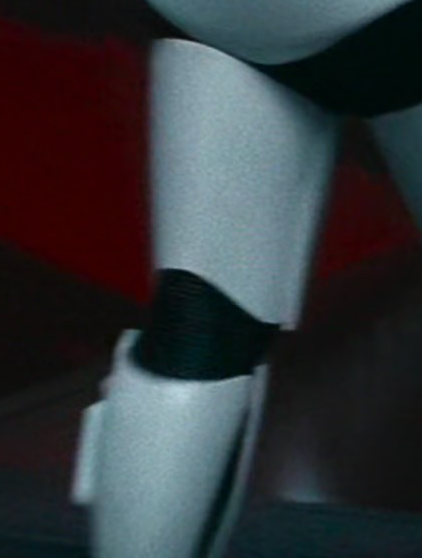
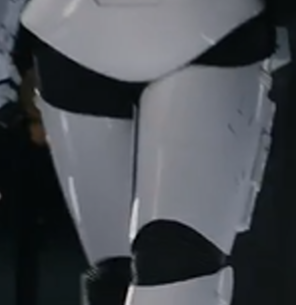
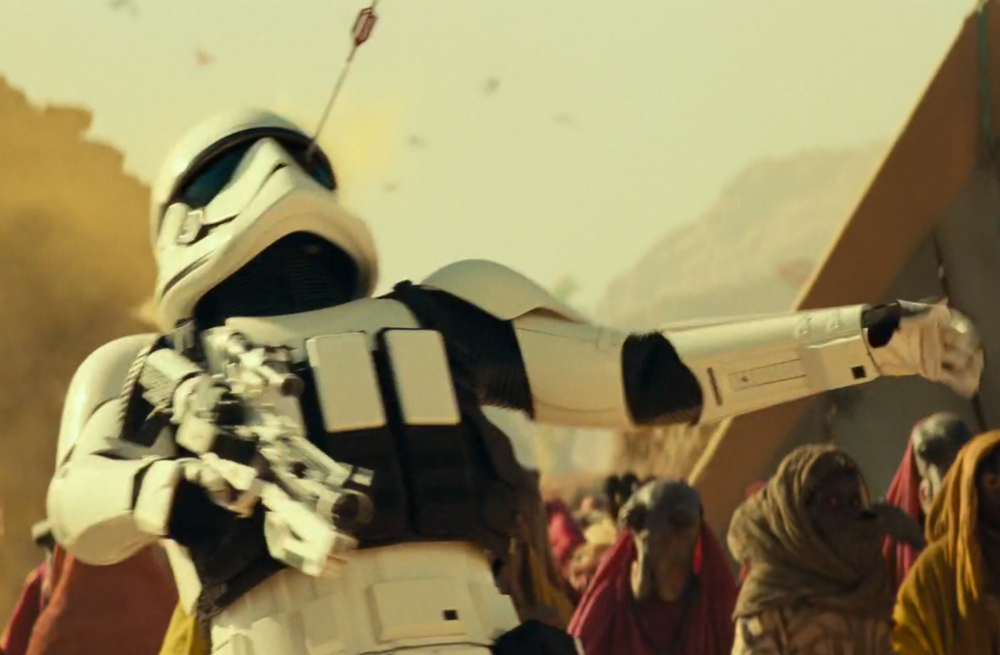
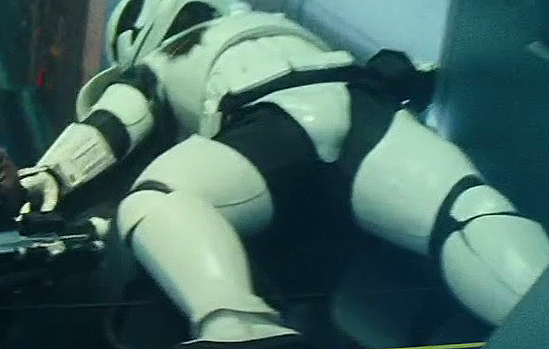
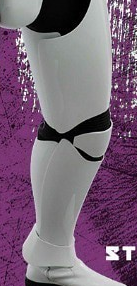
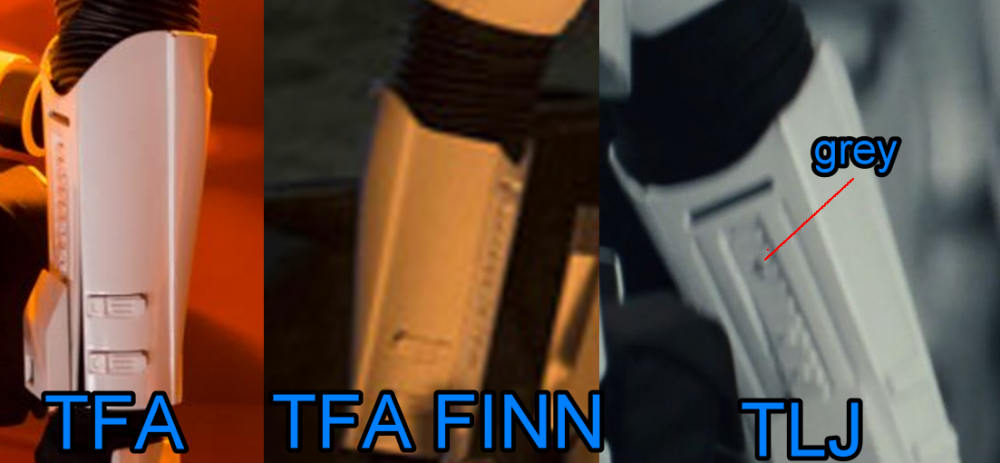
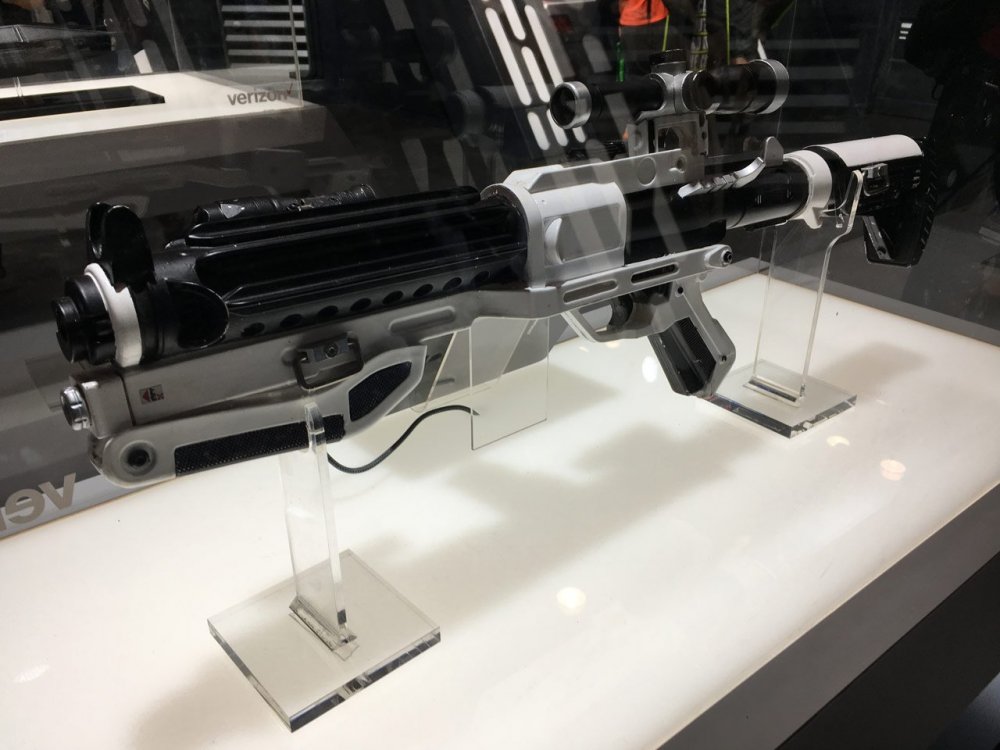
TLJ, TROS forearms End cap D ring Rear sight Black standard trooper White heavy weapons trooper A few more front facing zip Another reference front facing zip TROS Also referencing all other costumes from TLJ forwards having front facing zip on treadspeeder driver, sithtrooper and jet trooper Also light mount / picatinny rail option for both std and heavy F-11D's (again showing different rear sight colors and D ring) not seen on all blasters No mount A light was only seen on LFL display F11-D, not on screen Baton lights in rear section (Finn's hand) perhaps L3 Armor overlaps (note front facing neck seal zip)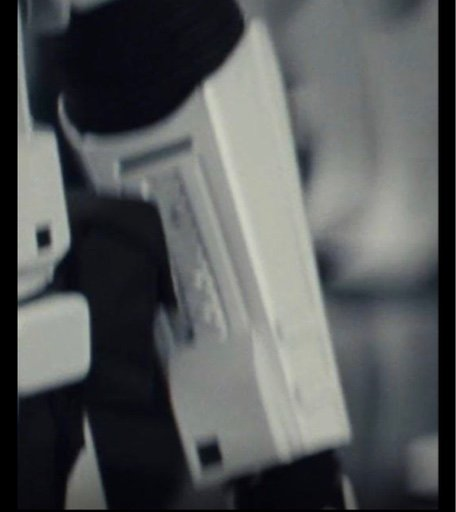


-
Cleantrooper kindly requesting pre approval. TM ESB tk
gmrhodes13 replied to Cleantrooper's topic in Request TK Pre-Approval
Looking good, if you haven't already try some foam behind your sniper knee plate, to help push it forwards away from your thigh, were it is you will hit from time to time. Shoulder straps are much better, you could tweak them a little as there is still a slight gap. Also the butt plate appears to be pushing backwards, you can see on the side image it doesn't meet the ends of the kidney, perhaps tighter strapping. These are just very slight so should be ok for basic approval Good luck with your approval -
TLJ / TROS CRL Update Work Flow
gmrhodes13 replied to ukswrath's topic in Hard Armor (General Discussion)
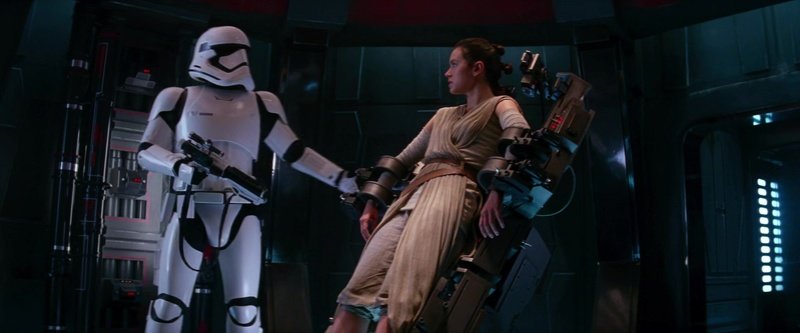
I will have to put forum cleanup on hold for the time being if I'm to spend time on this. A few things while my brain is functioning Need to add the scope mount / picatinny rail as optional Add sling and mounts as option Electroprod add for TROS version Reference of front facing zip. Zip can just be made out in this image Will check for other images. Was also mentioned by one of the costume department in Facebook groups in regards to them being worn on the front from TLJ onwards. Also same with Sithtroopers as well. Forearm difference at inner elbow TBC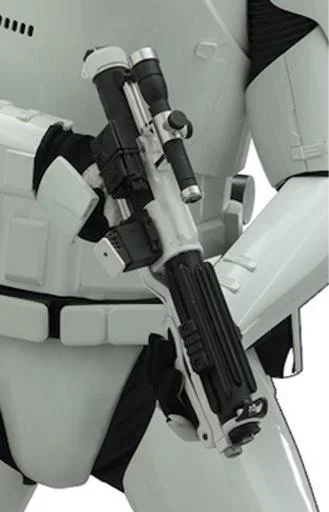

-
My Rubies TK Supreme ROTJ build/mod[*RB]
gmrhodes13 replied to JSmails's topic in ROTJ Build Threads
My pleasure, good luck with approval -
My Rubies TK Supreme ROTJ build/mod[*RB]
gmrhodes13 replied to JSmails's topic in ROTJ Build Threads
Really depends if your GML will notice the extra holes, but it would be best to remove the wrong placed snaps as it looks odd. I have fixed a hole in leather before by adding some tape behind the filling the hole with black silicon, although it does fill the hole you can still see the edge. Again it really depends if your GML will allow this, perhaps as him/her the question. ROTJ holster is basically the same design holster as ANH an ESB except for the belt loops, here is a template which shows the approximate hole position -
Dead Post Links & Broken Photos, How You Can Help
gmrhodes13 replied to Sly11's topic in Forum Help & Support
New Recruits New Member Introductions Page 239 complete gmrhodes13 Page 238 complete gmrhodes13 Page 237 complete gmrhodes13 Page 236 complete gmrhodes13 Page 235 complete gmrhodes13 Page 234 complete gmrhodes13 Page 233 complete gmrhodes13 Page 232 complete gmrhodes13 Page 231 complete gmrhodes13 Page 230 complete gmrhodes13 -
My first ANH TK Build-Assistance Welcome! (ATA)
gmrhodes13 replied to Phat Rob's topic in ANH Build Threads
To help the ears sit a little flusher you could add a step to the top portion of the ear so it sits down a little more were the back plates steps down to the front plate, thread here: -
Greetings from Northamptonshire UK
gmrhodes13 replied to Goggytalks's topic in New Member Introductions
Congratulations trooper and welcome to the ranks -
Just a tip I normally start with a coarse grade wet and dry sandpaper @240, then switch out to finer wet and dry sandpapers ending up with a 1500 or 2000 grit, the finer the sandpaper the easier it is to polish. Also sand with water, add a drop or two of dish washing liquid to it, will help the sandpaper glide and doesn't clog as quickly
-
CoolHandLAZ's Anovos ANH Stunt TK Build (FIRST BUILD!)
gmrhodes13 replied to CoolHandLAZ's topic in ANH Build Threads
Great news, congratulations and welcome to the ranks trooper -
No it sits above, pretty much like screen seen. Here's my TFU version. Screen references ANH.
-
You will find the belt will ride up because of the angle of the kidney plate and pulling the belt too tightly. Having a thin frame I had to add some foam behind my ab plate to help fill the gaps between my body and the armor, without the foam the sides would keep flaring and overlapping. Adding V tabs behind the butt/kindey plates will help keep those pieces in alignment, also check how loose or tight your strapping is.
-
My Rubies TK Supreme ROTJ build/mod[*RB]
gmrhodes13 replied to JSmails's topic in ROTJ Build Threads
Missed your post in April unfortunately. This is probably the only holster image I have come across, not that much detail. It's really up to your GML what will pass for basic approval, I would think however just adding some tape over the old snap may be seen, perhaps don't holster the blaster and have the strap inside the holster for photos. You could have a look through the stills from Screencaps.com, you may find something there https://starwarsscreencaps.com/4k-star-wars-episode-vi-return-of-the-jedi-1983 -
Dead Post Links & Broken Photos, How You Can Help
gmrhodes13 replied to Sly11's topic in Forum Help & Support
New Recruits New Member Introductions Page 249 complete gmrhodes13 Page 248 complete gmrhodes13 Page 247 complete gmrhodes13 Page 246 complete gmrhodes13 Page 245 complete gmrhodes13 Page 244 complete gmrhodes13 Page 243 complete gmrhodes13 Page 242 complete gmrhodes13 Page 241 complete gmrhodes13 Page 240 complete gmrhodes13 -
Well firstly you haven't posted a link to your legion membership profile (look at others posts) Secondly whenever @NoVATie is next on the forum, could be up to a few days.