Leaderboard


Popular Content
Showing content with the highest reputation on 02/23/2023 in all areas
-
Just browsing the forum and caught this conversation/thread. I can literally agree with ALL points above. From the proposal to the reasons to not approve the proposal. What I can say is from what I hear and see from troopers with the gear. (I don't have this suit personally but know a bunch of troopers with it locally) Is that the yoke section tends to crack in time and has to be fixed more often then not. Of course we OT troopers have to fix the wear and tear on the OT suits as well but the suits are actually made with points that are made for movement. A CRL for say a disney parks version is a good idea imo. 1. It helps the current troopers with the new kits get completed with better functionality movement is that area that will also help the wear and tear in the end. 2. For the troopers who have the current saga versions can have the option to change the sections (mainly that yoke section) to allow them to be more flexible AND to possibly extend the life of that section of the suit so it doesn't have to keep being repaired over and over. 3. If I think of a third reason, I'll let you know lol In the end it's about troopers helping troopers. Maybe a happy medium can be reached here. Even if a new CRL would have to be made.3 points
-
Time to tackle the belt build. Started by printing the belt box template sheet. CAUTION: Even though the template is 1:1, the boxes printed on the sheet are too small, and some of the center holes are not centered. You can see the pencil lines I drew on the template: Next I put the belt on the torso, with the spine and butt plate attached, in order to size the belt. It’s way too big for me: So I marked the proper size and started to unstitch the Velcro and strapping from the back of the rubber. Then I used some clips to mock-up the size. The top piece is the rubber belt, the bottom piece is the Velcro: Then I cut the Velcro and strapping and then used some E6000 the reattach the strapping at the proper sizing: Then I cut the rubber to the end of the male clip. This shows how much I cut off of each: Then glued a short piece over the female clip: Then using the templates I marked the holes and used my leather hole punch to make the holes: This is assembled, but I haven’t painted these resin boxes yet: On the armor: Bought a replacement for the large pouch from Trooperbay today, since the DN large pouch is too small for the ABS front panel. Someone in my garrison mentioned that he couldn’t move his head in the armor with the helmet on, so I did a test: Looks like I’ll be good.3 points
-
HEY HEY Women of White and Chrome!!!! International Woman’s Day is around the corner!! (March. 8th) With the upcoming announcements of the FISD Women Unit Valkyrie section for the Detachment, what better way than to kick that off by showcasing our ladies in armor!!! Please do send me photos of yourself in your armor. Your TKID Your Garrison/Squad/Outpost All photos in to me please by March. 3rd. (Also collecting for Legion posting as well!) THANK YOU!!! [emoji175]SoulArt/41307 Sent from my iPhone using Tapatalk2 points
-
Thanks, as always, Glen. Love that zombie TK! With the elastic I already have in place, the butt locks seem to be holding up quite well. I’m going to put in for basic pre-approval first as it’s been 2 years and I really won’t to join the 501st. If it’s all good for basic then I’ll make other necessary changes asap afterwards for the higher levels.2 points
-
Hey all, I wanted to get a discussion going around a proposal that I've heard being floated in various FOTK-building Facebook groups and see if there was support to warrant consideration of amending the current base-level CRLs. In short, I propose that the current text for the First Order Stormtrooper costume CRLs (TFA and TLJ) be amended to ALLOW for visible seams at the shoulder and sides of the barrel at the BASIC level ONLY. Okay but... I fully recognize that this would be an slight step backwards in terms of the overall accuracy of these CRLs. As seen in the films that these CRLs are based upon, the studio suits did not have visible seams in these areas. Correct. Acknowledged. I don't need to post screen shots to this point. However, there is precedent that seams were present in these areas in SOME existing Star Wars canon, and I believe that the sacrifice in accuracy at the Basic level only would be worth allowing for greater acceptance and approval of these costumes. In the Star Wars Resistance show (which again, I acknowledge would be a separate and distinct CRL overall, as there are substantive differences from the movie realistic costumes), it can be seen that a seam was INTENTIONALLY added at the shoulder and sides in the renderings for their First Order Stormtroopers. It would have been one less line to not do that, but it was done so purposefully and consistently. The shoulder and side seams are often areas of significant stress and strain as the armor is flexed open to take it on/off - which is also why the Disney Parks have adopted a similar system to allow for greater comfort and ease of dressing for their Galaxy's Edge cast members, as seen below. While again, these are not the same as production suits, at the Basic level, I think it makes sense from a practical and ergonomic standpoint. The movie suits that we are seeking to emulate were made of a thick and extremely durable and flexible (likely urethane) material that was formed with tooling and materials that far exceed what will likely be possible at the hobby/cosplay level any time soon, so I believe there should be some ability to make up for the limitations of the ABS suits we are trying to use to replicate. Concessions to accuracy are made in several existing Legion CRLs for comfort and to allow for a great range of body types, and I propose it be considered in this case as well. To smooth these seams necessitates either the precise and arduous task of using ABS slurry to fill and blend the seams, then sanding and buffing back to an indistinguishable high gloss - a specialized skill that most new or even experienced builders have not mastered - or to use body filler and paint the area or entire set of armor, as was required with previous makers due to the type of construction. These suits shouldn't NEED to be painted, and these skills present a significant challenge to most builders, resulting in the FOTK being a rare site at troops in my Garrison and an extremely limited numbers of a submission for L2 and 3. At the end of the day, I guess my point is... is this really a big deal? I don't think it is. SHOULD those seams be filled? Yea, totally. But is it worth mentioning at the Basic level when it stands to be a potential blocker to membership for many new members, may help extend the service life of the armor for more troops, and overall doesn't make a significant difference to the appearance of the suit? Naw, I don't think so. Most fans are going to the see the (Denuo Novo press photo) Stormtrooper below and just think "holy heck, a stormtrooper!" and never notice those seams. I'd like to give the opportunity to more members and fans alike to have that experience, instead of potentially furthering the image of elitism and snobbery that the Clubs unfortunately sometimes project due to our high standards. I would propose that the CRL text be amended, as below (or similar): Back/Yoke The back plate contains a “O II” design, and the O is black in color. There are no visible seams on the back/yoke. The yoke portion extends over the wearer's shoulders and curves under the armpits. OPTIONAL Level two certification (if applicable): There are no visible seams on the back/yoke. OPTIONAL Level three certification (if applicable): A support tab extending from the outside top arch of the yoke shall be present. The support tab should be of a sturdy material, white in color. Abdomen Section The abdomen section must wrap around the wearer's body without a visible seam. The abdomen has 7 boxes attached that match the order and placement shown against the armor. The large box has a small black recessed square on the lower left to the wearer. The second box to the right of the wearer has a small black recessed rectangle near the top. OPTIONAL Level two certification (if applicable): The boxes should sit against the abdominal plate with minimal to no gaps. The abdomen section must wrap around the wearer's body without a visible seam. OPTIONAL Level three certification (if applicable): The seams between the abdominal armor and the 7 boxes should not be filled. I'm curious to hear feedback from our membership, though keep in mind that this change would largely not affect those of us who are regulars here on the forums, or any submissions to the DOs for L2 or L3. This would be a local Garrison/Outpost GML-level change that could potentially bolster our membership and make this costume significantly more accessible. Let me know your thoughts and thank you for reading!1 point
-
INFORMATION: 1. First/last name James Reeves 2. Future Garrison/Squad/Outpost or local area Hong Kong Garrison 3. Armor maker Walt’s Trooper Factory (with thermal detonator from Troopermaster) 4. Helmet maker Walt’s Trooper Factory (with white HOVI Mix Pa2 + white comlink mic tip aerator inserts from StarWarsCostume Props & screen-accurate wide mesh from Ukswrath, hand painted stencils for tube stripes, tears and traps from Trooperbay painted in Humbrol Admiral Grey Gloss #5 and French Blue #14, Black #21 and White #22, larger S-trim from BaileyBuildsDesigns) 5. Cloth belt maker StormtrooperShopUK 6. Neck seal maker DarmansProps (with zip fastening) 7. Boot maker Imperial Boots 8. Electronics Helmet fans & SHA hearing assist from Ukswrath 9. Blaster maker (if applicable Doopydoo’s with Kassaraptor scope 10. Gasket maker (if applicable) n/a 11. Height (optional) 5ft 8in 12. weight (optional) 145lbs 13. TK type (ANH Stunt/Hero. ESB, ROTJ. TFA etc.) ANH Stunt 14. Name(s) of any Trooper(s) who significantly helped with your build. gmrhodes13, TKSpartan, justjoseph63, TheSwede, Lord_Potato ESSENTIAL PHOTOS: 1. Front view (arms down) 2. Back view (arms down) 3. Left side (arms raised) 4. Right side (arms raised) 5. Ab plate close-up 6. Helmet close-up (front, left and right sides) 7. Detail photos of any parts you have questions on n/a 8. Interior strapping (optional) ADDITIONAL PHOTOS: Helmet Back Green lenses Frown Hovi Mix aerators & vocoder Left tube stripes & tear Right tube stripes & tear Left ear alignment Right ear alignment Brow trim S-trim Hard hat liner Left shoulder bridge & elastic Right shoulder bridge & elastic Ab & kidney 3 rivets painted white “Han” snap Left drop box alignment Right drop box alignment Drop boxes closed at back E-11 holster attached with 2 rivet-style chicago screws and tan leather straps Soft belt magnet to attach to ab plate Thigh garter & neck seal Velcro attachment Forearm return edge removed Latex hand guards Black rubber chemical gloves1 point
-
Hey, My names Thomas, they/them, from Sask Canada. Been a mando merc for years. Got an officer approved last summer. Originally went with a mando as i didn't want to be a boring white armour... thennnn... seeing groups of troopers at cons.. I decided I HAD to be one of them. Funny how opinions change in time! Got my BBB in Decemer. Will hope to start building when repairs to the mando are complete!!1 point
-
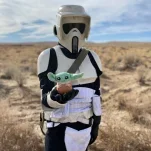
here's some pictures of my new incinerator trooper costume. sorry if the parts are loosely added, I just wanted to try it on1 point
-
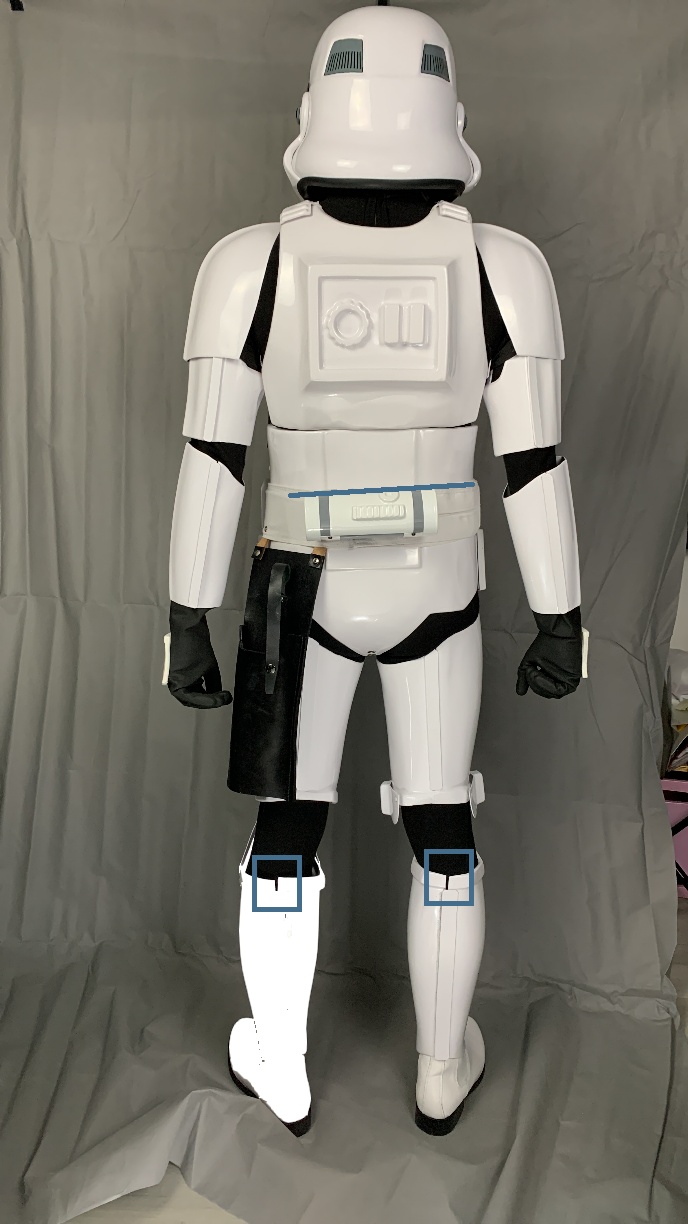
Nice work, just a couple more items you could adjust: Detonator should be level, on an angle. Gaps between the top ridges of calves, I added a couple of pieces of scrap abs behind to it appears fully closed Try to match the spacing near wrists Good luck with approval, hope we see you with a TKID soon
 1 point
 -
Hey I like it, Bart! Makes me laugh (in a good way).1 point
-
1 point
-
Well that was annoyingly easy. Thanks. Bart1 point
-
Hi, As I know, you can change your display name on your own for three times. 1 - Go to your Profile ( right upper corner where your image displays) 2- Select Account Setting 3- Select Change (right side next to your display name) 4- Save. If you have any issue let us know.1 point
-
A big thank you for you helpful replies!1 point
-
Looking good, the shorter the person the less head room they have, I can still move but not a lot when wearing a pauldron1 point
-
ah ok thanks1 point
-
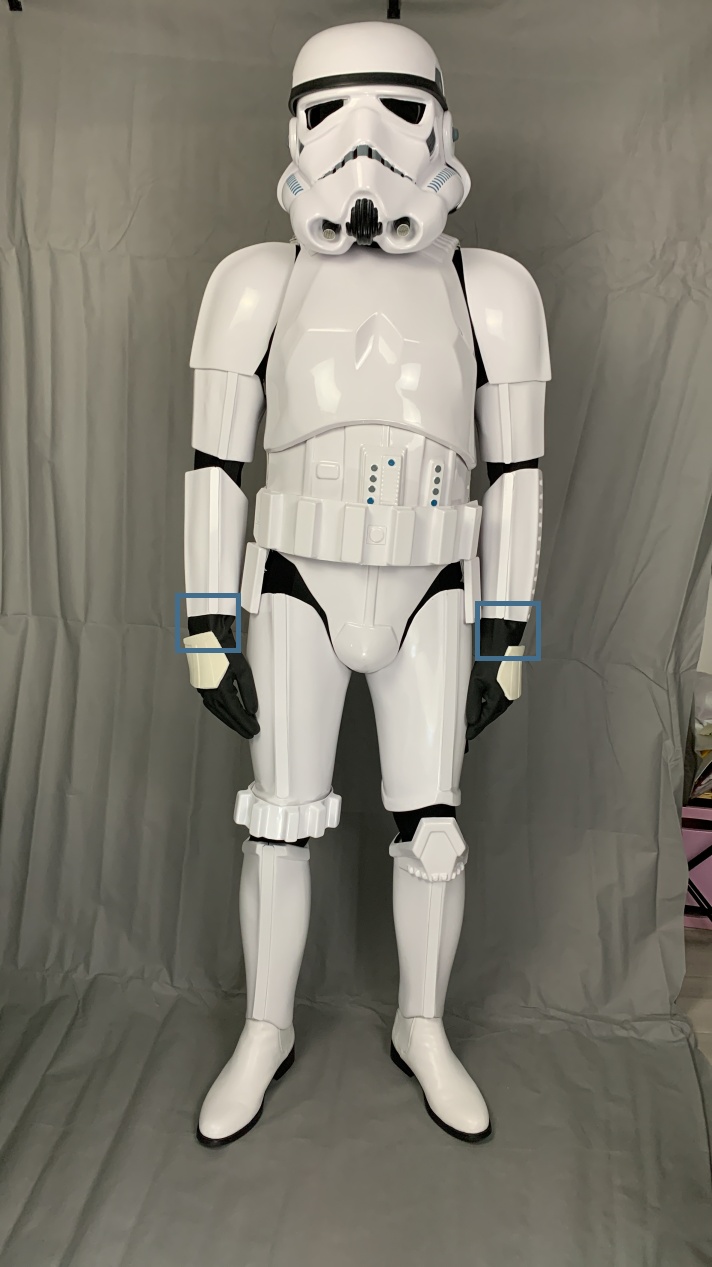
That is the issue with the tabs and no return edge, they can move up and down, personally I would think you could do with adding tight elastic on the ends of the kidney/posterior and that should help, that's what I have used on multiple sets of armor1 point
-
Hi that's your legion forum profile, not your member profile, try this one https://www.501st.com/members/displaymember.php?userID=31895&costumeID=1241 point
-
Coming from FDM printers since about 2016 to SLA printers this past Christmas, the thing that was most difficult for me to grasp at first was exposure time. This post will, unfortunately, not be extremely high effort on my part (I don't have photos of my own to share) but it's what helped me get going and figure out my own exposure times vs relying on lists and forum posts. First - you need the XP2 Validation Matrix. https://github.com/Photonsters/Resin-exposure-finder-v2/releases/download/BETA_2.1/ResinXP2-ValidationMatrix_200701.stl This file is "beta" from 2020 and millions of people have used it. This is indeed the one. There's a TON of different exposure tests out there, but this one prints quickly and gets you going quickly. It is also explained in depth in the video below... Next, you need to watch this vid that explains how to understand the printed validation matrix and adjust your exposure time accordingly. It is INCREDIBLY helpful. My prints went from "eh, not bad" to "OMG lookit this detail!!!" after one viewing and a couple test prints of that matrix. I'd printed other tests but wasn't totally sure what I was looking at. The video above taught me what I needed to know. Lastly - some resin makers publish suggested exposure settings for various printers. The best listing I've found is Siraya Tech. https://siraya.tech/pages/support (click View Guide on the resin you own and then go to their google drive link on the following page) Suggested exposure settings should be viewed as a good starting point for your test matrix. Your printer may need to go up or down in terms of exposure time depending on the age of the printer and age of the resin. Hope this helps kickstart some awesome prints.1 point
-
Actually recasting is meant to be simply that, making a cast of a set of molds. Authorized recasting: you get permission to recast something. Unauthorized recasting: you did not get permission to recast something. In general use though when we cite someone as a "recaster", we mean the latter. The first screen derived suits were recast from an old ROTJ tour suit and cleaned up to be like ANH, so it's not correct to say it's a direct recast. These are suits that were bought by someone. In theory you are right LFL could issue C&Ds anytime to anyone making stormtrooper armor without a license, however they do not. Doing so would kill the 501st Legion and many other Star Wars costuming groups. I mean, it's not just TK armor, is it? However LFL recognizes the marketing and PR appeal of having Star Wars costuming clubs, and so the gentleman's agreement from back in the 90's was that as long as we make no profit from what we do, they essentially turn a blind eye. If you want to dicuss this topic futher, please read through and if still unsure create a new post at Recasting Discussion - 1st Imperial Stormtrooper Detachment (whitearmor.net) as otherwise this is off-topic for this thread.1 point
-
Congratulations trooper!1 point
-
Congratulations Matt, you look awesome1 point
-
I'm late to the party but really nice armor you have there Matt! Great work! Congrats1 point