Leaderboard


Popular Content
Showing content with the highest reputation on 08/30/2022 in all areas
-
Bucket Day 2 Lens mounting screws installed3 points
-
So many sets of his armor in the Legion will be his legacy forever. Every year the Midwest Garrison held a charity auction and Terrell never thought twice to donate the parts for a helmet. A great trooper.....a greater human.2 points
-
Well it's done thanks, in no small part, to a number of you here on this board and Wook1138 in particular who answered a few hundred questions privately I am sure. I was able to make up my mind for good this time. I put in a deposit with AP this morning. I'm still leaning to ready-to-wear. Yikes! Scary and exciting at the same time. I'll try to take it easy with the number of questions I have running in my head now. I'll try to space them out! Bart2 points
-
Hi there, Some of you already know exactly who I am and have been following my other thread for the past few years. For those who dont know me, Im Chris, I run ChrisTrePropGuy. Ive been working on my own moulds for TKs for a few years now and I recently completed them. I didnt have much desire to get one approved any time soon but I wanted to make sure that my kits could be approved before I sold them. Still finishing off the helmet so will post that soon. For those who havent followed along with my thread, it can be found here: Last week I rigged everything up. Im aware it needs a few adjustments but thought I would post up here to see if anyone has some critiques for things I might have missed. FRONT TO FIX: - Affix belt properly - Lower Thighs - Strap under shoulder to hold biceps - Add ab detail and paint SIDE TO FIX: - Add holster Sides look ok to me? the legs will be fixed with aforementioned fixes. BACK TO FIX: - Adjustback plate - Strap codd to butt - New Canvas belt that fits Let me know if I missed anything2 points
-
I've been shopping today... I want to ensure everything is here when I need it to be here. Bart1 point
-
Chemi, Here is the photo of the drop box, I will get the adjusted back plate photo tomorrow, Thanks for your help.1 point
-
Great News !! Looking forward for your BBB Day !!1 point
-
I just called up a local company here in my town, and they were very accommodating in me coming in there with a few small pieces of armor I had cut off to color match. It will be an oil based color that could be applied to plastic. The finish will be smooth and have the right shine when dried, so here's me "holding my thumbs" (Swedish expression, for luck) that it will turn out great! They also told me to bring my helmet with me so they can use that for inspiration. If I get any data from them of what colors they used I will update and let y'all know!1 point
-
Thanks so much for your kind words, all! Fingers crossed I won’t be waiting too long for it, although each day without it seems to drag! As soon as it arrives, I’ll get everything updated… I take it it comes through on email? Excited to be here and to learn from you all Best wishes, Mike1 point
-
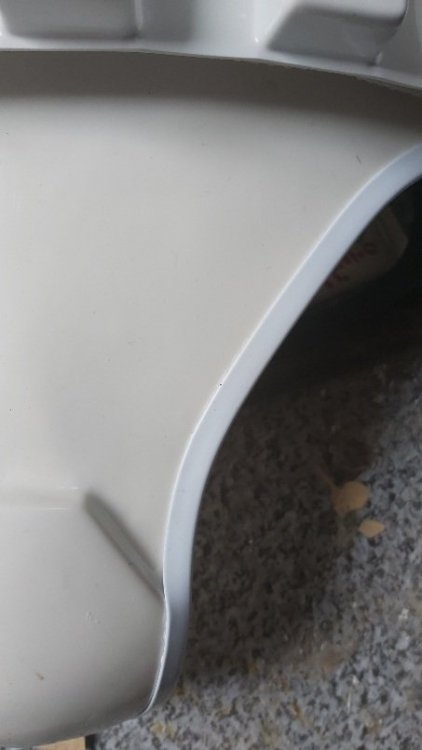
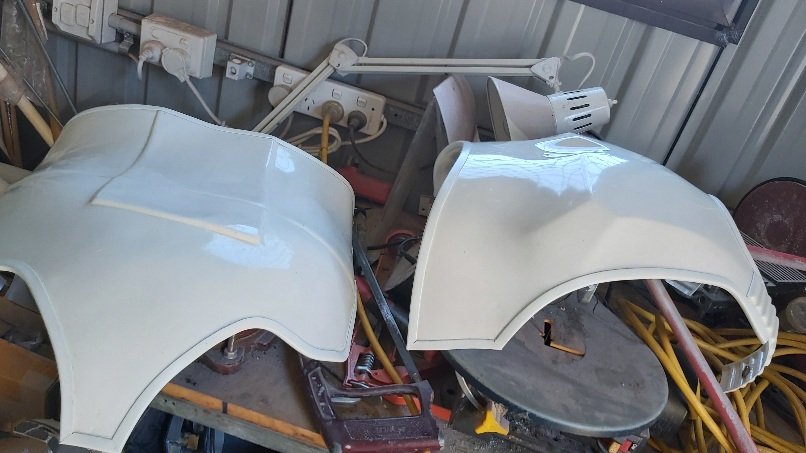
Unfortunately different makes of armor use different shades of ABS, even under one make they can be supplied several different shades of white. This makes things difficult trying to match odd parts or replacement parts. For my TKC and TFU for touch up of the U trim I eye matched water based acrylic paint and added a small amount of brown, yellow and black to get a close match to RS armor. Once happy I clear coated to protect the paint. Before After For my FOTK I used automotive acrylic paint from a local auto supplier, it matched the Anovos helmets perfectly so I was lucky with the base white. Ideally it's easier to paint a full set of armor than it is to match up a section, even adding ABS paste you may have to touch up as it can leave small holes when it dries which means filling then painting. You could always take it to an automotive paint supplier and they may be able to get a close match, some can even put it into spray cans.
 1 point
 -
Adding only remnant references SE-14R E-22 No light but has mount E-11 has light and mount Working lights Boots heels and side elastic Belt trimmed Belt full Boot loops


 1 point
 -
Thanks. To finally decide it took a bit of chatting and today I went and bought a set of black undersuit compression, whatever-the-heck-it-is stuff to see what that felt like, It was a bit strange. Tight. OMG the gut..... OK, good that that goes under the ABS. Still a bit horrific to think about. But at the end of it all as scary a this seems (because I'm already thinking of actual trooping which I am not at yet) instead of just dealing with one step at a time I'm in the process of getting armor ordered. Can't even believe I am saying that. I read all the stuff here and watch videos and everyone seems to be having just so much fun I can't not do it even with some insecurities and still a mile long list of unknowns to still figure out. It will be hard to govern myself here with the flow of questions to come from me. Bart1 point
-
Thanks guys! I was about to ask the same glue question since glueing will begin in my not too distant future.1 point
-
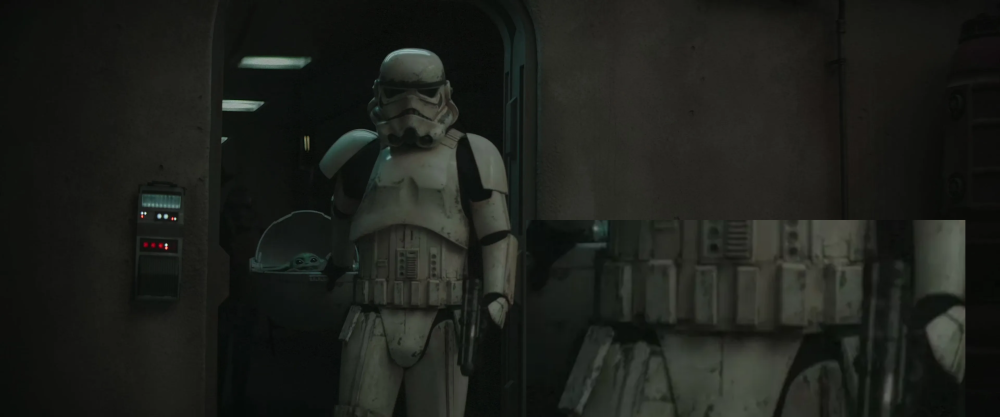
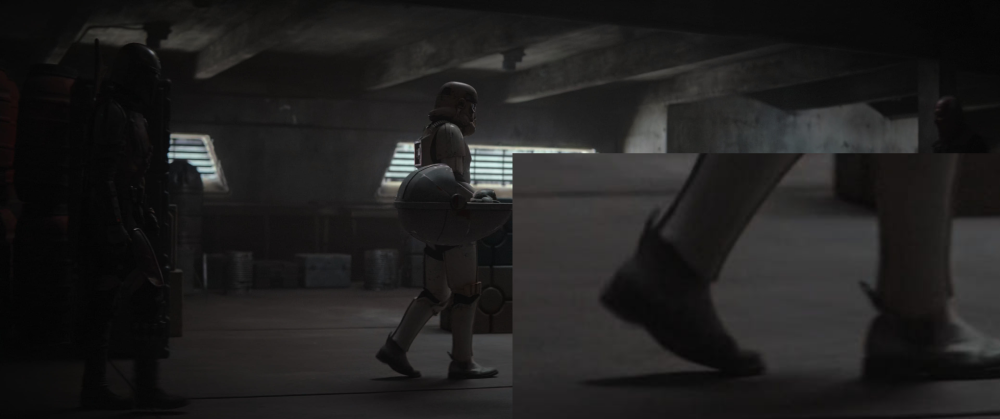
There doesn't appear to be any issues, this is what we see
 1 point
 -
Defnitely want to use a glue that will hold, I used JB weld very much like Devcon and could be sanded made things a little easier. With any application of glue make sure you rough up both surfaces before applying glue as it will help the glue to grip to.1 point
-
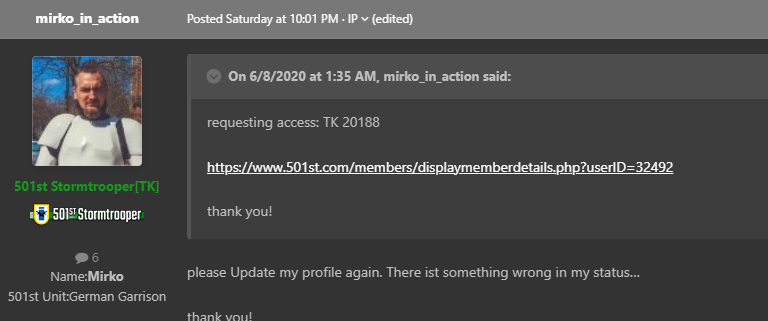
Hi, I thought because my profile still says (as you can see on the screenshot) that I'm in request status... that something went wrong. but then everything is fine. thanks for the fast respond!!!1 point
-
I’m a certified personal trainer if anyone needs someone to bounce questions off of or just an opinion. Been involved in various forms of sports and exercise over the years. I focus heavily now on the integration of mental health with physical health as well.1 point
-
I’m saddened by this news. I never met him in person but I have two kits made by him. They have now become more precious to me. Terrell was the type of guy that did things the right way. He was a well respected prop maker. His presence will be missed.1 point
-
because the original builder made the front seem so wide, the knee will never sit flush… (and I can’t get it apart to try and fix that) So I put a 1/4” thick EVA foam spacer inside to let me glue the center. This also should help some with the knee wanting to go under the thigh. Then I glued the sides. waiting on approval…1 point
-
I was so sad last night. ‘I finished my armour and tried to post pics but I couldn’t access the site. So I applied to the 501st before doing my pre approval. so better times today and here are my pics sorry about the crooked TD. Wife was in charge of that. LOL1 point
-
Though I haven't trooped that long, I'm now on my third iCOMM battery. Since they're hard to get, hard to change, and a general bummer of a power source, I decided to change it out using Andrew's excellent tutorial. There won't be any new information or techiques in this post. I'm copying exactly. This post is mostly for me so I can remember what I did in the future. My iCOMM board complete with a nearly-new TL-2450 battery. Note that it shows polarity. The center post is positive and the outer (right side in this view) post is negative. My new battery showing 3.537 volts. My dead battery showed 3.63 volts before I tossed it. These things don't vary in voltage very much. It's just the lost mAh. I drilled a couple tiny holes in the back case and ran the wires through. Since my iCOMM was already covered in loop velcro, I stuck some hook velcro to the battery holder for attachment. I've also removed the stock battery. Probably needless to say, but the shot above doesn't show that. It just pulls out of the board, even though it appears soldered in place at first glance. I used the same 3.6V battery that @Sly11 did on his mod. Bought it directly from UltraFire for about $23 shipped per pair. I have a spare to put in my helmet bag in case of emergency power failure... which is what prompted this mod. It's a bummer to do a troop without the fancy speakers. I could have wired around it on my last power failure, but would have needed to shift all my padding around. With this rechargeable, replaceable battery I'll never have that problem again. 4.1V with a fully charged battery. Popular belief is that the iCOMM is very picky about voltage and really likes to have the 3.6V power source, but Andrew and others have had this mod working for many years. That track record made me feel confident in doing this to my own unit. Installed back in my bucket. Hardly any extra space is taken up at all, and it's still comfy sitting just above my right headphone pad. I downloaded a free decibel measuring app (Sound Meter on Google Play) to see if there was much or any change in volume in a before and after. In my own experience, the iCOMM amplification decreases quite a bit as the battery ages. It's pretty quiet before it starts the click of death indicating it needs a new one again. Anyways, having some test data seemed important. The app also allowed pausing between sample sessions to compare data on the screen. Before: I saw between 53 and 70 dB while saying my test phrase (kitty kitty kitty kitty kitty kitty). After: I saw between 55 and 73 dB while saying the same phrase. I didn't expect much of an increase in volume and was hoping to not see a decrease (or magic smoke come out) after the mod. A tiny increase is very welcome. Fingers crossed that this is my final iCOMM battery change and case opening. Just a recharge once in a while to keep the battery topped up should be enough.1 point


.thumb.png.69856e02550a2e6d07e44a2b1bda020c.png)