Leaderboard


Popular Content
Showing content with the highest reputation on 07/12/2022 in all areas
-
VERY nice side latch method!! That should be very secure and always align itself nicely. One thing you might do is swap out the strap in the middle of your back-to-kidney seem with an elastic one. The outer two can remain nylon, but that middle one really wants to have flexibility. It'll pop free otherwise. That's mine. It's REALLLLY hard to tell that the middle strap under the OII is elastic, but that's what I have. The two ends have some spare plastic sandwiched in between for strength. All the other straps are nylon.4 points
-
Relevant with the recent CRL additions in regards to 3D printed weapons.
 4 points
 -
Weekly update time! Weight at start: 191 lbs Goal weight: 150 lbs Current weight (11 July): 180 lbs I'm well on my way (weigh? Puns? Are those allowed here?) to meeting my goal and I'm glad I've got you folks for support. I should be able to start swimming in the next couple weeks, which I'm excited for because I haven't been swimming since last year.3 points
-
Hi Mark, we use the Free version of PhotoScape X http://x.photoscape.org/ easy to use.2 points
-
Glad to see you back at this, Mark, and even more glad that you are feeling better! As for the top/bottom alignment of the thighs, that is not a biggie. Trust me. What I would do is to trim the top(s), eliminating some (or all) of the return edges. Those sharp angles can get mighty uncomfortable when walking, and you take the risk of snagging your under suit. The same is true for the tops of the biceps. You are doing the perfect thing by posting up lots of detailed pics, but when in (even the slightest) doubt, always take a few moments to post up more with any issues before gluing. Side note: You are going to be VERY happy you took the time and effort to go with the "double snap" system. Keep up the great work!2 points
-
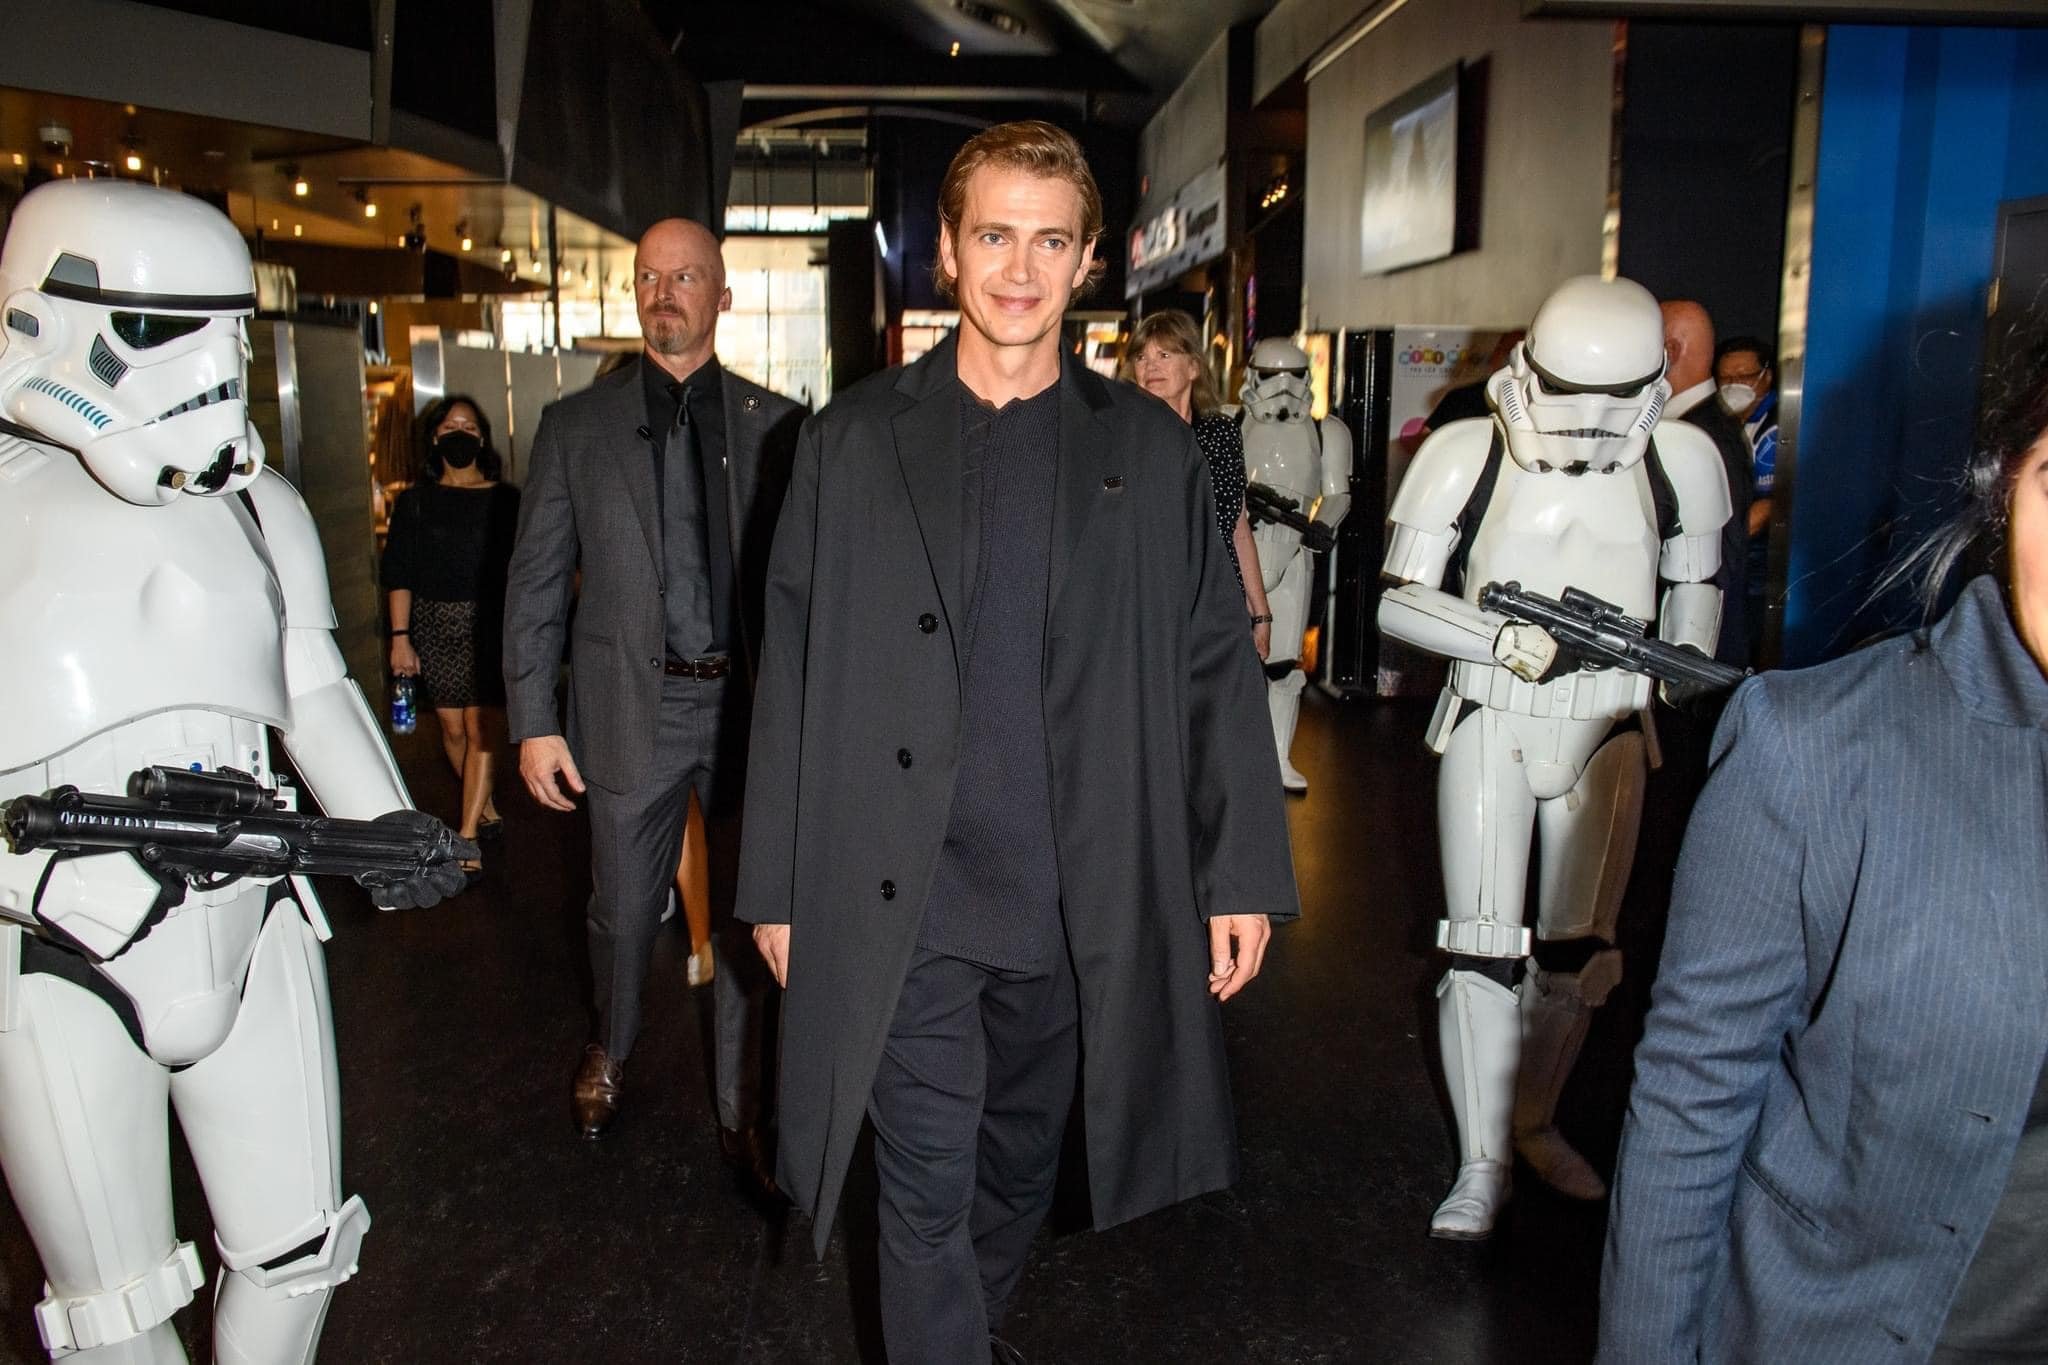
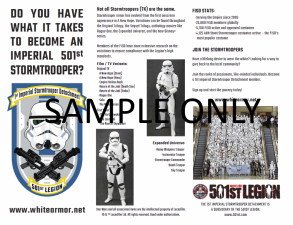
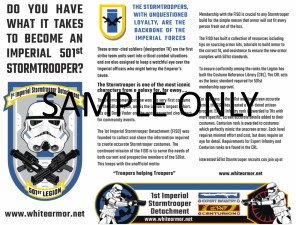
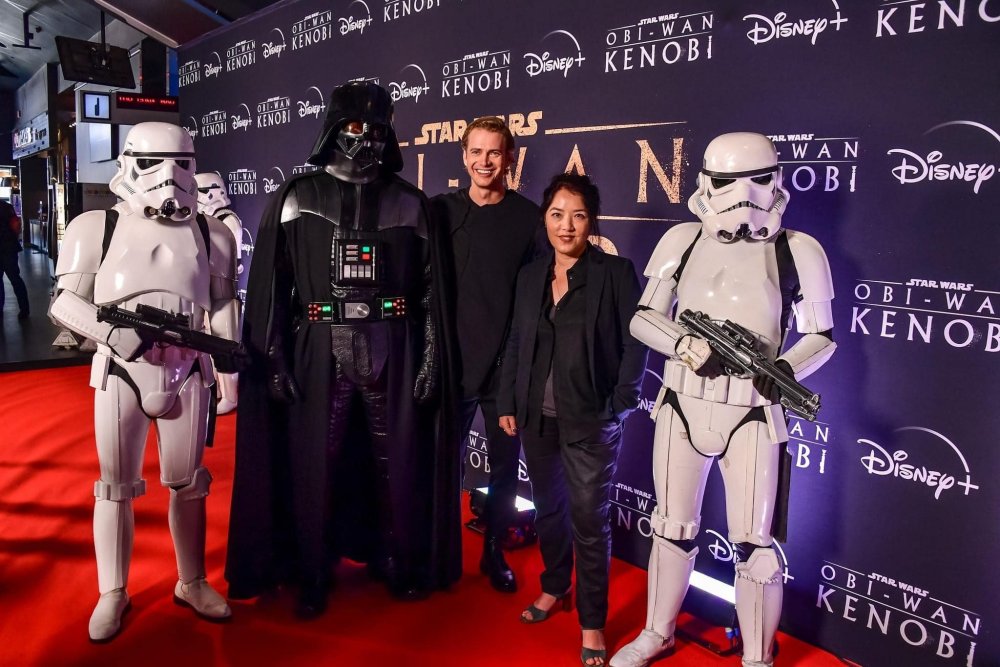
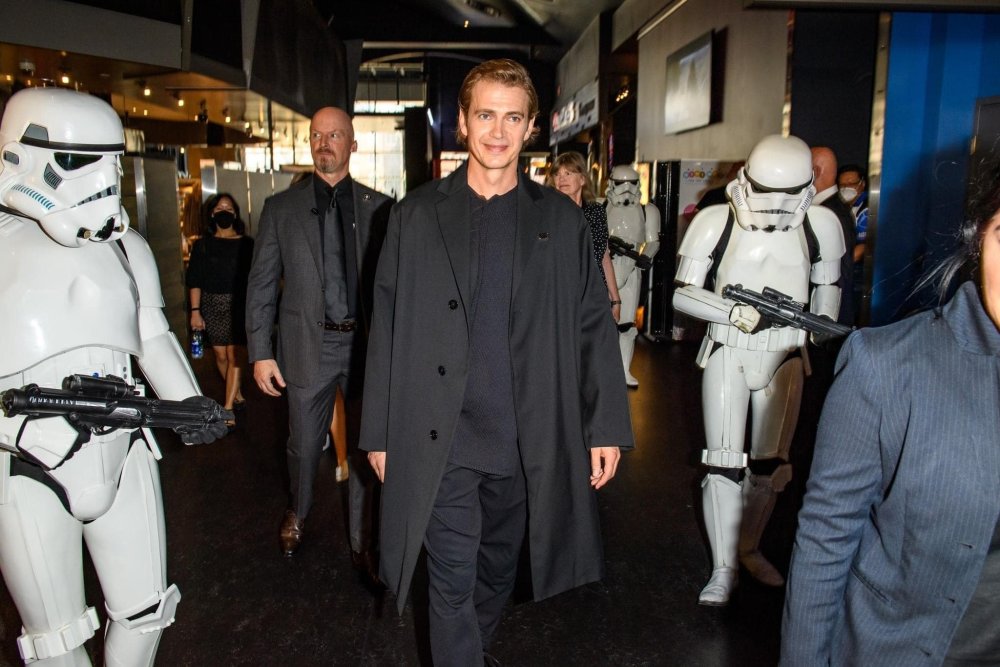
NEW Detachment Leader Just For Laughs Update Your Build Threads Around the Detachment Trooping INFORMATION & AWARD PROGRAMS Common FISD Acronyms and TK Glossary Pre Approval Forum 3D Section Field Exercise Award Imperial Attaché Program Fire Teams EIB & Centurion: What do these terms mean? Need Help Ask the Deployment Officers Advanced Tactics Awards Public Relations Staff List 2020 Follow FISD Welcome to the July newsletter, July officially closes out on the year long celebration of detachments 15th anniversary. We saw some great merch produced specifically calling out the milestone and I would like to thank everyone that had a hand in the discussions, design and helming of the merch runs. I'd also like to thank everyone who purchased anniversary merch and helped us get the word out of how proud we are to have made it this far. Here's is to the next 15 years I would now like to cover off on a few updates. Thank you to all that participated in the Members choice merch item for this year. looks like the Hoodie was a clear winner, so we will look to see how we can turn this into a reality over the next 6 months. James has allocated a merch slot to this item (we get 6 slots to use a year as per legion merch regulations) so consider it locked in. We may also be looking for some cool designs for this item, but James will work on that and any updates will come from him. I would also like to thank the members and staff alike that participated in our recent TLJ/TroS CRL proposed update Polls. Most found the various proposals made sense but there will be some more discussion around a couple of the elements before proposals are sent through to the LMO team. As per usual, once they do come into effect, any member in the process of a build that may be affected from a basic level stand point will have a 3 month grace period on the changes, but any new build will be required to follow the latest CRL version. While we are on CRL's there will be more work on a few new CRL's taking place based on the newer TV shows. As per the norm, we require members wanting to build these new costumes like the newer Remnant TK's, even the slight peak we had of the HWT seen in Obi Wan series, so you can expect to see a few new posts go live in the near future. CRL creation is reasonably straight forward on some of these newer versions of TK as we already have great base CRL's that can be used as the starting platform. If we don't have a person ready to build a costume, we don't have a CRL model. A CRL cant reach fruition unless it has correct images of all the parts represented by a CRL model, so It can't be created without those two major components. Also to remember, we need some good reference photos. Without those, the LMO team wont recognise a CRL possibility and we can't move forward. The old rule of thumb was a minimum of 4 images. Front, back, Left side and right side, clear screen images.etc This gives good coverage and highlights most things needed to visibly represent a 3D image of the character = happy LMO's, = happy member and DL. In recent times the LMO team have been a little more accepting of additional kinds of reference like Hot toys action figures, and to a lesser extent Black series figures (generally average detail compared to high end action figures). There may also be further exceptions to this like the potential for BTS (Behind The Scenes) information which in the past has only been used to improve on smaller unclear details on some costumes. Again this must all reach the LMO teams expectations and qualifications to allow a new to legion CRL to proceed. In essence, if we have enough acceptable references to clearly indicate a costume, then we are golden to move forward. See you on the forums and in our Social media platforms With Unquestioned Loyalty Andrew Franke TK11469 "Sly11" Detachment Leader "FISD Memes" Thank you to Luca "Morgi" TK66744 for starting a FISD specific meme thread, hope to see more of these in the future not only by you but by others as well. You can find the thread here WE NEED YOU TO UPDATE YOUR BUILD THREADS As most would be aware we are diligently working through the forums updating watermarked images, missing images and broken links, this has taken over a year so far and has been a monumental task but there is still a lot of work ahead of us. Members build threads are one of the biggest areas of watermarked/missing images and we are asking you the membership to help and update your build threads yourselves as this is just too big a task for staff. Build threads requiring updates are being moved over to this area https://www.whitearmor.net/forum/forum/241-build-threads-requireing-maintenance/ Thank you in advance for your cooperation. New FISD Tri Fold Brochure We have just launched our newly revised Detachment Tri Fold brochure. It's been quite a long time since we actually had these available and since then many things have changed leading us to updating some of the text to include new costumes, and have more relevant information. Originally these were done in a limited run by the member who created them, but nowadays, we have moved this to a print your own service making them accessible to all countries around the globe. Files are available to all full 501st members on request, and are completed in a very high resolution to ensure quality in a finished product. The thread can be found here for more information and how to access the files. Obi-Wan Kenobi Marathon - Canada The Canadian Garrison was truly honoured to be invited to attend the Obi-Wan Kenobi marathon screening in Toronto in June. They were joined by Hayden Christensen and Deborah Chow, in a theatre packed with Star Wars fans. An incredible night, they want to thank their friends at Walt Disney Studios for such a generous invitation, words cannot describe how much this meant to our members. Great work troopers INFORMATION & AWARD PROGRAMS For a full list of FISD awards head here Are you new to the FISD and wondering what the heck all those abbreviations and strange sounding terms mean? To help you @justjoseph63 has started a list of the most commonly used ones that will give you some insight. If you have ANY questions about a particular term that is not listed or suggestions for new ones please contact Joseph. You can find the list here Pre Approval Forum allows future Troopers the opportunity to submit photos of their completed build to be reviewed by the Staff, Imperial Attaches and others in preparation for forwarding it to their GML for approval. Any and all advice/suggestions given will be specific, constructive, helpful and respectful. Please note that this program will NOT take the place of your local GML, as Detachments are not chartered for costume approval and can not override a GMLs decision, but is instead a peer review program designed to help you look your best and offer guidance and positive feedback. For more information on this program, please visit the link here Don't forget to visit our 3D section when next surfing the FISD forums, there is plenty of useful information to potentially help you on your next TK adventure. You might be feeling may generous and share with our community a new TK related 3D file and maybe win yourself a 3D contributors award so check out the details below and be part of the in house 3D community. Here is a link to the FISD 3D Contributor program. Don't forget to create a troop log here on FISD and get awarded for your adventures The list of accomplished troopers keeps growing, so get on board and register your troops today Simply start (or update!) your troop log, keep the running total in the title, and post (at least!) a date and name for the official 501st event where you wore your TK! Once you've hit a milestone count, go over to the "Field Exercise Awards -- Post your milestones here" thread to request your profile be updated! Simple, right? Award Recipients June - July None Are you an approved TK that spends more time on the boards than the average Trooper? Do you enjoy using your knowledge to help out future and existing Troopers? If so, we would like to invite you to join the Imperial Attaché program! Members of the I.A. team are chosen to help out not only those here on the boards, but on a local level as well. Our aim is to have at least one in each and every Garrison, Squad and Outpost in the entire legion to be the eyes and ears of the FISD on a local level. For a complete list of Imperial Attaches, go here Some of the benefits: Access to exclusive Attaché merch., including patches, IA patch , IA Rocker For a complete list of Imperial Attaches, go here You may also be in the running for an Imperial Attaché Award Imperial Attaché Award for those attaché's who have gone above and beyond [minimum 1 year of service]. You can find a list of prior recipients here Want to setup a "Fire Team? the Fire Team program is completely optional, and is intended to help form a common identity and spirit of camaraderie among 501st Legion Stormtroopers in the same geographic area/garrison that troop together. Fire Teams are not officially recognized by the 501st Legion nor the FISD, although they will be able to access a Fire Team sub-forum on the detachment website. You can find more information here Let's all give a warm FISD welcome to our 67th Fire Team: Burning Liver Fire Team!! Region: Burning River Squad, Ohio Garrison Name: Burning Liver Fire Team Logo: So what exactly are and levels? These programs were designed for those who choose to take their armor above and beyond the minimum requirements for basic 501st Legion approval. It gives you the chance to show a level of dedication and pride that takes your armor closer to being as "screen accurate" as possible, without as much extra work as you may realize! You can find more information on the programs here ASK THE D.O.s For those of you who have a particular issue (or issues) before or after submitting for Expert Infantry / Centurion level approval, in order to get you an answer faster you can now privately contact the entire Deployment Officer team at one time! Questions about fitting, repairs, CRL standards/requirements or anything pertaining to reaching Levels 2 and 3 are not only welcomed, but encouraged. Keep in mind that no question is too small, and that your queries will only be seen by the D.O. Staff. We are here to help in any way we can, so please feel free to send us a message by clicking on this link: @Deployment Officer Team and we will get back to you A.S.A.P.! This area lists all those who have gone above and beyond basic approval toward screen accuracy and obtained EIB or Centurion or both. FOR June - July the 1st Imperial Stormtrooper Detachment would like to congratulate the following. Expert Infantry Badge Award: Matt "TK Monkus" TK66007 EIB 1045 GREAT job on your approval, now on to Level 3! Request your free EIB certificate here You can find a list of multiple award recipients here --------------------------------------------------------------- Centurion Badge Award: None this month Outstanding job on reaching Centurion, Troopers! Request your free Centurion certificate here You can find a list of multiple award recipients here If you see any of these Troopers around your Garrison or Squad, be sure to congratulate them! Newsletter Editor If anyone has any content for the newsletter please contact me via PM For anyone interested in having a look through any of the older newsletter they have now been moved to a new archive sub forum which you can find Here With Unquestioned Loyalty Glen "Q" Rhodes TK-85421 "gmrhodes13" PRO Newsletter Staff List 2022 -2023 Detachment Leader (DL): Andrew Franke (Sly11) TK11469 Executive Officer (DXO): Steven Sheades (starsaber25) TK-10466 Chief Deployment Officer (DCA): Joseph Pedigo (justjoseph63) TK-10963 Deployment Officer: (DCA): Mario E RT (TKSpartan) TK-48117 Deployment Officer: (DCA): Jose Maria Sanchez (Chemi) TK-30173 Provost Marshal (DCOG): Dan Branton (CableGuy) TK-42911 Provost Marshal (DCOG): Tim Waychoff (Dark CMF) Provost Marshal (DCOG): Chris Pearson (themaninthesuitcase) TK-10911 Merchandise and Branding (DMBO) James Silvius (jsilvius) TK- 12953 Personnel Officer (DPER): AC (Novatie) TK-5597 Fire Team Relations (DPRO): Mark Ryner (Captsafe66) TK-4584 Content Editor At Large (DPRO): Christoph (Danny) Lauber (Ripper_L) TK-55550 Content Editor Support (DPRO): Tony Jobe (ukswrath) TK-10116 Content Editor Awards (DPRO): This will be handled by the XO Newsletter Publisher (DPRO): Glen Rhodes (gmrhodes13) TK-85421 HOF Director (DPRO): Aaron (Bronx) Gibson (Pyrates) TK-99725 Attaché Ambassador (DPRO) Frank Peranteau (Frank75139) TK-75139 Social Media Relations (DPRO): Teresa Nuthall (Soulart) TK-41307 Social Media Relations (DPRO): Justin Reed (TheRascalKing) TK 61490 Systems Administrator (DWM): Eric Brager (Darth Aloha) TK-9674 Systems Administrator (DWM): Mathias (Locitus) TK-2959 Detachment Founder (DF): Paul (Daetrin) TK-8020 Trading Cards Content Support (IPM): Eric Ho (Hoda) TK 77520 Imperial Propaganda Machine (IPM): Brien Edick (Harbinger) TK 92802 Imperial Propaganda Machine (IPM): Jeff Salt (wingnut) TK 50297 Imperial Propaganda Machine (IPM): Richard Tibbitts (CallMeMrTibbles) TK 46116 Imperial Propaganda Machine (IPM): Adam Wolf (revlimiter) TK 89400 Imperial Propaganda Machine (IPM): Daniel Melin (TheSwede) TK 99665 Imperial Propaganda Machine (IPM): Jim Ferrell (Rat) TK-95970 Facebook: www.facebook.com/whitearmor Facebook Group: 1st Imperial Stormtrooper Detachment (FISD) Official Twitter: www.twitter.com/FISD501st or @FISD501st Instagram: www.instagram.com/fisd501st On behalf of the 1st Imperial Stormtrooper Detachment Command Staff and the Imperial Propaganda Department


 1 point
 -
My gaskets, neck seal and harness arrive from Geeky Pinks!!
 1 point
 -
I think the key takeaway from this is how short the webbing/ elastic is that's holding the dropbox to the large ammo box. The current ROTK Centurion requirement states: The two drop boxes hang no more than 1” 25mm below the front belt and the black strap is visible. But from the reference photos I've seen both here, and other Anthology era shows, I would suggest future CRLs call for maybe a 1/4"-1/2" visible strap. Honestly, these hang almost identical to the Shore, muddy, and ICAT Driver costumes, but aren't hinged like those examples. Regarding the thighs, if you look closely at the trooper on the right, you can make out the sleeve that covers the side thigh strap. The wavy elastic look is definitely there. For those who haven't gotten a good look at this, here's the Mimban TK thigh armor strapping: Good catches Glen!1 point
-
keep it up Brother !!1 point
-
@RINZLERz, I know you said you’re not “specifically focused” on Rogue One helmets, but @TheRascalKing’s suggestion is an excellent option. However, having spoken with Nico, he asks that both parties buy his files from him before you commission someone to print and finish a bucket. I think one question that needs to be asked though is what your intent is? Do you intend on buying a helmet to display, or are you thinking about putting together the rest of the armor later on? Obviously, with the differences in helmets, it’s a good idea to plan this out. There’s options out there, so please take a look at all the resources @gmrhodes13 posted. But, knowing you’re on a budget, you might want to consider the 3d print route. The files and 2 rolls of filament will cost you approximately $85, but then you can start buying paint and finishing supplies as your budget allows. However, this means you’d be finishing and painting it yourself which can be challenging, but rewarding. If you want someone to do a full commission build, the price can get out of control.1 point
-
Very nice work there. You may find the webbing a little restrictive, I find elastic just gives you a little wiggle room when bending (and acting like a fool ) See how you go when you are fully kitted up and out there trooping1 point
-
I have been working on the joint between my ab plate and kidney plate for the past week or so and have finally completed it. This modification locks the 2 pieces together so there is no overlap or shifting when the belt is placed and tightened. Outside views from the left and right Inside views while locked in place. Lots of extra snaps that I likely will remove as they are no longer needed. The left side needs to keep the snap straps clear of the hinge area to allow it to move. I am waiting on new snaps as I went through my package of 100 so the left side ones are repurposed shoulder snaps that are a close but not perfect fit. Right side Left side Right side detail shots I used spare cover strip material and stacked it 3 layers and put the tongue and groove in the middle layer. The bracket is glued with CA glue and the entire system glued to the armour with E6000 Left side hinge mechanism. Again 3 layers of spare cover strip material bonded with CA glue and attached to the armour with E6000.1 point
-
Beautiful work as always Dan.1 point
-
Redid the cover strip on my thigh. Thanks @gmrhodes13 for the eagle eyes. I think it looks much better. I am noticing that you see small errors much easier on the photos than you do when you look with your eyes.1 point
-
Did some work on the ab buttons and made the belt for the thighs today.1 point
-
Totally agree. I was way too excited to see them. I believe they popped up in the Andor trailer as well. This is definitely a good time to be a Star Wars fan.1 point
-
Pay attention but a deployed stock E-11 is now canon....1 point
-
So what're you, like a career TK extra? I think every time there's more TK's in these shows, you have more info? I'll give you some death sticks to inform us1 point
-
As Glen mentioned, my door is always open and you can discuss whatever you need with me. If I can help, I certainly will. I do also speak with GML from all over the world if they have any issues or enquires, and I also do what ever I can to overcome problems for our memebrs. Troopers helping troopers.1 point
-
Flexible fiberglass would that be Jim's? The materials list was made prior to more recent costumes and the use of flexible fiberglass is somewhat recent and the initial list mainly covered original trilogy armor and makers but no reason it can't be added to the material list. Sorry to hear you have not had a good experience and have encountered issues. I've no idea what may be happening between a supplier and club officers and I've definitely not heard locally of anyone receiving freebies or discounts from suppliers but that's not to say it doesn't happen. As a GML for some years (about 8 from memory) I can tell you that every costume I review is unbiased and nobody gets a friendly pass, but again that's not to say it doesn't happen elsewhere. I would encourage you to message our Detachment Leader Andrew @Sly11 if you would like to talk about your issues in depth, I can't say whether he would be able to help or not but it is always helpful to know if there may be issues with a particular supplier. If you have issues with your GML and the approval of a costume again you could speak to Andrew or contact the LMO's (legion membership officers), I'm sure they would be able to assist, email for them is [email protected]. If you do have solid evidence of some impropriety with your garrison command you could reach out the the LCOG's (captain of the guards) and ask to remain anonymous to protect yourself from any reprisal, their email is [email protected]. I hope some of that information may be of help to you.1 point
-
On to the armor bin. I wrote up a bit more about this one: Building the Armor Bin: High-level tips on this bin: - There is such a thing as TOO MANY GREEBLIES. Greeblies -those little found objects and things that make a thing look like it has some utilitarian function of some kind. If you cover every spot, it loses something. Star Wars objects look best with areas of flat, and then areas of detail, with asymmetry being key. - I used a lot of fasteners, and getting them one at a time at the hardware store can get expensive. There are almost no Phillips style fasteners in Star Wars, so I needed a non-standard bolt. I found a good kit of small nuts and hex hole bolts that were all M3 size but in many different lengths. This allowed me to not only know every hole was my 1/8" bit but also I could find the perfect length of bolt, to minimize the protruding end INSIDE the bin. I also capped every bolt with a small cap, glued on with E6000, or hot glue on my vents. I really want to avoid any chance of scratching the glossy white armor. - For the wiring, test it all first before mounting, and use quick-connect wire connectors so you can assemble it all and test it, and then take it apart, run them through holes, and hook it all back up. Run any switches to the outside of the bin, so you can roll up to a troop, and then turn them on when people will see them, without having to open it up and do some switches every time (save battery power, and the buttons add to the look). - Roughen with sandpaper all parts before gluing. But also, all greeblies and knobs are also bolted on. I have seen glue fail so many times, and on a bin that gets knocked about, everything should be secured with a bolt if possible. - Because things get stacked on a bin, any greeblies on the lid should be secure, and tough, and not go above the top edge so that things could rest on top of it. The build: It started as a Husky 45 gallon tote. On my very first bin years ago, so much of the spray paint chipped off in that first year. It was like the plastic was resisting the paint. Later as I was washing off some cast parts to prep them for painting, it hit me. Like ALL CAST PLASTIC, bins have a mold-releaser spray residue on them when they come out of the factory. So a super important part of my bin painting process is the wash all parts with warm soapy water before starting. I did this one in the shower (with dish soap), but my bigger husky bin I washed in the driveway, like a car wash. Painting the bin was straight-forward, a few coats of primer, letting it cure for more than a day. So many painting issues, especially in winter, come from not letting the primer fully cure. Then some coats of white glossy paint. I usually do the weathering before the clear coat, but after applying some vinyl decals, in a few spots they started peeling off the paint. Not everywhere, but enough that I didn't want to risk more. I painted them back to white, and then did a satin clear coat to help the paint all stay. I used satin because gloss is really hard to paint weathering on, it has no "tooth", so I did a gloss coat after the weathering. Next I wanted to try and do the light panel thing, so I did that first. I go over it more in my previous posts, but the basic idea is I created a matte black decal using my new vinyl cutter, and applied it to a rectangle of translucent plastic. To get the red, I used a square of 3M self-adhesive brake light repair film behind it. You have to have some black area to cover the overlap, as the red light will "bleed" out a little, and you want to cover that transition. The light is a battery dimmable night-light thing with batteries and two LED strips. I opened it up, took a red wire from the batteries, and soldered in a quick release cord, and soldered the other end to a toggle switch. That way I could cover the dimmer switch (it's in the center) and leave it "on" but the switch is now on the outside of the bin controlling it. I mounted it to an aluminum bar to keep it about 5 mm away from the plastic, so that the light diffused enough to make a more even panel. For the frame, I had been saving a few of these diaper wipe lids that had a cool shape. I trimmed off the lid piece, and the part you see is the bottom, where it has a flat area they glued to the package. For the two small lights, I found these great 8mm indicator lights, basically a 5mm LED light with a metal mount around it, and pre-wired with resistors. I wired them in parallel to the 9v battery and with a toggle switch. After looking at the specs, I figured out the hole size, and had these custom laser-cut aluminum hex plates (with my 1/8" holes) to give them a cooler mount. Their 9v battery case is velcroed into the corner for easy removal to change the batteries. I used a lot of the quick-connect wire connectors to do my circuits, because there were a lot of parts that had to go through the walls of the case, and those allow you to do all of your soldering on a table, and assemble it, rather than try and solder in the case. All of these wires could get smashed and caught, so I found a white two-piece pencil case at a dollar store that was the right size, and made a cover for all of the wiring, held on with acorn nuts and wing nuts so I could remove it without tools to change the batteries. For the vents, I had been looking for years for good small vents for Star Wars projects, and this time, I realized I could just use an on-demand metal cutter site (I used SendCutSend) that I used on another project to cut some custom vents. I made the shapes in Adobe Illustrator like I used for the viny decals, and they came out really good. They have the same 1/8" hole that my bolts all use, and I backed them by the denser Phifertex Plus mesh, glued on the inside with a hot glue gun (and I hot glued over the bolt ends at the same time, so that is another bolt protection solution). I added some greeblies from @Jettsonable which were painted with a sort of hammered finish spray (his last one came as a clean print), so I used filler primer to even it out, and then painted them white. I ended up glueing, but also adding two bolts to them to ensure they stayed put. Other greeblies were some old stereo knobs from a random lot I got from Ebay. Finally, for the trooper look, I had an extra belt piece that I glued to the top with white E6000 (and also bolted, the top flexes a lot). Vinyl decals finished it off. One area where the vinyl peeled off the paint on the lid, I had to cut a new rectangle of ABS, and glue/bolt it on, and apply new lettering (the area with "FISD" and "Imperial property" in Aurebesh). The reason I use the white paintable E6000 is because the seep out spots can be painted with the weathering. For weathering, I did my usual technique of painting with mostly black acrylic, wiping off with a rag, painting in, wiping off with a wet rag, back and forth a few times, until it looks right. Lots of gunk under the edge of the rim where all of those chambers are hard to clean, and less in the open areas. Grime near buttons where fingers touch. Mud spray from the wheels up into their cutouts. Just do it with intention and though for HOW it got dirty. Finally, a glossy clear coat, being sure to tape over all screens, lights, knobs, vents, and buttons to keep the spray from affecting those areas. All in all, I love how it came out, and I had few setbacks. I can't wait to roll up to a troop with this! Parts: Husky 45 Gallon (170.3 L) Latch and Stack Tote with Wheels Battery powered dimmable night light panel. 3M High-Strength Red Lens Repair Film Diaper wipes lid piece (Aiden & Anais, no longer made, but others are similar) M3 hex bolt set white dollar store two-piece pencil case custom Laser Cut aluminum vents Phifertex Plus black mesh Hot Glue white paintable E6000 8mm indicator lights 9v battery case velcro 1/2" wide aluminum bar (1/8") Round Toggle Switches Rustoleum white primer Rustoleum Glossy white spray paint Rustoleum satin clear coat Rustoleum Gloss clear coat Liquitex Basics Acrylic black and raw umber paint Antique stereo knobs from Ebay custom vinyl lettering decals stormtrooper belt plate I made this diagram for someone following my build. My LEDs came pre-resistored, but if yours aren't, you will need to use an Ohm's Law Calculator to determine the different resistors (white and red use different volts). I hope I didn't forget anything, but I am open to answer questions! I look forward to more people making in-universe transport cases!1 point