Leaderboard


Popular Content
Showing content with the highest reputation on 06/16/2022 in all areas
-
Hello everyone A mass update is underway that covers all our CRL's. We are introducing some text that covers 3D printed Blasters, weapons and accessories. This has been added to the template at the opening section of all our CRL's as of today, but I will also be adding it specifically to the EIB section of each CRL. The detachment staff all agree this is a common sense addition for anyone considering not only using a 3D printed weapon or approvable accessory based on the costume, but also that at our higher levels the expectation is that is should resemble one of the several high quality resin or metal versions available. This does not affect basic level as blasters and weapons are not required. The following text is now viewable at the top section of all our CRL For higher levels of approval EIB and Centurion: For costumes with only blasters. 3D printed blasters can not contain visible print lines and must be sanded smooth for a more realistic appearance. For costumes with both blasters and accessories. 3D printed blasters and any approvable accessories can not contain visible print lines and must be sanded smooth for a more realistic appearance. The ANH Stunt already has similar wording in the Level 2 section which will be duplicated across all in the coming week. UPDATE: CRL's have now been updated . I believe most will agree that maintaining our standard is important and that acknowledging 3D printed items are a viable source of additions to your costume that the standard of finish should be as good as, if not better than other available products. There is also a new post in the Expert infantry section with some example of correctly finished 3D printed blaster and images of incomplete prints and the work needed to bring them in line. With unquestioned loyalty Sly11 TK114697 points
-
4 points
-
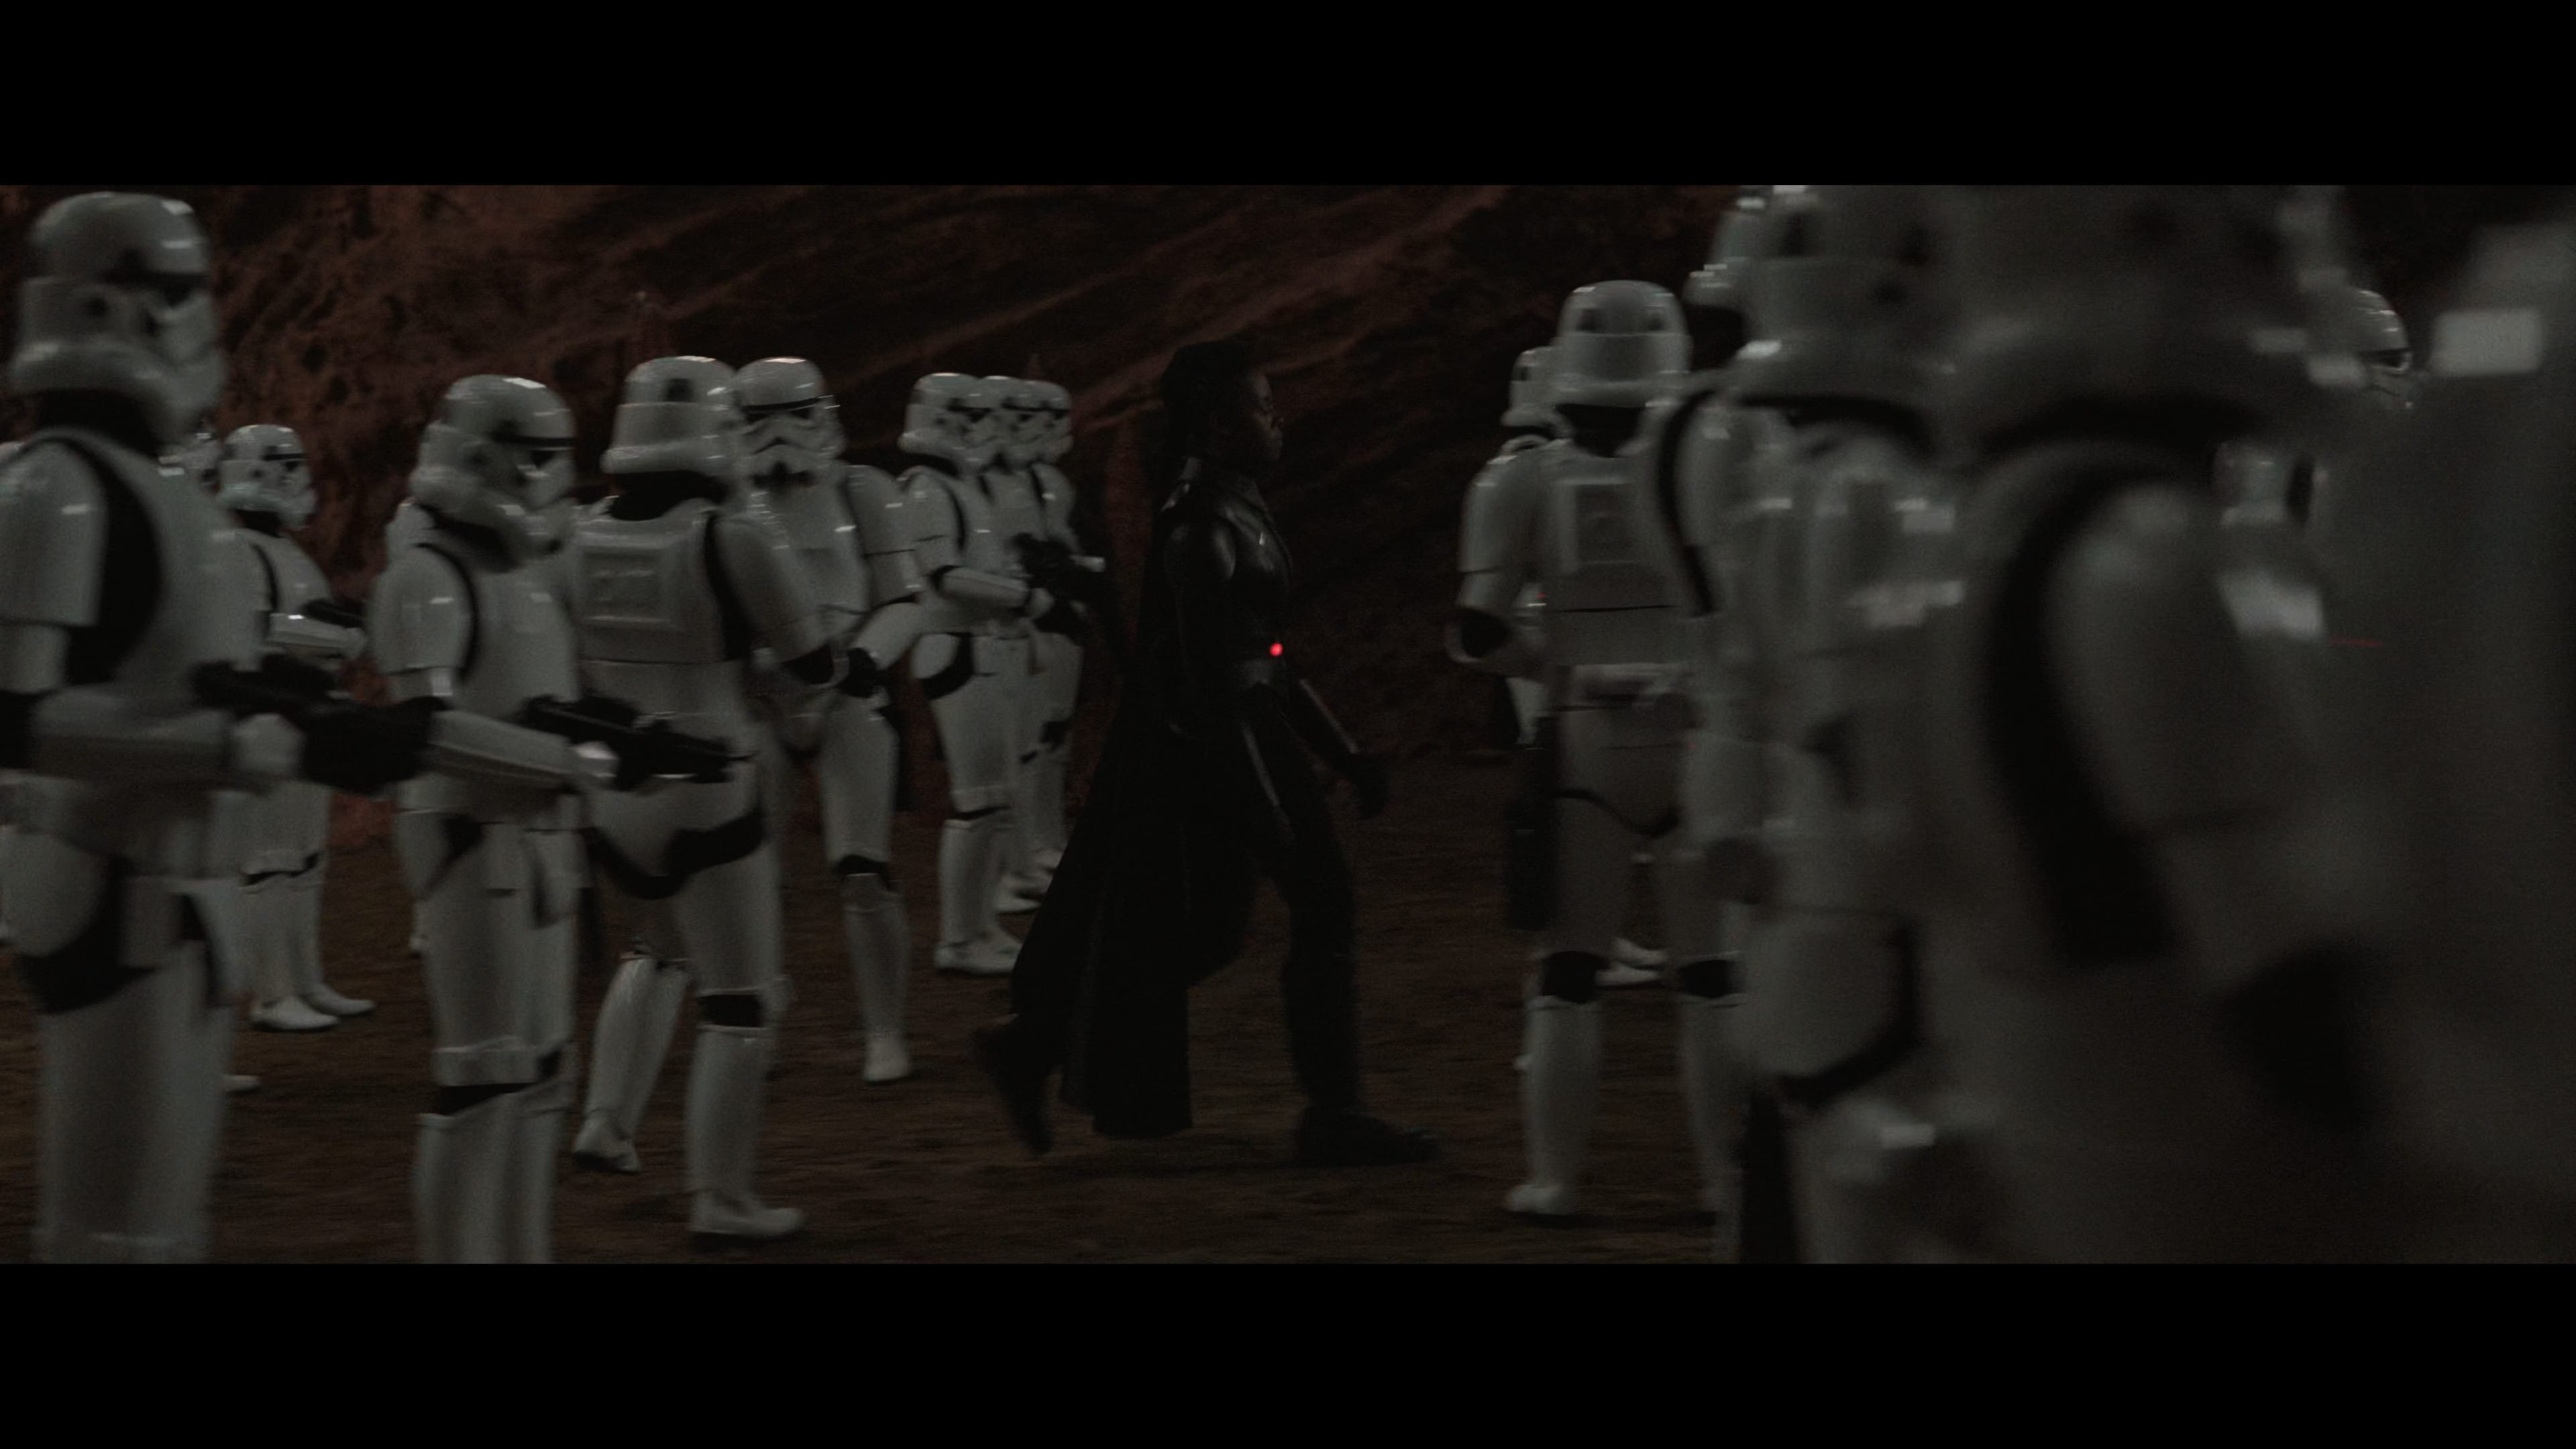
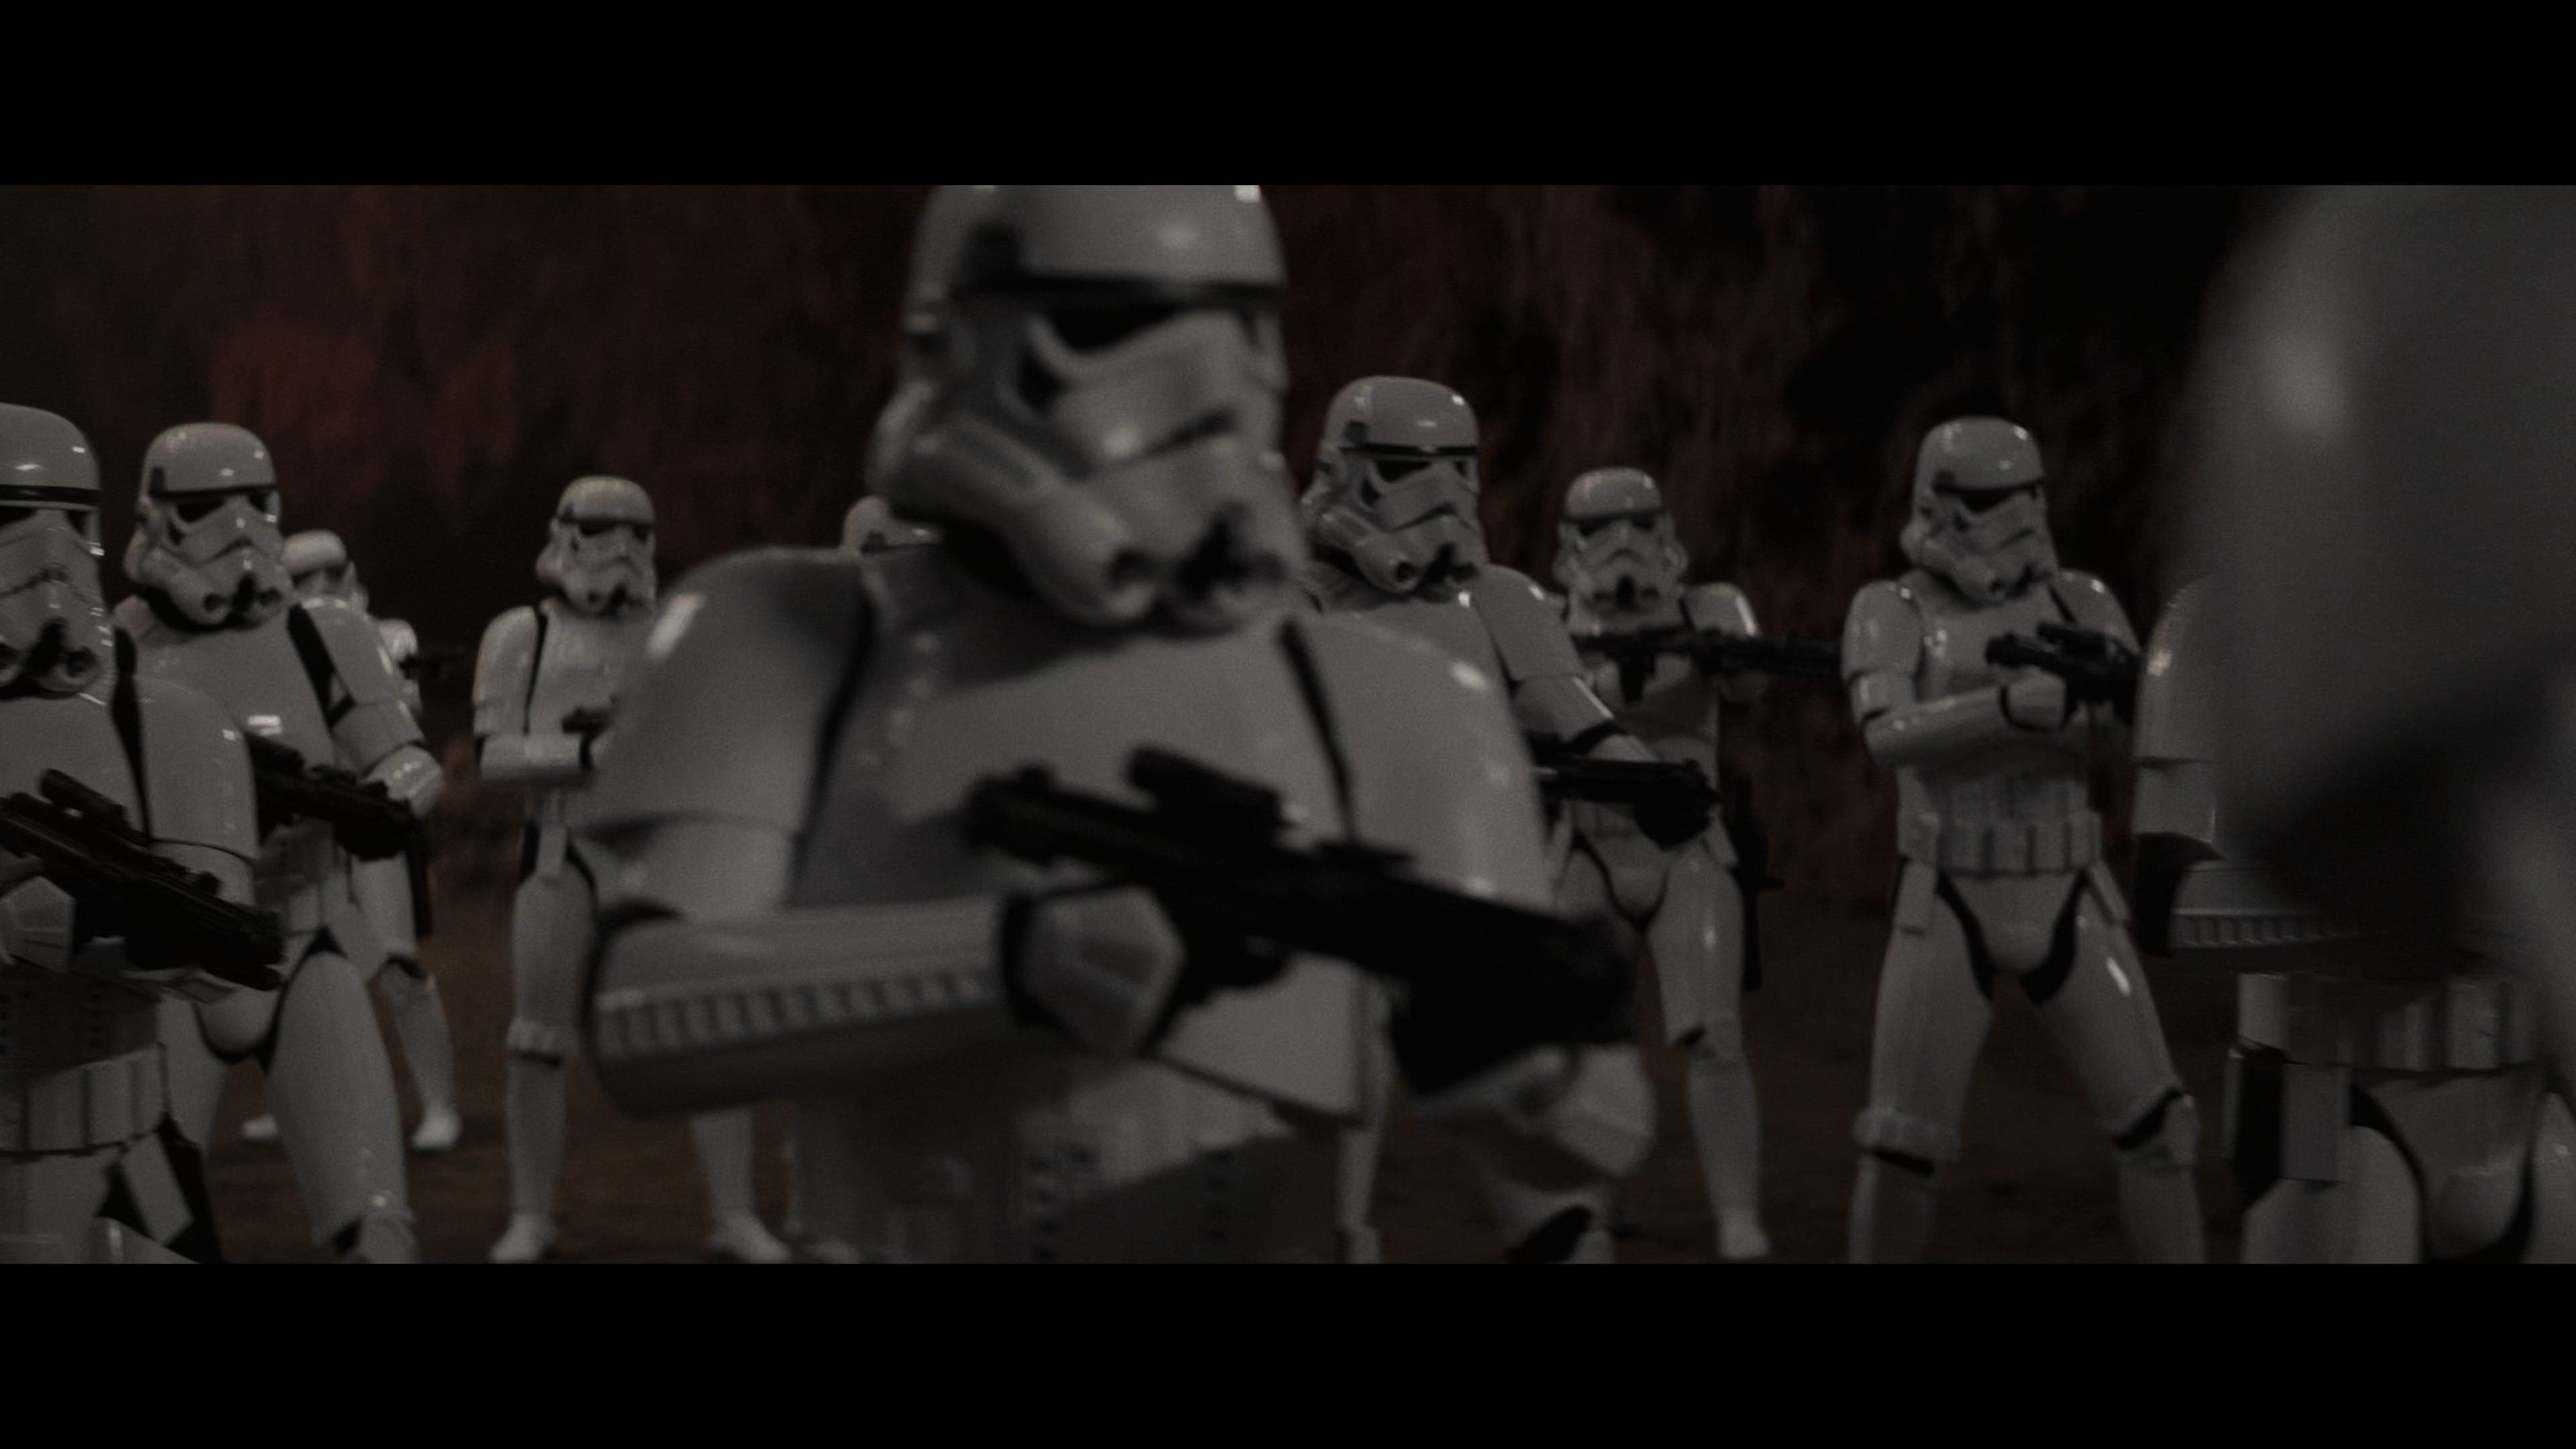
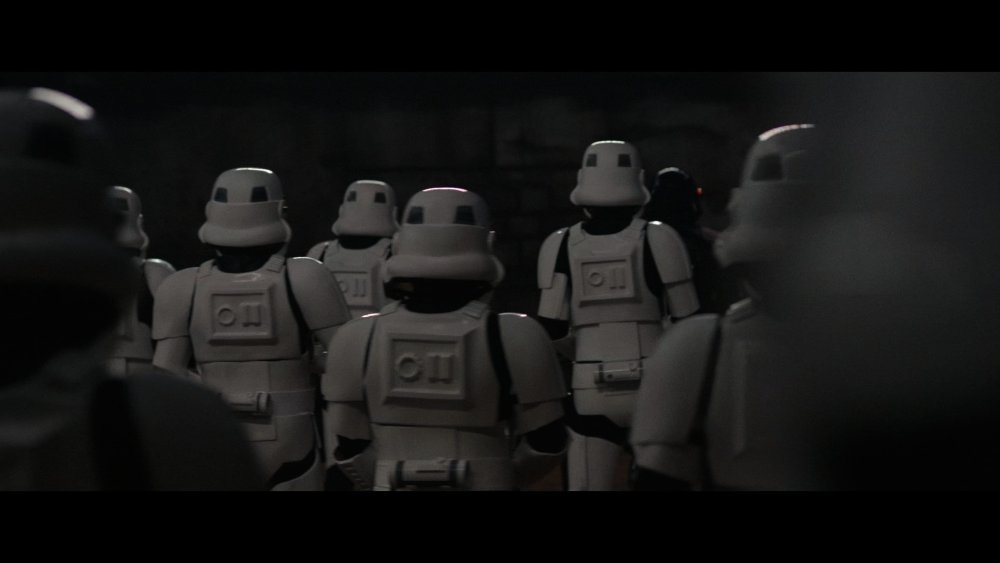
Yep, I’d agree. Personally, I think it’s a dangerous avenue to pursue. With the greatest will in the world, not all 501st costumes are accurate compared with what they are intended to replicate. And, the 501st members featured in the Mandalorian and Obi-Wan are essentially fan interpretations of OT Stormtroopers. Personally, I’d rather aim to replicate the actually original trilogy stormtroopers (because you cannot get better than the actual source material) than another members’ interpretation. Of course, it makes sense to have CRLs for the studio produced costumes because they are studio made and appear to be very, very consistent in terms of build and finish (weathering). They are not copies of OT TKs.3 points
-
Here's a few

 3 points
 -
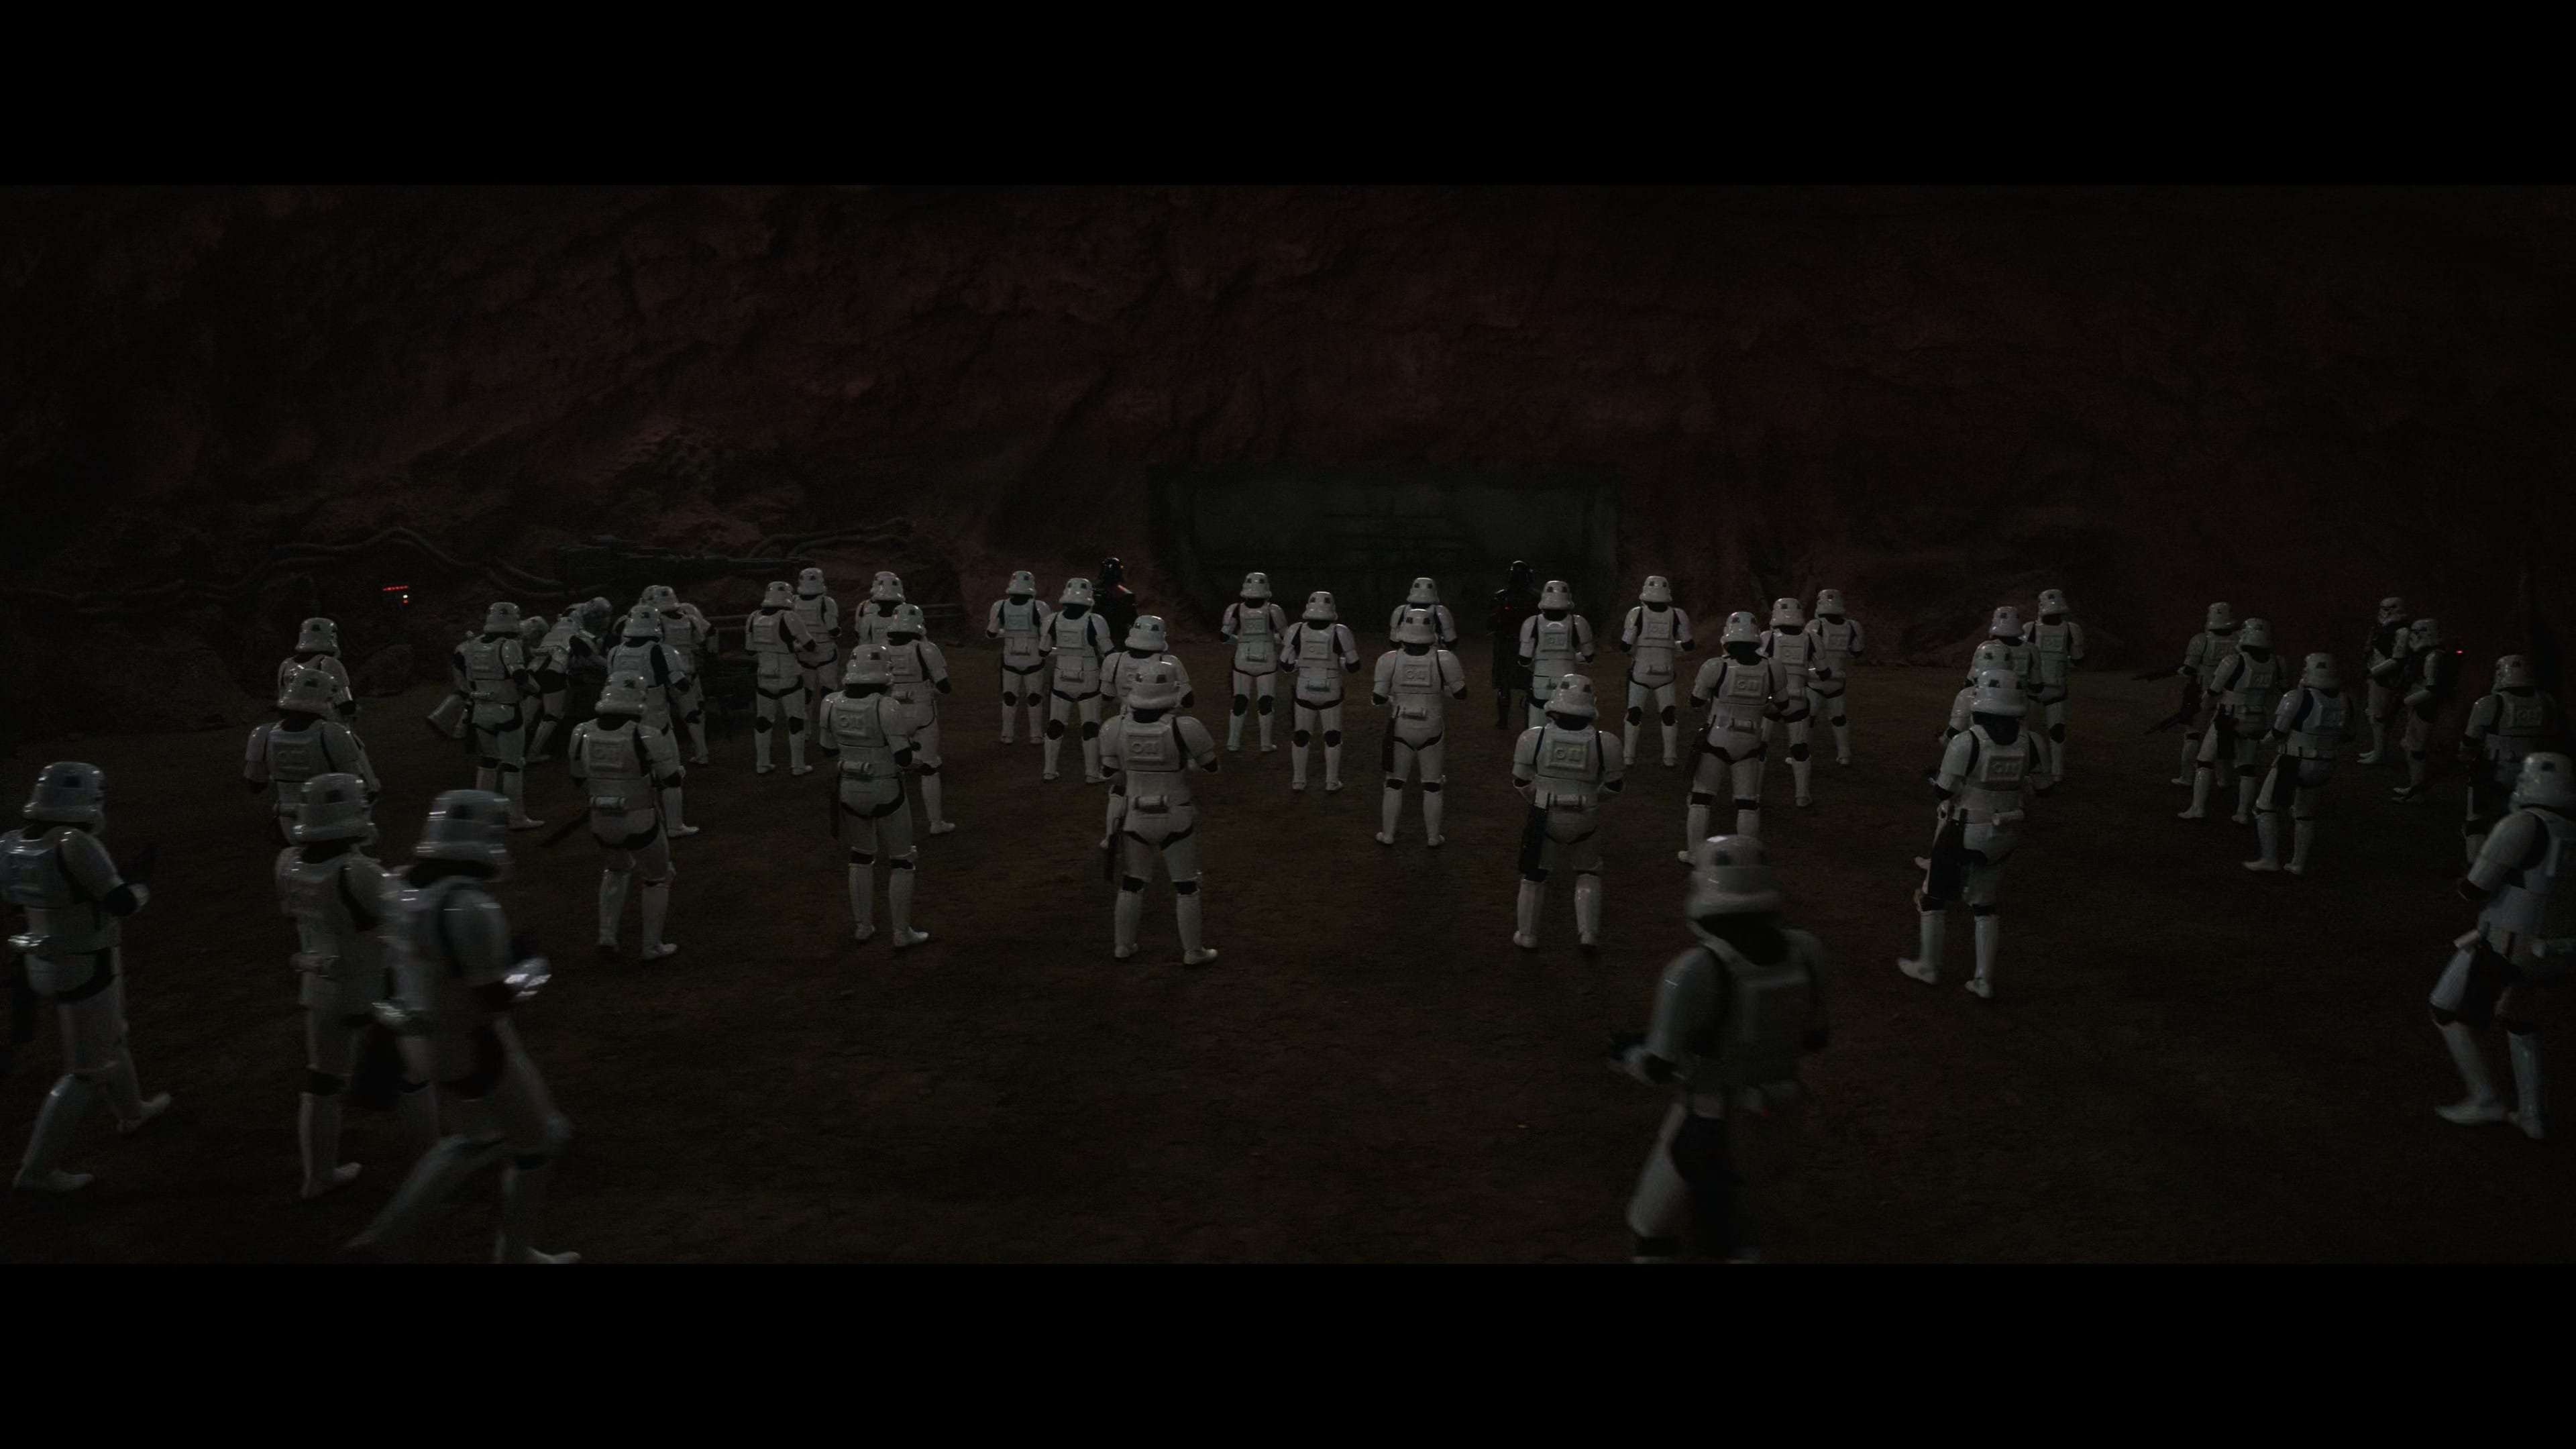
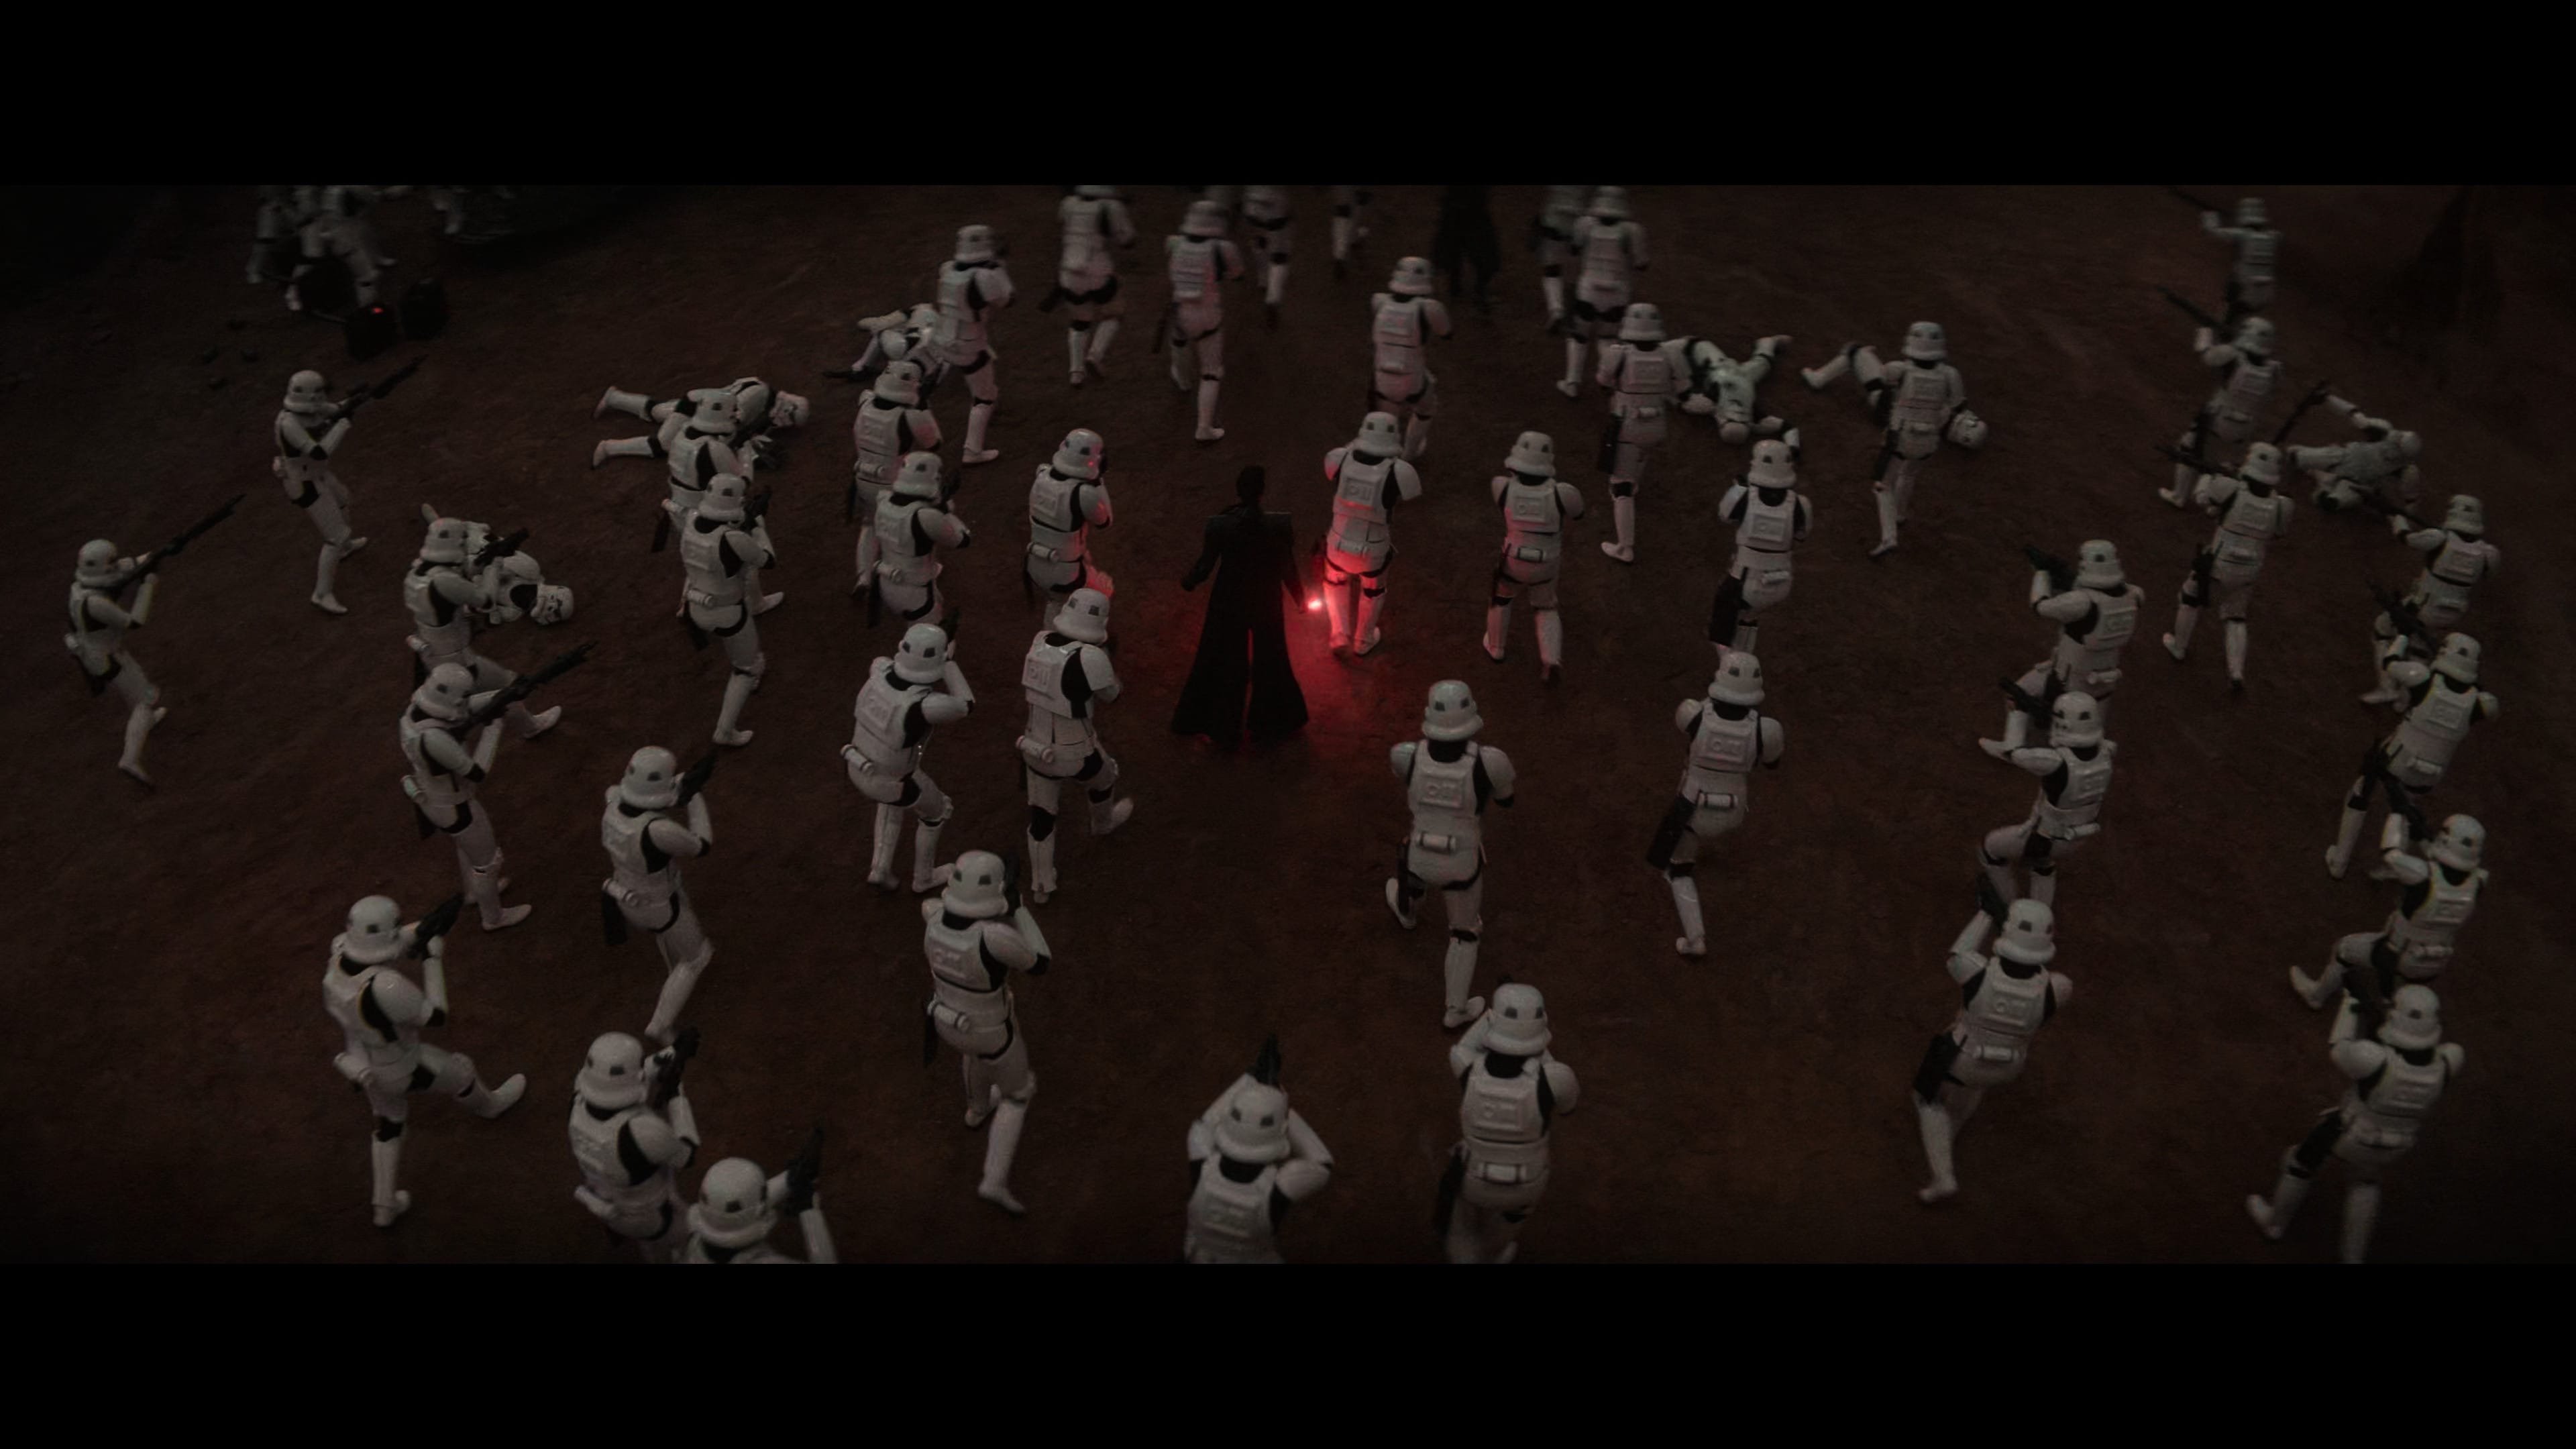
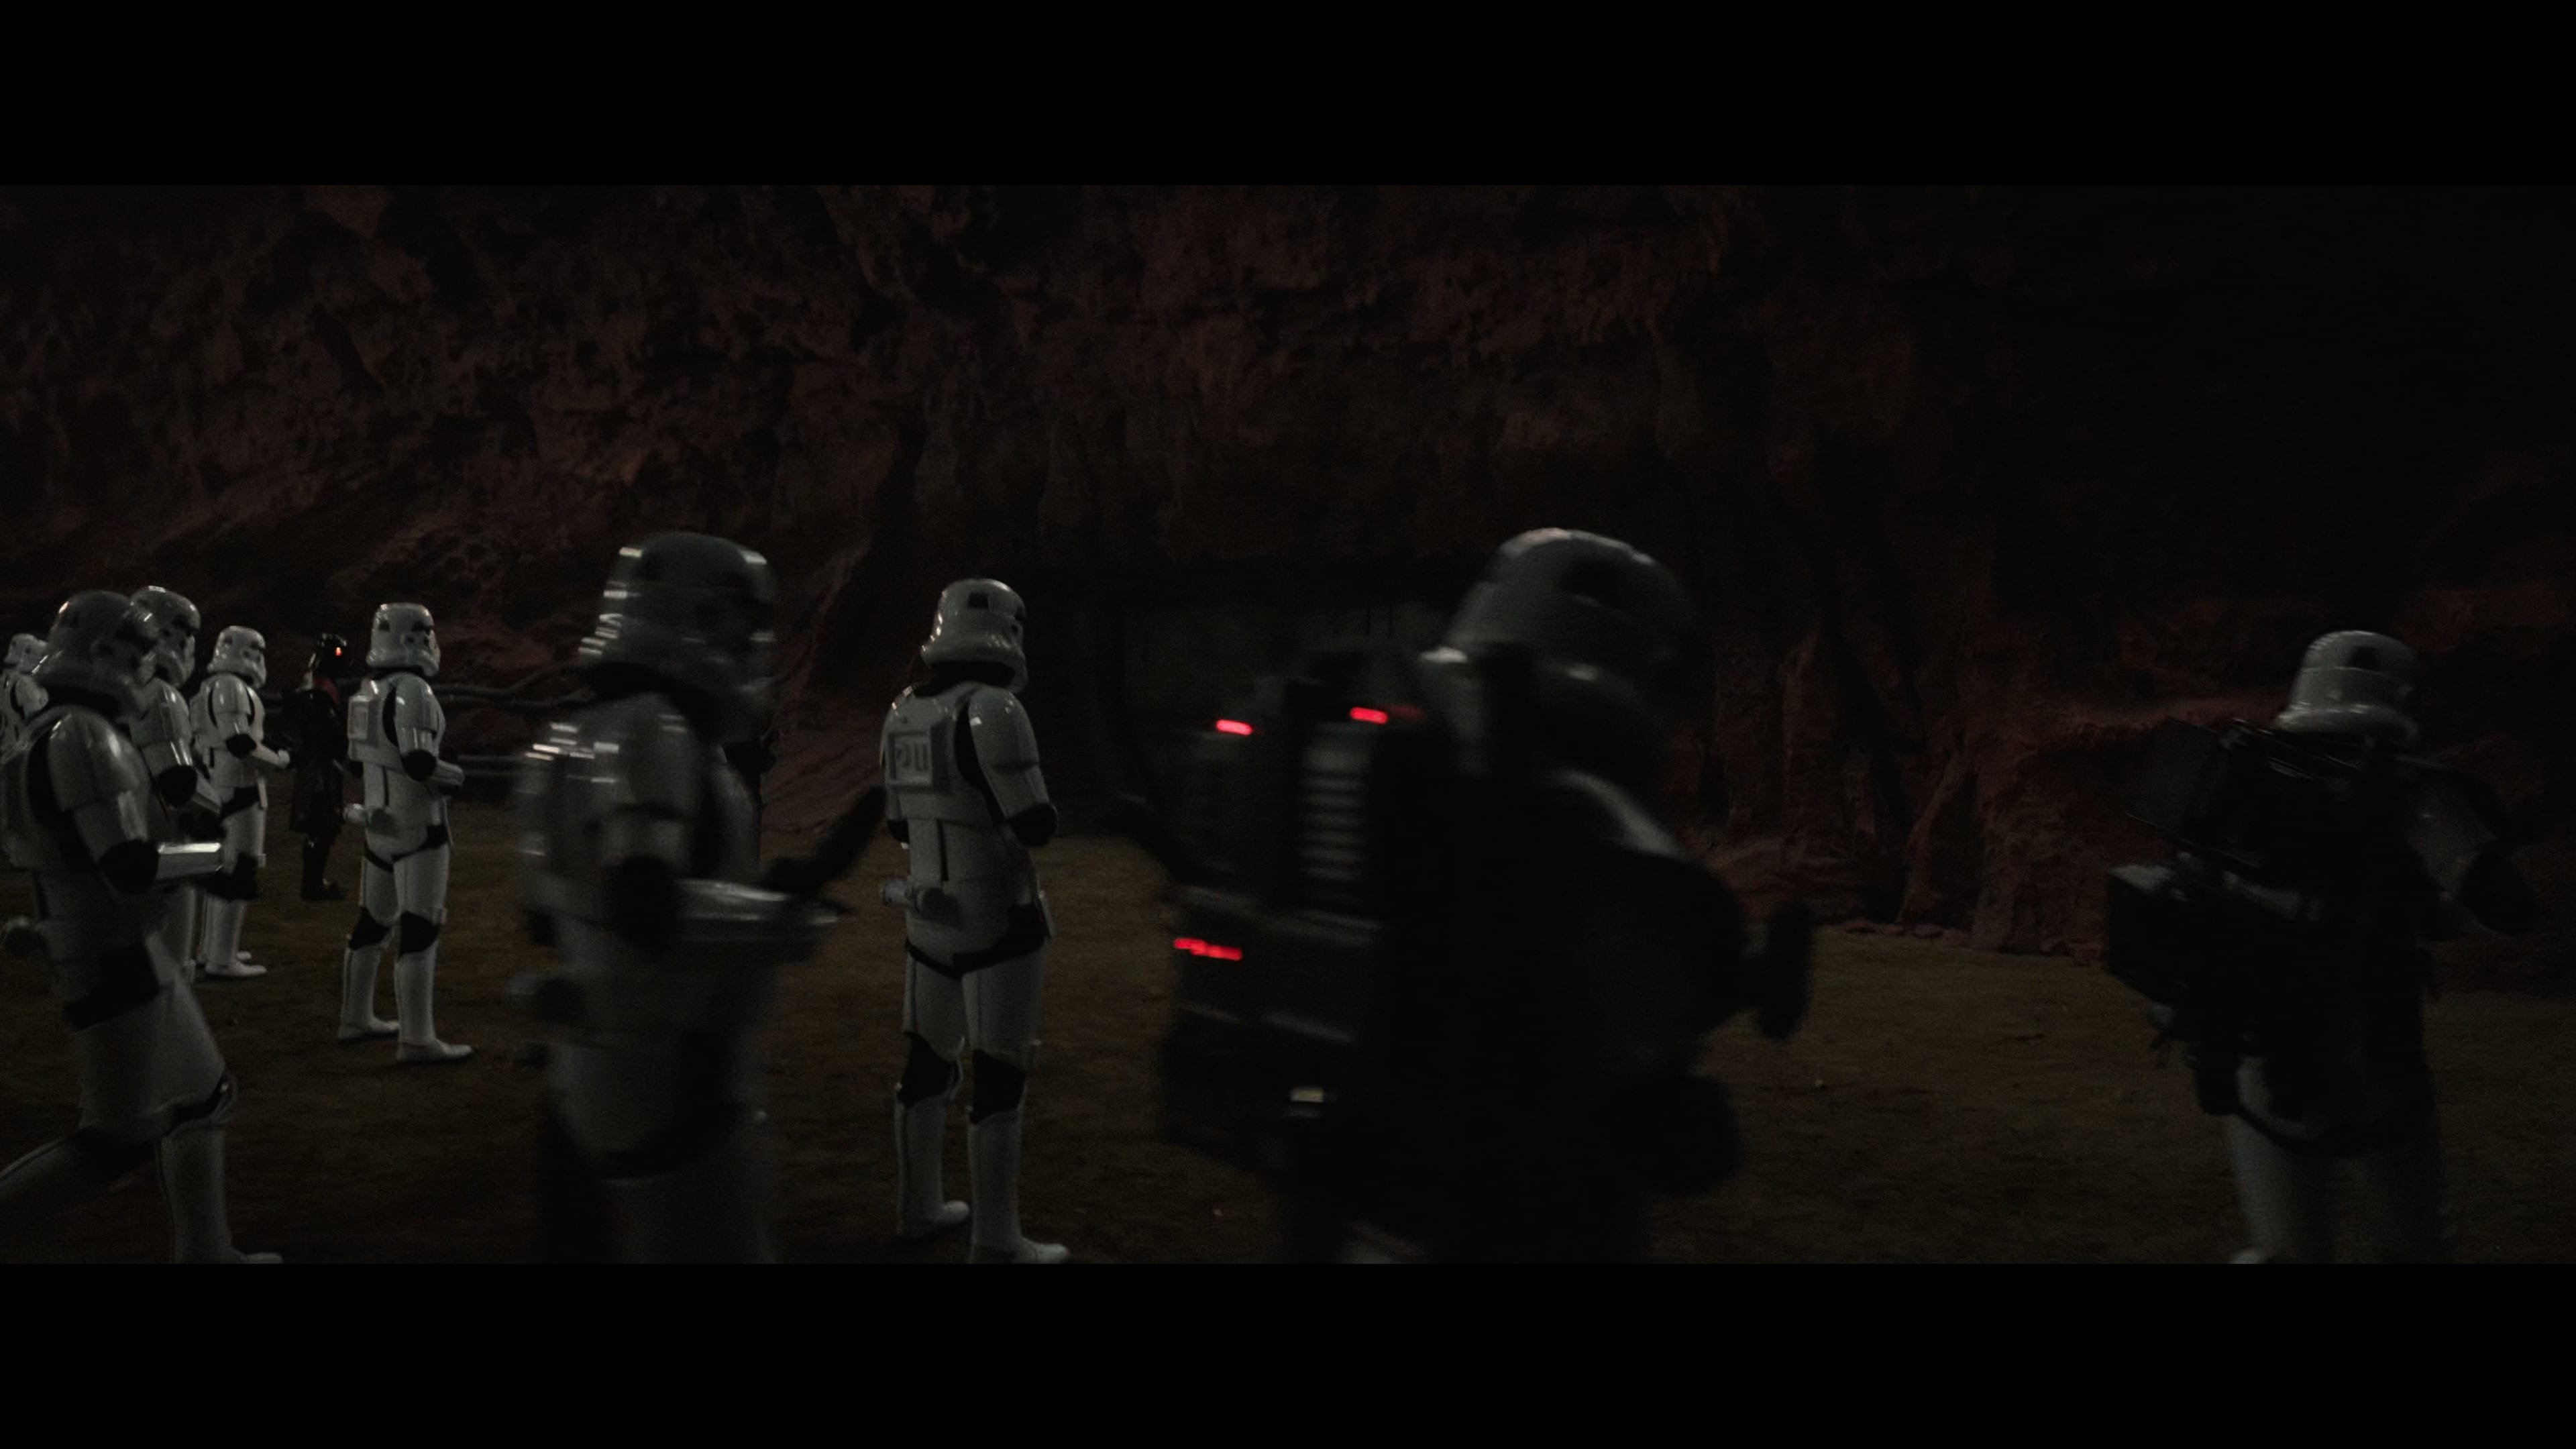
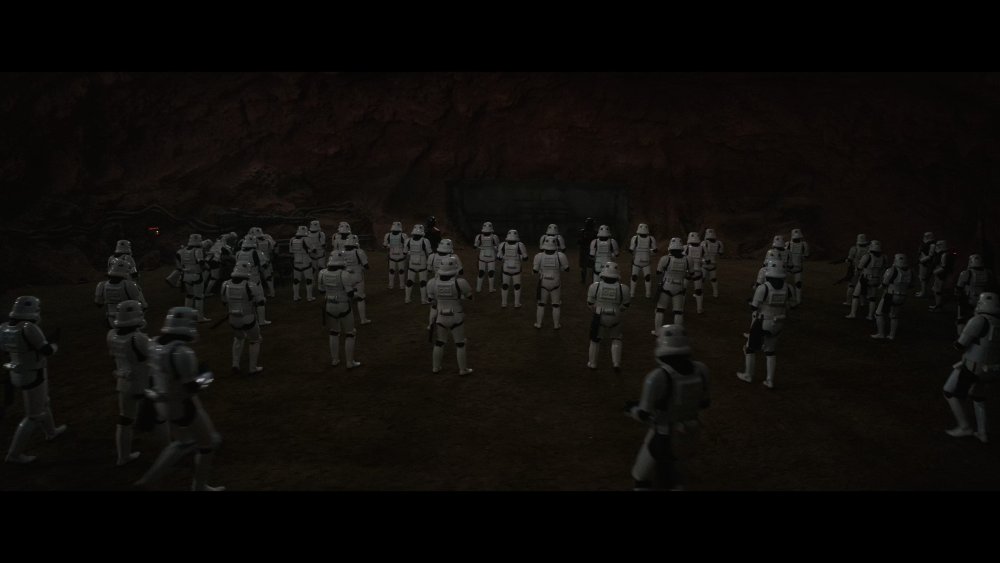
This is were a bigger conversation will have to be had, we saw all different 501st approved armor in the first Mandalorian series, FX/GF, AM, ATA, AP the list goes on, to date none have been included into a separate CRL, we know they are 501st members and although on screen these were considered "extras" if you look through many of the scenes in Mando and Obi it is rare you see "main character" placement, these are more in the background. Like I say this will no doubt lead to a discussion at some stage so we'll see what our DL @Sly11 thinks. Just to add we have seen many of the TK versions in these shows appear later down the track as a 6" or 3.75" figure, don't think they will make a black series figure for "extra" TK's, but then I could be wrong2 points
-
Leia build stuff2 points
-
current e11 sterling stock2 points
-
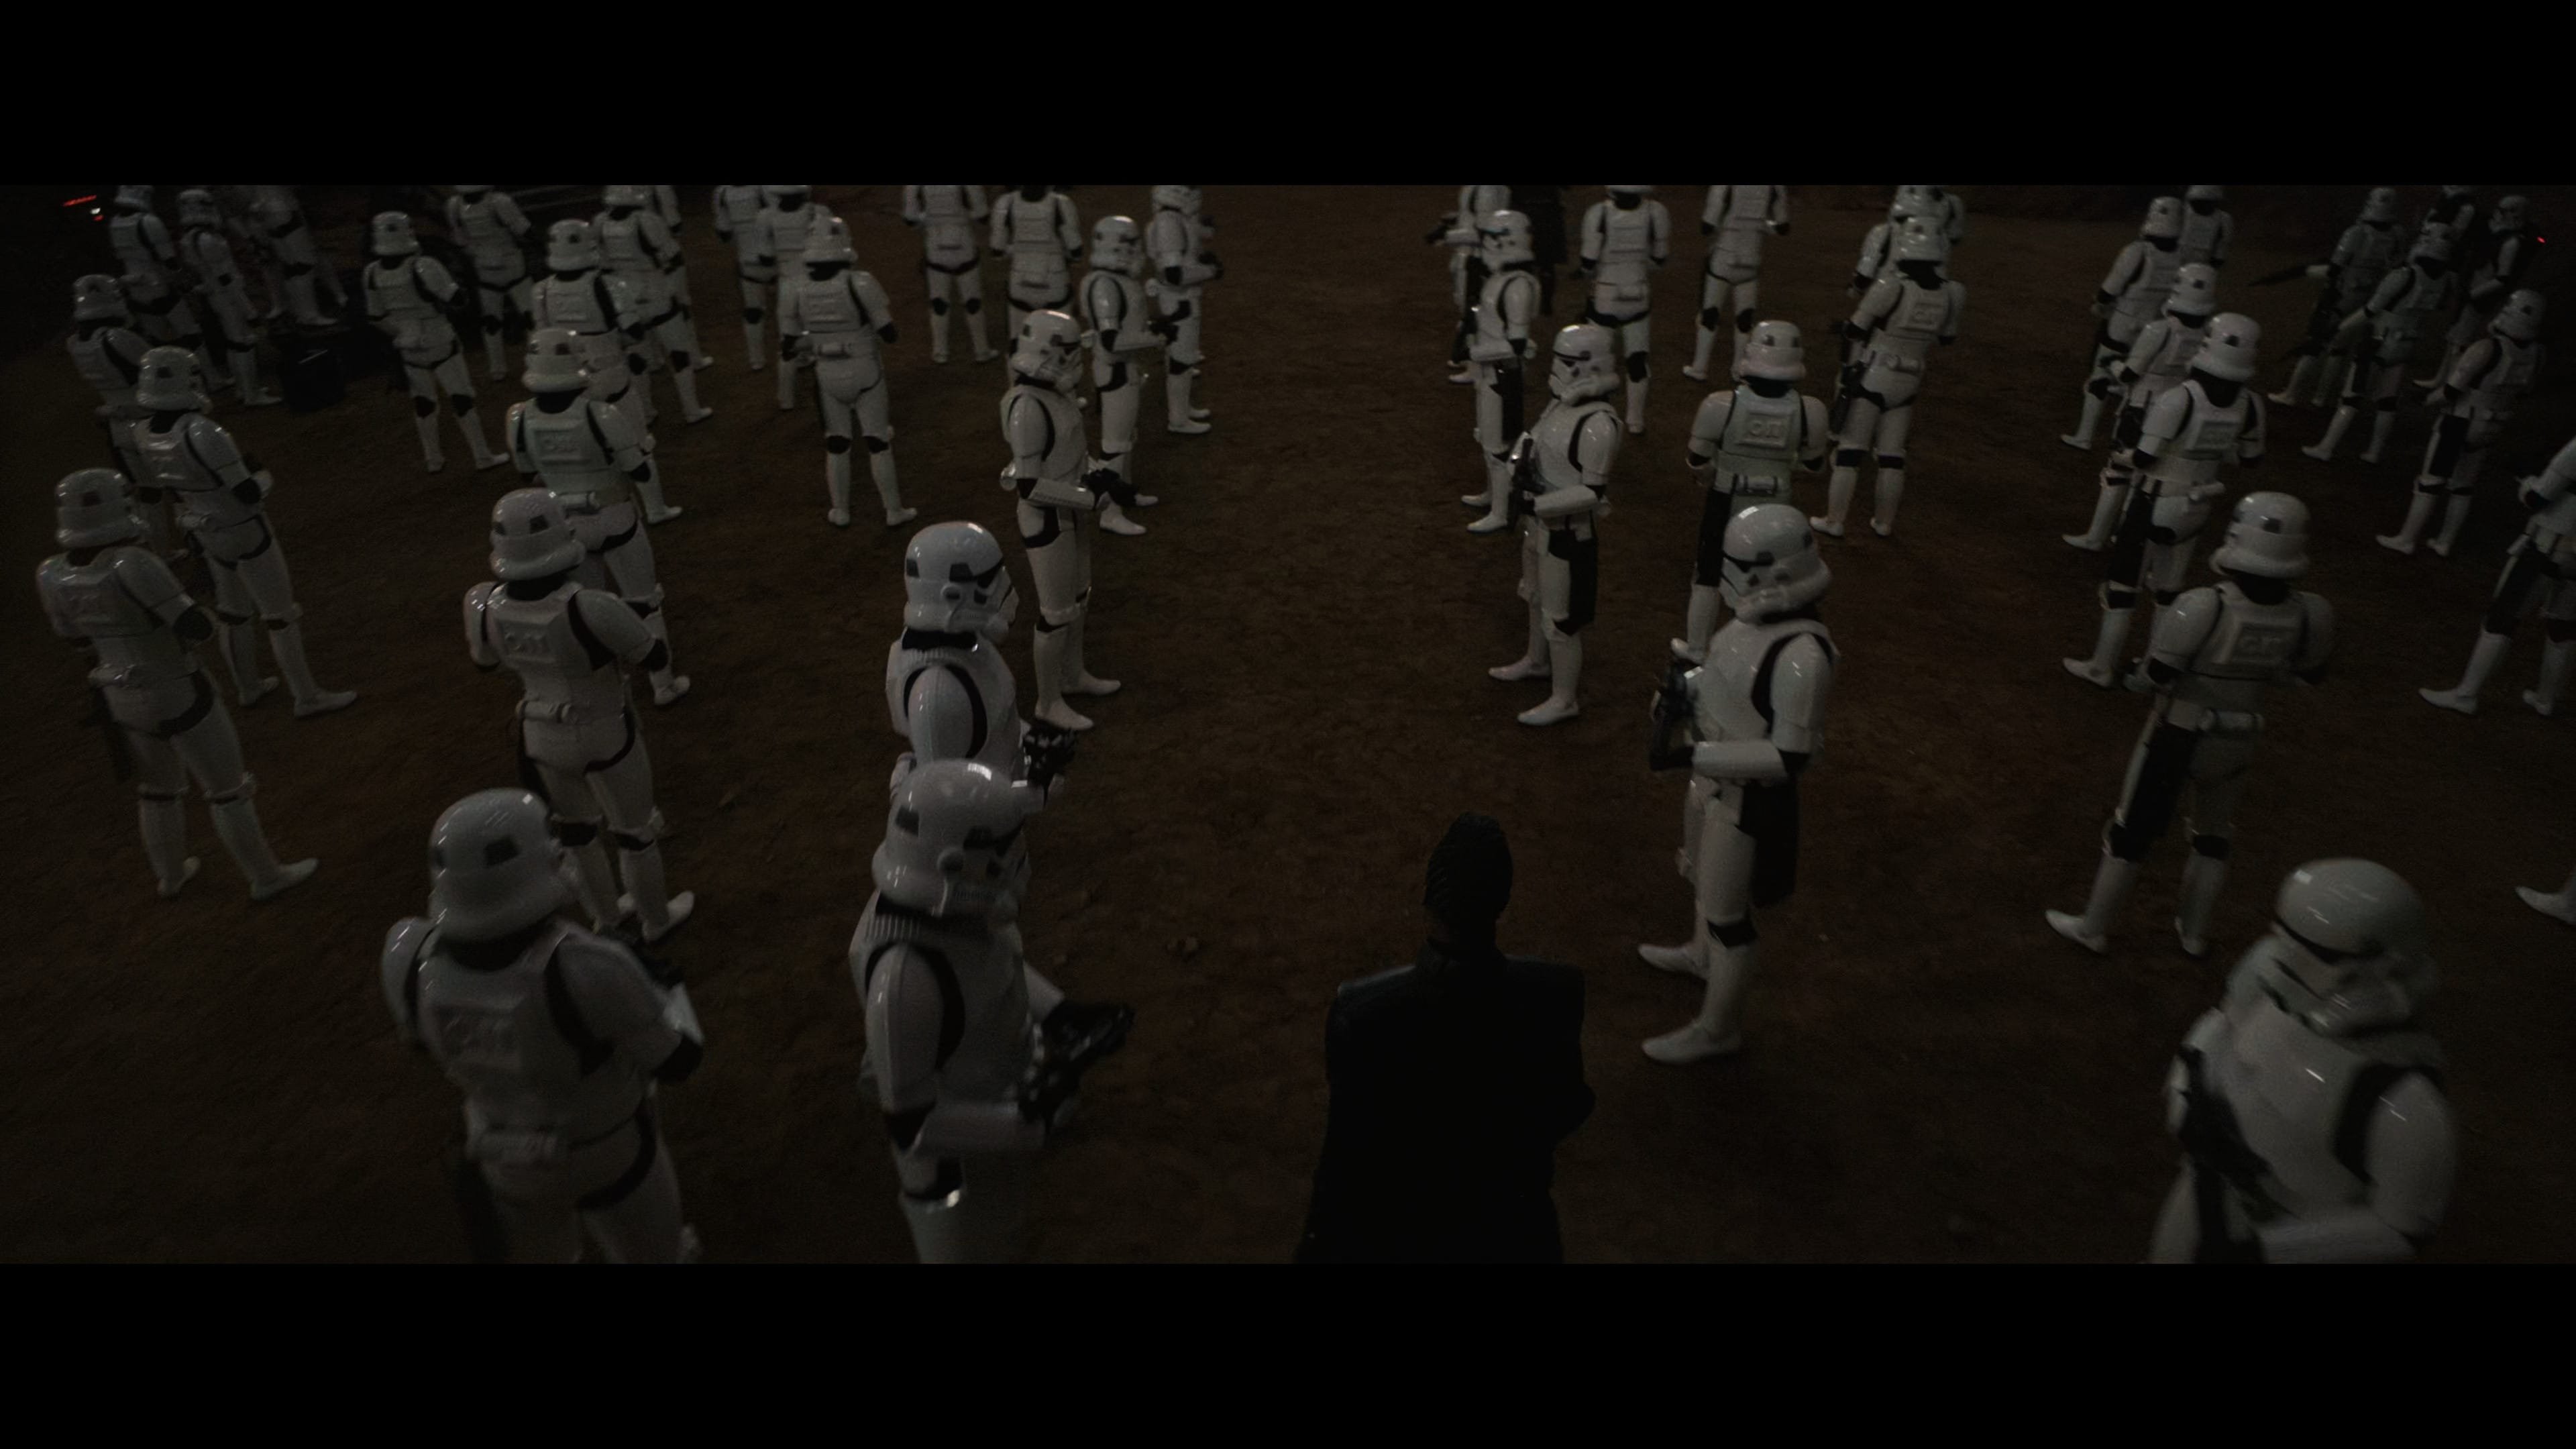
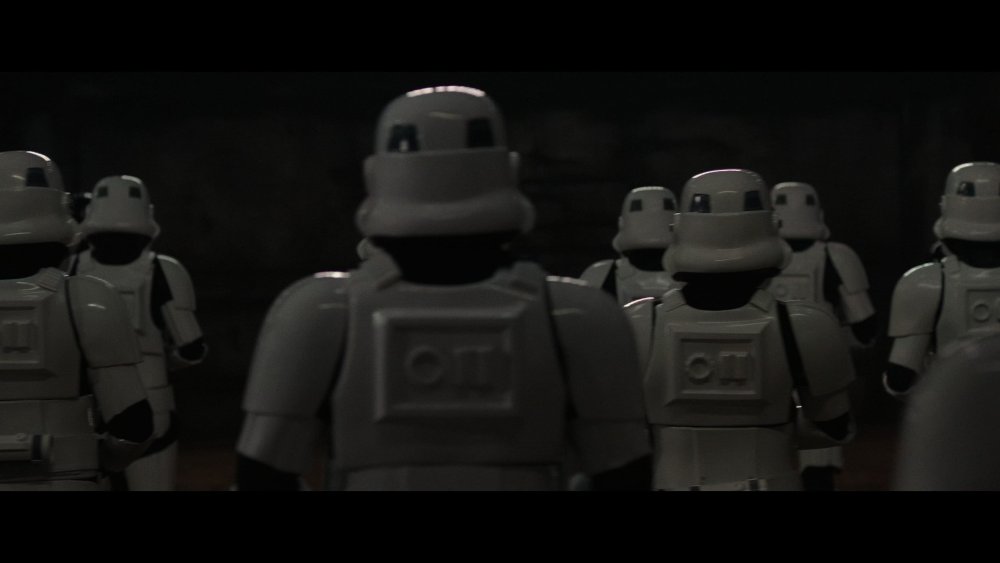
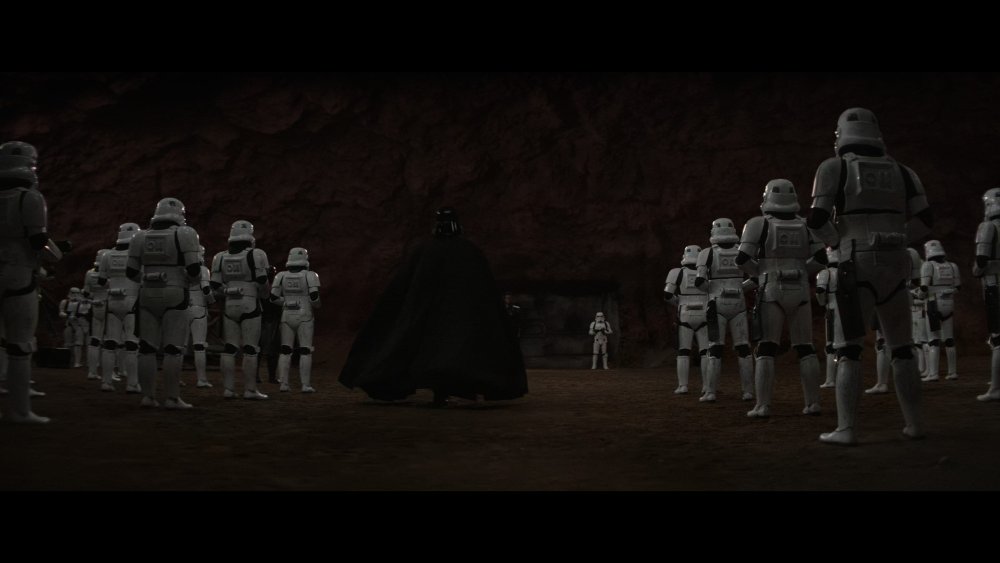
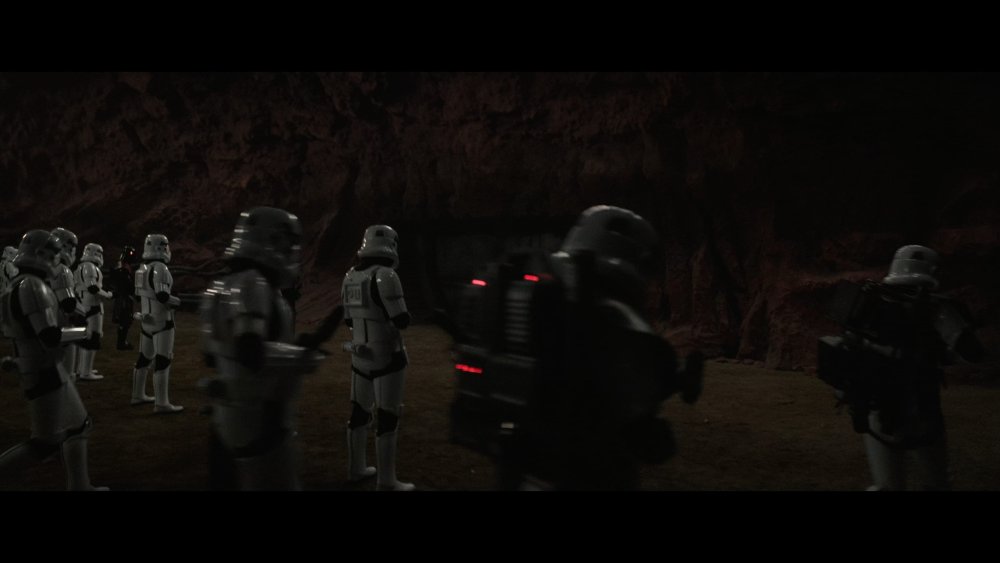
Note all the original TK's holsters are long black strap to emulate the mando TK's Packs, one with lights more HWT one in front more Sandtrooper appearance

 2 points
 -
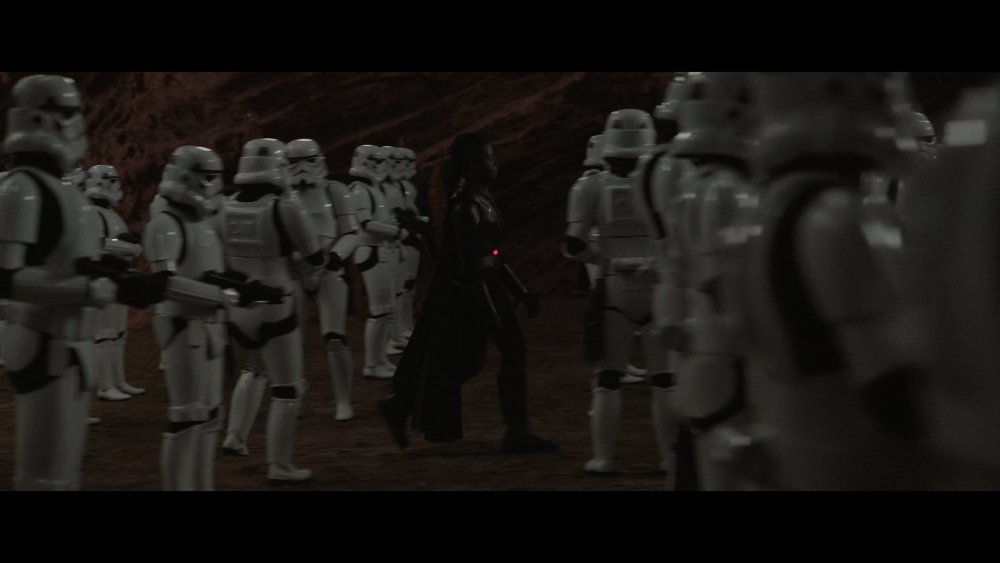
I liked seeing the TKs with DLTs too! Sent from my iPhone using Tapatalk2 points
-
As Adam rightly says, I would fix these two. Very nice work!!!
 2 points
 -
Padding and frown mesh added I also added in a chinstrap I fabricated with Velcro, foam and nylon straps to help with stability. I had to bulk up some of the pads with extra Eva foam to help it conform over the shap of my head. Took some trial and error but it sits decently now, especially with the chinstrap. However the chinstrap is a little fiddly to put on since u gotta reach into the helmet while you’re wearing it lol. The strapping and pad’s comfyness is pretty decent tho. Now all I gotta do is wait for the new neck trim from trooperbay and I’m done!1 point
-
https://blasterfactory.com/product-tag/e11/1 point
-
Pay attention but a deployed stock E-11 is now canon....1 point
-
Congratulations!!1 point
-
Fantastic Kevin!1 point
-
Awesome welcome to the HWT ranks trooper1 point
-
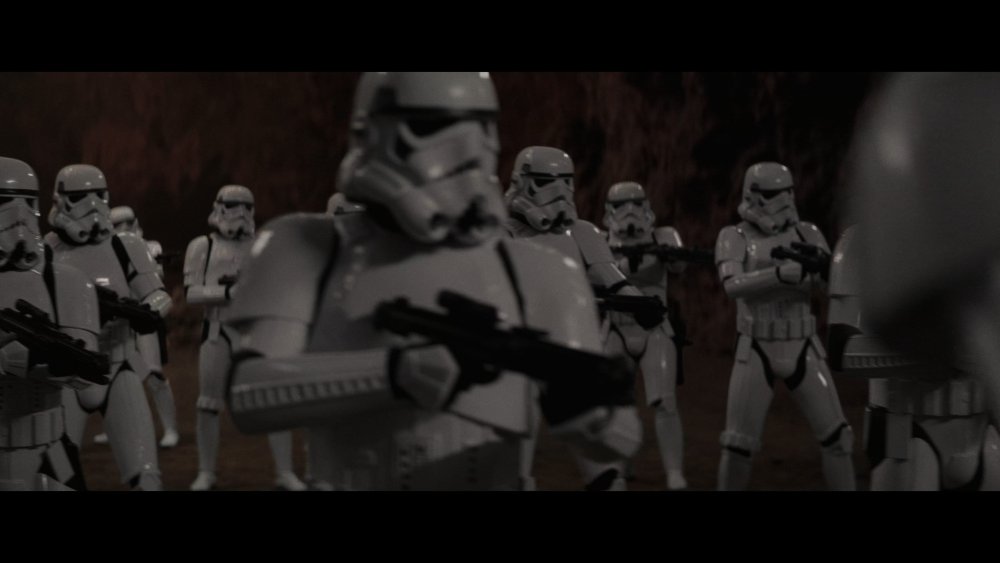
We like lights Pack on front trooper more Sandtrooper deign, there maybe a detachment fight ahead
 1 point
 -
Lookin good, best of luck Matt!1 point
-
Unfortunately your armor is Original Trilogy and not R1/Mandalorian so unless it's just for cosplay you won't be able to get 501st legion approval Here's the OT game version https://www.whitearmor.net/forum/forum/54-incinerator-trooper/1 point
-
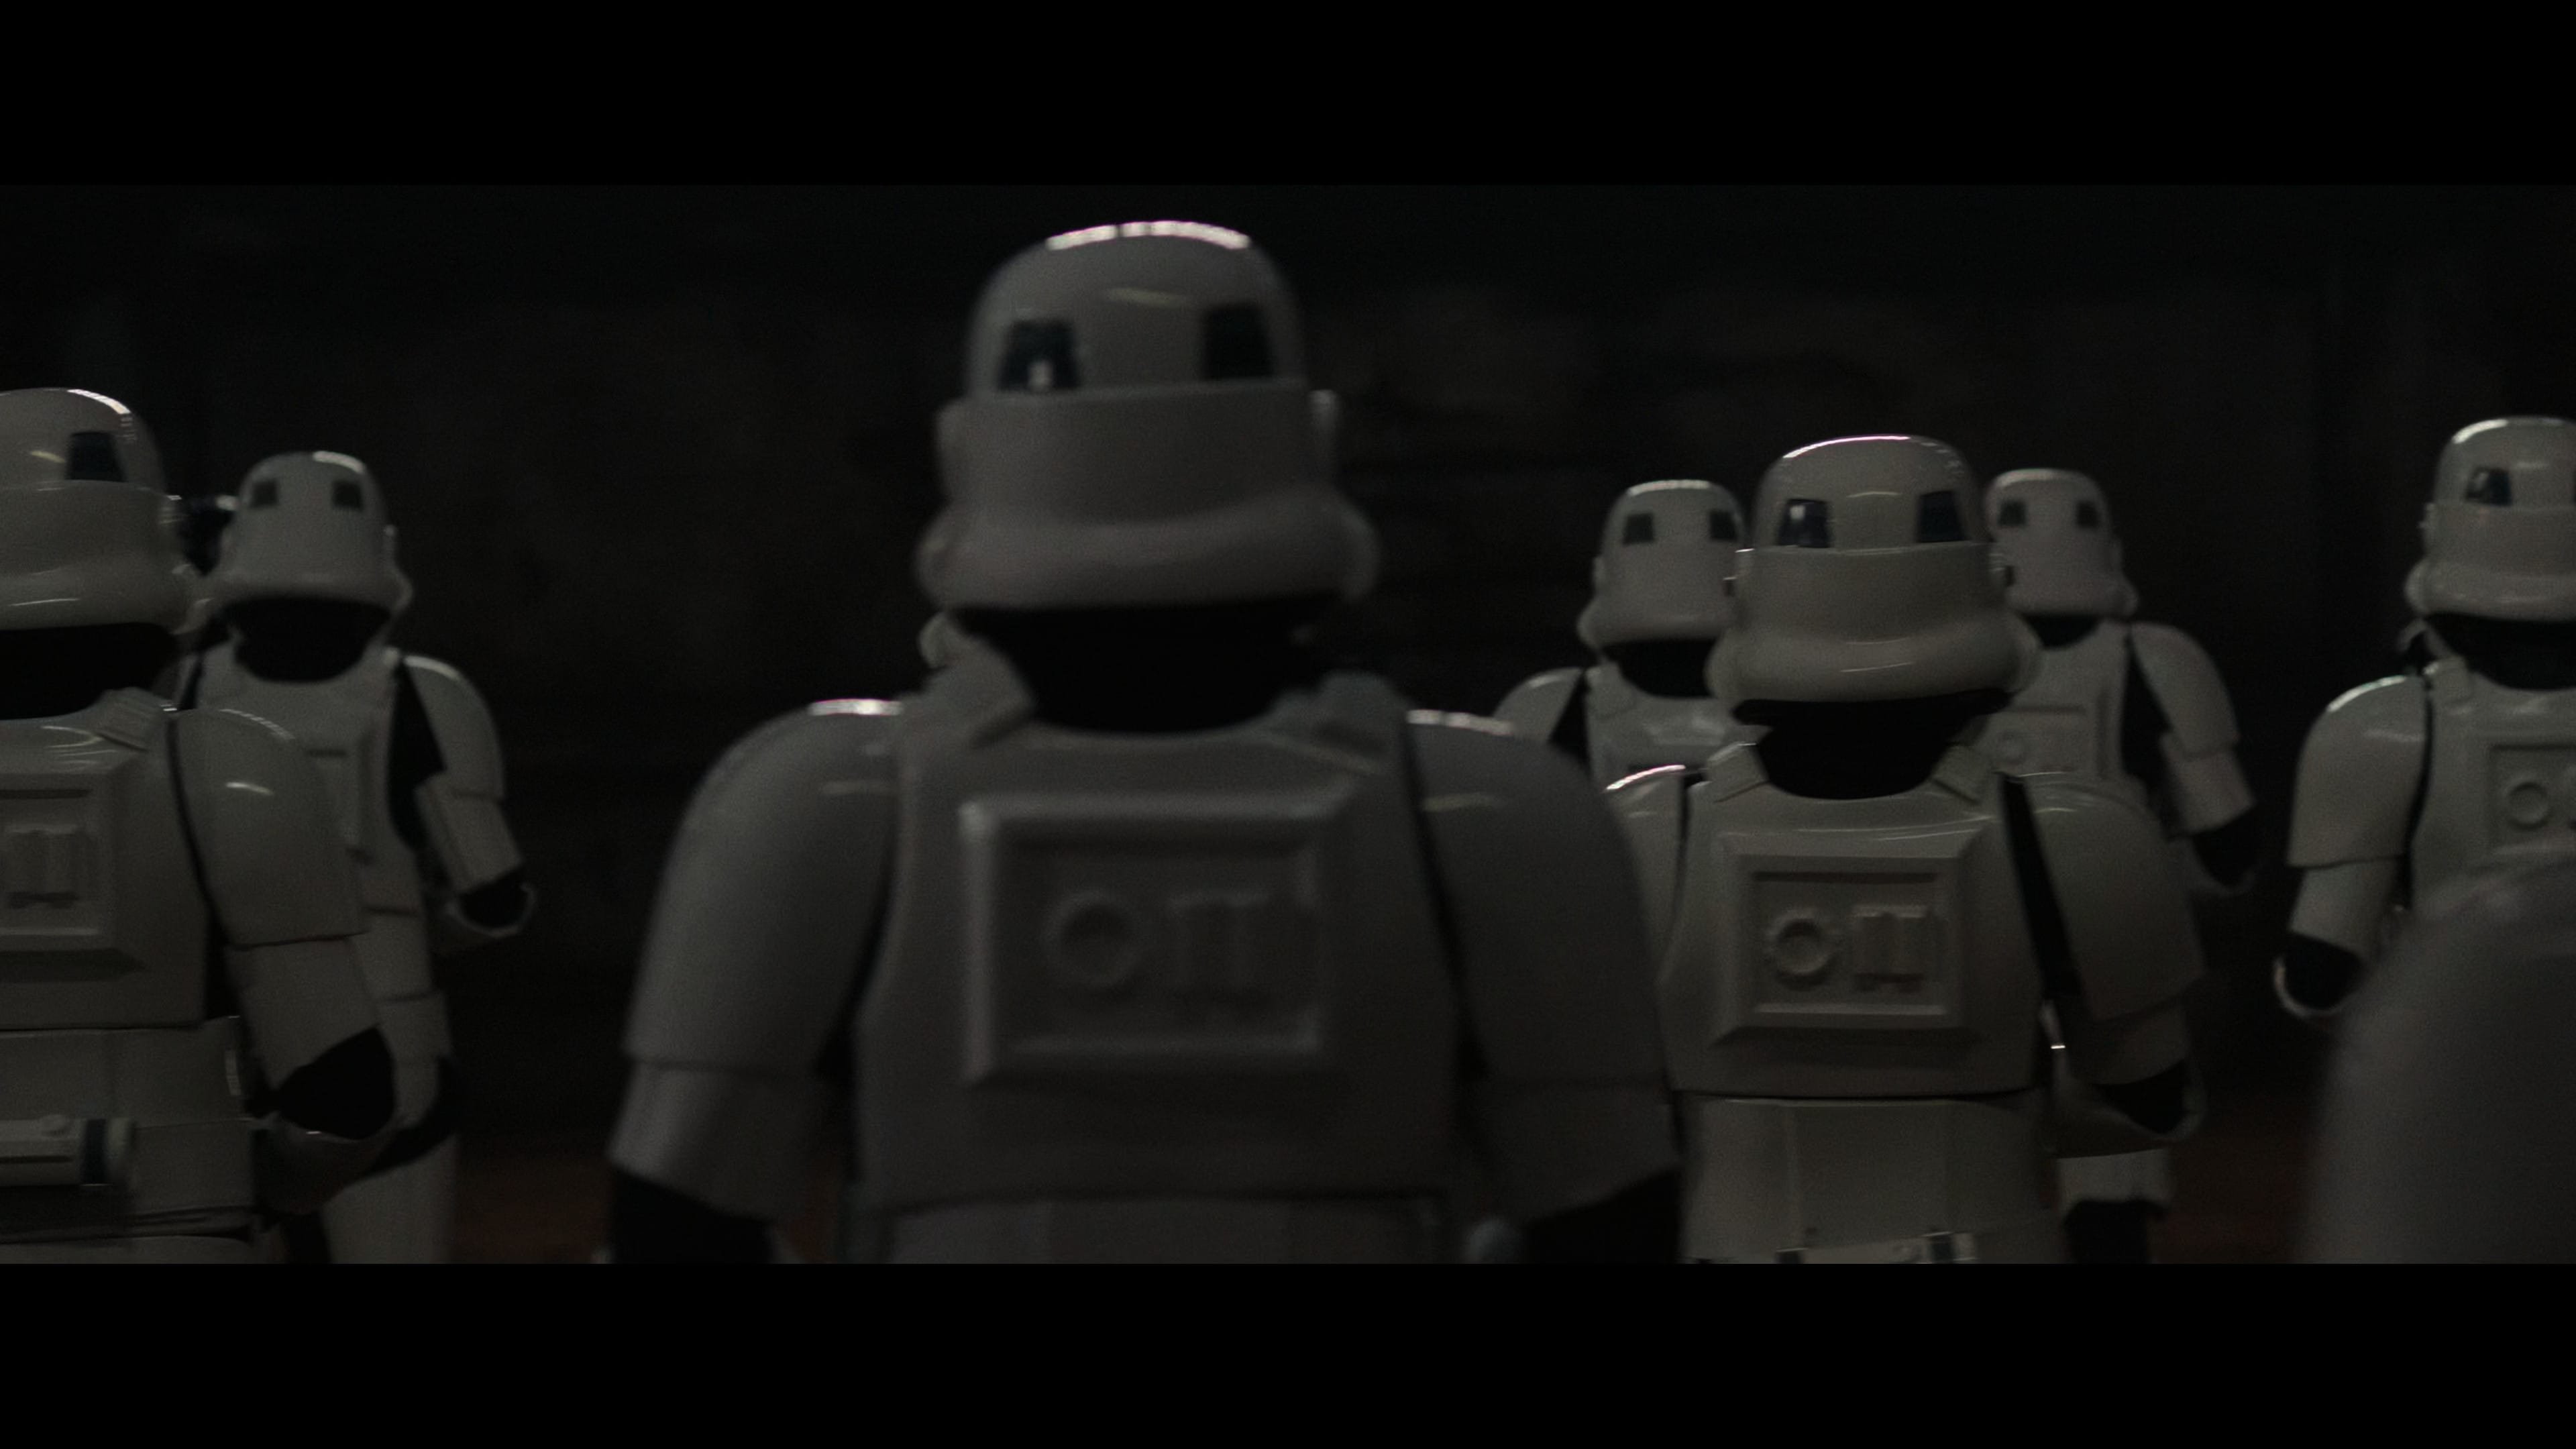
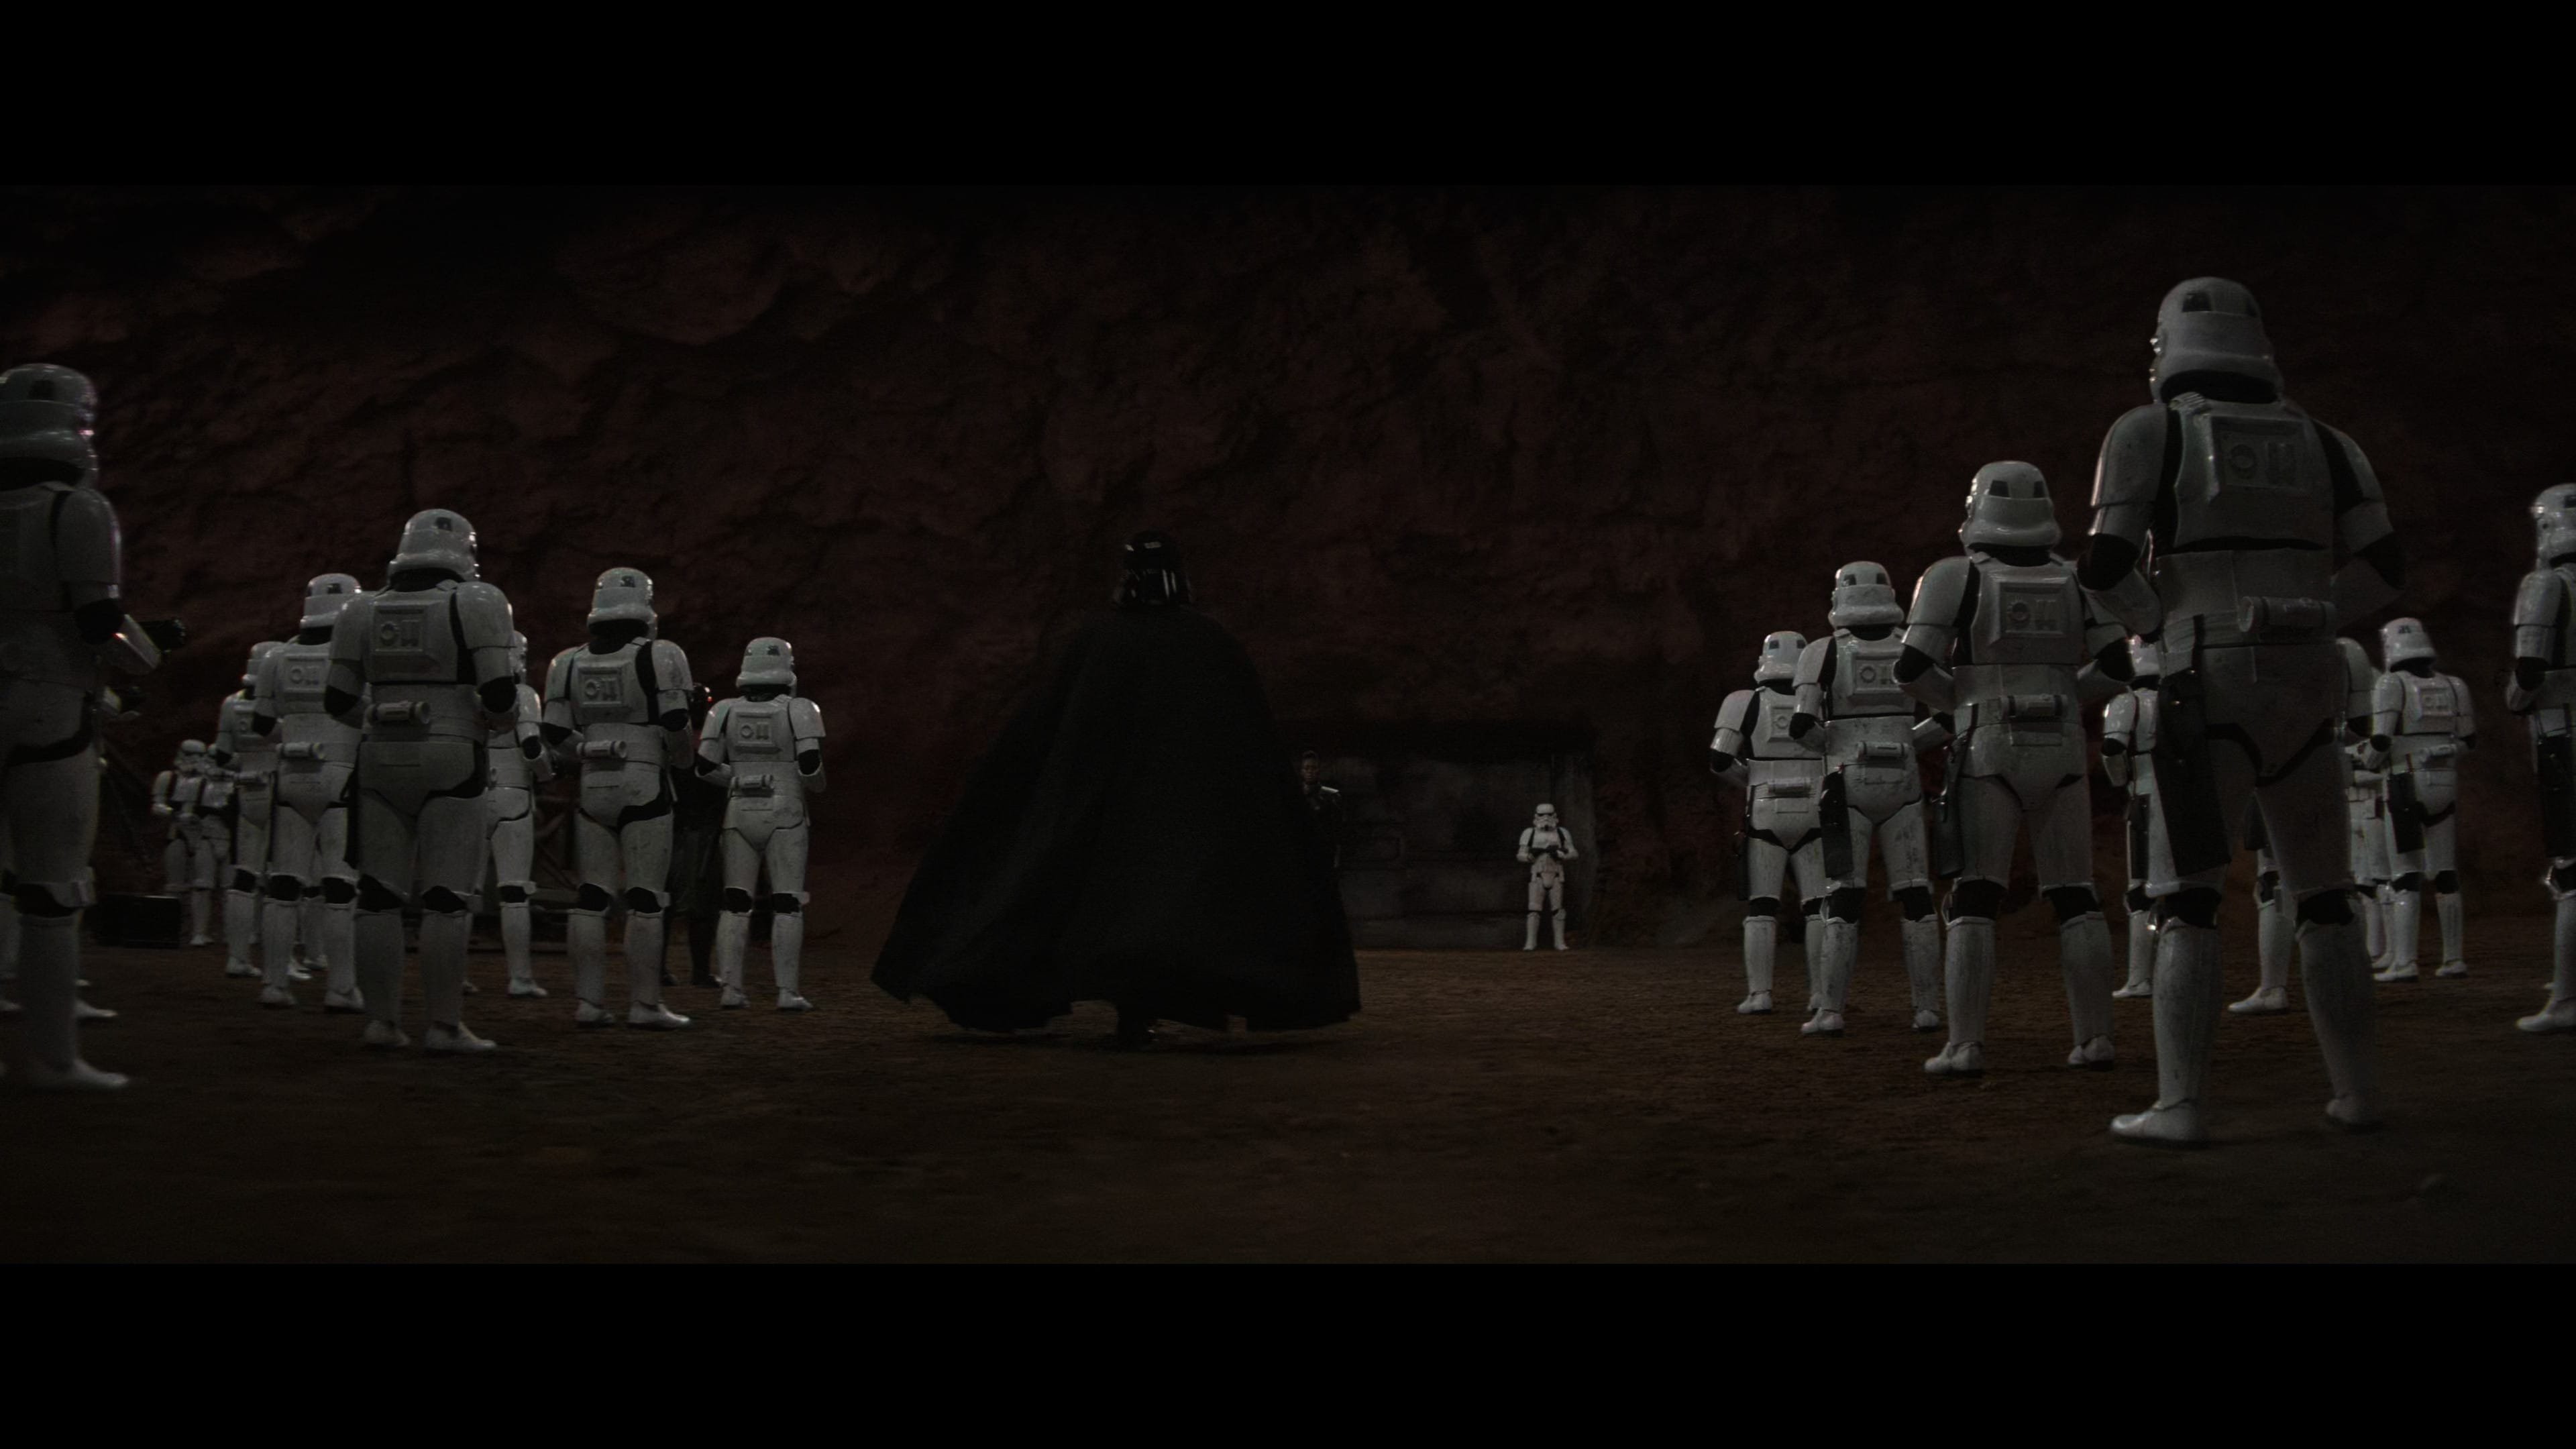
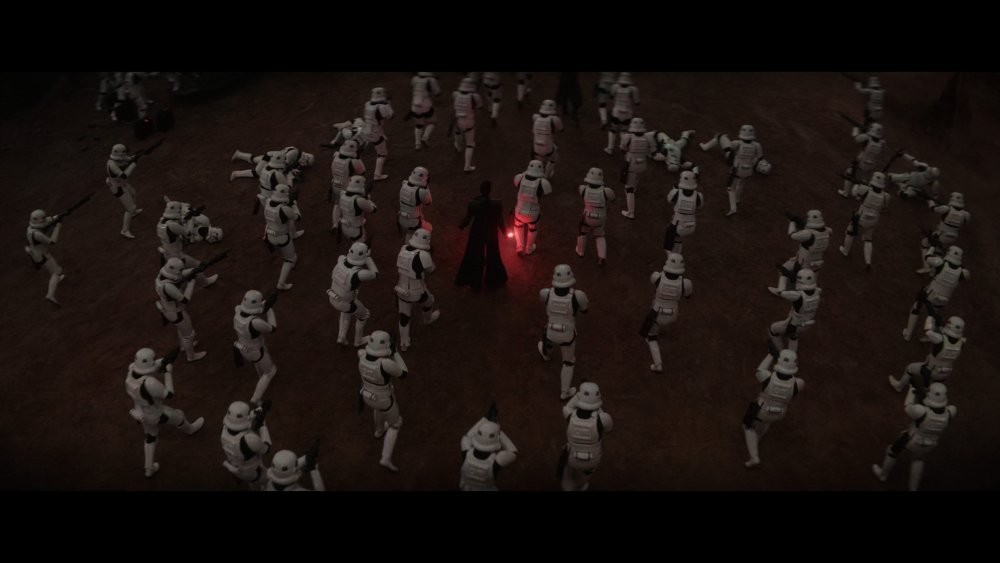
Yes very easy to pick out from the back shots, detonator and shoulder straps an easy give away. I think we all may know who was there but can not talk about it due to NDA's1 point
-
I think we have all been there... Or the other - velcro first, troop a bit, adjust, then when done glue.1 point
-
My post is classified.1 point
-
1. What are general opinions of doing inner cover strips? I used to add them but really found they are only needed on pieces that take any strain, the shins as you are constantly opening and closing so I recommend adding them there on the inner front. 2. When people talk about adding some padding inside the armor pieces, are they talking about foam? Yes normal foam, I have them in my arms pieces and thighs, darn these skinny arm's and legs 3. If I end up getting the forearms glued, and the part by the wrist still isn't quite oval-shaped enough, is this something a hot water bath will help with or do I need to really make sure it's perfect before gluing it all? Personally I find it easier to use heat once all the cover strips are added. I use a heat gun BUT you need some practice, you can go too hot too quickly hence why many use a hot water bath.1 point
-
I looked at every page and I am simply amazed! You did a awesome job the best all metal E-11 I have ever seen. I will be buying me one soon.1 point
-
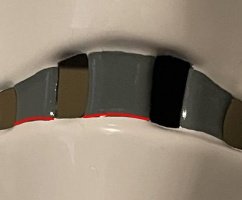
Step 19: Tube Stripes Pretty basic! Cut your two halves out, and trim parallel to the ends to get to fit better into the space. Measure out your placement. I put these at 3.5cm from the cheek crease. Dry fit, then place and press..!! You now have yourself a COMPLETED REBELS STORMTROOPER HELMET!! The only thing left is to troop the heck out of it!1 point
-
Step 9: Sand, clean, wash, and gloss paint (respiratory protection) After you've repeated the sanding and washing steps, let the bucket dry. If you want, use some rubbing alcohol to remove any residues/oils left on the surface. Paint the bottom first, making sure to hit the underneath surfaces. Let this sit overnight as the paint will be tacky much longer than flat paints. The next day, flip and hit the top surfaces with several thin coats about fifteen minutes apart. Try to have all your painting done within an hour or so, and be aware of ambient temps and humidity. Then don't touch it. Seriously, don't touch it for at least 24 hours. Let all gloss paints cure a *minimum* of 72-96 hours before trying to repaint or add any of the other details. Glossy paints include additives that make the paints cure more slowly to fill better and achieve the glossy look. Time and patience are the keys here for a successful paint job..!1 point