Leaderboard


Popular Content
Showing content with the highest reputation on 05/12/2022 in all areas
-
Glueing the belt boxes now that the paint is applied.3 points
-
I feel ill2 points
-
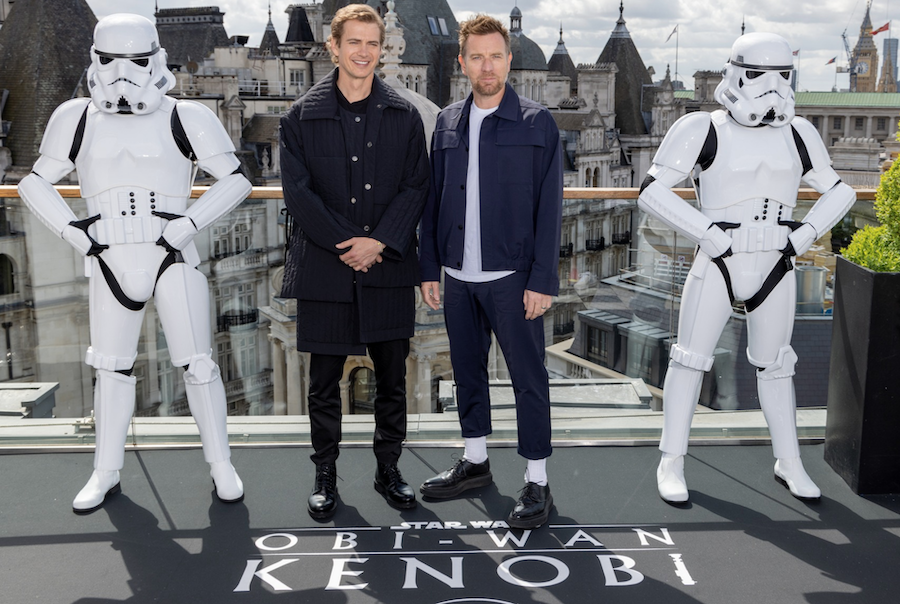
Those suits get worse the closer you look at them. One of the reddit threads had a really high res. You could see such thing as... - The shoulder bridges being held on by white rivets in the middle. - Huuuuuge ab buttons. - ANH style helmets... maybe hero ones? But the whole bucket looks odd. - White trim on the torso edges. That's just scratching the surface.1 point
-
So I was just scrolling through FB today and I guess there was a BIG Obi-Wan PR event today. Well... I am not sure if these are screen used suits or what they actually are. I just wanted to share the images. https://www.facebook.com/DisneyPlus/posts/4496253740476967 Let's just say the more I look the more questions I have
 1 point
 -
You're completely right Luca, and the s trim looks nice. Helmet's ears are not the rock stars in building process1 point
-
Helmet Ears and S-Trim After a few hours of work (gotta love fitting the ears...) I got to a point where I was fairly happy with the look and over-all appearance. It's not gap-free, but neither were the originals, so that's alright. Truly nothing extraordinary about this part of the build except for the fact that it was very time consuming and sometimes a bit frustrating. The S-trim in comparison was fairly easy and quick, a simple matter of wrapping the material around the bottom and squishing everything into a tight fit that will hold the S-trim in position without any need for glue. Whereas the original helmets had the ends meet at the back of the helmet, I went with the option of moving this to underneath the vocoder. This simply helps to hide any potential gaps and, in my humble opinion, looks a bit better. As always, I'd appreciate feedback. Given what's coming up soon, I'd also love advice regarding the application of decals, as I've never done so before1 point
-
It seems good so far1 point
-
Disregard the other helmets in the back, took these for Promo on my page, but youll get a better idea of the shelmet with this sandy paint up. Did a move along style sandy on a B grade I had, I think I got it close though the weathering around the teeth was too dark. Contrast is quite high in this pic.1 point
-
You are killing this build, Steve! (And I mean that in a good way). Loving your attention to detail and patience, sir. This is the type of dogged determination that really goes above and beyond, and for that I salute you! If I could weigh in on one thing it would be that (personally) I would not dye the canvas belt. In looking at screen caps, the "original" color was bright white (first photo) which matched the armor. However, during production those things were probably attached hundreds of times by wardrobe assistants who had filthy hands from working on the set. If you looks at Luke's belt (second pic) the overlapping end is a LOT darker. The third pic shows the exact same belt worn by the poor TK that he stole it from.1 point
-
That's a good one ! I was told about wolfcub but couldn't pinpoint where his work was. Thanks for the help !1 point
-
Awwwww yea, another convert. How you like the finish?1 point
-
Short answer: No, not if you wish to get Approved1 point
-
Truck bed liner applied, masking removed.1 point
-
I dug around for how I want to dye the belt, and for the moment I decided I’m going to hold off! to many variables to go wrong… so I’m going to use Chicago screws to hold everything on it. That way I don’t have to worry about dealing with glue later when I finally do decide to tackle this. I moved on to cleaning up the bucket for now! the eyes where just horribly trimmed. (Don’t care if some film used where just as bad!) left sill needs cleanup, but the right is cleaned up. I can live with these now. I am also going to paint the inside with black truck bed liner spray, so time for some masking. plugged the holes from the inside and then the eyes from both sides to make sure nothing gets on the outside. and used heavy plastic for the outside1 point
-
I will never buy any armor again pre built, that does not come with a lot of scrap material of the same color!1 point
-
after the internal backers were in, I had to thin down the shim material to better match the part edge. so I taped it face first to a small board and sanded it with my palm sander. (Difficult photo!) I then formed a return edge with a heat gun and hot iron, before using a cold solid metal block to do the final bend. (not pictured) the iron is good for playing with bending and not cooling it off to fast, but the cold metal helped lock in it. its hard to document some of this with only 2 hands! then I used solvent glue spread all over (like I did for the backers) to bond the shim to the backer. clamps are you friends, but make sure they are not squeezing to much, and that no glue is under them! they make nice dents when the glue softens the plastic if they are to strong... I have much to learn about ABS slurry application... sanded down the first try and filled in the remaining seam with more. this time using a small syringe (not pictured, but maybe next time I'll get a shot)1 point
-
Hi Danny. ‘’sorry about your partner. I can’t imagine how hard that must have been. I am sure that he would be happy to see you build the TK set. There are lots of amazing people here always ready to help. I bought my armour set from AP. Ordered it back in October and am still waiting. There was supply issues with ABS but I know he has got some now and is vacufroming1 point
-
Here are some images of my Helmet. It's a lot more asymmetrical than I ever expected. Paint seems ok to me. I knew they are, but wow. Maybe need to adjust the brow a little? definitely need to work on the inside. and I'm going to clean up the eyes a bit. The overly sloppy cutting bugs me. (this is for up close public viewing not movie background)1 point


.thumb.png.69856e02550a2e6d07e44a2b1bda020c.png)