Leaderboard


Popular Content
Showing content with the highest reputation on 01/26/2022 in all areas
-
6 points
-
January 24th 2022 Joseph Pedigo (justjoseph63) as many of you can attest, gone over and above, consistently doing something to benefit the detachment. Things that go well outside of his deployment office duties, year upon year. Everything he has done was of his own volition, and done with passion for the benefit of as many members as possible. I find no one more deserving of this, our detachments highest accolade, and feel privileged to be able to bestow it on Joseph for his continued and outstanding efforts over so many years of service. Thank you Joseph, your "How to" guides are legendary, your sales items incredible in detail, and your generosity and loyalty unquestionable. Please join me in congratulating Joseph on this hard earned and well deserved award. With unquestioned loyalty TK11469 "Sly11" DL2 points
-
Name: Ardeshir Radpour Username: equuspolo TK-42128 Southern California Garrison Los Angeles Squadron Height = 5'10 Weight = 165 Armor Maker = KB Armor - Trimmed to fit like Anovos Helmet Maker = Anovos Premium Fiberglass and Anovos Plastic Helmet Boot Maker = Imperial Boots Gloves = Endor Finders Belt = Trooperbay Belt Pouches = Trooperbay Pauldron = Trooperbay Neck Seal = Imperial Seamstress Holster Maker = Dan Sczudlik Gaskets = production made silicon rubber gaskets F-11 = Branfuhr Studios Resin Kit- Custom built by me with custom light system. SE-44C = 3DPrintMerchant Electronics = Wireless Microphone with Acker Amp Custom Parts = Chest yoke and Backplate welded together with ABS Slurry. Chest Pills and Chest cut out backed with Textured Fabric, TD slurry welded. Entire armor painted with Rustoleum 2x Glossy White. Belt, Cod, Butt Plate attached to armer with Anovos leather waist tassets EIB Approved FIBERGLASS HELMET PLASTIC HELMET updated blaster1 point
-
Vocoder repainted so that it is more symmetrical Sent from my iPhone using Tapatalk1 point
-
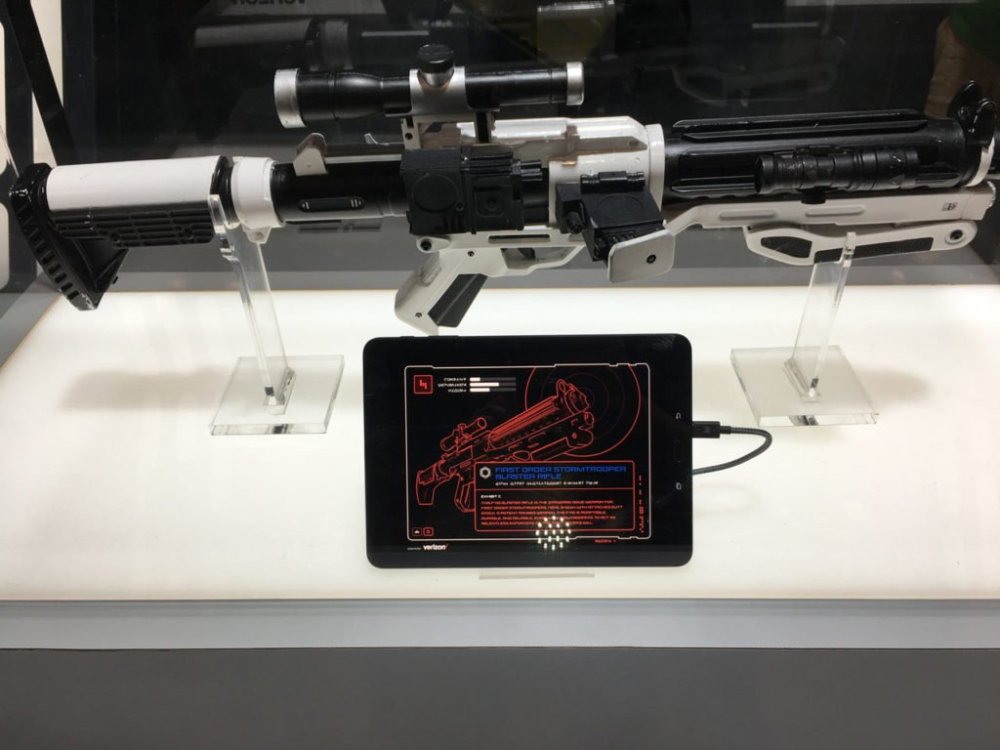
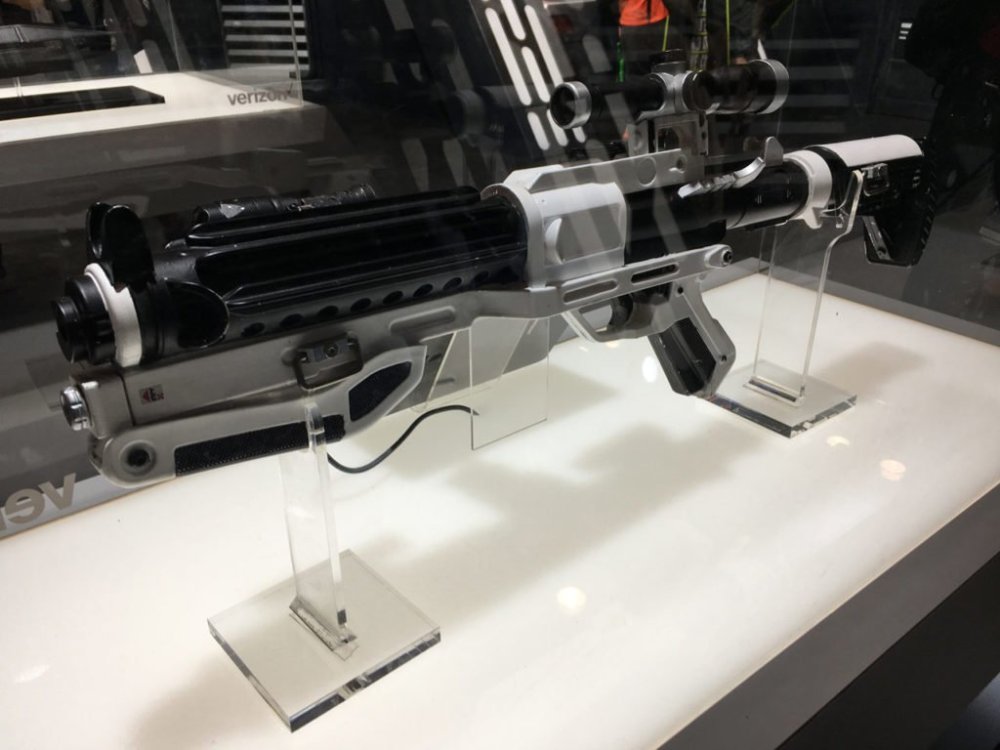
In short, no. And weathering would not be the issue. As it is sold in its "E-11" configuration from S&T, the accessories are pretty wildly inaccurate (note the incorrect T-tracks, scope, Hengstler, and power cylinders), and should not be used if adhering to 501st standards and CRLs is your goal, as it would not be approved at any level. The BASE model is the correct one used, but only in Rogue One/new generation properties, and it also varies significantly from the actual Sterling machine gun used in the Original Trilogy (note the squared off handle to accommodate the motor assembly, and oversize end cap for battery access, among other things). You could absolutely modify a base model with the 'proper' accessories and use it for a Rogue One trooper, but in general, most cons don't allow, and common sense would dictate, not having a blaster actually capable of firing projectiles while trooping. Plus, honestly, it's freakin heavy, even gutted. I would look elsewhere for a number of reasons. Also, if an admin can move this to the proper area somewhere over here, that might be helpful. If you'd like to learn more about the Rogue One blaster, there's a great thread over here!1 point
-
Photo of Thigh ammo pack inner sides1 point
-
Alright thank you for your answer, i will poste updates as soon as i fulfill the requests1 point
-
Wow! Congratulations! Top notch armor and love the professional quality photographs. Straight off the movie set look. Well done!1 point
-
Well that’s the intent- I like to think these are about as smooth as I can get them, Minus a few spots I’m touching up as I go. Sent from my iPhone using Tapatalk1 point
-
Build is looking nice Brit.1 point
-
Excellent work on the blaster mods. Looks great.1 point
-
Congratulations Ardeshir!!1 point
-
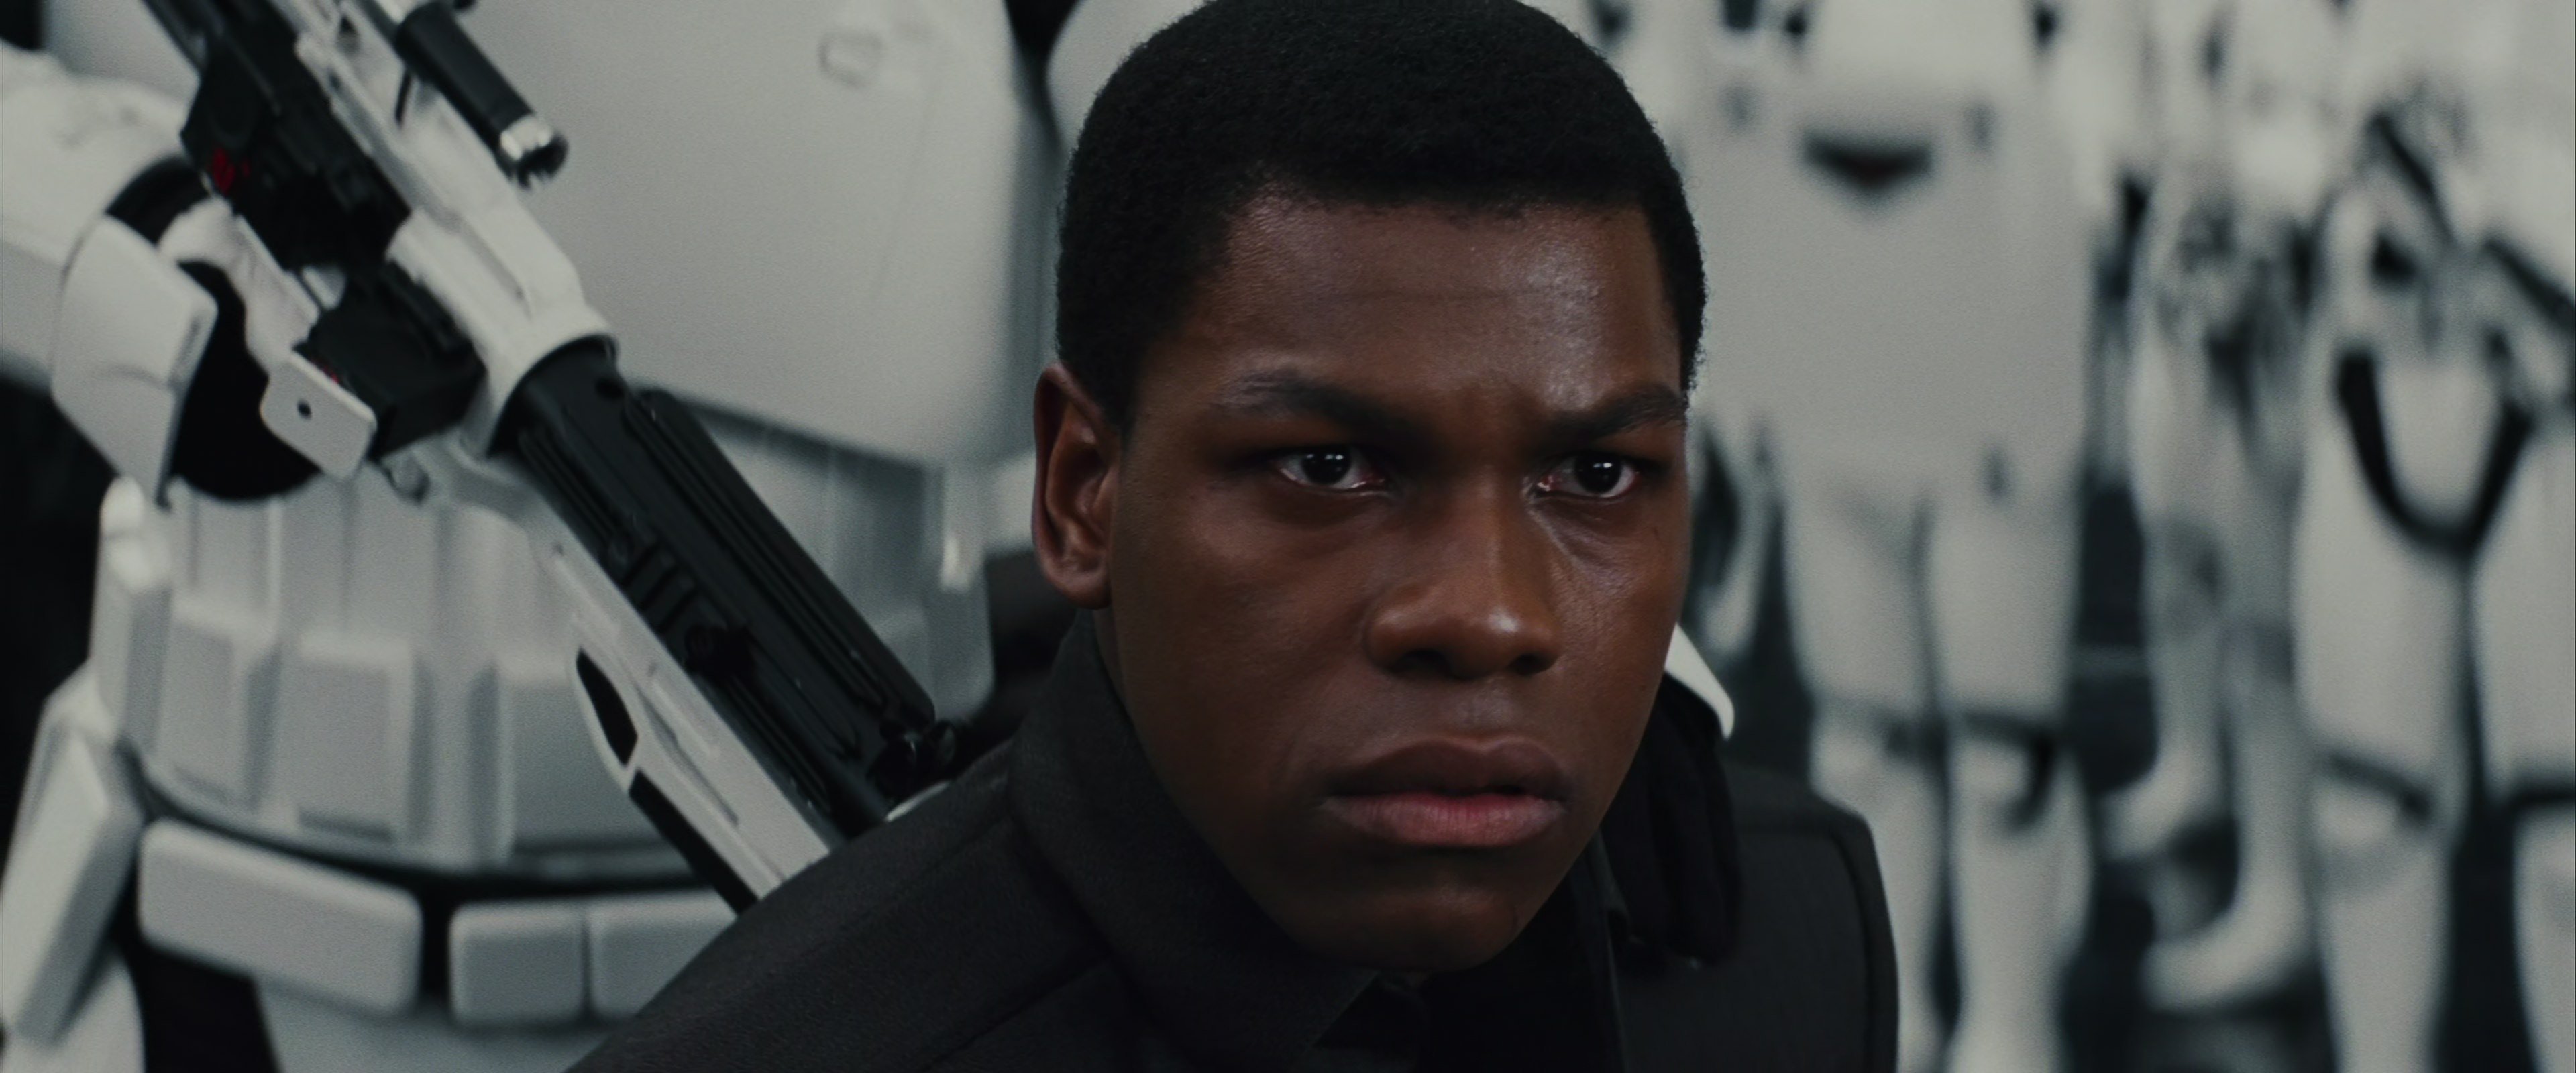
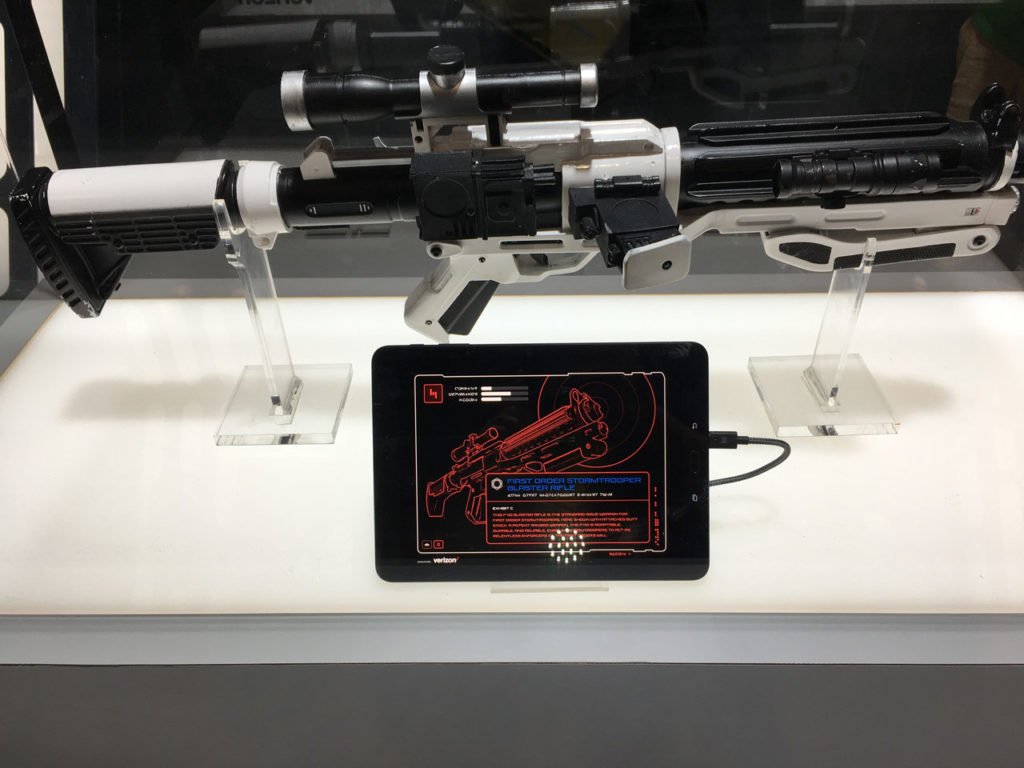
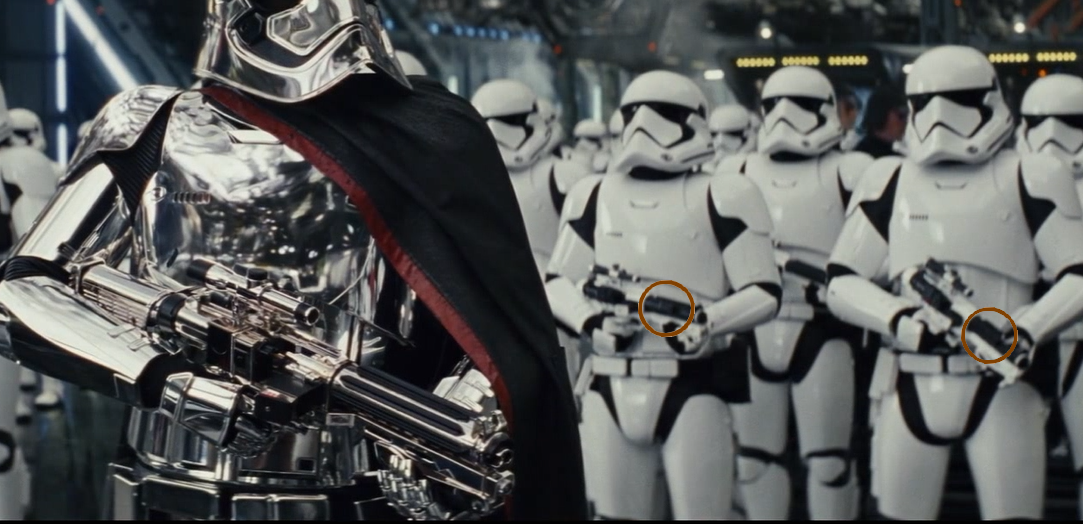
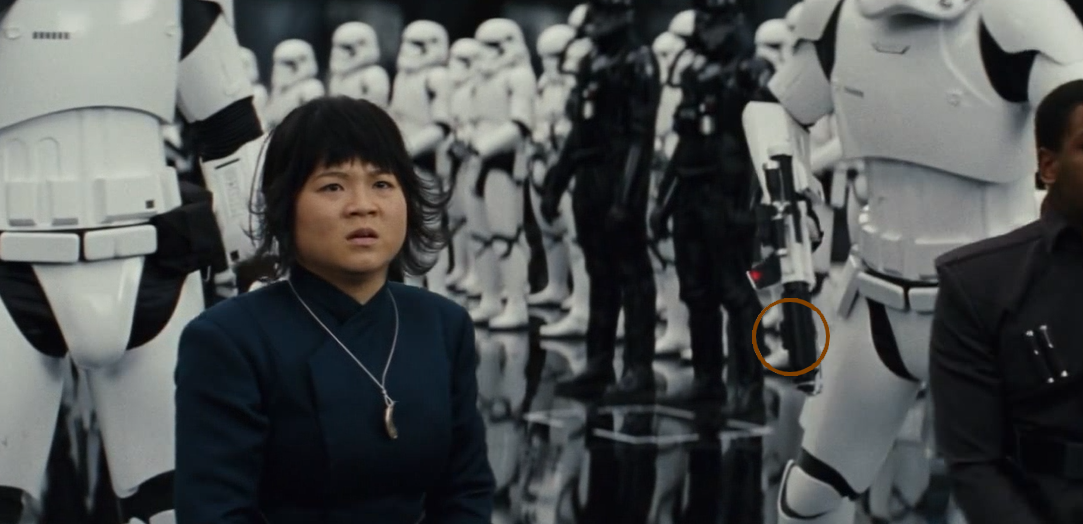
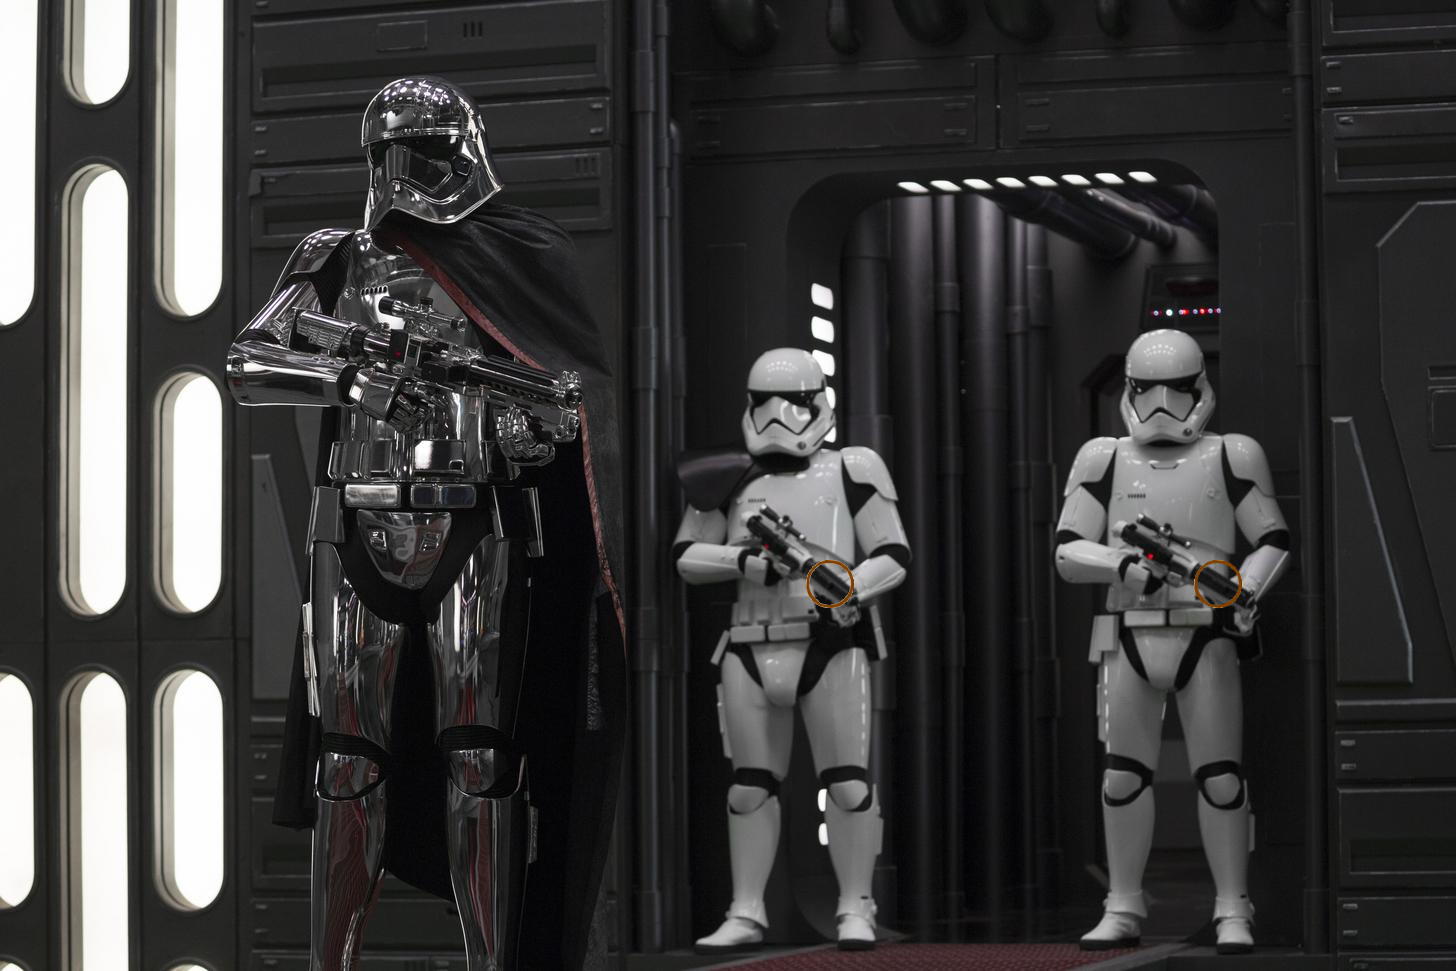
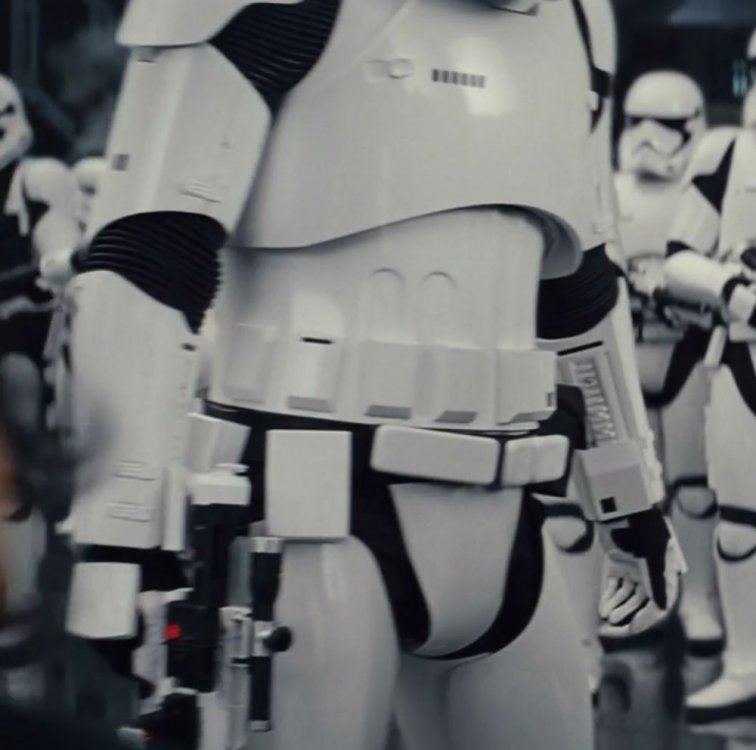
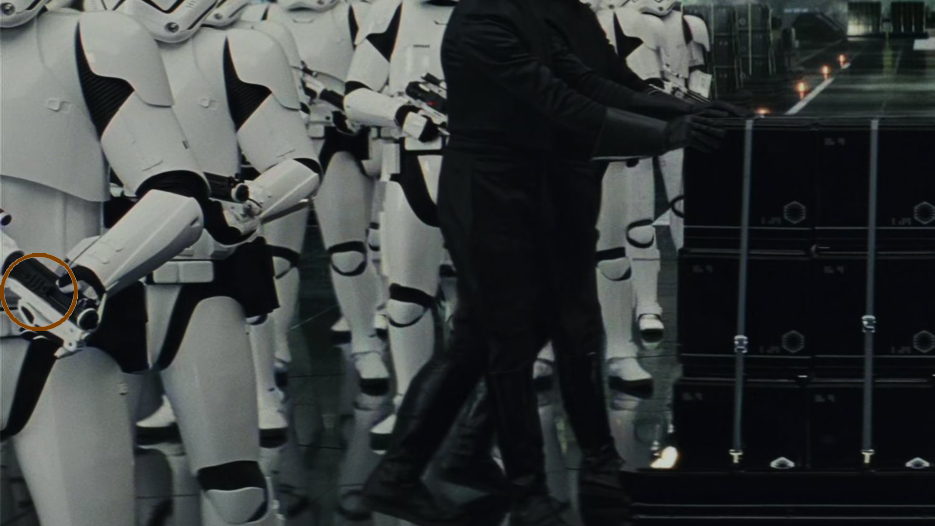
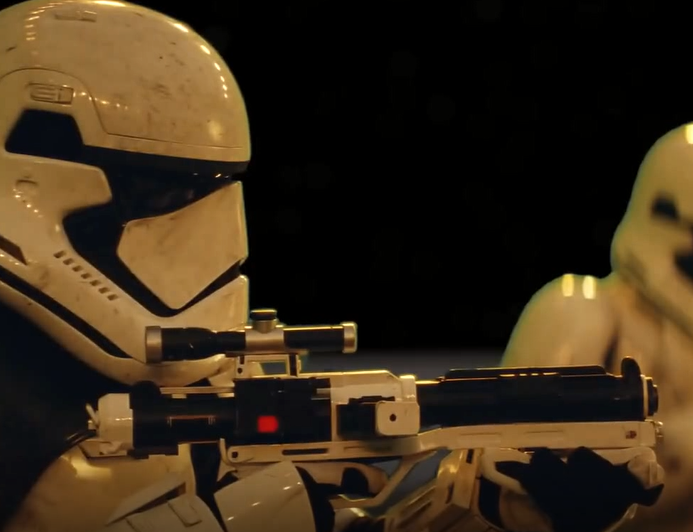
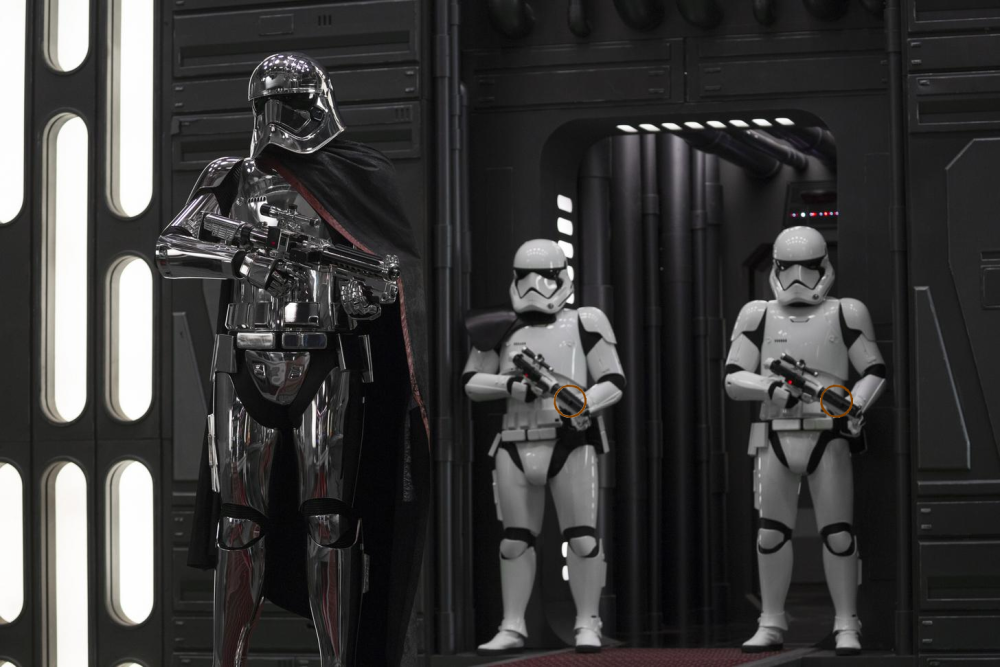
Congratulations once again Ardeshir. For anyone following and using this for future reference for their own applications as many do, Ardeshir is correct this is not currently a CRL requirement but may very well be in future once the TLJ / TROS CRL is finalized, thread here. Some good examples of differences of blaster details in each of the movies can be found in that thread, some interesting combinations also used in TROS. In regards to the inconsistency of details, we see this in a lot of movies so a "generalized overall look" is used, in other words what most troopers had been seen with. We know some blasters from TFA had been used as well as in TROS, but references are used of what is generally seen and produced for that particular movie. One of the main images with close up and used as a reference is the execution scene, notice this troopers F-11D has the light rail and also the white rectangle ring (D ring) (so does the trooper on the other side, image below), which many others also had. BUT there are instances of other variations, this is called a "Mr Nostripes" situation, seen in the movie but a one off (or two or three) like "Mr Nostripes" in ANH. White rectangle ring (D ring) Other instances of the light rail Execution scene background characters Phasma scene And from the deleted scene Behind the scenes TLJ (also note the holes in the top of barrel) And the only instance of a light mounted from a LFL display. Interestingly it also had a mount on the other side just under the barrel for a sling. Sling mount Personally I think the light was a little overkill, which LFL may also have thought so not used, the blaster already has a light mounted in the front just under the muzzle. Apologies for derailing


 1 point
 -
With any metalic paint you want the black base as flat as you can get it, for my Mando I wet sanded with 2000 paper, then added the top metailic coat and finished with a 2K clear, I hadn't used it before but was amazed how the orange peel disappeared when drying, gives a deep gloss shine also. Like any paints it's a trial and error so definitely practice before going over all the armor1 point
-
Hi Merlin. I'm the D.O. making your review, sorry for delaying but I had some issues with my pc. In order to continue I will need you to do a couple of small fixes and add a some additional photos please. 1- As the Crl states for L2, Any gap between the abdomen and kidney armor is no more than 1/2" (12.5mm) wide. Your left (ab/kidney) section is perfect with no gap, but looking at the left one, It will be a bit tedious , but we need you to suit up and take some new pics (both sides) with your belt or strapping tightened a bit to close that gap some. It doesn't have to be EXACTLY half an inch (or less) THANKS! Reference Image 2- Required for L2 is the ABS belt button covers- they should be square, not rounded off on the corners. It looks like you used E-6000 to attach them so I think this should be a pretty easy fix for you brother. Reference Last easy fix brother . Looking at your nice looking E-11 blaster, specially that real Sterling magazine (nice touch) , we noticed some printing lines and as the Crl states for level 2 "3-D printed blasters can not contain visible print lines, and must be sanded smooth for a more realistic appearance." So we'll need you to take some minutes to give another touch with some Bondo glazing putty and a bit of sanding. Finally, please add the following photos: A- Photo of your Thigh ammo pack inner sides to check the rivets type. (both sides) example B- Photo of your Left side AB/Kidney connection without canvas belt to check the 6 rivets position. C- Photo of your TD showing the metal clips and screws. Thank you .1 point
-
Yolk/Back Piece I fought this SOB join more times than I care to admit. Here was one of the more initial attempts, using just bondo to fill the join. As you can see, crude. I tried sanding it down and retouching, as seen here: But unfortunately, any amount of handling caused cracking and separating around the yolks. Finally, I realized what I needed: Greenstuff. Soft two-part epoxy putty, dries extra hard, and sandeable. Despite my best efforts, I still got dips around the edges: I ended up having to sand the bondo down again, and use green stuff along the whole center too. And bondo, and sanding. After a final spraying, a beautiful join that won't crack:1 point
-
I FINISHED MY BLASTER!!!!!!!!!!! Time for a self-indulgent photo set with a decent camera. Overview: Front: Rear: Power Cylinders: Grip / T-Tracks: (painted semi-gloss) Folding Stock: What a fun project! Man, I never knew there was so much to learn about the E-11. Now to troop around with it. Huge thanks to everyone who helped and followed along.1 point
-
That sight is broken on my QD E-11, so I'm definitely going to look into this as well. Thanks @justjoseph63 & @T-Jay!!1 point
-
I got brave. And just like that the stock stock is off. OEM stock? Quest stock? The included one. It's outta there. The razor saw made quick work of it. The stock was glued in place in the two spots in the back and these two spots in the front. There's even hole details underneath. Here's the two stocks together. The Quest is on top and seems to be rubber. It's quite flexible. It's also about 10% the weight of the real one. Holes drilled and some chips patched with glazing putty. The resin really enjoyed chipping under here. I also only drilled these holes at 3/8" instead of the full with the idea of keeping a bit more meat at the bottom of the barrel to support the metal stock. To grind out what I needed to grind, the nose needed to be cut free. Inside I was amazed to discover some PVC! The Quest blaster has a tube of PVC running the full length for strengthening. Look at that wall thickness. Then I drilled out the pivot. I tried to leave as much meat here as possible also. I opened the hole up a bit more than the metal pins required as I didn't want to pressure fit anything and weaken the surrounding resin. Gluing in place would be just fine. Some cut down clevis pins in 5/16" to fit the stock. I considered doing the same tube mount that the real Sterlings used, but couldn't find a full width 5/16" tube. If these pins don't hold I'll figure out a new mounting method. There's a lot of work cut out for me here. Pun sorta intended. The clip on the metal stock has a wide base... which means... Yeah. That's a big wedge needed to be cut out. I cut little by little test fitting and cutting. Took most of an hour. But... BAM!! It latches on perfectly. I added a small moon of aluminum for the clip to grab onto and to spread the force out. I then epoxied the aluminum reinforcement in place and let cure 24 hours. I also applied some green stuff to the nose and did a knurl... which I later learned doesn't extend down that far. And that's okay, I can sand it back to the correct level. Note that tiny little sight. I'm trying to decide if I need to make a better one or if I can just overlook that itty bitty thing. After getting the stock in place, I had to put things back together to see how it felt. IT FEELS GOOD. The folding stock really works, folds, and extends. And it actually locks in place on the end.1 point
-
Update - While at first I said it was too snug, after a few more test prints, I determined that I could make it "larger" by simply taking out an inner layer. And it makes it much more flexible! So, here's the test with my armor and undershirt, fitting beautifully, and amazingly flexible YET DURABLE. We tried tearing it with our hands, and it wouldn't break apart. I'm planning on adding some length to each size, to make it easier to attach to armor. Not sure if i'm going to use something like E9000 or what, TPE is notoriously difficult to glue.1 point
-
Well, That's why you wait till the print is done before deciding if the quality is ok! I think it looks good enough to pass muster, but I did end up re-designing the model to be a bit longer, so that'll increase the width of each ridge. Print quality aside, look at how gorgeous this flexes and moves! Perfection. Click Here for Video showing Flexibility! It is worth repeating that THIS IS A TEST, AND ONLY A TEST. That being, the size is snug against the arm, but that's good to help test how it'll hold up under extended abuse. I plan on giving them to my 11 year old to stress-test. Either way, doesn't this look FAB? Really happy with how it turned out.1 point

.thumb.jpg.6d328112c293e966a129e9e62a88b910.jpg)