Leaderboard


Popular Content
Showing content with the highest reputation on 09/27/2021 in Posts
-
Found a new and useful technique by accident last night. Likely guys that have been costuming a while already know this, but figured it could be useful for newer troopers. I always check my kit after a troop to see if any repairs are needed. Discovered last night that shining a torch from behind your armour is great for highlighting cracks that you could otherwise not notice or are 'only just' starting to form. Here's my shoulder bridge with no back-light. You can just about see a crack forming. But with a torch behind its impossible to miss. Catching cracks early while they're still small could save a real headache during a troop.6 points
-
Can't wait to build one of these some day. And it is already in transit right now. Following.3 points
-
Hi james, That position is ok, and line 24 as well Reference Images2 points
-
oups, lol. I mean here: https://www.whitearmor.net/forum/forum/239-expert-infantry-honor-gallery/2 points
-
Hello! Being inspired by Brian's amazing thread I thought I would begin a thread on building my relatively new ANH JMC-E11 Let's begin erm.....At the beginning! I fell into creating my own blaster by accident TBH. At the time, I was trooping with my trusty Doopy blaster. But, with age getting the better of me I found that towards the end of a long day's troop I was getting more and more pain in my elbow from carrying the resin E-11. It was then I decided I needed a lighter option. I bought my first (and only) 3D printed E-11 kit. Soon enough I realised why I had avoided working with 3D prints. The sanding ( along with the detail affected by the print layers ) were just so much work. Comparing the print to my Doopy blaster made me realise just how "off" some of the printed parts were. I decided I could do a better job building one from scratch using the excellent templates available out there. A friend of mine makes the receiver tubes from aluminium so I could reduce most of the weight with just this single part. I also decided that I would like my blaster to be able to comfortably accommodate electronics without the need to grind out solid resin parts. This meant that I would need to make hollow resin casts which in turn would reduce weight and leave as much space internally as possible. As time went by, I sourced a few original parts which I could not scratch build. Things such as the Sterling Grip, the counter, and scope. I also wanted to add a more detailed stock, so I got purchased one of those too and took it apart to cast. It then got to the point where I wanted 100% accuracy. I was lucky enough to come across an original sterling which was to form the backbone of my new blaster. Which meant I could ditch my scratch-built parts such as mag, mag housing, trigger housing etc, etc, etc. Making casts from an original is not for the faint hearted let me tell you! Saying that, I was soon to get my hands on a second L2A3 which is solely for display purposes! Well, there is a little history to the ANH JMC E-11. Now, let's move on to the kit itself. The entire blaster is made up of 75 individual parts which consist of aluminium and resin hollow casts. It has replacement screws, nuts, bolts and springs which will replace the resin ones. Wires, cord and Spring have also been sourced, along with the scope lenses and material to make the counter lens. You can see in the pics below a full listing of the parts which go into making the JMC E-11. Sent from my SM-G950F using Tapatalk1 point
-
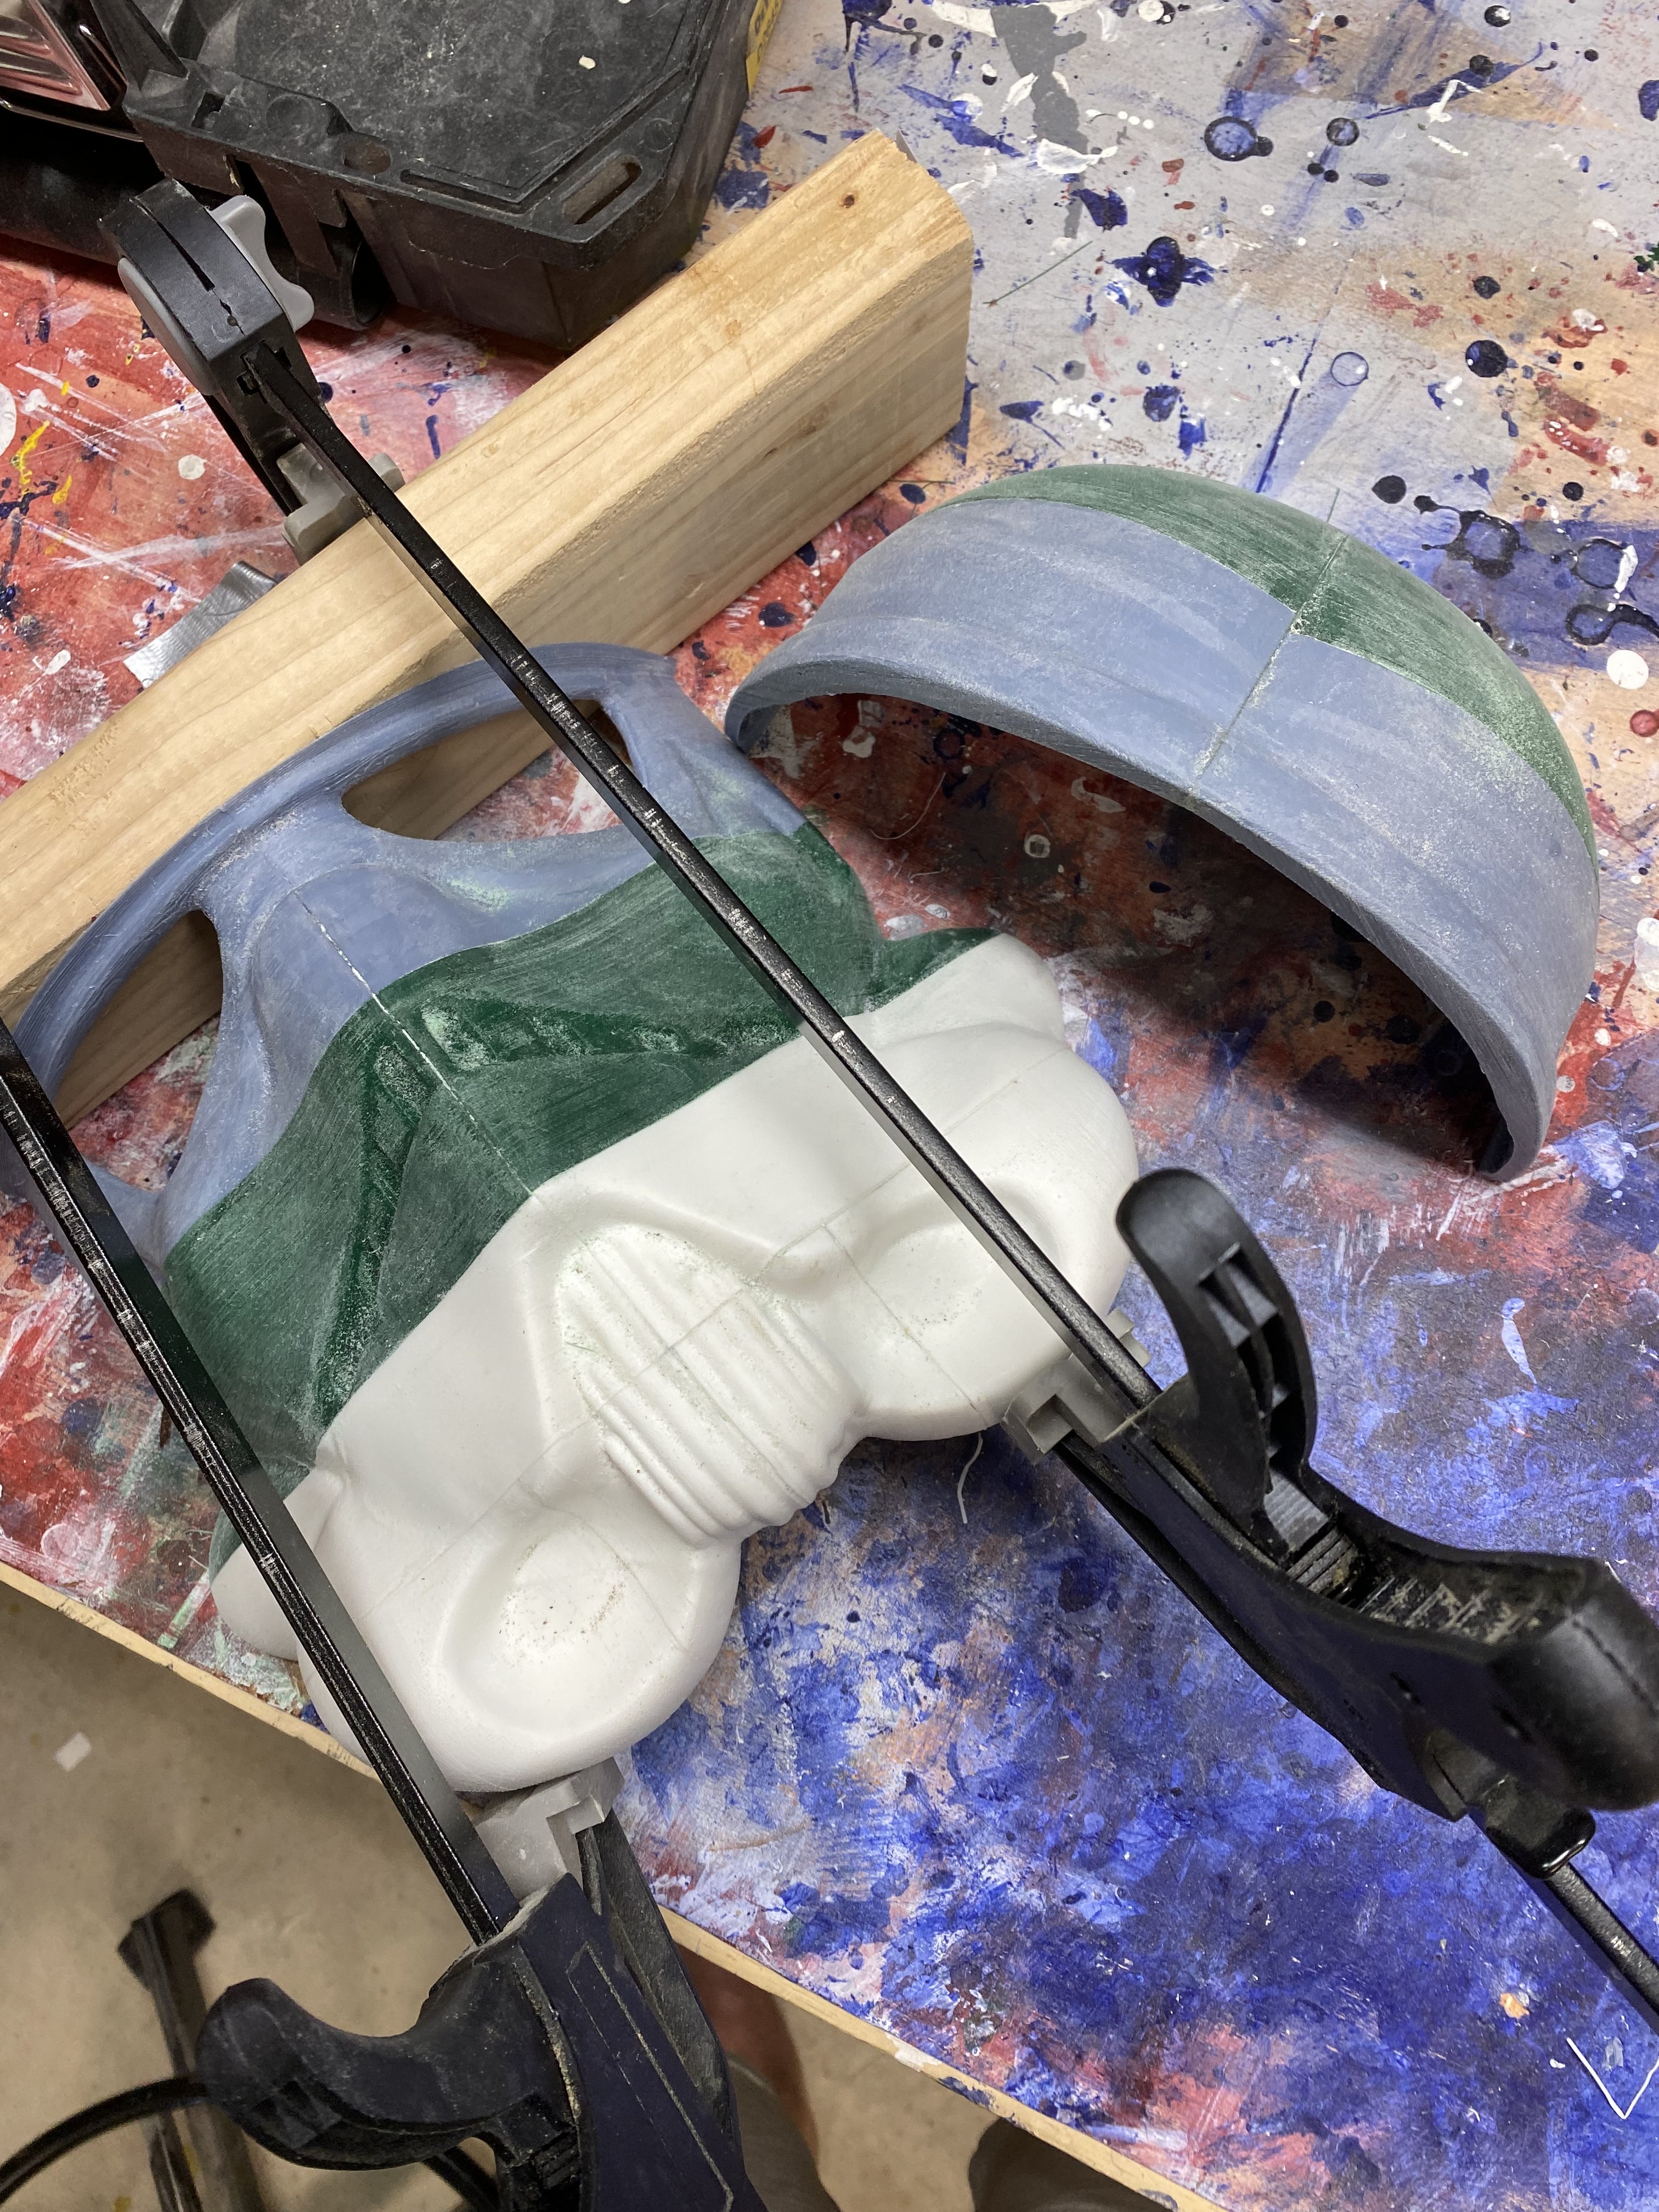
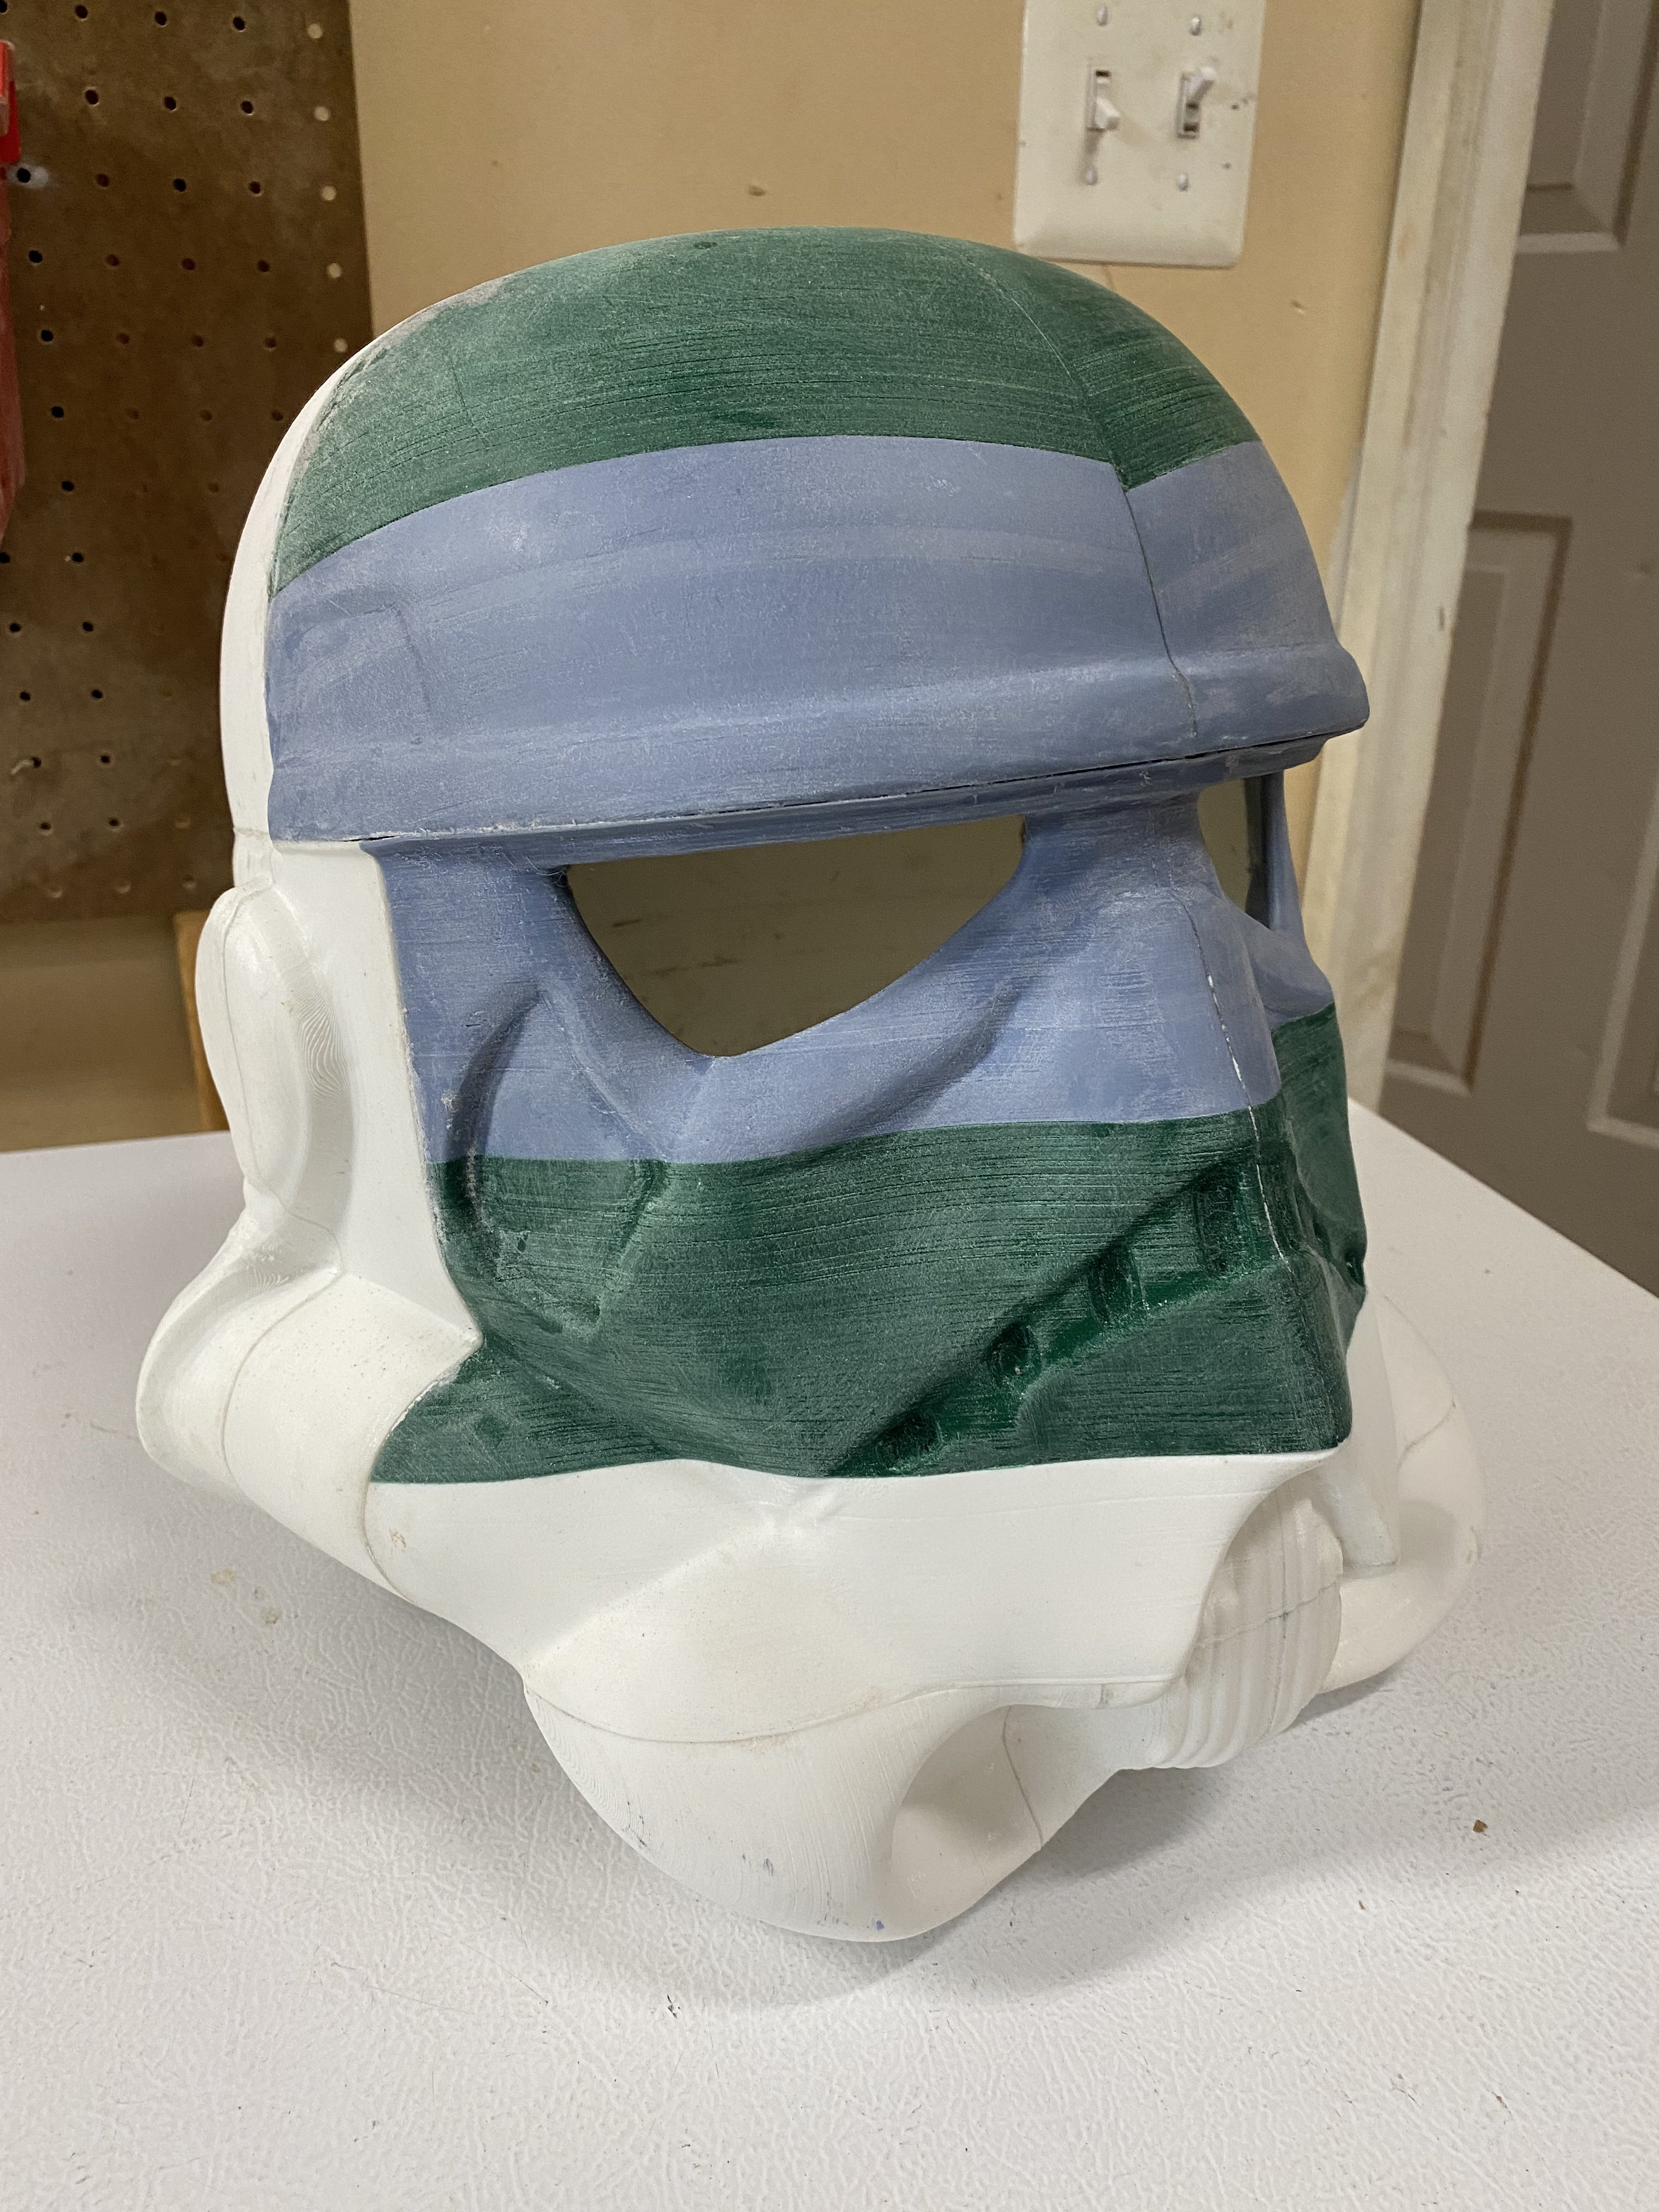
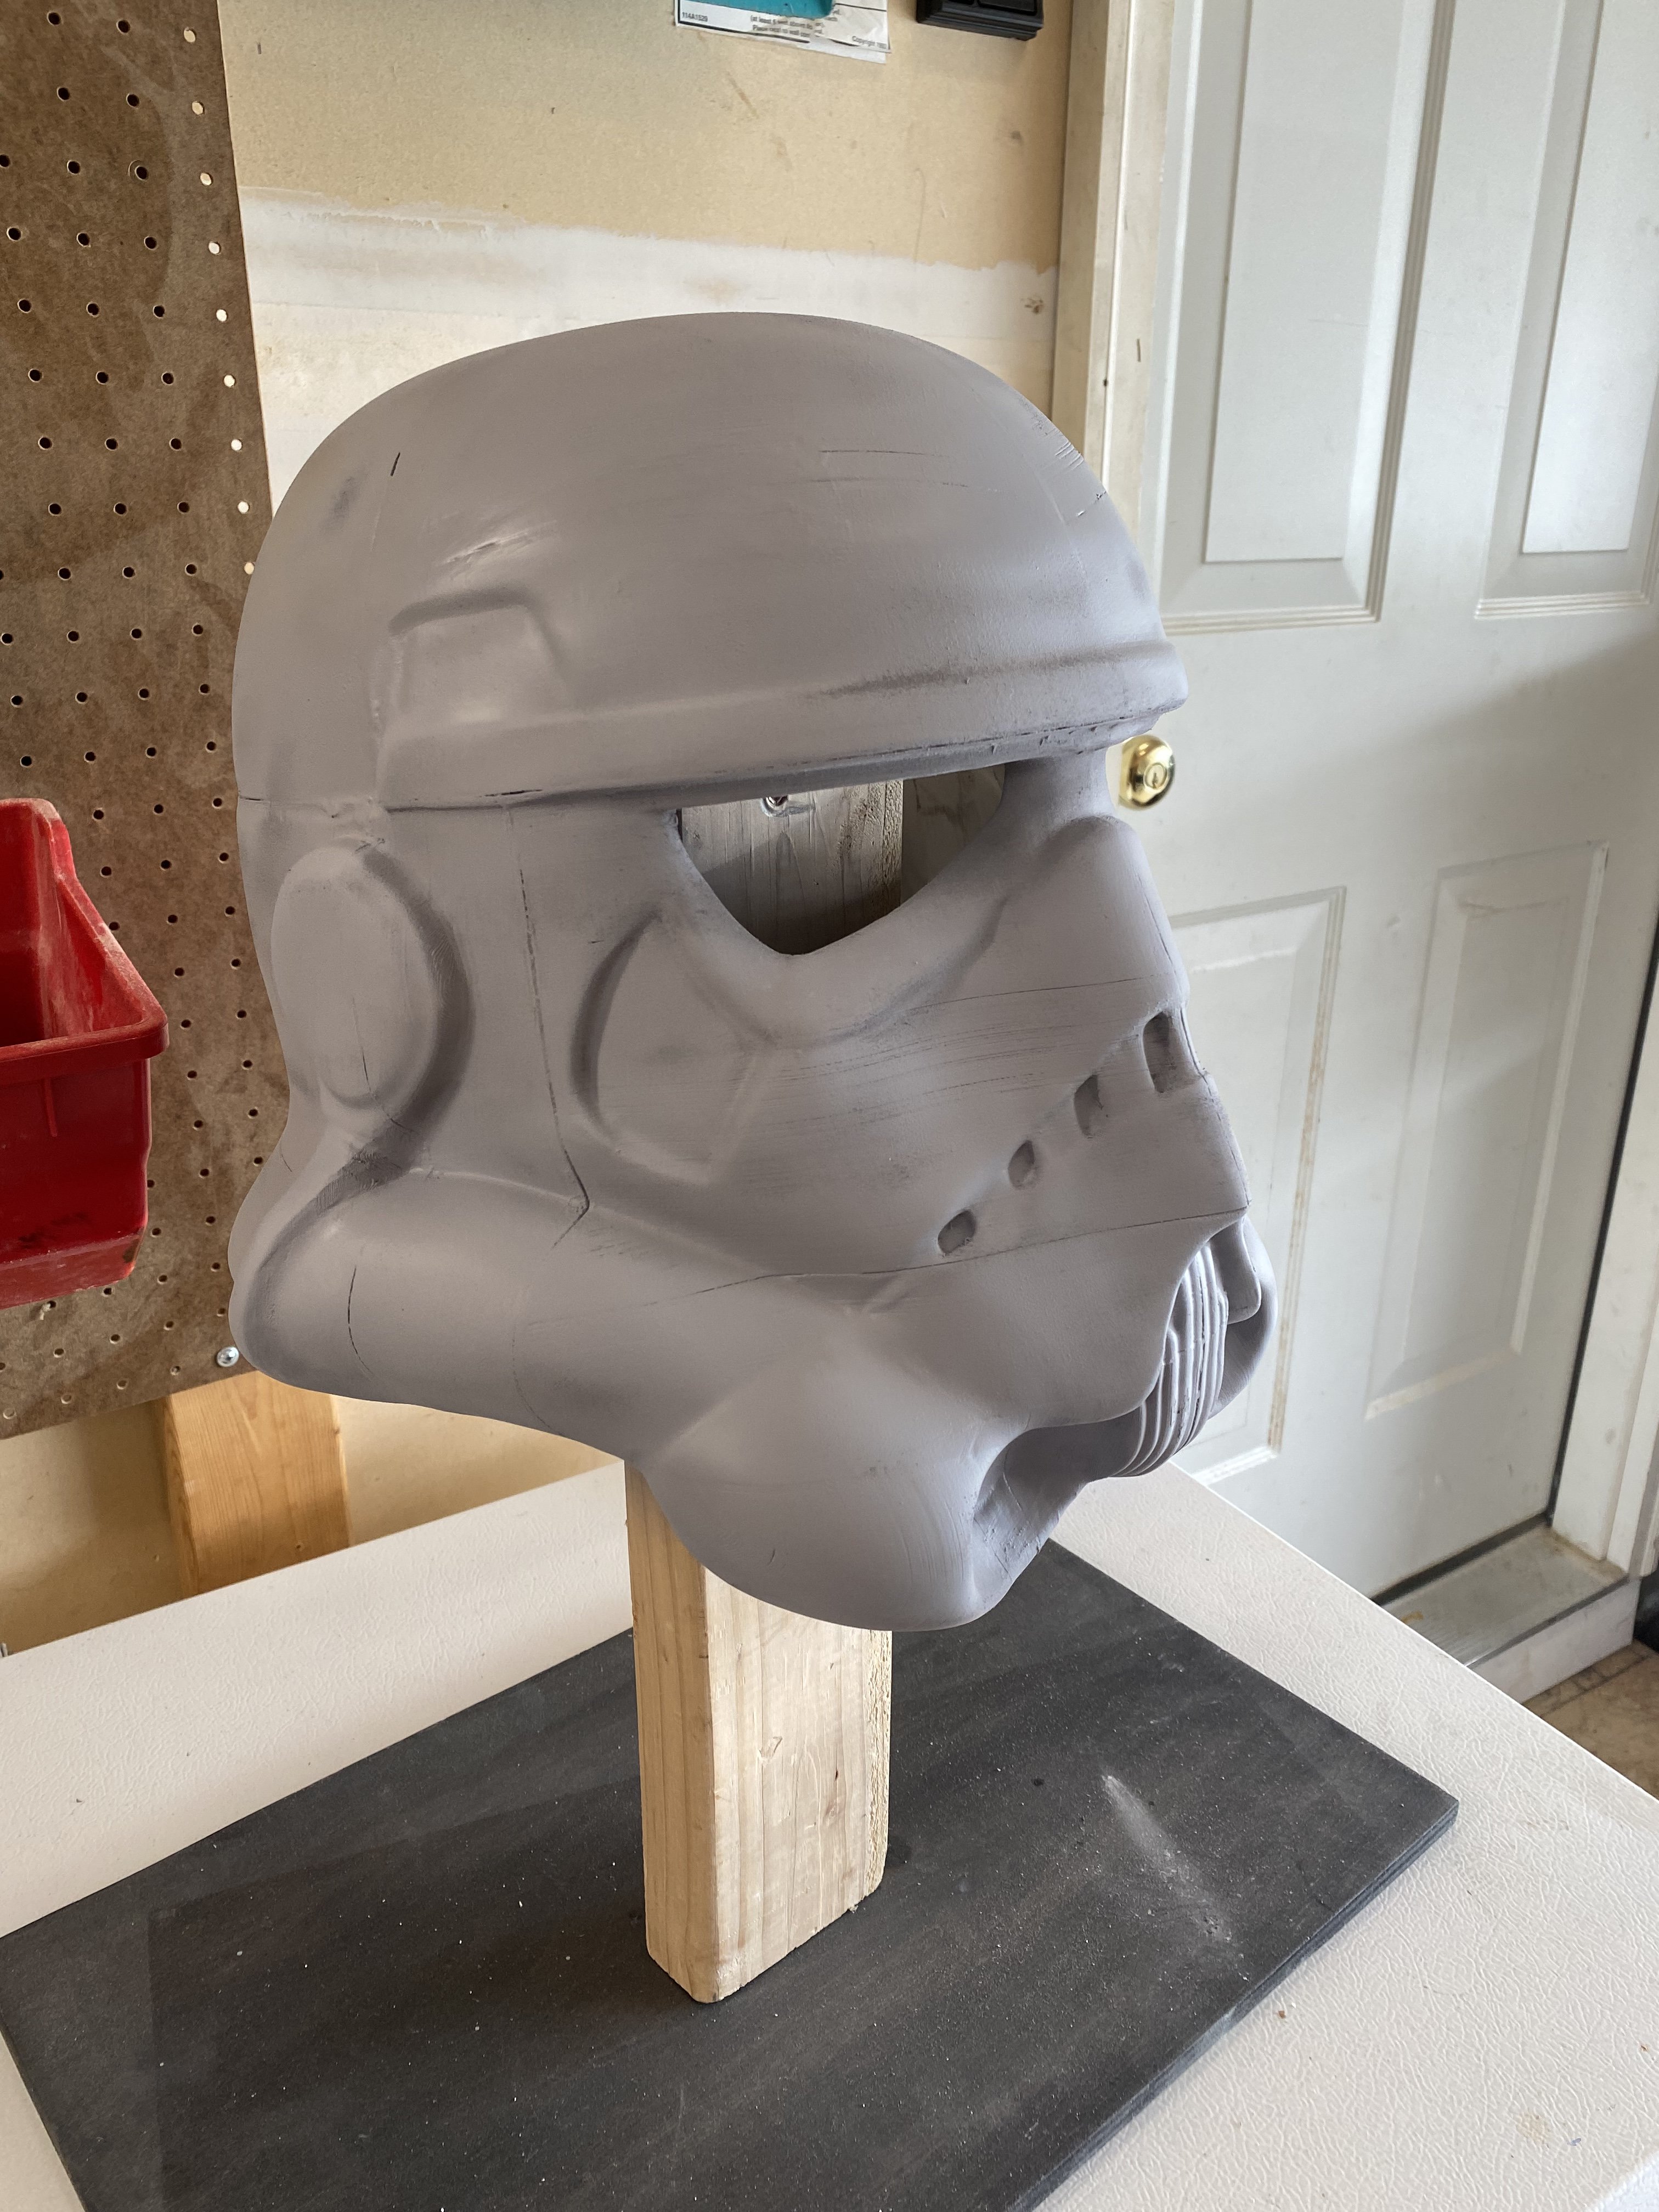
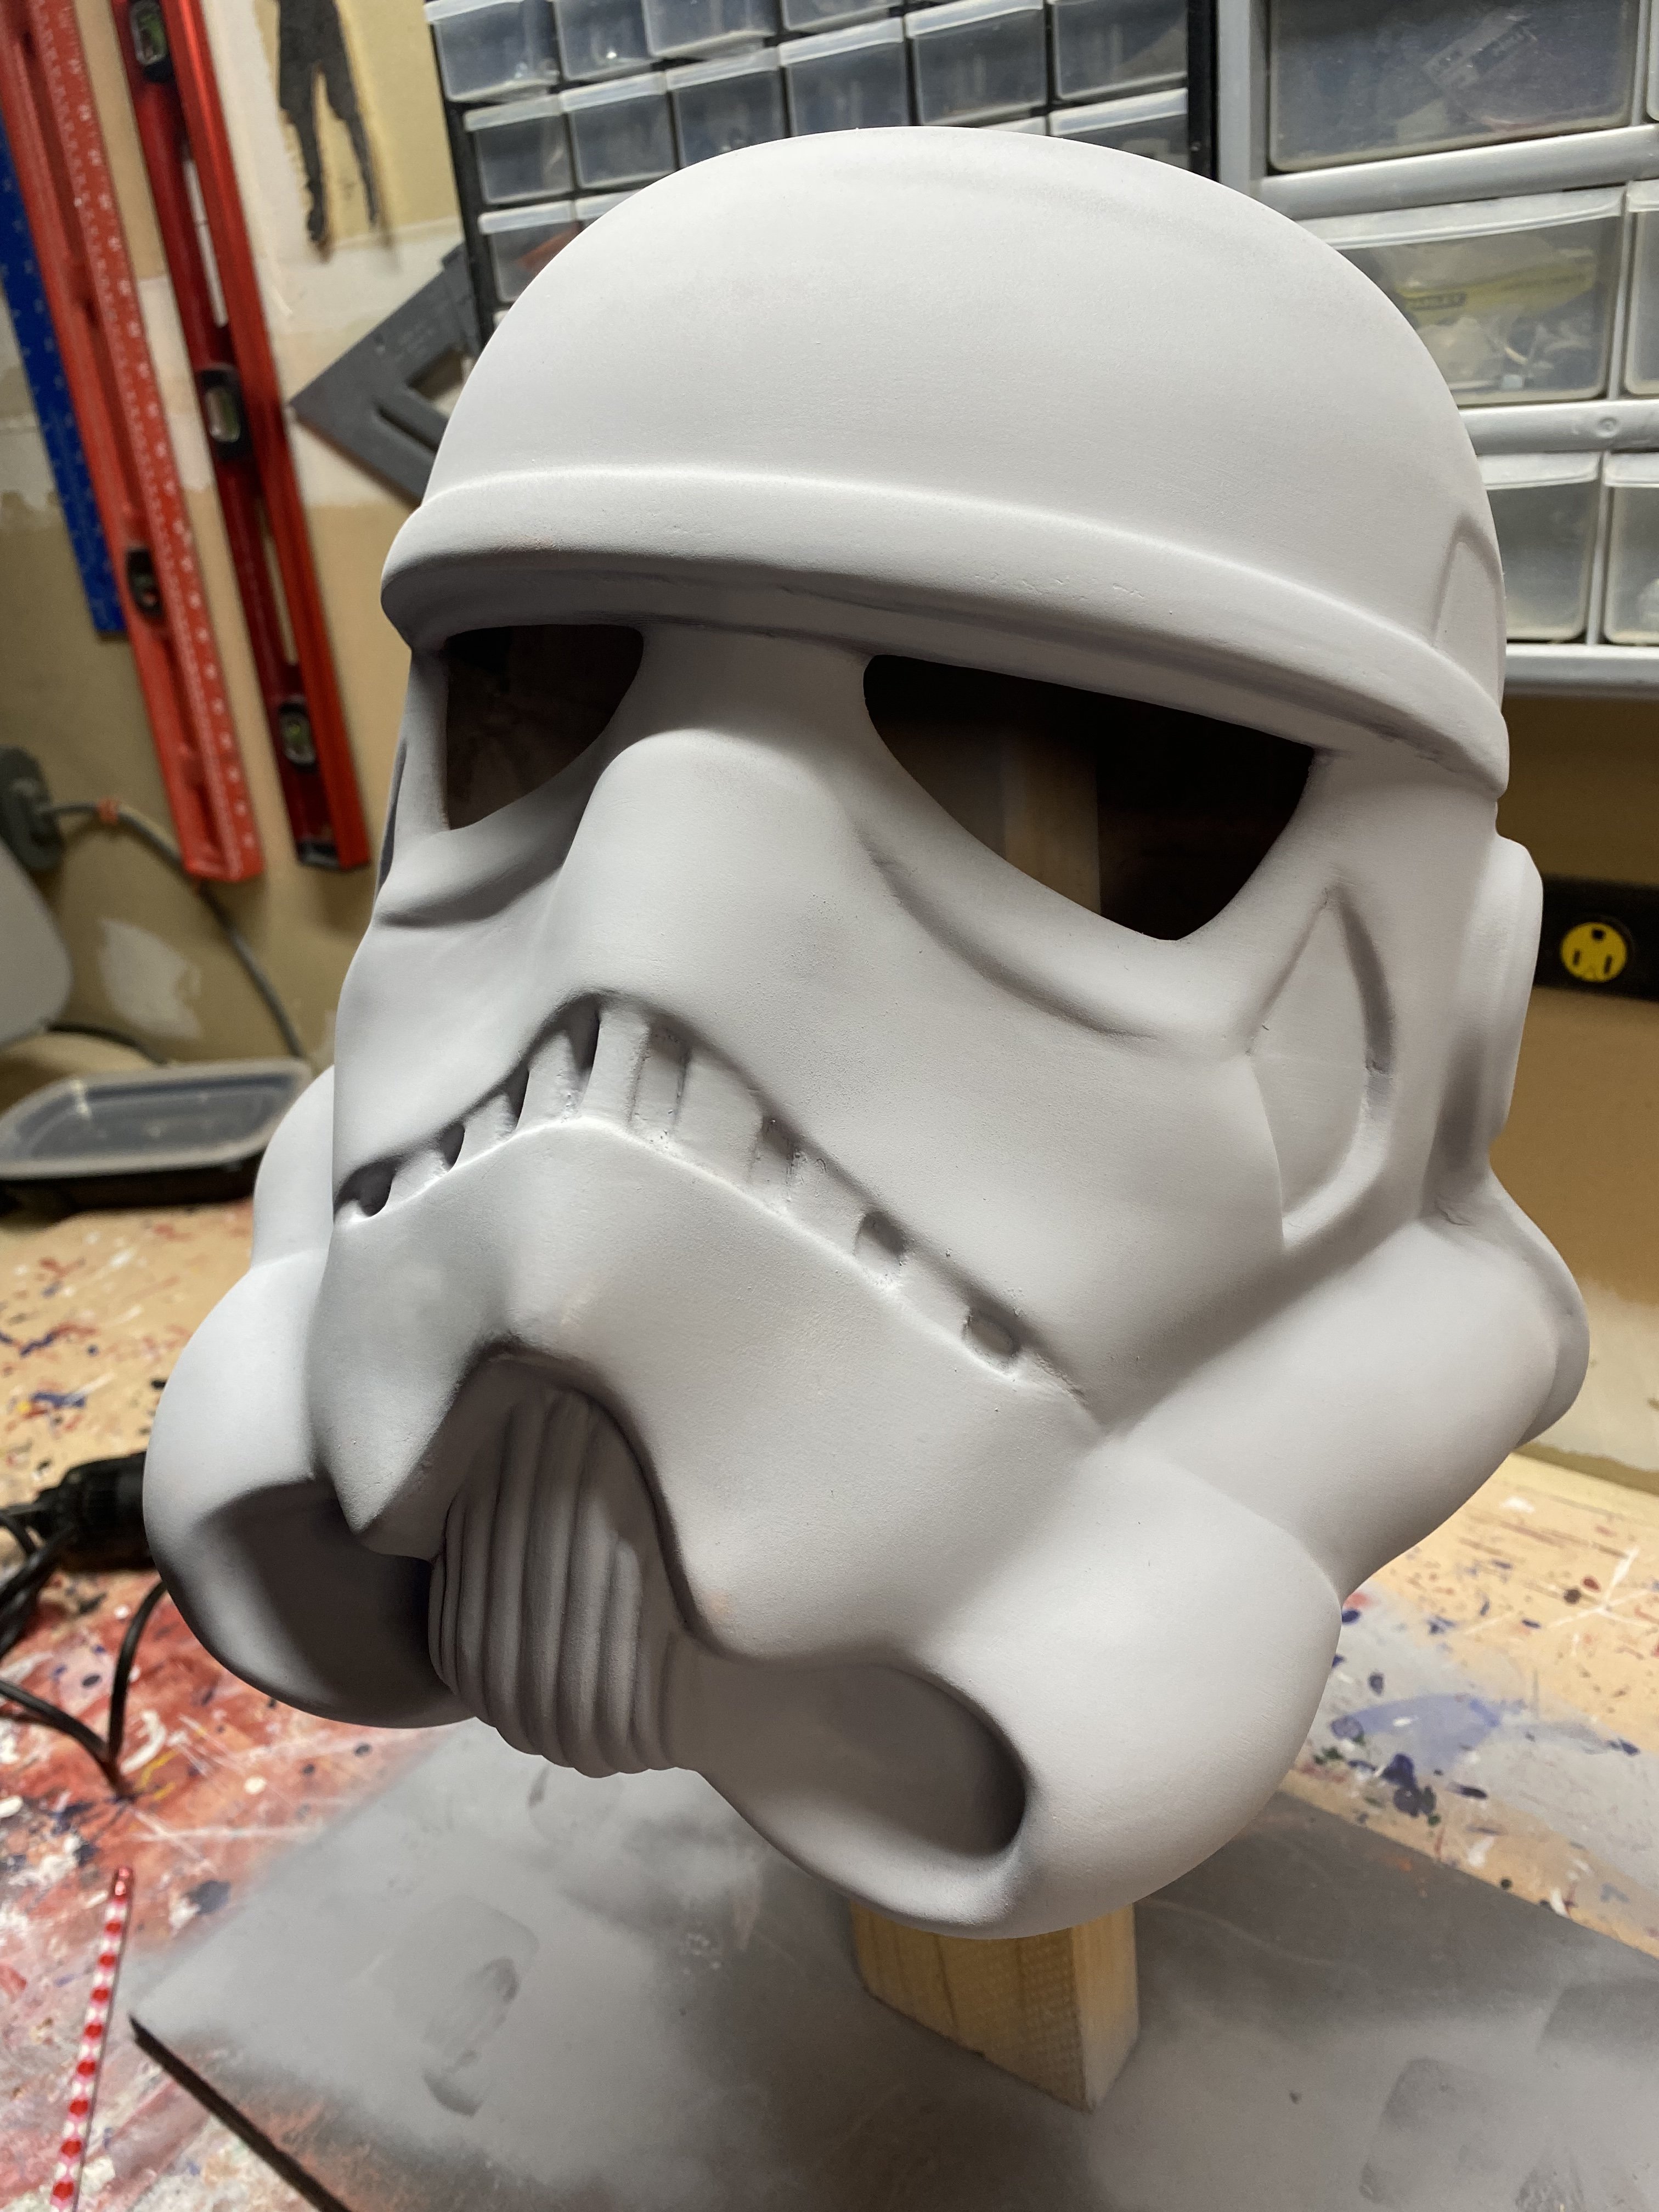
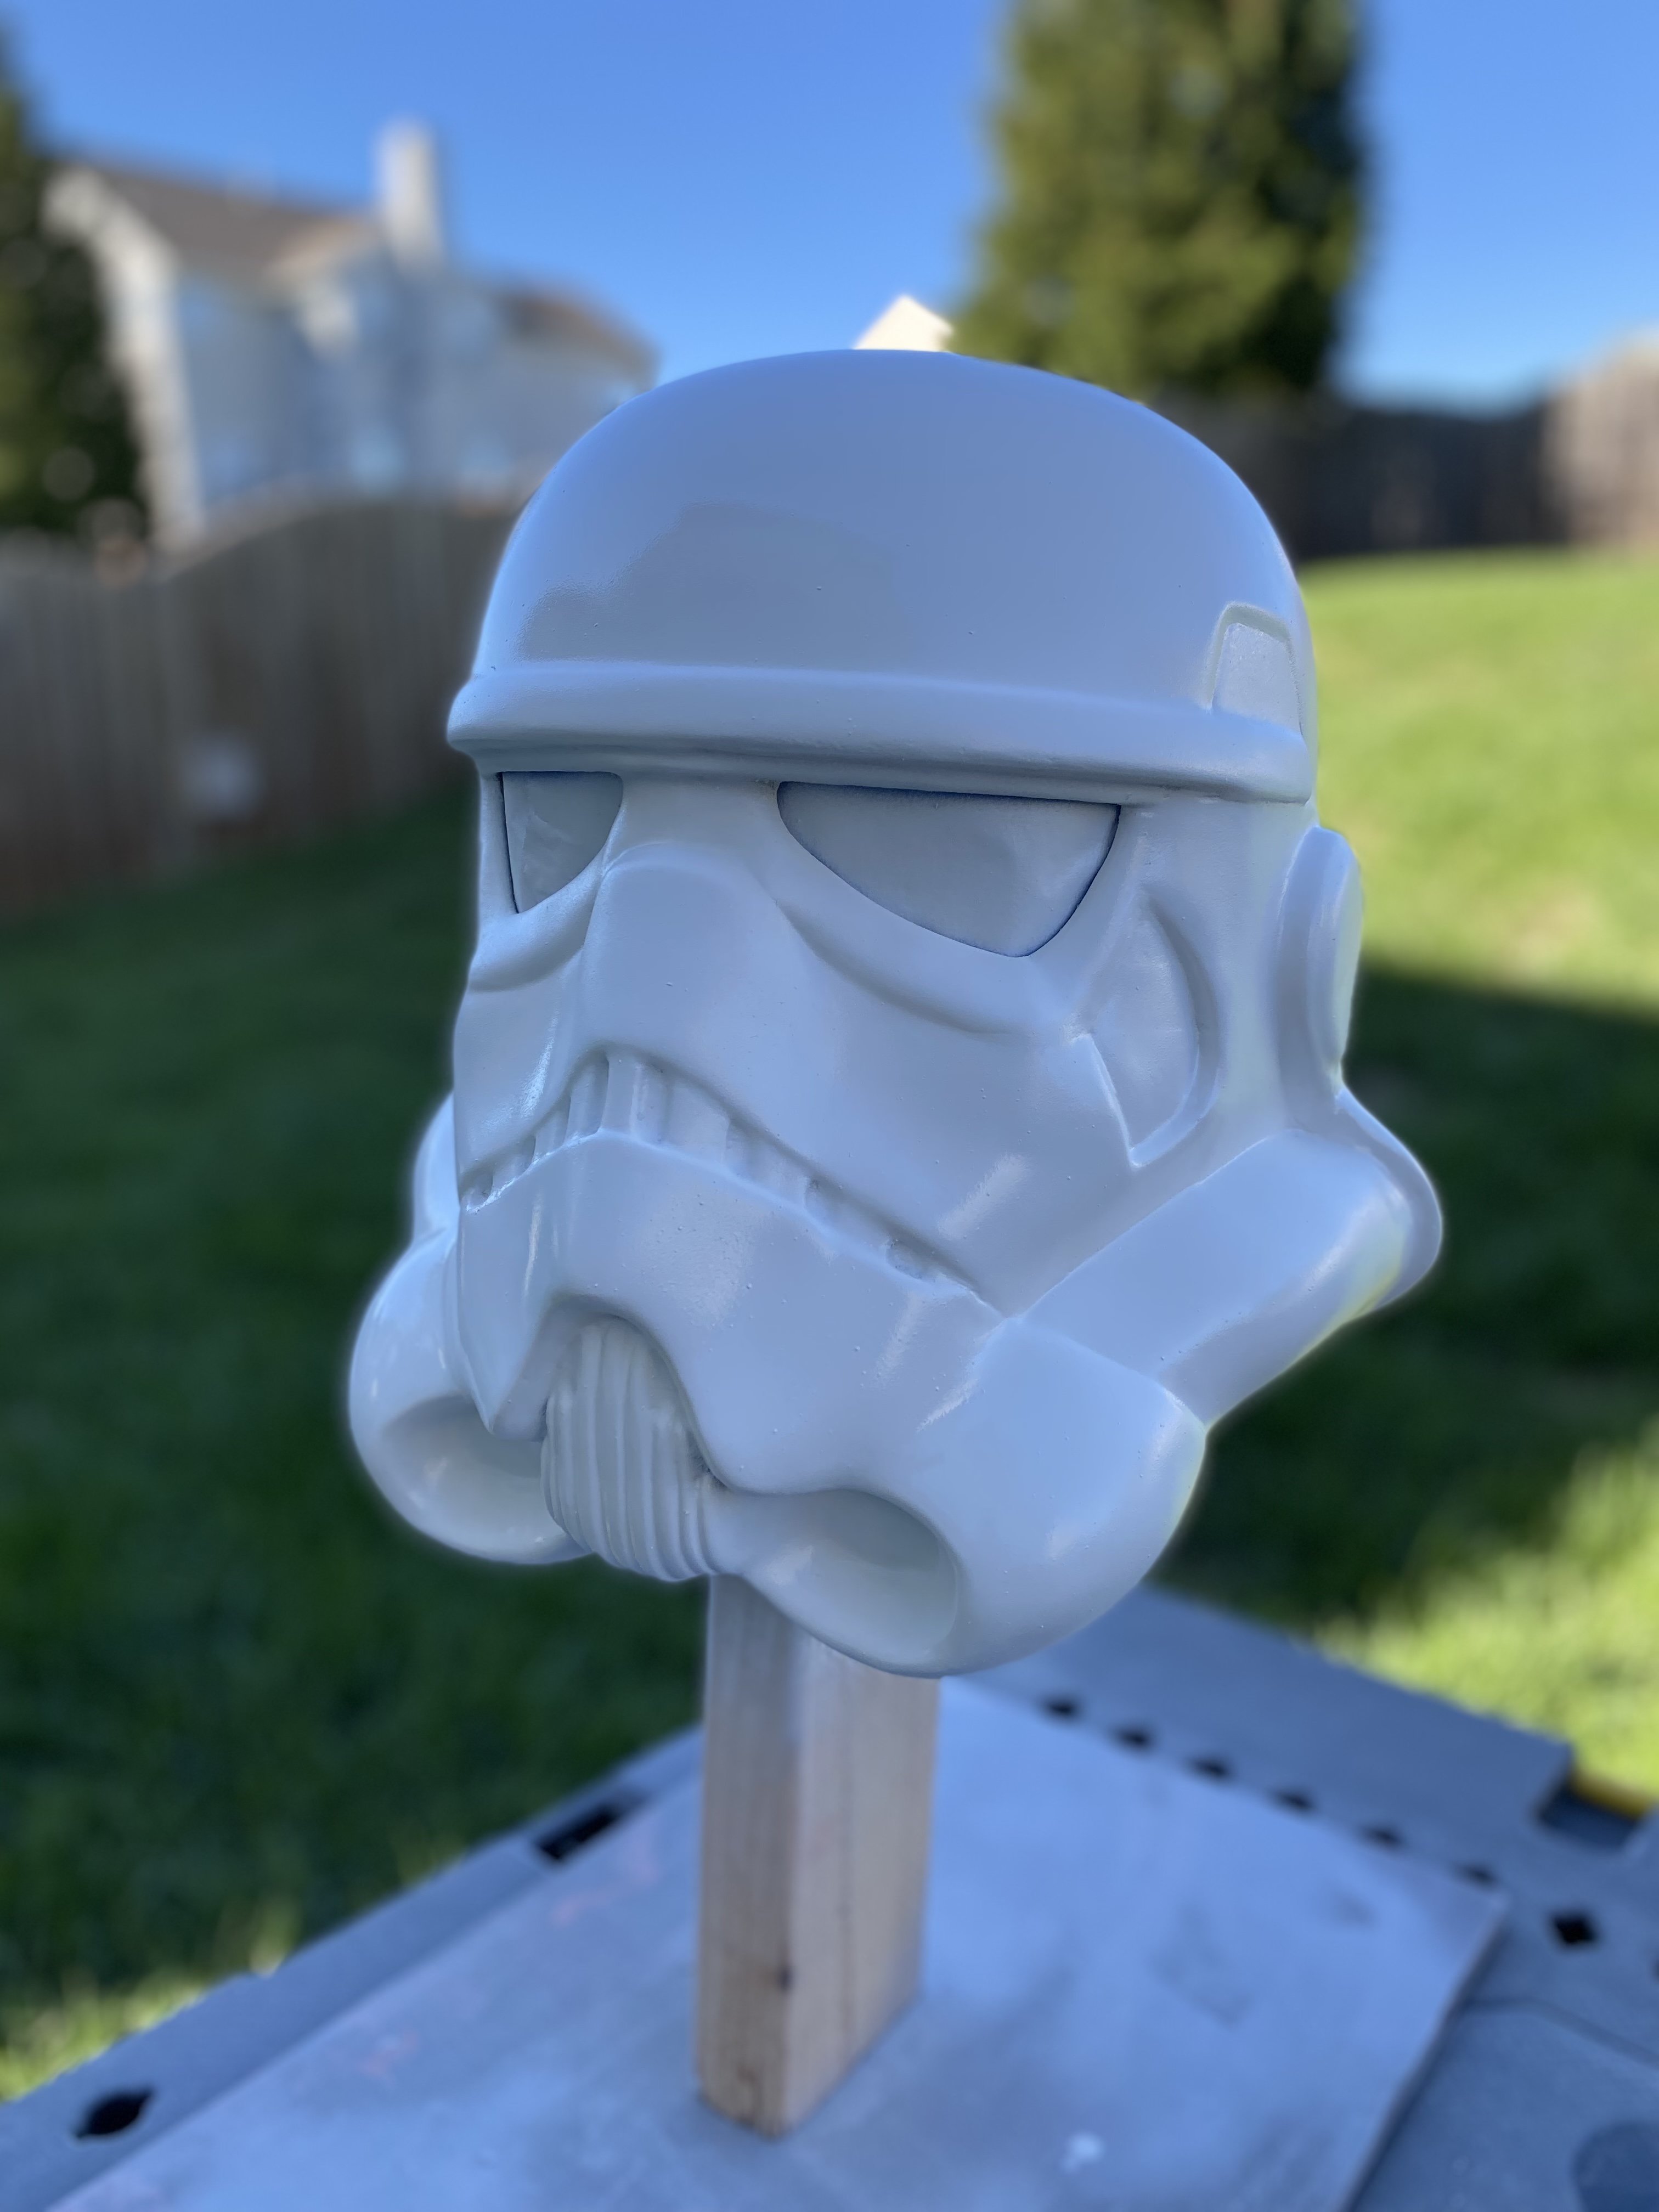
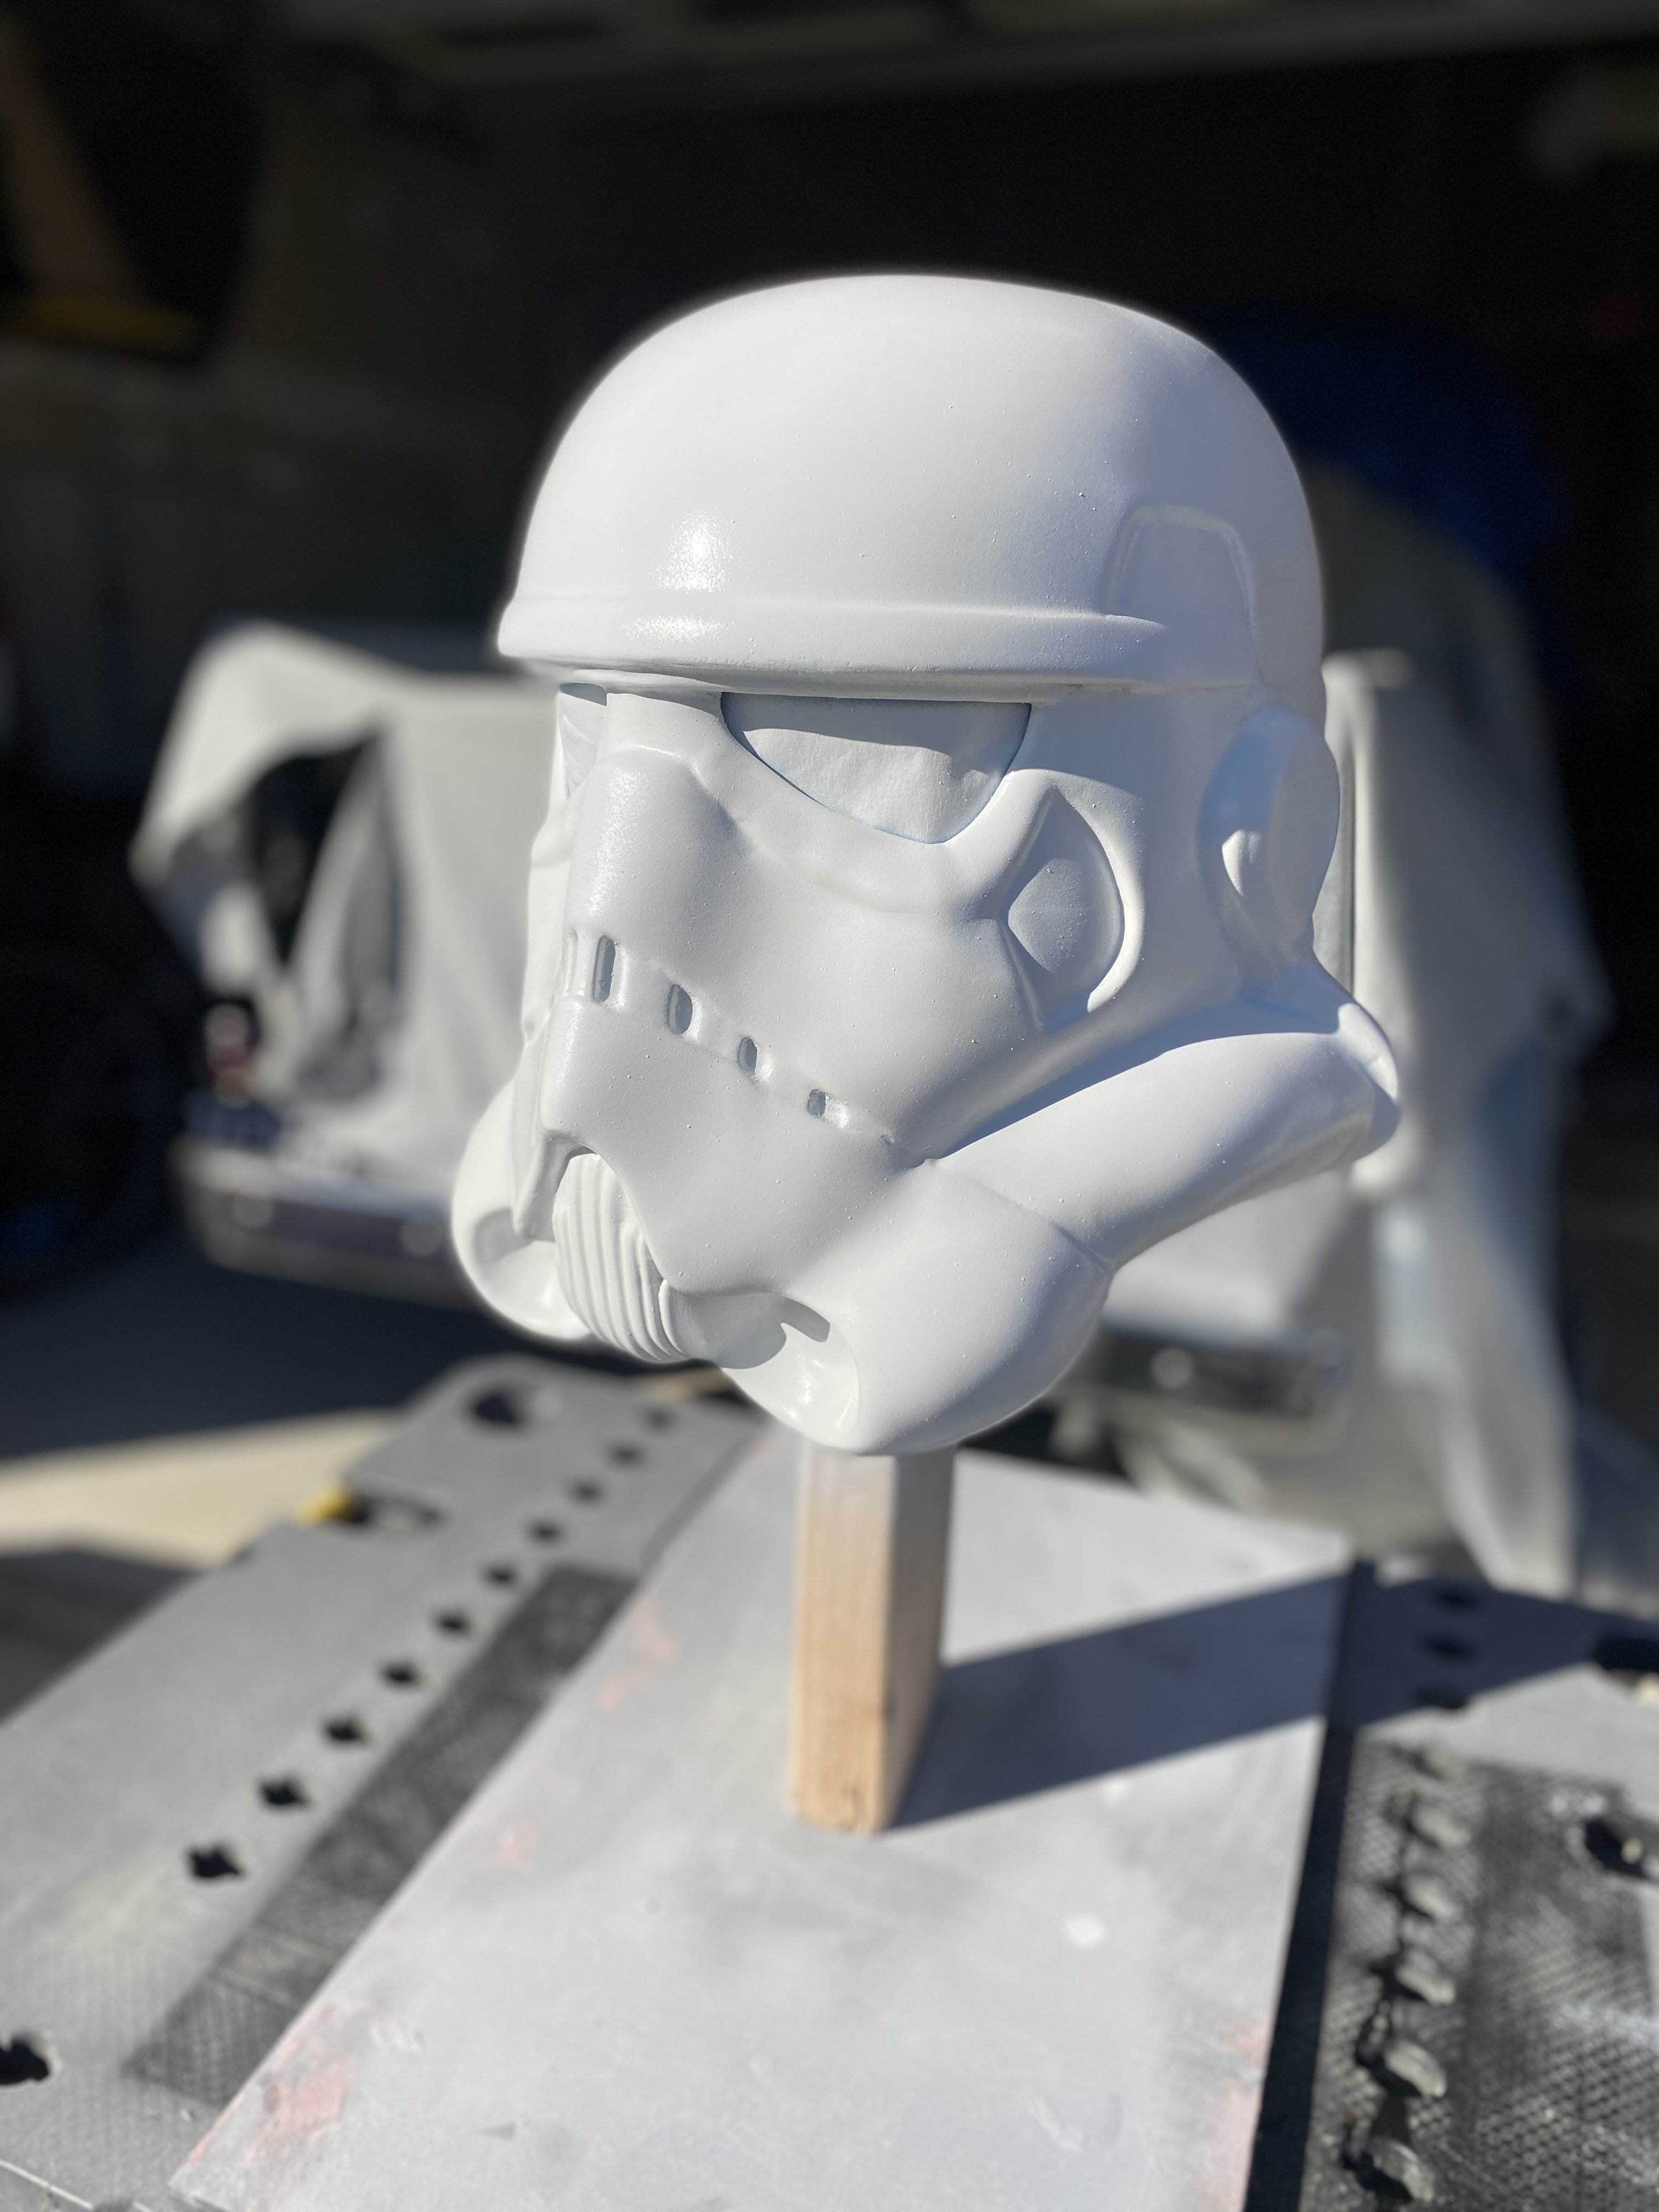
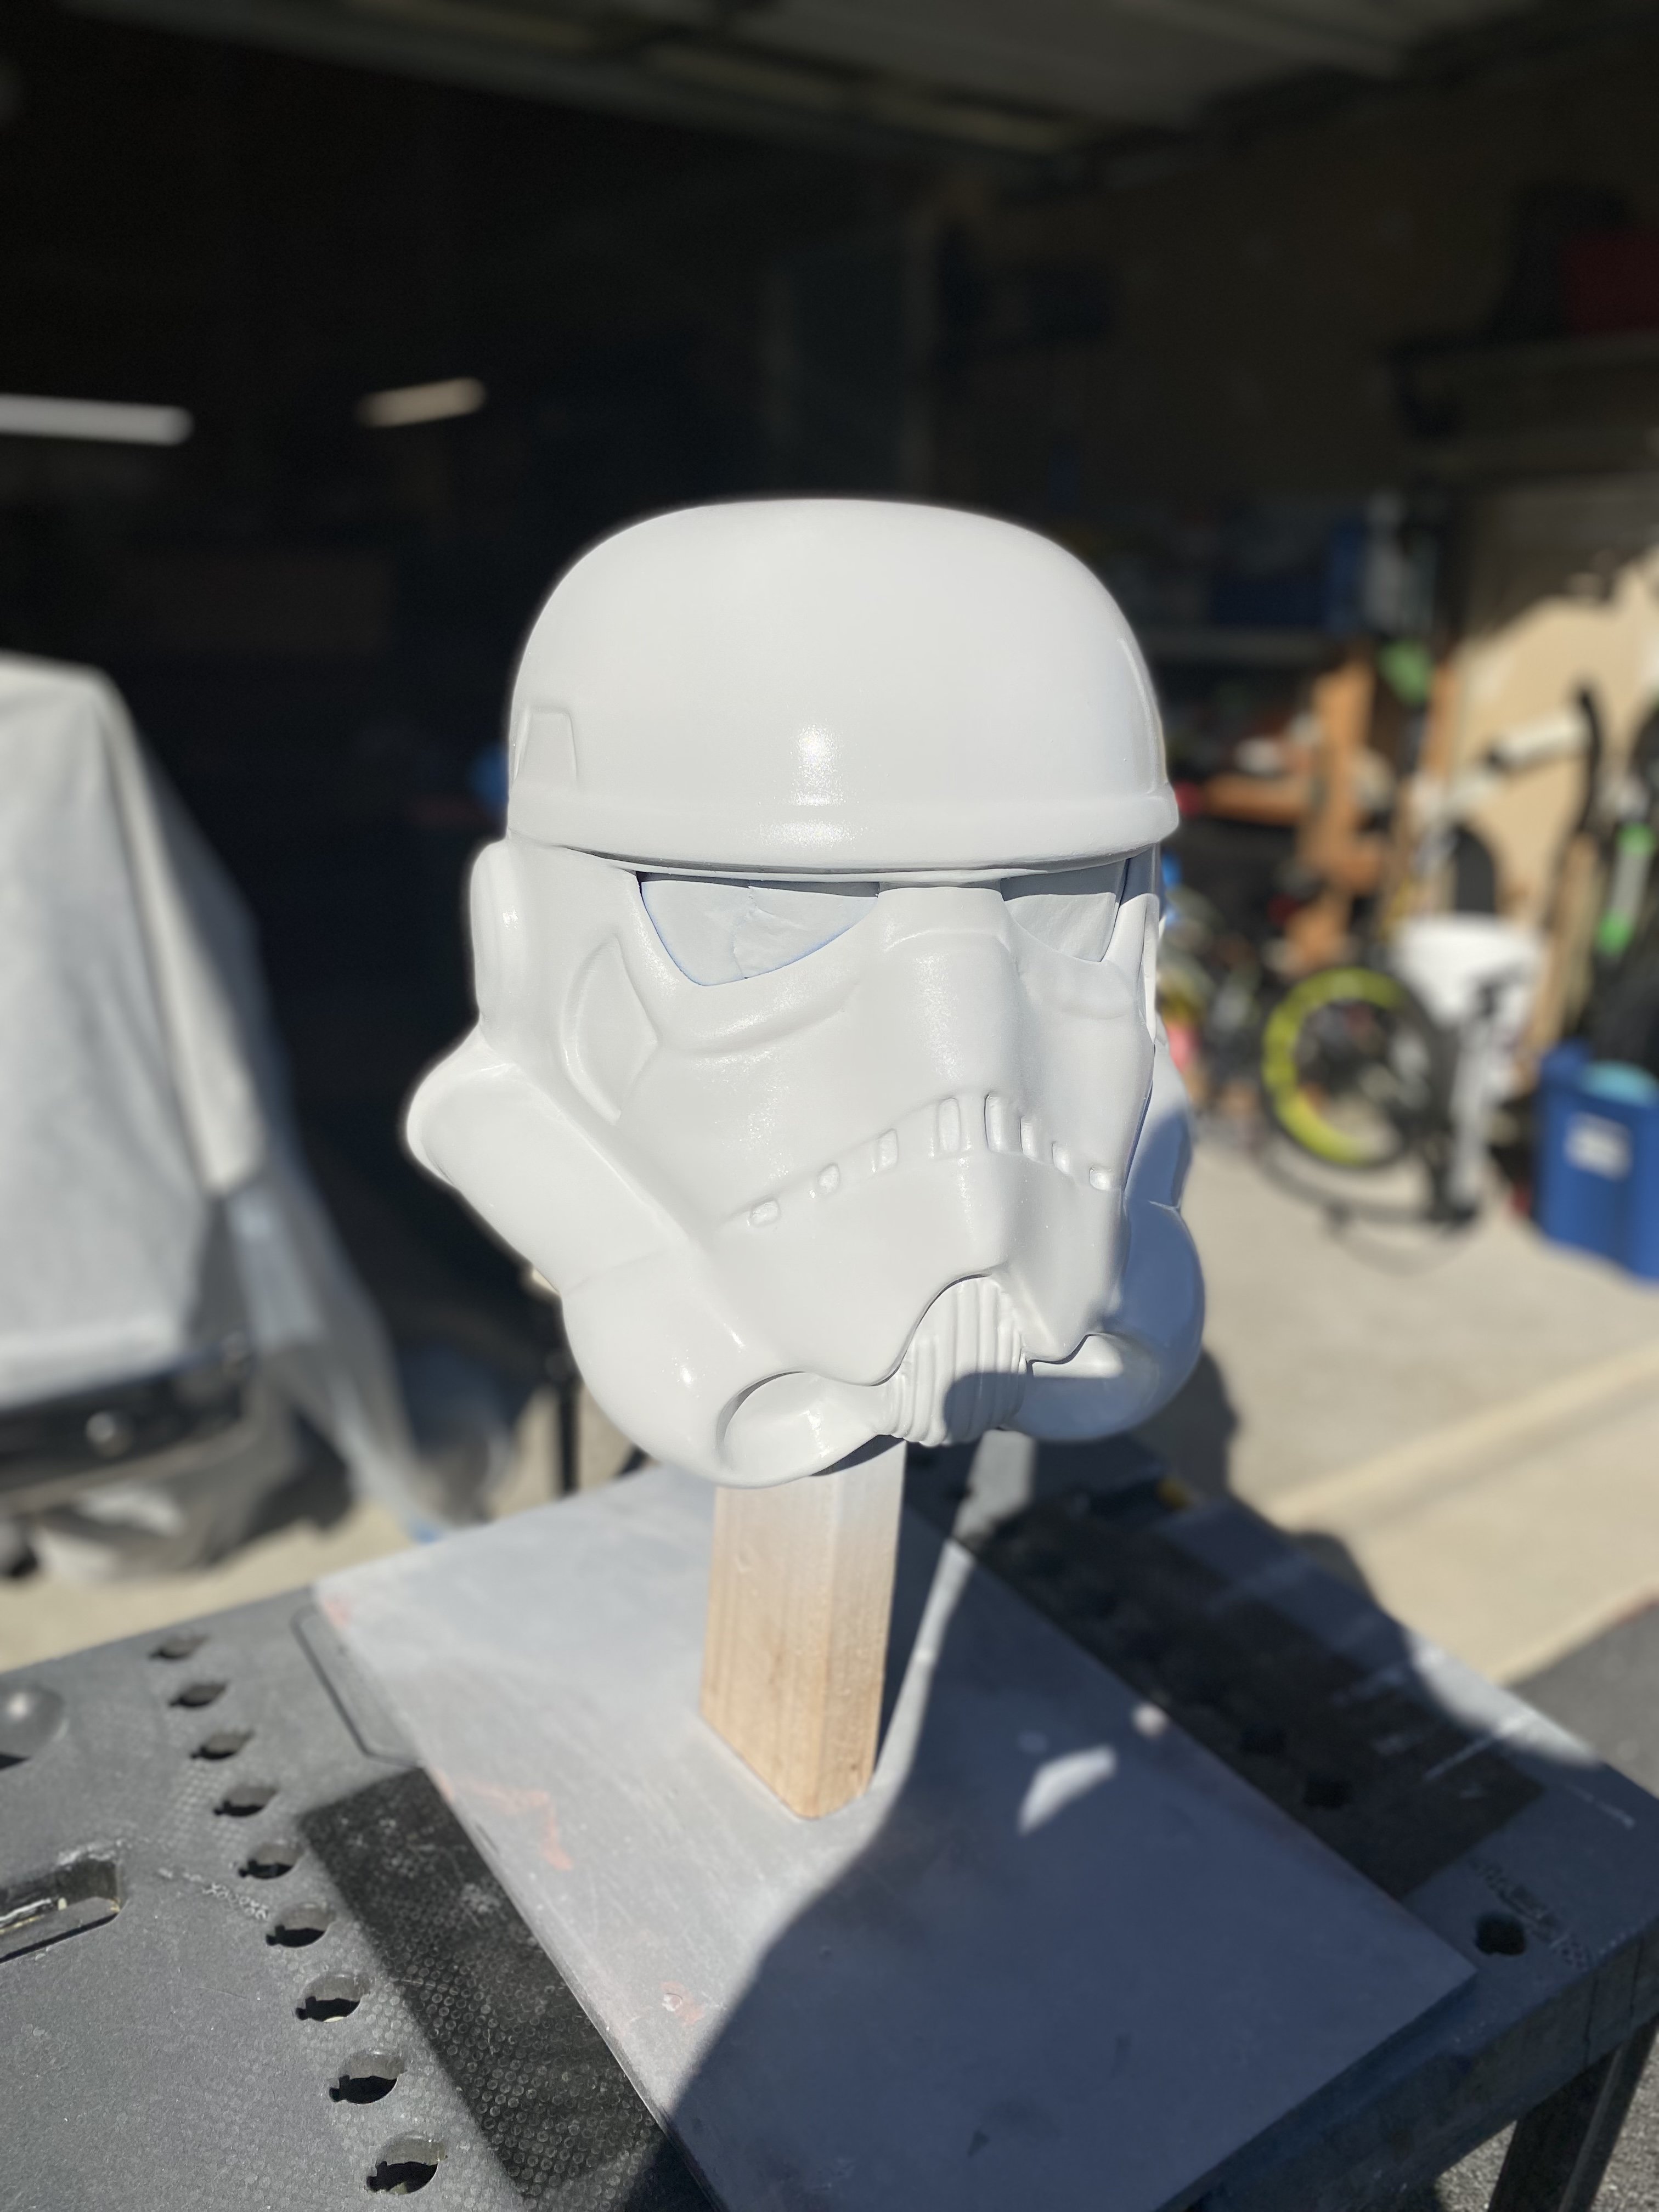
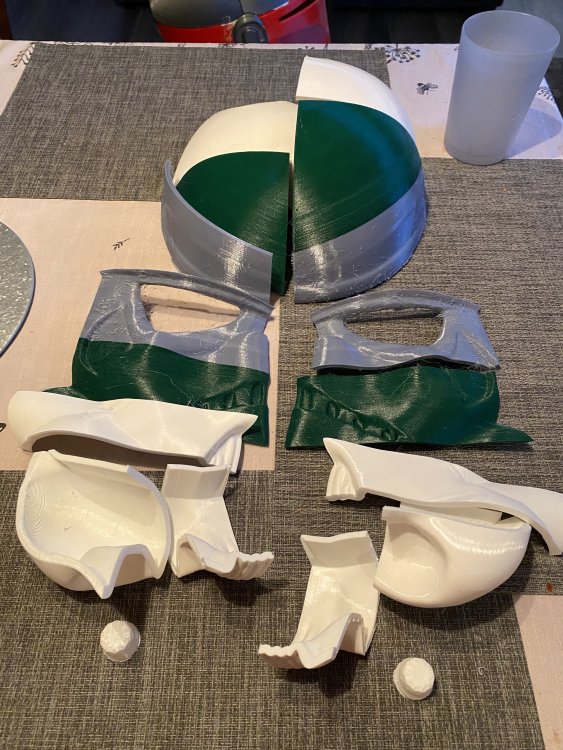
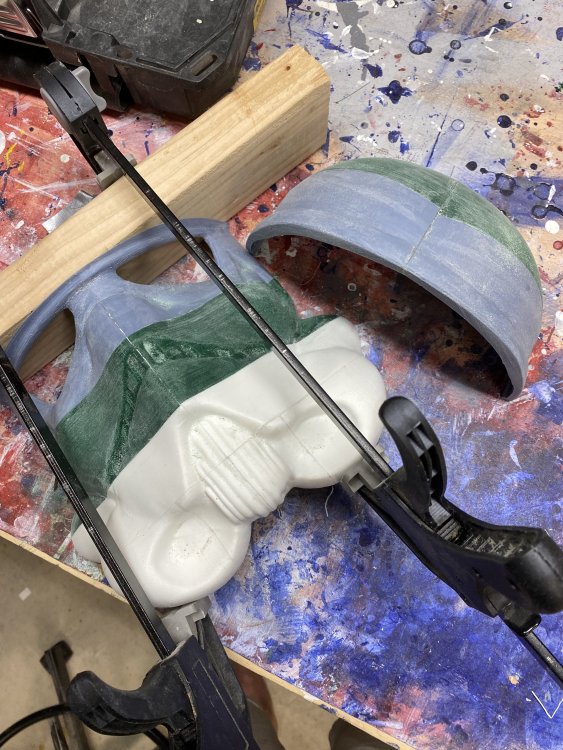
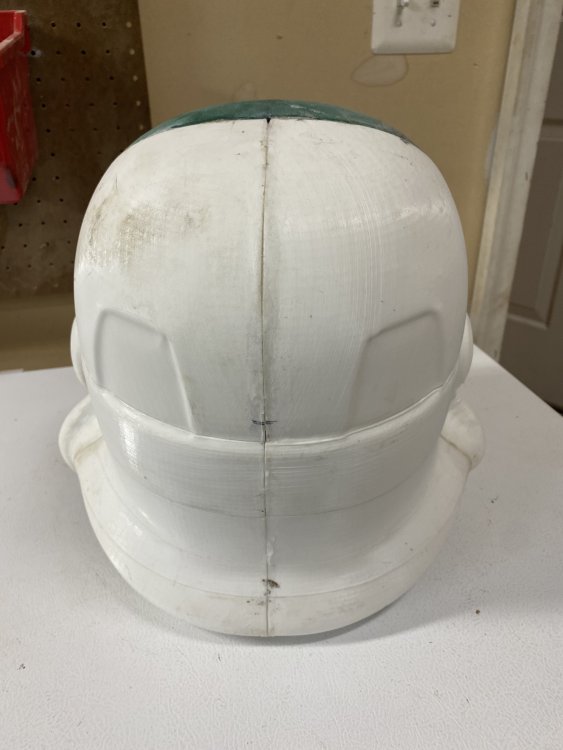
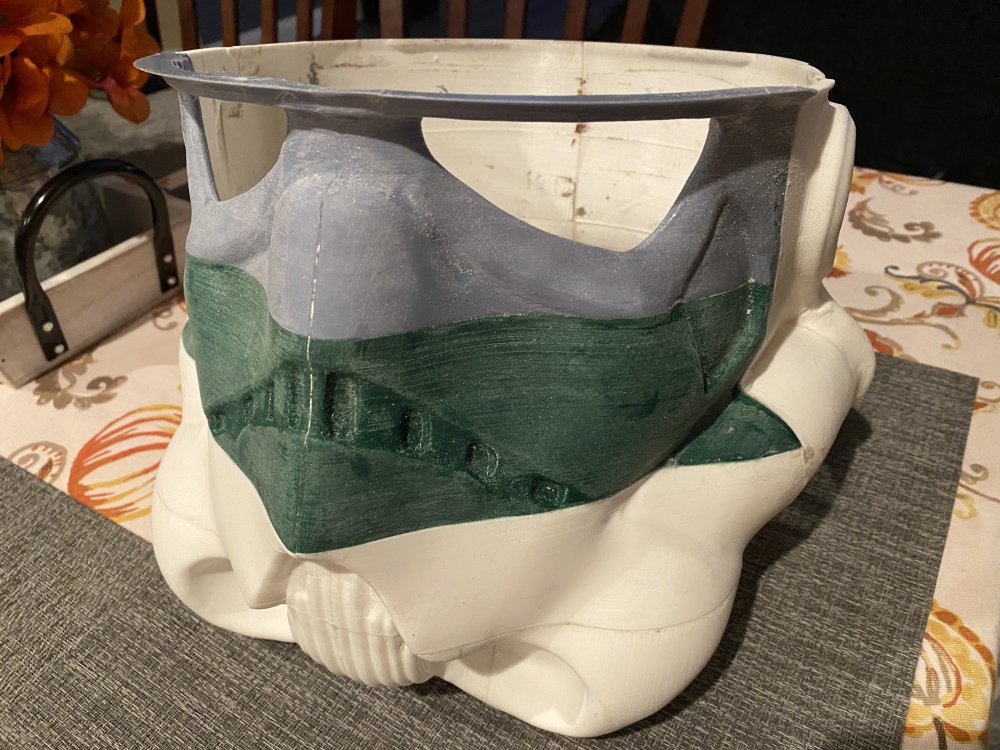
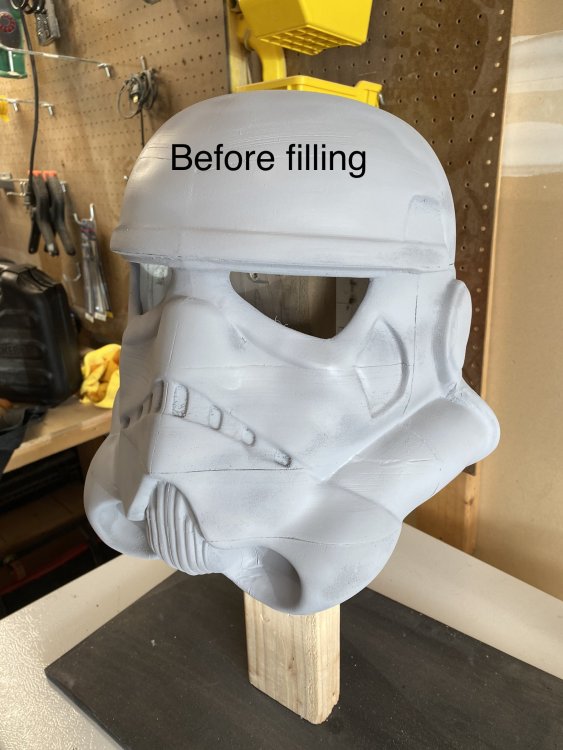
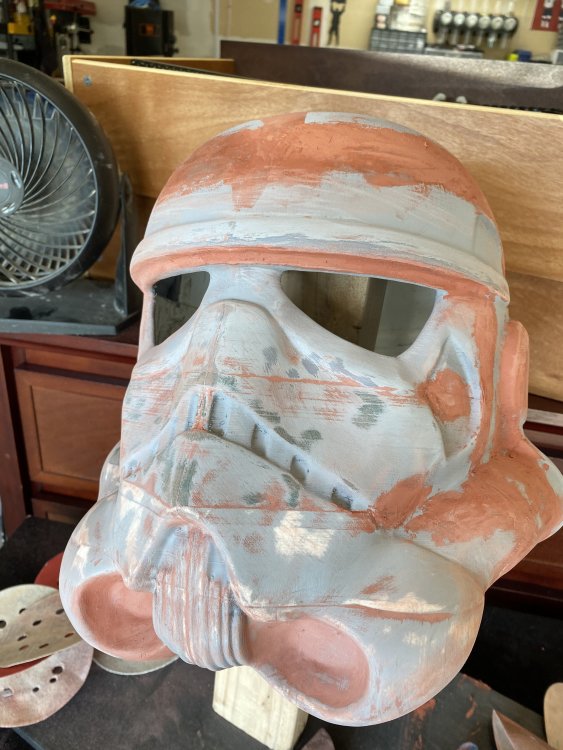
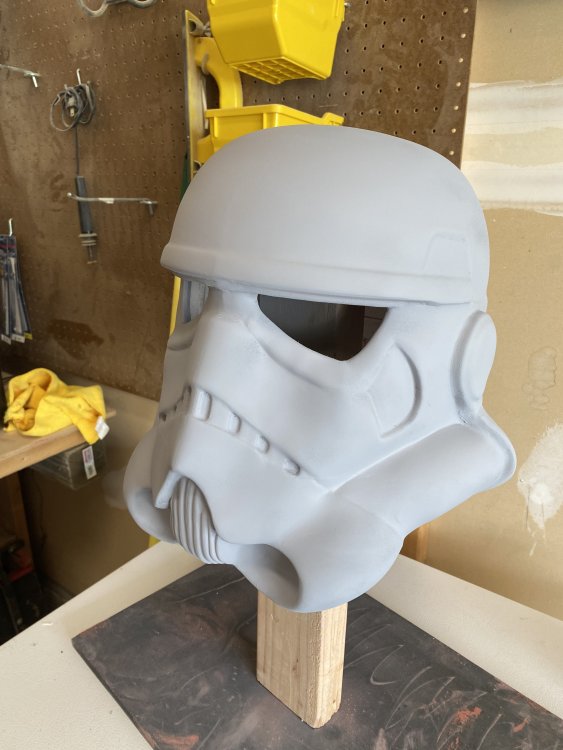
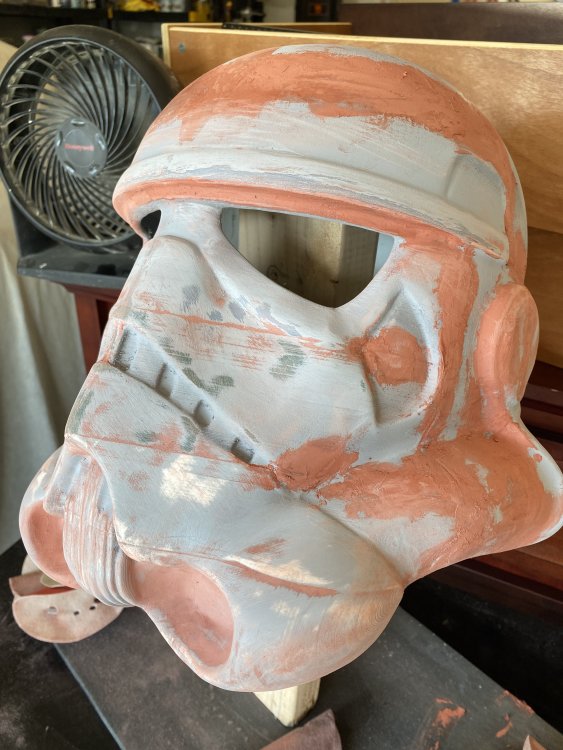
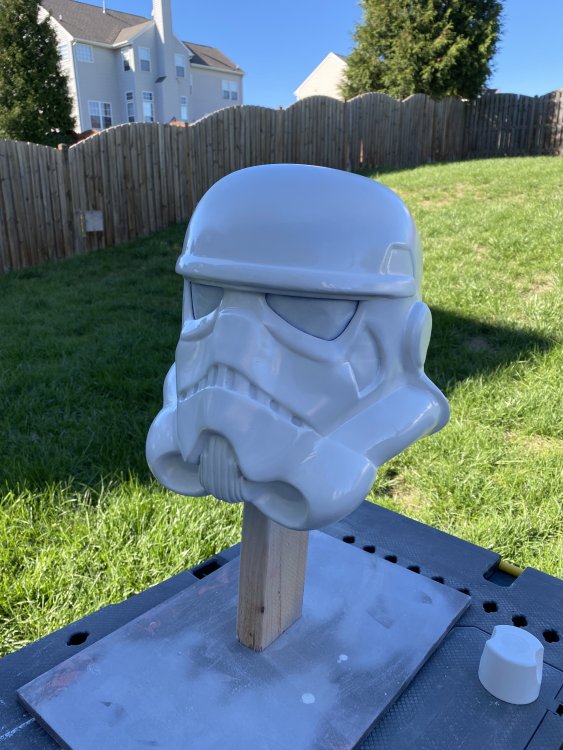
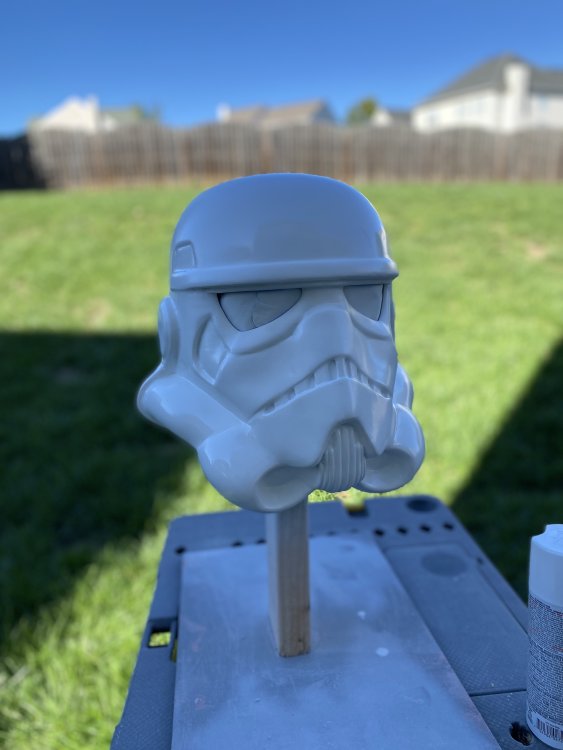
Hi everyone, first let me say thanks for being such a great resource and you all seem like a great community. I’m in the process of building my first helmet…I know, just a helmet, but this has been a really cool really great build so far. A friend 3D printed all the parts for me (28 pieces). So far I have glued, fitted, sanded, glued, sanded, primed, filled, sanded, filled, sanded, filled, sanded, primed and today I got the first real paint on. This has been a lot of work, but hey, keeps me out of trouble and I think I’m going to start a helmet collection. Not sure if I’ll ever do full armor, but the helmets are a blast! Anyway, great to meet you all, and thanks for all the help you have already been!


 1 point
 -
Name: Kris Typolt ID: TK-23410 FISD Forum name: Crampeat Garrison: Titan Legion Profile: https://www.501st.com/members//displaymember.php?userID=34008&costumeID=124 Amour: RS PropMasters ANH Stunt Full Commission Helmet: RS Propmasters ANH Stunt Baster: RS Propmasters Boots: Imperial Boots Canvas Belt: RS Propmasters Handplates: RS Propmasters Neck Seal: RS Propmasters Holster: RS propmasters Height: 6' 0" (182 cm) weight: 165 lbs 1. 2. 3. 4. 5. 6. 7. 8. 9. 10. 11. 12. 13. 14. 15. 16. 17. 18. 19. 20. 21. 22. 23. 24. 25. 26. 27. 28. 29. 30. 31. 32. 33. Noticed back of right shin looked off so I made some small modifications Shoulder strap Inside thigh rivets Helmet off Please let me know if there is anything I missed. Thanks in advance for all you do and to anyone reading this, I hope you have a great day. Cheers, Kris1 point
-
Other than the excessive wrinkling on the back drop , incredible job as usual, brother!1 point
-
Congratulations!! Well deserved, and looking forward to seeing your Centurion application [emoji106]1 point
-
Congratulations trooper and welcome to the EI ranks1 point
-
Hi Colin, they removed only a centimetre or so from the rear of the thigh (so as not to increase the gap too much as Joseph mentioned). The return edge was removed as a result but kept at the front. They did a great job.1 point
-
Hello everyone, after searching the forum for several weeks and snapping up information, I have now decided to create my own account. About me: My name is Andreas, I come from Germany and live in the south of Bavaria. I've wanted to be a member of the 501st for a long time and I hope to be soon. I recently ordered a stormtrooper suit from RS Prop Masters - fully finished commission because I have two left hands and I'm a little unsure whether I can make a proper suit myself - and am now waiting for the delivery. Greetings from Bavaria Andreas1 point
-
Thank you sir. Sent from my iPhone using Tapatalk1 point
-
Question about the Han snap: Does this position look okay and should it be a ligne 24 or a ligne 20? This placeholder one is 24.1 point
-
Not possible!1 point
-
Go for it Danny.1 point
-
Huh?
 1 point
 -
https://www.whitearmor.net/forum/eib.html/ Just to close this topic after 4 years - here's the new gallery1 point
-
Hi folks, I’ve reworked the weathering a little and added the white lettering to the M38 scope. With that in mind, I just HAD to take some new, swanky photos and share them with you all. For anyone that wants to learn a little more about the processes involved, and to see more photos of the finished blaster, here’s a new video: Thanks for stopping by. Any questions, don’t hesitate to ask. :-) Dan1 point
-
This^^^ Sent from my SM-G950F using Tapatalk1 point
-
If you make any updates to the files - will they be available to me, if I buy them now?1 point
-
For Sale/Trade (Personal Items Only) and Ongoing Sales & Project Runs use the auto archiving feature of our boards, which deactivates inactive threads, so we should not check for the date in these forums, but rather if they are autoarchived or not. If they are, we can move them to the actual archive. All threads without activity over 3 months are being auto-archived/deactivated. Question to this: For Sale/Trade (Personal Items Only) has it's own archive "For Sale - Archive" as a subforum. Should we move that to the main forum archives? For the Ongoing Sales & Project Runs I'd create a new subforum in the main forum archives, called "Ongoing Sales - Archive". I'll move any deactivated threads in there.1 point
-
Grüss Gott, Andreas! Herzlich Willkommen zu der Gruppe! Bin sehr gespannt auf Dein Kostüm, da ich auch von RS ein TK ESB vor ein paar Monaten erhalten habe und muss gestehen, dass diese sehr gut und sehr Original-getreu gemacht sind. Viel Spass!1 point
-
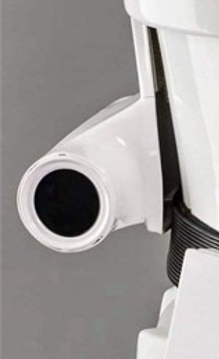
It is hard to tell, maybe if it is, the tube is butted up hard against it, but either way without definitive proof, its safe to leave it solid with the black circle painted or a decal.1 point
-
Does not look like it, still has the recessed area, probably find the tube sits into the recess.
 1 point
 -
Danny has now moved 6,874 post from New member intros to the archives. That sections is now complete and ready for re organisation and new name.1 point
-
I FINALLY managed to get a decent listing up on Etsy for the files, if anyone is still waiting for this... Meanwhile, I'm printing this suit for myself as well. I would love to have this thread turned into a build thread. https://www.etsy.com/Die3DSchmiede/listing/1089257123/first-order-stormtrooper-3d-print-file?utm_source=Copy&utm_medium=ListingManager&utm_campaign=Share&utm_term=so.lmsm&share_time=16326739061841 point
-
Nothing wrong with "poor mans" effects I use them in pretty much all my weapons,. A couple of extra tweaks I like to make are adding an amp socket jack, you wire this to your speaker and you can run a cable up your arm your aker amp, great for loud events like con's. The other is swap out the LED's to highbright versions, like what's in cheap torches, just ups the lighting and you get a nice effect down the barrel. Looking forward to seeing the progress1 point
-
Servus Andi! Schön, dass du den Weg in's FISD gefunden hast. Das hier ist definitiv der größte Wissensschatz des WWW, wenn's um Stormtrooper geht. Mit RS hast du schonmal nichts falsch gemacht. Ich selbst bin übrigens auch aus Südbayern und hier gibt es noch einige mehr aus der Region. Im restlichen Forum wird zwar Englisch gesprochen/geschrieben, wenn du aber mal Hilfe auf Deutsch brauchst, kannst du einfach bei den 'Imperial Embassies' nachfragen, da gibt es auch "Unterstützung auf Deutsch". Wie Tino schon geschrieben hat solltest du aber erstmal die "Getting Started" Section auschecken - viel Spaß! LG, Danny1 point
-
Colin Sefton TK 19632 EIB A4 TKSpartan Here you are, sir! https://www.whitearmor.net/eib/certificates/19632-eib.png1 point
-
Thigh Strapping and First Suit Up Before I actually had my kit, I had grand plans of hand sewing an elaborate suspender system to hold up the abs and thighs. After actually getting everything together, I decided to do the simple thing and sew a single belt with 1" nylon webbing and a plastic buckle: The thigh positioning was something I knew might take a few troops to dial in, so I wanted something adjustable. I used 3" elastic, and attached the armor end with two snaps, and the other end I looped around the belt and secured with velcro that's specifically meant for fabric: I imagine I'll ultimately just sew the elastic in place once I'm sure the positioning is right. I originally only had the thigh strapping in the front, but before my first troop, I noticed the back of my right thigh tended to sit a little low, so I added elastic in the back and looped it around the belt in the same fashion. (No pictures, unfortunately.) The thigh strapping was the last piece I needed before doing my first full suit up. Everyone here can probably relate to the excitement I felt seeing everything come together: There were a few small issues here and there, but overall I was extremely happy with how everything was coming together.1 point